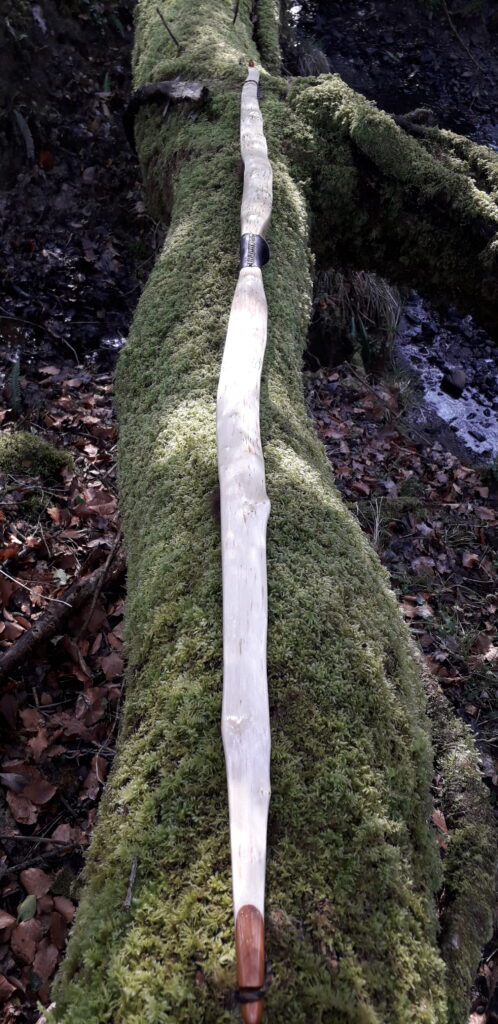
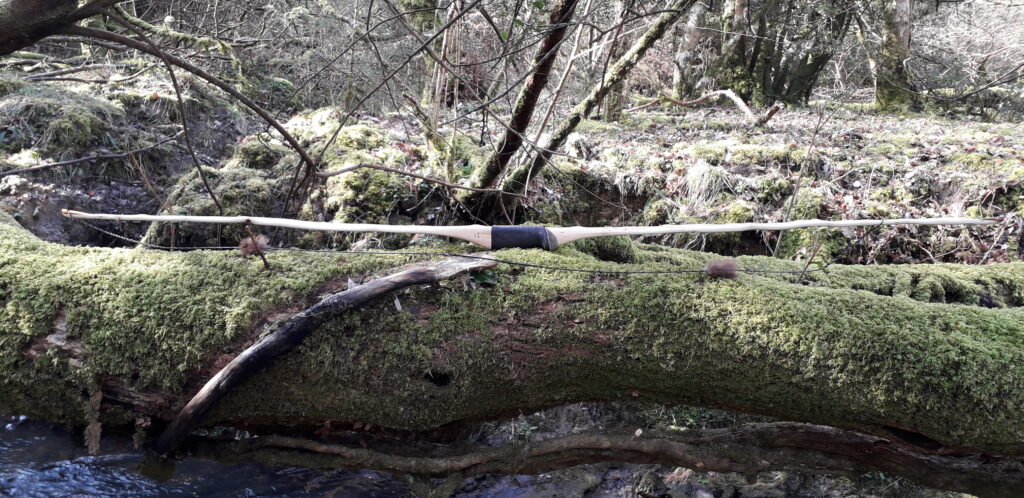
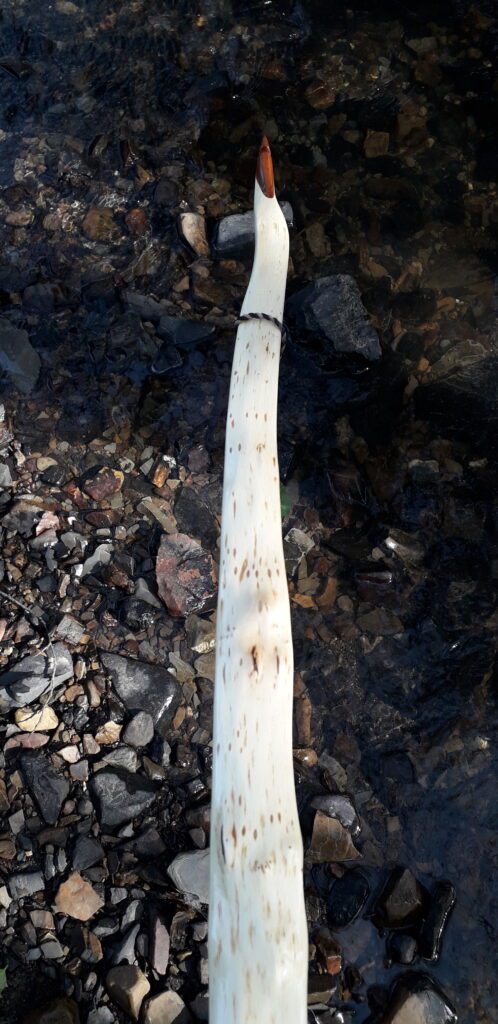
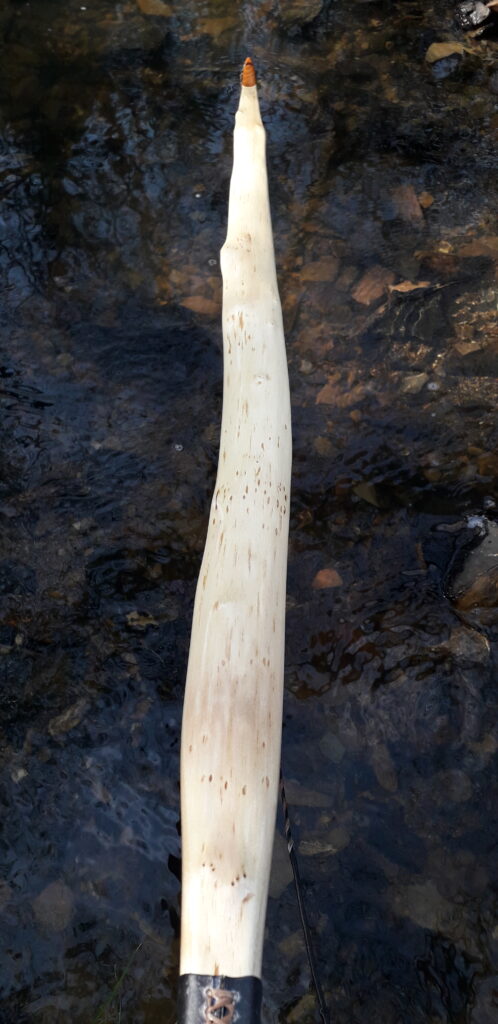
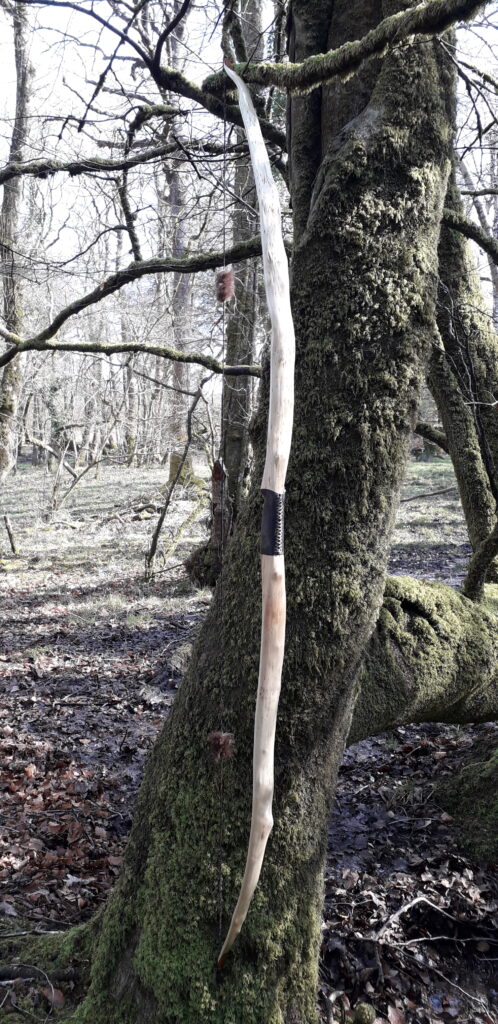
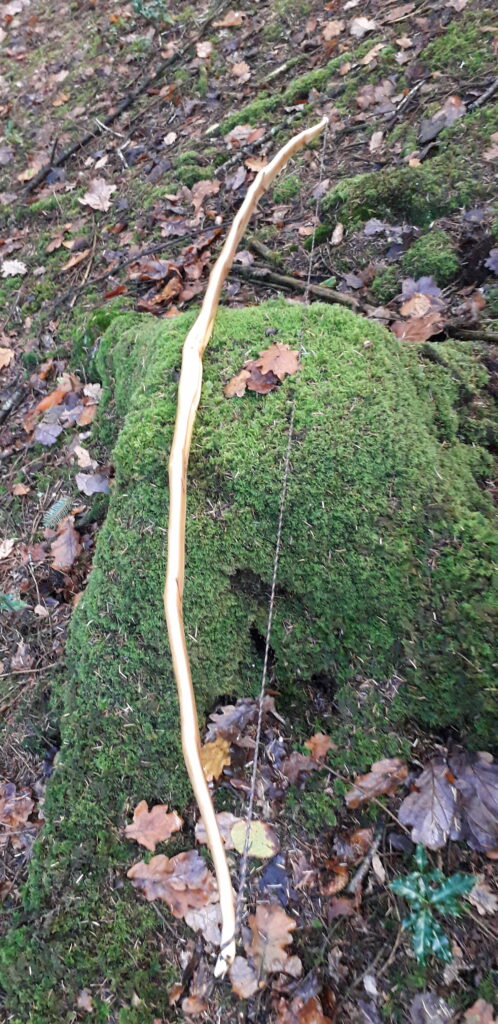
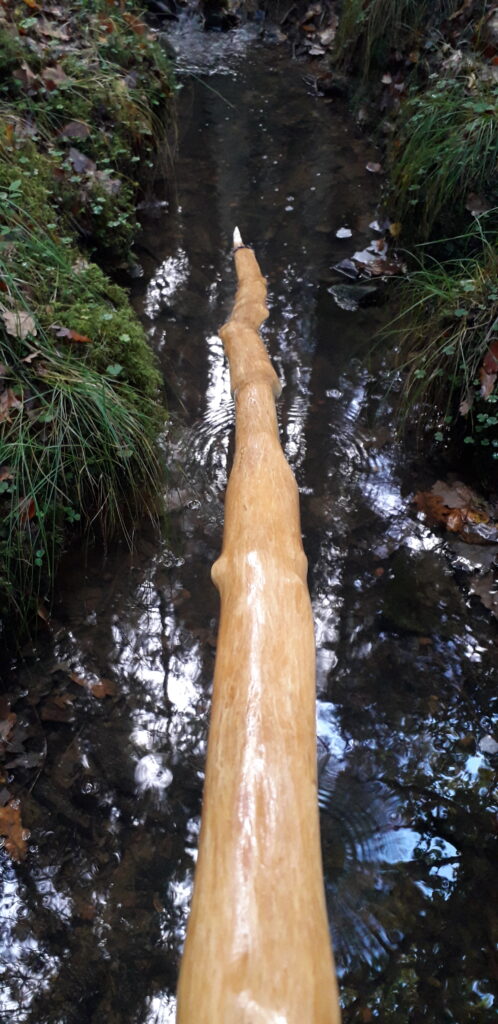
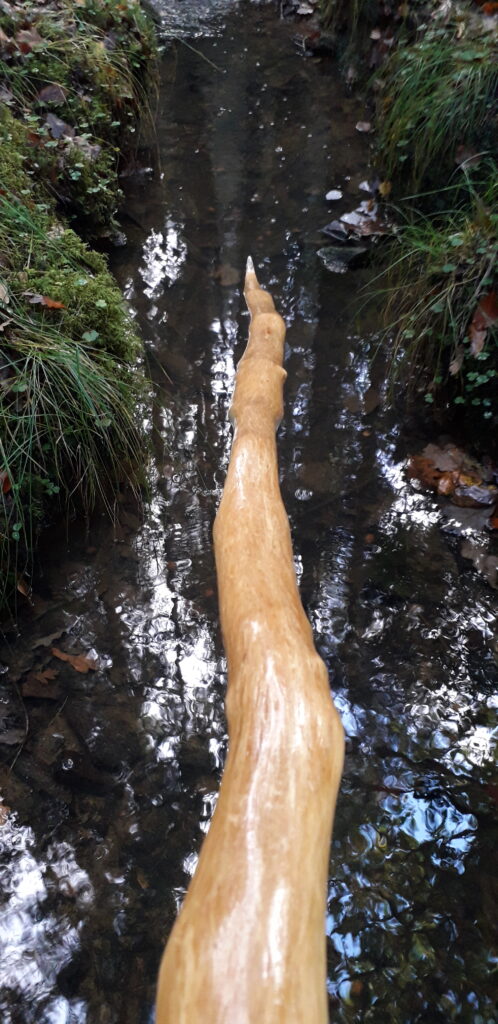
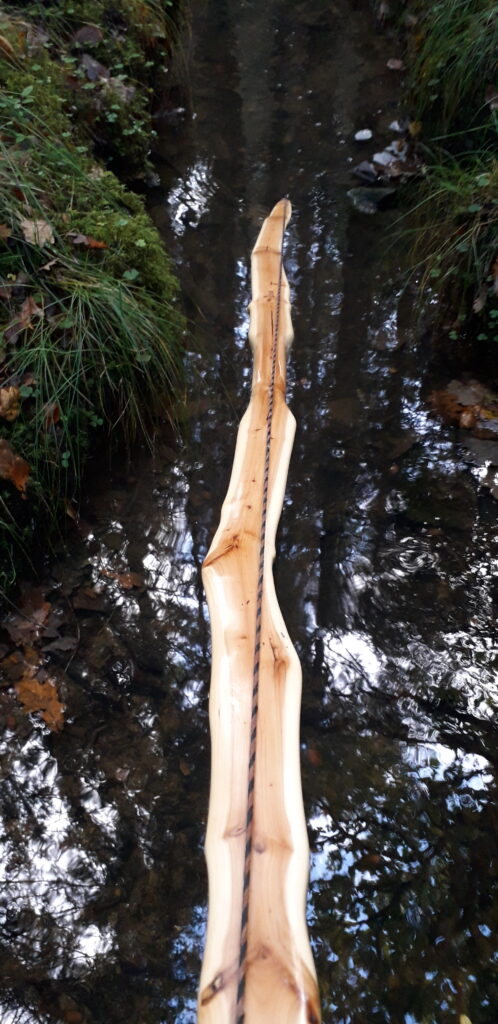
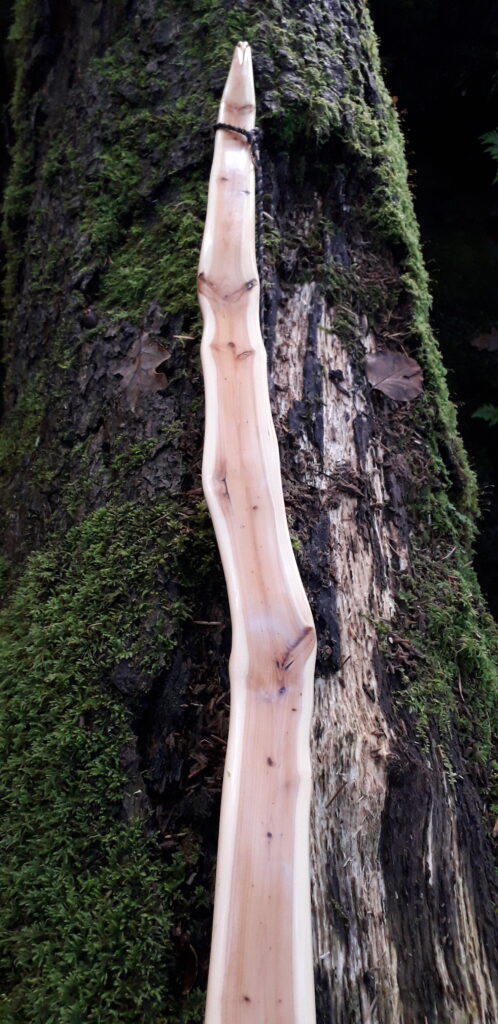
I was given a 3” elm pole by a mate of mine who coppiced a butch of the stuff in one of his hedgerows last year. Many of the poles/logs were around the 3-5” mark so I asked him to save the better stems in his barn so I could pick through them at some point. Many of the stems had been attacked by the beetle and were unusable, which was a real shame because some of the stems would have been perfectly good bow staves had it not been for all the damage below the bark.
In this part of the world we are cursed with Dutch elm disease. It really is quite rare to find an elm stave which doesn’t have any damage at all. I have tried making character elm bows out of badly beetle damaged elm before, but have concluded that the weakness induced by the fungal pathogen will invariably lead to a broken bow at some point in the future.
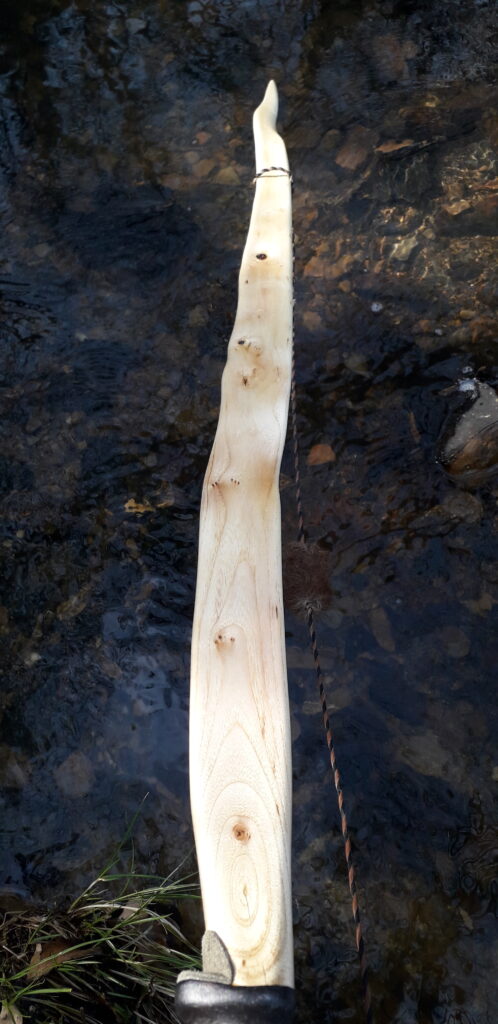
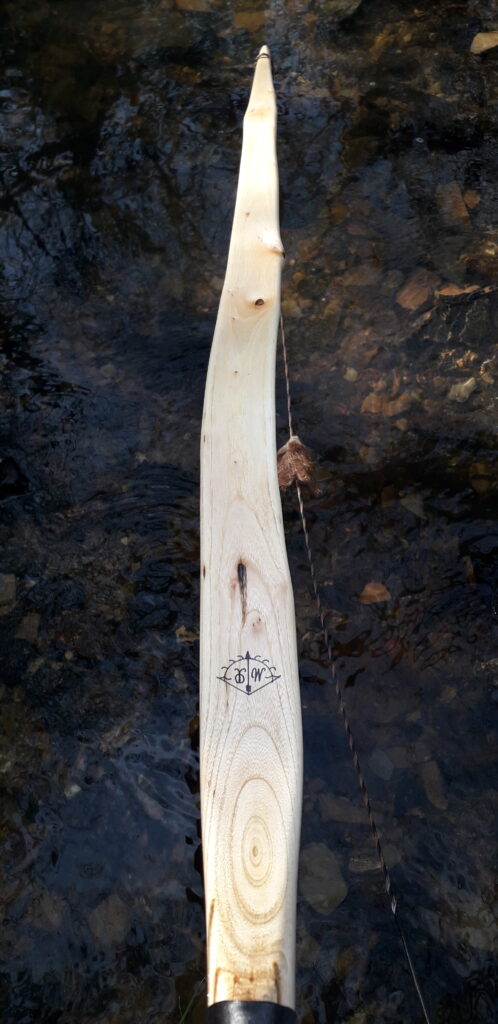
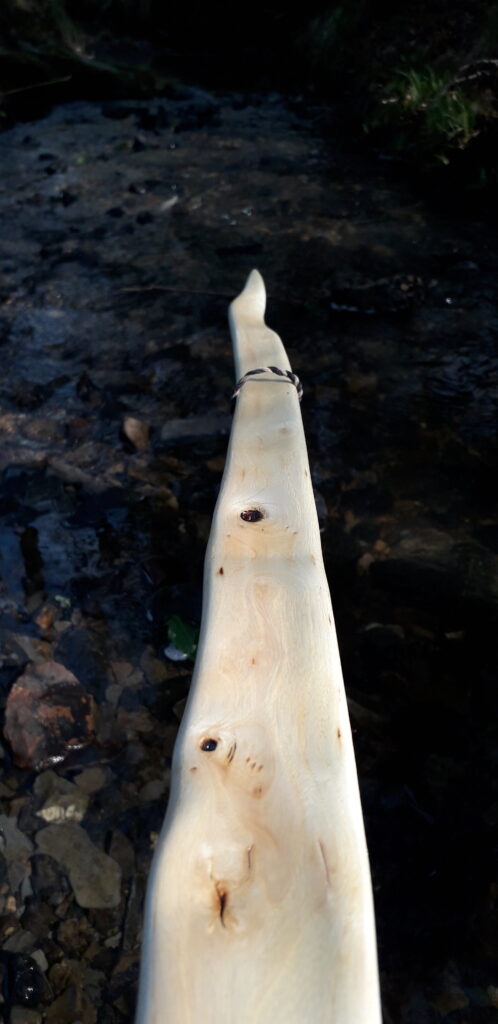
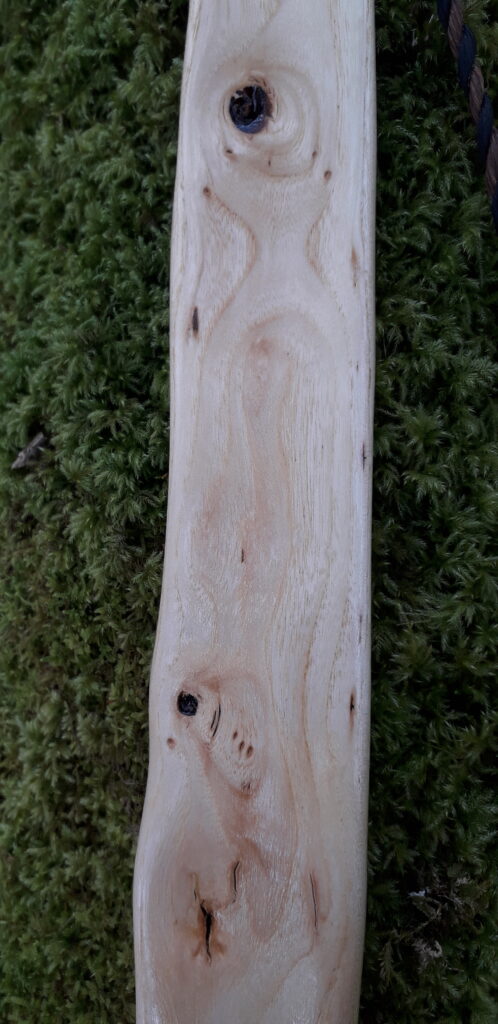
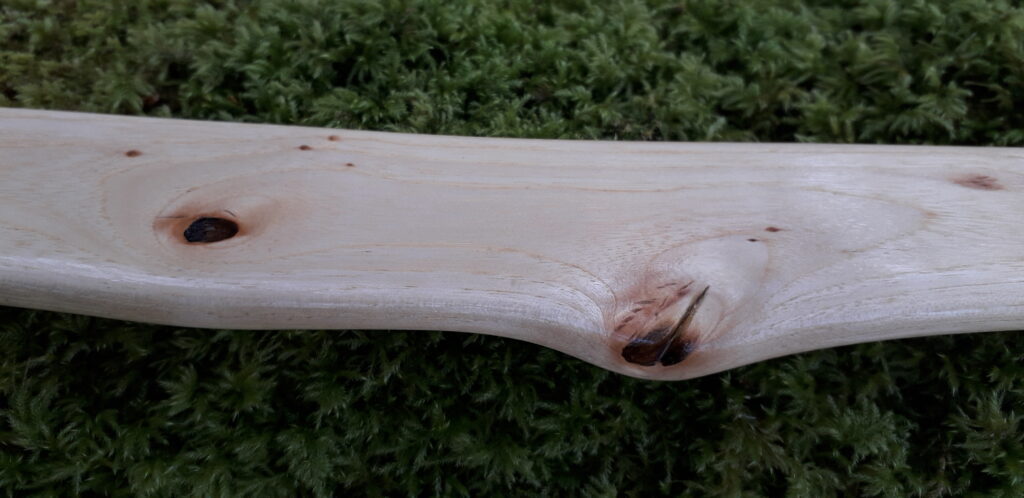
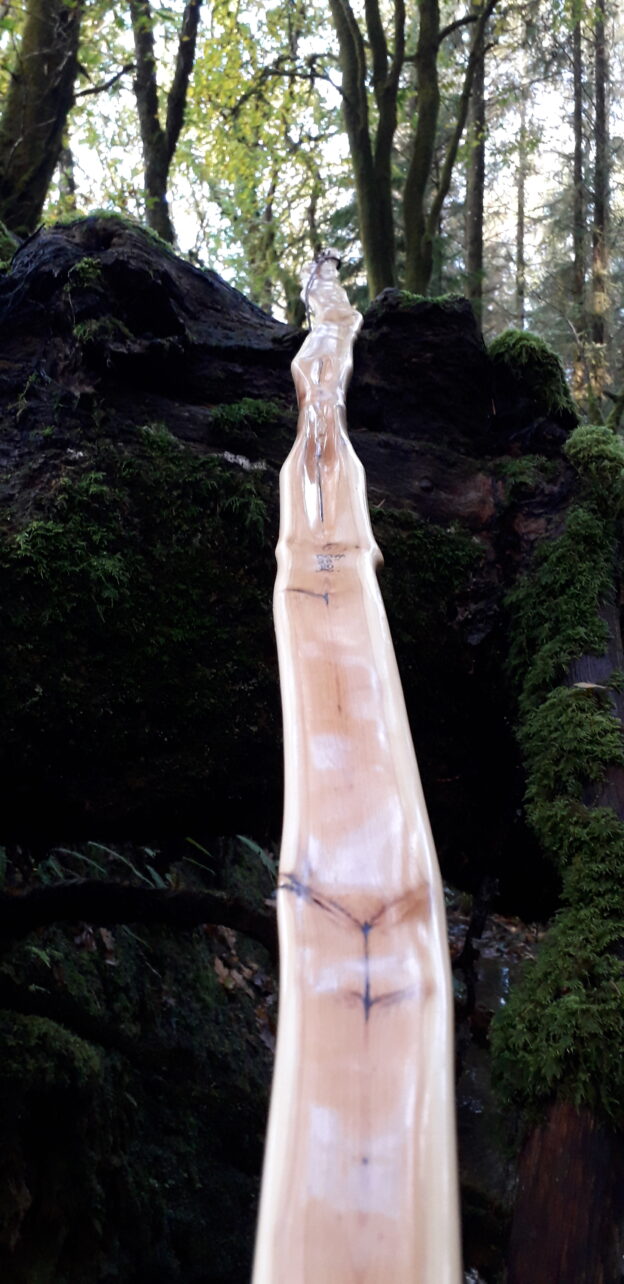
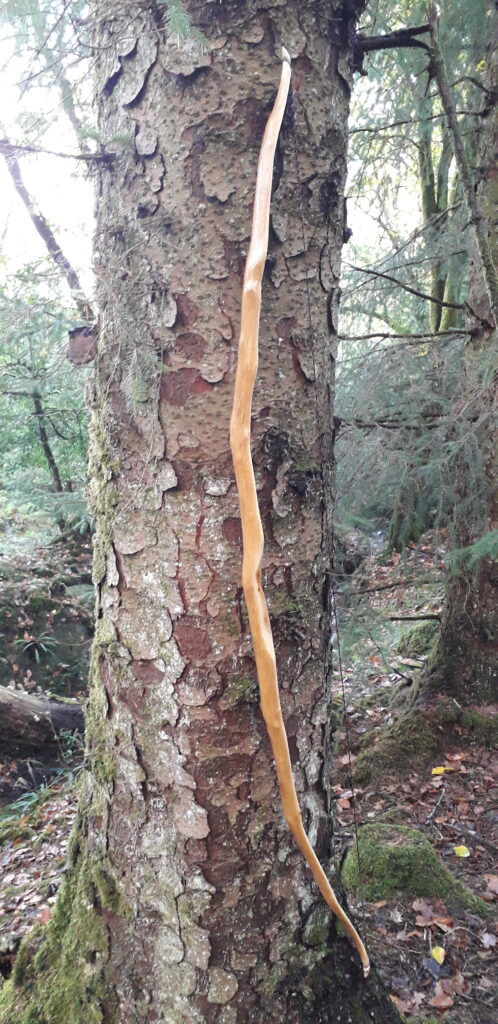
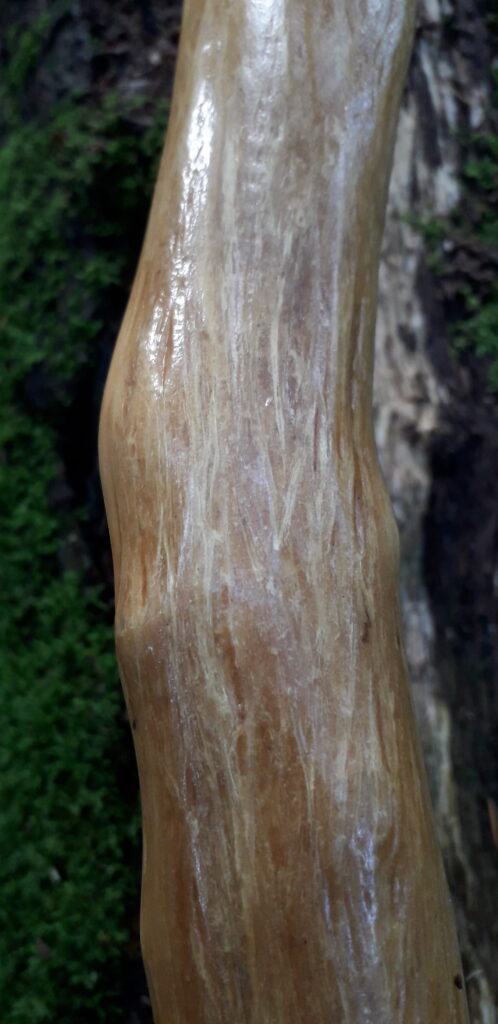
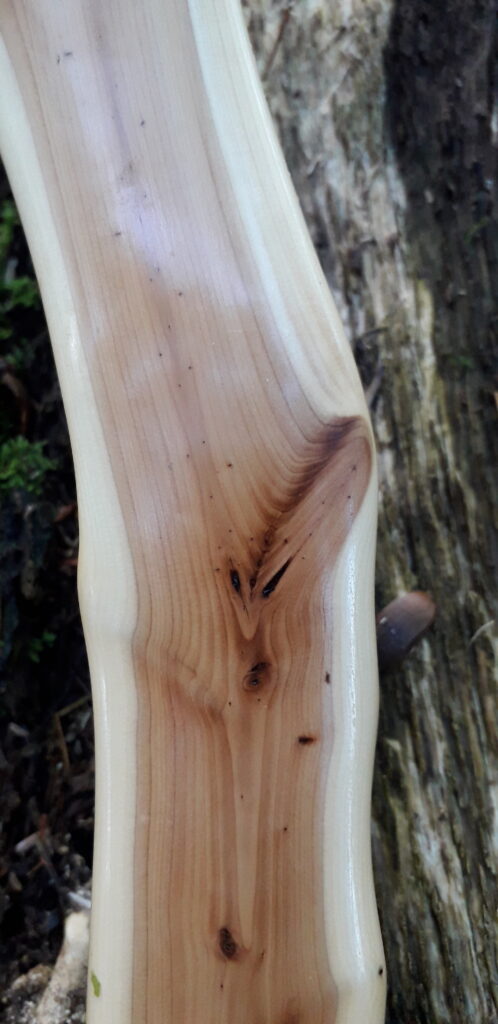
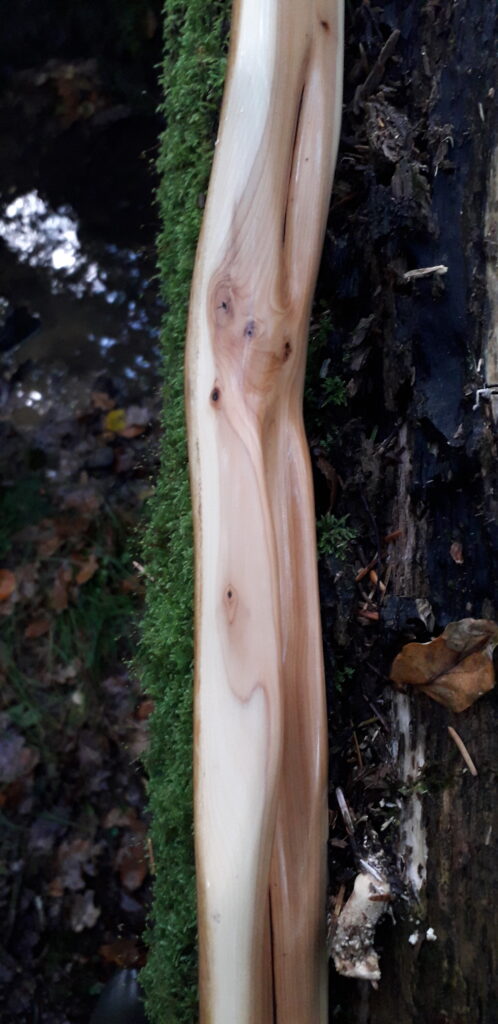
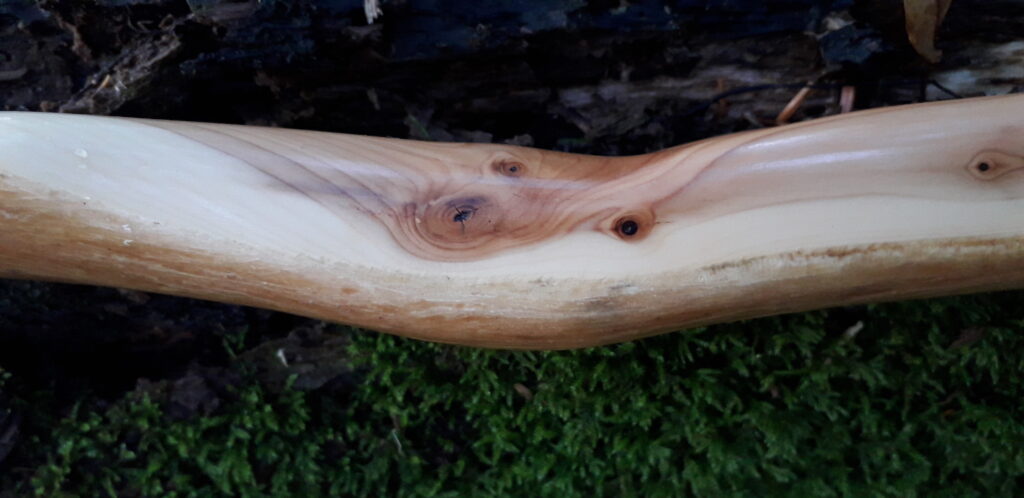
One or two small spots of black rot tends to be ok though, so the stave which made this bow was given a chance to prove itself, as I really liked the slight wiggle and snake this stave reflected after roughing out. In addition to the tiny bit of beetle damage, I had to negotiate a few other features too, such as knots, drying checks and some propeller twist which came out pretty easily witha little dry heat.
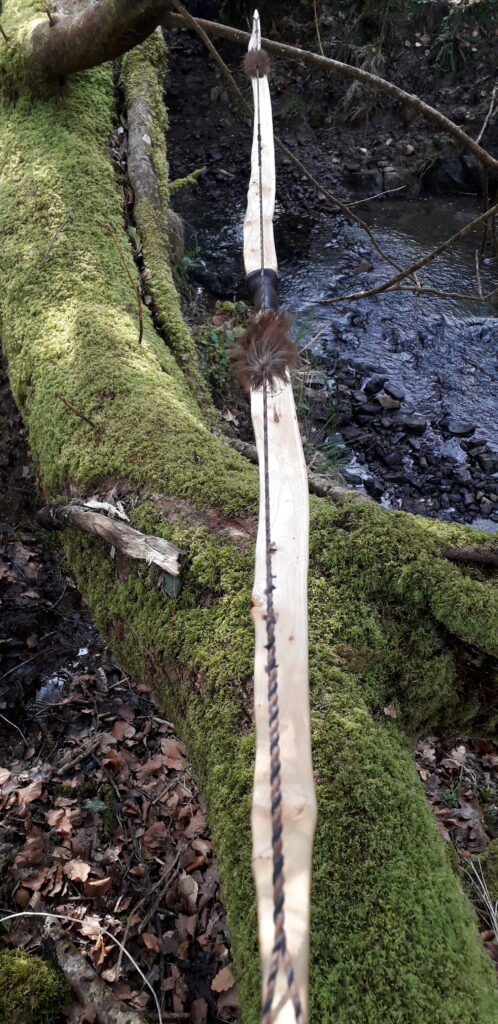
Given the undulating back of this stave I decided to try and mimic the topography of the back on the belly, but in reverse of corse. This created a slightly hollow and varied contour to the bulk of the bows belly. I also opted for a slightly hollow belly in order to maximise the potential for removing some of the beetle damage which was apparent on the belly of the bottom limb.
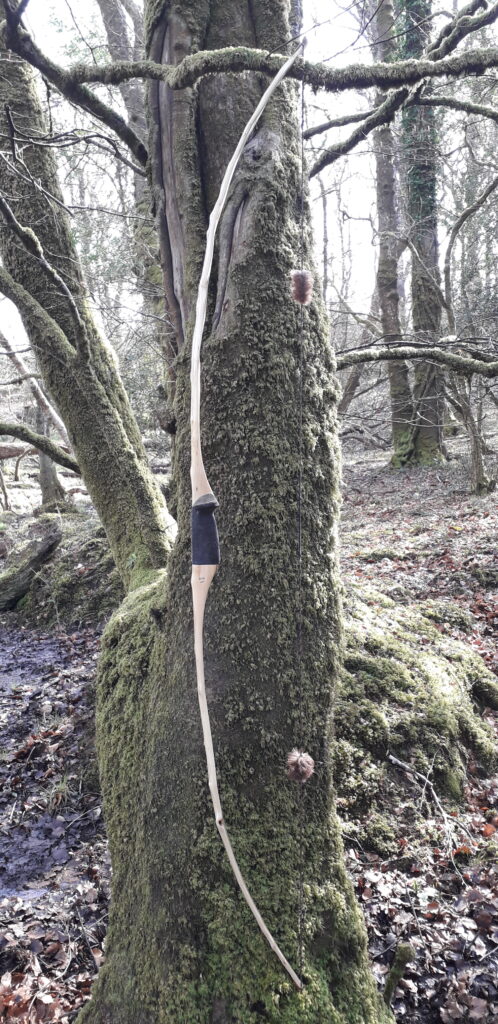
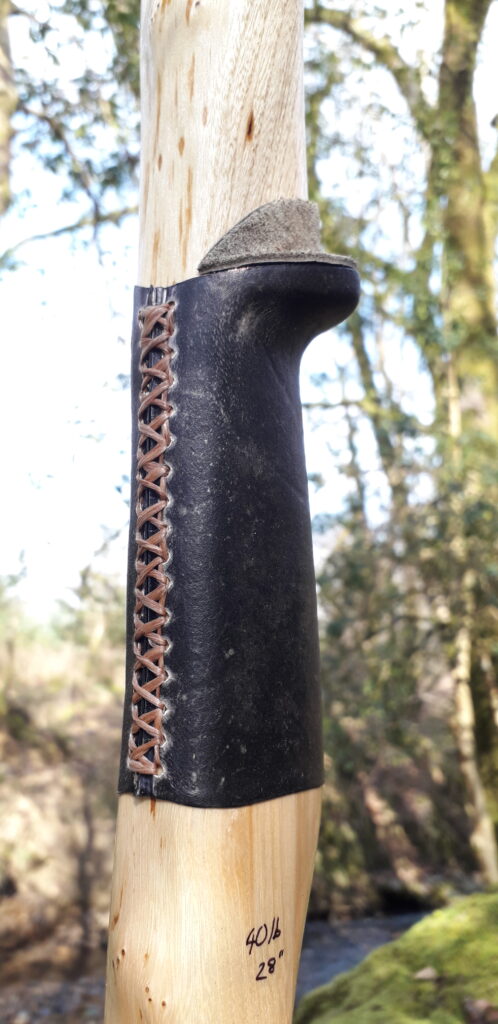
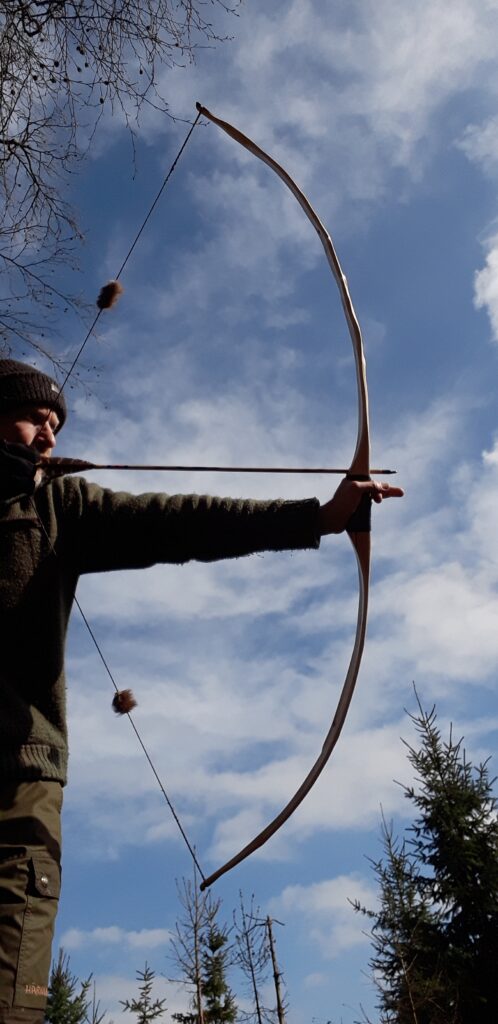
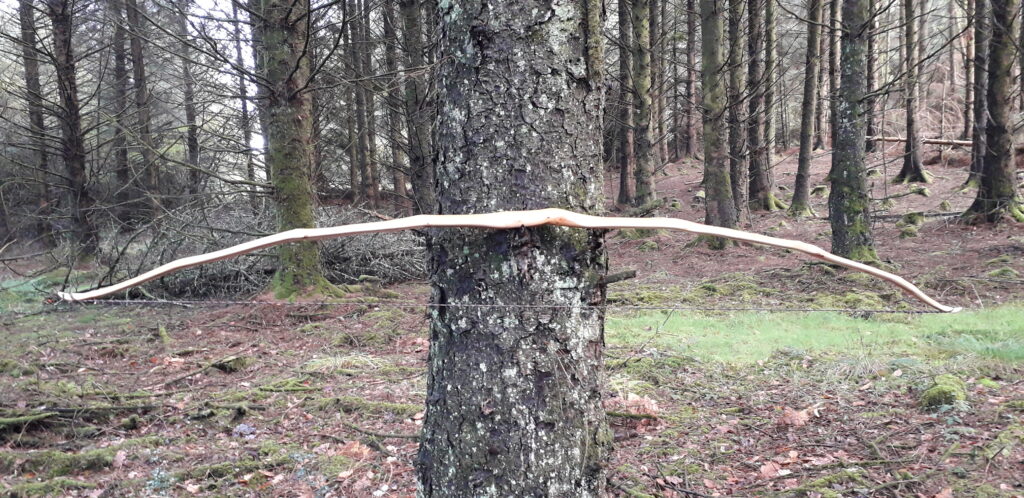
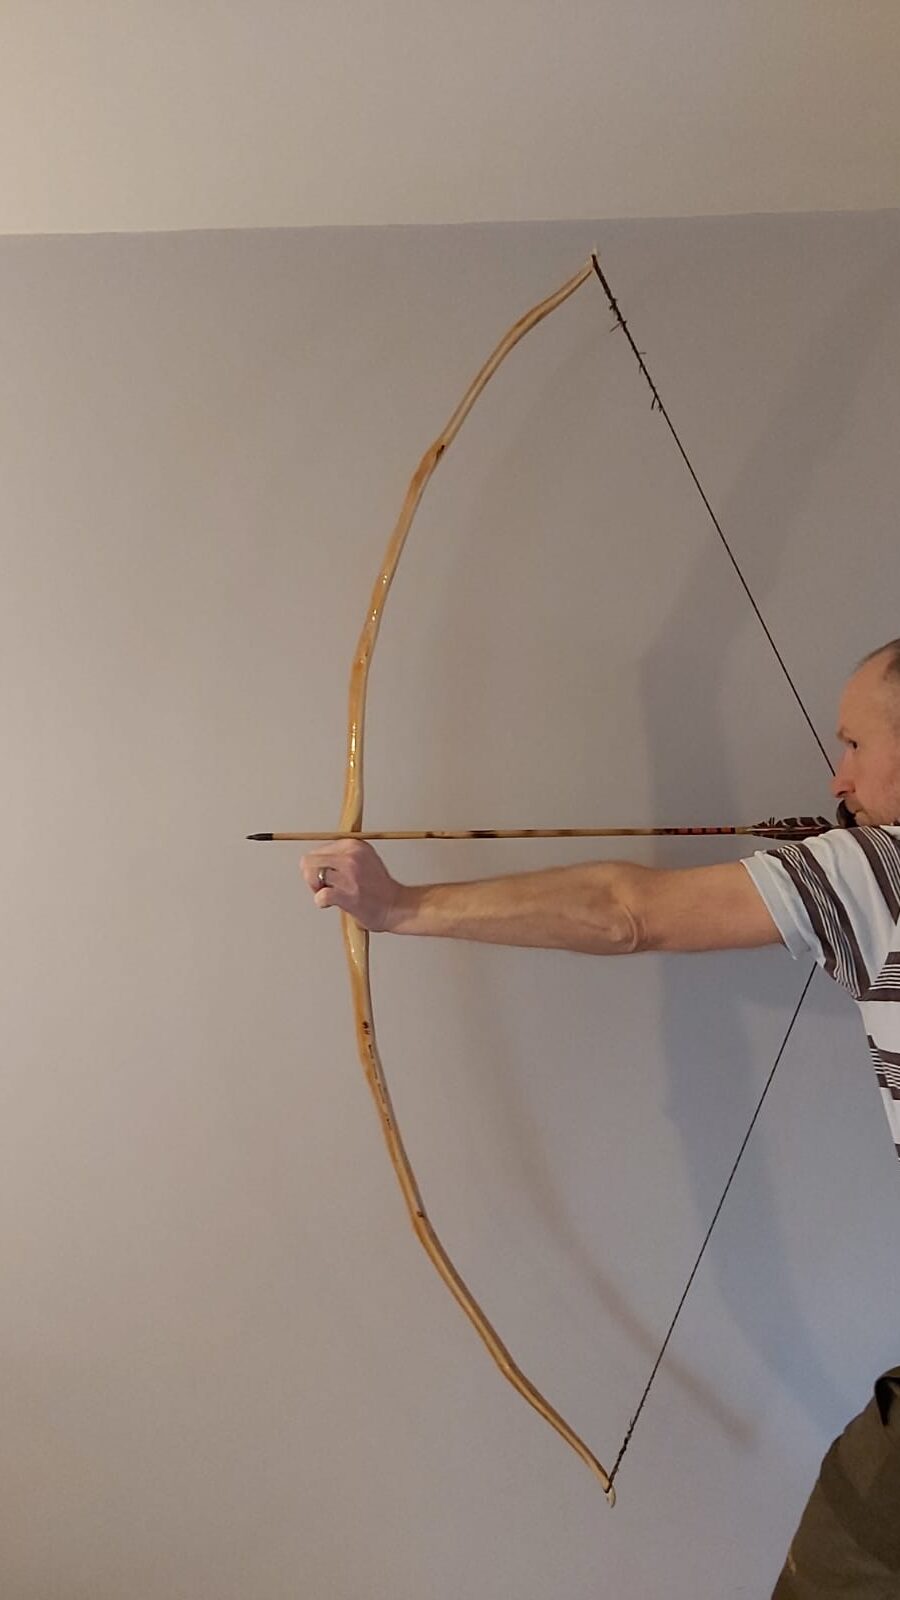
In order to get the worst of the beetle damage out of the stave I ended up with quite thin limbs, both in terms of width and thickness. As a consequence I ended up with a bow which is a bit on the light side, finishing out at about 42lbs after the initial shooting in phase. Since sanding and finishing the bow, plus a lot more shooting in, she has now settled into about 40# @ 28”. Not too bad for a pretty gnarly elm stick!
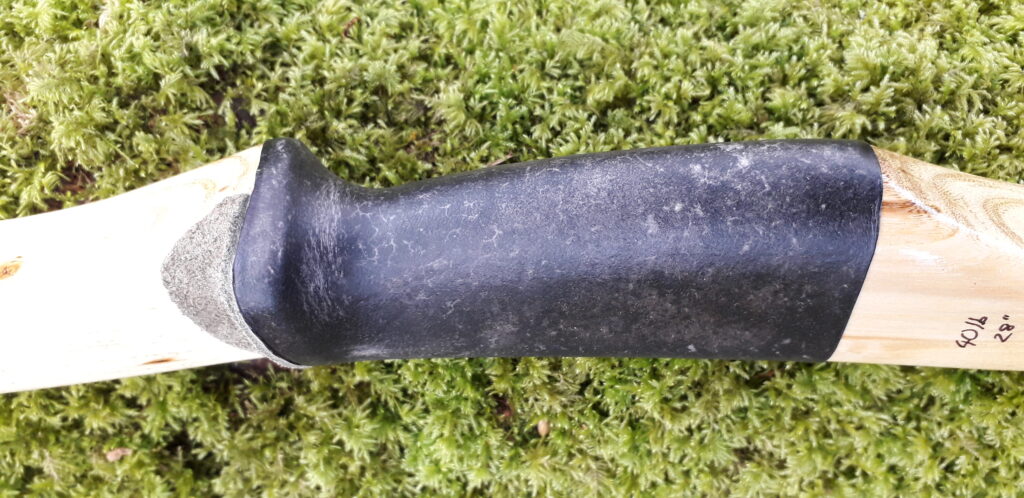
I know a lot of trad archery folk hate arrow shelves but I’m not one of them. I like an arrow shelf simple because I can shoot arrows with feathers without having to wrap the fronts of the fletching in order to prevent a quill winding up embedded in my hand.
As much as I like shooting my own primitive arrows with feather fletchings wrapped with sinew, I do find that the raised sinew wrapping can sometimes cause a bit of deflection when it makes contact with the arrow pass or arrow shelf. I often see this deflexion manifest as a false nock left. Or if shooting of a shelf, a false nock high and left.
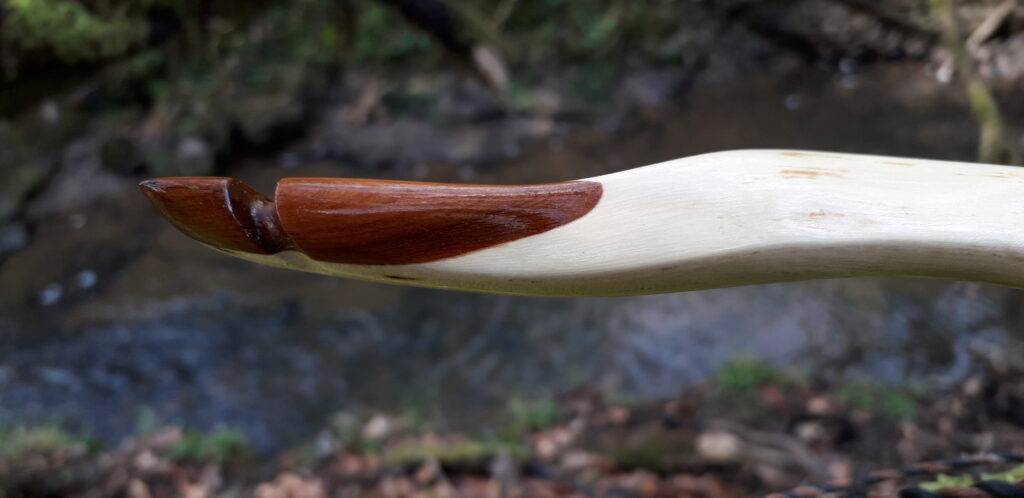
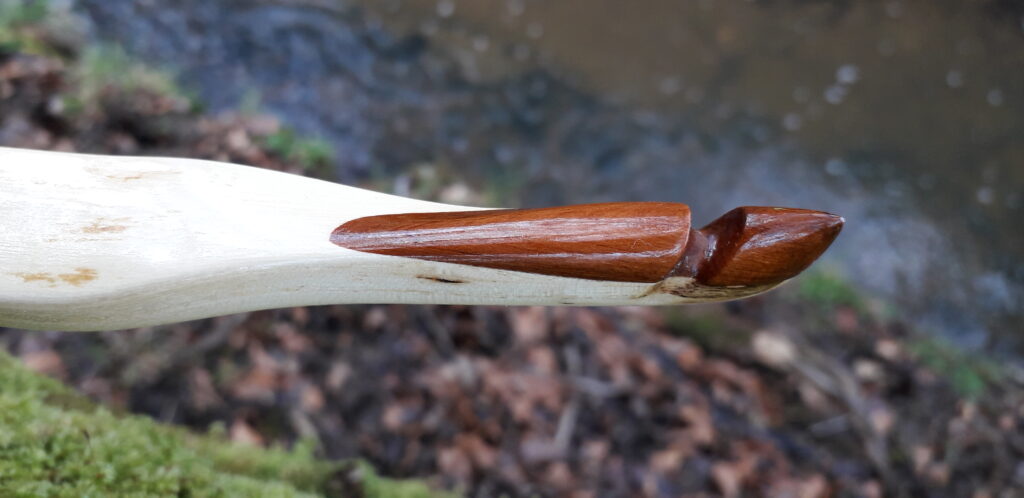
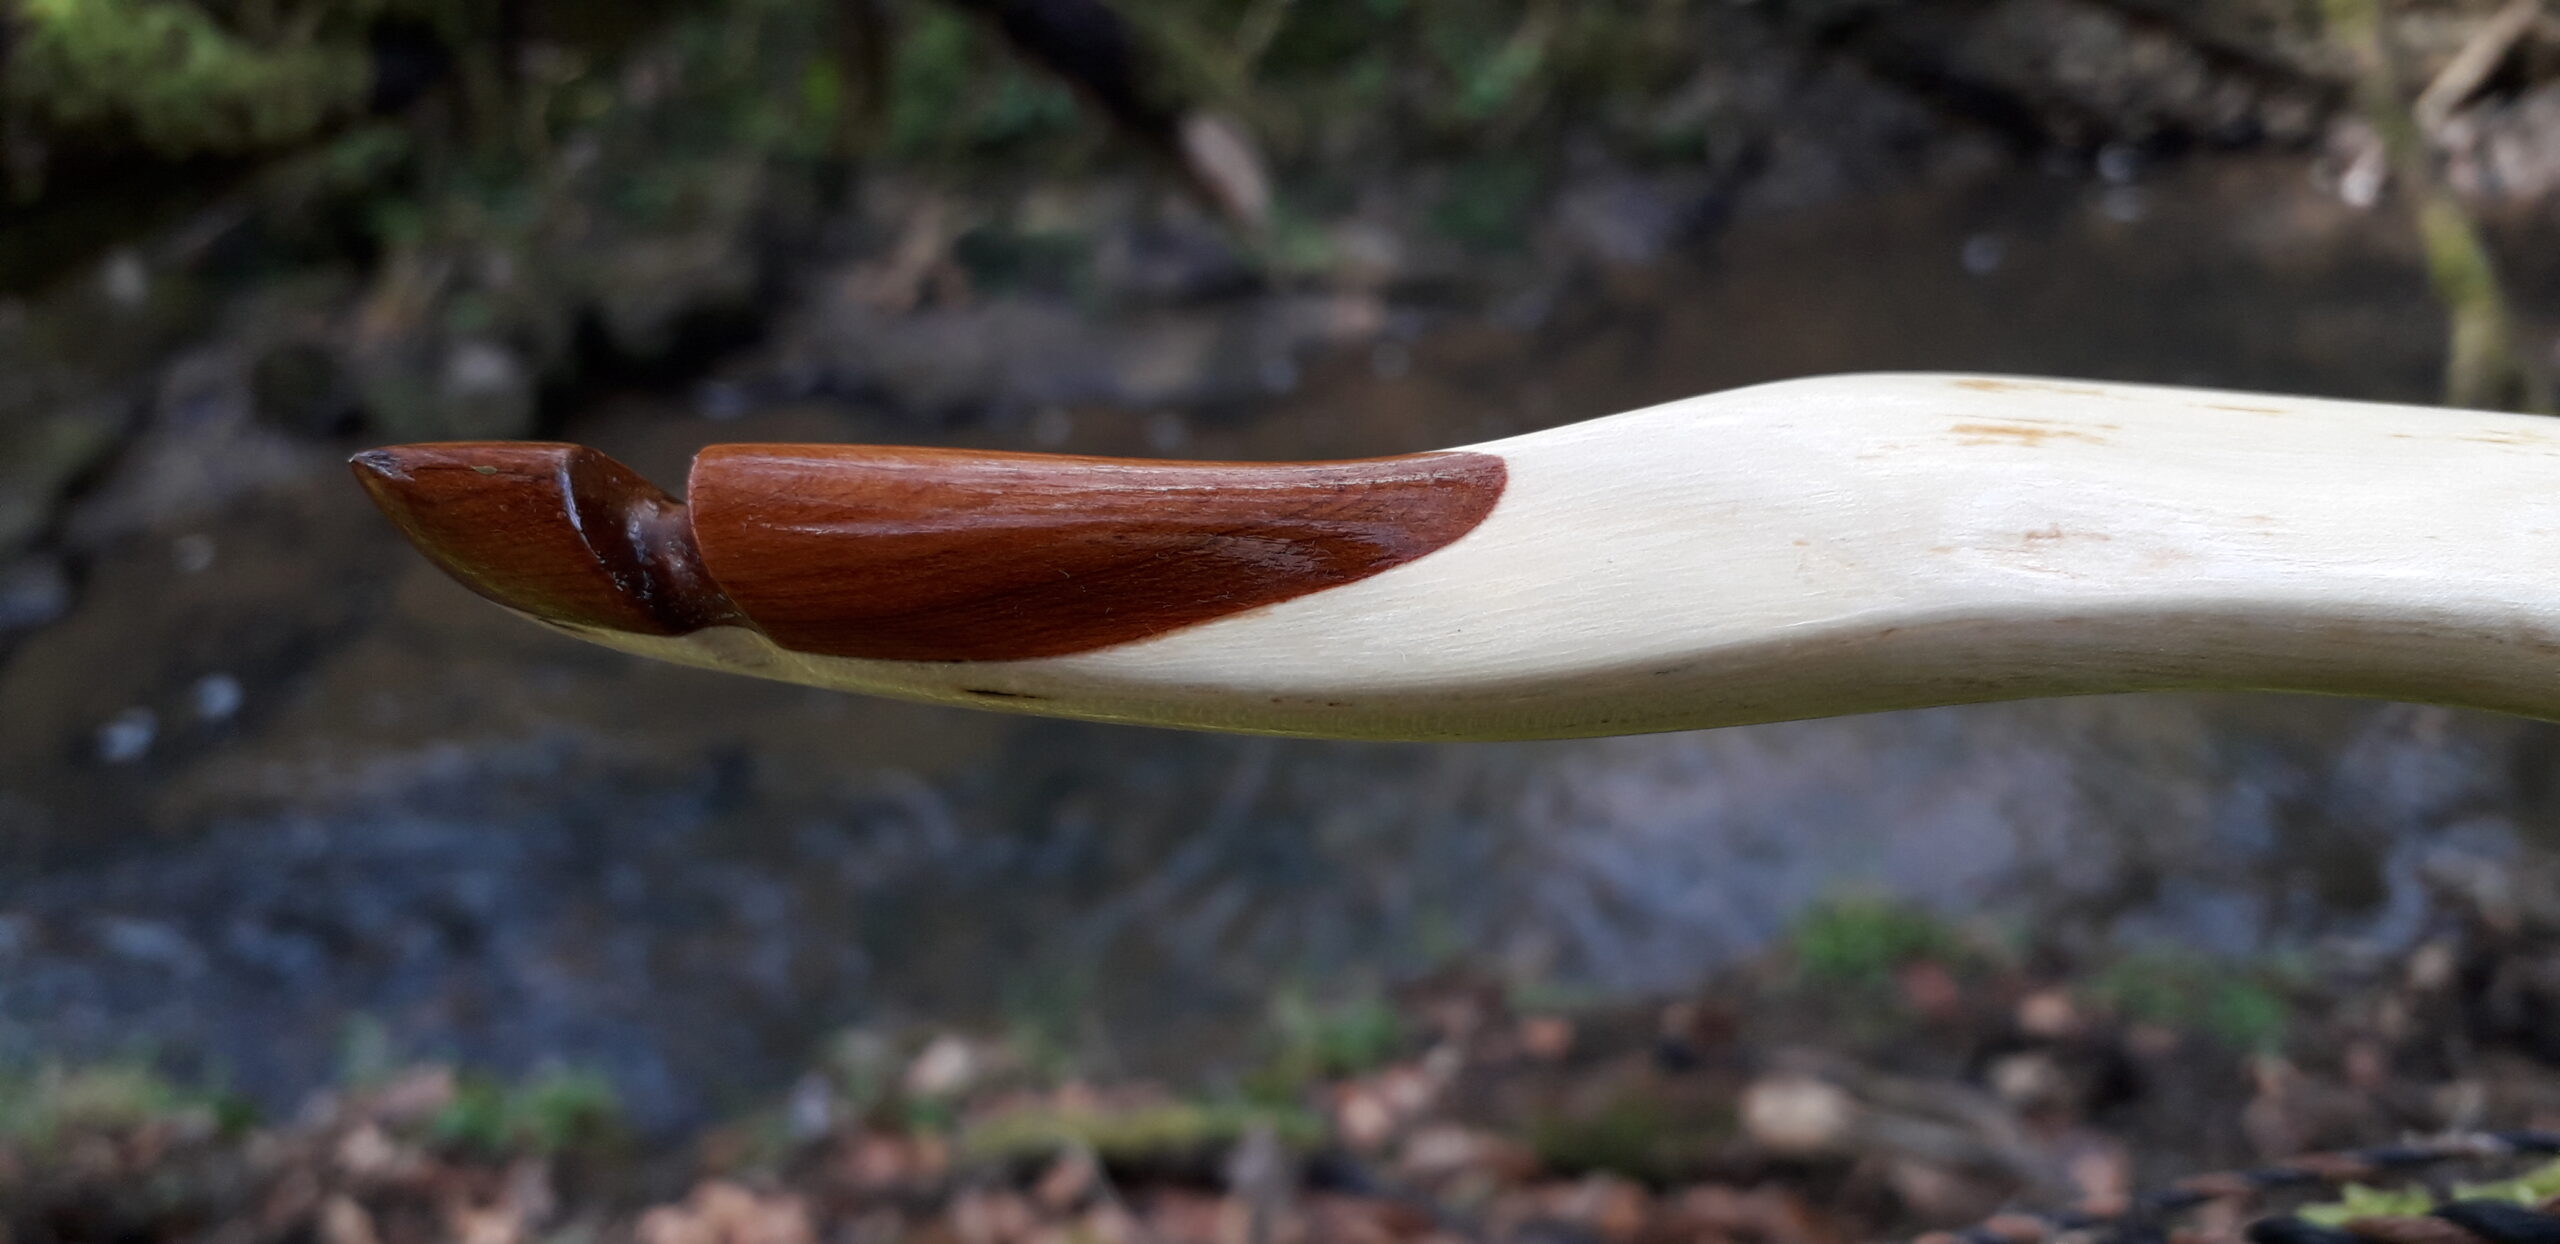
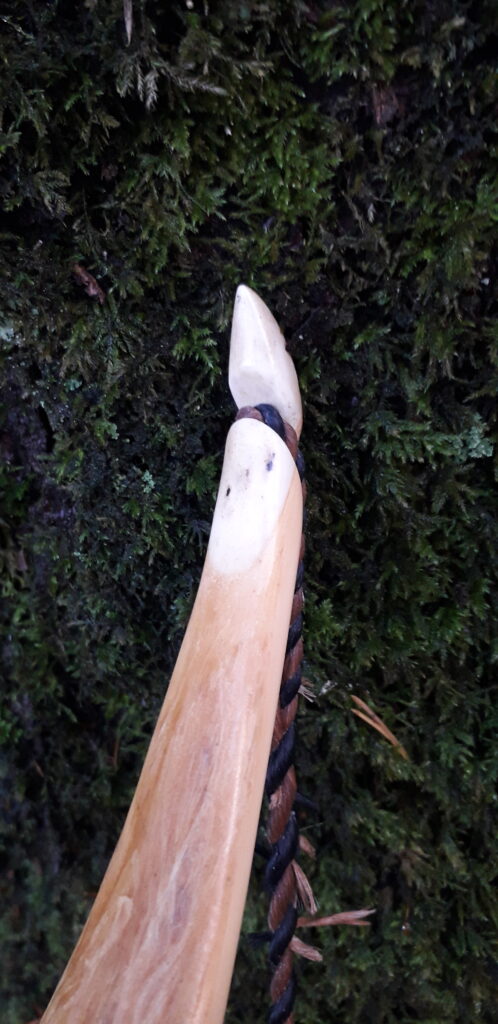
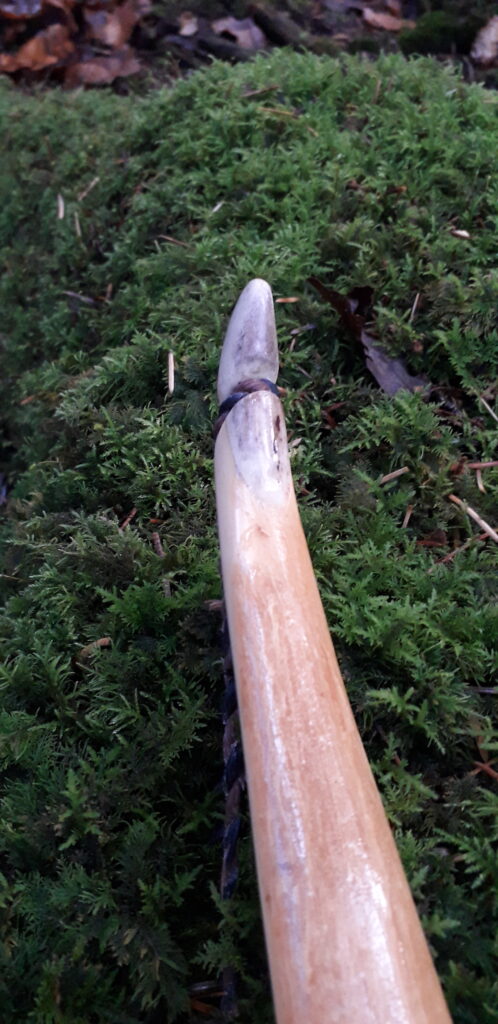
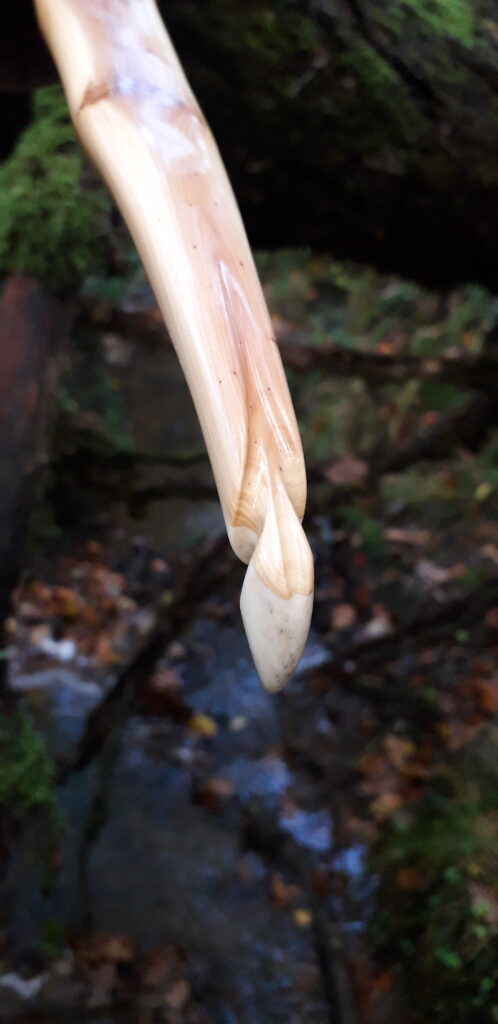
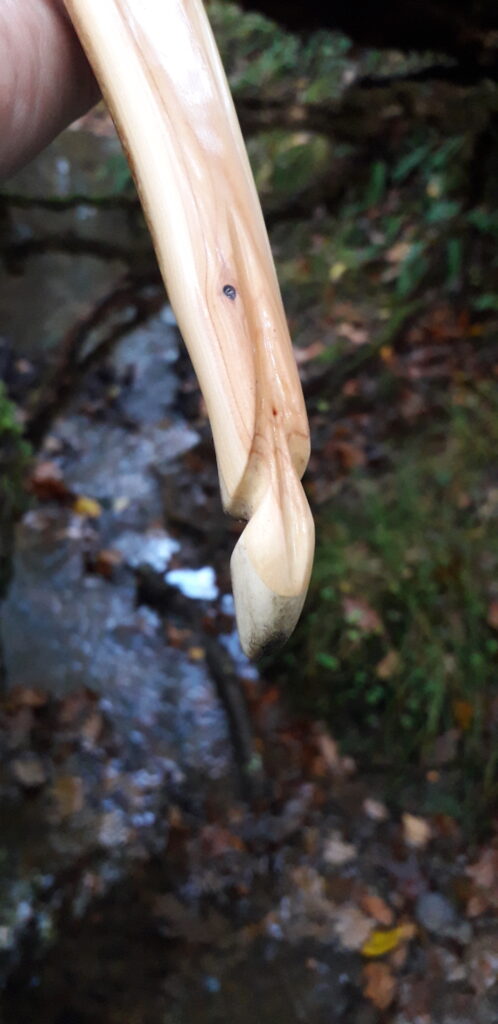
In addition to an arrow shelf I went to the effort of putting tip overlays on her. If you read my previous post you will have seen that I have recently come across a really nice and very old yew log which has been exposed to the elements in a dead state whilst still being attached to a huge and very old yew tree.
This exposure to the elements has resulted in the sap wood completely rotting off the log leaving pure yew heartwood behind. On closer inspection this heartwood was encapsulated in a 1/8th inch thick layer of dark, hard and perfectly preserved resin saturated timber. This resinous outer coating is hard like oak. It is impossible to mark it with a finger nail (unlike normal yew heart wood) so I decided to try making tip overlays with it, with a view to making sure that the overlay was situated so that this really hard and wear resistance outer layer would be the surface which the bow string would contact with. My idea worked very well and the overlays look lovely contrasting sharply against the light coloured elm sapwood. I’ll certainly use this petrified yew log to produce other overlays in the future.
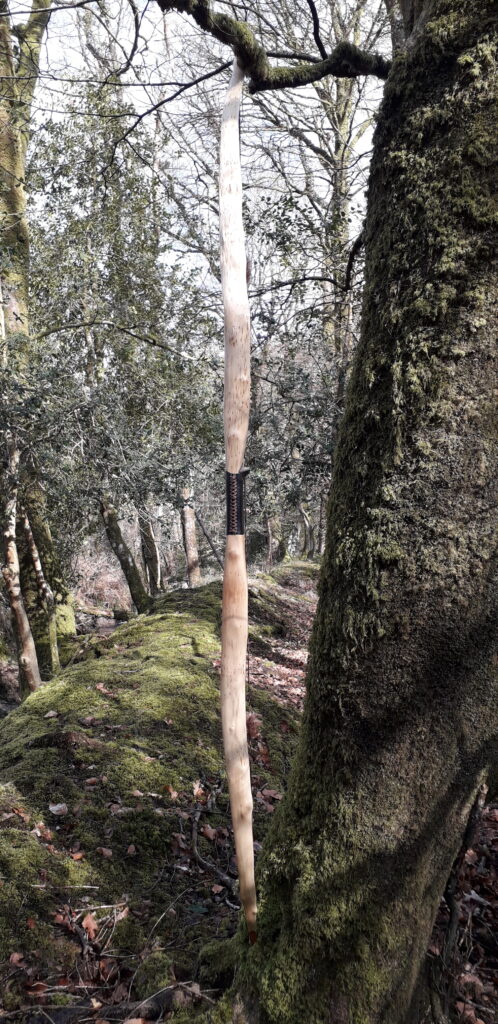
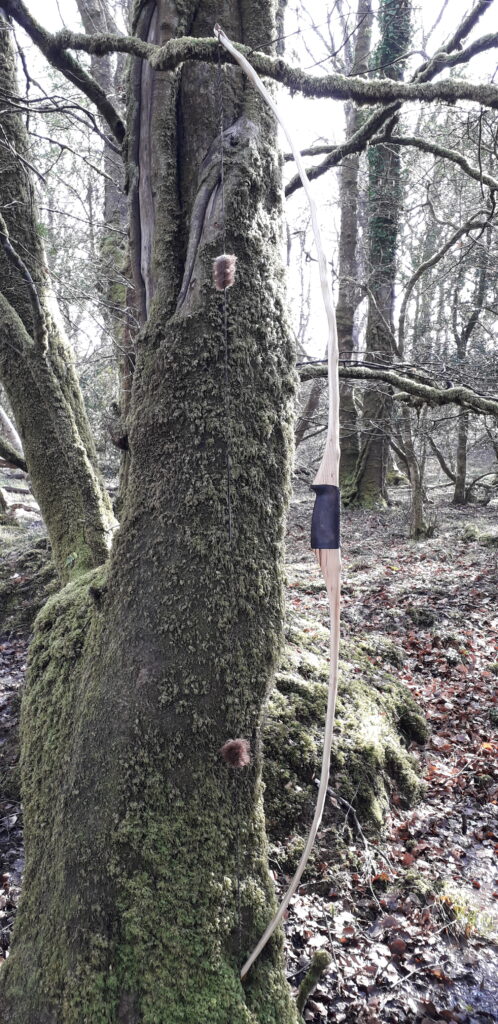
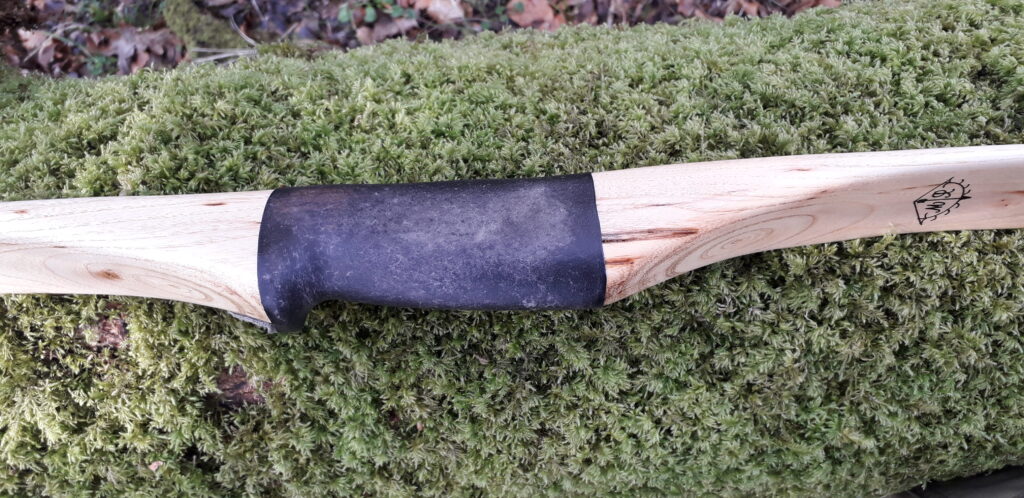
The handle wound up being a deeply contoured grip style which would have made it quite difficult to wrap a piece of tanned leather around so I opted for a piece of roe deer raw hide which I made myself recently. (Article to come shortly.) I stained it with some leather stain since it was quite bland looking. It looks all right and almost kinda marbled. And despite it being paper thin, it feels really nice and durable. I expect it will outlive the bow by a mile!
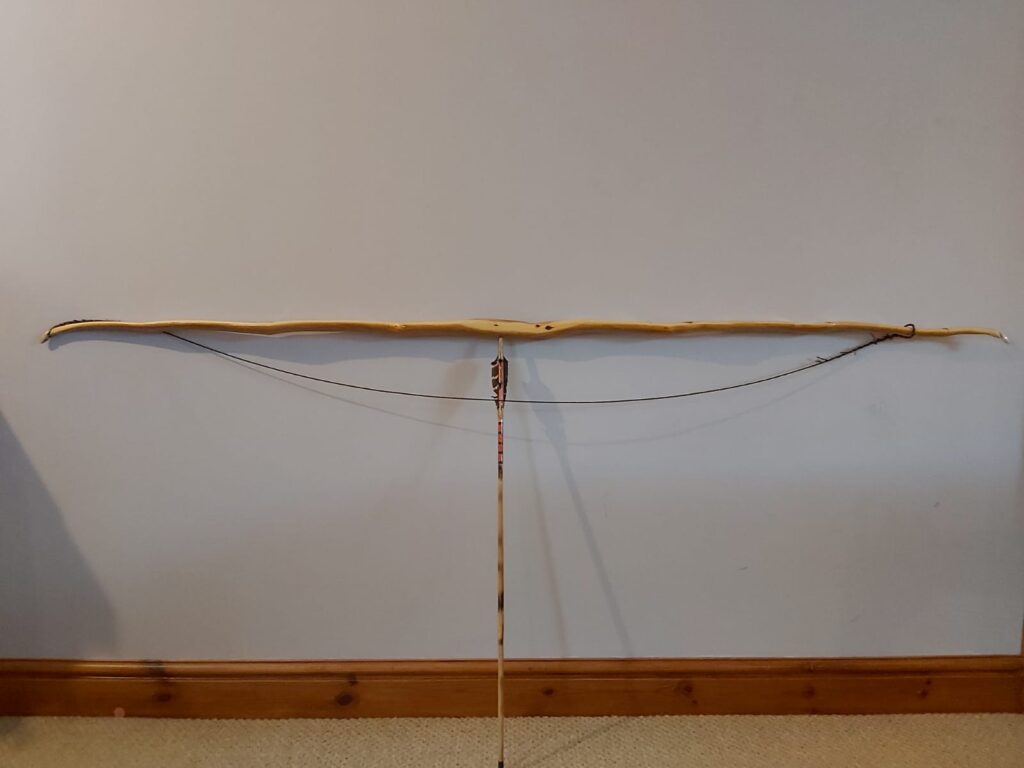
This bow was finished with 8 coats of truoil and has stood up well to a fair bit of shooting. I’ve matched it up to a set of handmade 35# 400 grain bamboo arrows, fletched with turkey wing feathers and tipped with modified empty bullet cases for stump heads. These arrows shoot very well and over the chrono I got an average speed of 142ft/sec.
It never ceases to amaze me how tough bamboo arrows are. Despite being shot dozens of times at all sorts of stuff all three arrows are still going strong!! I intend to do a detailed arrow build at some point so keep an eye out for that article coming at some point this year. I’m also working on a pile of new bows which I hope to show off soon.
Anyways, here are the pics! Hope you like!!
