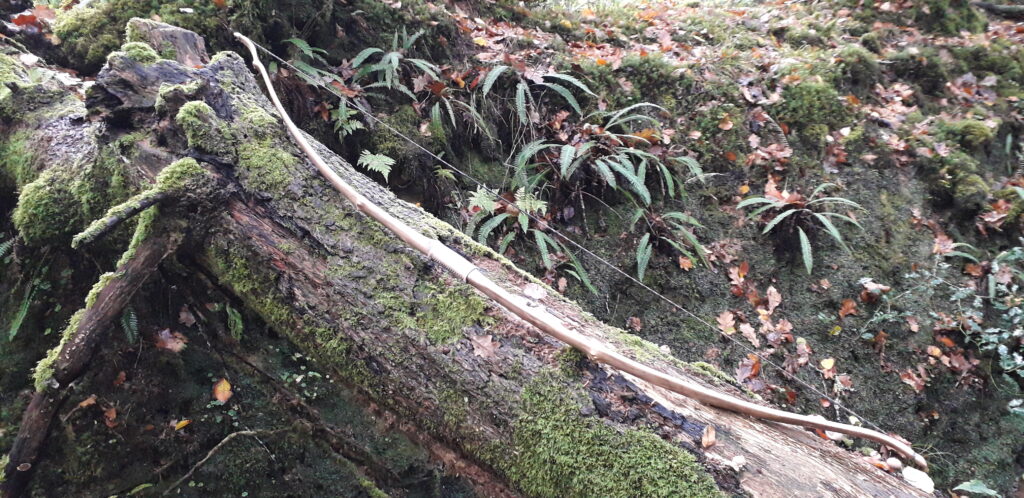
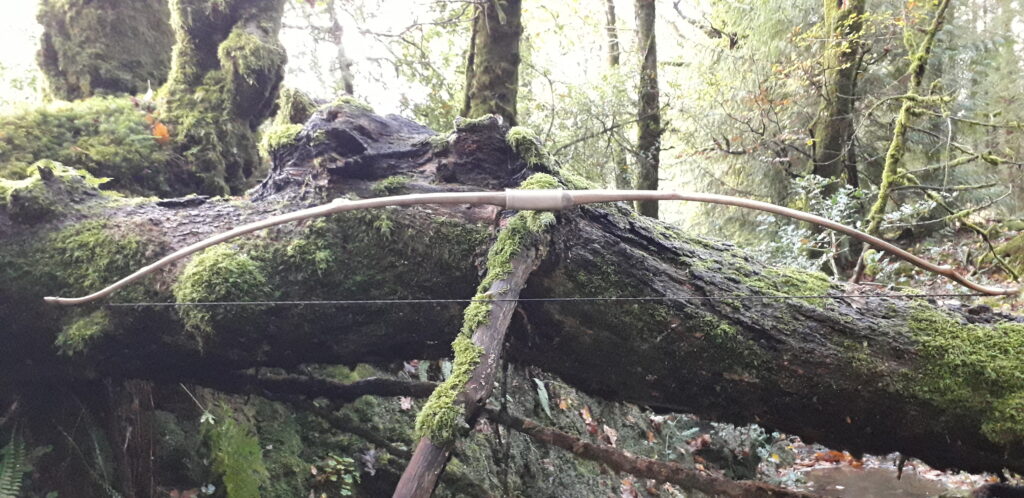
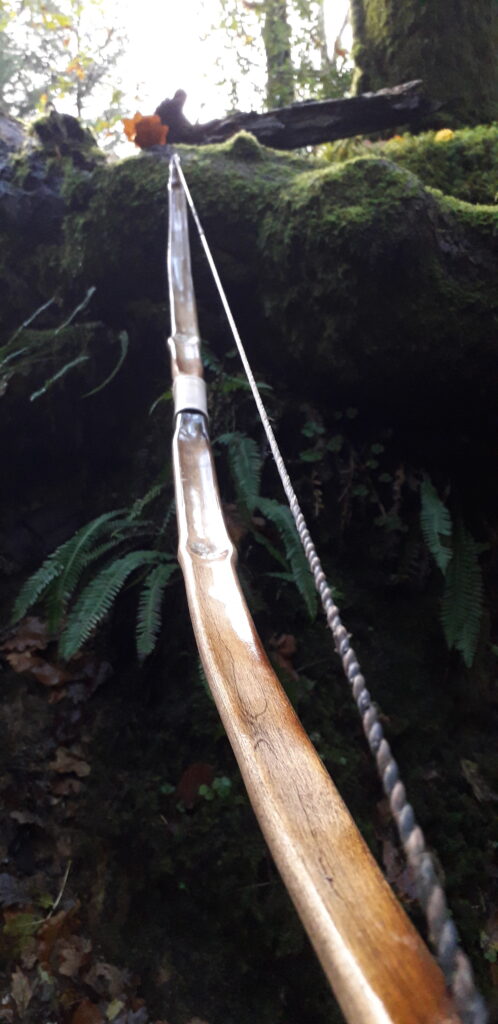
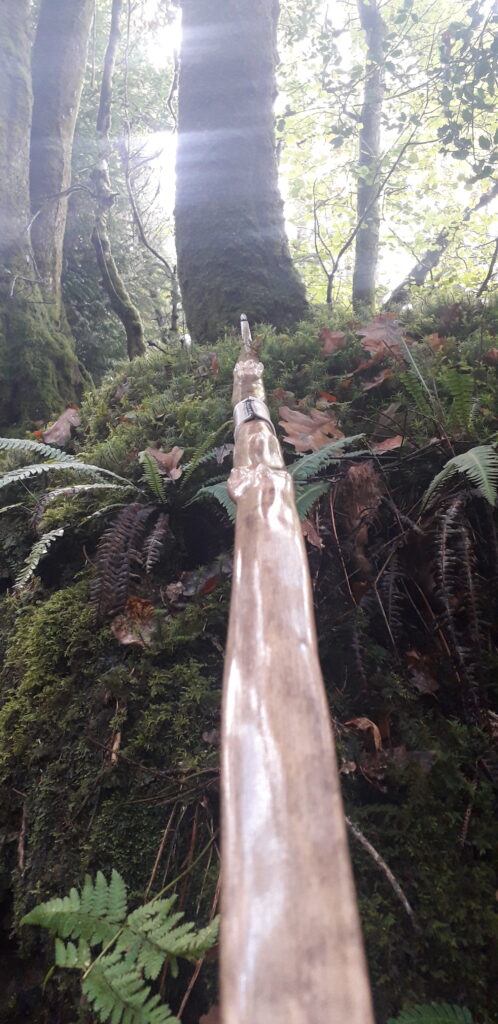
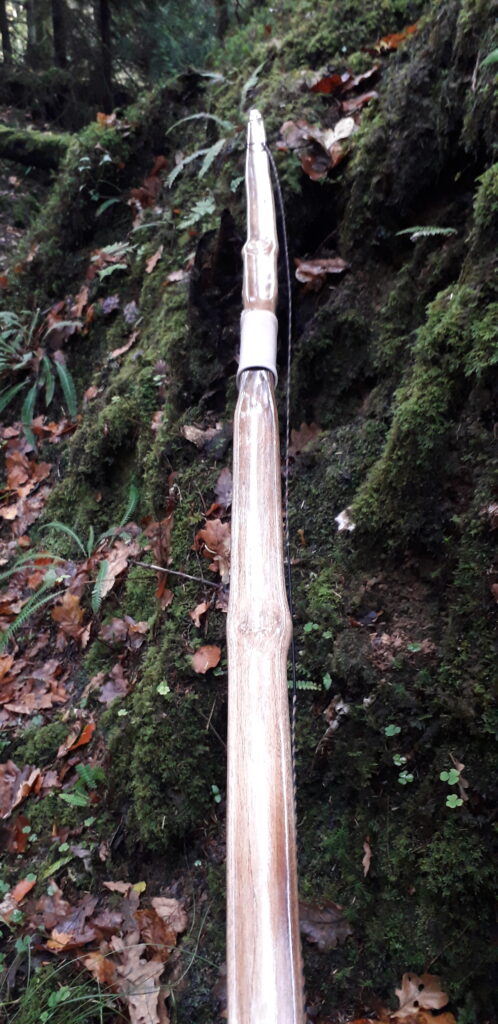
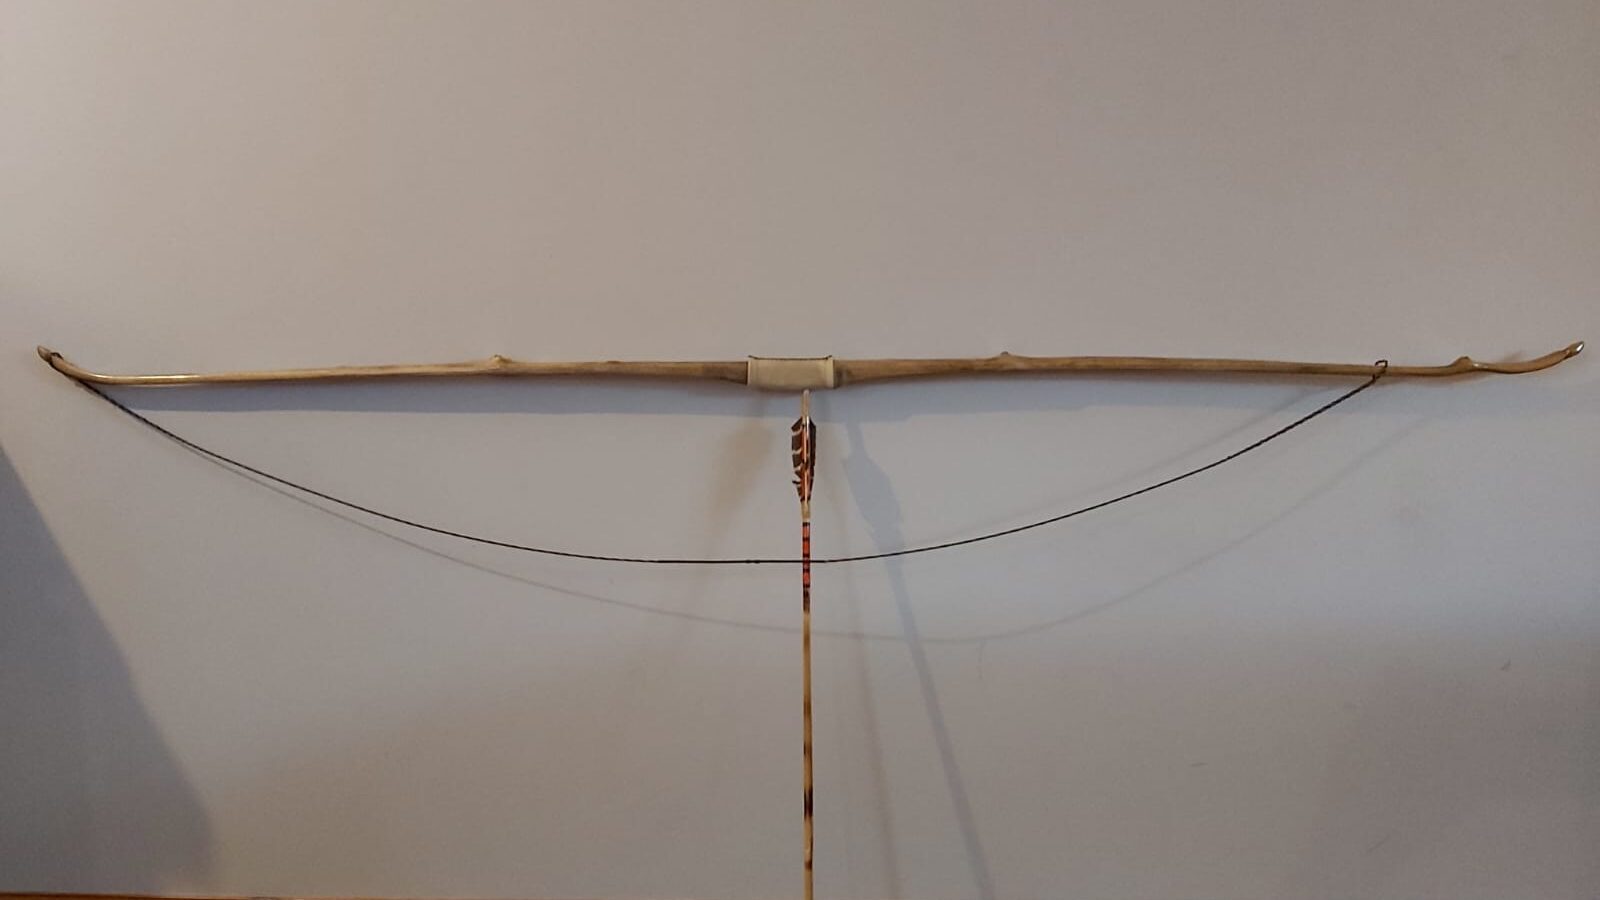
This bow started out life as a very simple 60lb flatbow which was made from a stave which had been given to me by my neighbour who was grubbing out a patch of wasteland on his farm. Whilst the log was fairly straight (for Elder) the twist was the best part of 80 degrees!
I almost binned the log but thought that I’d use it to test how well a roughed out green Elder stave could be trained to conform to a better shape by using a form and clamps throughout the initial air drying phase.
After a few weeks on the drying form the clamps were removed to reveal a nice straight and twist free stave which I moved indoors to hang above the wood burner to speed dry for another couple of weeks.
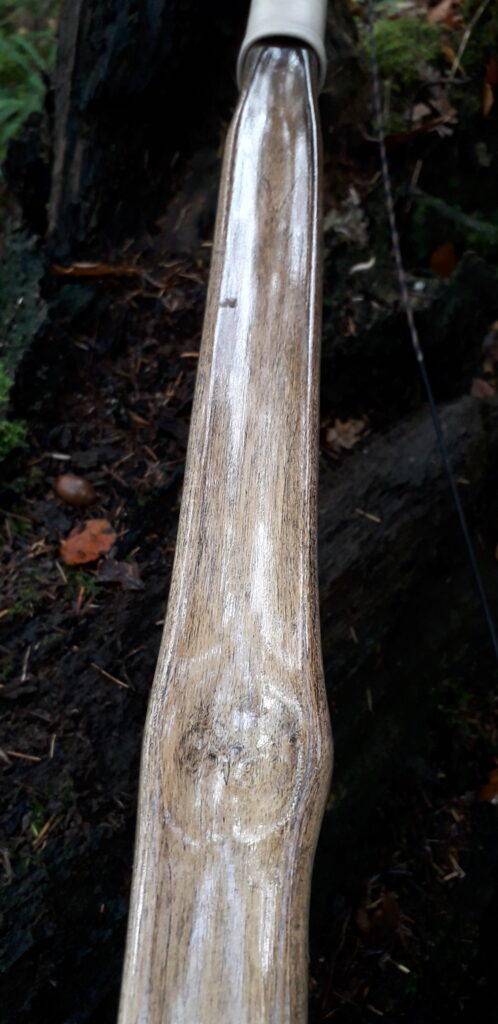
A one inch long drying check behind one of the larger knot clusters was the only fault which I was a bit surprise by since Elder can check quite badly when force dried too hard.
Elder is strong in compression so I felt safe in keeping the limb width down to around 1″ 3/8ths. I’d never do this for a wood like Ash or Hazel but Elder is a fantastically springy wood which can cope with way more of a narrow limb profile so long as the length is not compromised too much.
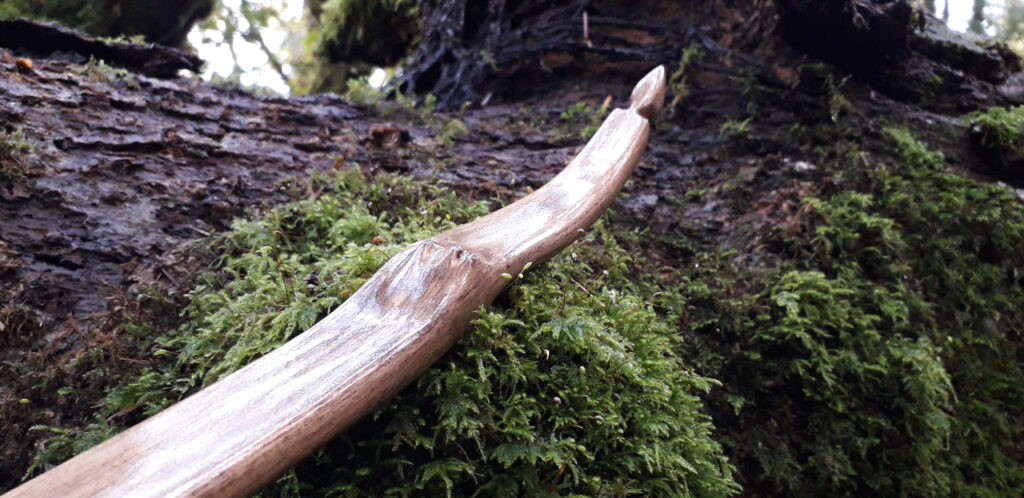
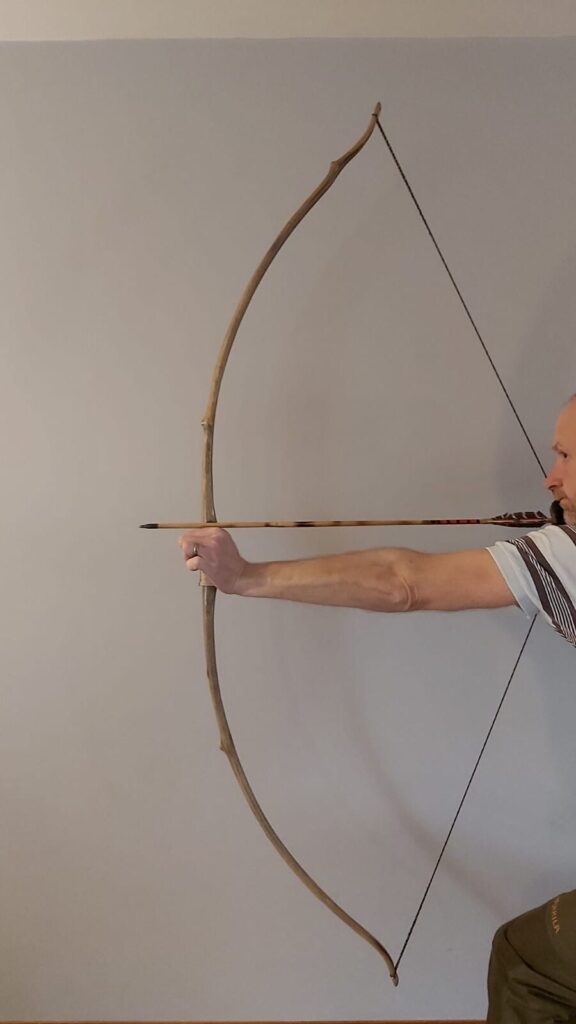
I kept the length long at 66″ nock to nock and opted for a straight rigid handle and simple self nocks. I tillered the bow to 60lbs at 28″ and shot this bow like that for about a year. She performed well and was a powerful fast and efficient bow but 60lbs was too heavy for my likings so back in the late autumn of last year I decided to either get rid of this bow or drop the weight.
At around the same time my brother’s eldest son was asking if I could make him a bow. Whilst happy to oblige, (great excuse to make another bow) the reality was that I was short of time so instead of making him a bow from scratch I opted to re-tiller this Elder bow for him.
Long story short, I dropped the weight down to a more comfortable draw weight for my nephew at his draw length which is 26″. And instead of just removing wood from the previously flat belly I decided to hollow out the limbs to match the crown on the back by using the curved scrapper to re-tiller.
The bow had taken about an inch of set whilst in its previous 60lb straight limbed flat bellied form, so after reducing the weight I decided to see if I could reduce that set a little by heat treating the belly whilst fixed to a slightly reflexed form.
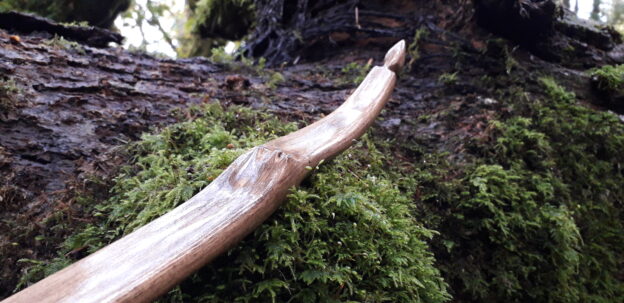
But before heat treating the limbs I also decided to lightly flick the tips to try and reduce the stack which it had suffered a little from previously. The recurved tips where steamed in, then once they had settled, I heated the recurves a bit more thoroughly with the stove top in order to ensure that they would never pull out.
After heat treating the flicked tips and the hollowed out limbs I finished the re-tillering and quit at 42lb at 26″ with a 1/8″ inch positive tiller. Shooting in and re-sanding shaved off another couple of pounds so I finally ended up at 40lbs at 26″.
The previous finish on this bow had been urethane varnish which I was keen to strip of so I could stain the revamped bow a darker colour. After stripping I hit the bare wood with a dark Jacobean oil based stain then sealed her up with 8 coats of Truoil.
A simple leather handle cover and piece of leather as the arrow pass finished the job. The bow is now a light in the hand (460grams) snappy and pointable bow and my nephew was delighted the the end result. I’ve paired this bow up with some 35-40 spine arrows and she is sending a 400 grain arrow over the chronograph at an average of 141ft sec which isn’t anything special but sure is fun to point at stumps!
Here are the pics. Hope you like!
