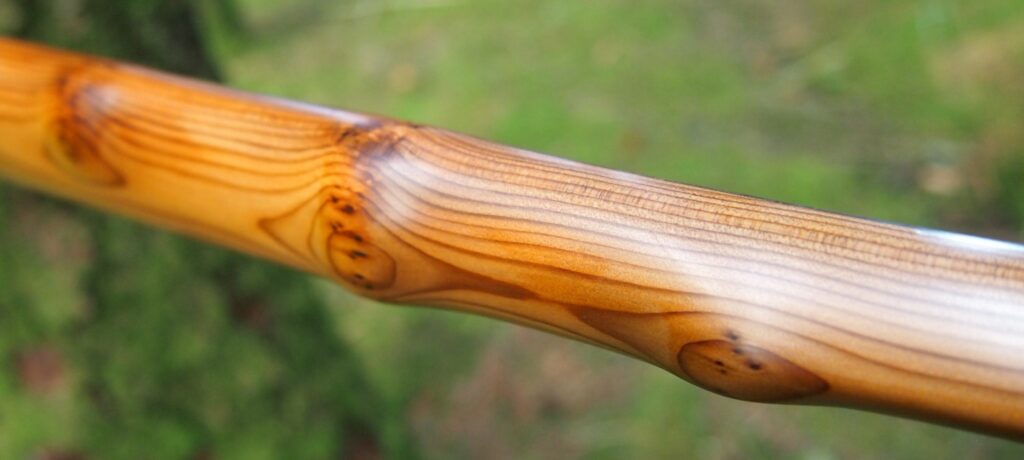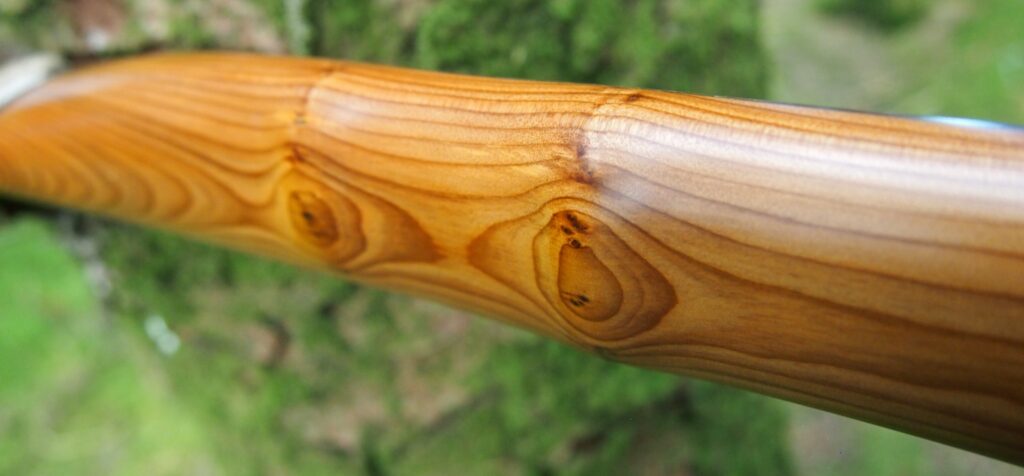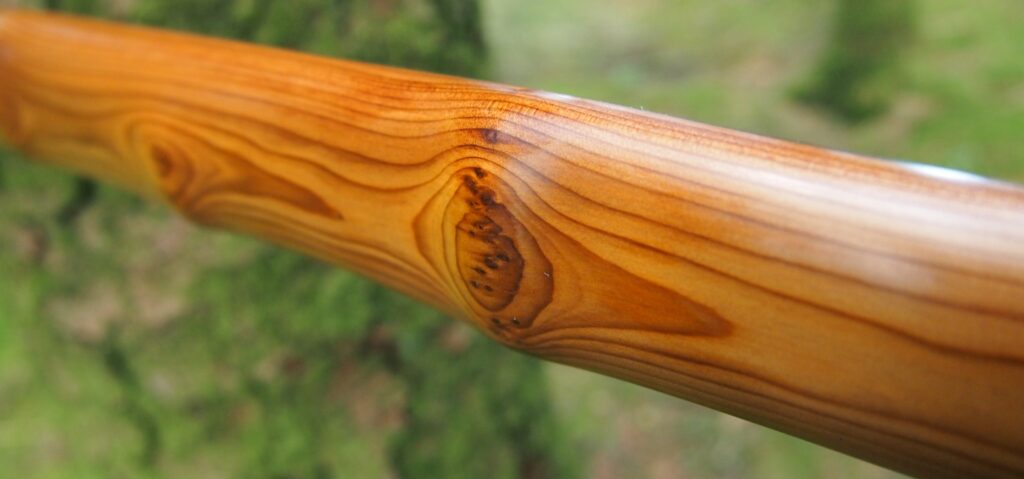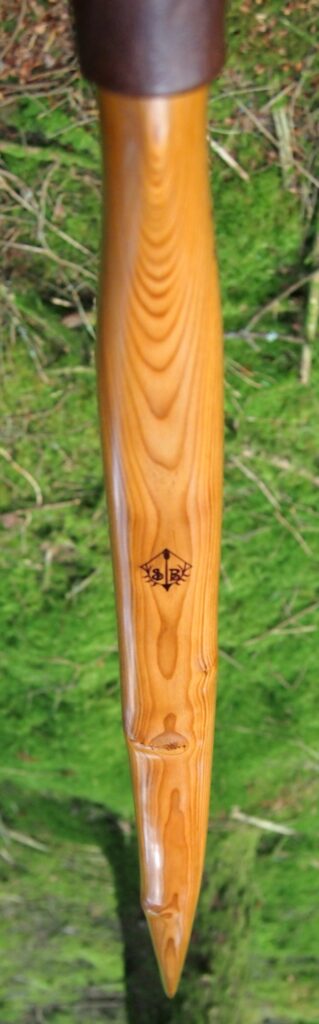
Tag Archives: Leather Handle

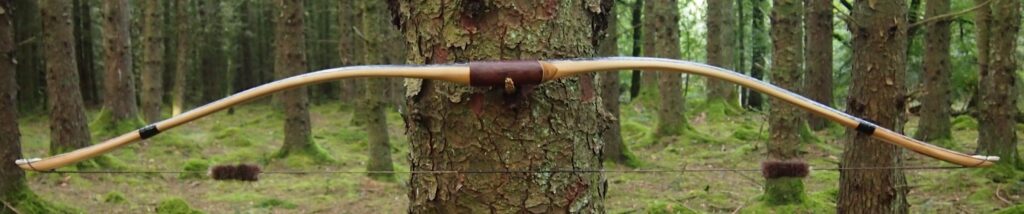
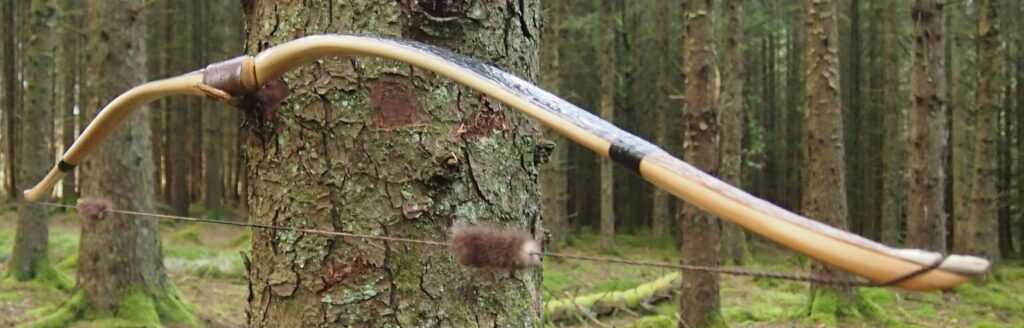
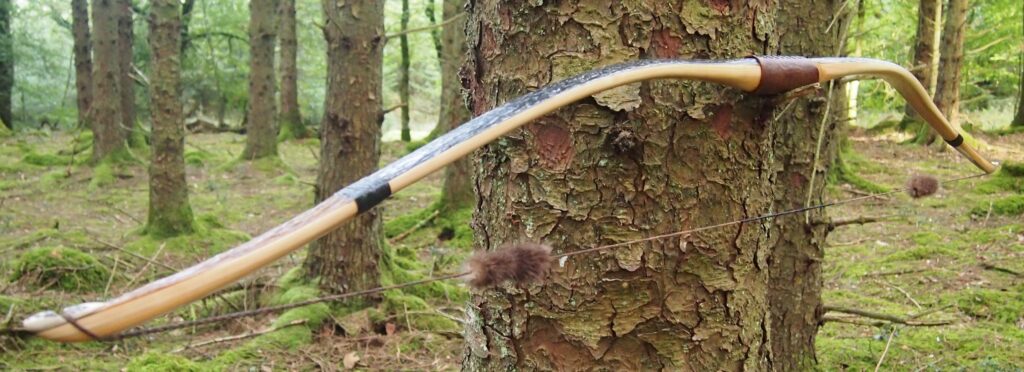
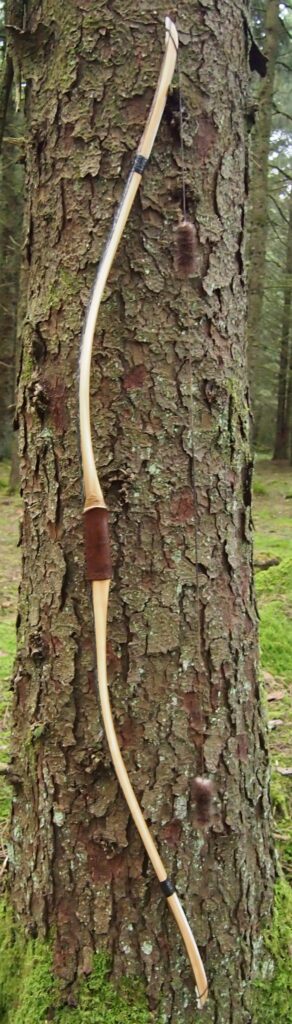
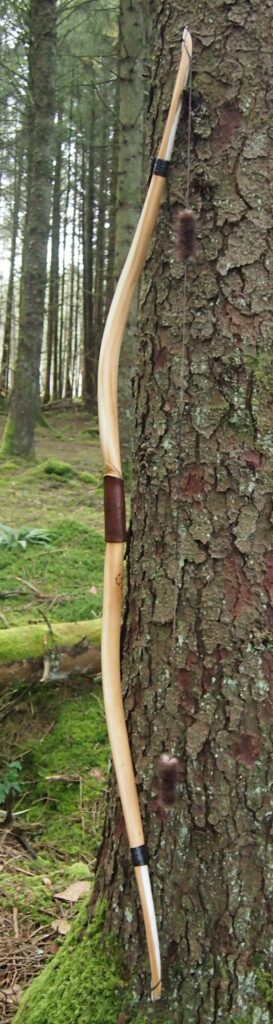
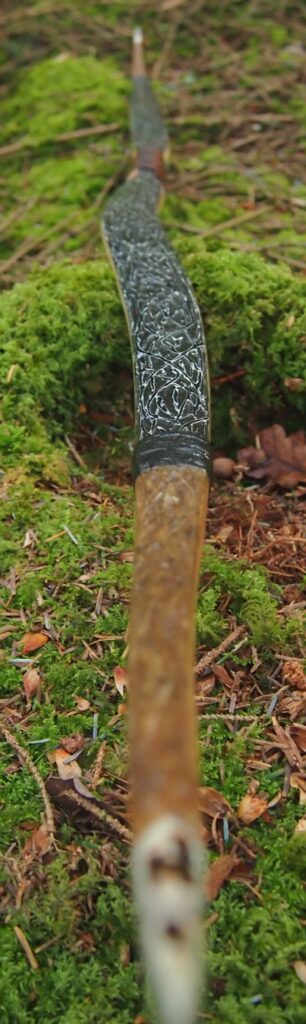
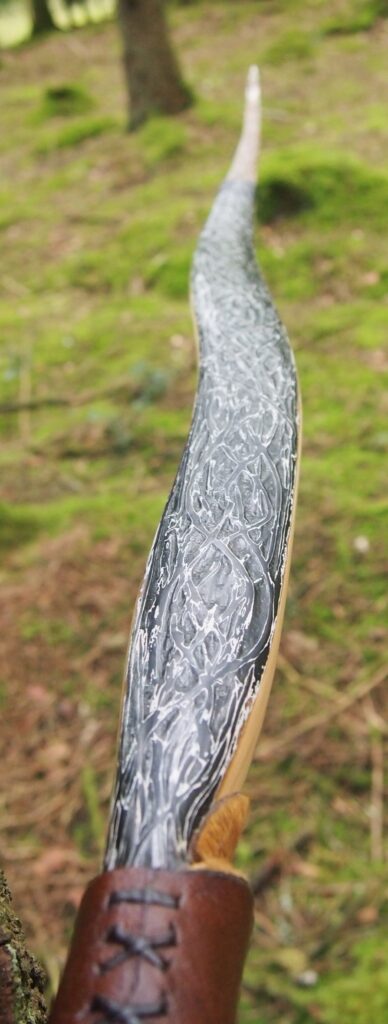
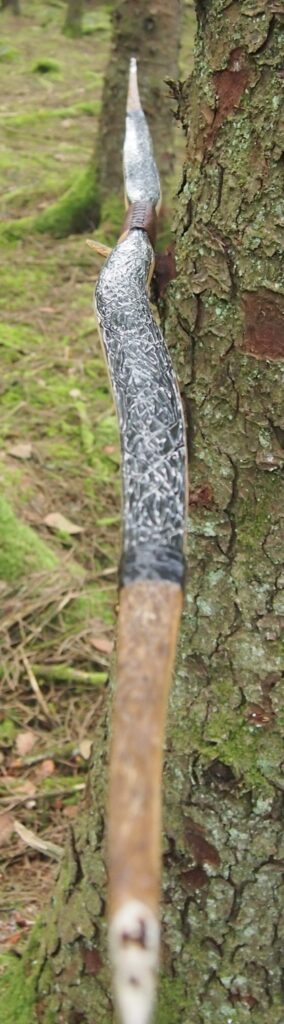
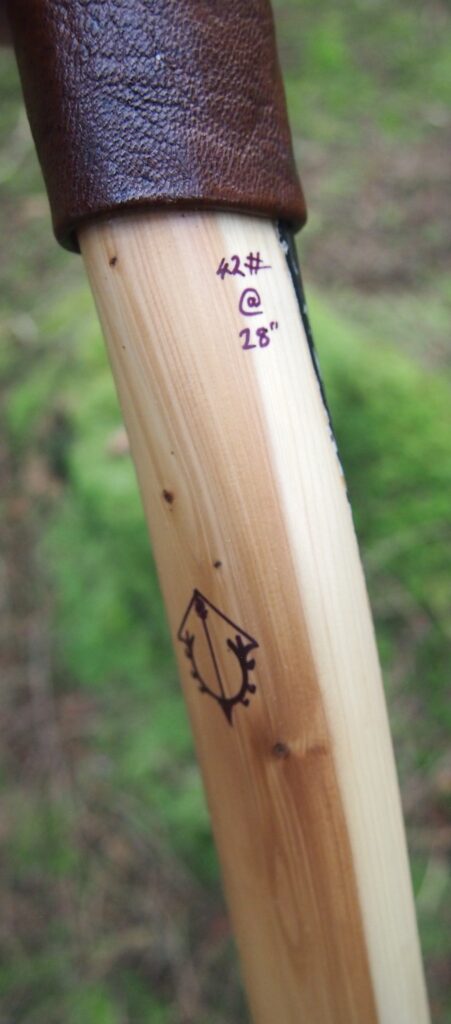
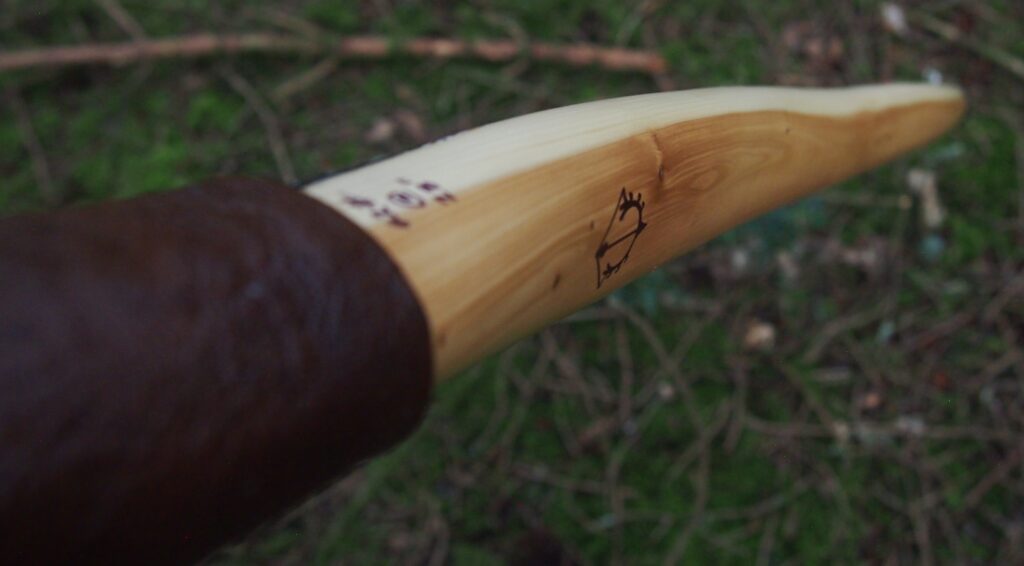
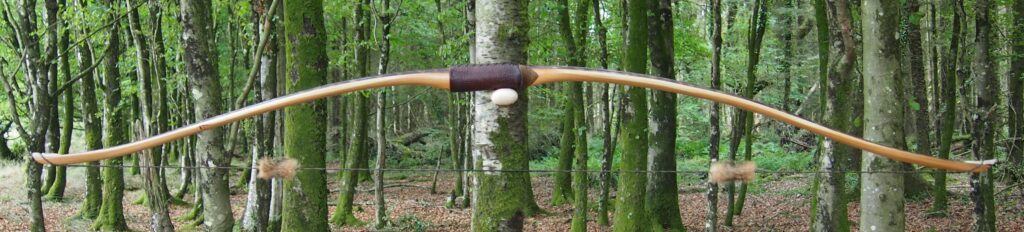
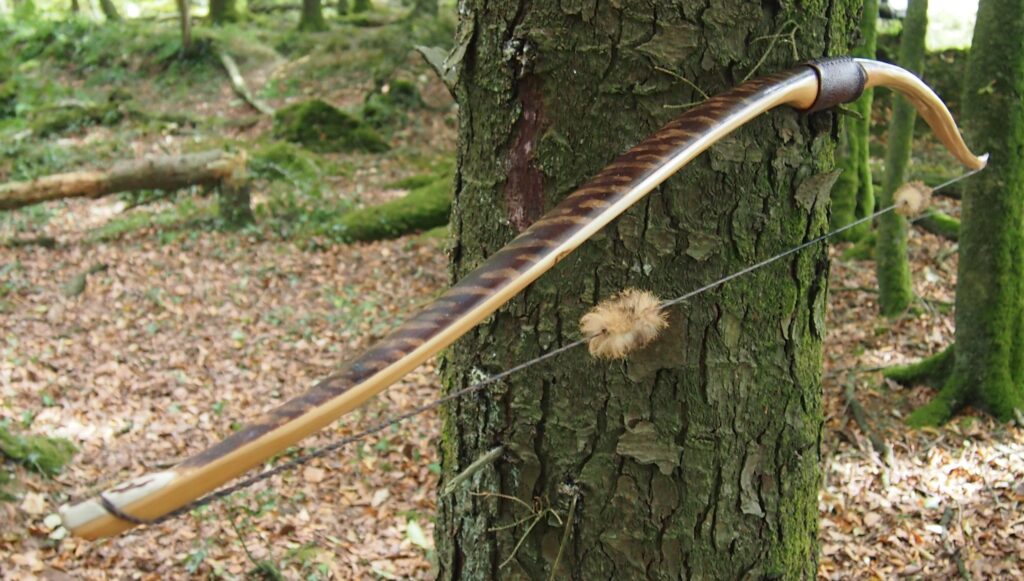
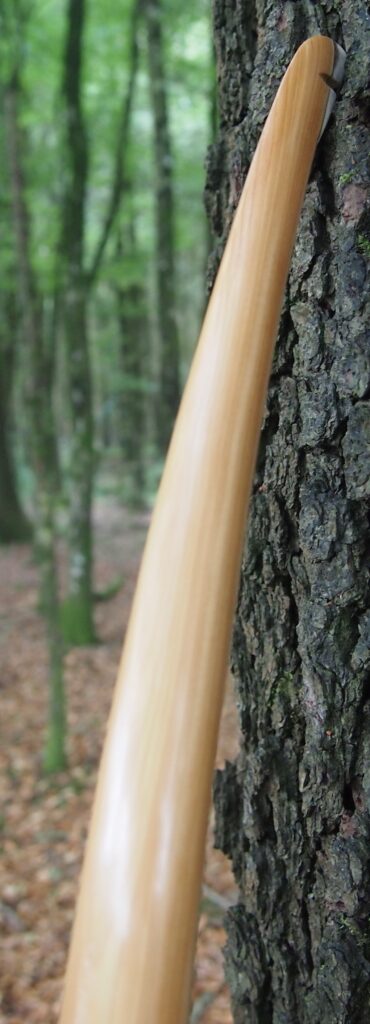
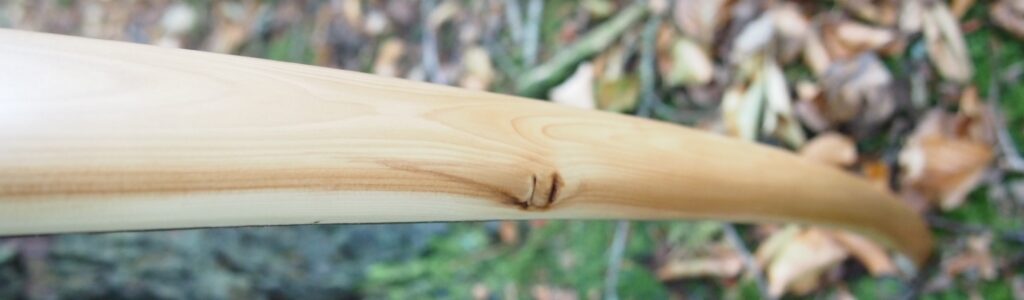
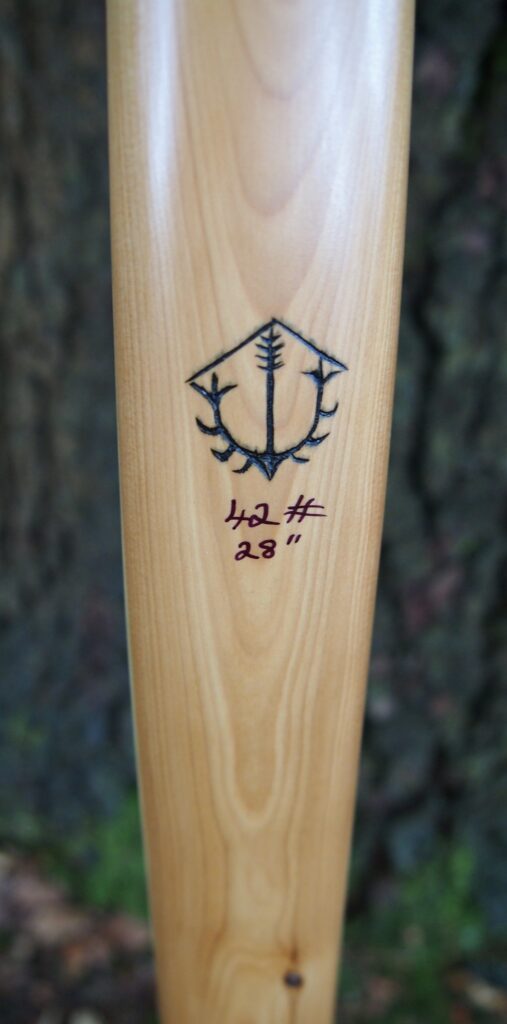
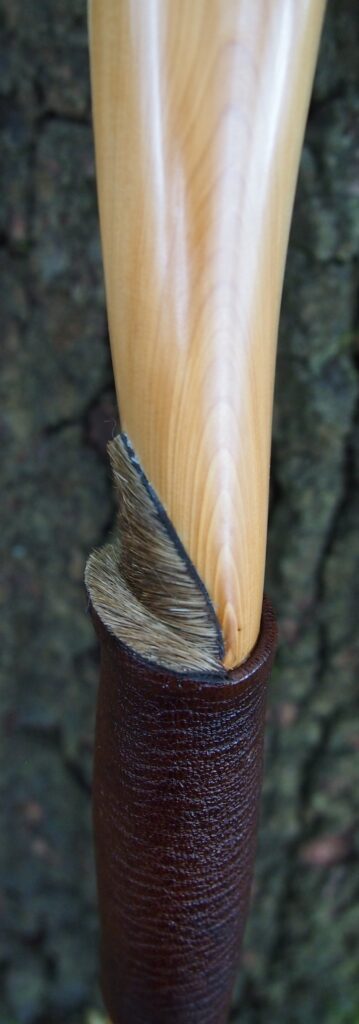
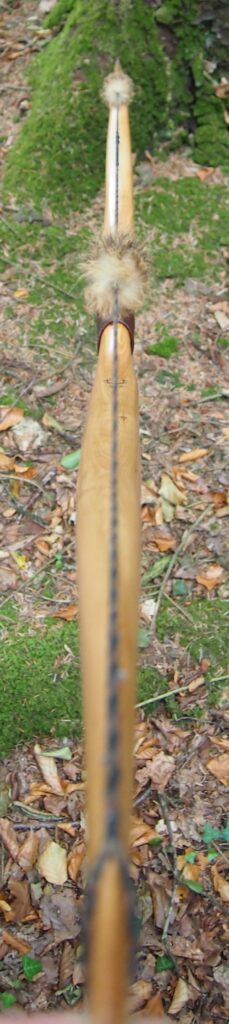
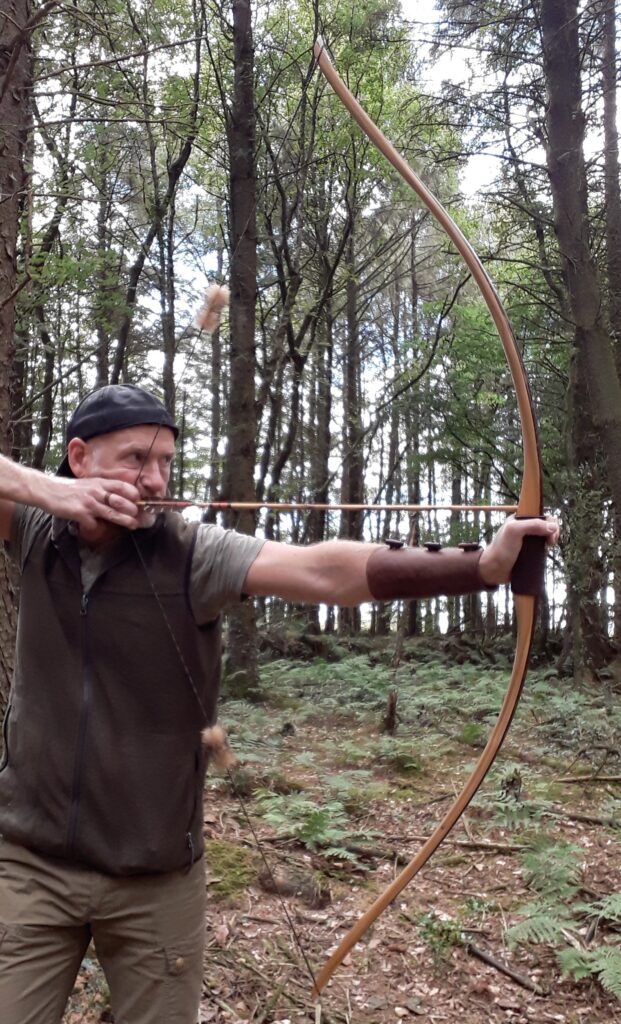
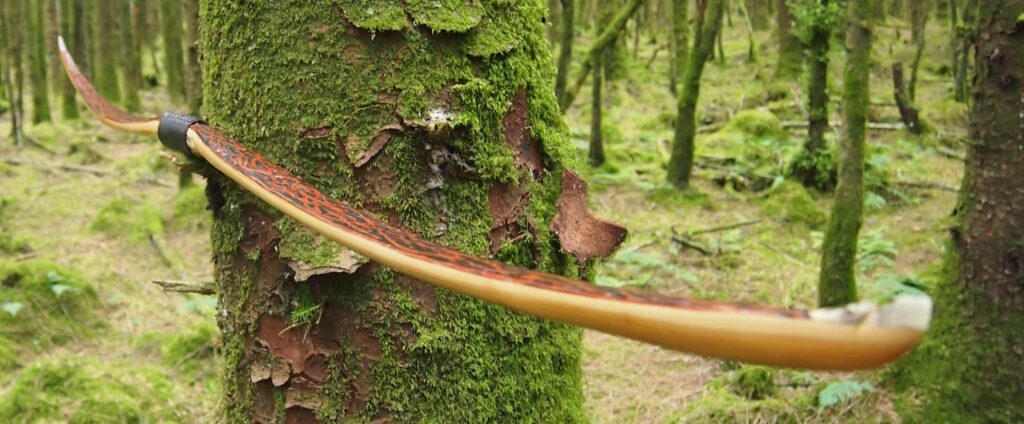
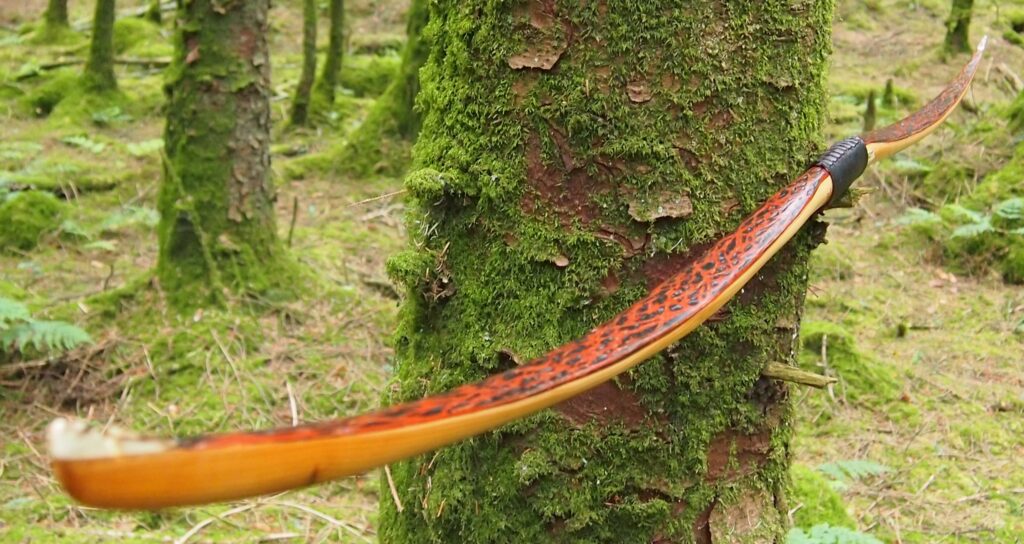
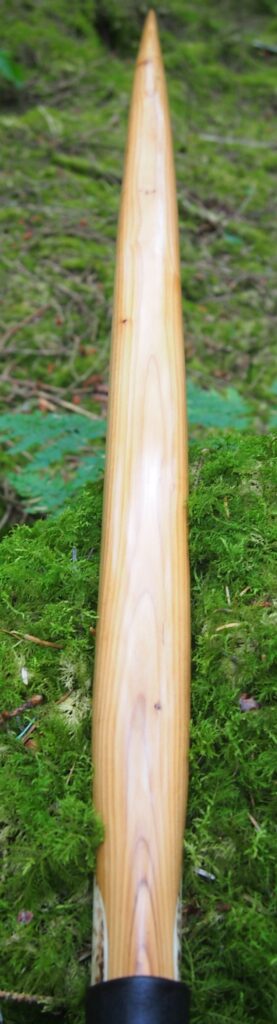
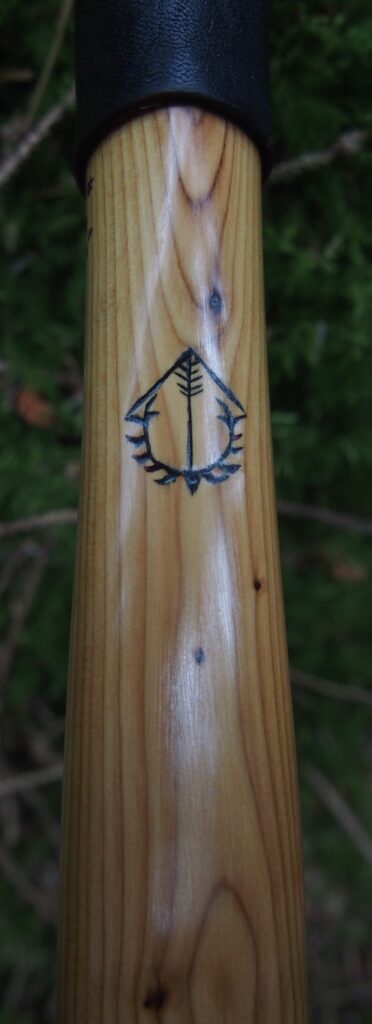
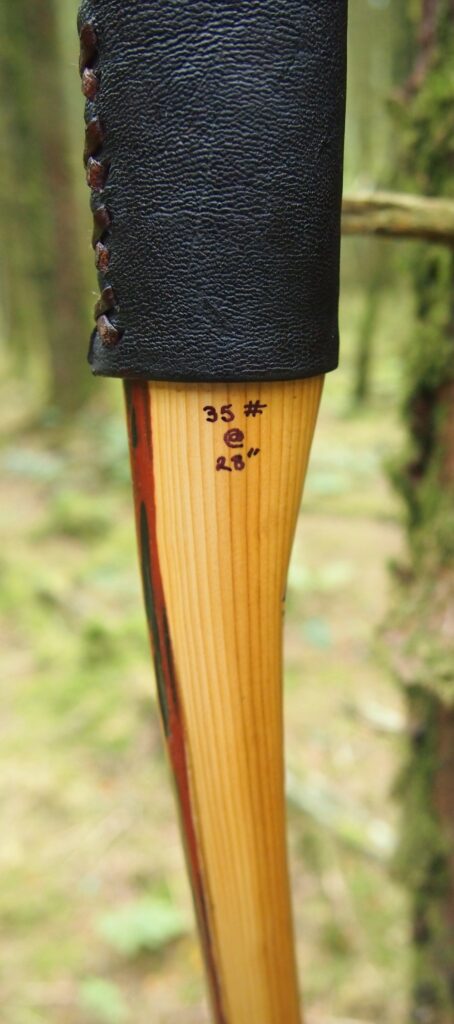
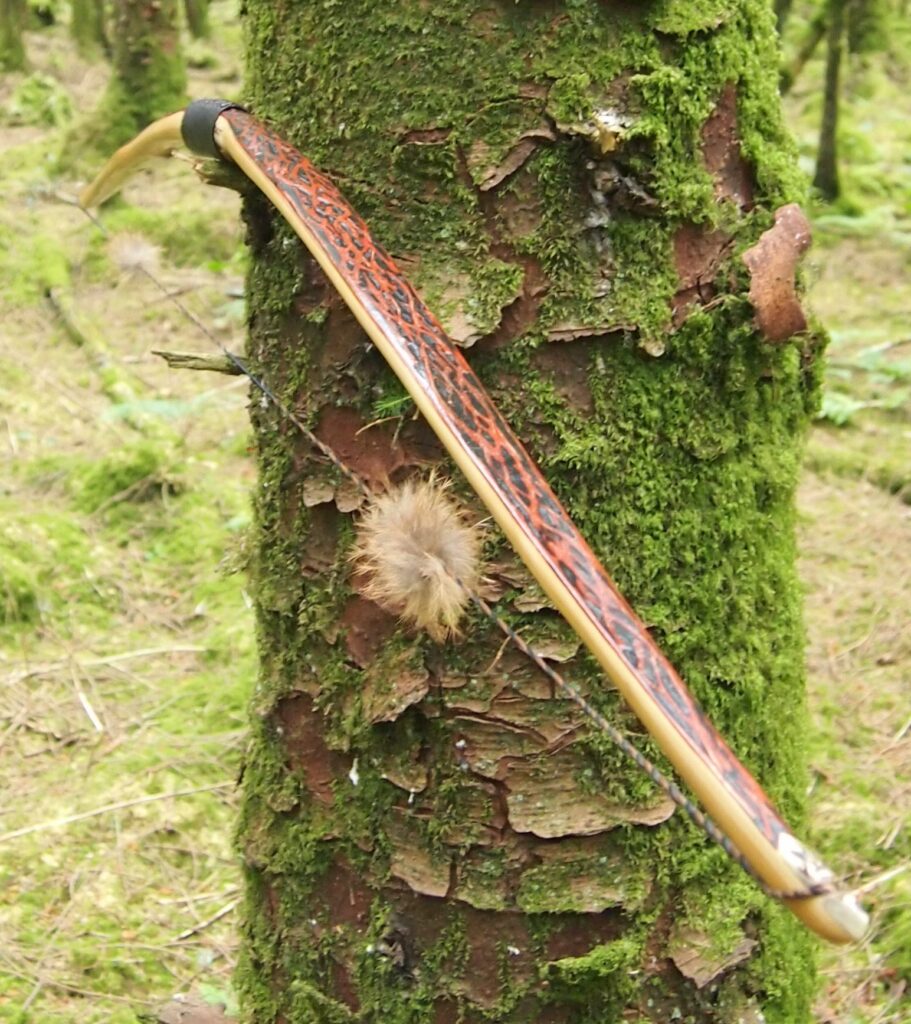
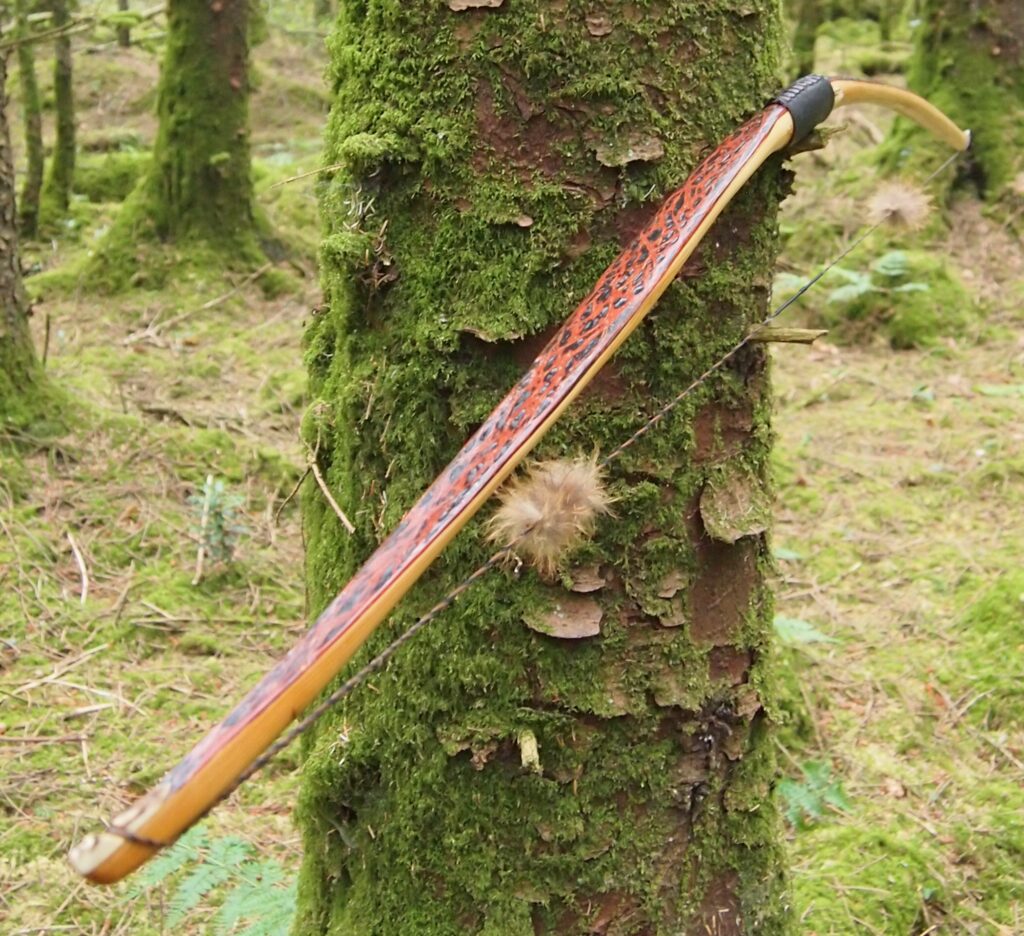
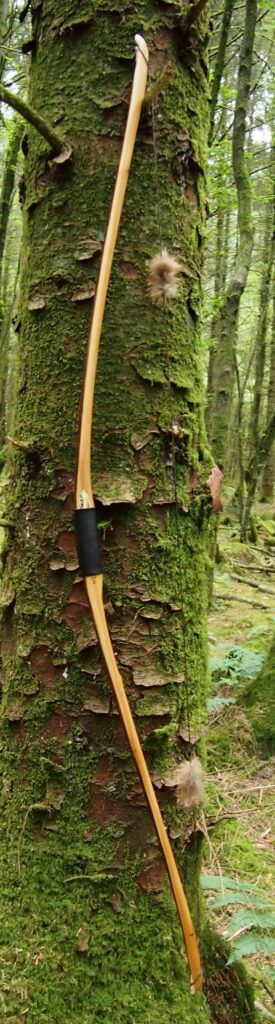
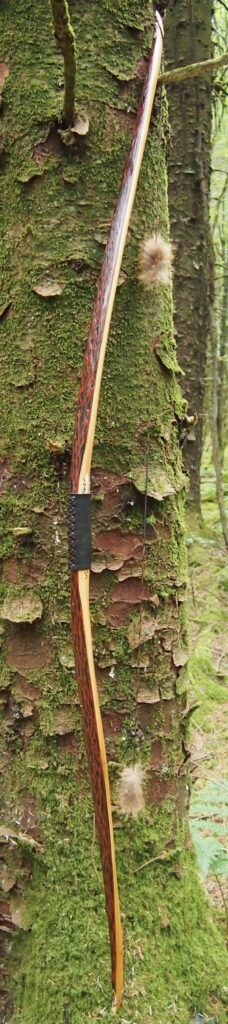
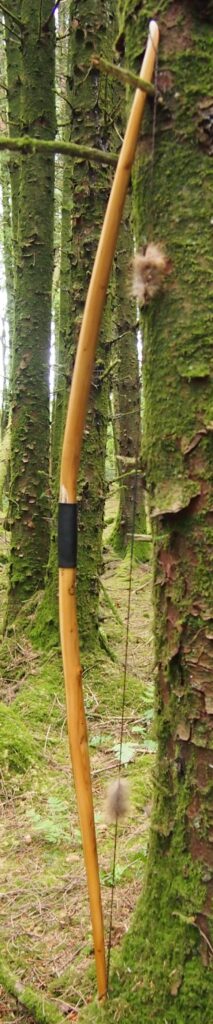
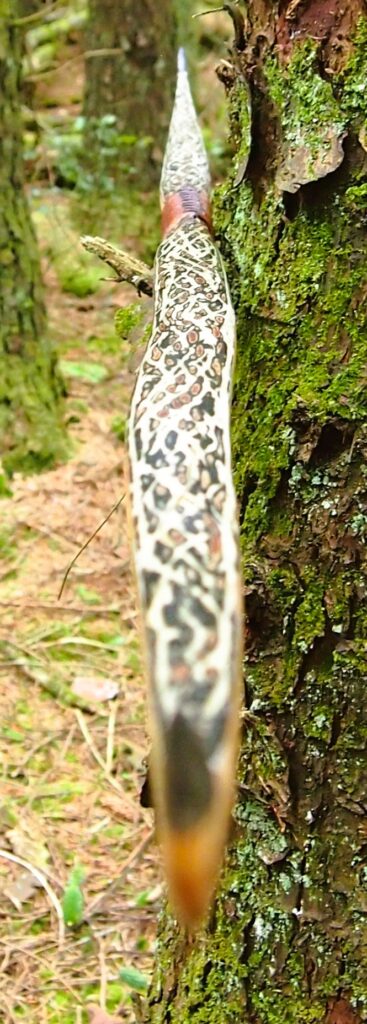
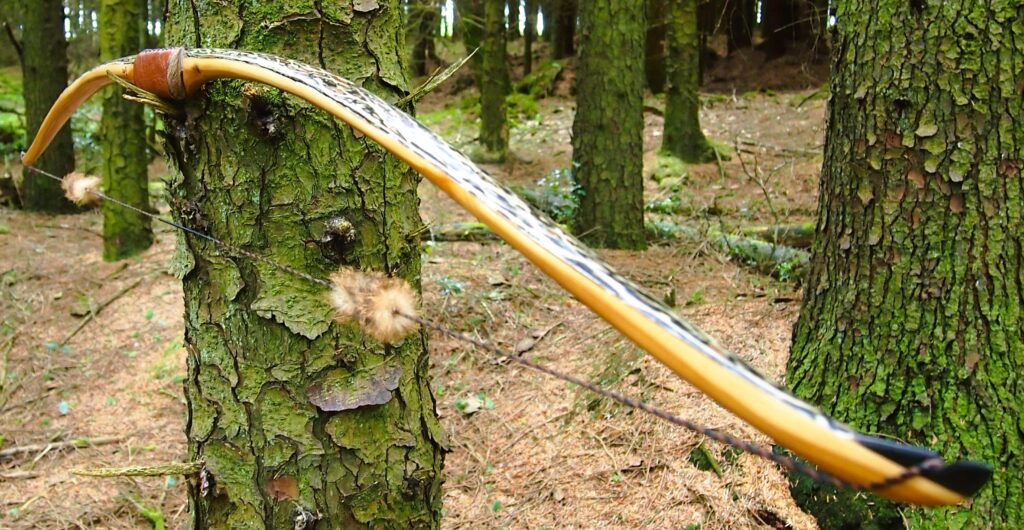
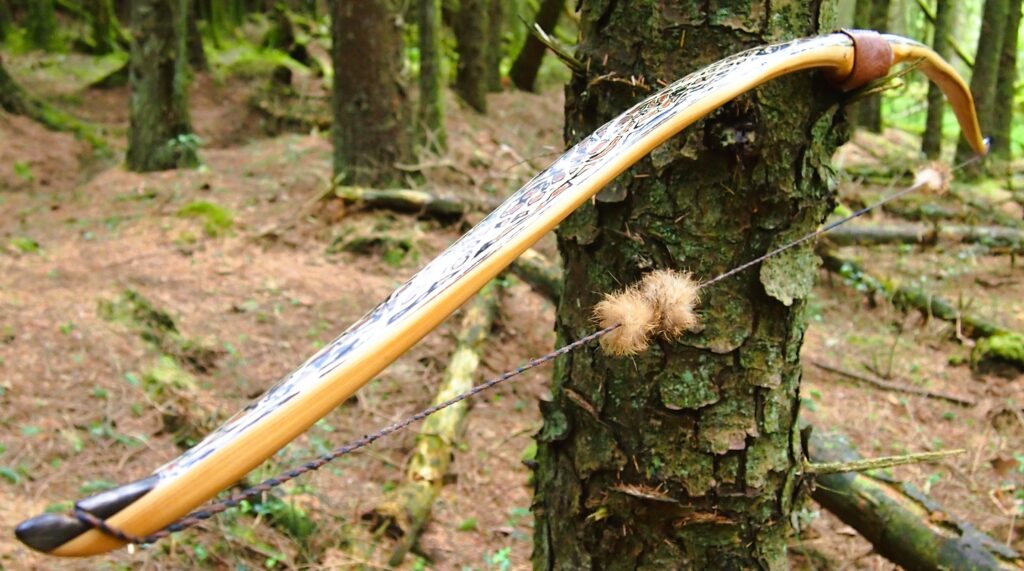
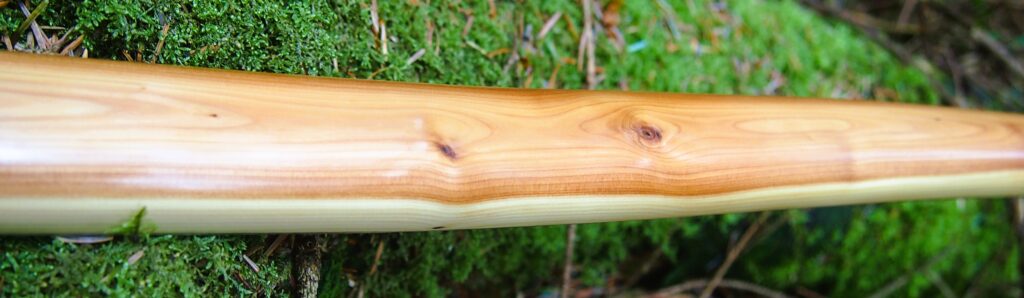
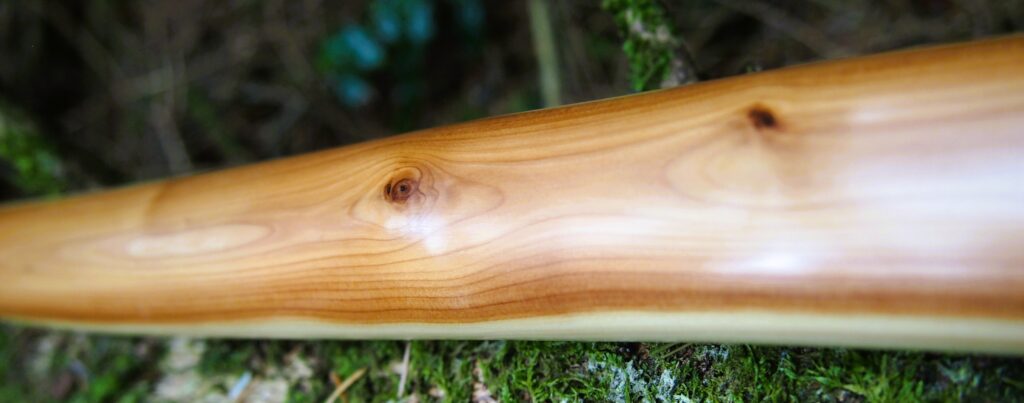
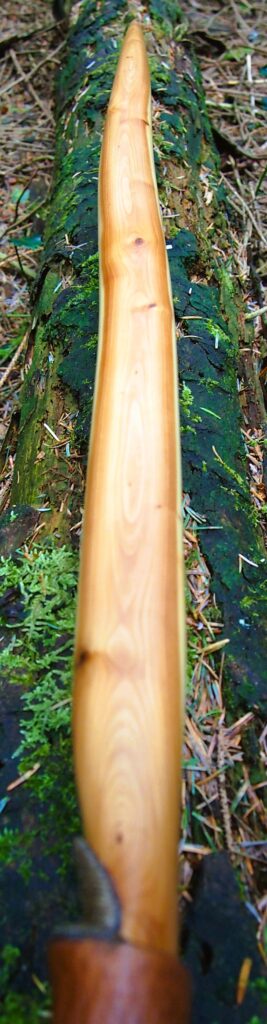
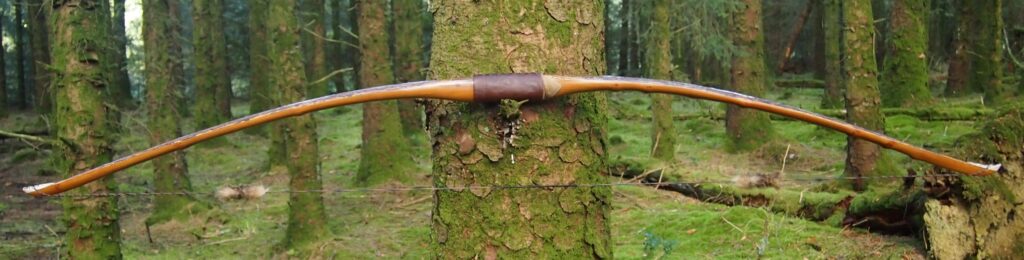
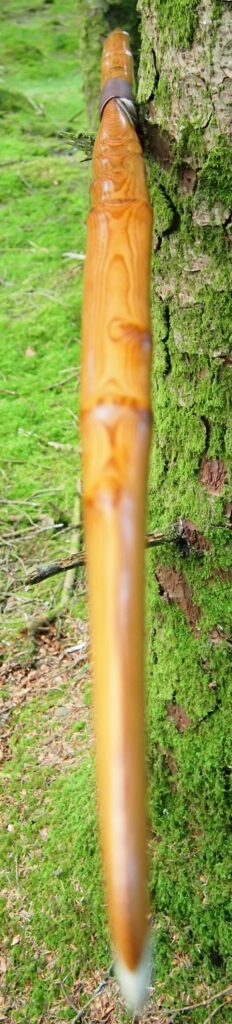
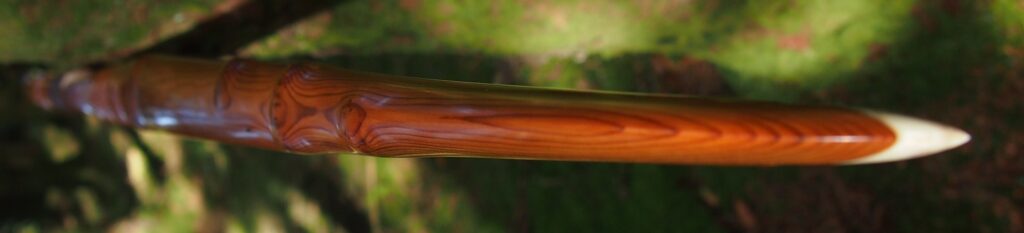
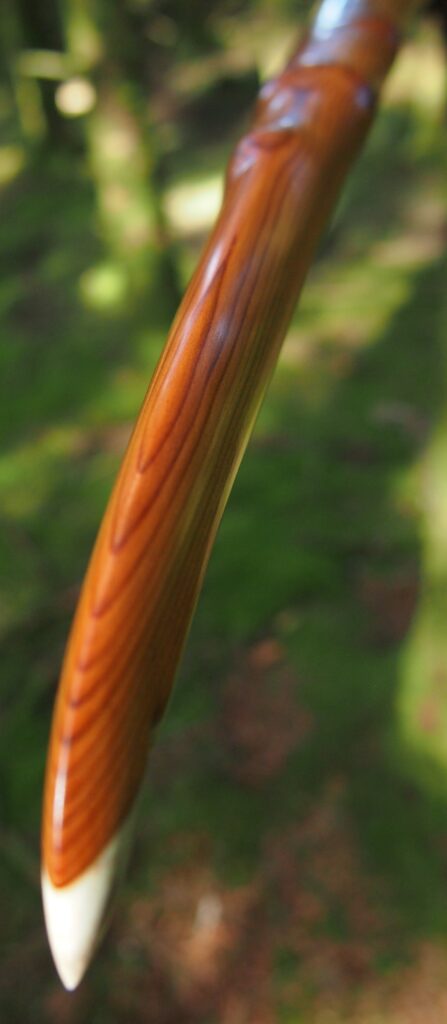
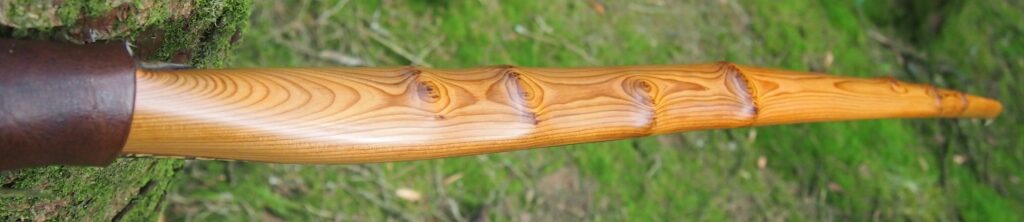
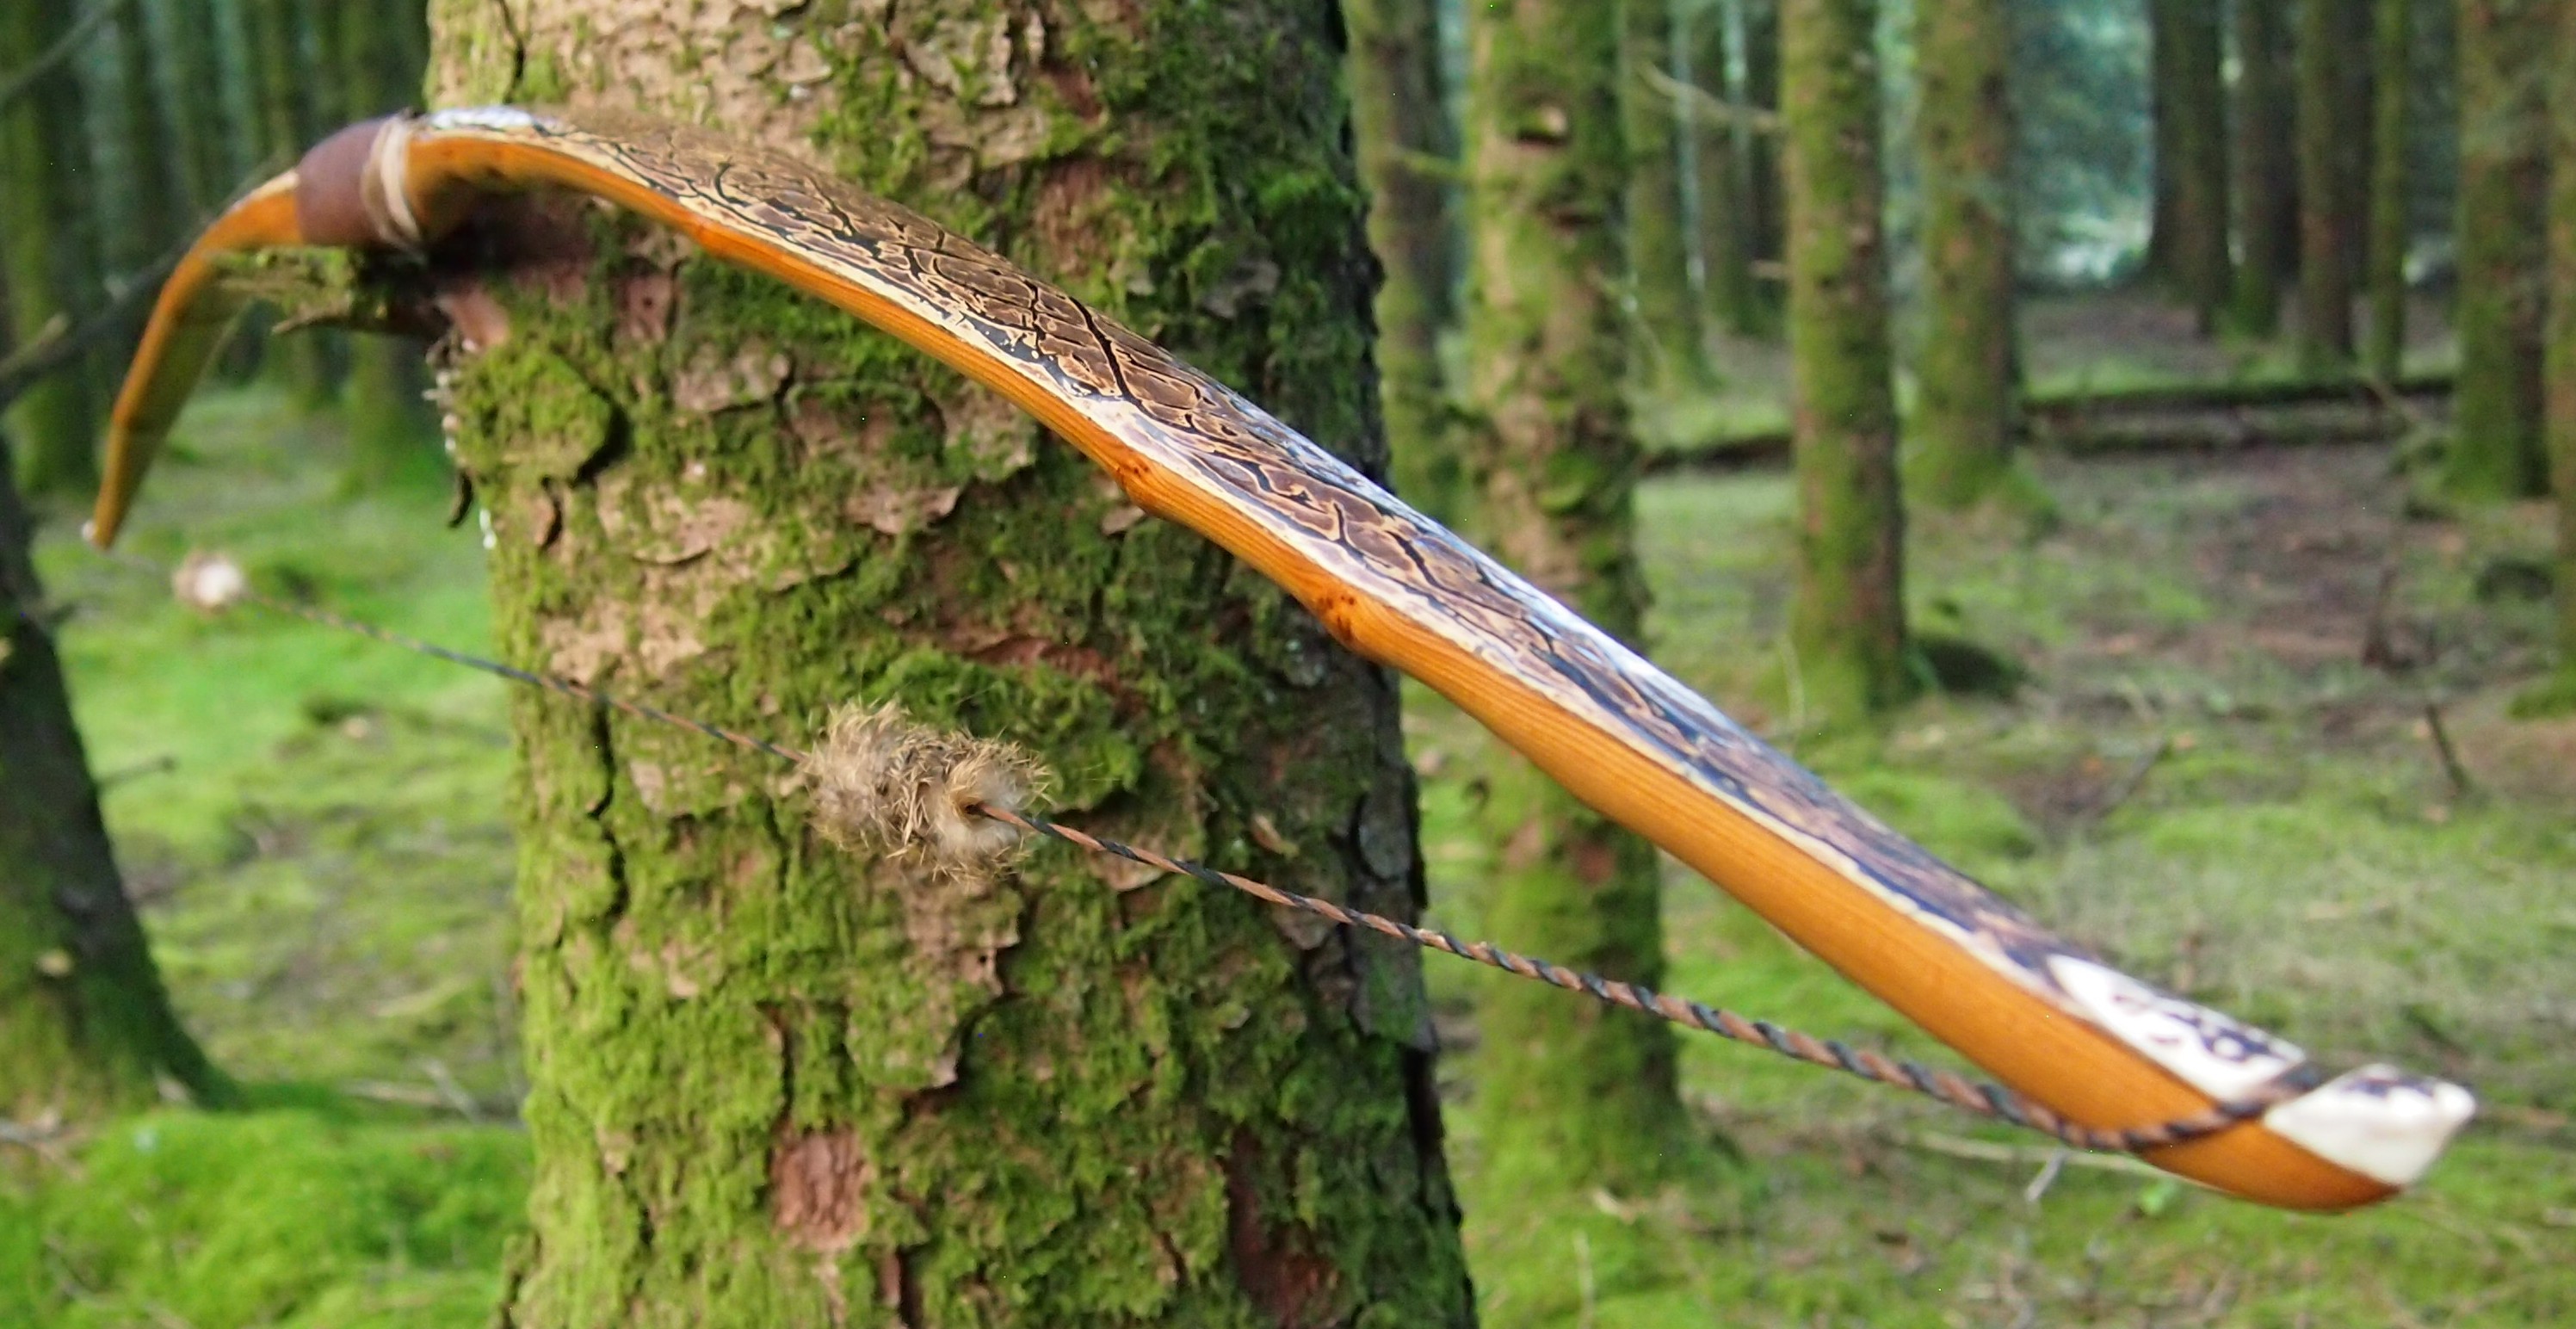
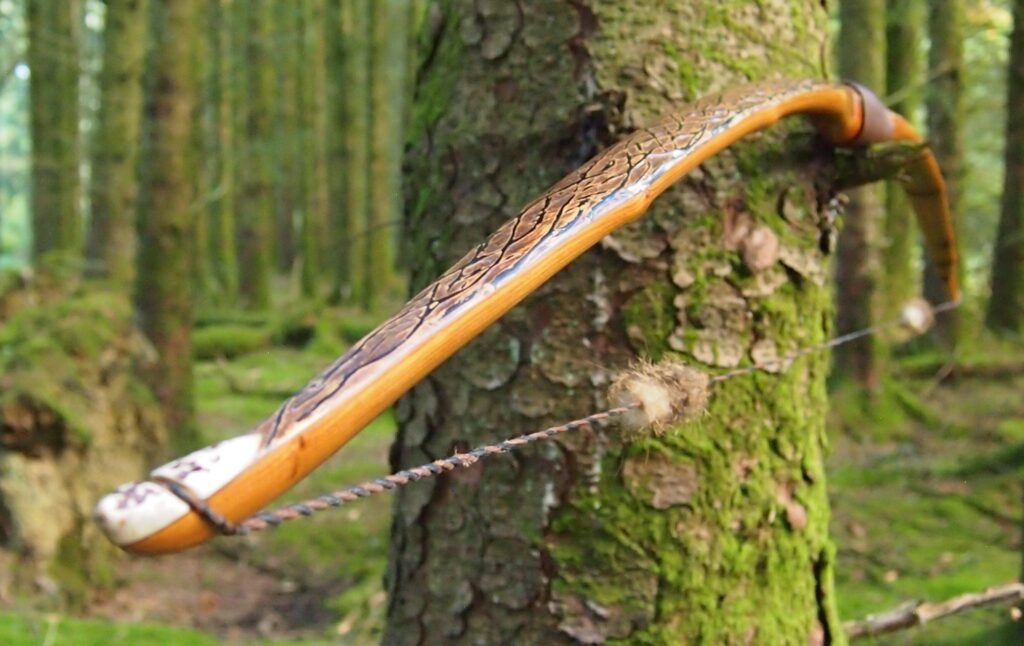
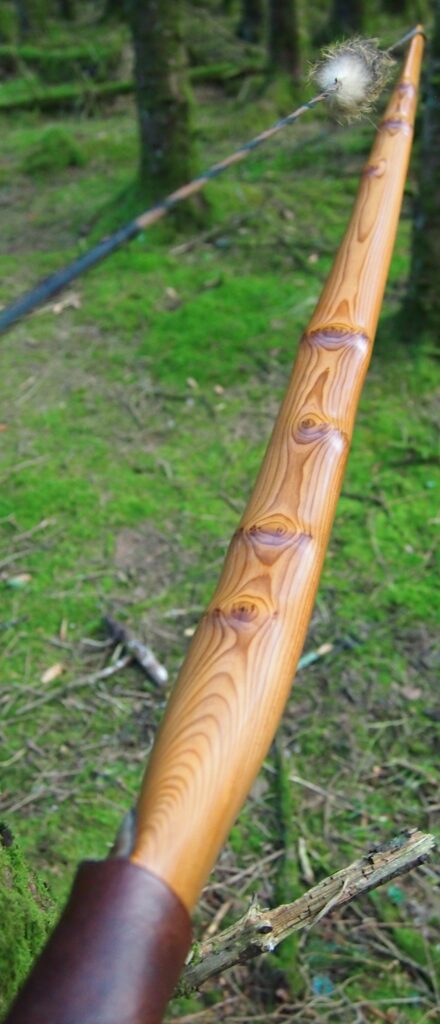
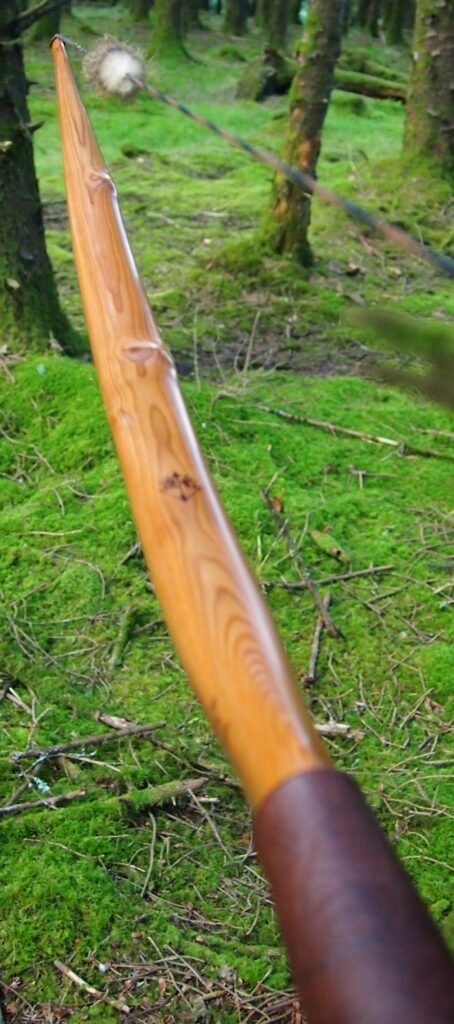
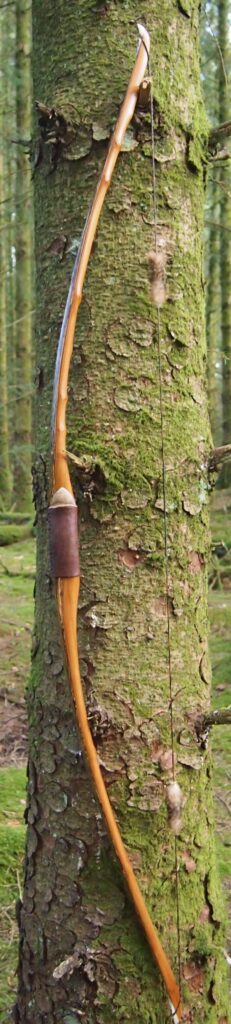
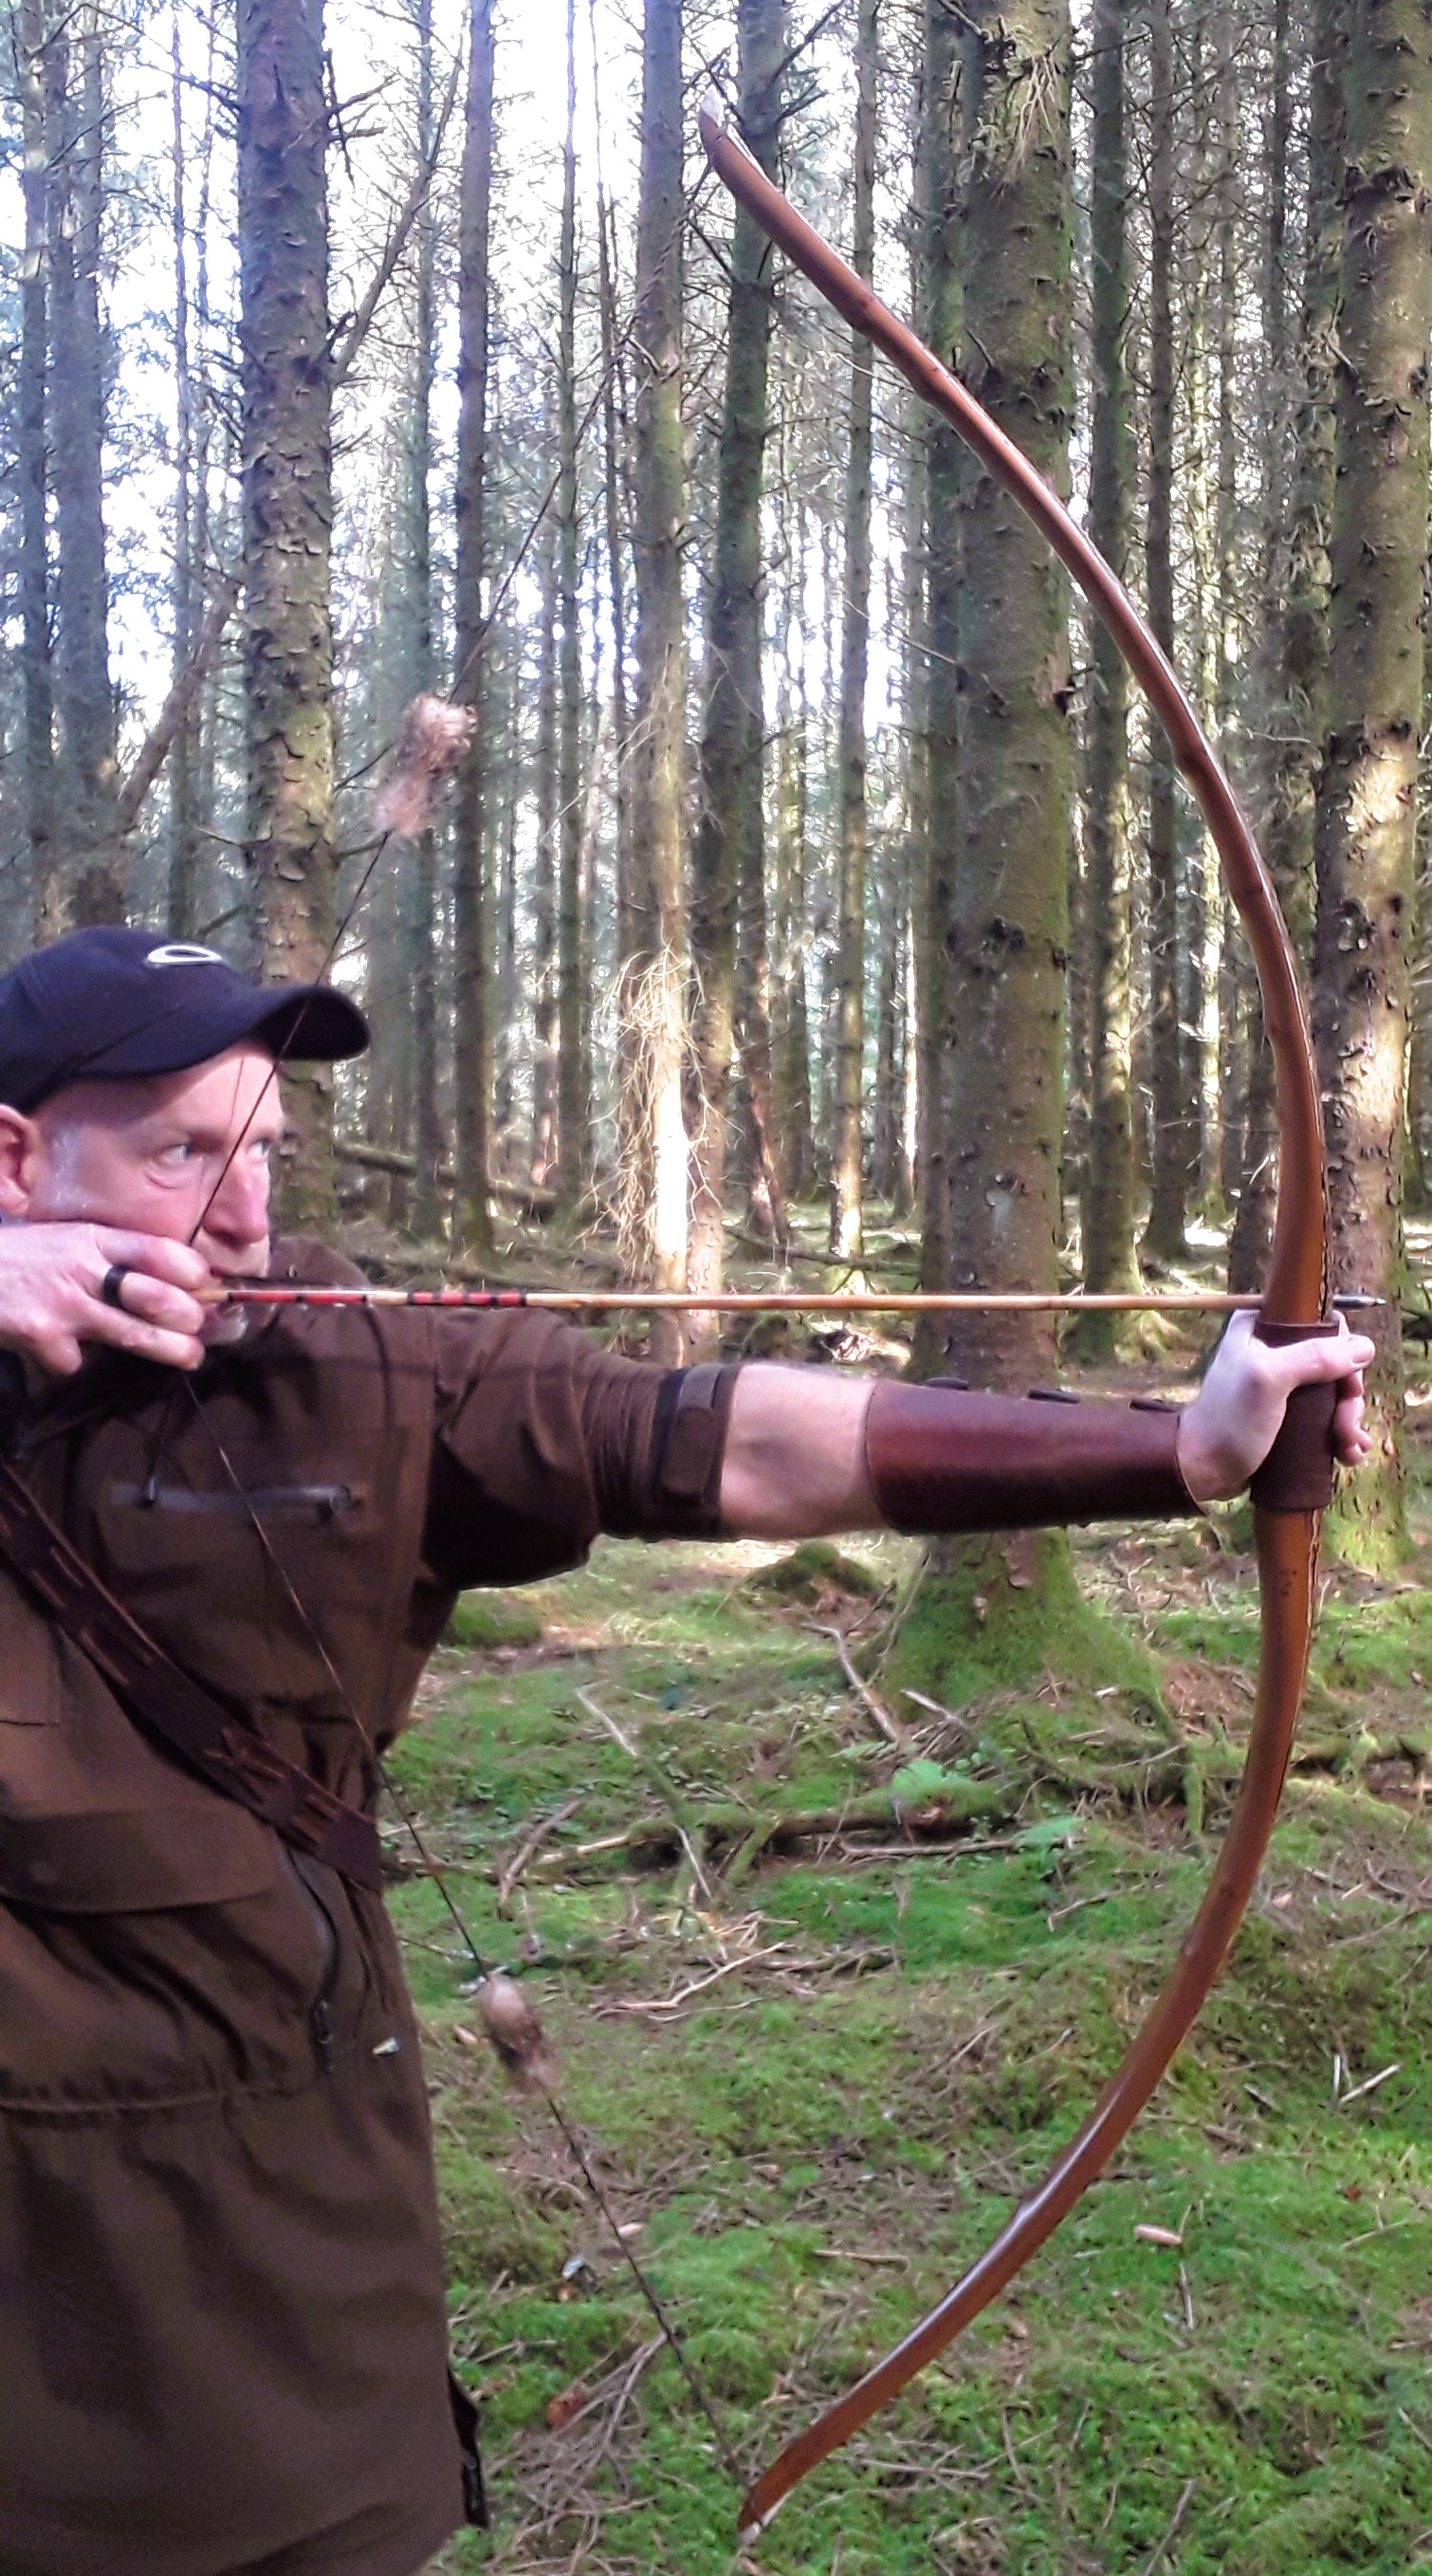
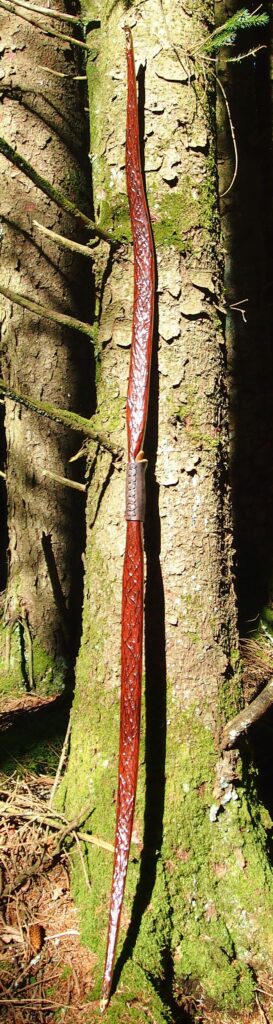
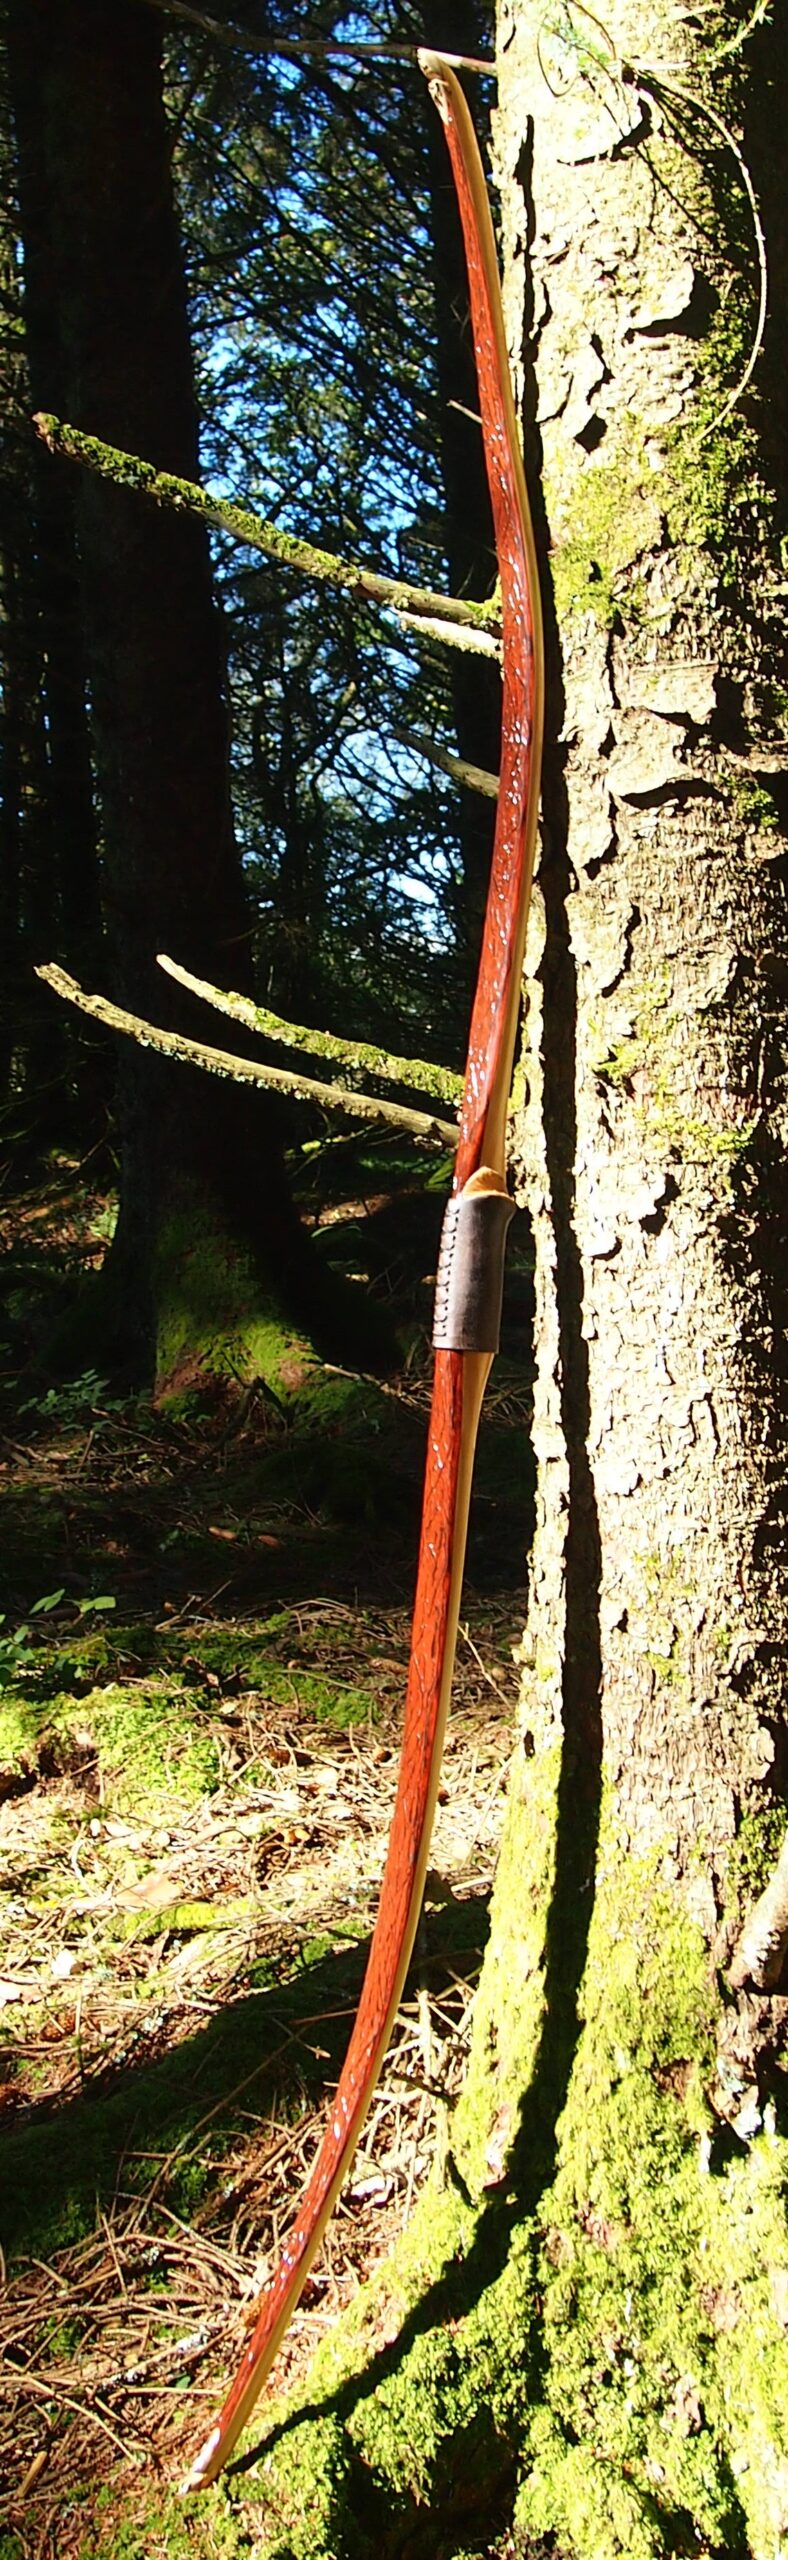
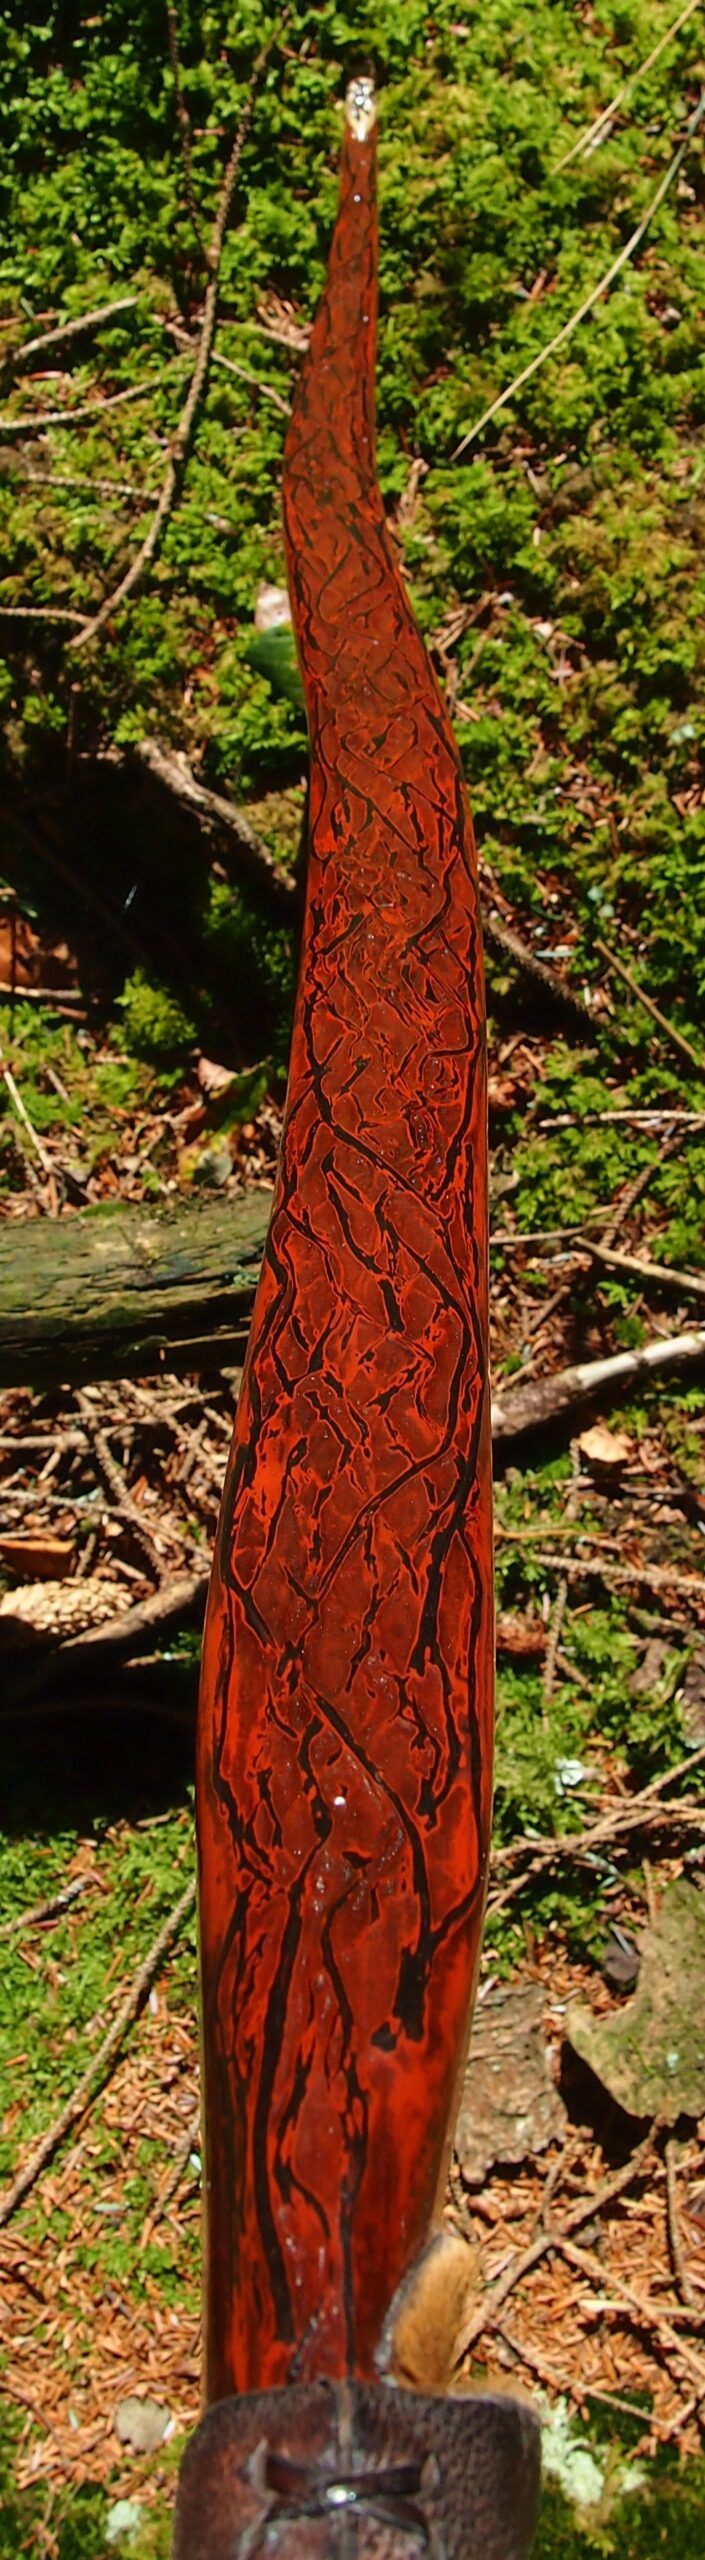
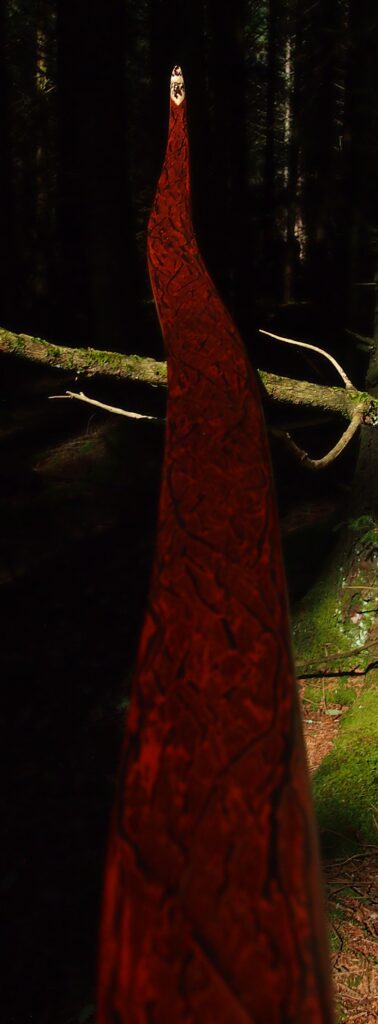
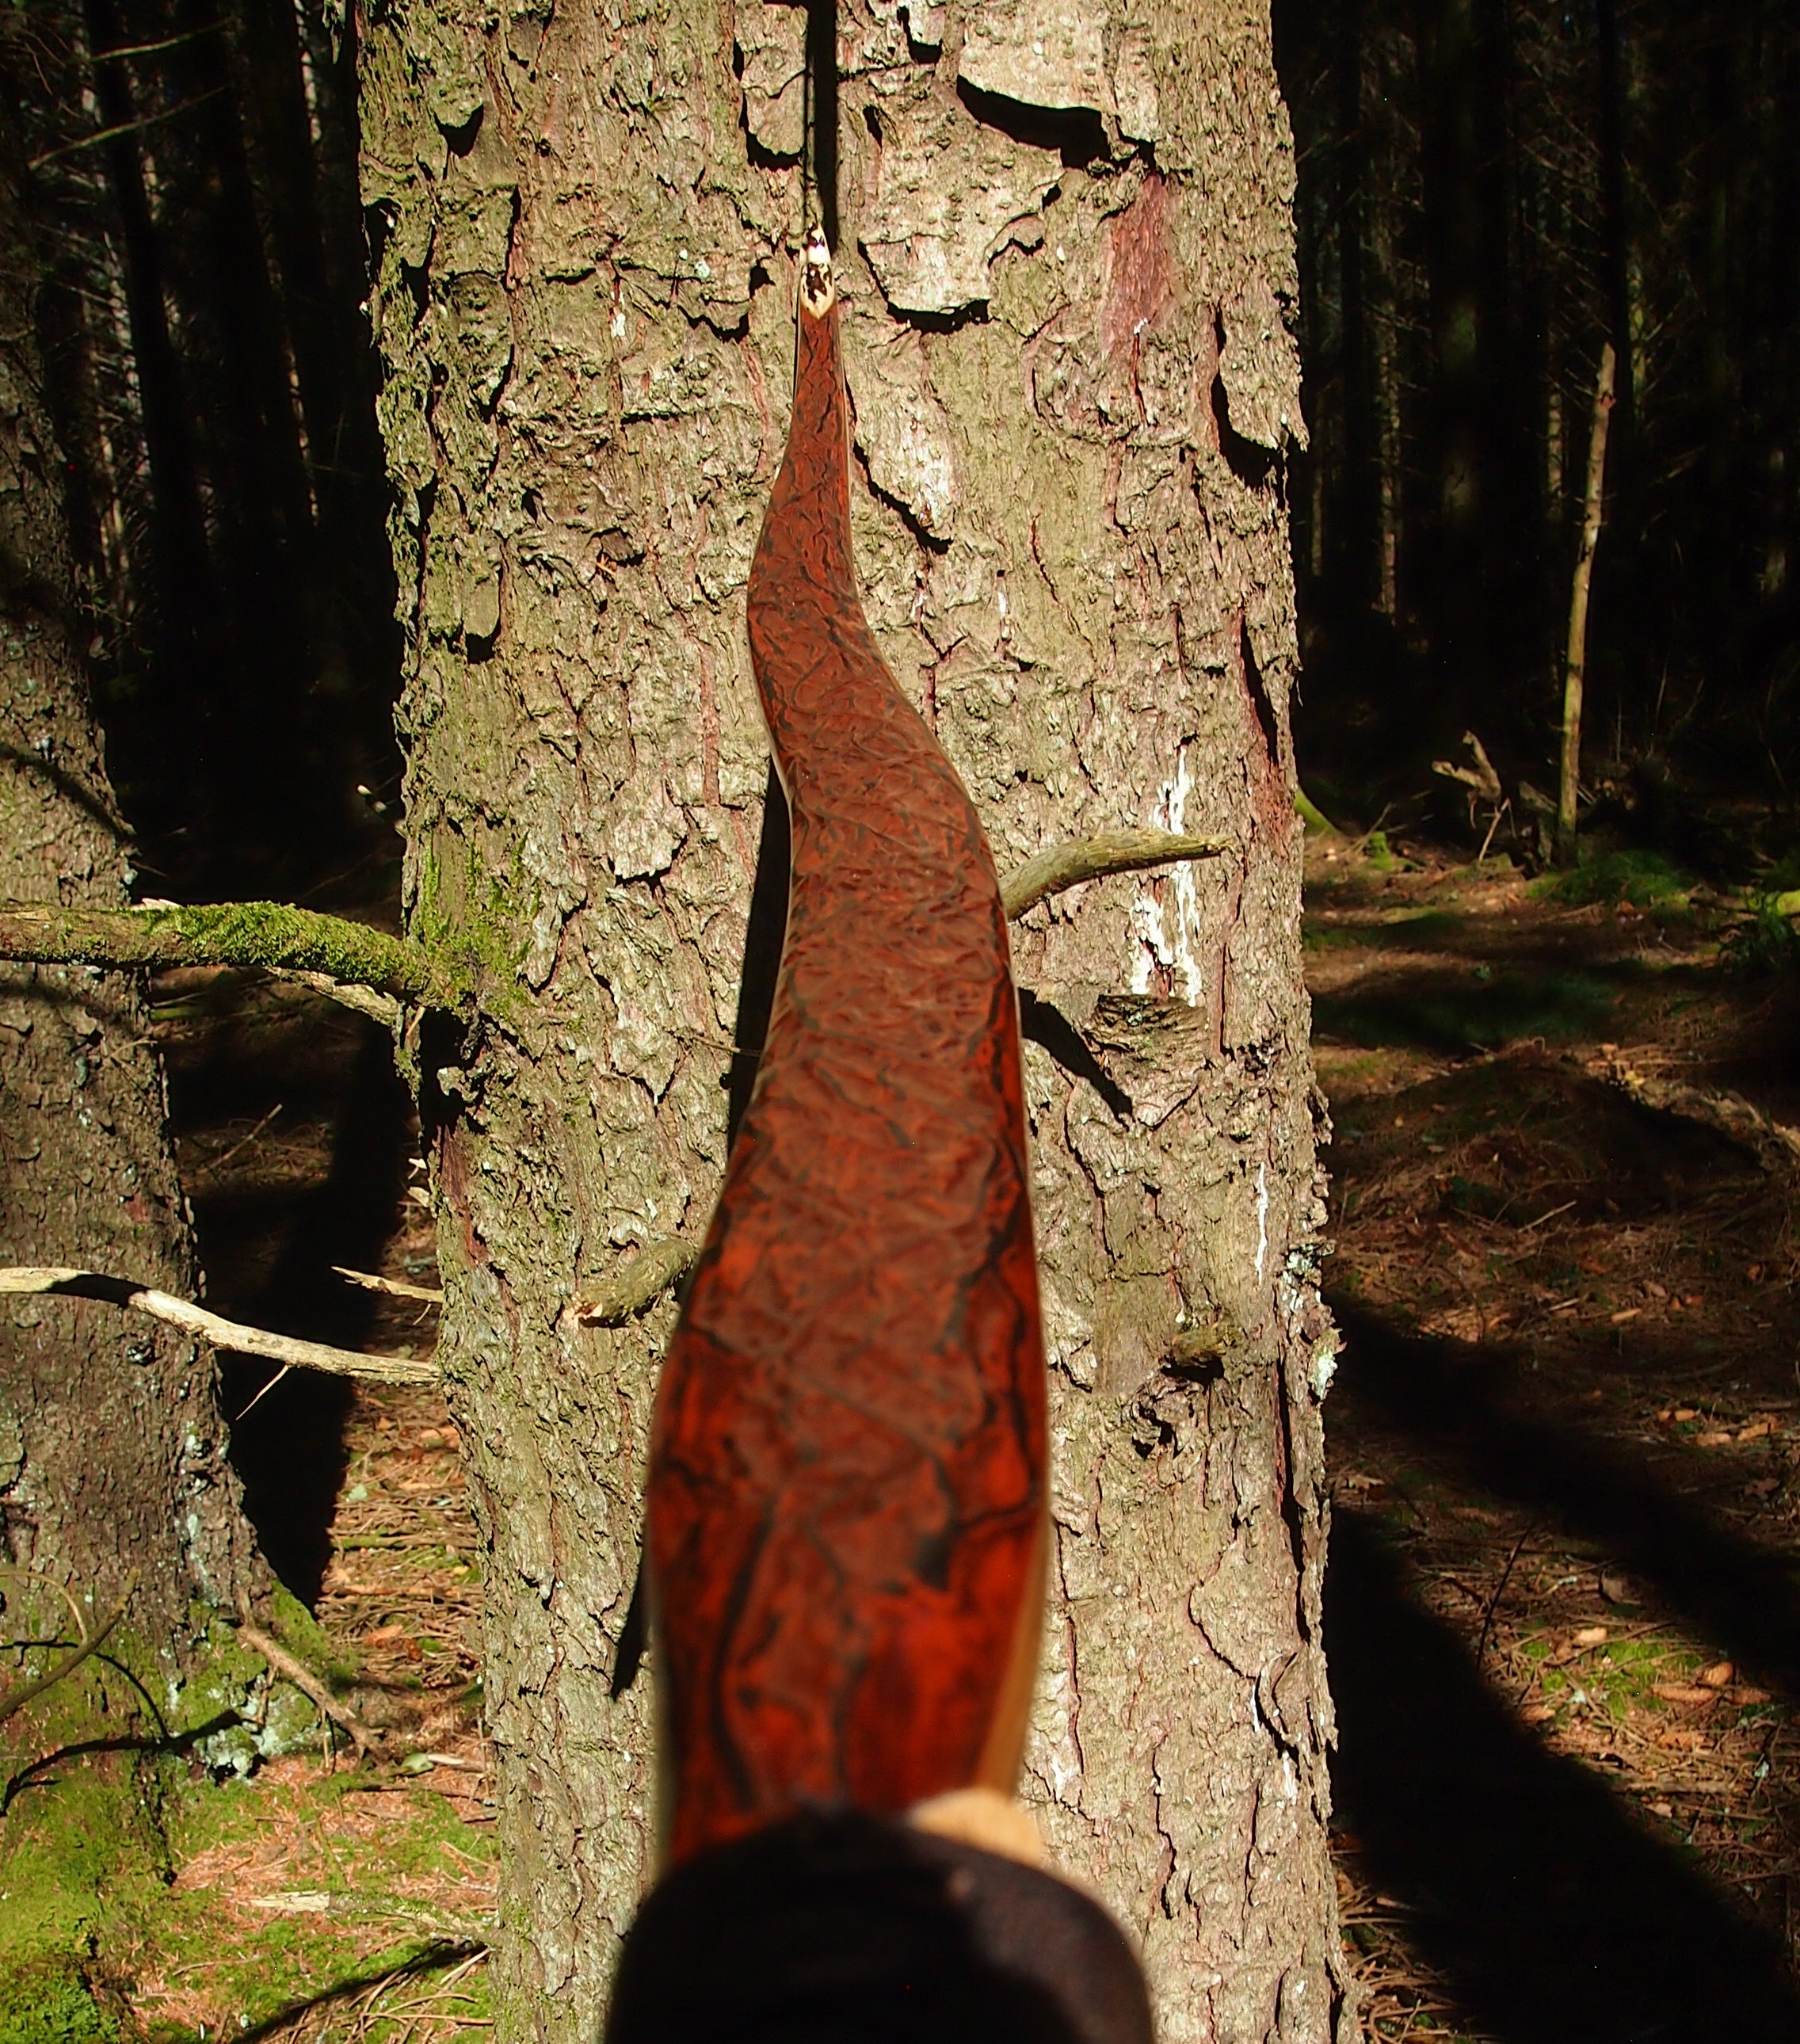
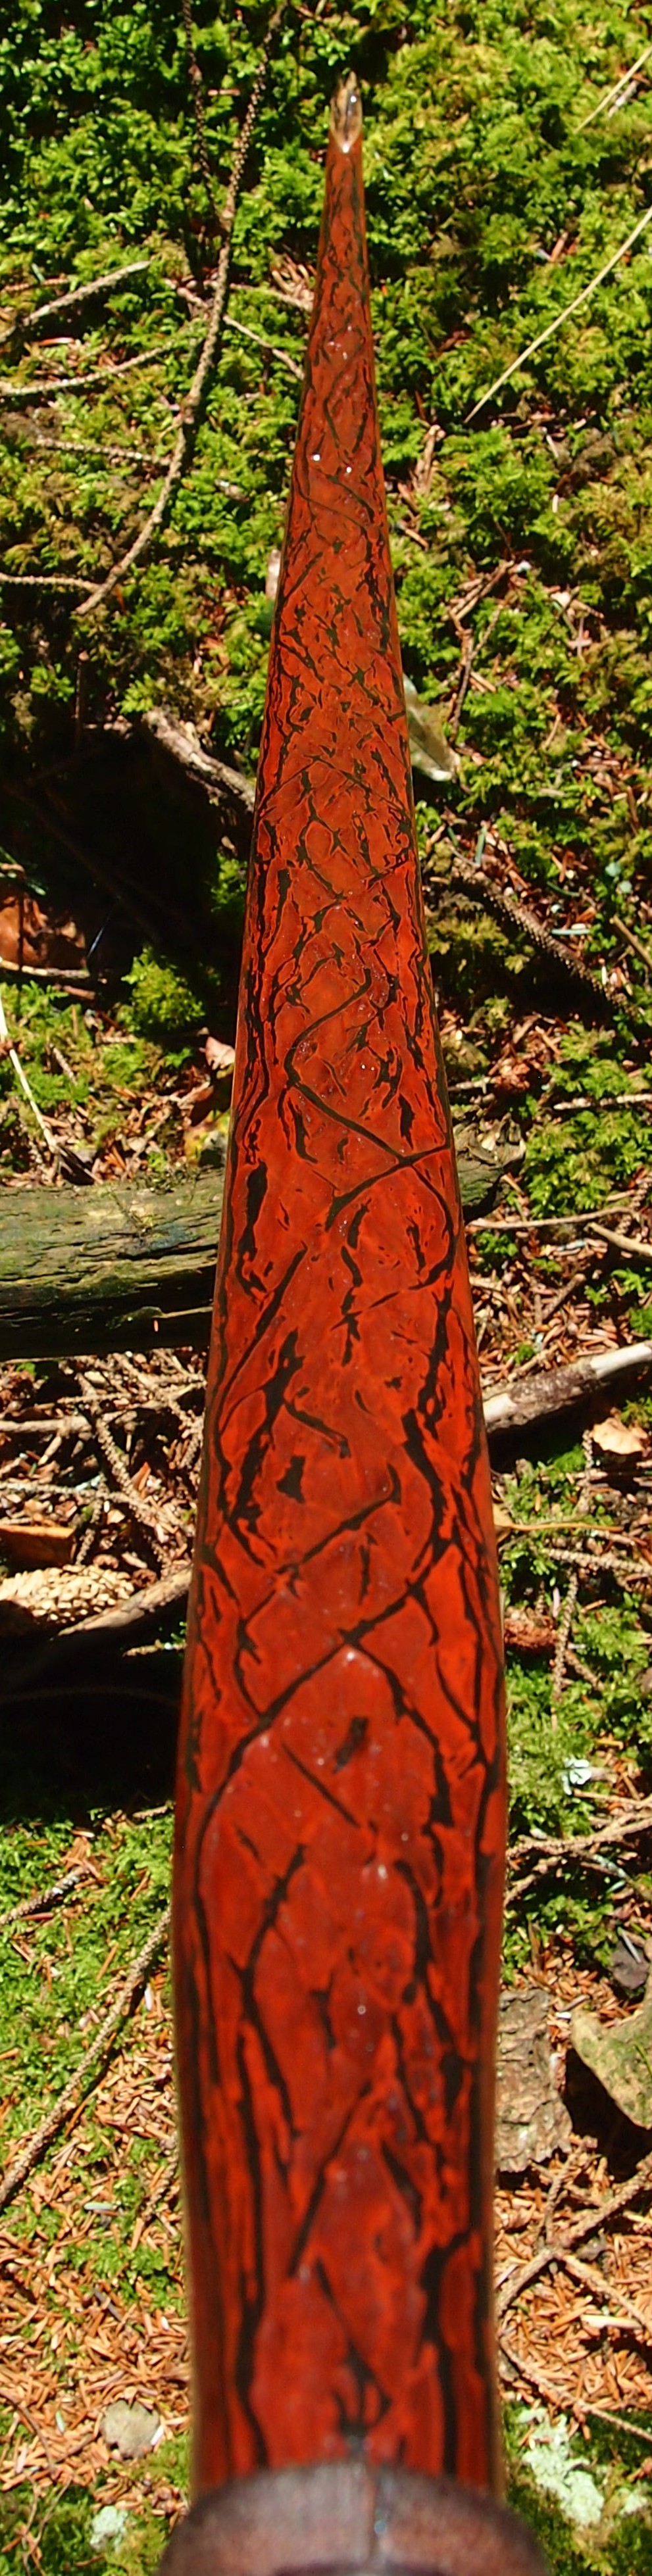
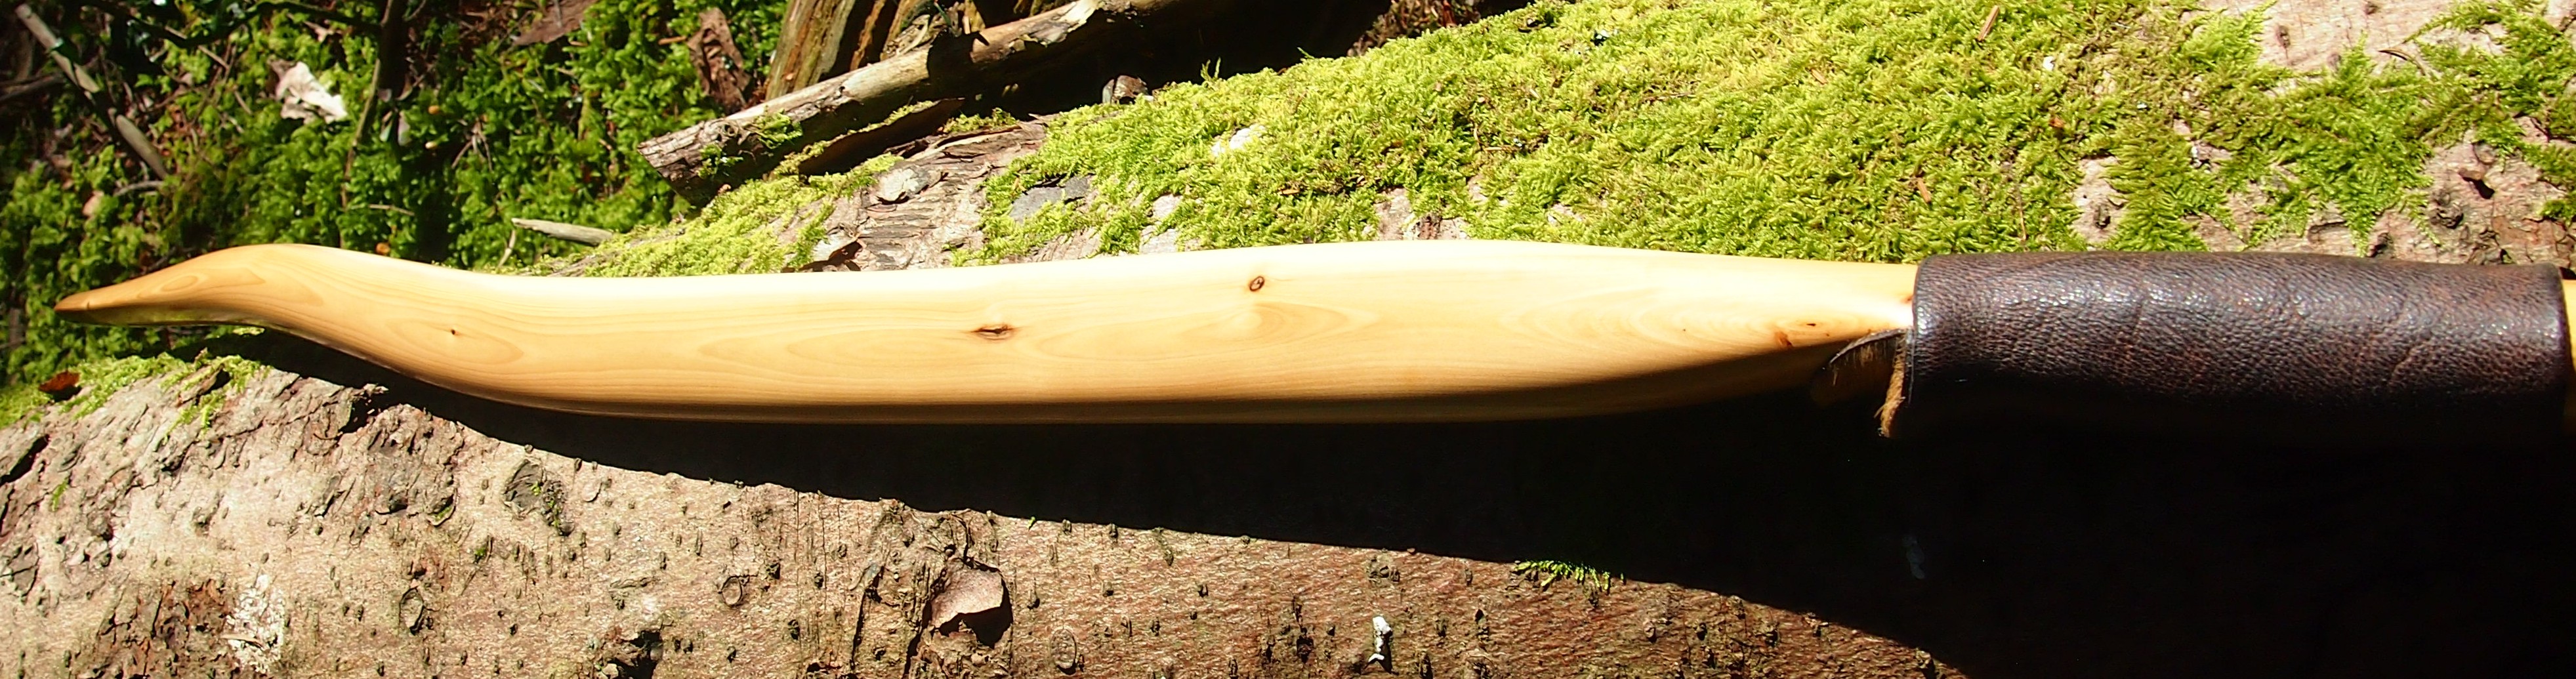
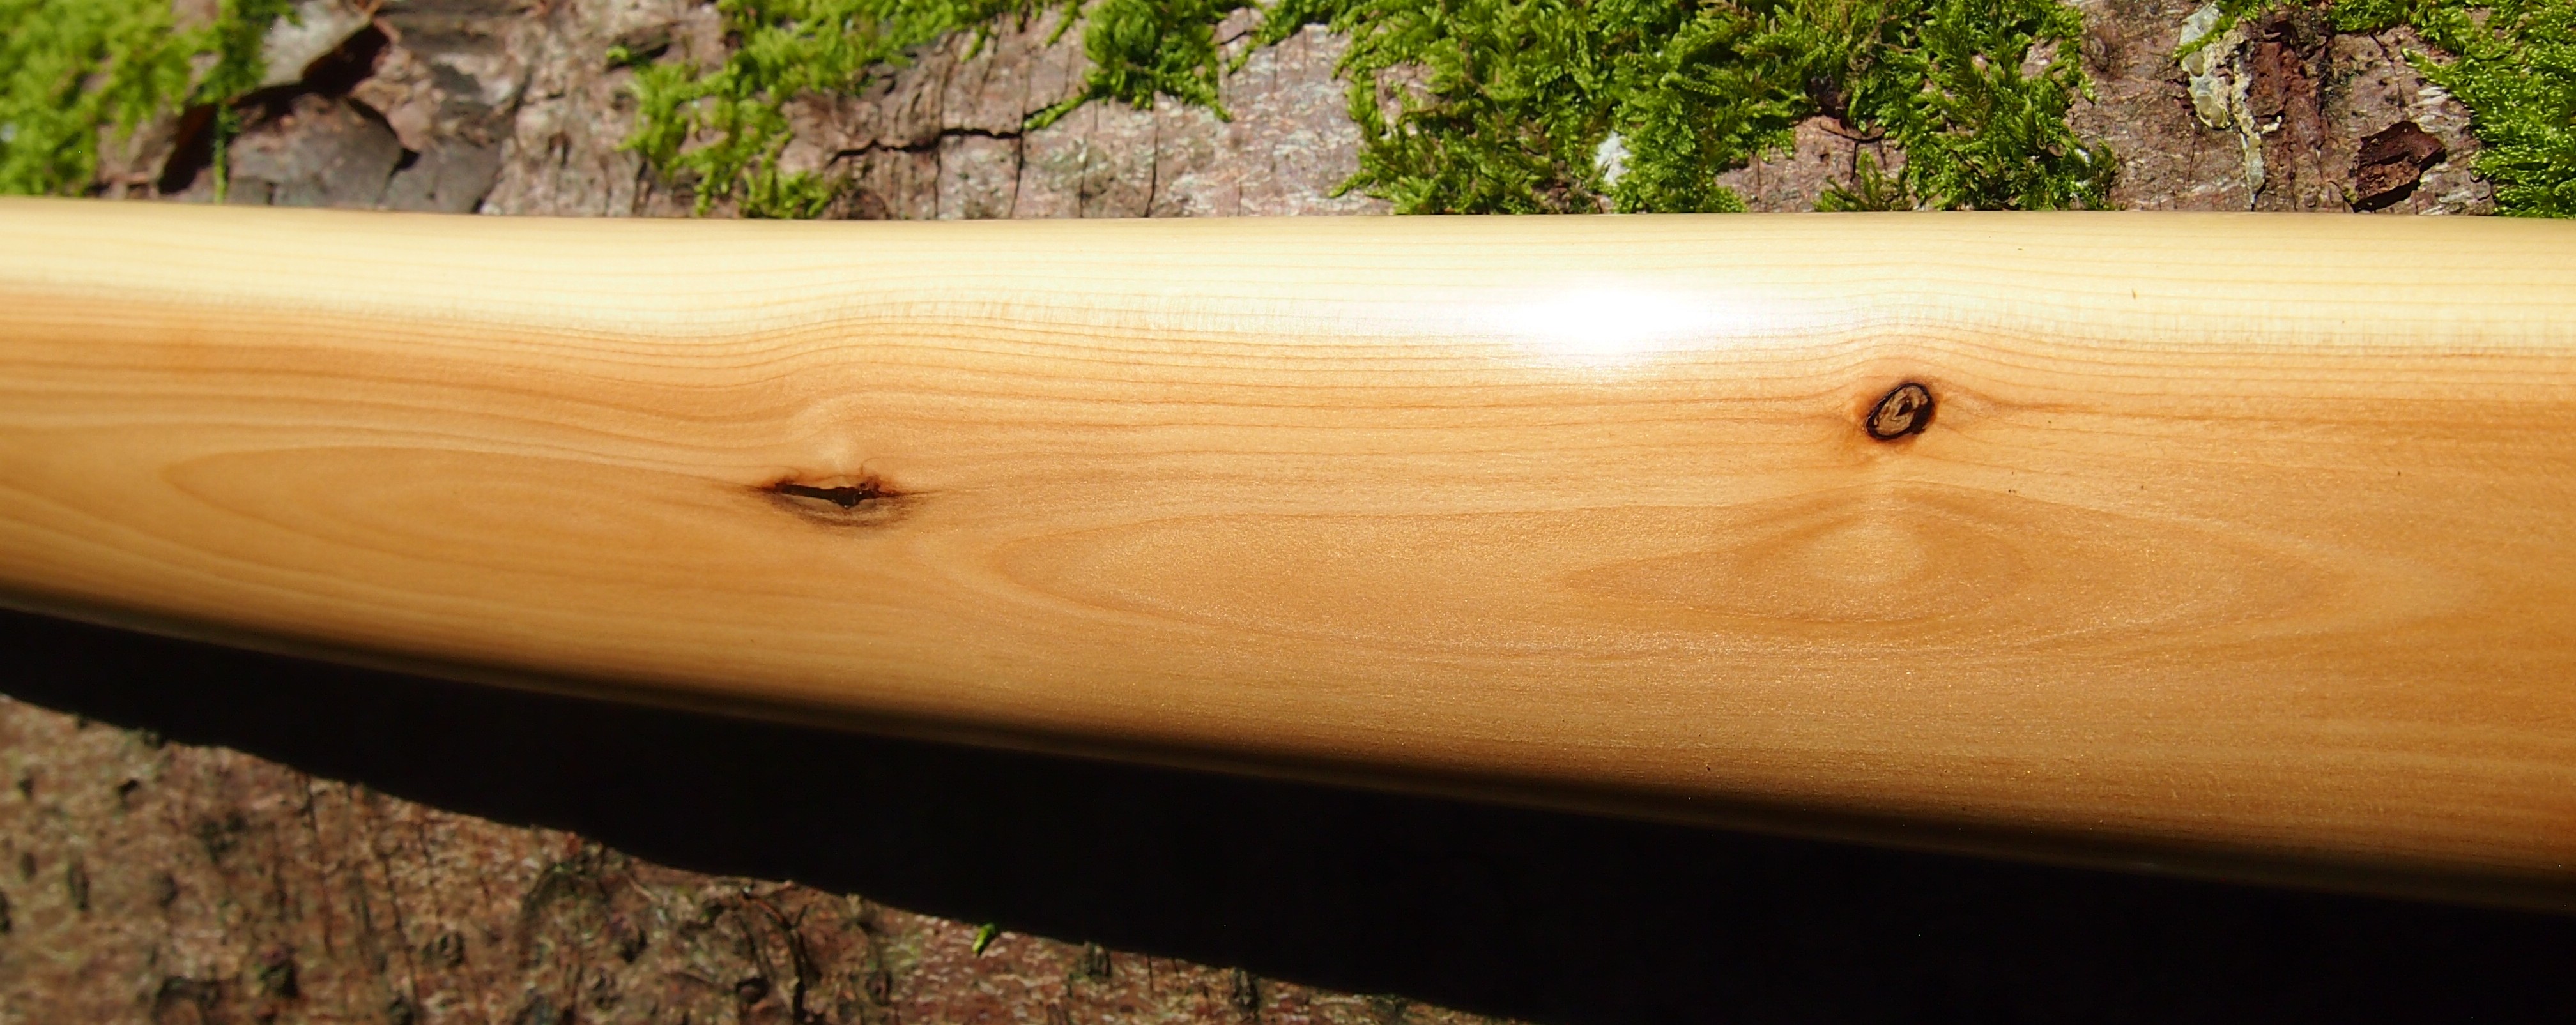
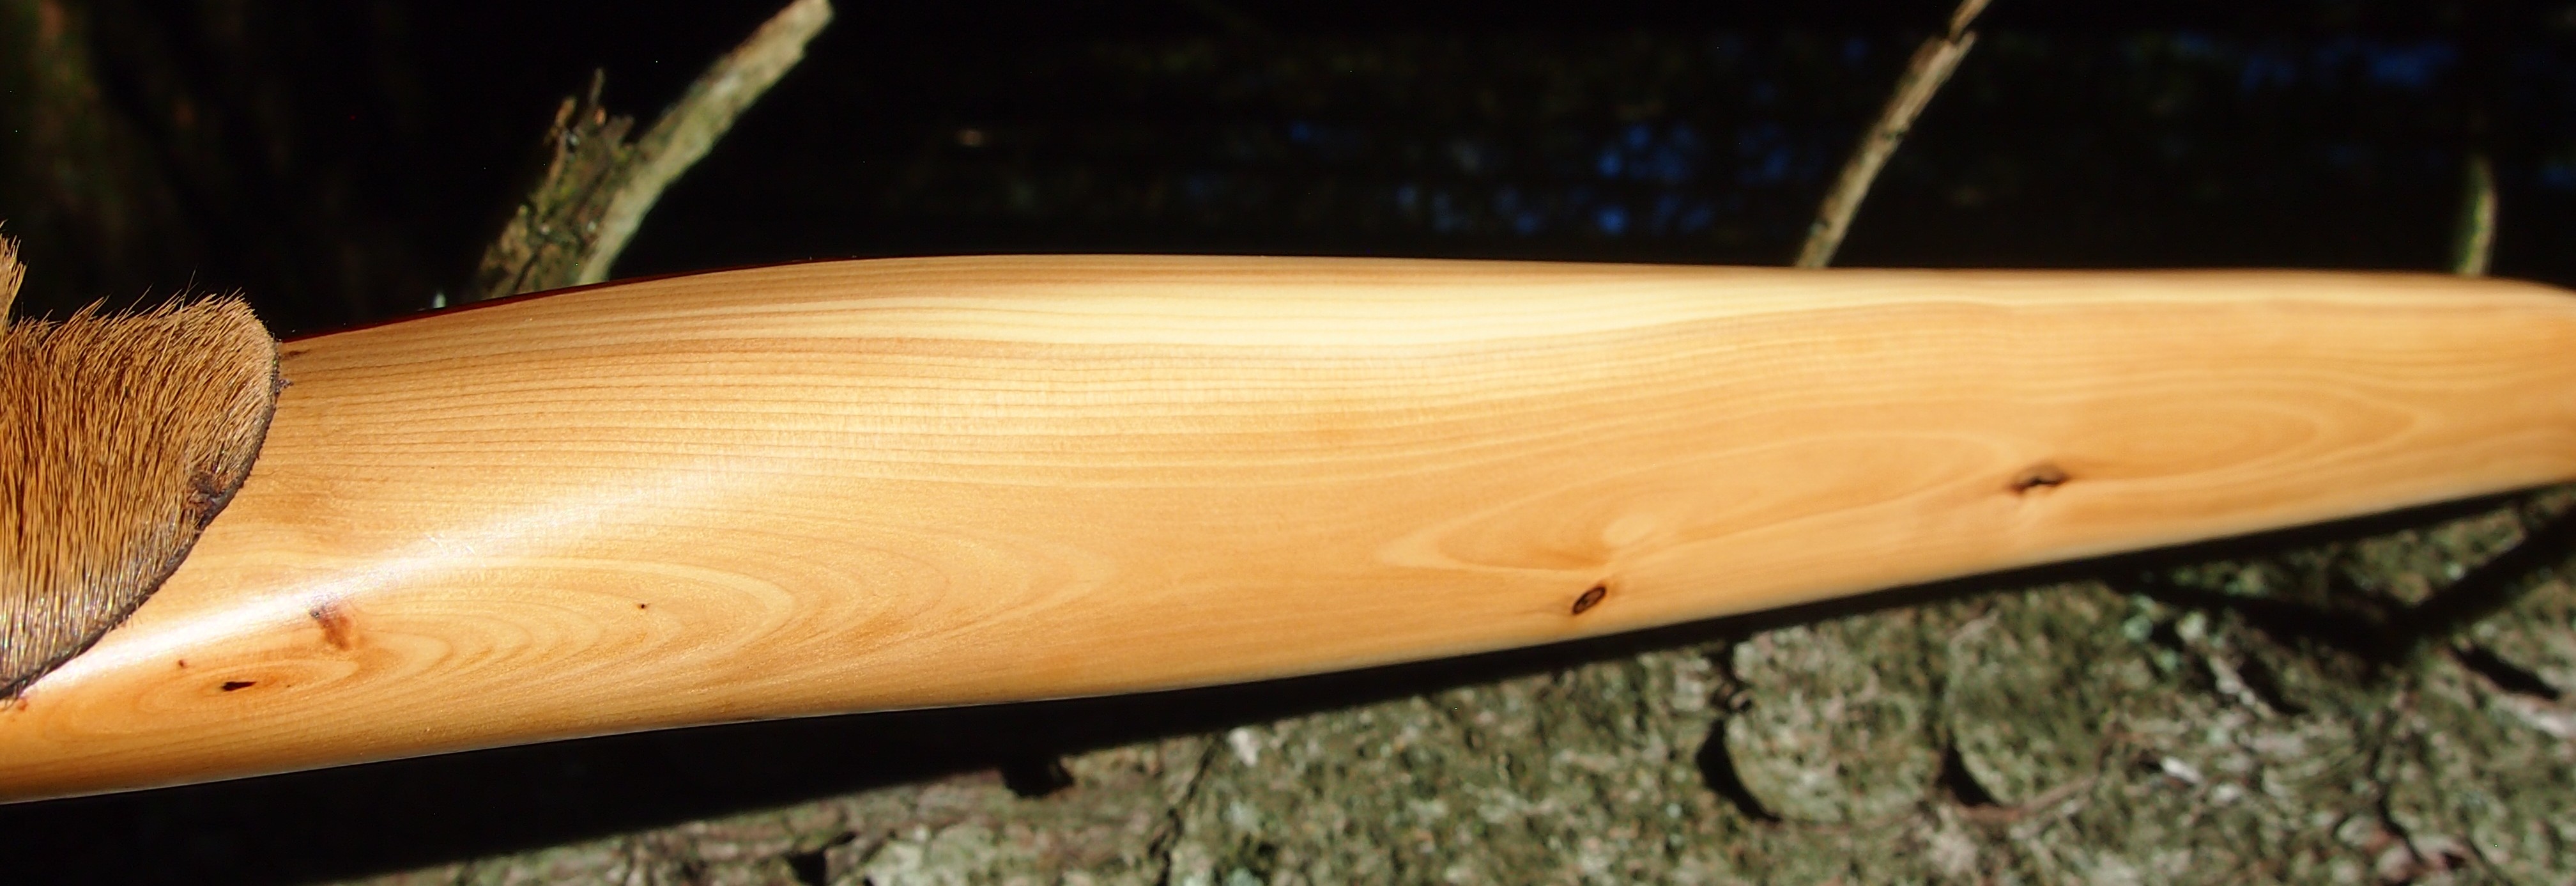
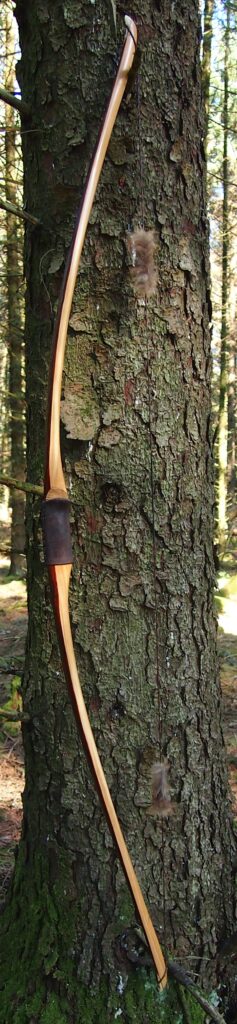
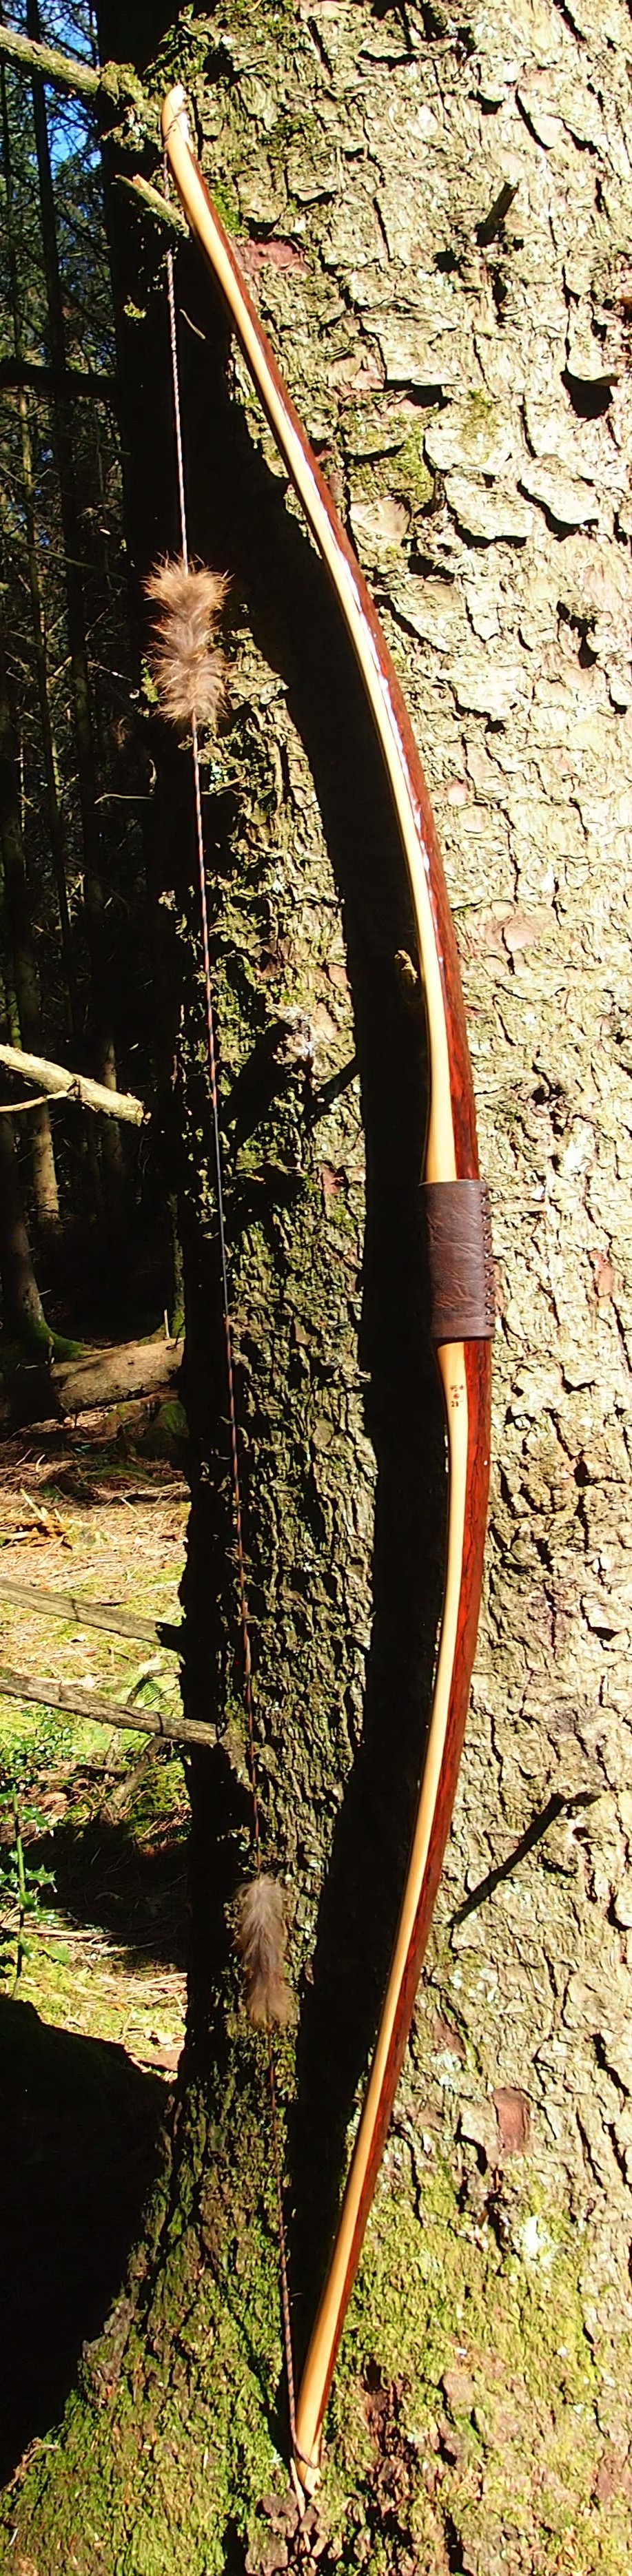
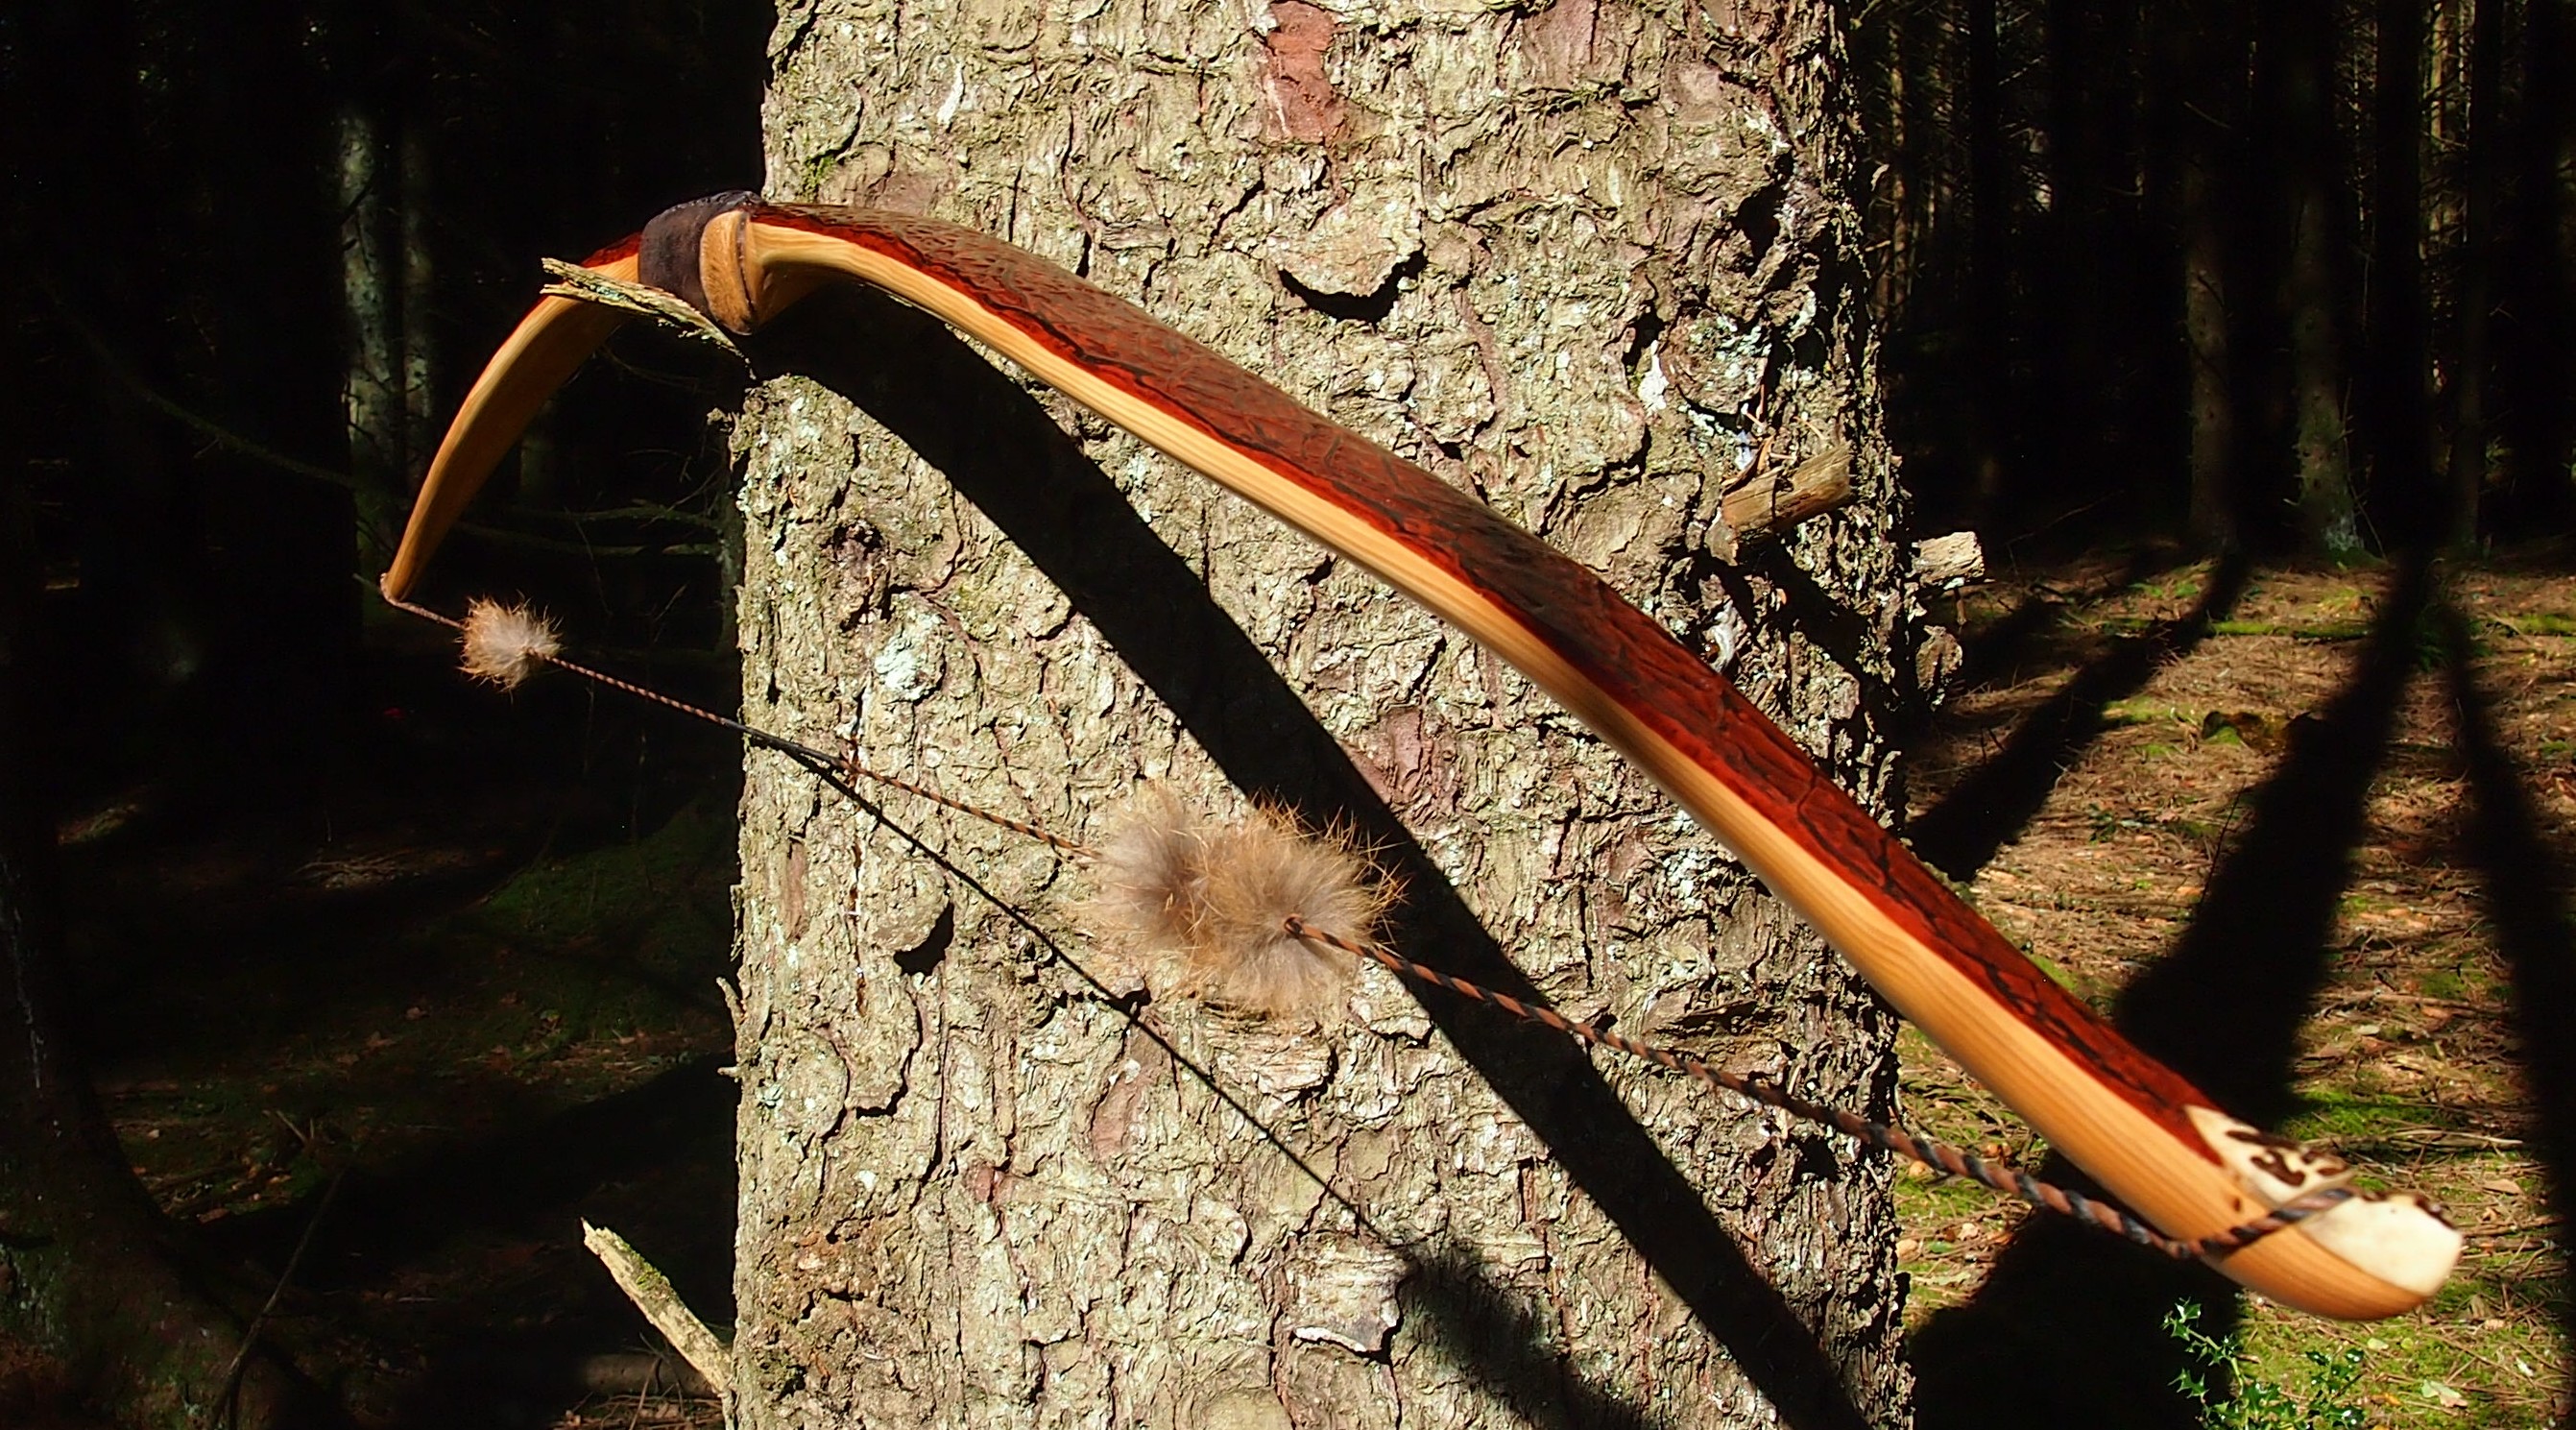
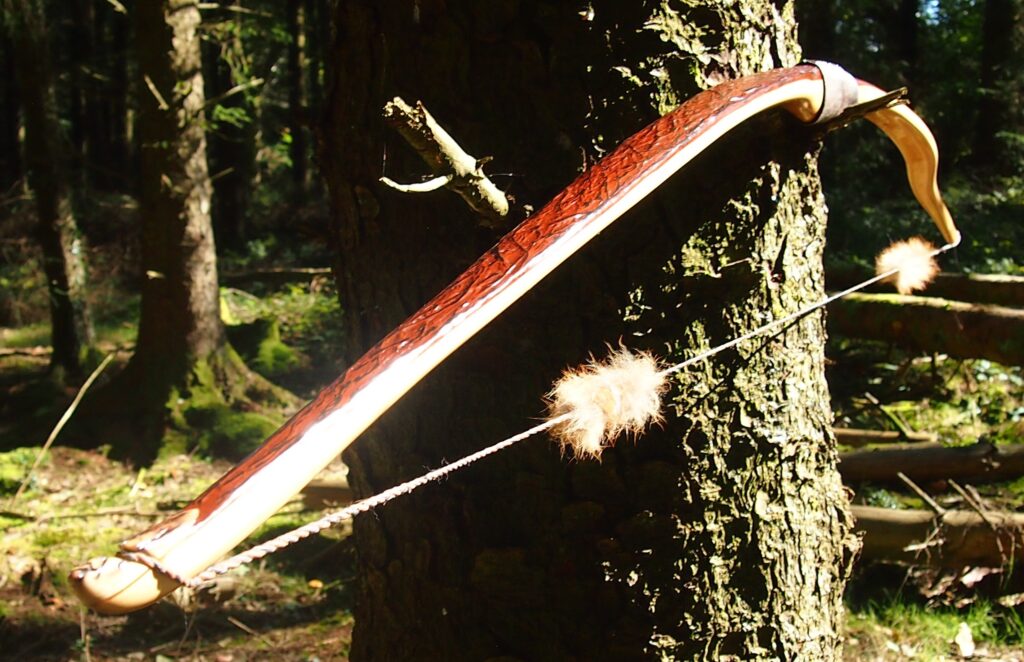
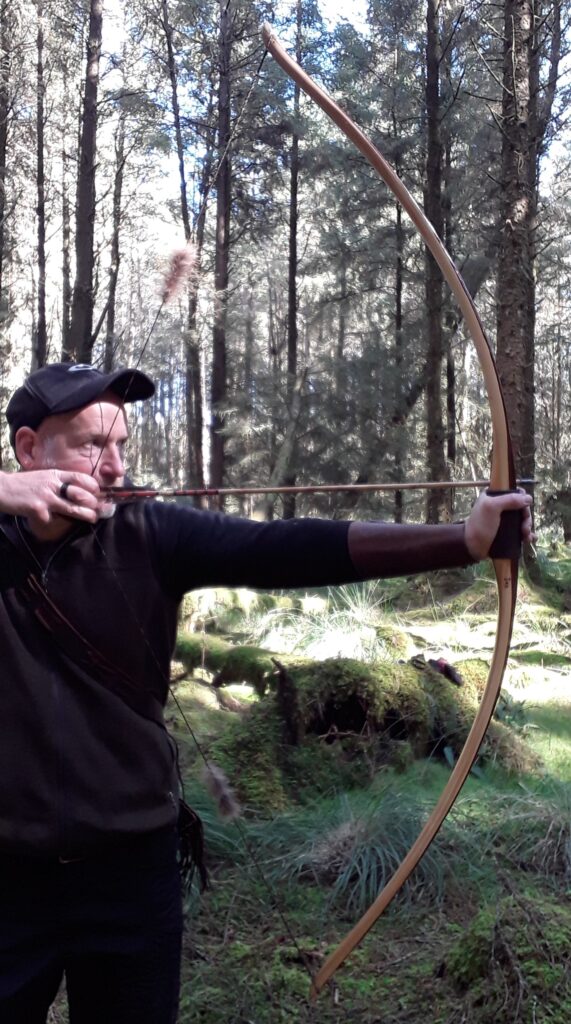
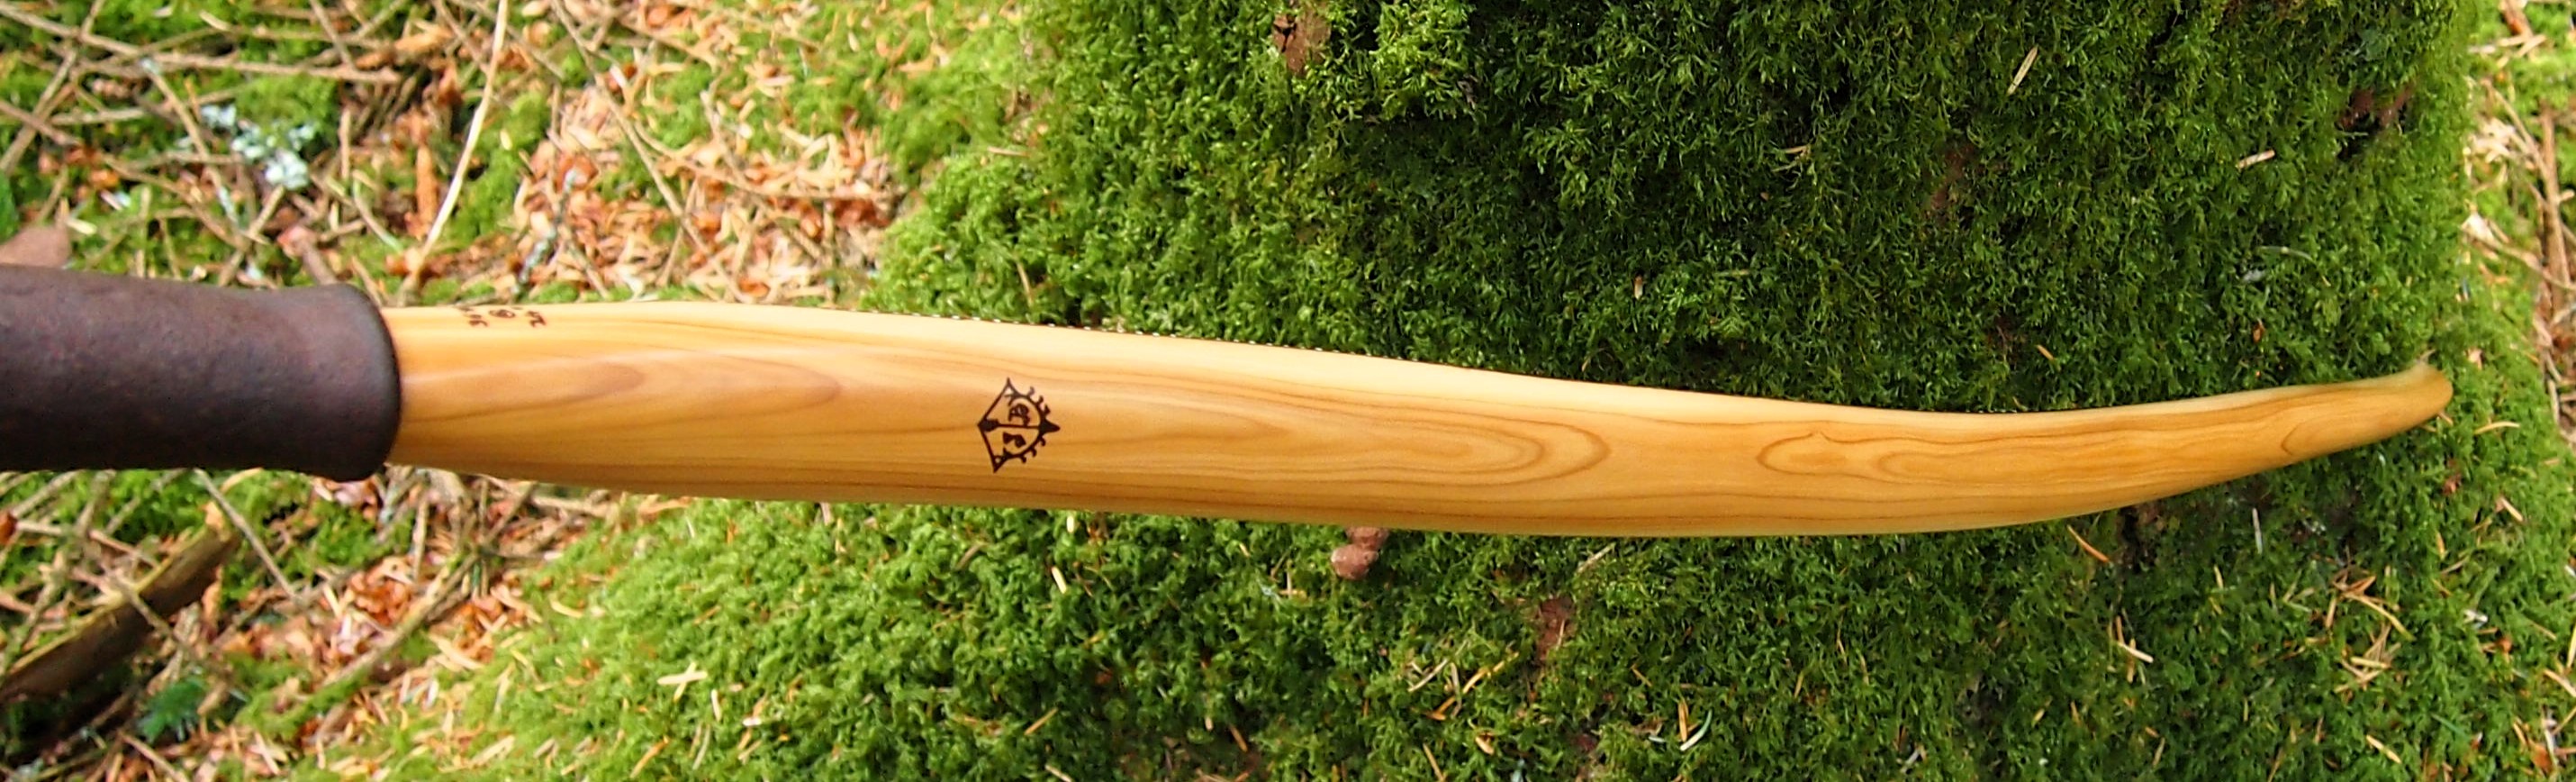
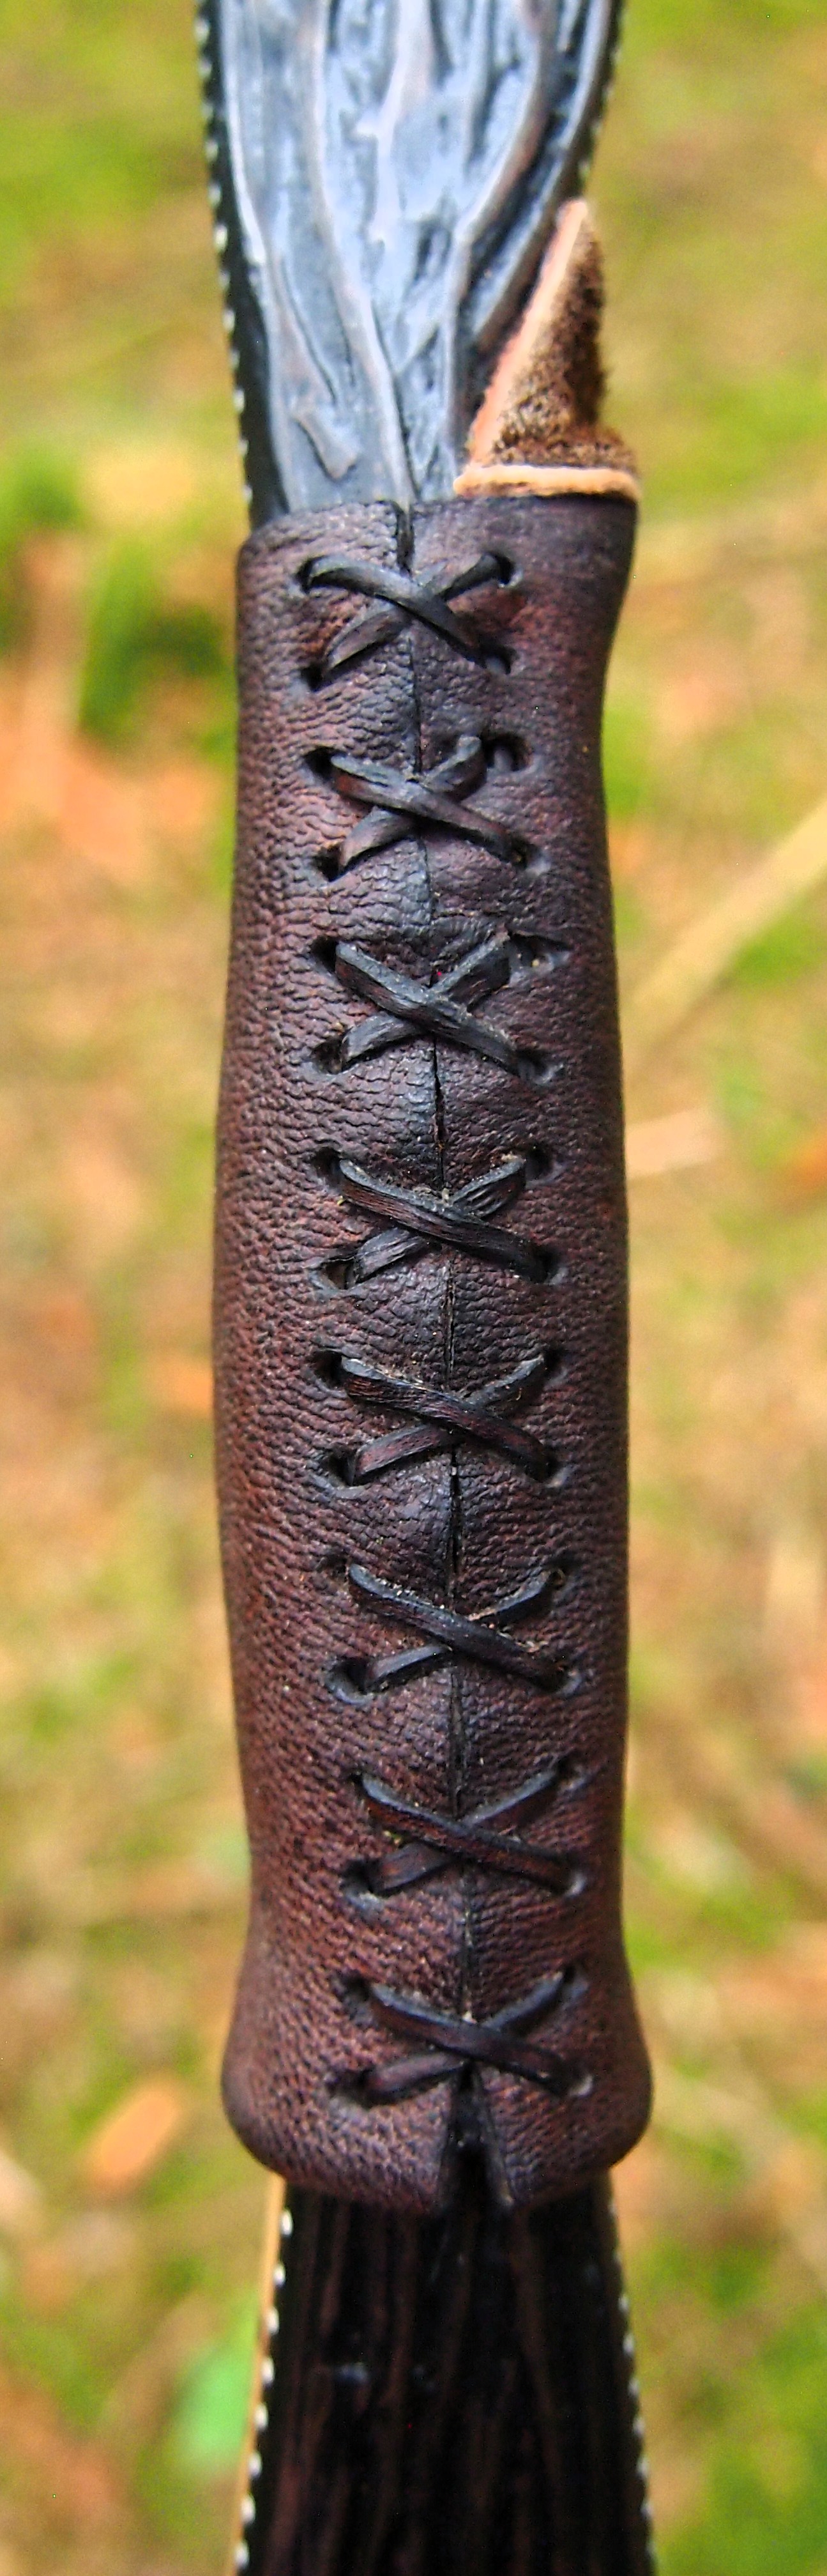
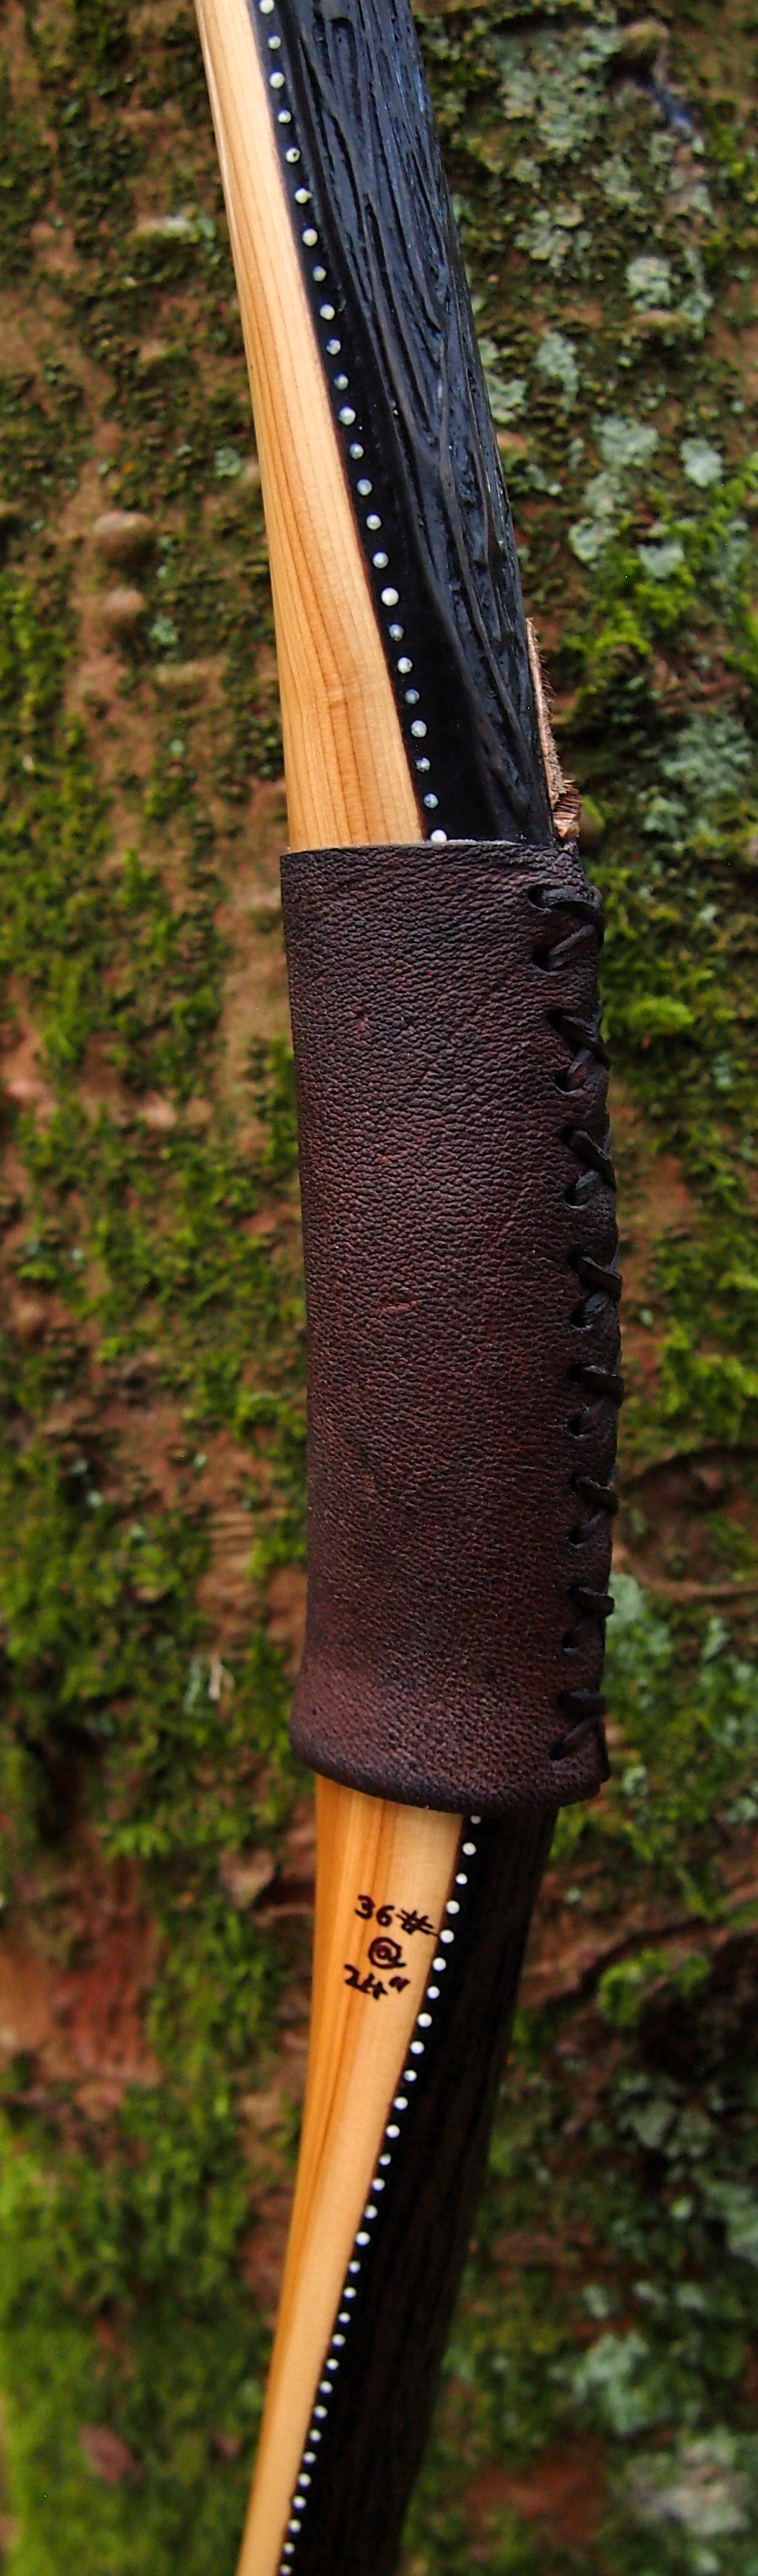
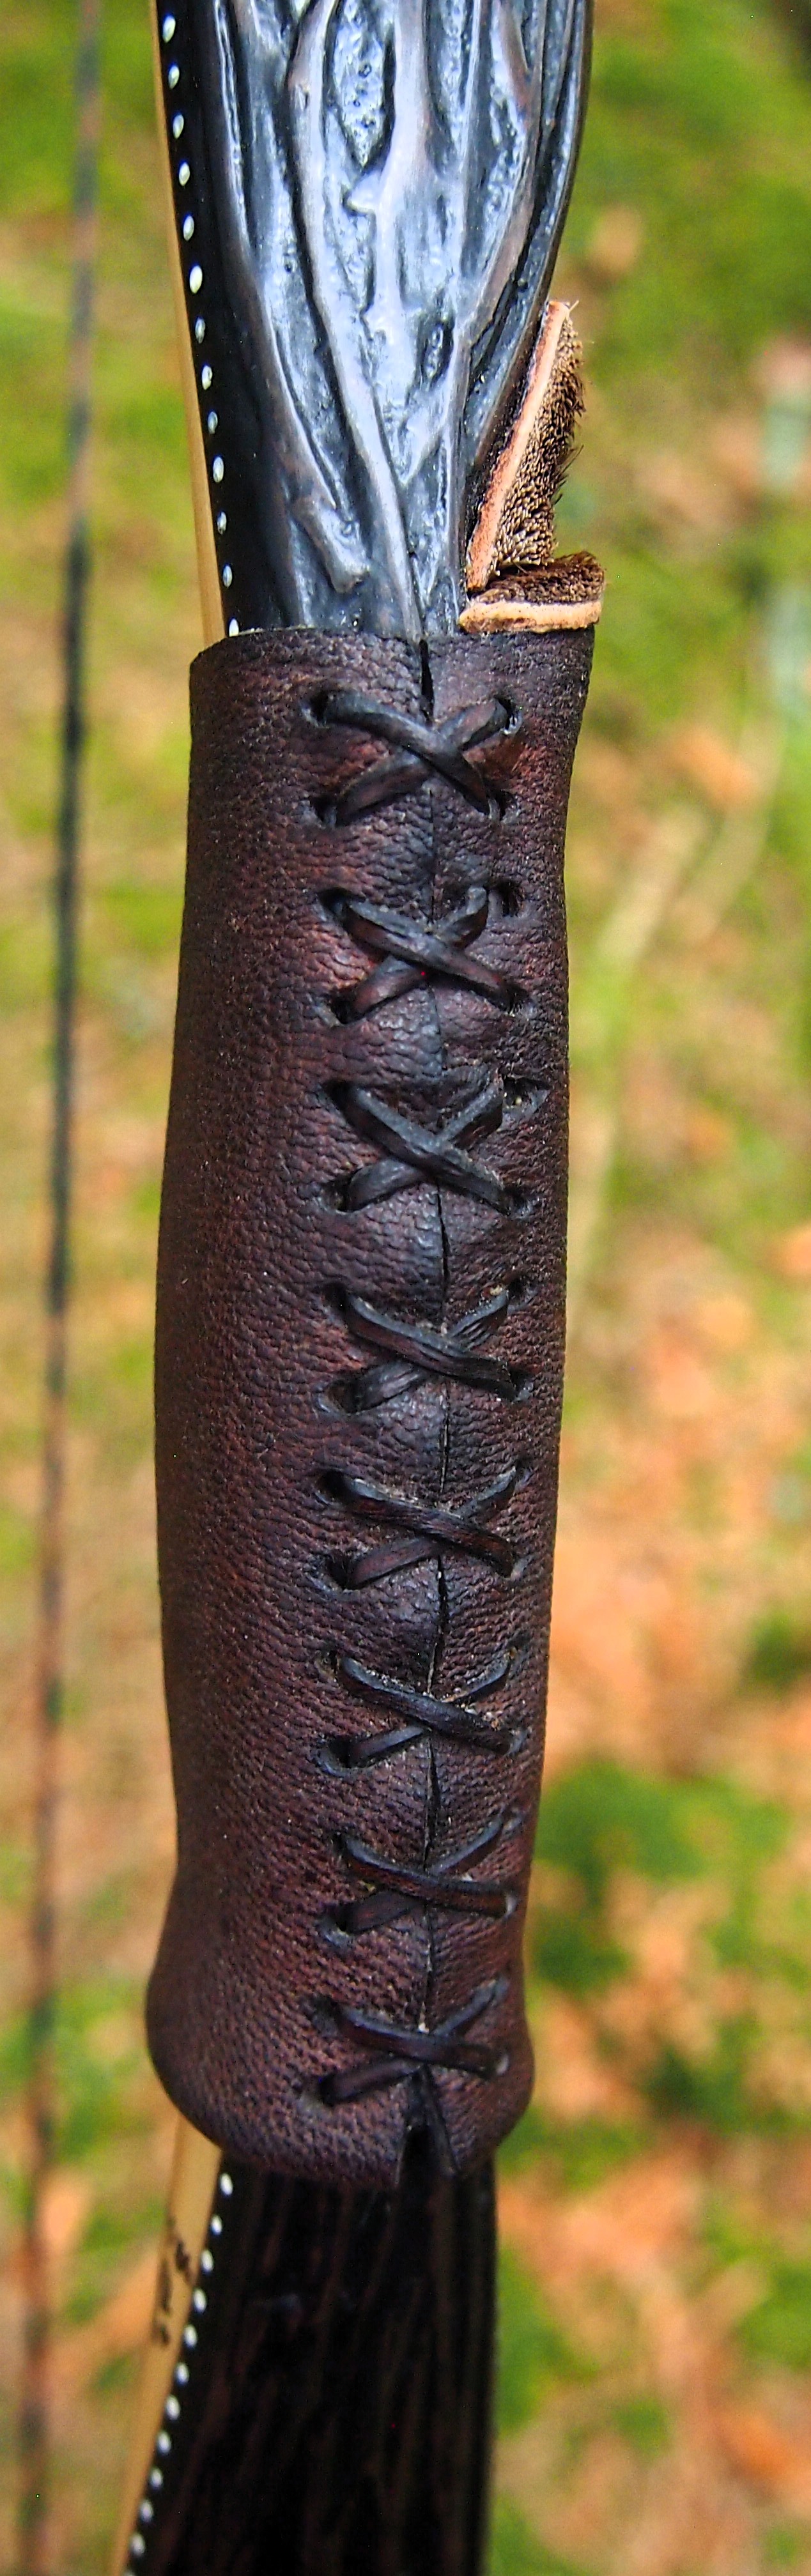
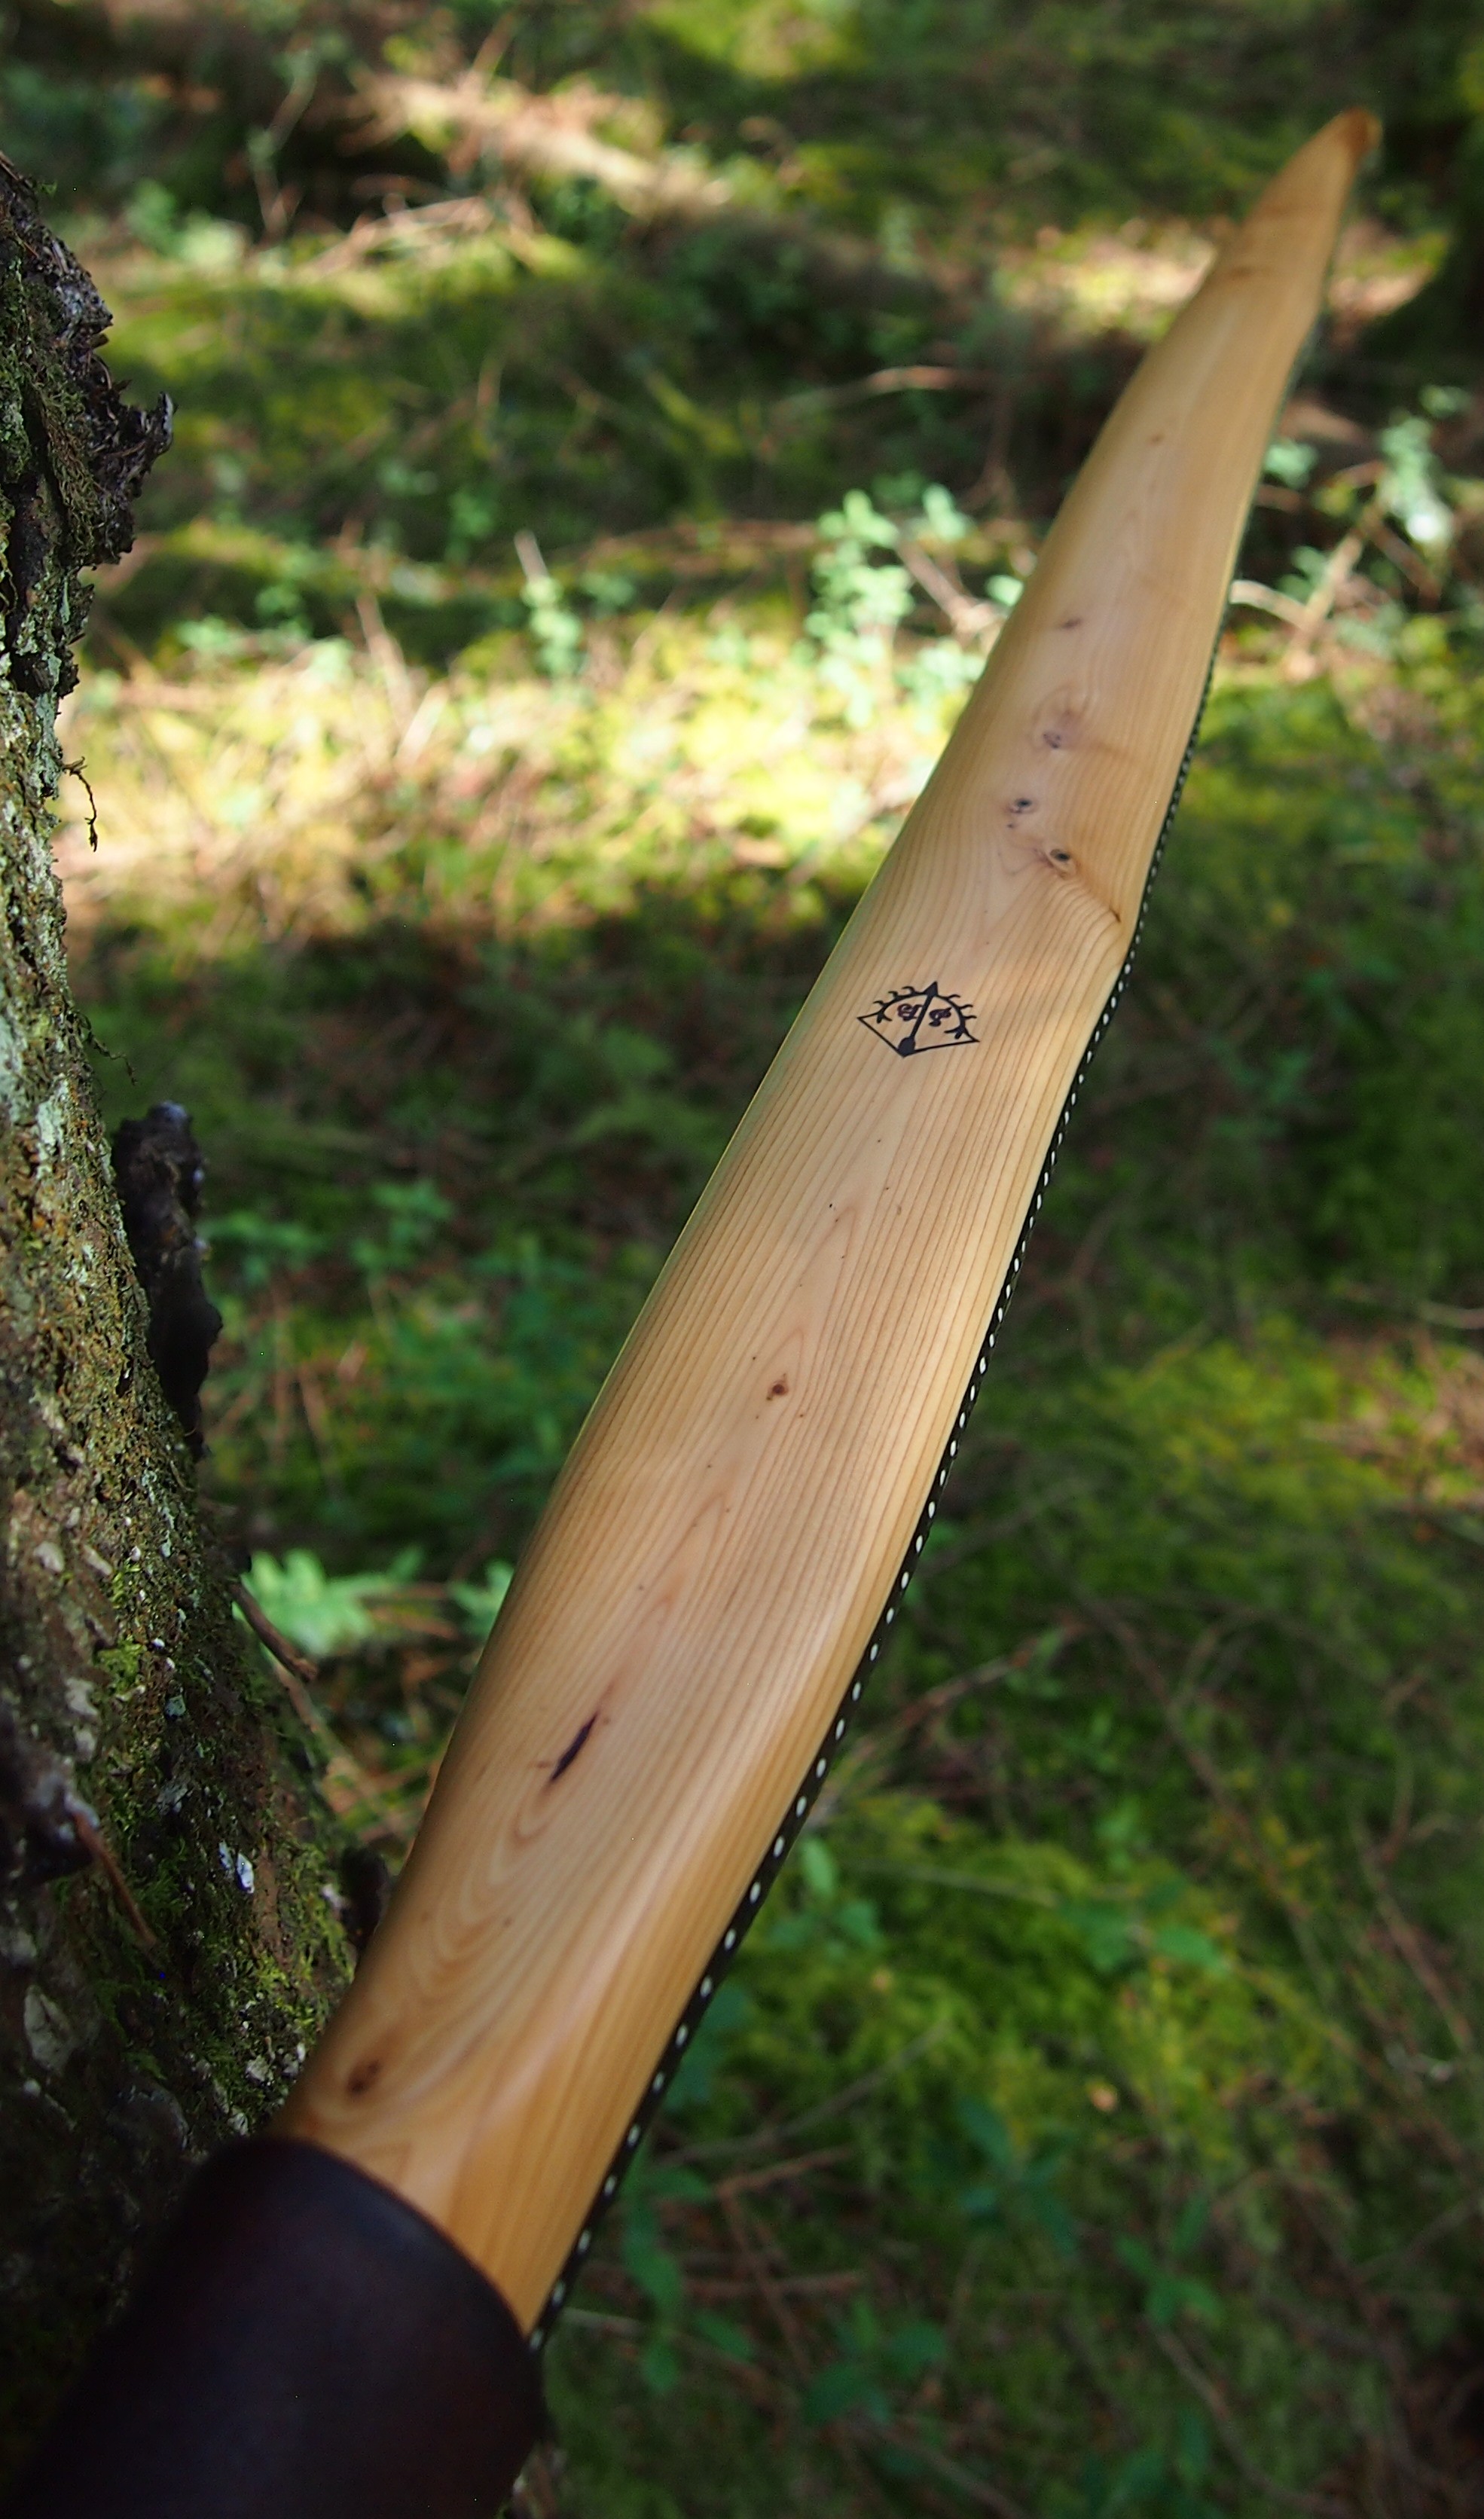
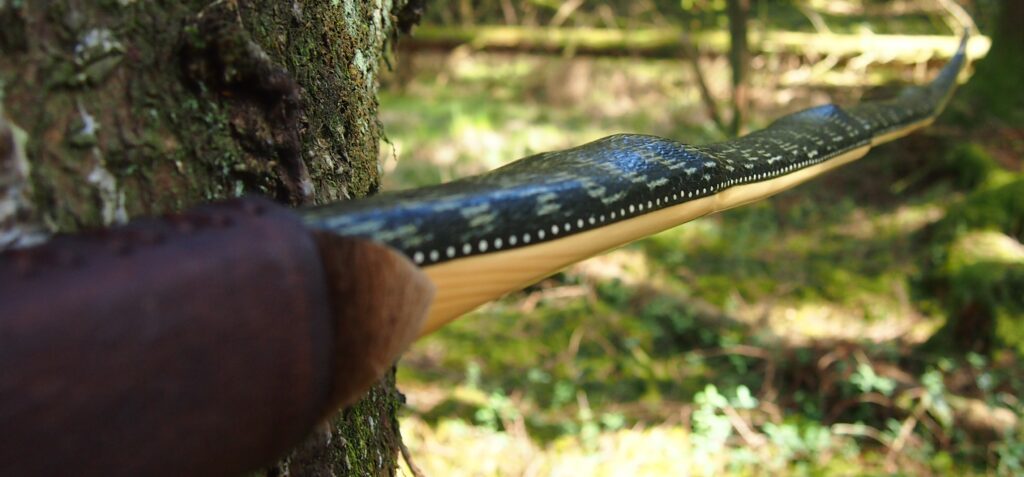
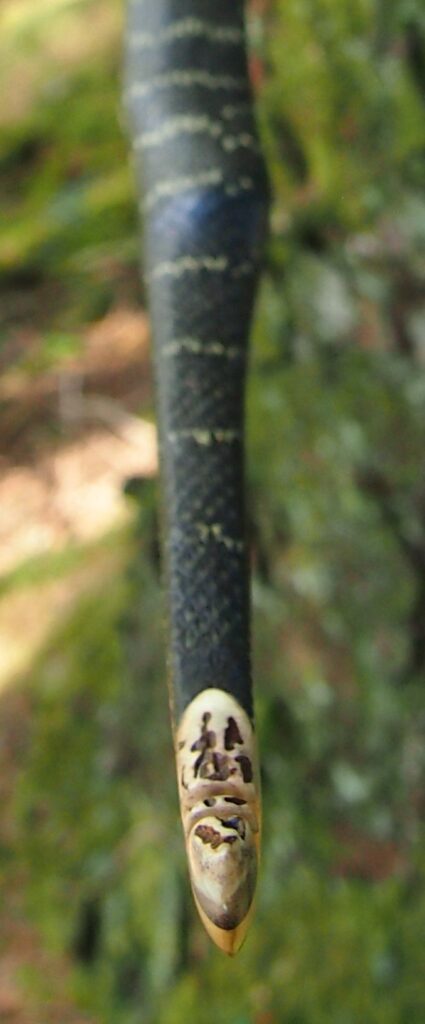
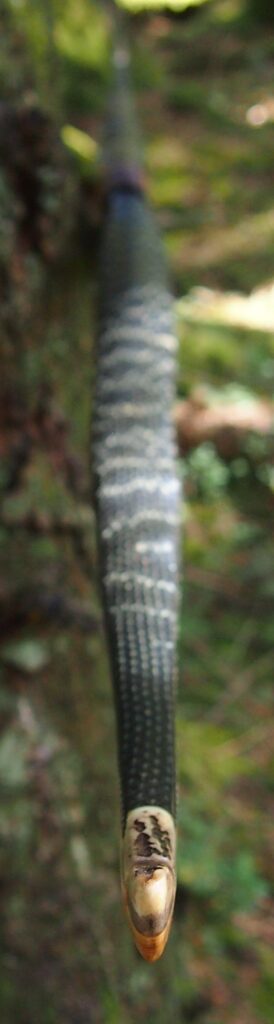
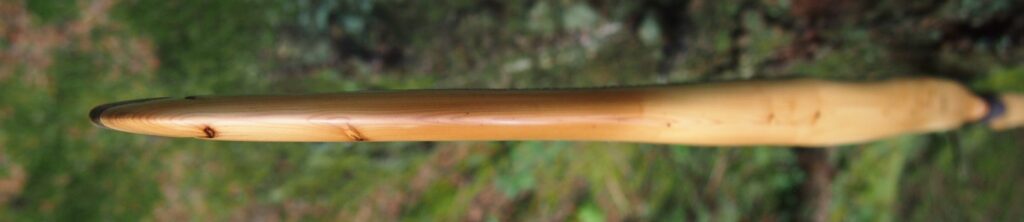
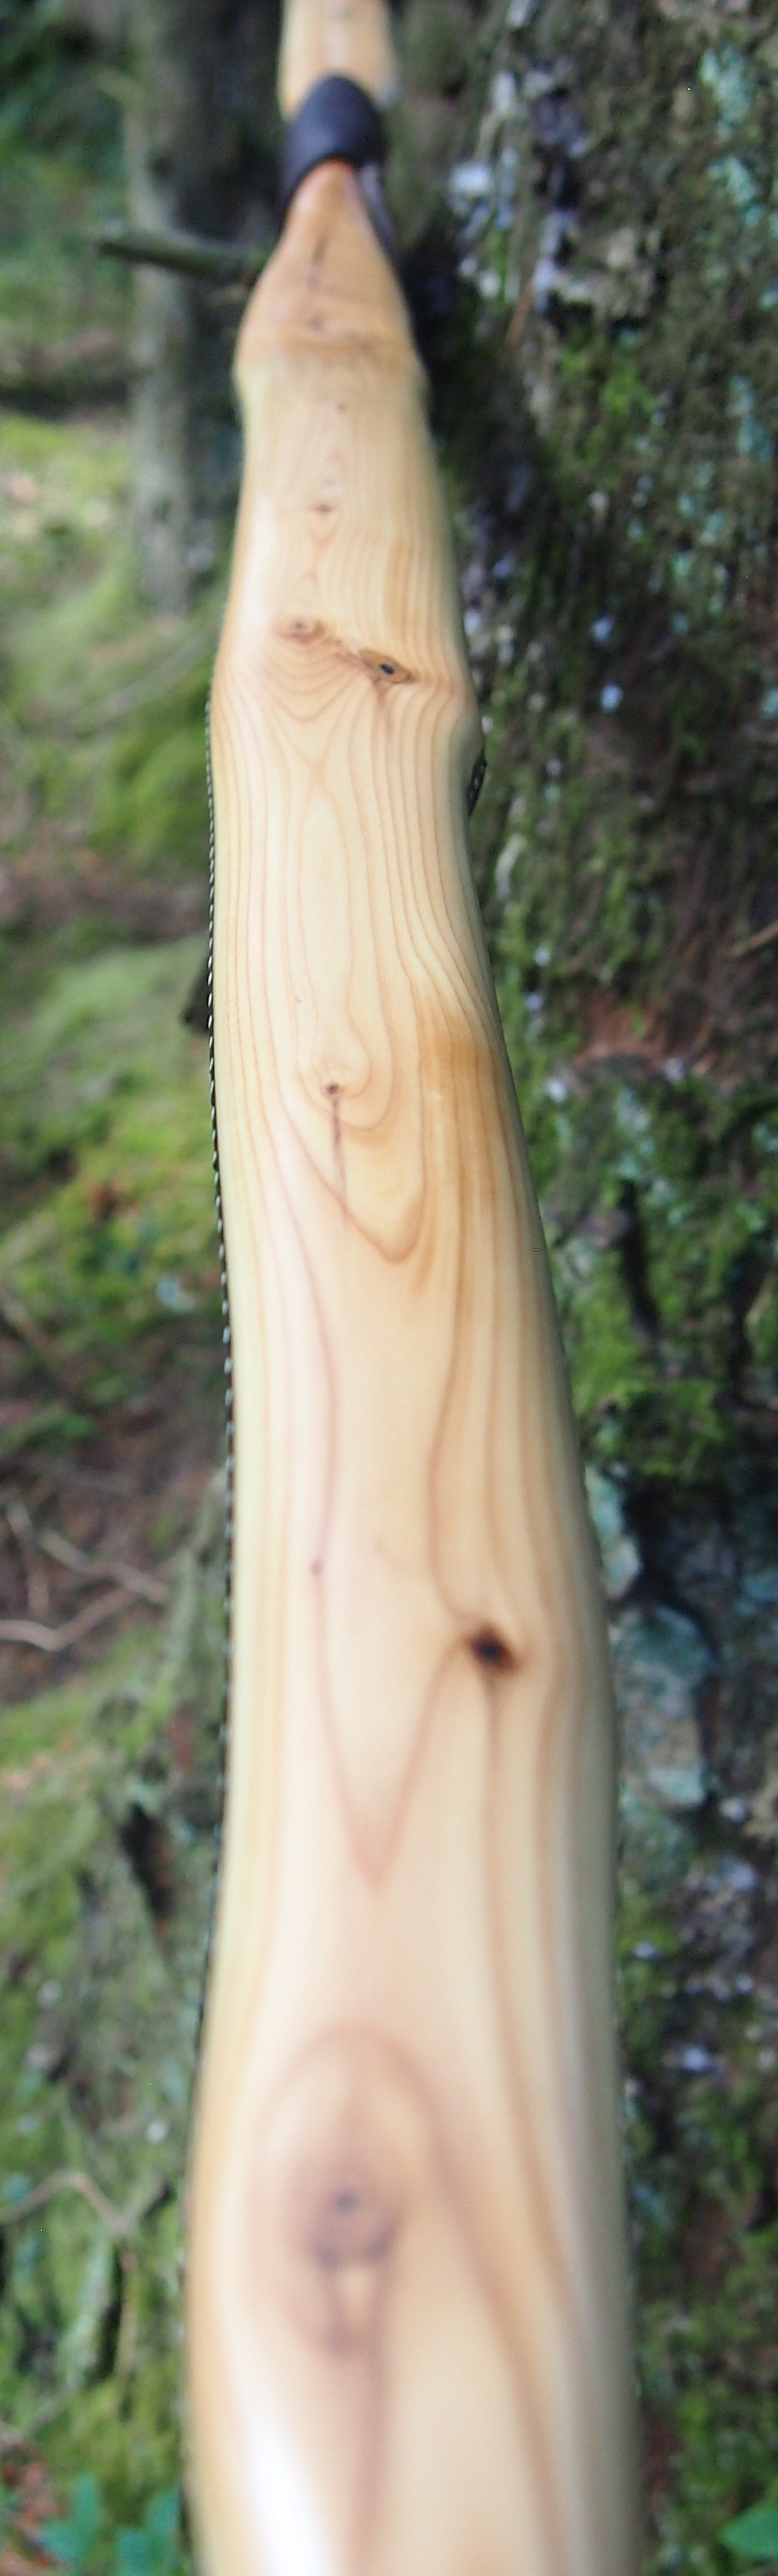
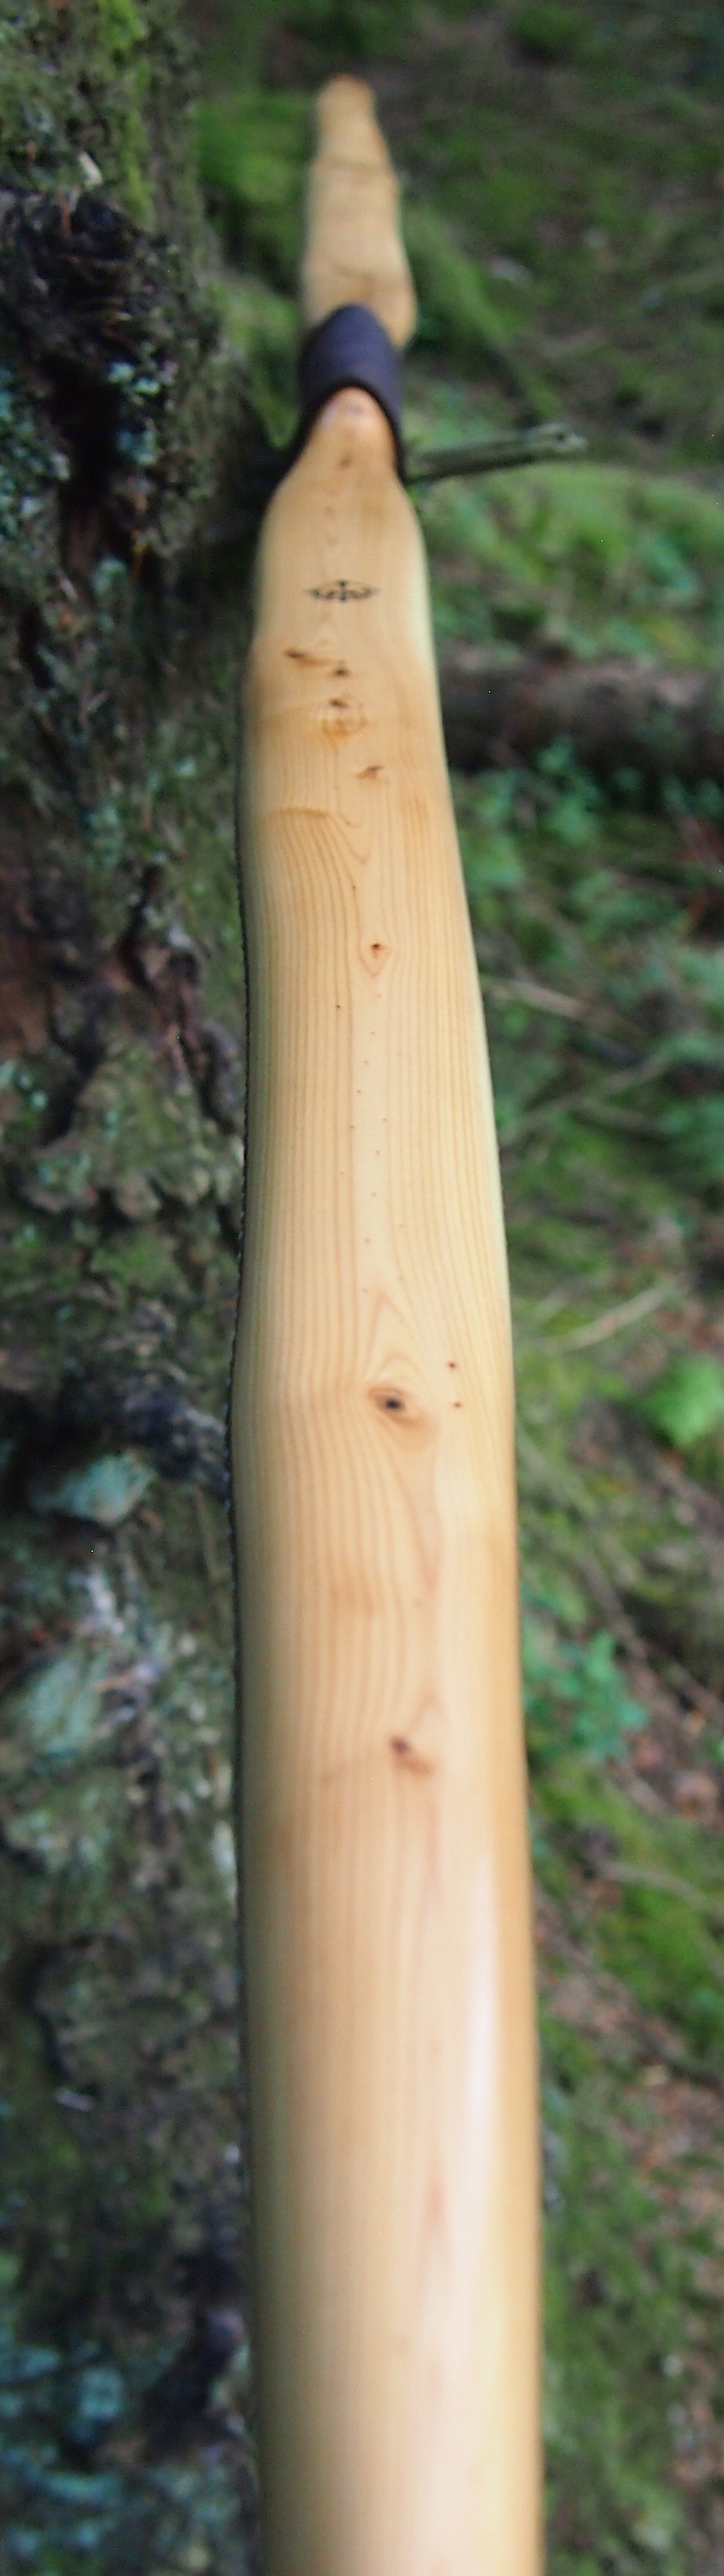
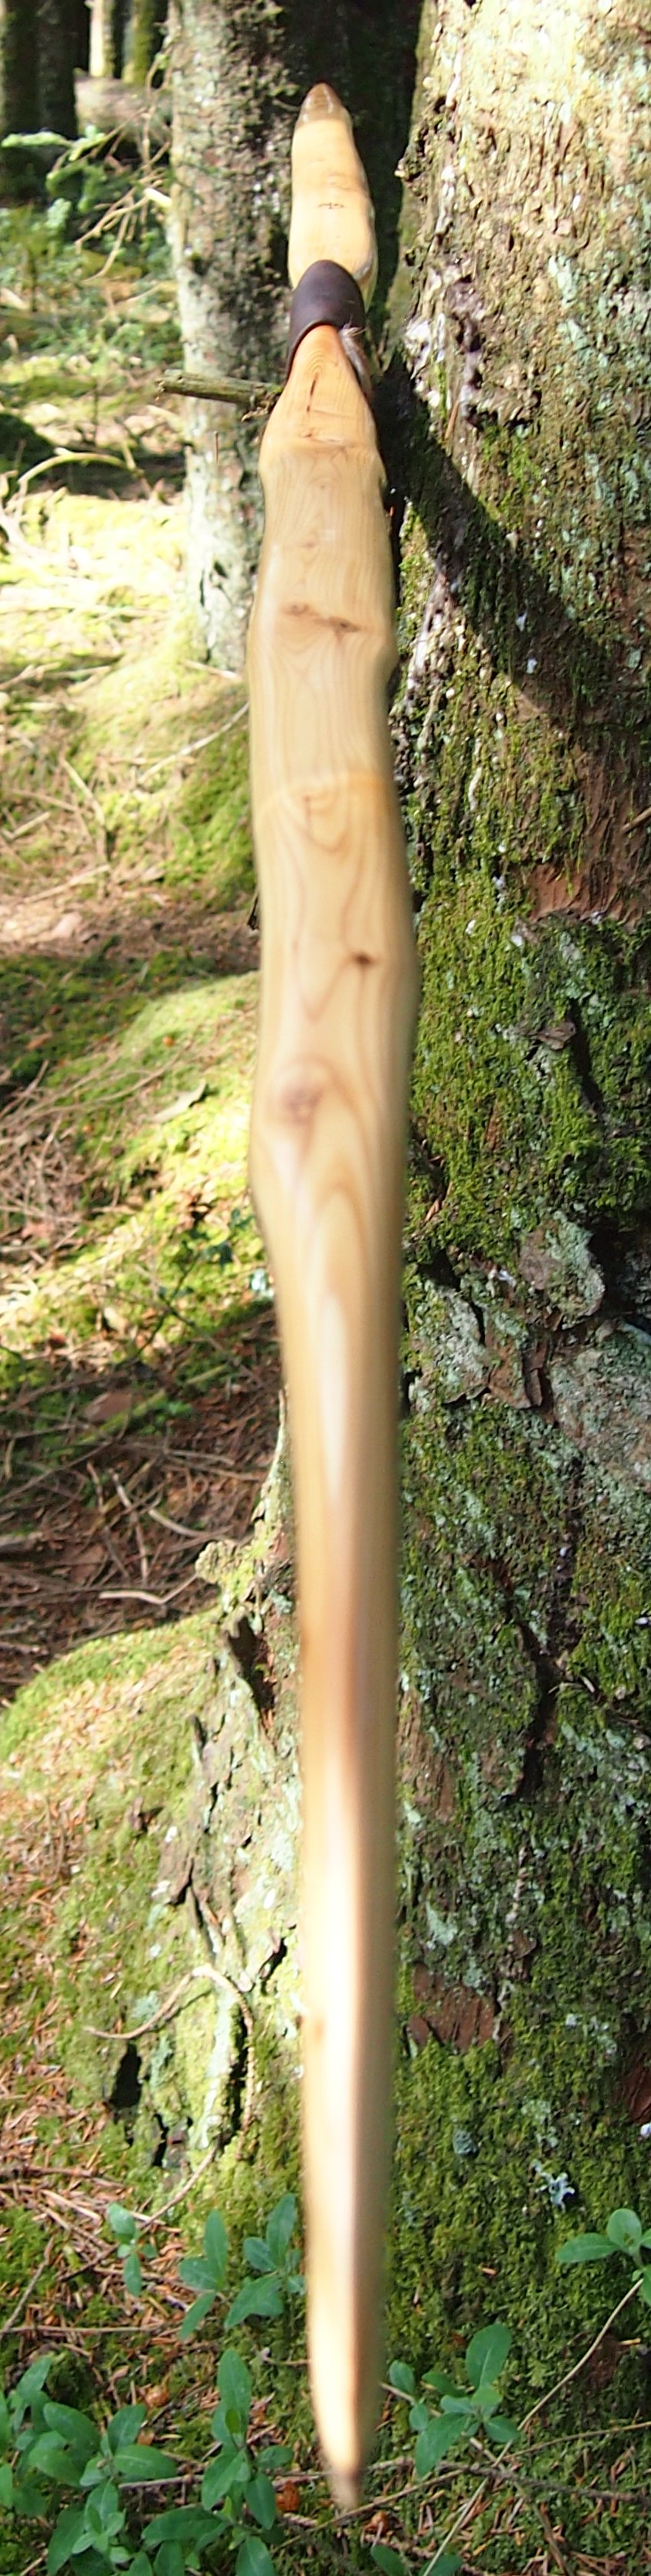
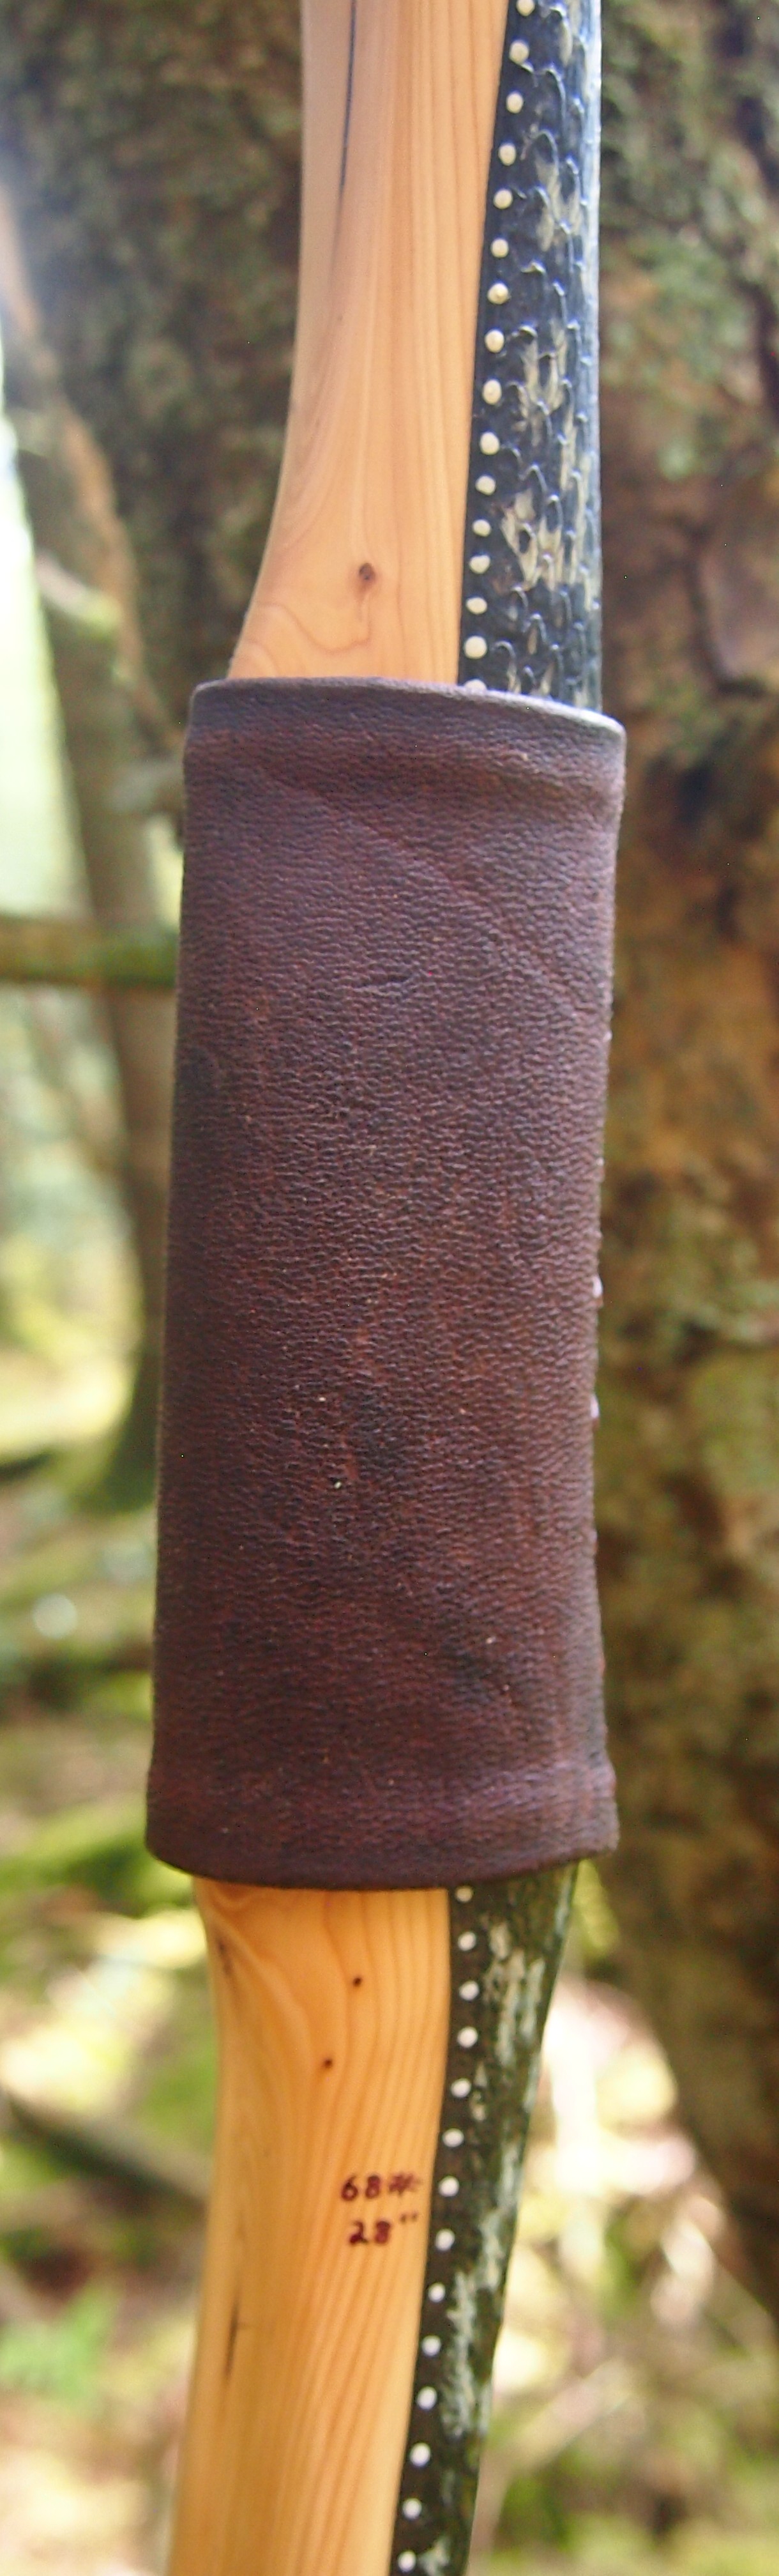
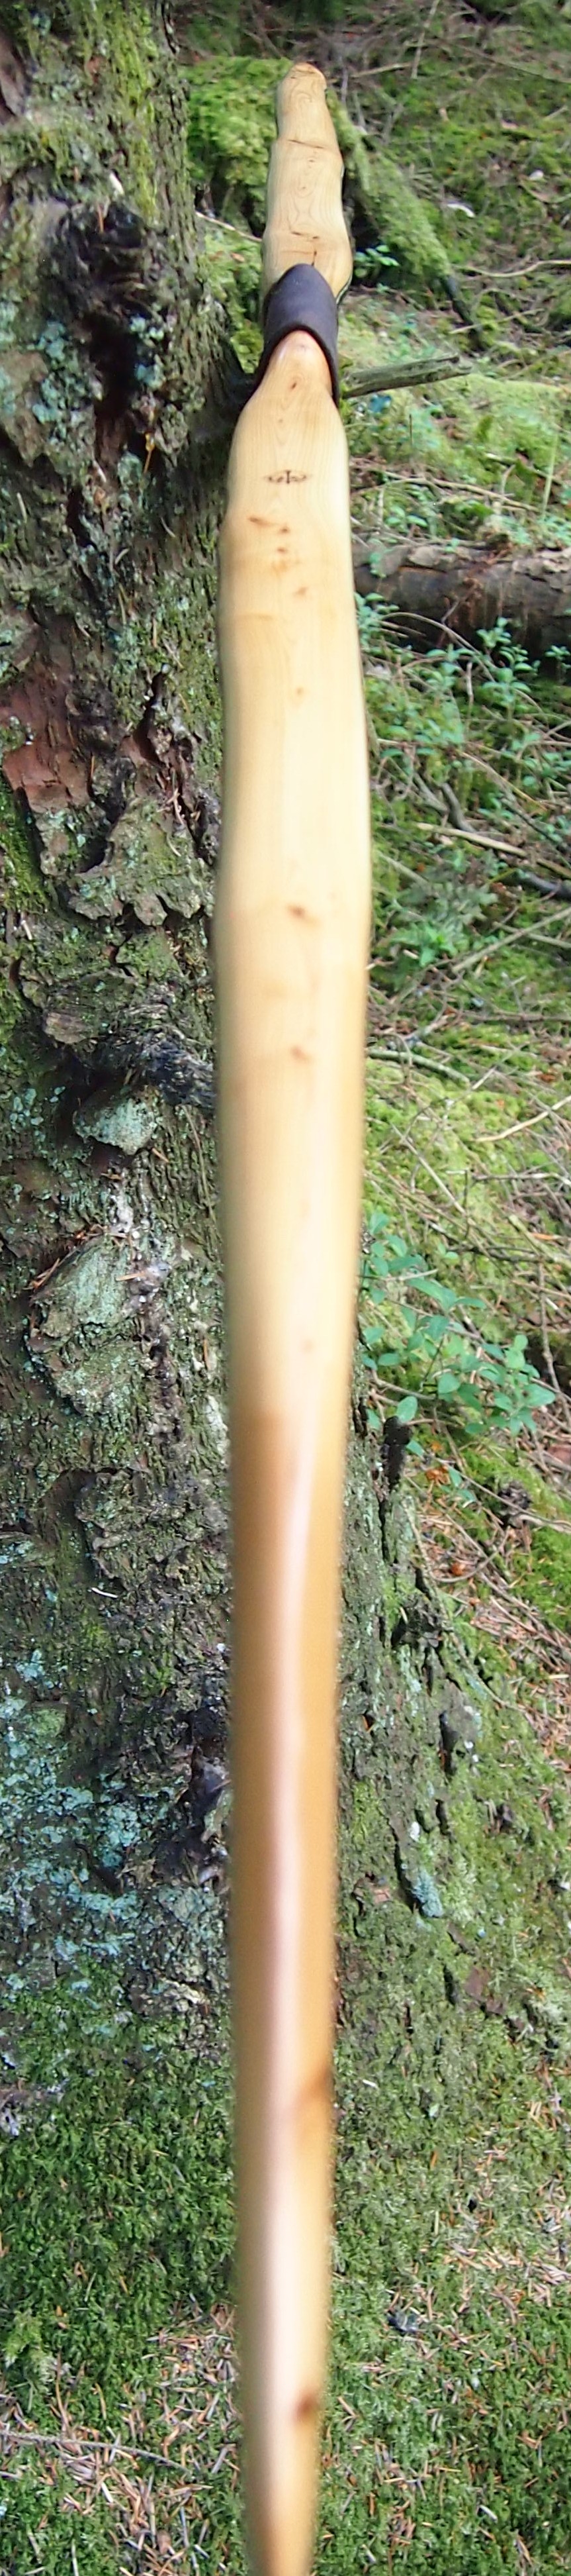
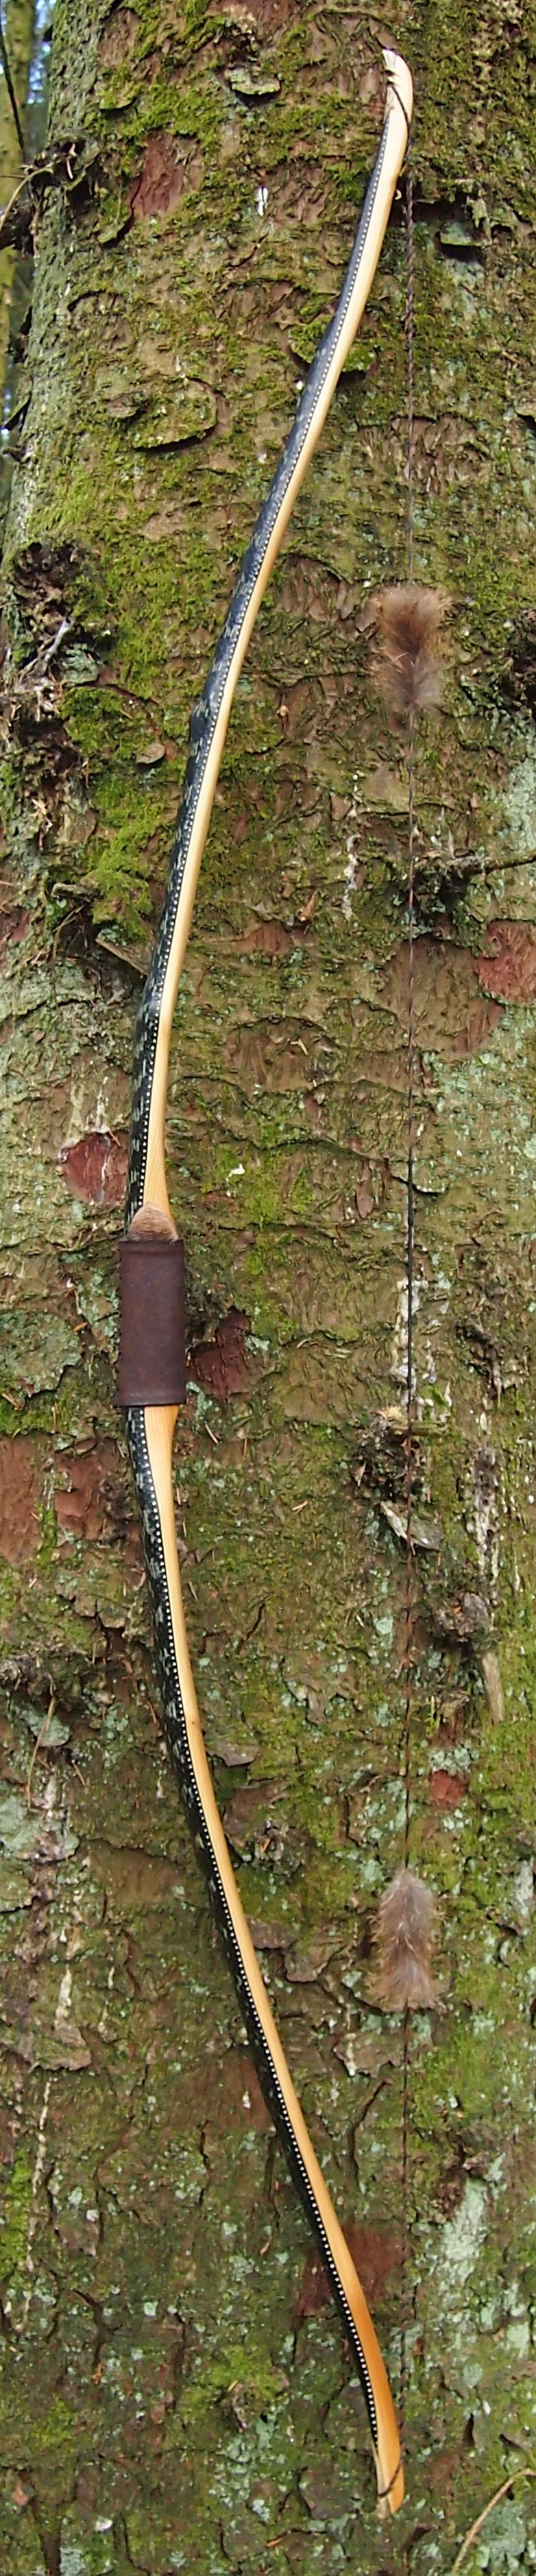
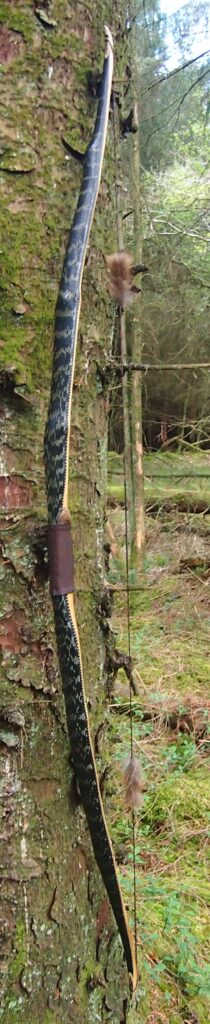
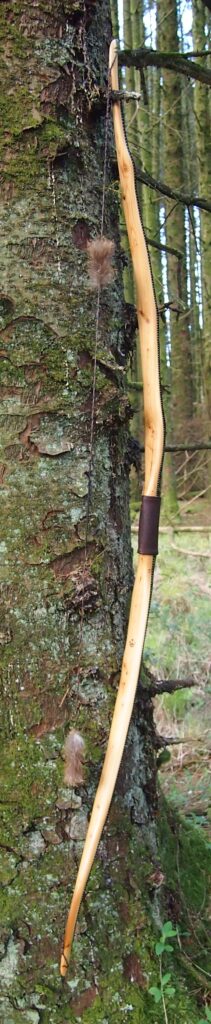
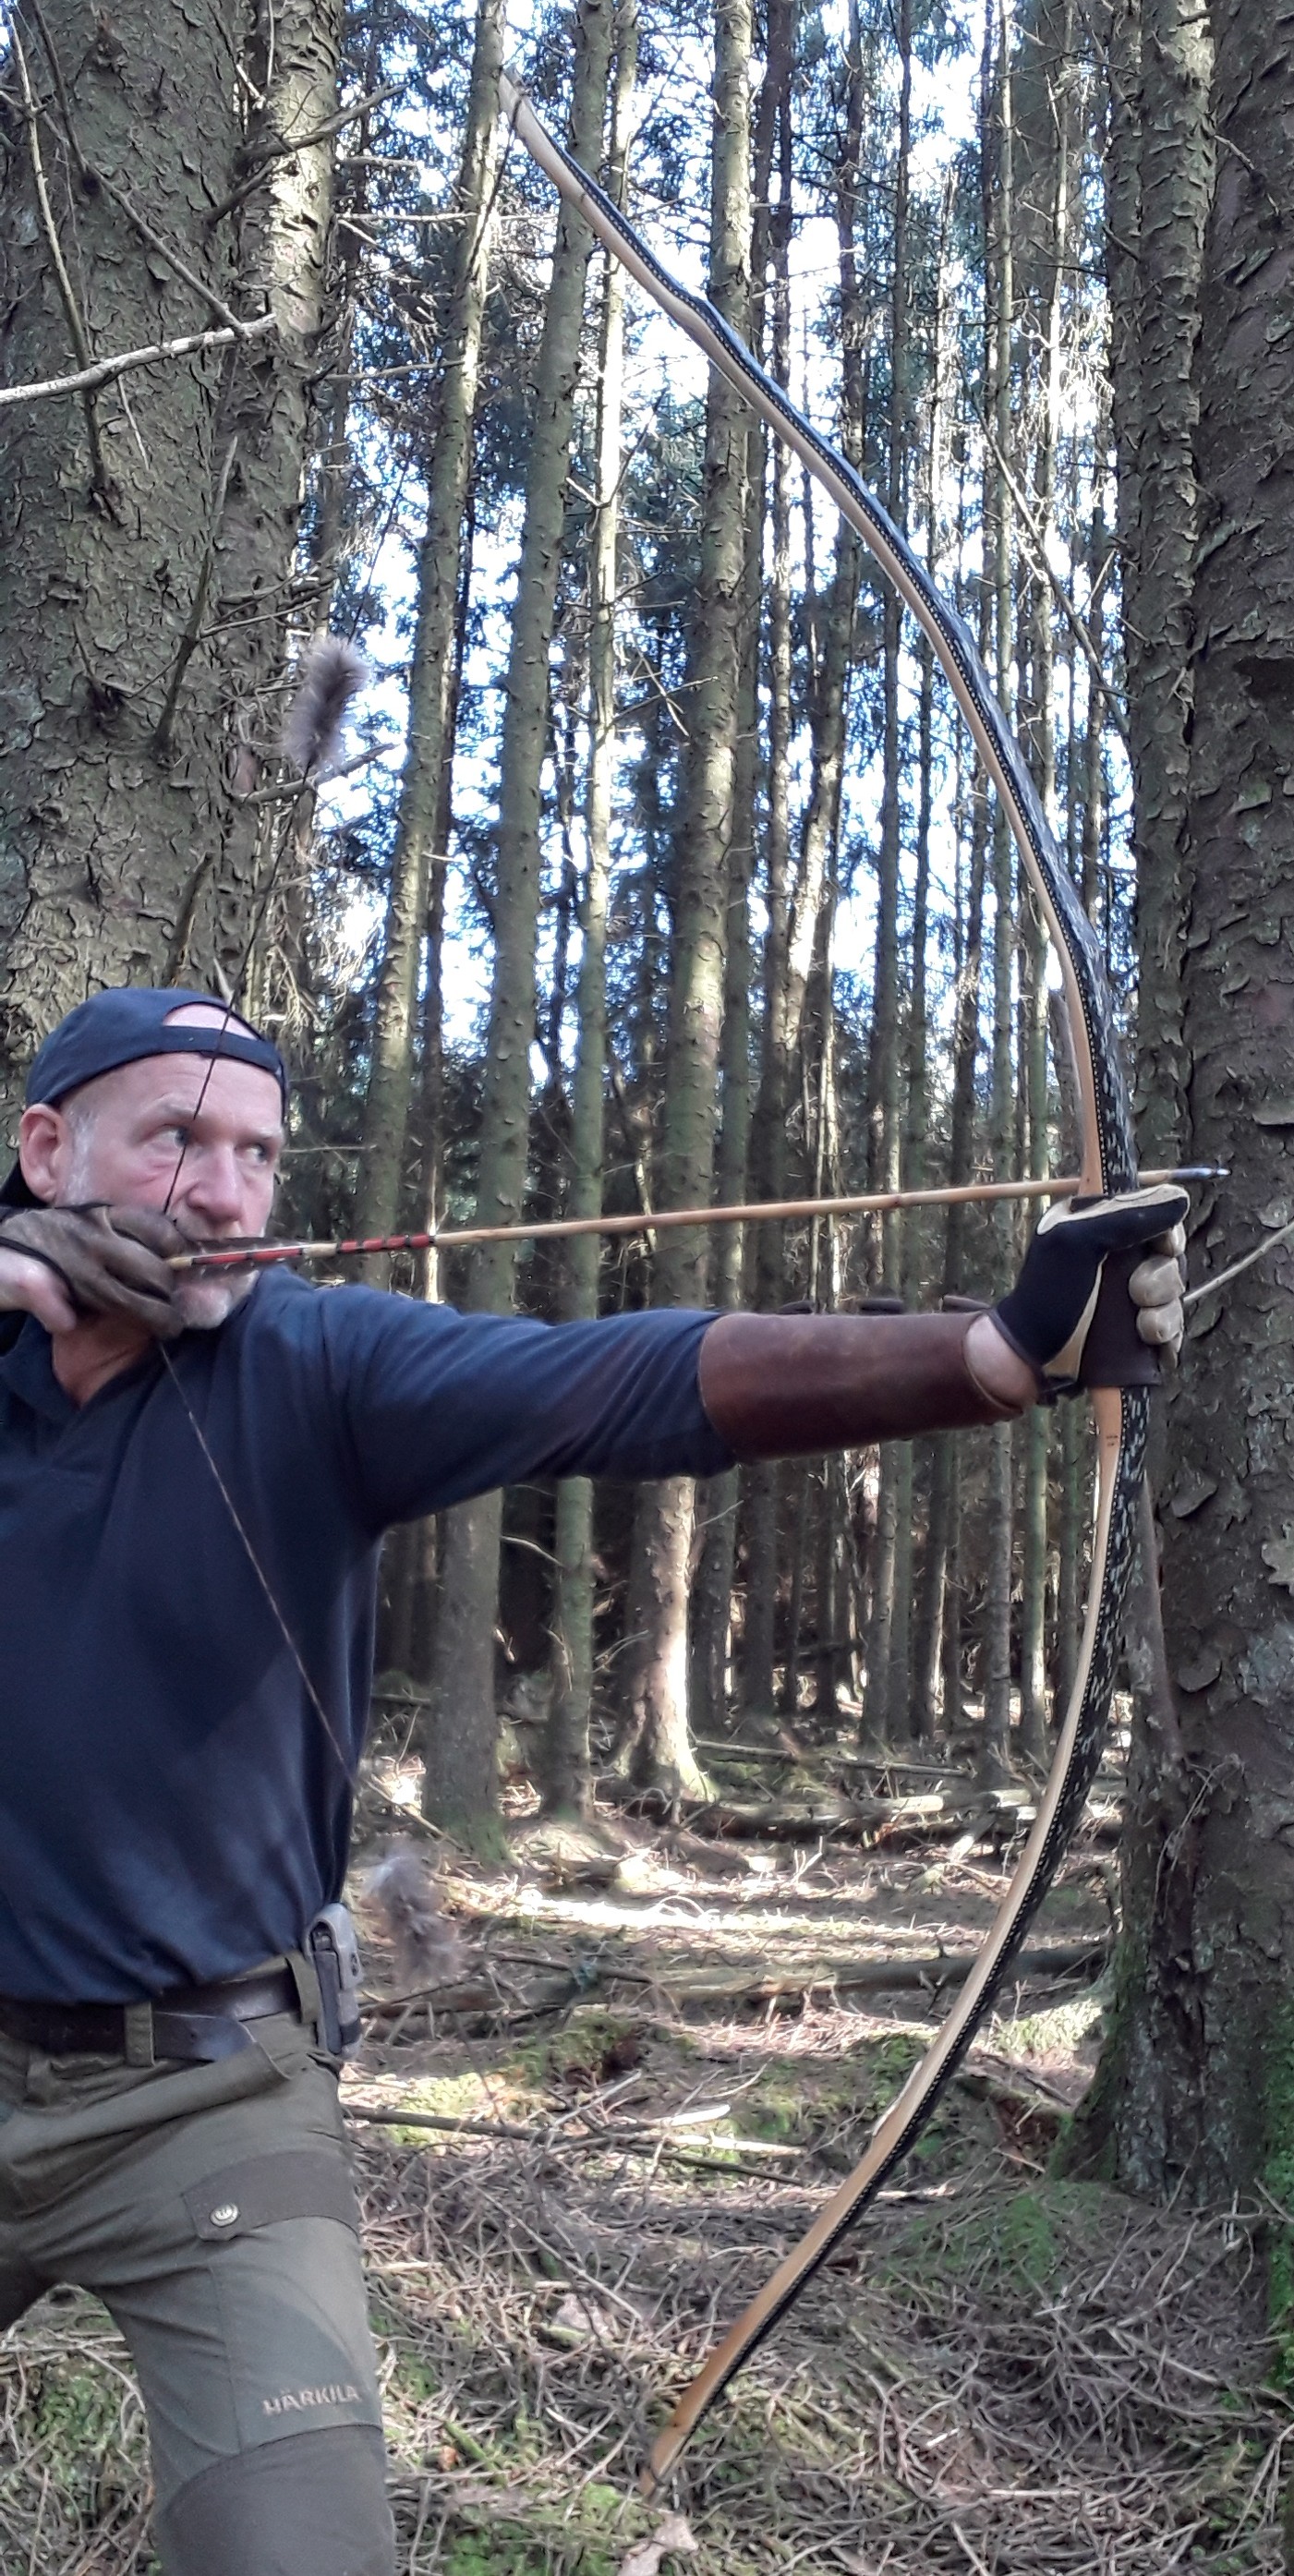
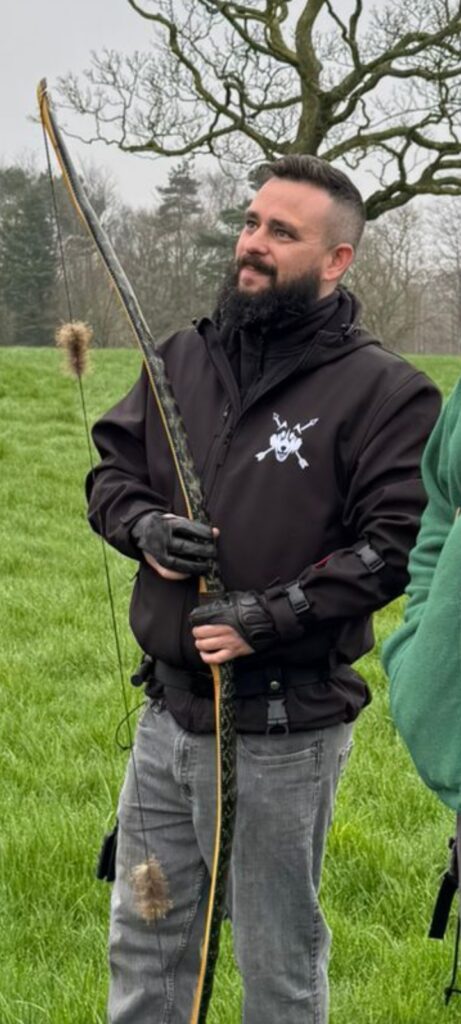
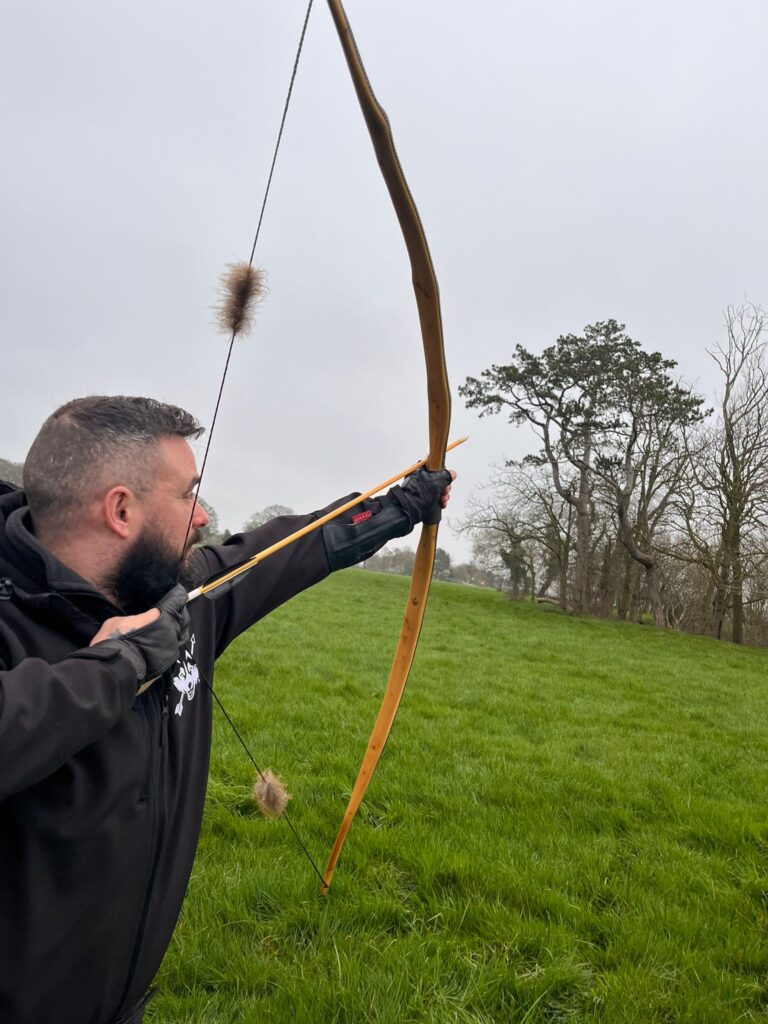
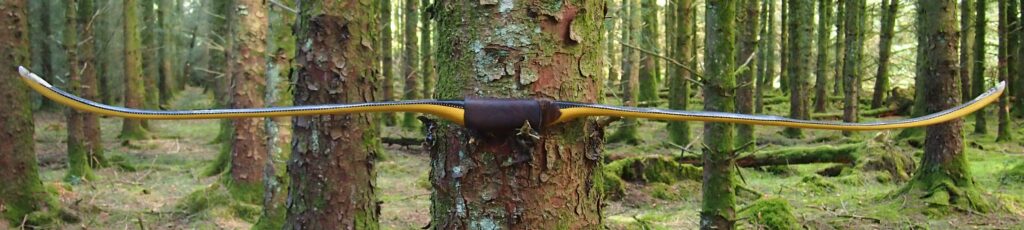
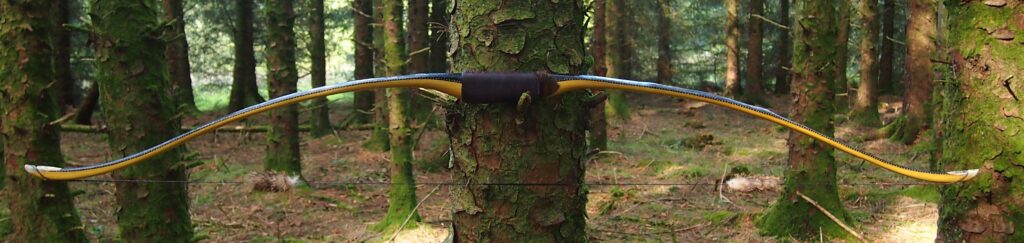
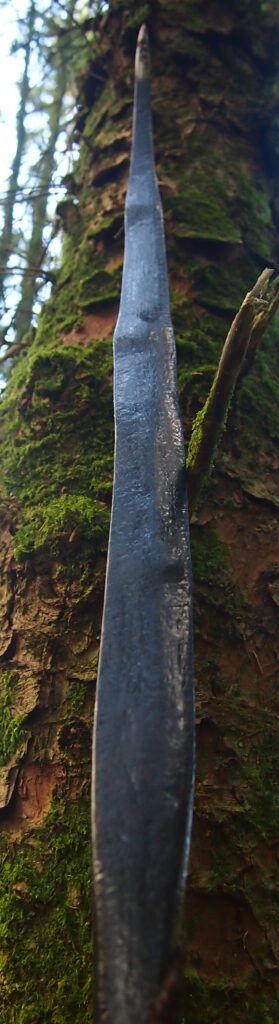
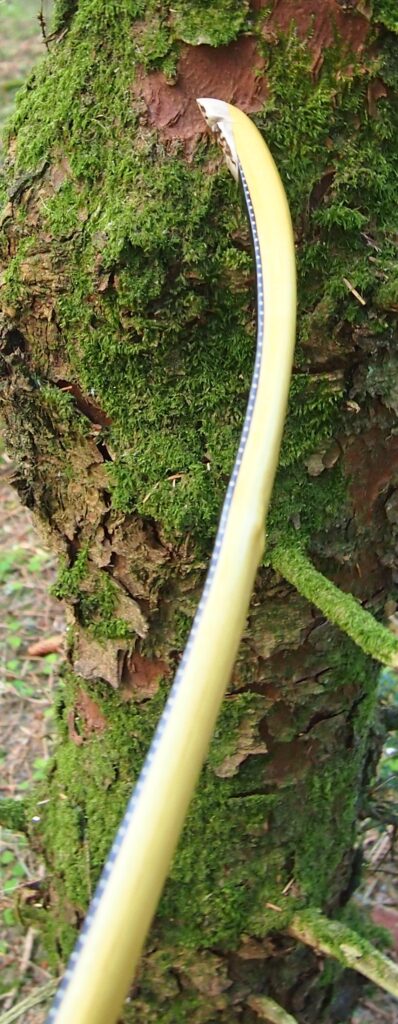
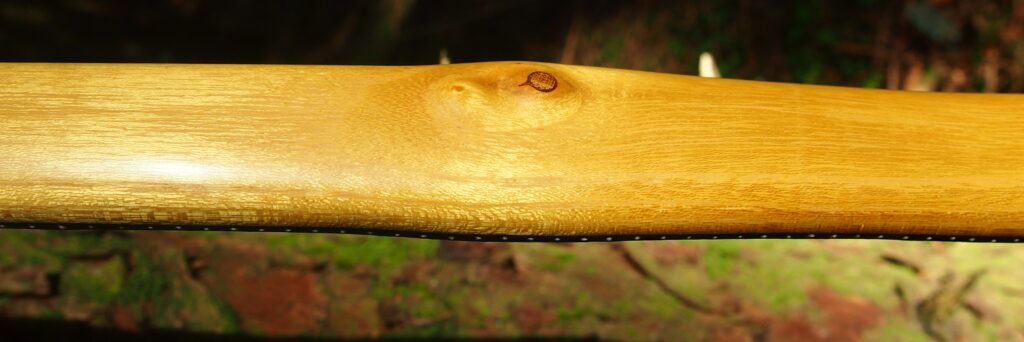
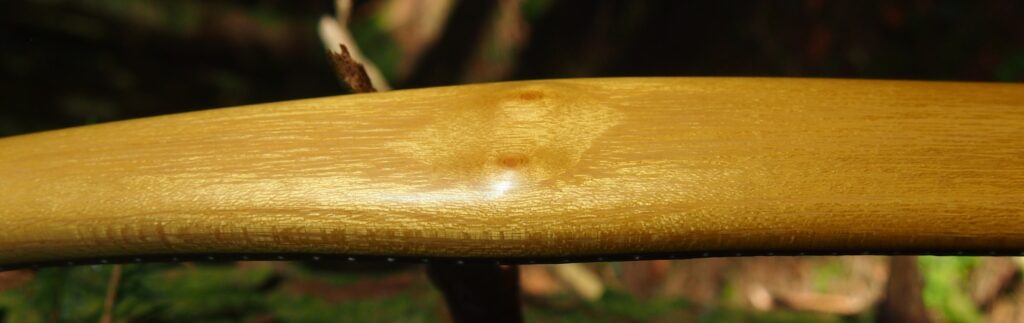
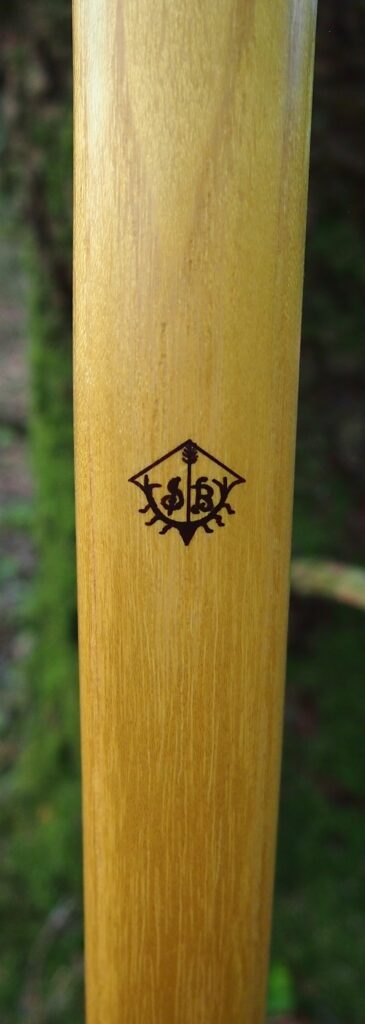
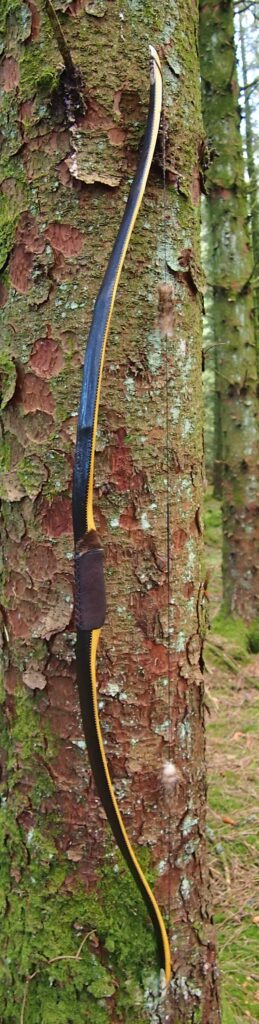
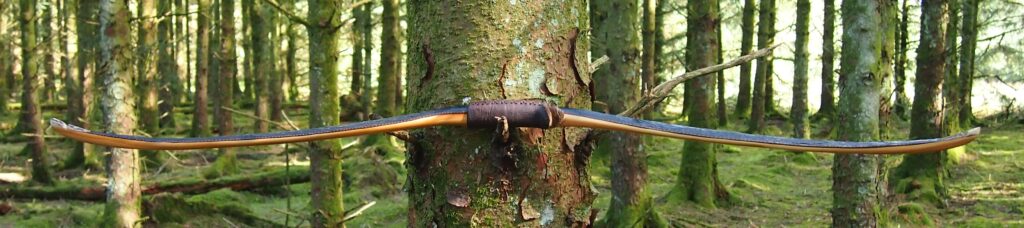
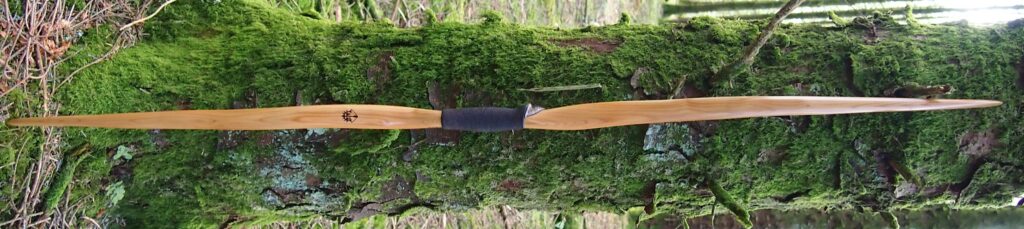
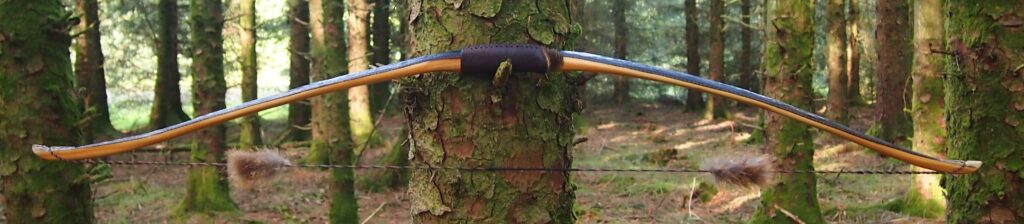
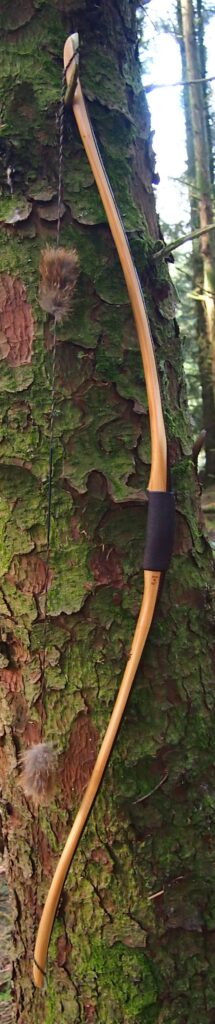
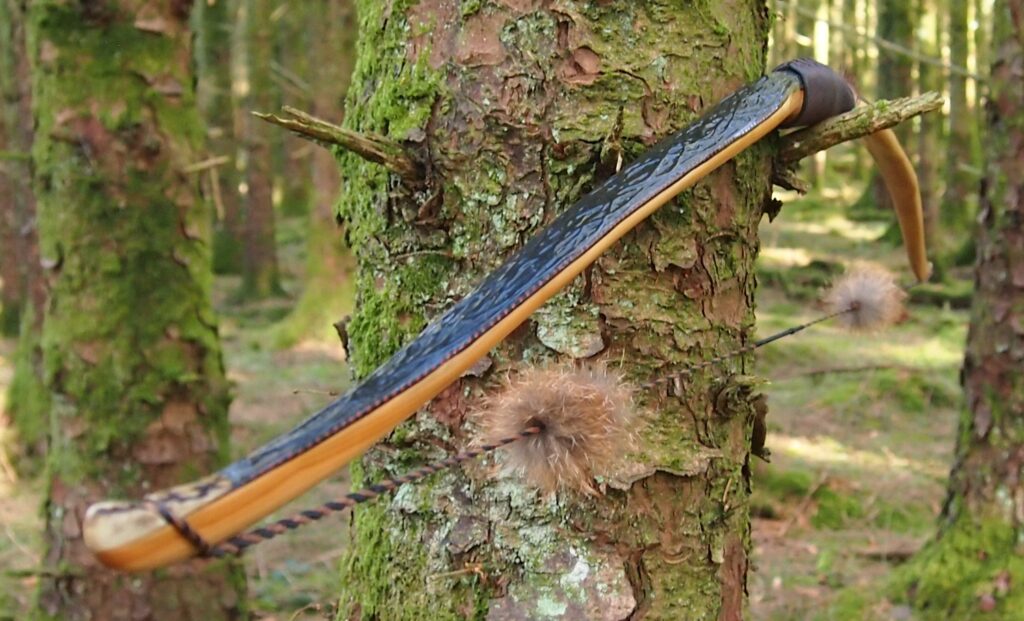
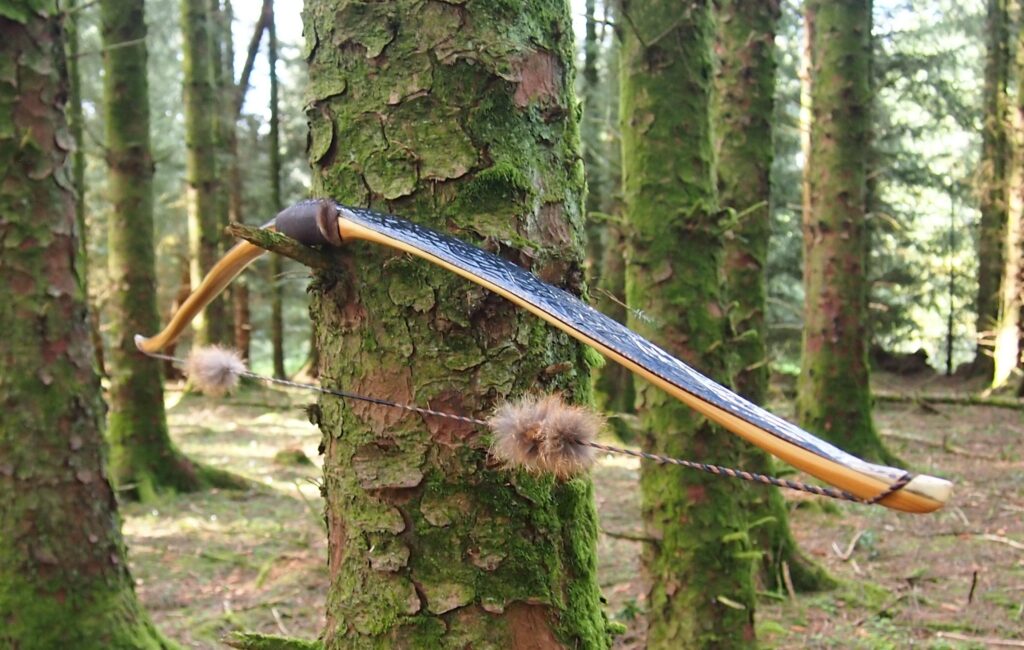
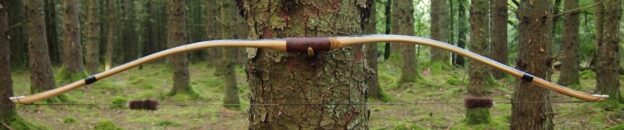
Deadpool – Rawhide/Sinew Backed R&D Yew longbow 35#@28″ (Bow No: 29)

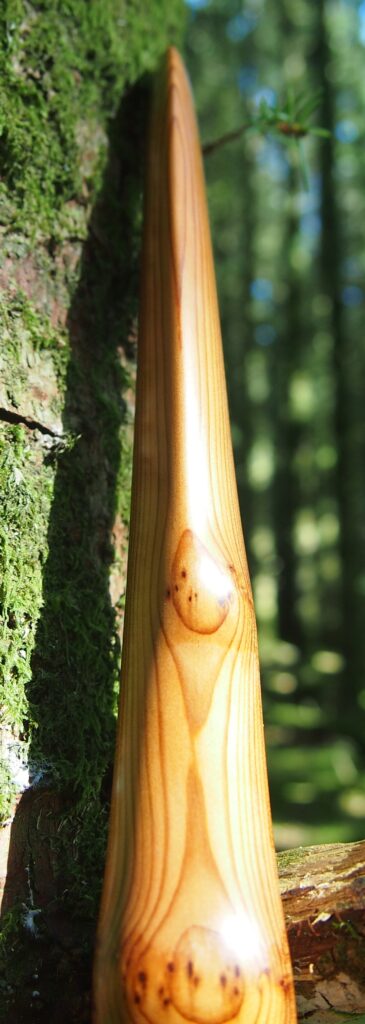
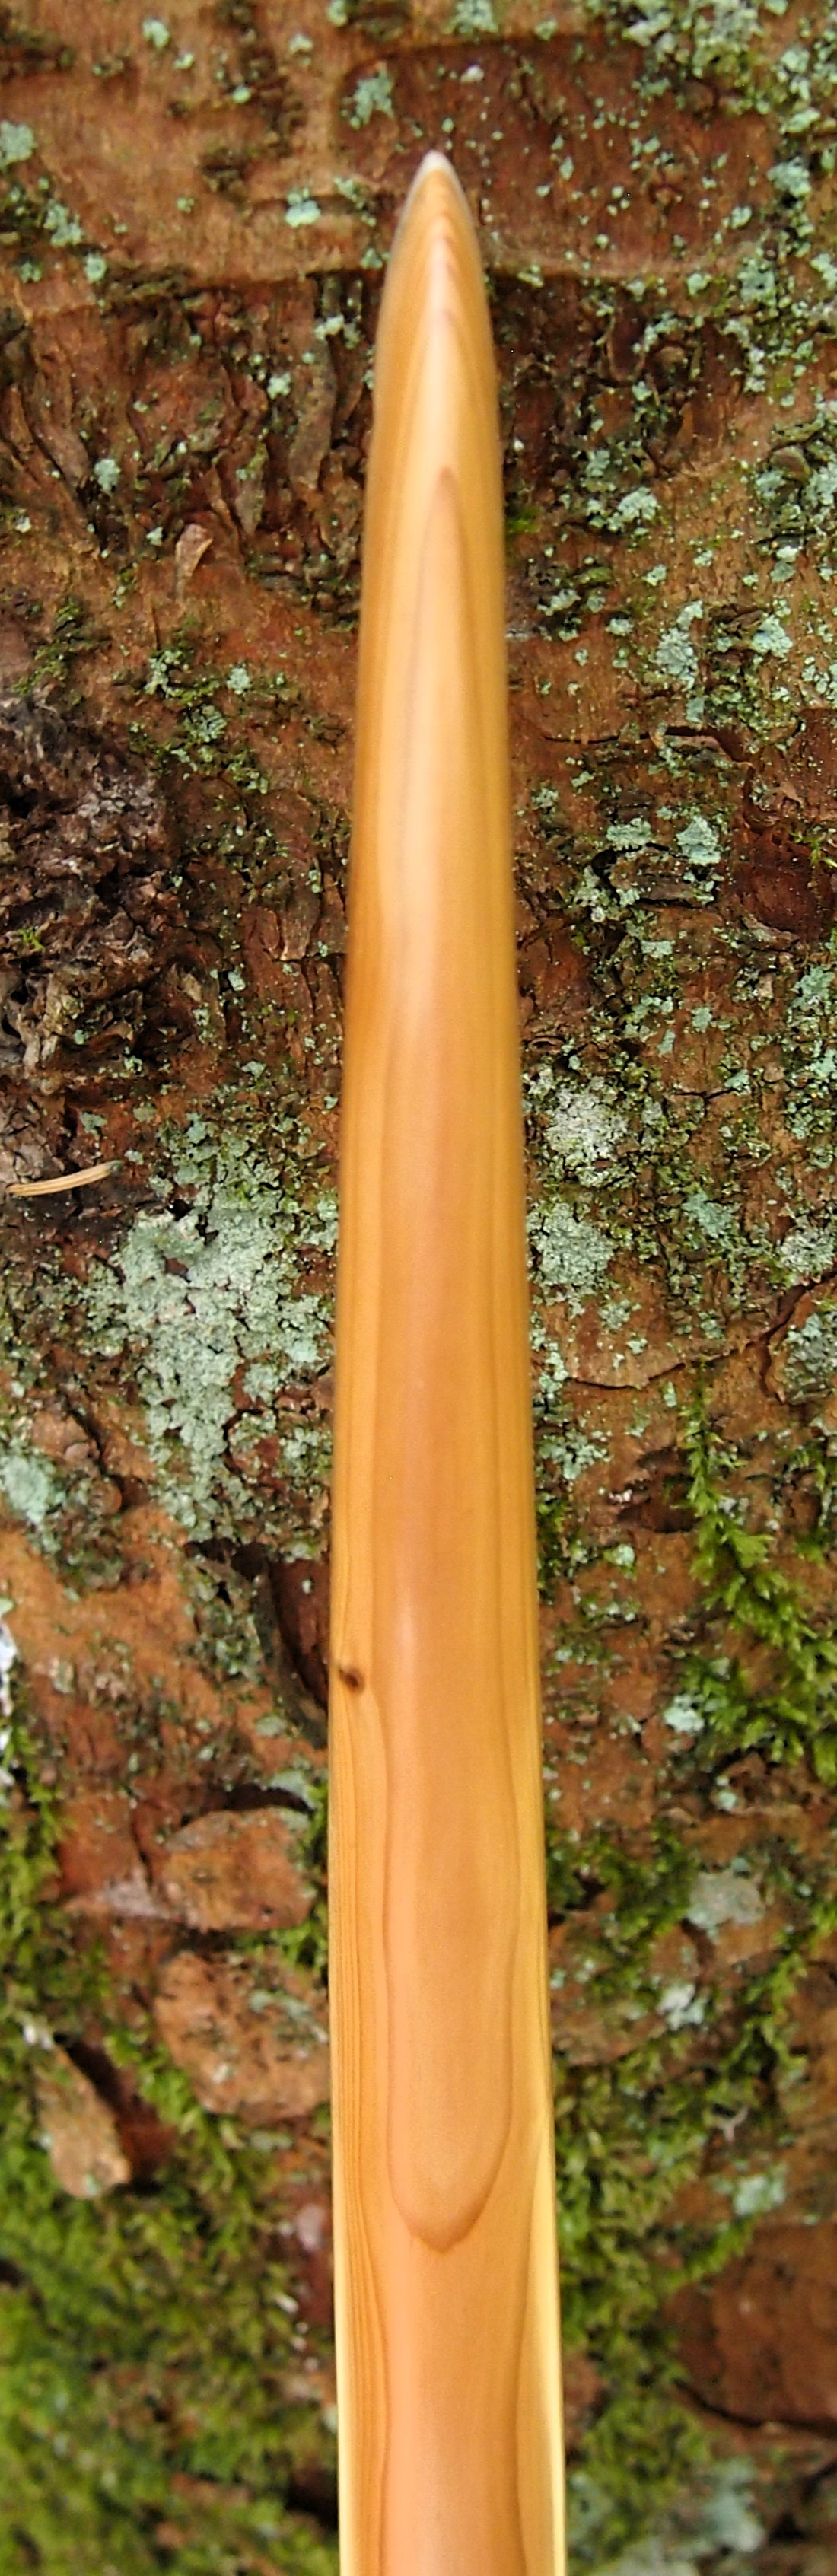
It’s not often I get my hands on a yew log which grew vertically, but the log which produced the stave which this bow was built from came from one of those light seeking leader type limbs you sometimes find on older hedgerow yew trees that have been forced to fight for the light as they have been denied access to the sun by the surrounding trees. Especially if these other surrounding trees are larger conifers.

Since it was a nice looking log and already seasoned, I didn’t mind paying the £80 asking price for it, especially as I felt quite confident in getting two nice staves out of it. So I bought it, plus another log, in the hope that I could make at least a couple of nice lightweight bows.

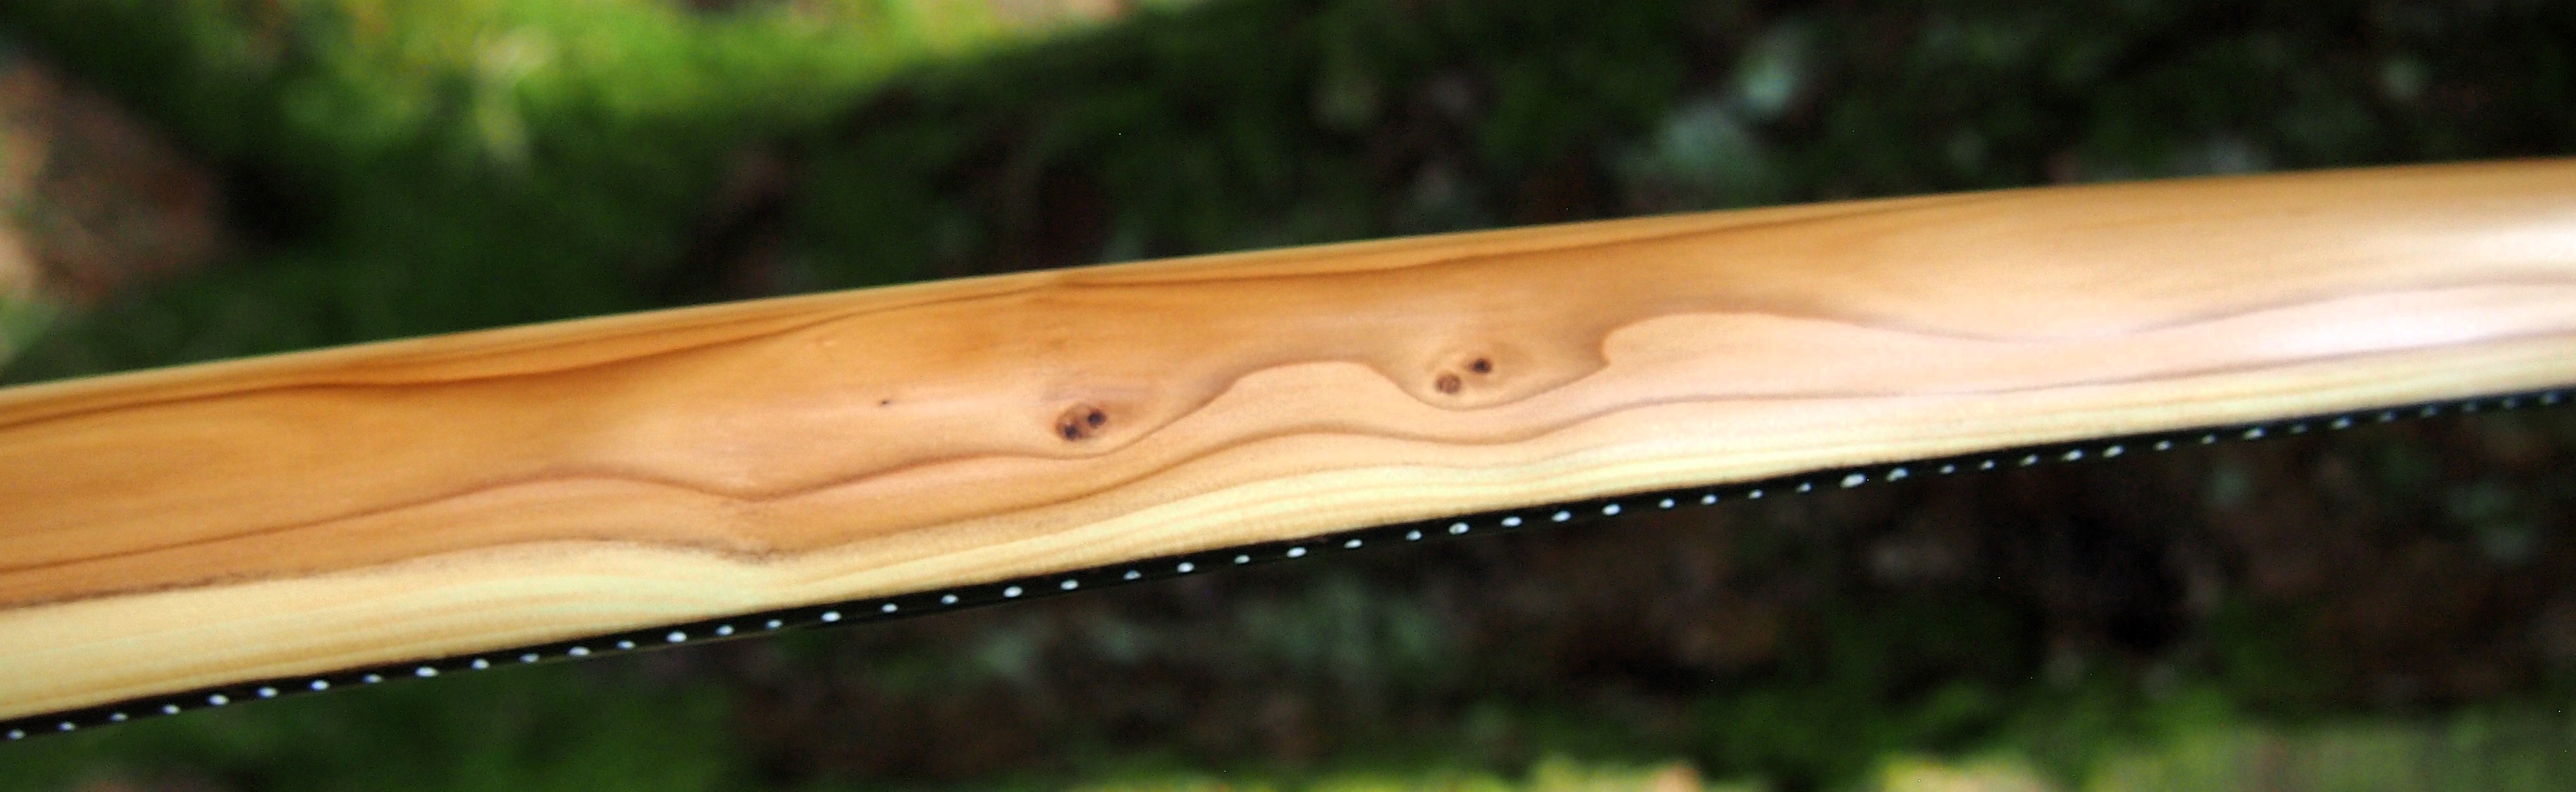
Back at the workshop I checked the log over more thoroughly, trying to find the best face to work with. To be honest though, the whole log was fairly clean except for a few small knots and a handfull of pins which would likely miss the layout altogether.

Growth rings were around 1.5mm thick and were evenly distributed from one side of the log to the other, so the pith was right down the middle of the entire log. This meant that I should be able to simply part this log straight down the middle and hopefully end up with two decent similar sized staves around 68″ long.

Now as tempting as it was to try and split this log in two with an axe and wedges, I’ve learnt over the years that thing can easily go very wrong with this method when applied to yew. The nature of yew grain makes it very hard to split accurately, and I don’t mind admitting that I lost an awful lot of good yew wood when I first started making bows many years ago. Splitting yew with wedges is a bit like trying to split seasoned elm. Another species of good bow wood which binds itself together with interlocking grain.

Having learnt my lessons previously, rather than trying to split this log, I opted to use my band saw to rip the log in two. And with a nice new sharp 3PTI band saw blade fitted, I had the log ripped down the middle in no time.

Even thought this log was seasoned for a couple of years, I could tell that it was still holding a fair bit of damp in its core. So after trimming the ends off both staves and re-sealing them up with shellac, I placed both halves of the log up in the barn rafters to air out for a few more months.

By December last year they were both good, stable and feeling a fair bit lighter, so I set to work first on the stave which looked like it needed to most straightening. This stave had a bit of side bend in what was going to be the bottom limb. This limb also had a fair bit of reflex in its inner third.

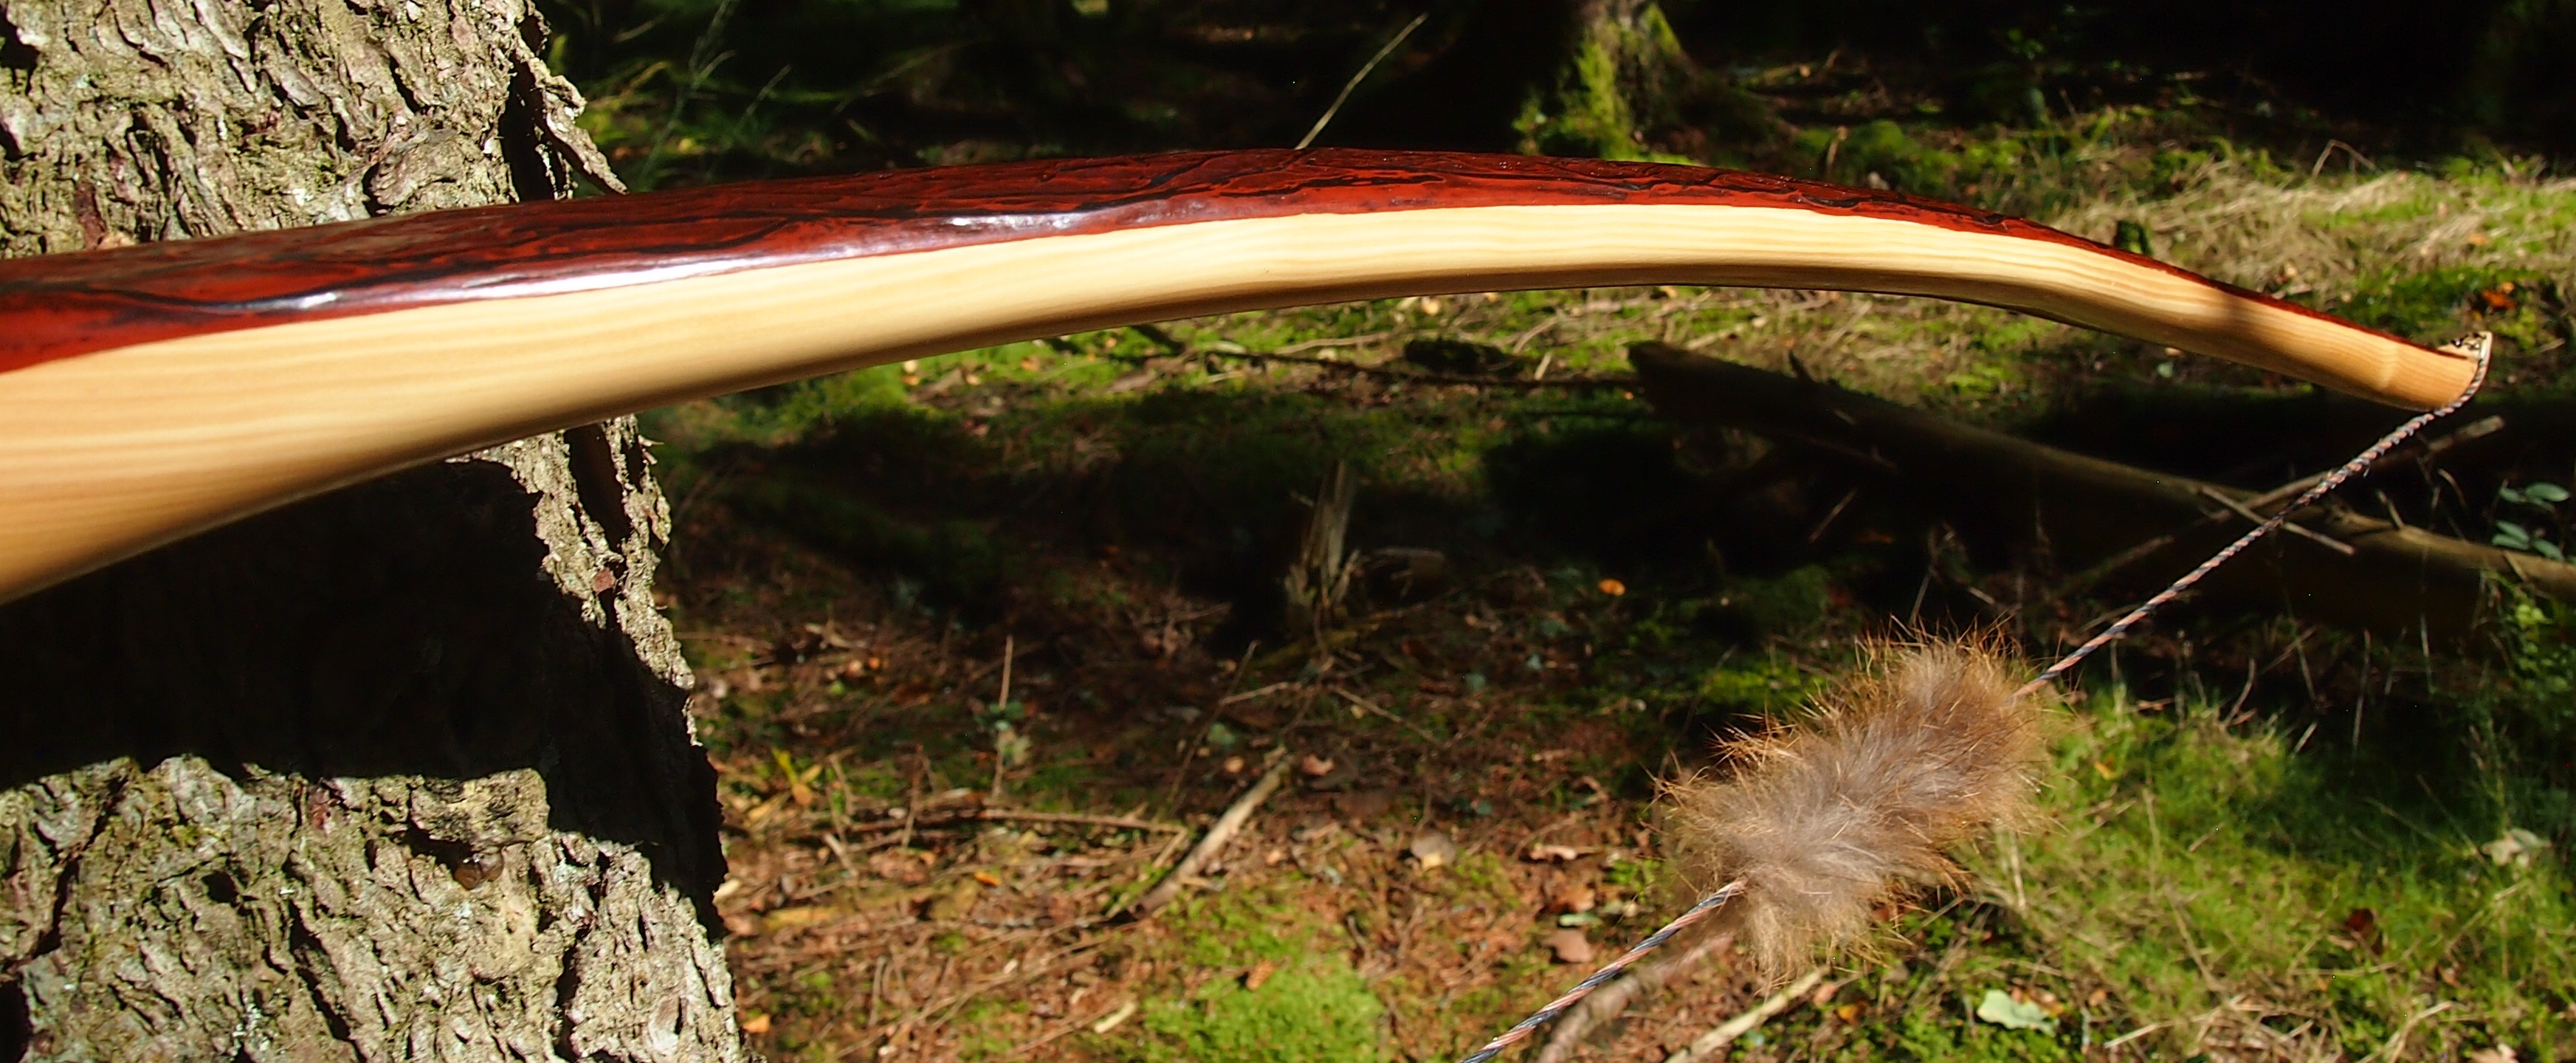
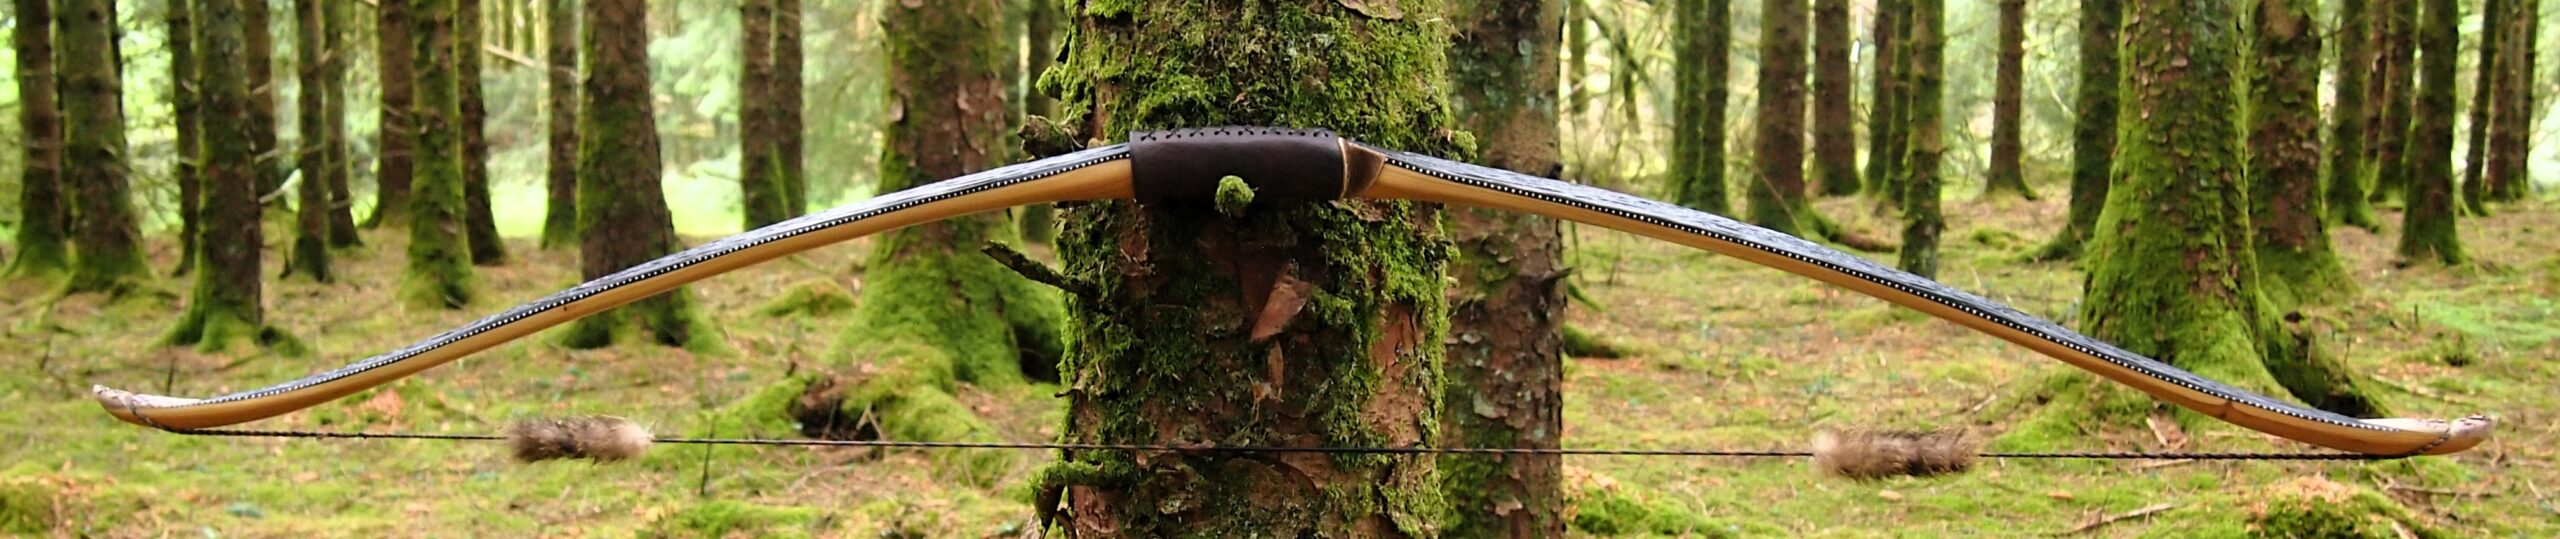
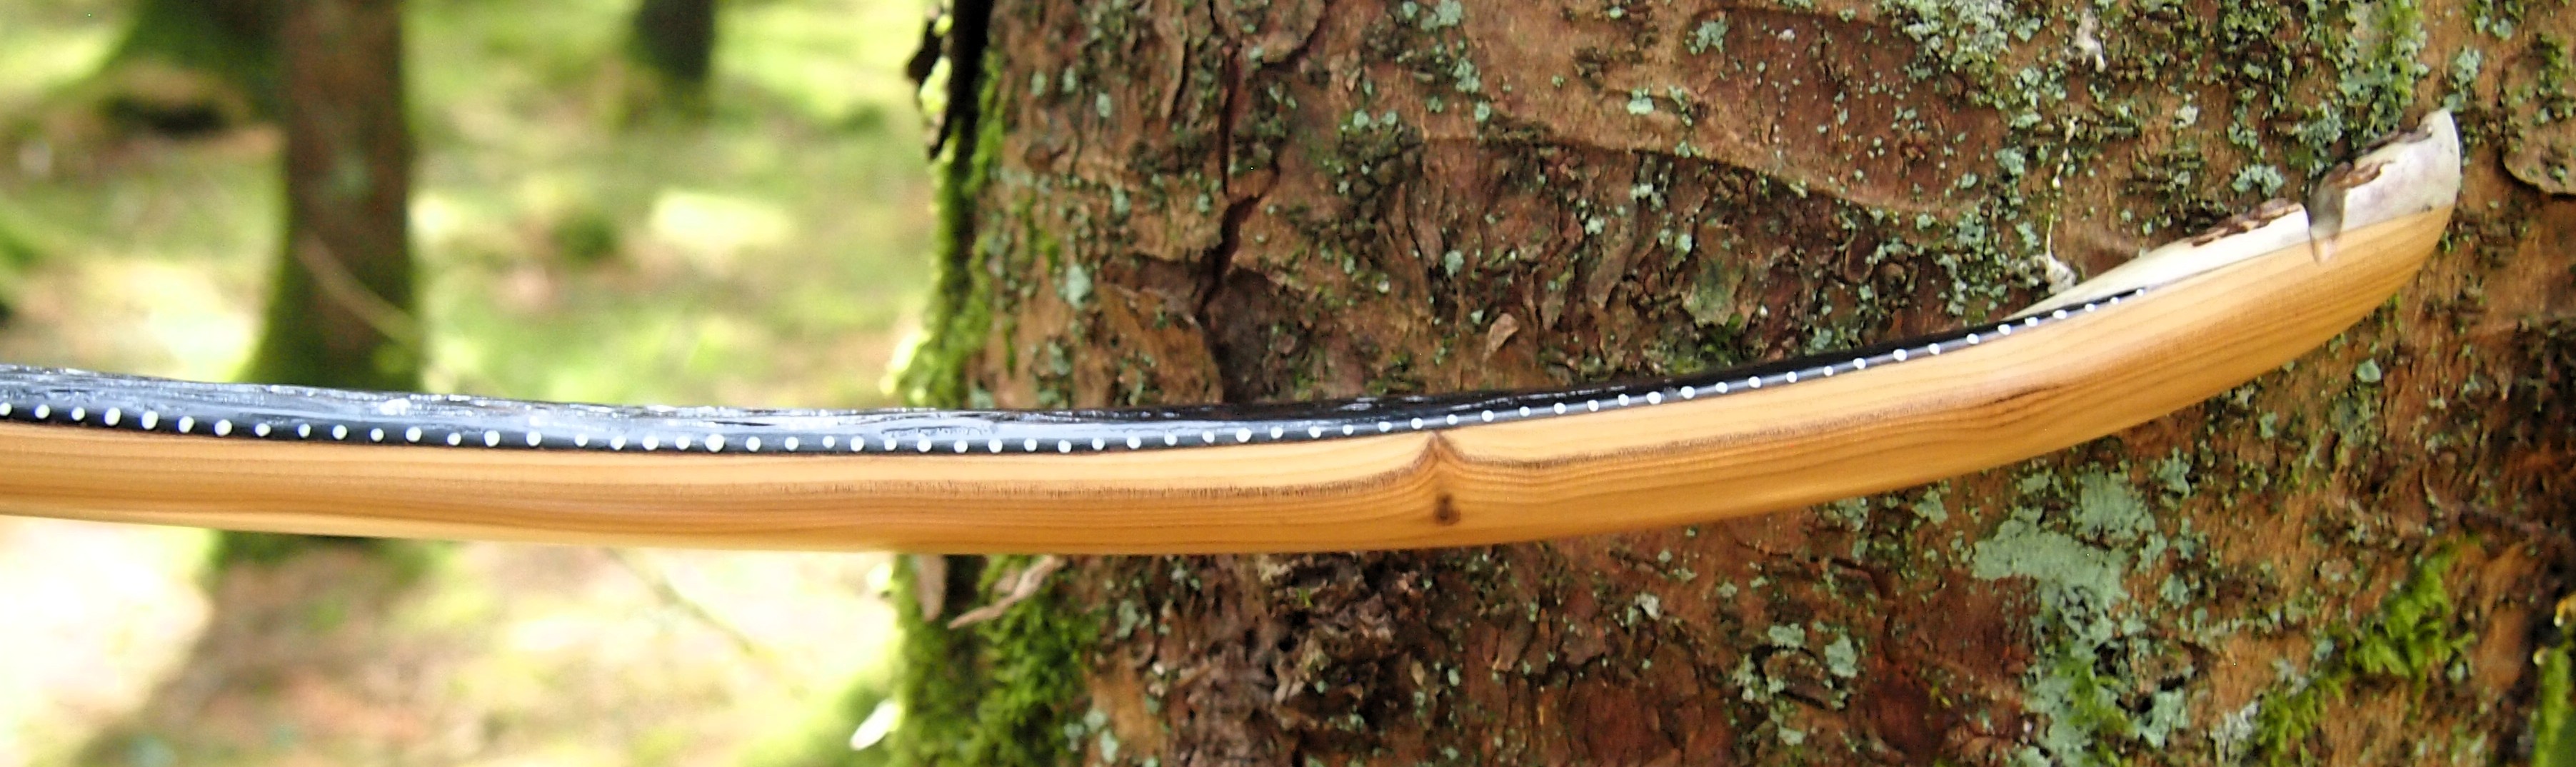
I wanted this bow to have a more classic reflex deflex side profile with a more V shaped appearance at brace like you see the laminate bowyers build from materials like Bamboo and Ipe. The reason being was that I’m slowly starting to get into building laminated wooden bows and have been building some R&D forms lately which are intended for use when building my own bamboo R&D bows in the future. I just fancied trying out the profile on a stave bow first.

Now a note on using heat to bend woods like yew. Firstly, some woods are more prone to cracking when heated with dry heat. Other woods seem not to crack that often. Green or seasoned ash for example hardly ever cracks unless badly scorched by dry heat. Yew however is prone to cracking, especially around the thicker parts of a stave like the handle section. A lot of fruit tree woods and thorn species are prone to cracking and splitting too.

With steam bending, even a wet stave will often conform to an intended shape without too much risk of cracking. But I’ve often found that steam bending a wet stave just produces a bend which doesn’t hold once the clamps are removed, unless other measures are applied afterwards.

So I still like to get my staves nice and dry, even before steam bending, as I find that steam bends/corrections are much more likely to hold once allowed to cool, dry out for a few days, before being set in place with the heat gun. And if you try and set a wet steamed stave with a heat gun immediately after steaming, your are back in the territory of wet wood with all the potential for cracking.

I’ve learned a few tricks in order to mitigate the risk of cracking/splitting timber when heating and hopefully the following advice will help you avoid problems when working on your own builds.

Firstly, get your wood as dry as possible before you attempt to heat straighten a stave of a timber prone to checking. But dry your wood slowly, unless it is a timber like ash which is safe to speed dry.

Many white woods will take a heat gun treatment when still green and still not check, but try that with yew or thorn/apple etc and you’ll end up with deep ugly splitting in all the worst of places.

What I do nowadays is season all my split or saw yew staves for a minimum of a year in the barn rafters. But before I tuck them away, I always seal the stave ends with shellac. If it’s osage, then I seal the back of the stave too. Especially if I’ve chased the stave’s back down to heartwood before putting it away for seasoning.

After at least a year in the rafters, once I’m ready to use a stave, I then rough out my staves as close to final dimensions as I dare. I then let the stave sit again in the barn rafters for another month. Before doing this though I weigh the roughed out stave and write the weight in grams on the handle section. You’ll be surprised how much water weight comes off a “seasoned” stave when you do this.

After a month roughed out in the rafters, I then bring the stave indoors and leave it in the spare room for a couple of weeks. My spare room has no heating on and is cool but not damp. Again I weigh it and note the weight in grams. A couple of week in my spare room will see another bunch of weight fall off.

Finally, I put the stave into my drying room where I have a dehumidifier running permanently maintaining a humidity of below 40% and a temp of 22 degrees Celsius. This is where the magic happens.

The purpose of the staggered and gradual drying is to allow the moisture to leave the stave slow enough to avoid cracking and splitting. Any quicker than this and I find that the handle section will often crack either in the fades or down the narrowest parts of the deepest section of the handle. Especially if the pith is left in the handle section.

The tips can sometimes crack too as a result of too much moisture leaving the stave through the ends too quickly, especially if the previously sealed end surfaces were trimmed off during the roughing out phase. Always reseal the tips of a yew stave. A couple of applications of thin shellac stops splitting in most cases.

I’ll usually leave a stave in my drying room for at least a month. Or I keep weighing it every week until the weight stops falling. Once the weight loss has plateaued, then I feel confident I can get heat directly onto the stave without much risk of cracking it.

This is also a good time to take a stave to the steam pipe to perform significant steam bends or whole stave corrections if full profile forms are being used. Just remember that steam bending puts a lot of moisture back into a stave, so once your stave is steamed and clamped to the shaping form, it will need to stay clamped to your form until it has fully dried again

To get your steamed stave dry again it will need to be returned to the last two stages of drying process previously described above. Only then, once you’re confident the steamed stave is now dry again, should you set the steamed shape in place with the heat gun. After fully drying, heating, then allowing a stave to cool completely, can we now remove the clamps to see what we’ve achieved.

It’s not uncommon to see as much as 100 plus grams of moisture weight being lost between roughing out and the point at which the staves weight stops dropping. And this stave was certainly much lighter after going through the same process just described. So once the weight had stopped falling, I pushed on with the build.

The new R&D form worked well and I used this form combined with my steam tube and a bunch of clamps to get this stave conforming to the desired shape. After putting the stave back into the drying process whilst still on the R&D form, I was confident that the stave was dry again, so I set the shape with the heat gun.

The advantage of using a form is that I can apply side bending at the same time as putting in whatever curves I need, all at the same time. This significantly reduces the amount of heat treating needed in order to get my staves aligned and shaped as balanced as possible prior to tillering.

This stave took the classic R&D shape very well and after a period of a few days settling in back in the drying room, I began the tillering process, which was made simple by the fact that the string alignment was now sorted, and a lot of balance was now installed through the heat shaping process.

I aimed to make a lighter draw weight bow from this stave for two reasons. Firstly I often get asked for bows in the 35# range. But since most primitive or traditional archers tend to prefer draw weights closer to 50#, this higher draw weight is what I usually plan for when roughing out a stave. So for this stave I was planning for a lighter bow from the outset.

Secondly, whilst roughing this stave out, I’d discovered a small hidden pocket of rotten, delaminated material, smack in the middle of the lower limb. And by the time I’d excavated the undesired material and surrounding muck, I wasn’t left with a huge amount of material to provide the kind of limb thickness that would be required for a bow over 40#. So circumstances were telling me to use this situation as a good reason to finally make the sub 40# bow which I keep getting asked to build.

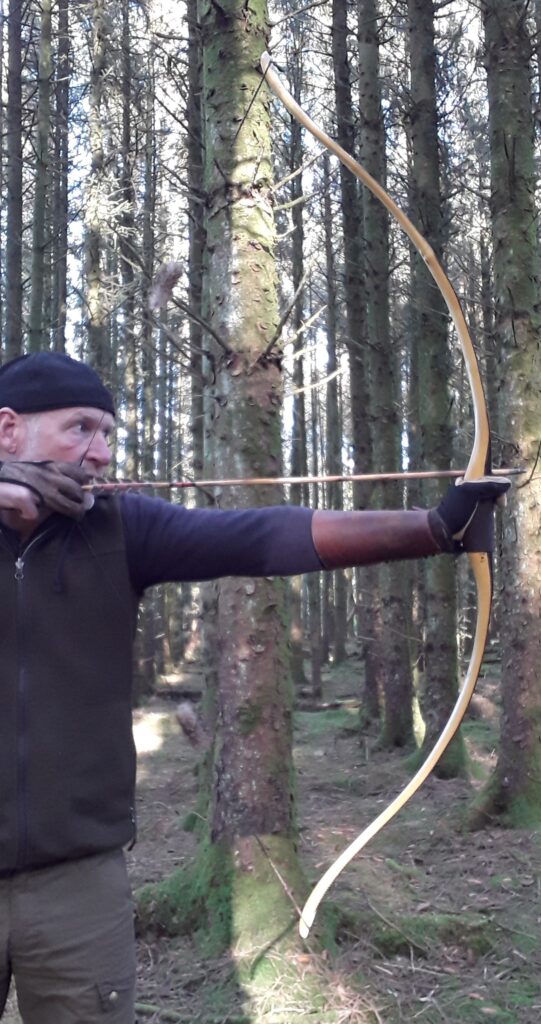
Tillering was so much easier with the limbs starting out with the exact same amount of bend. And whilst the classic V shape of this bow when strung is still growing on me, I have to say that the draw felt lovely and smooth and without any stack. These R&D bows are super easy to string too, which is always a bonus.

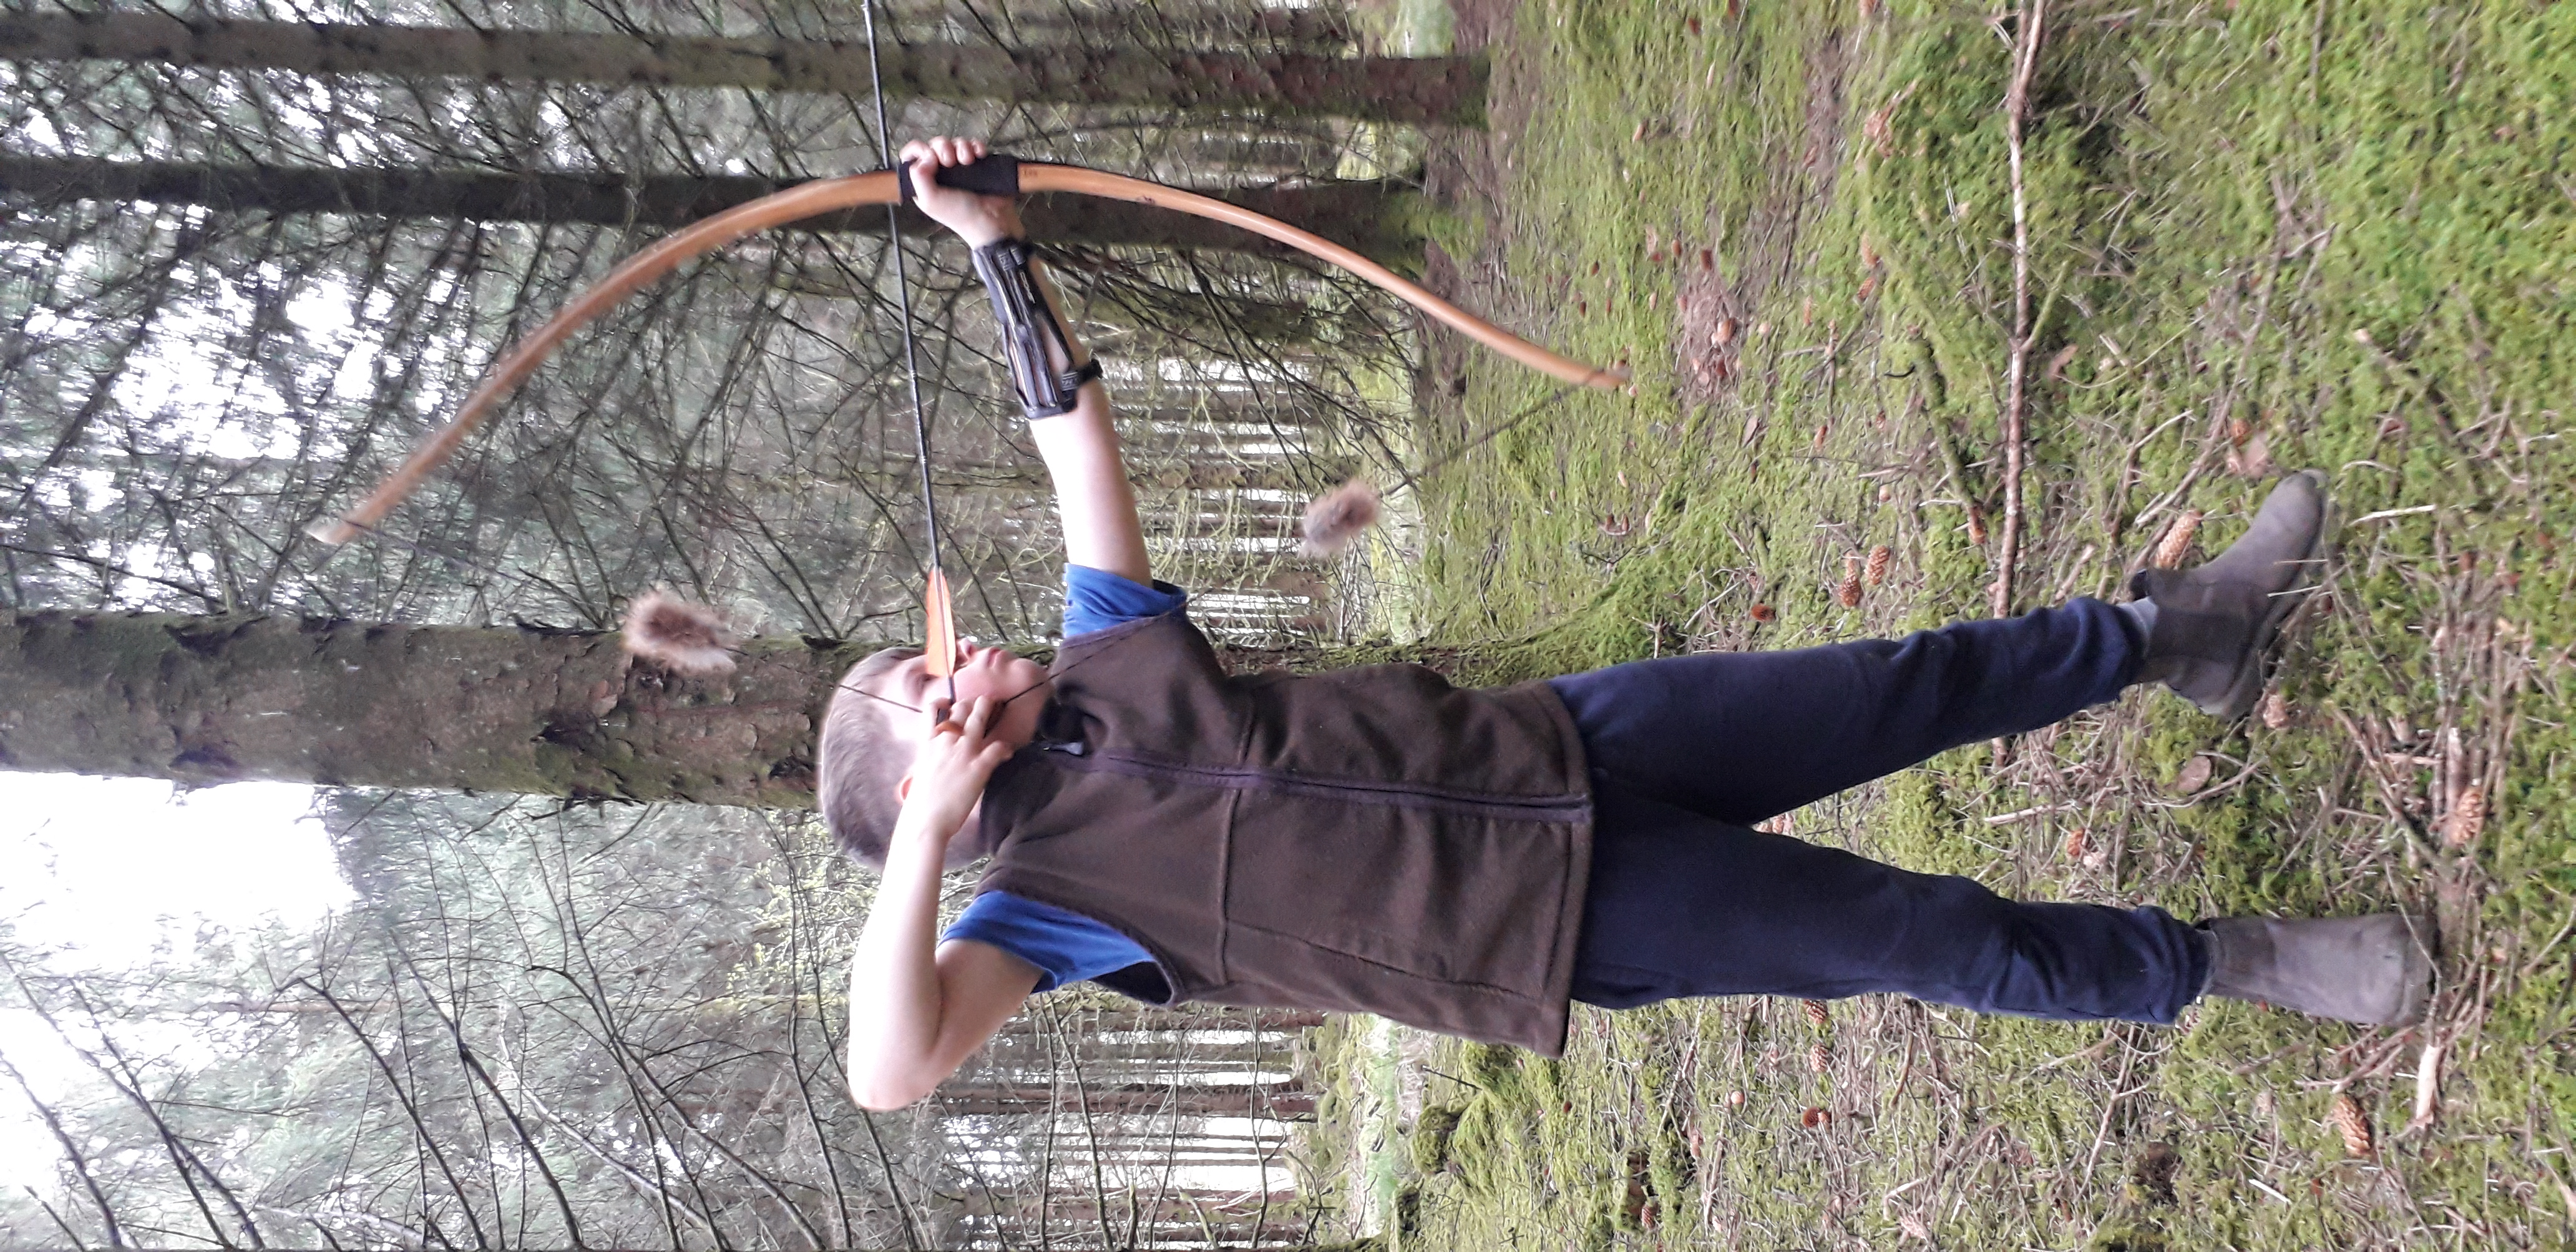
So with the scales reading 35# at 28″, shooting her in was actually a great bit of relaxing fun. And my right shoulder which has been giving me some trouble lately was really appreciative of a rest away from the normal 50-60 pounds of draw weight which I routinely shoot.

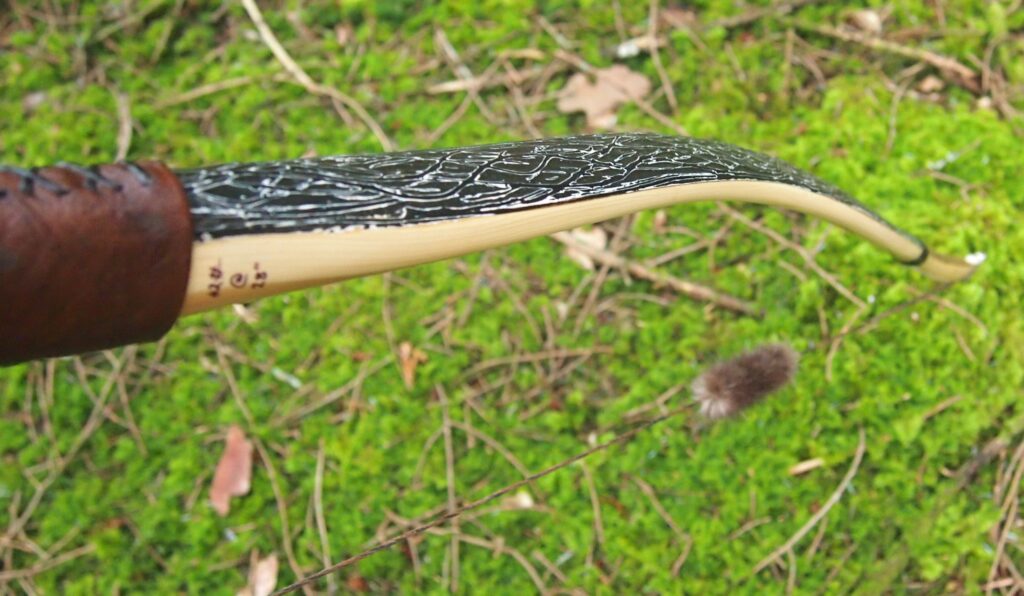
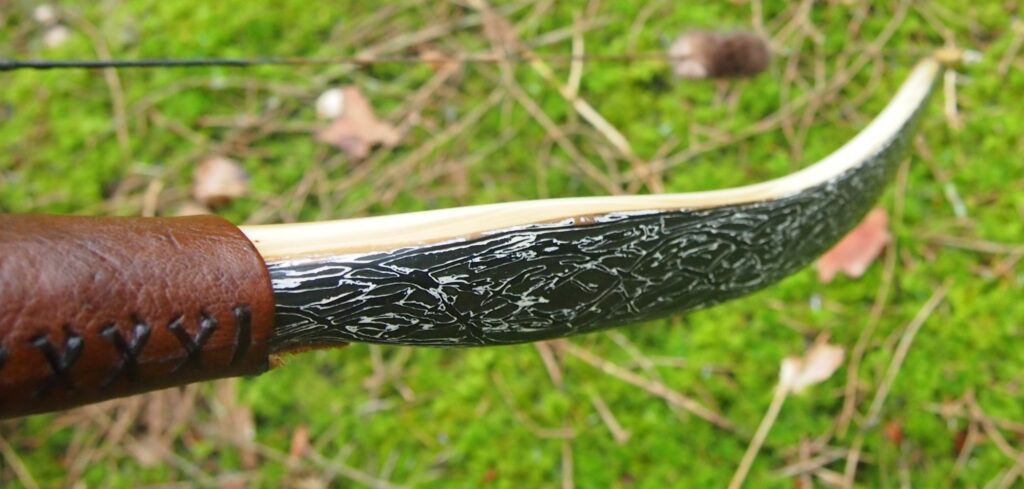
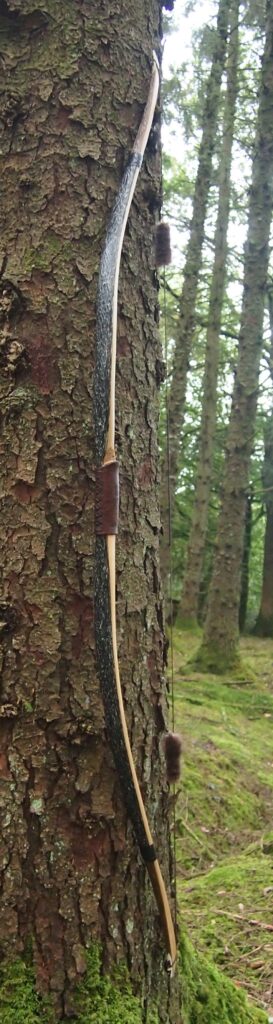
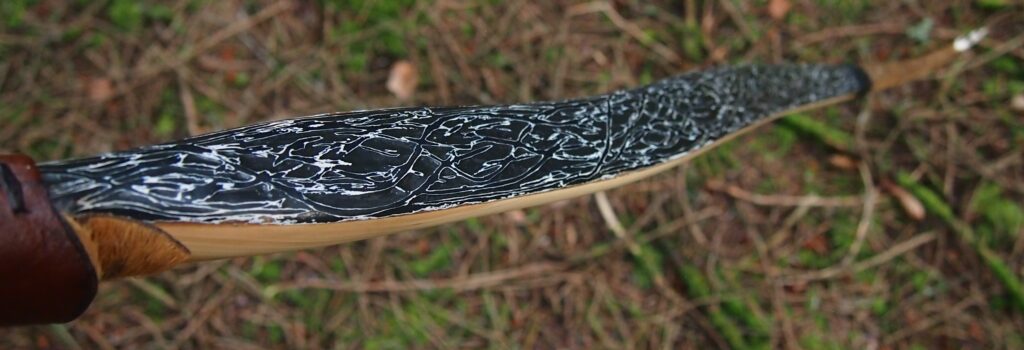
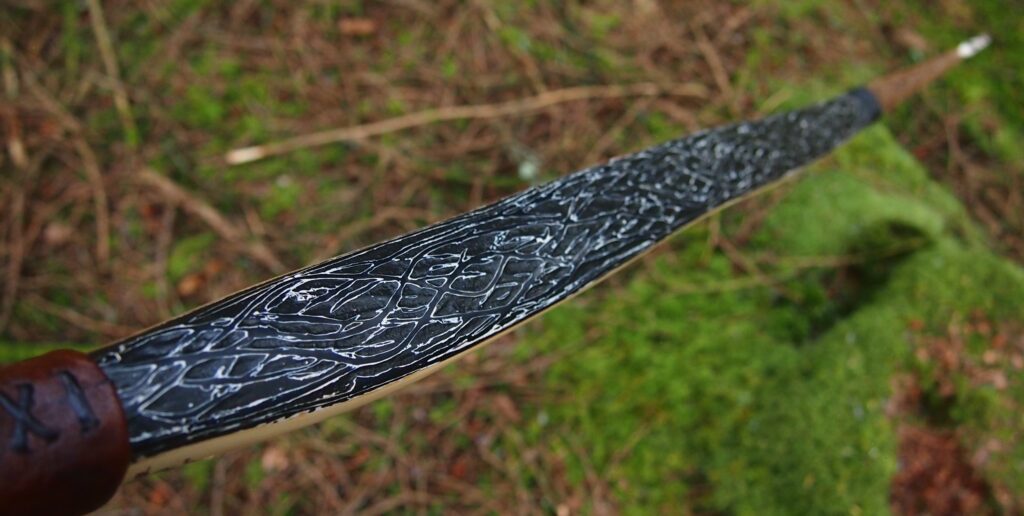
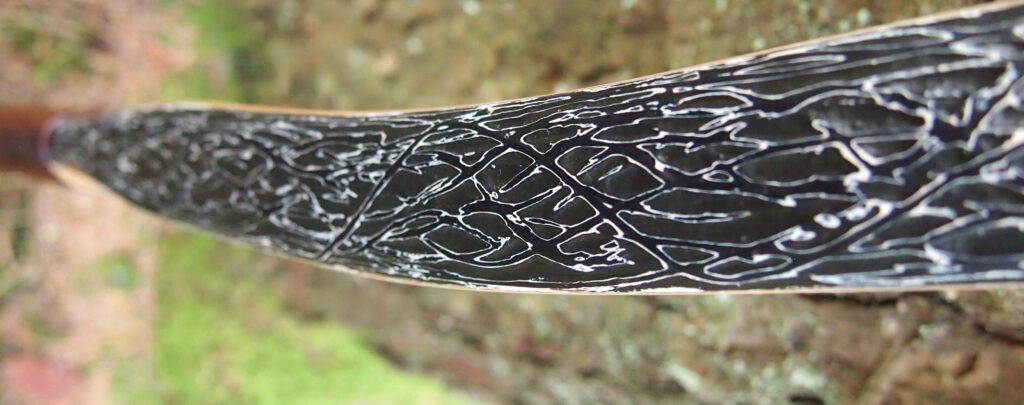
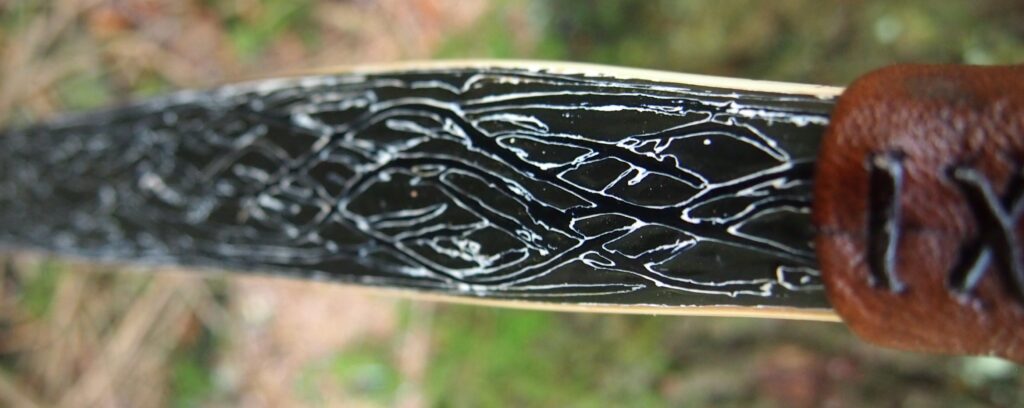
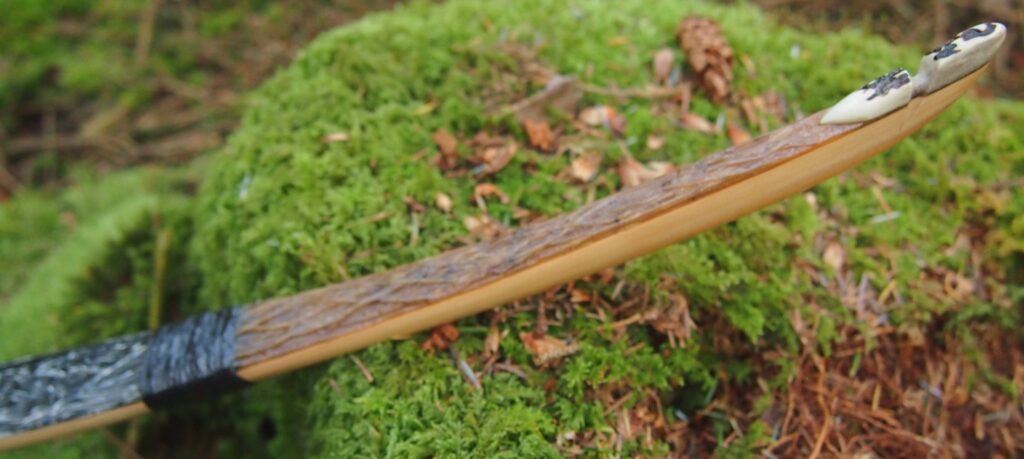
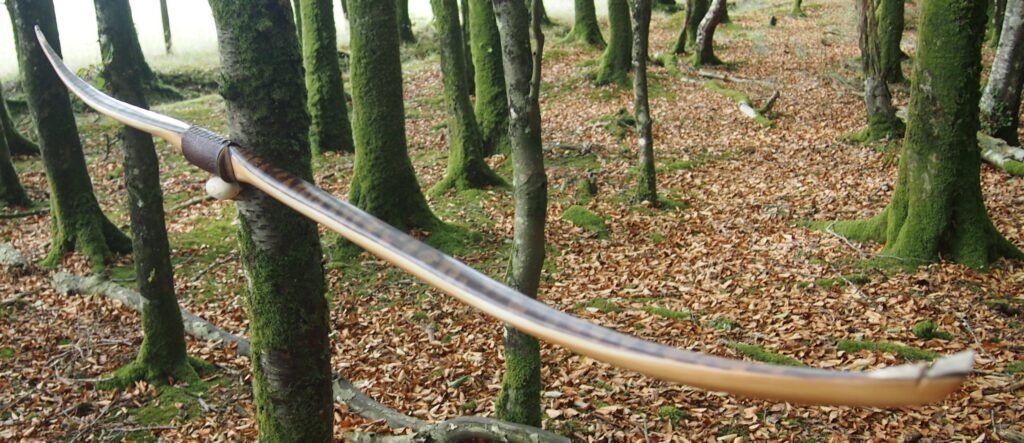
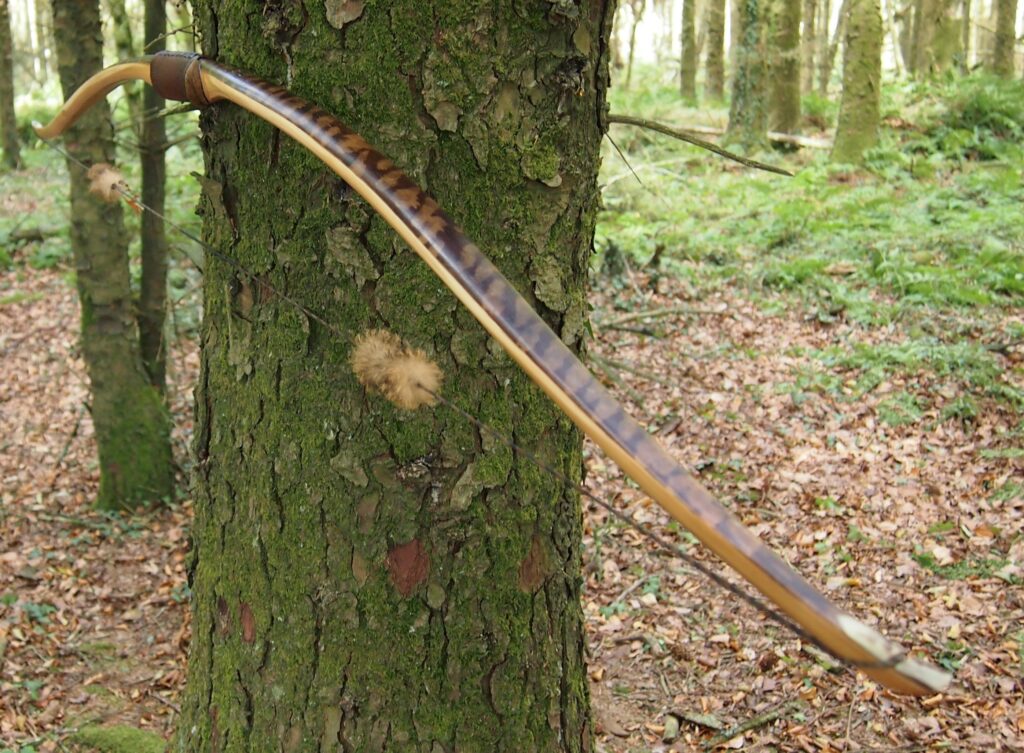
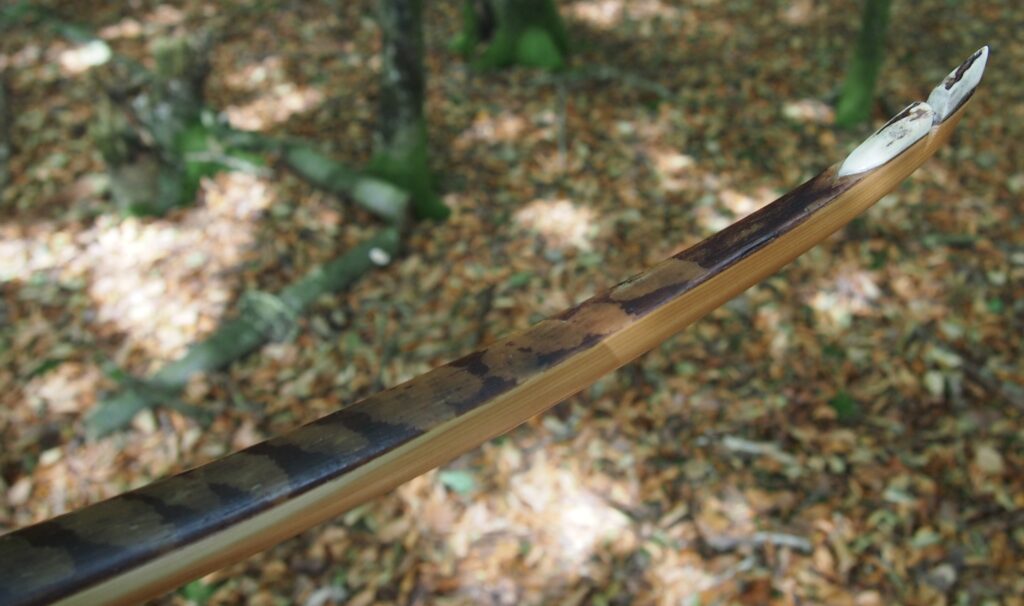
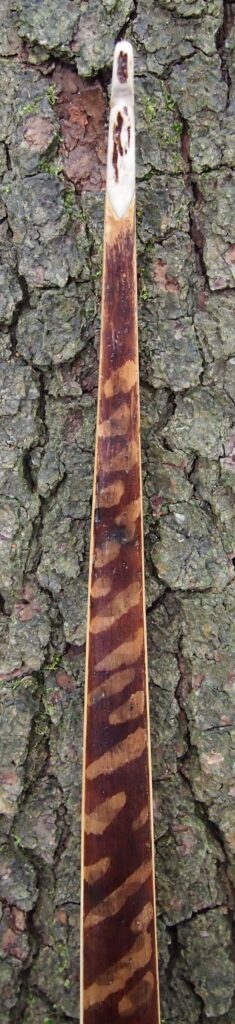
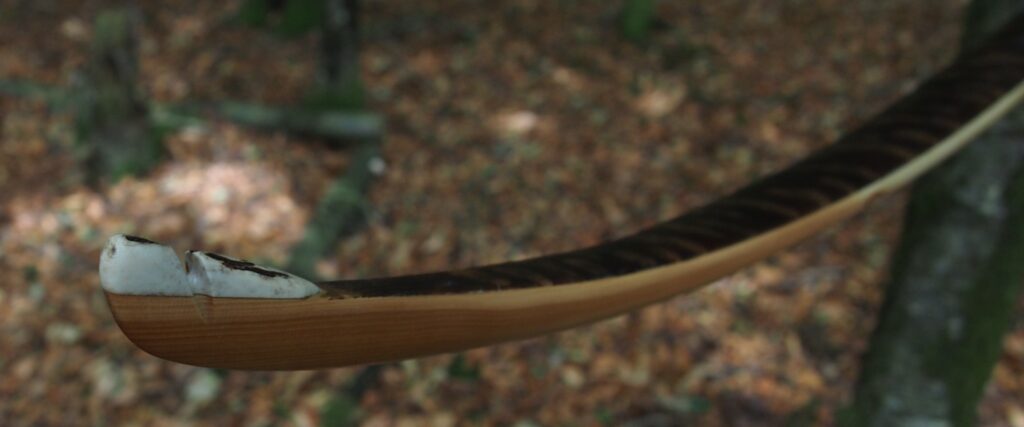
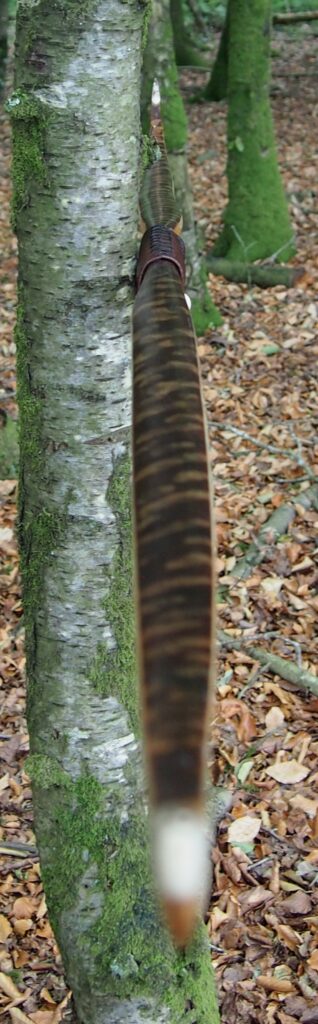
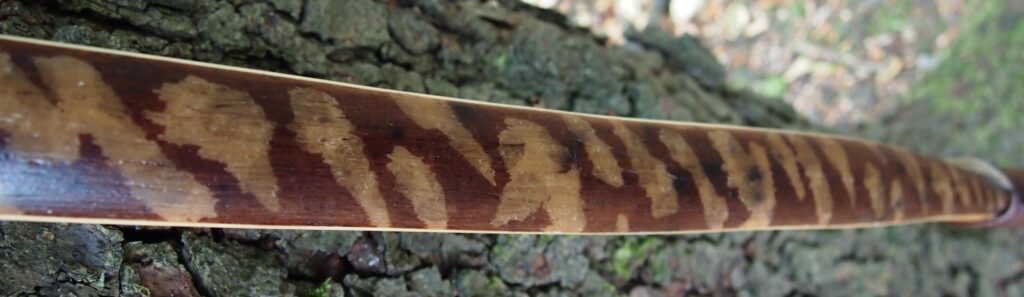
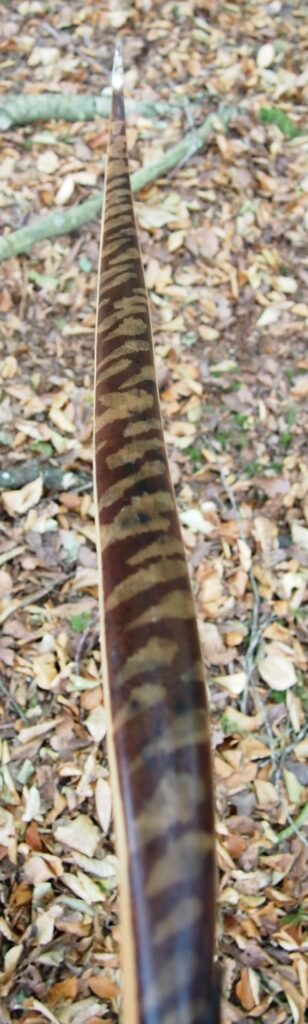
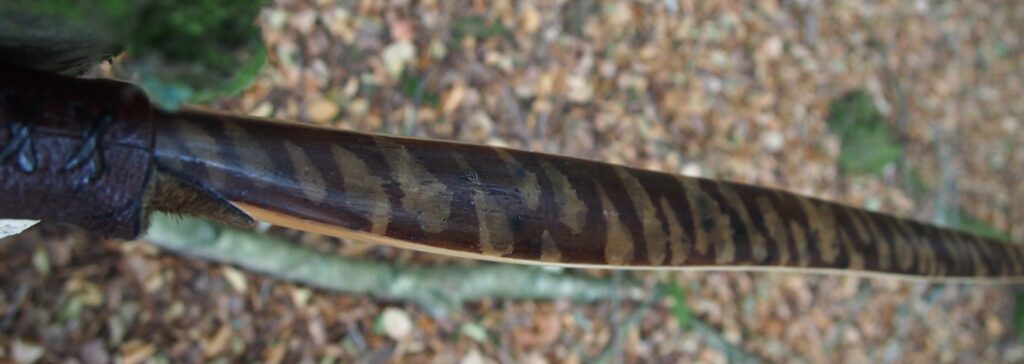
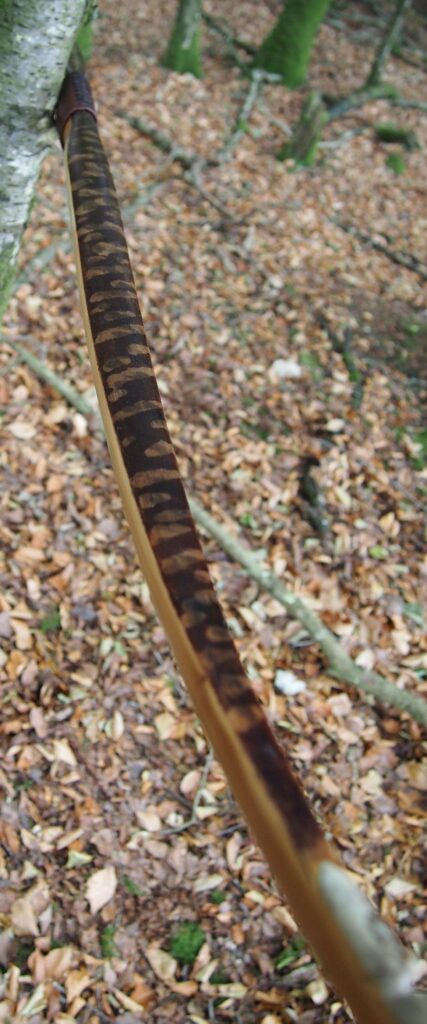
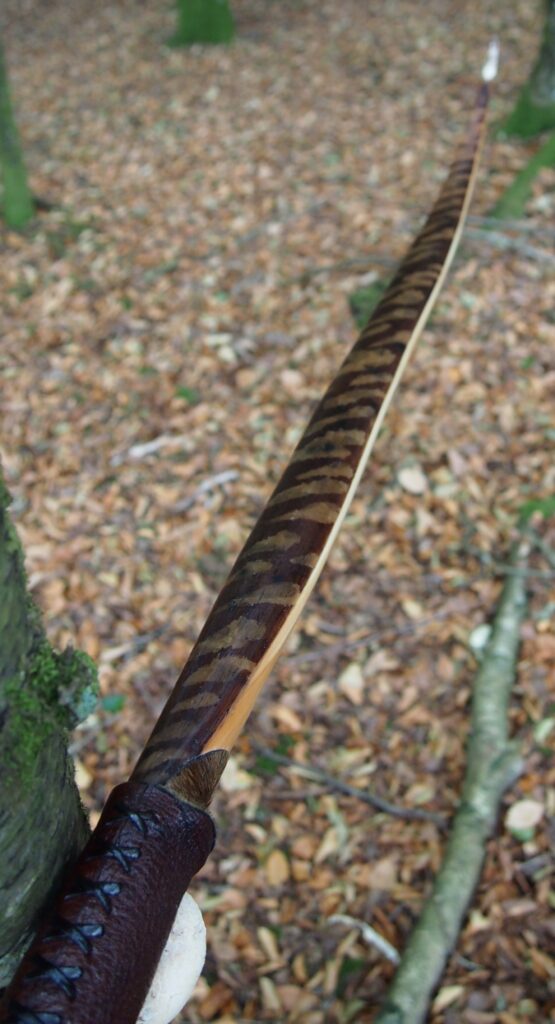
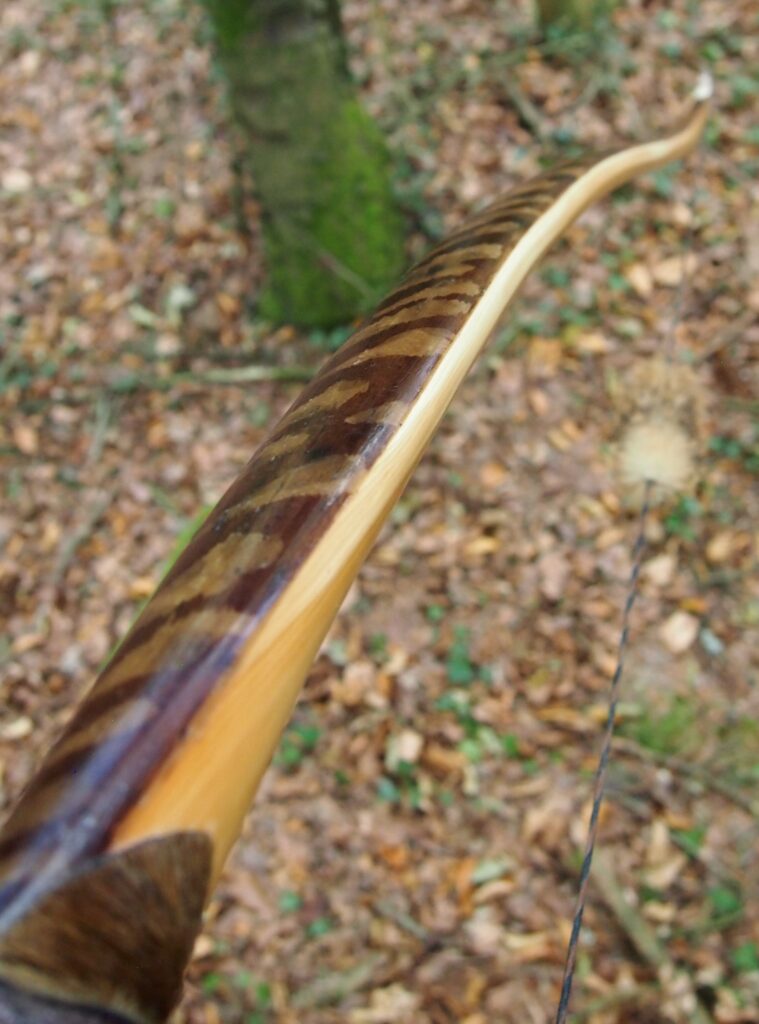
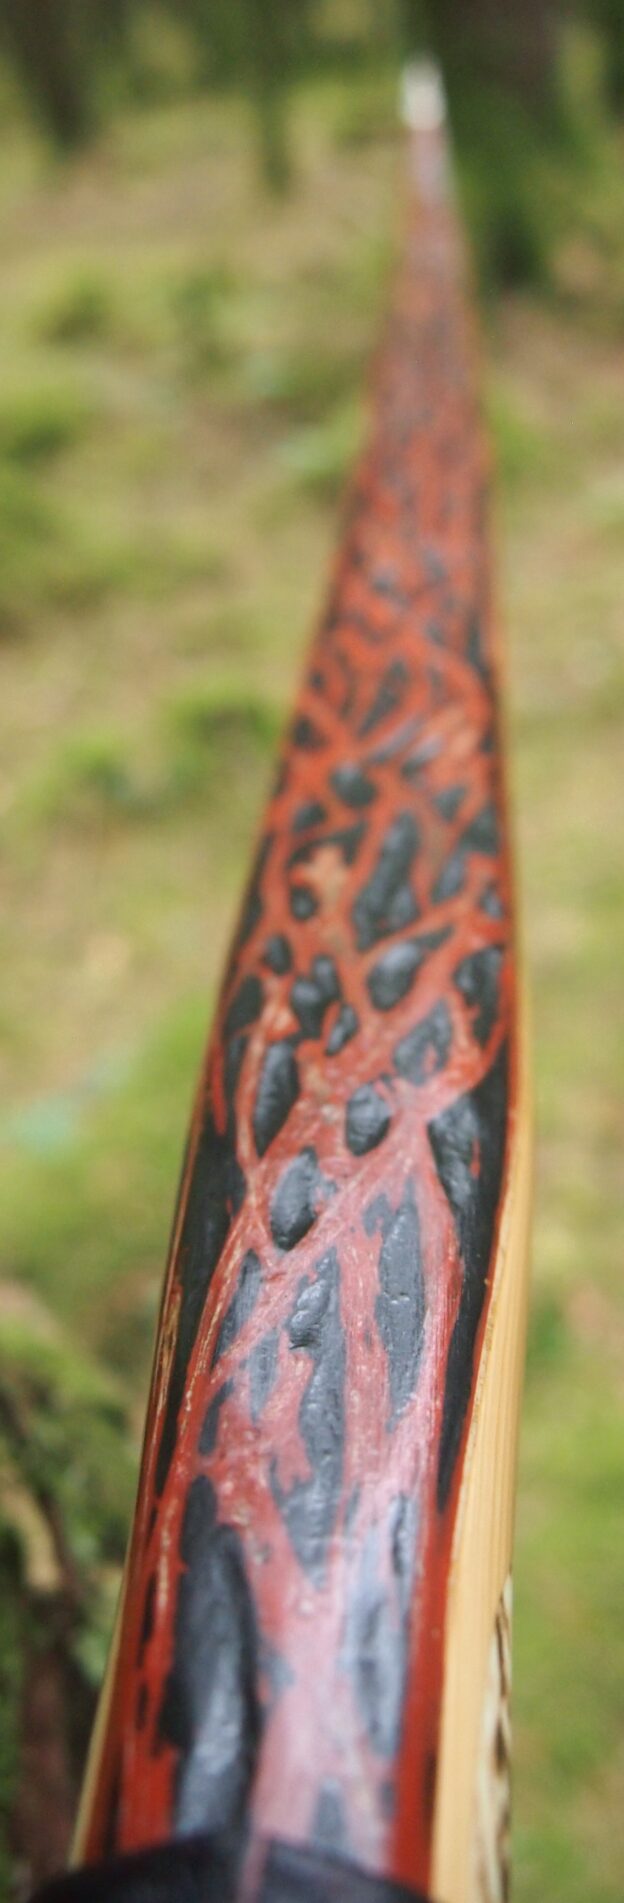
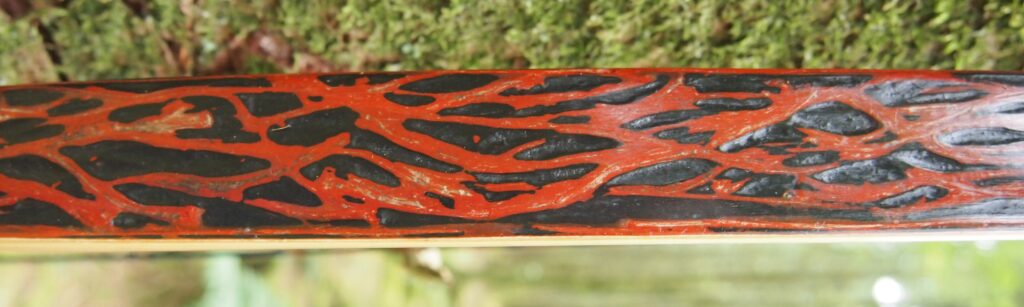
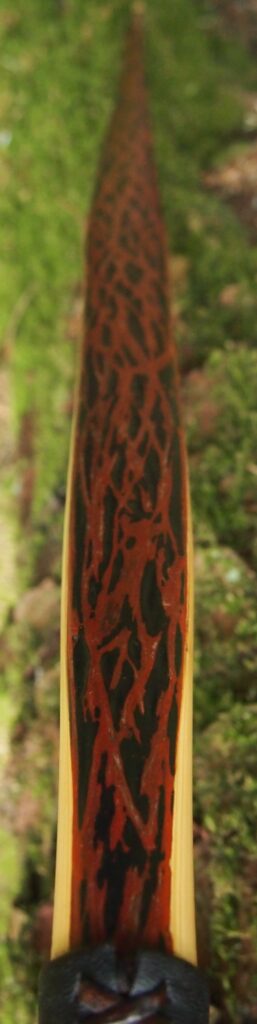
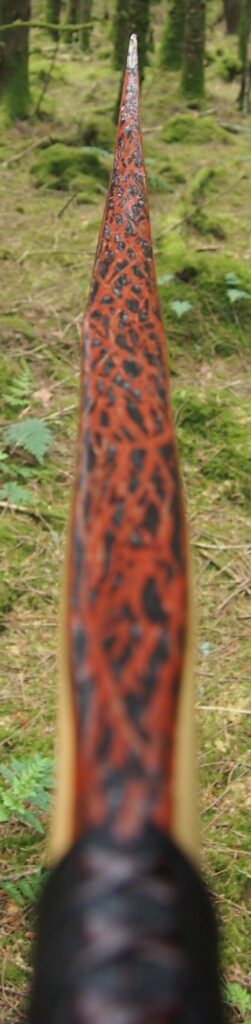
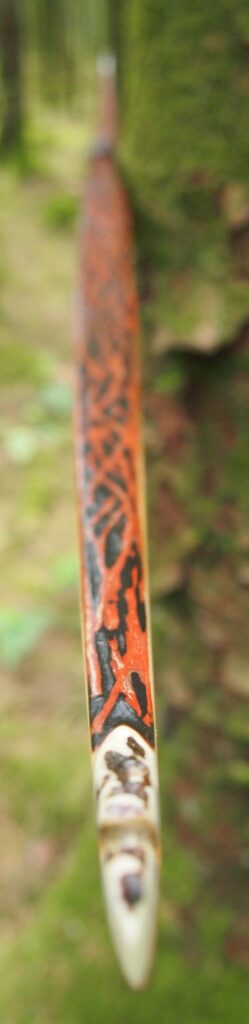
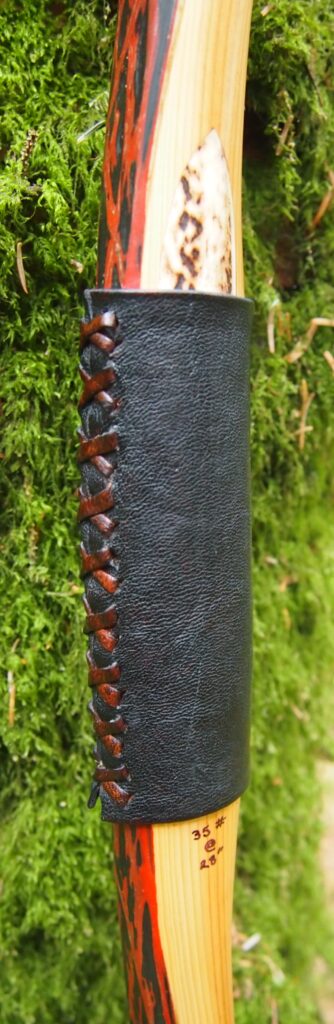
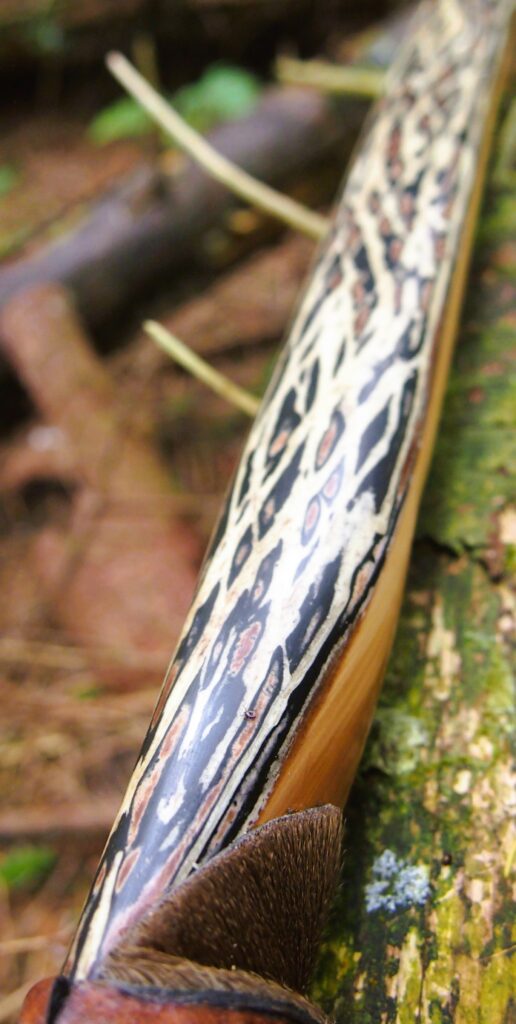
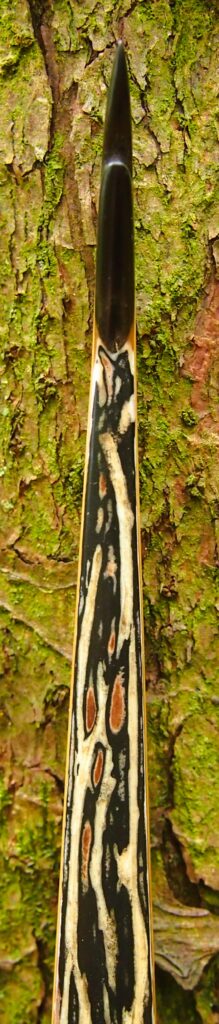
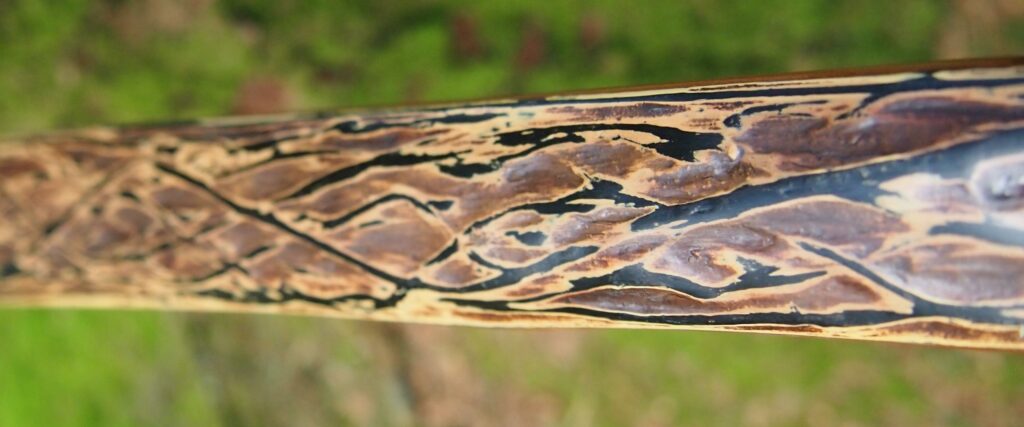
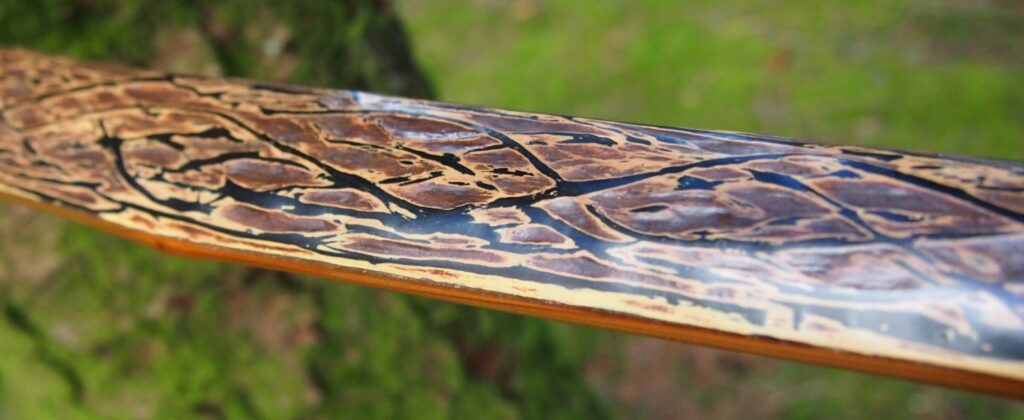
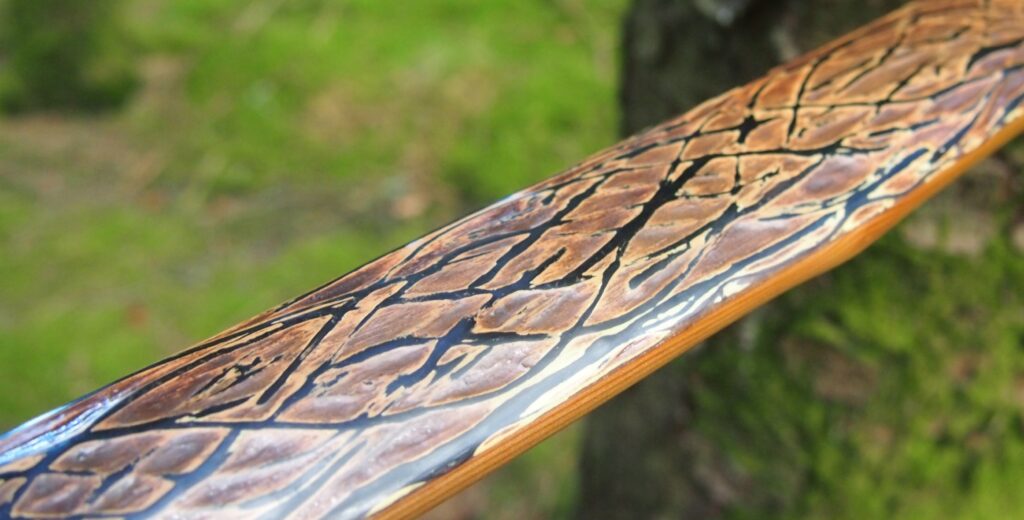
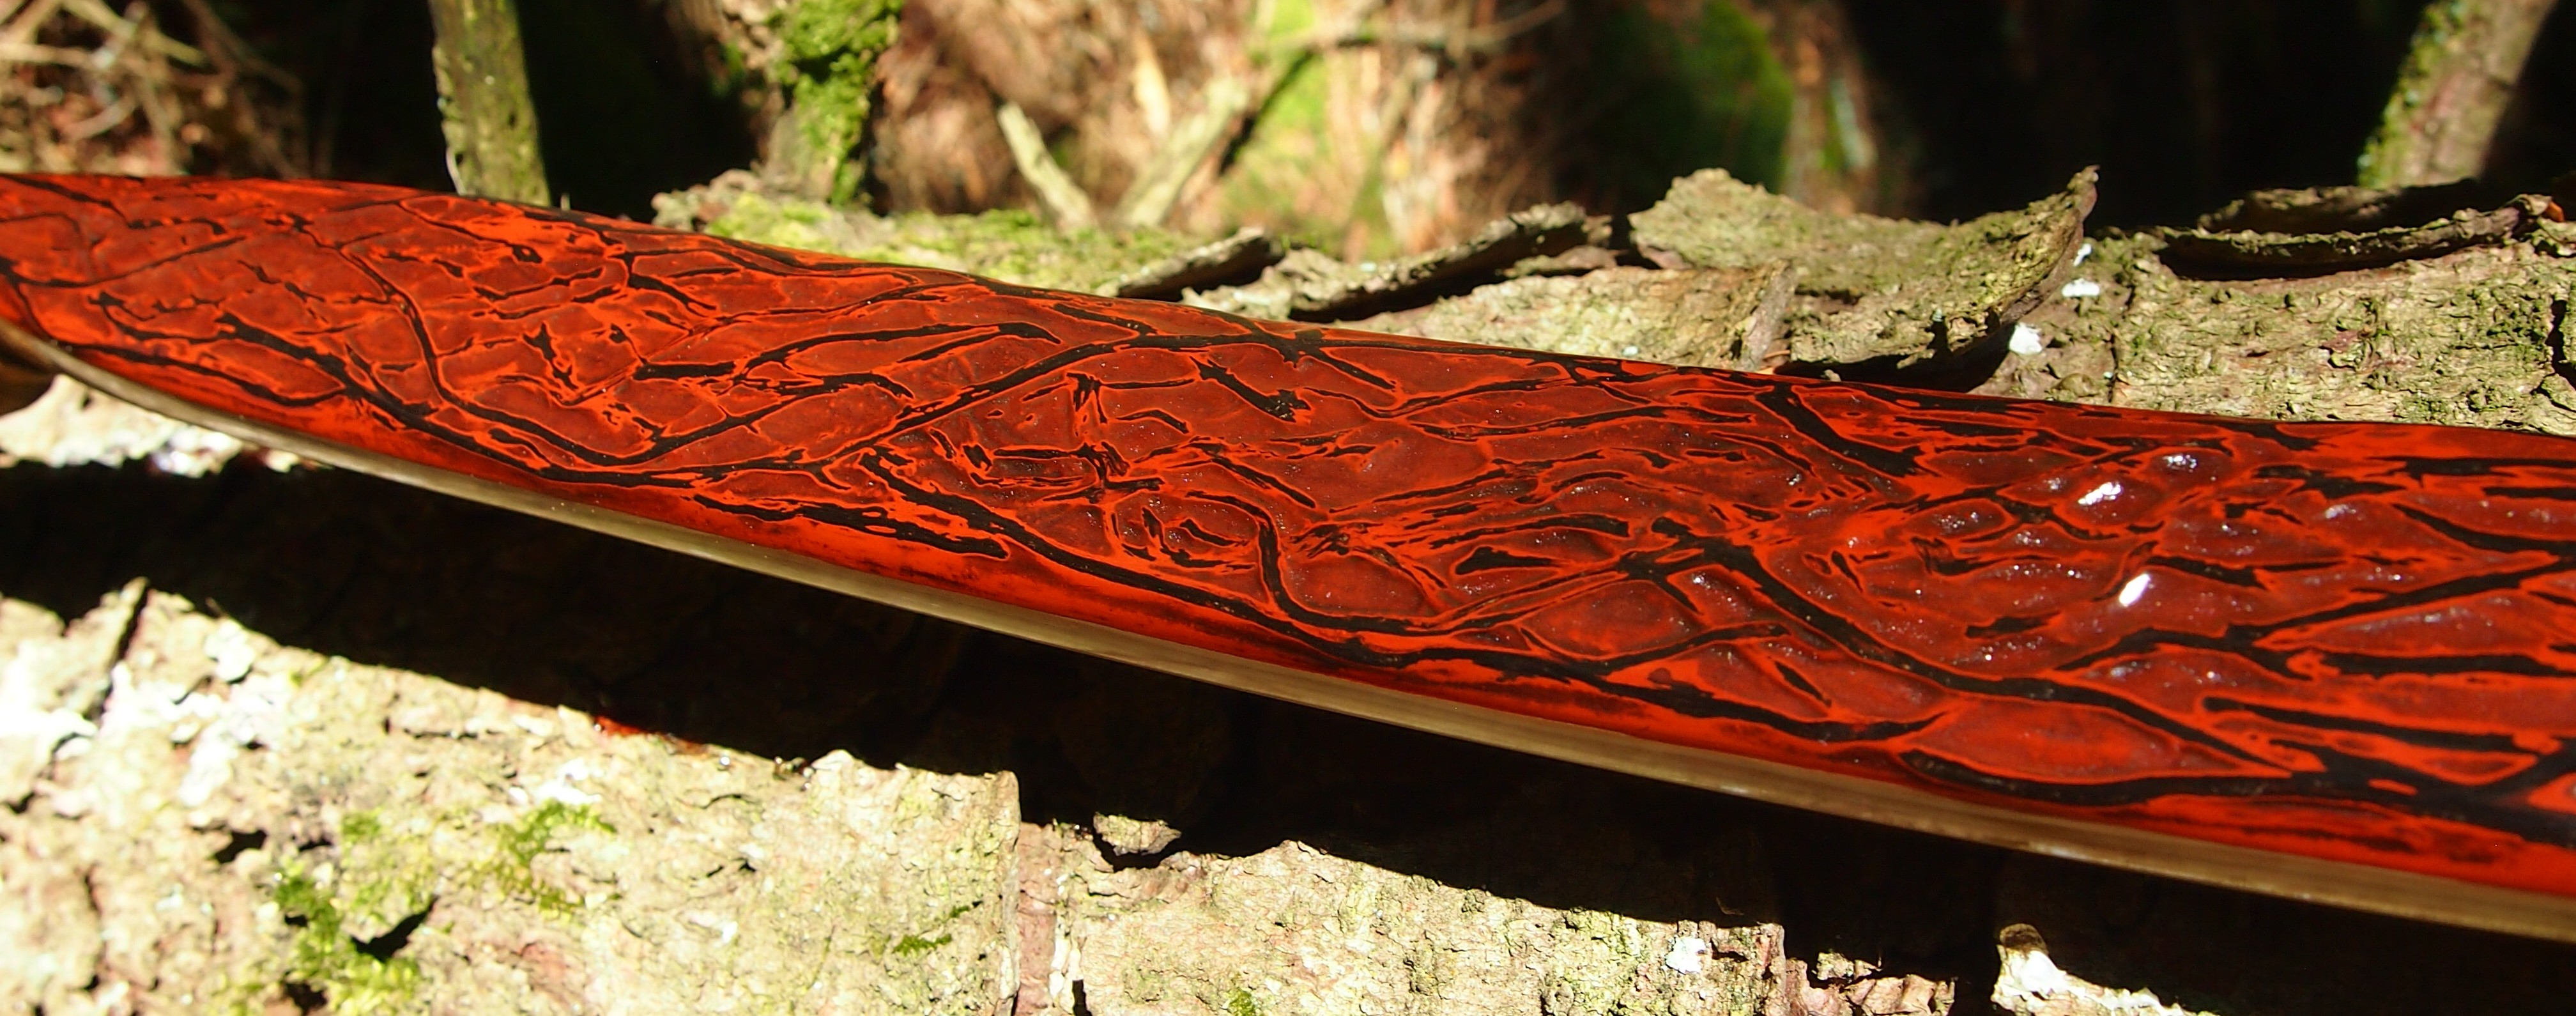
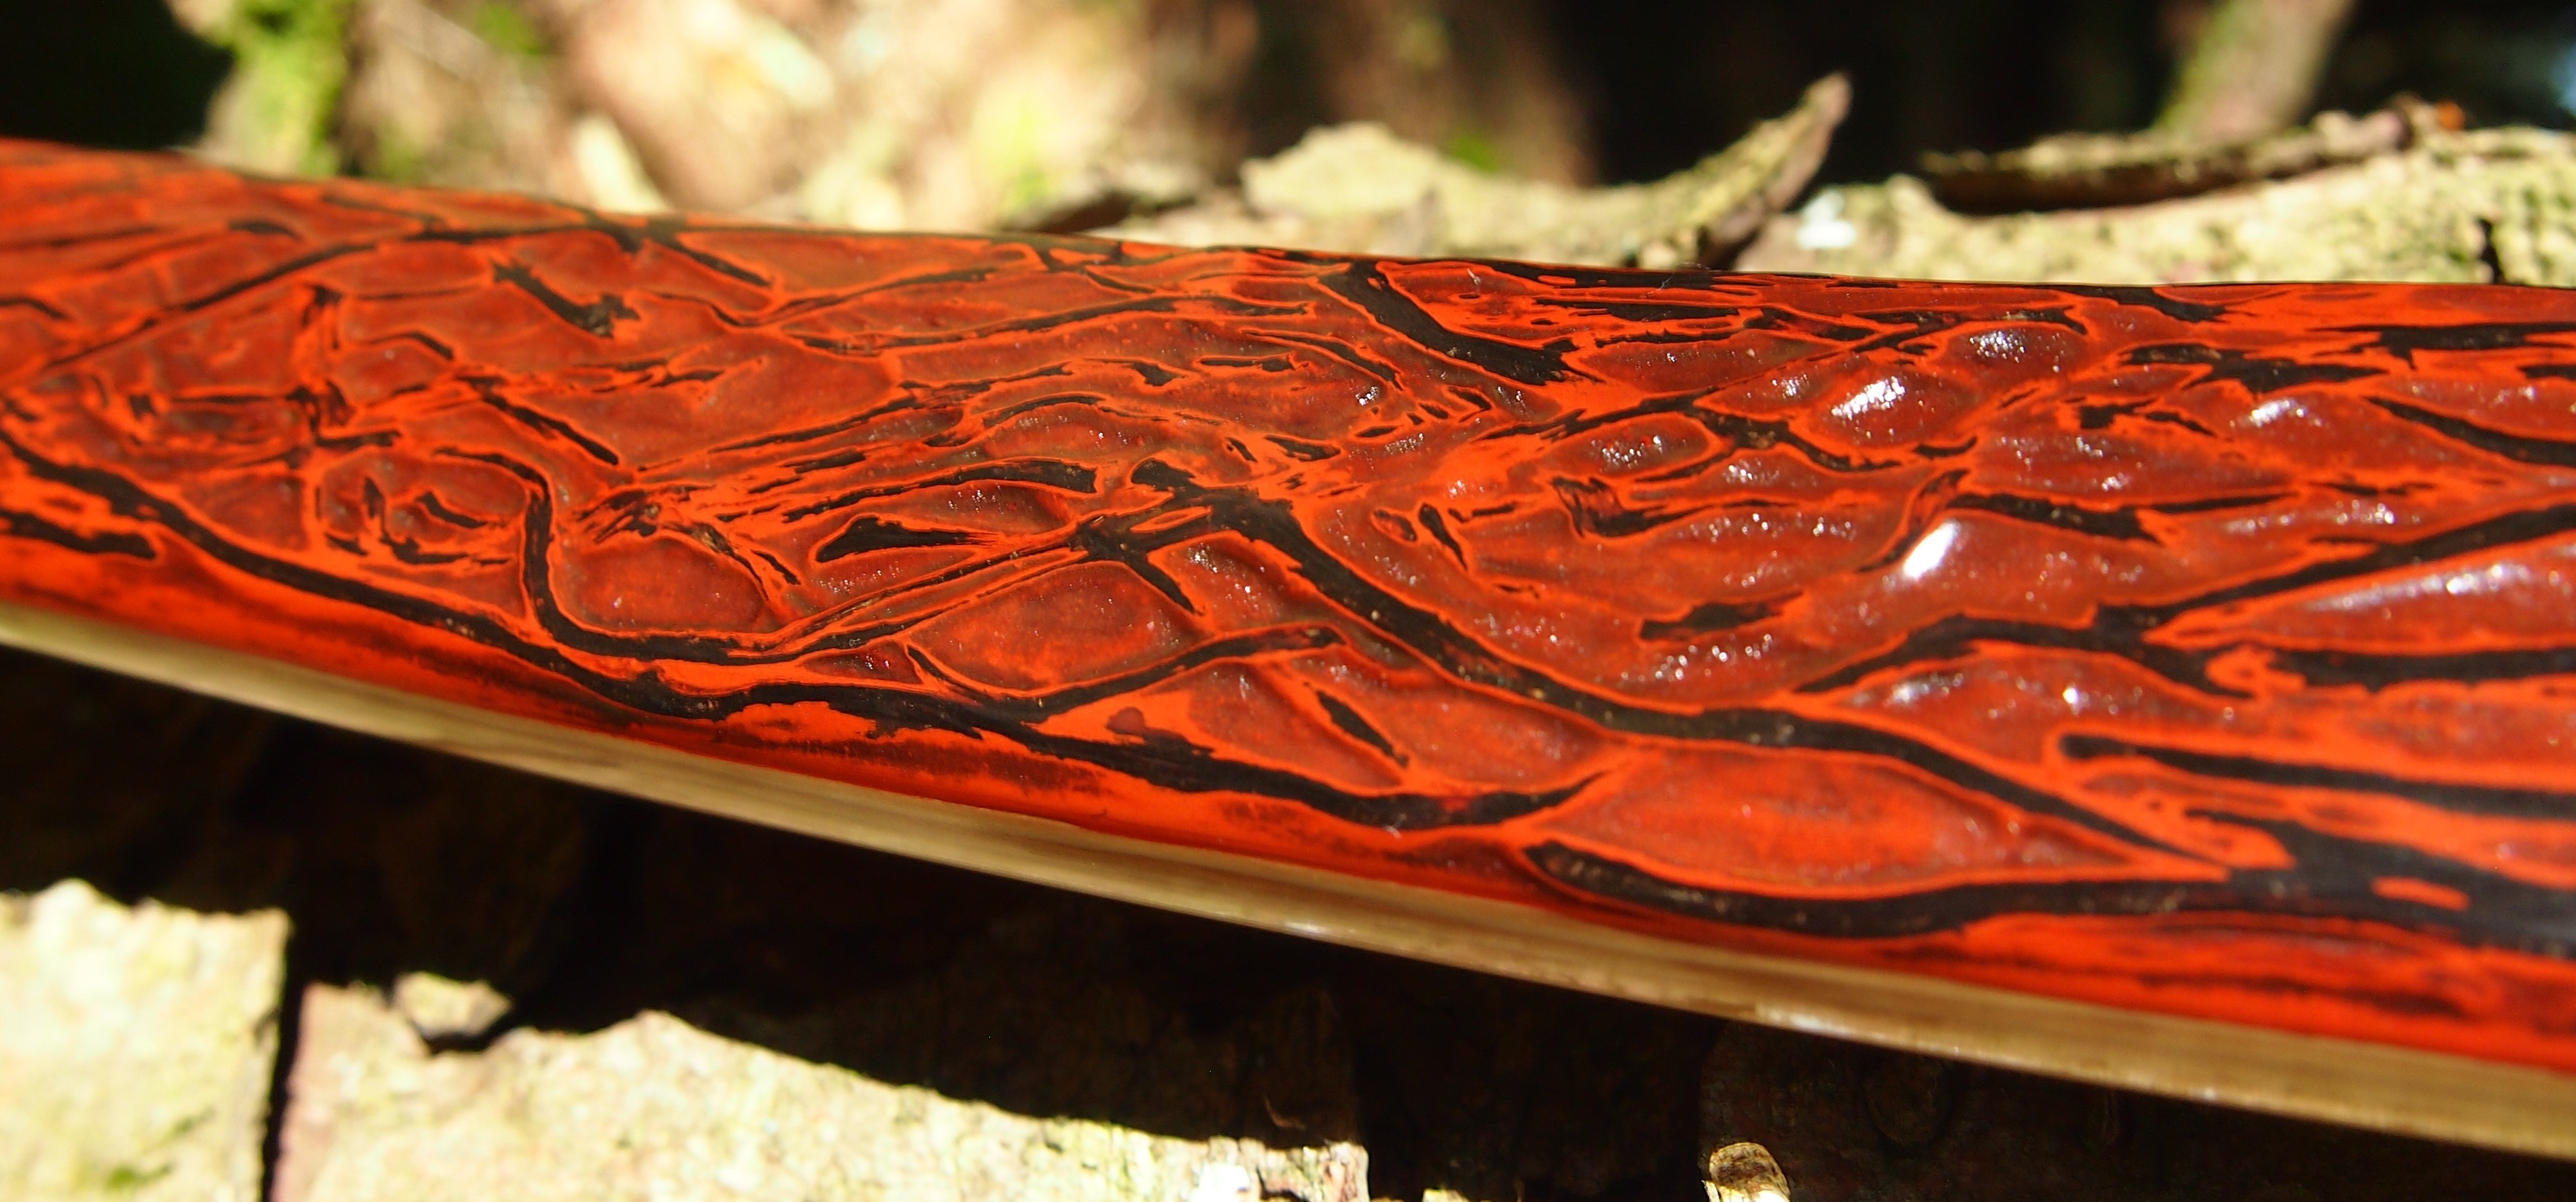
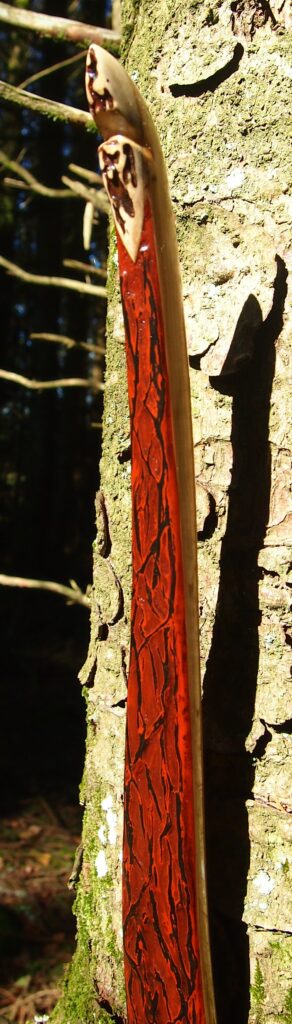
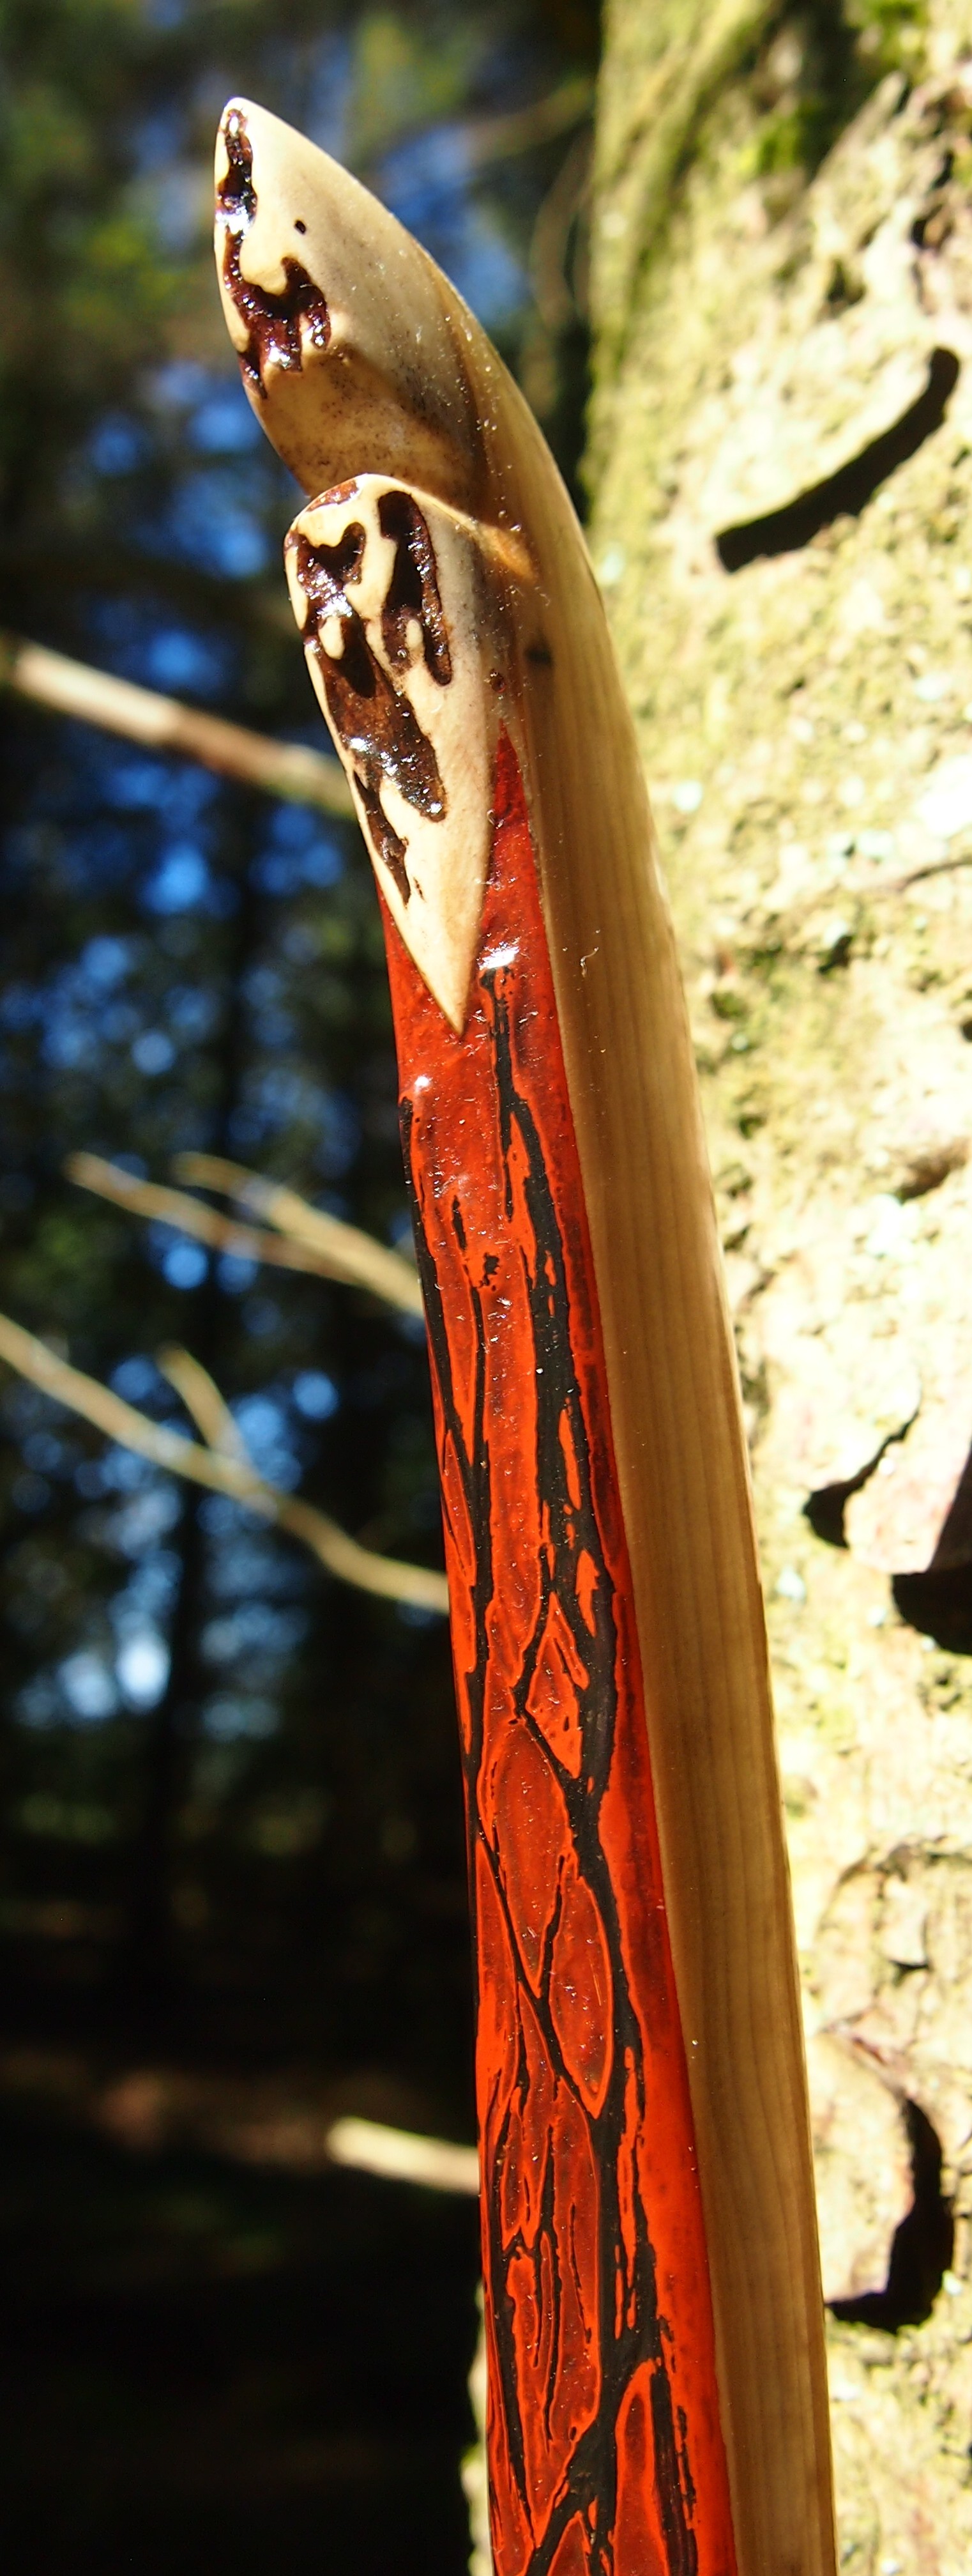
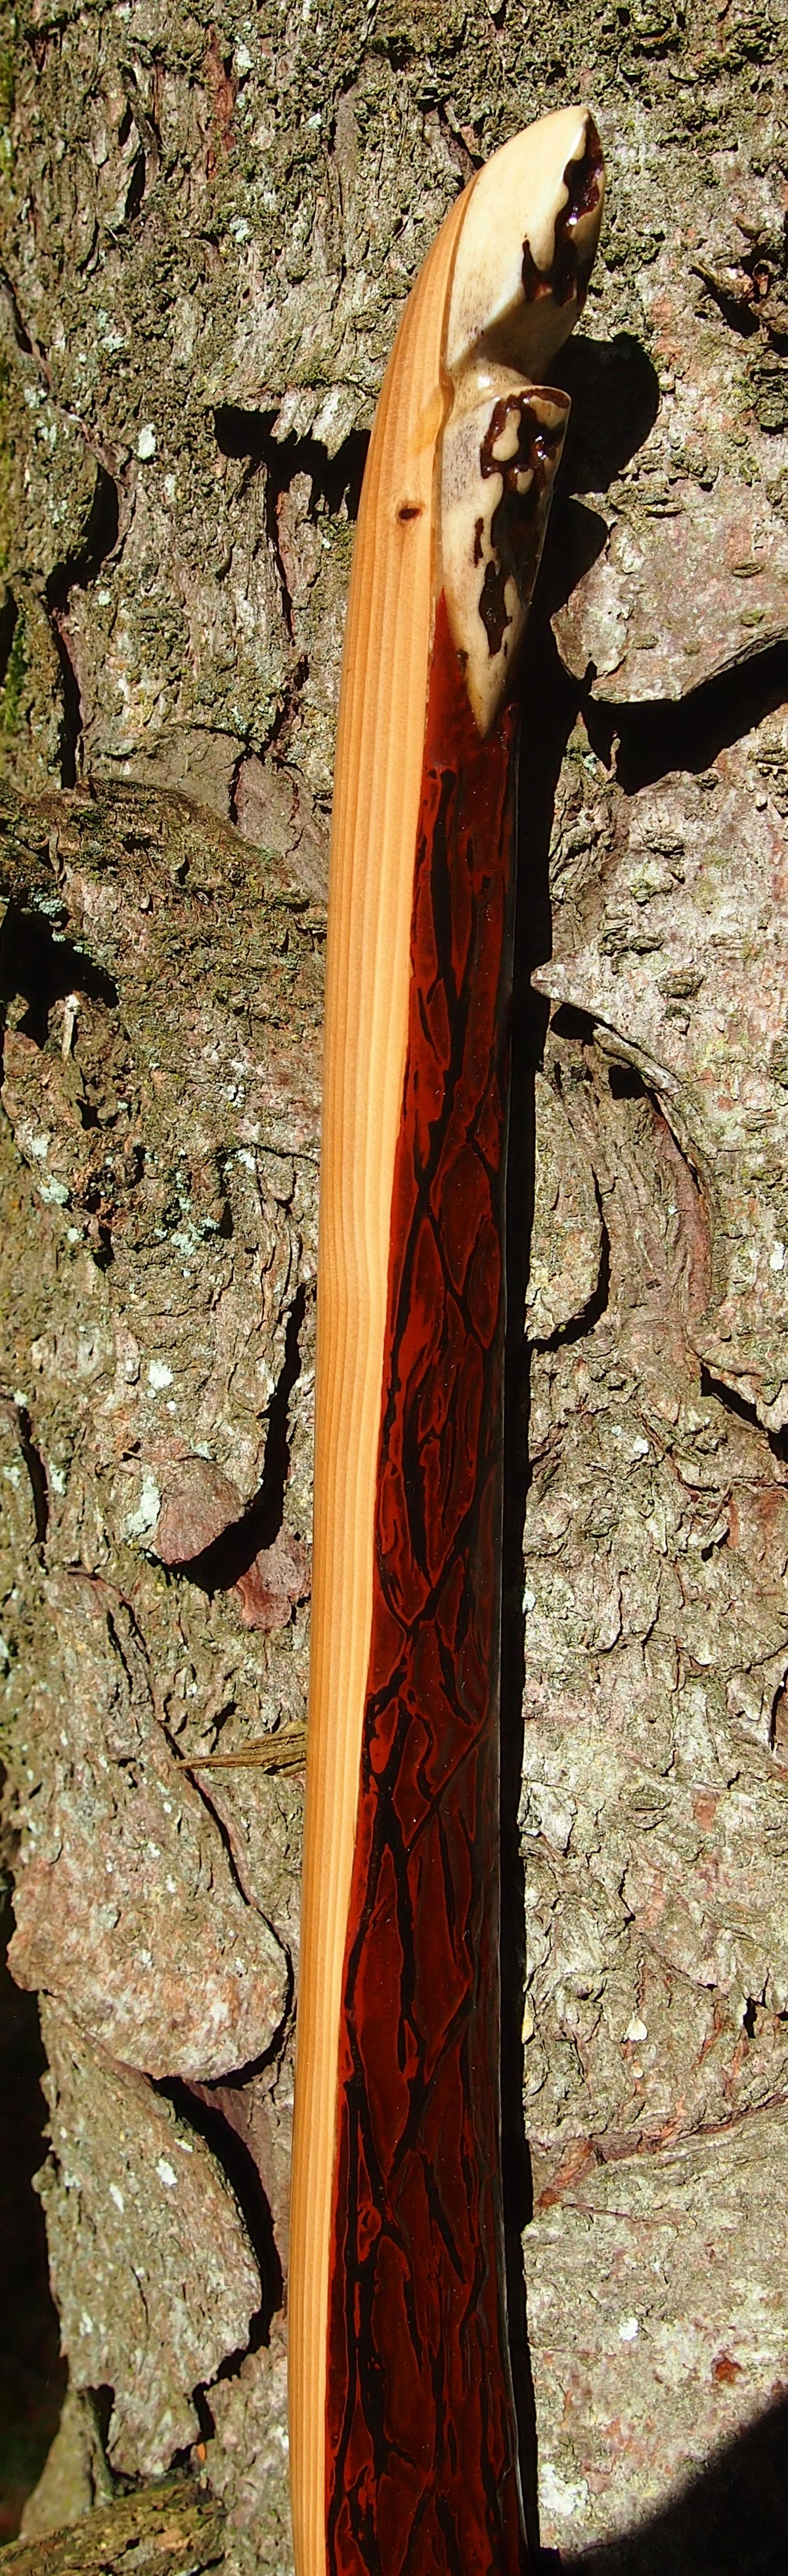
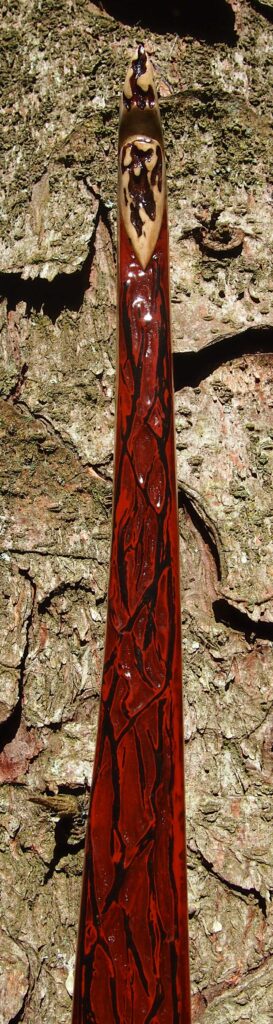
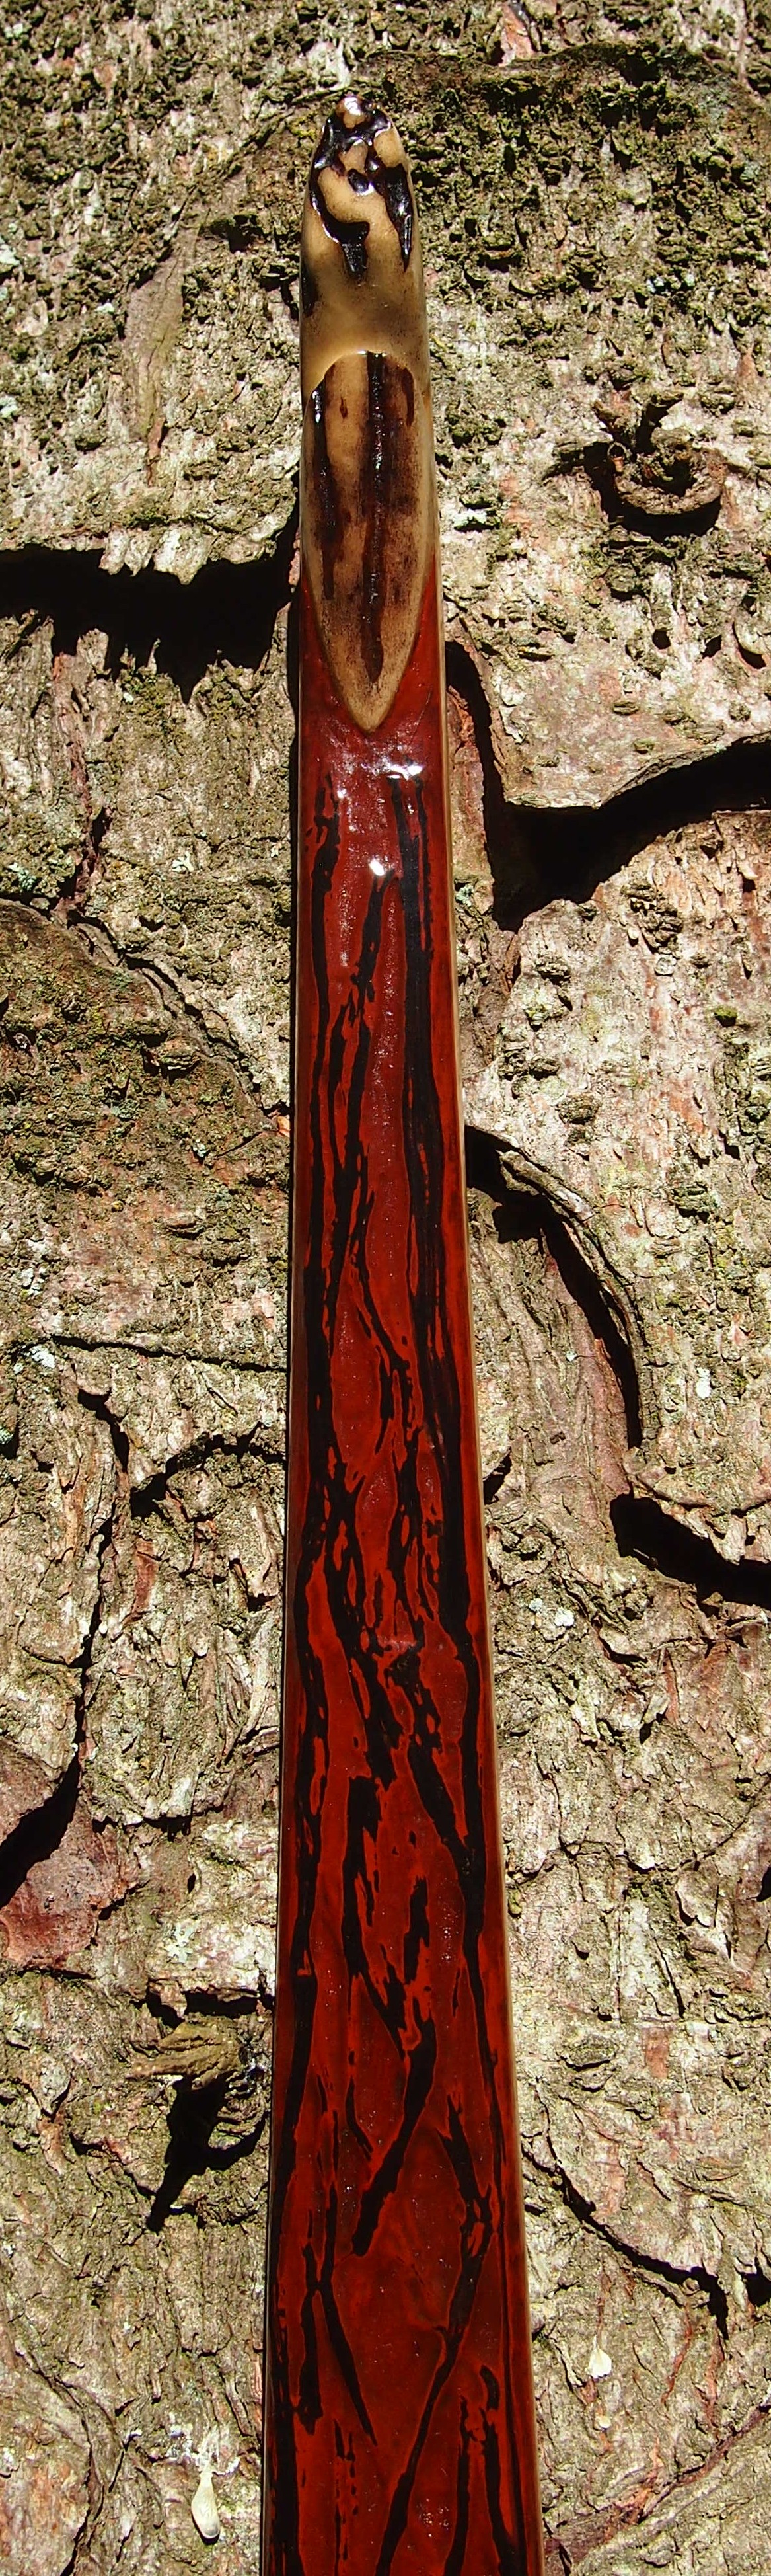
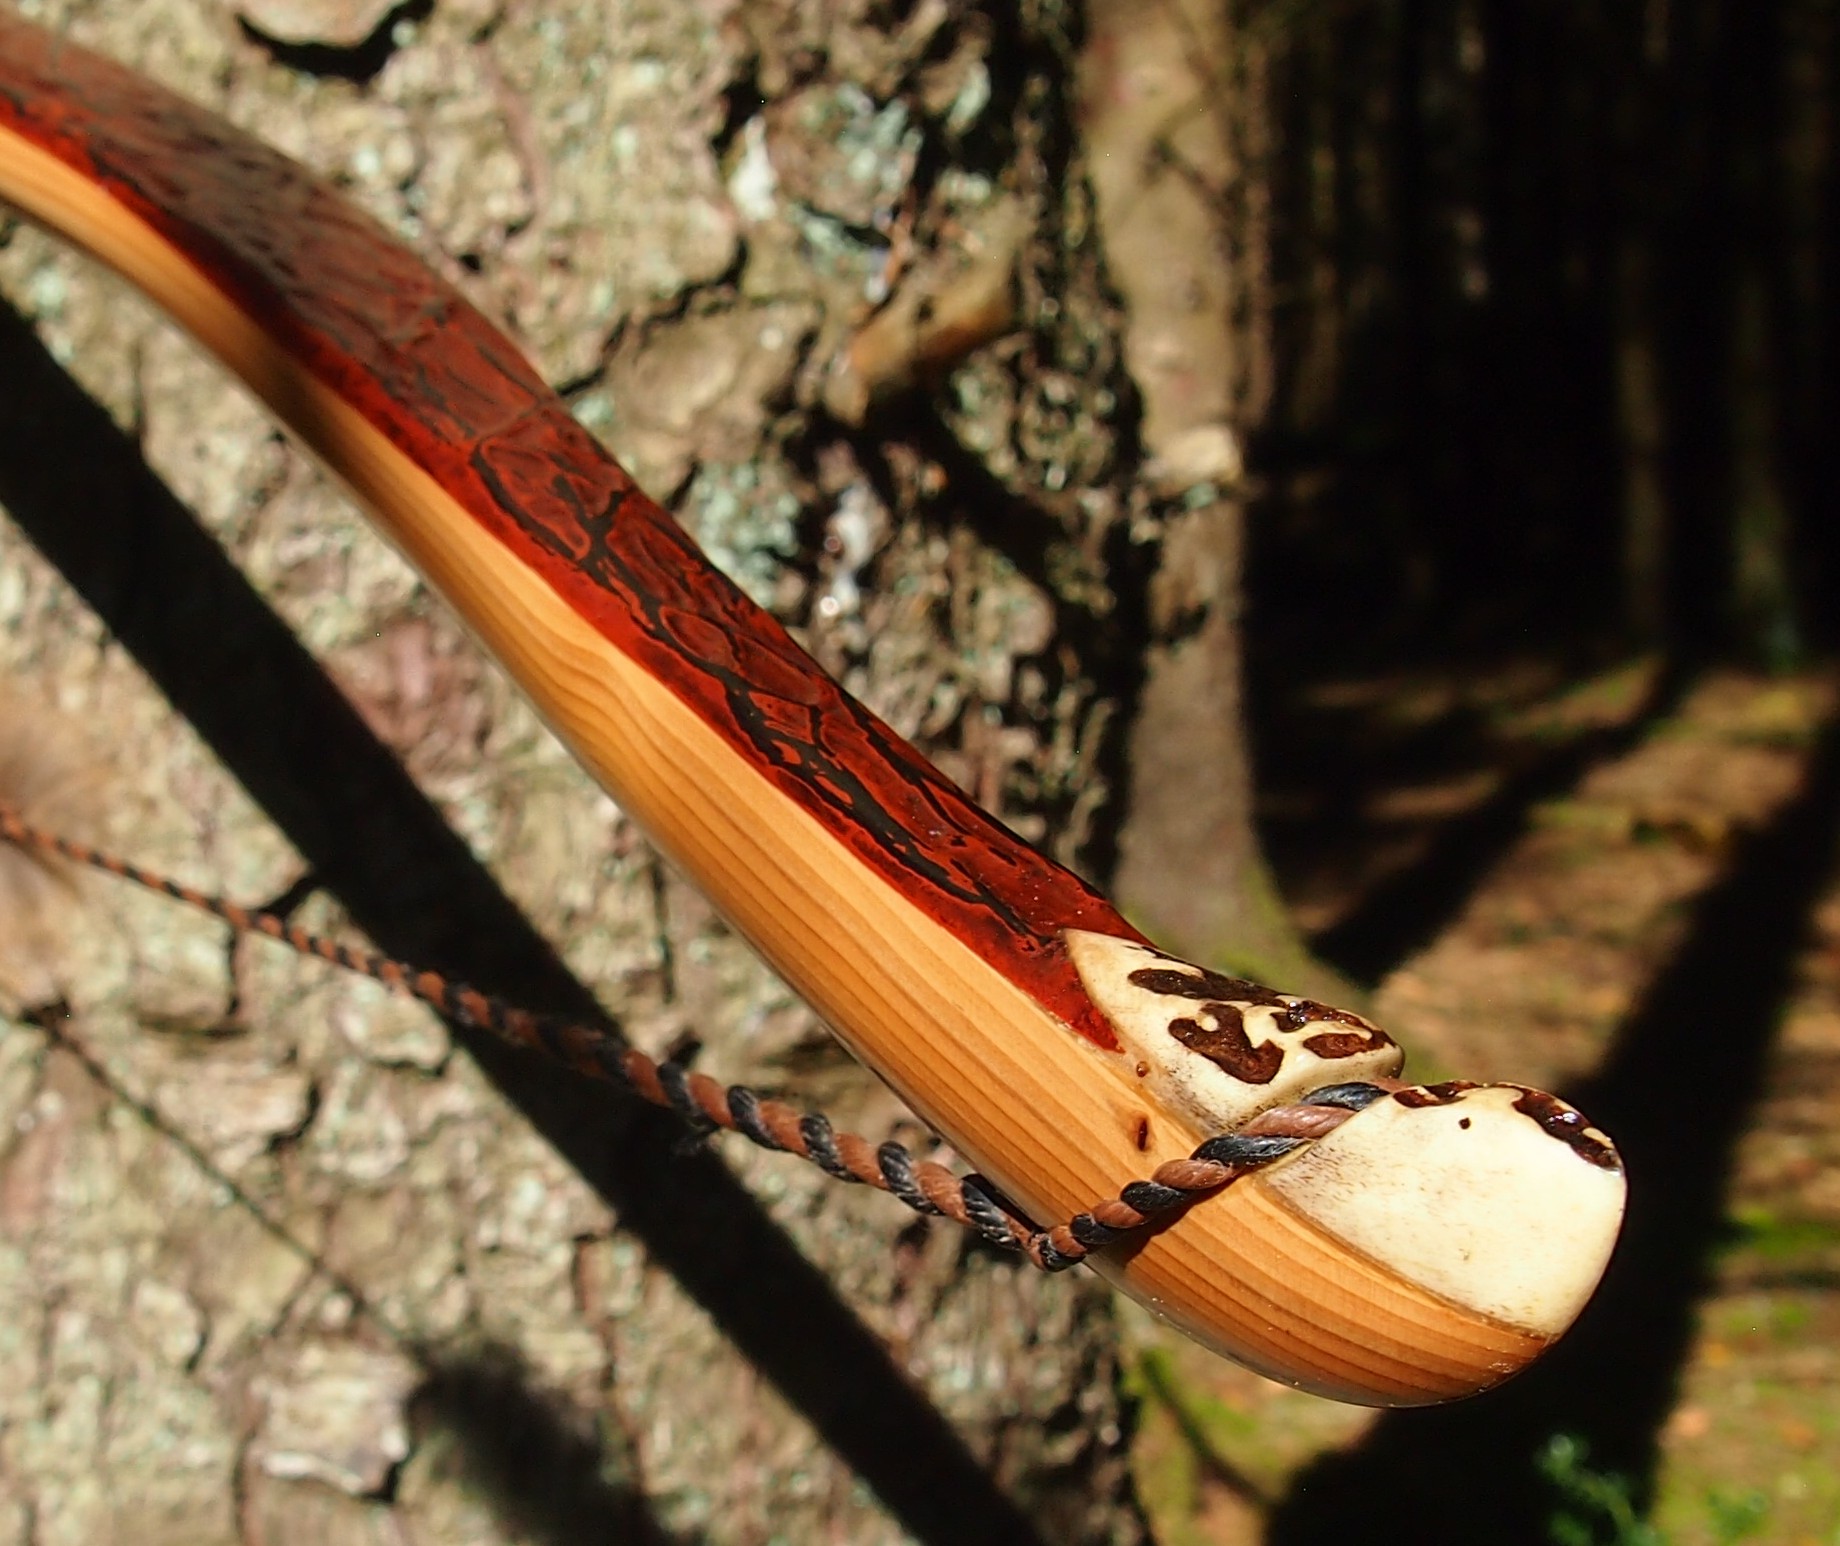
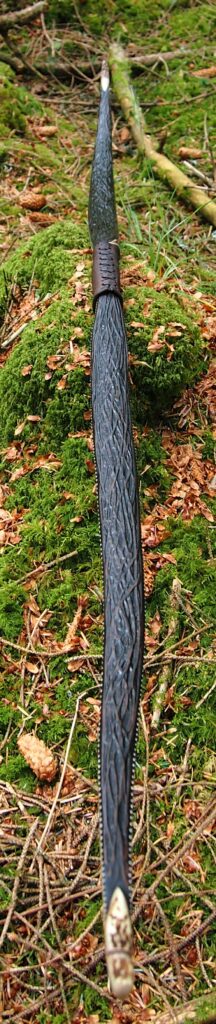
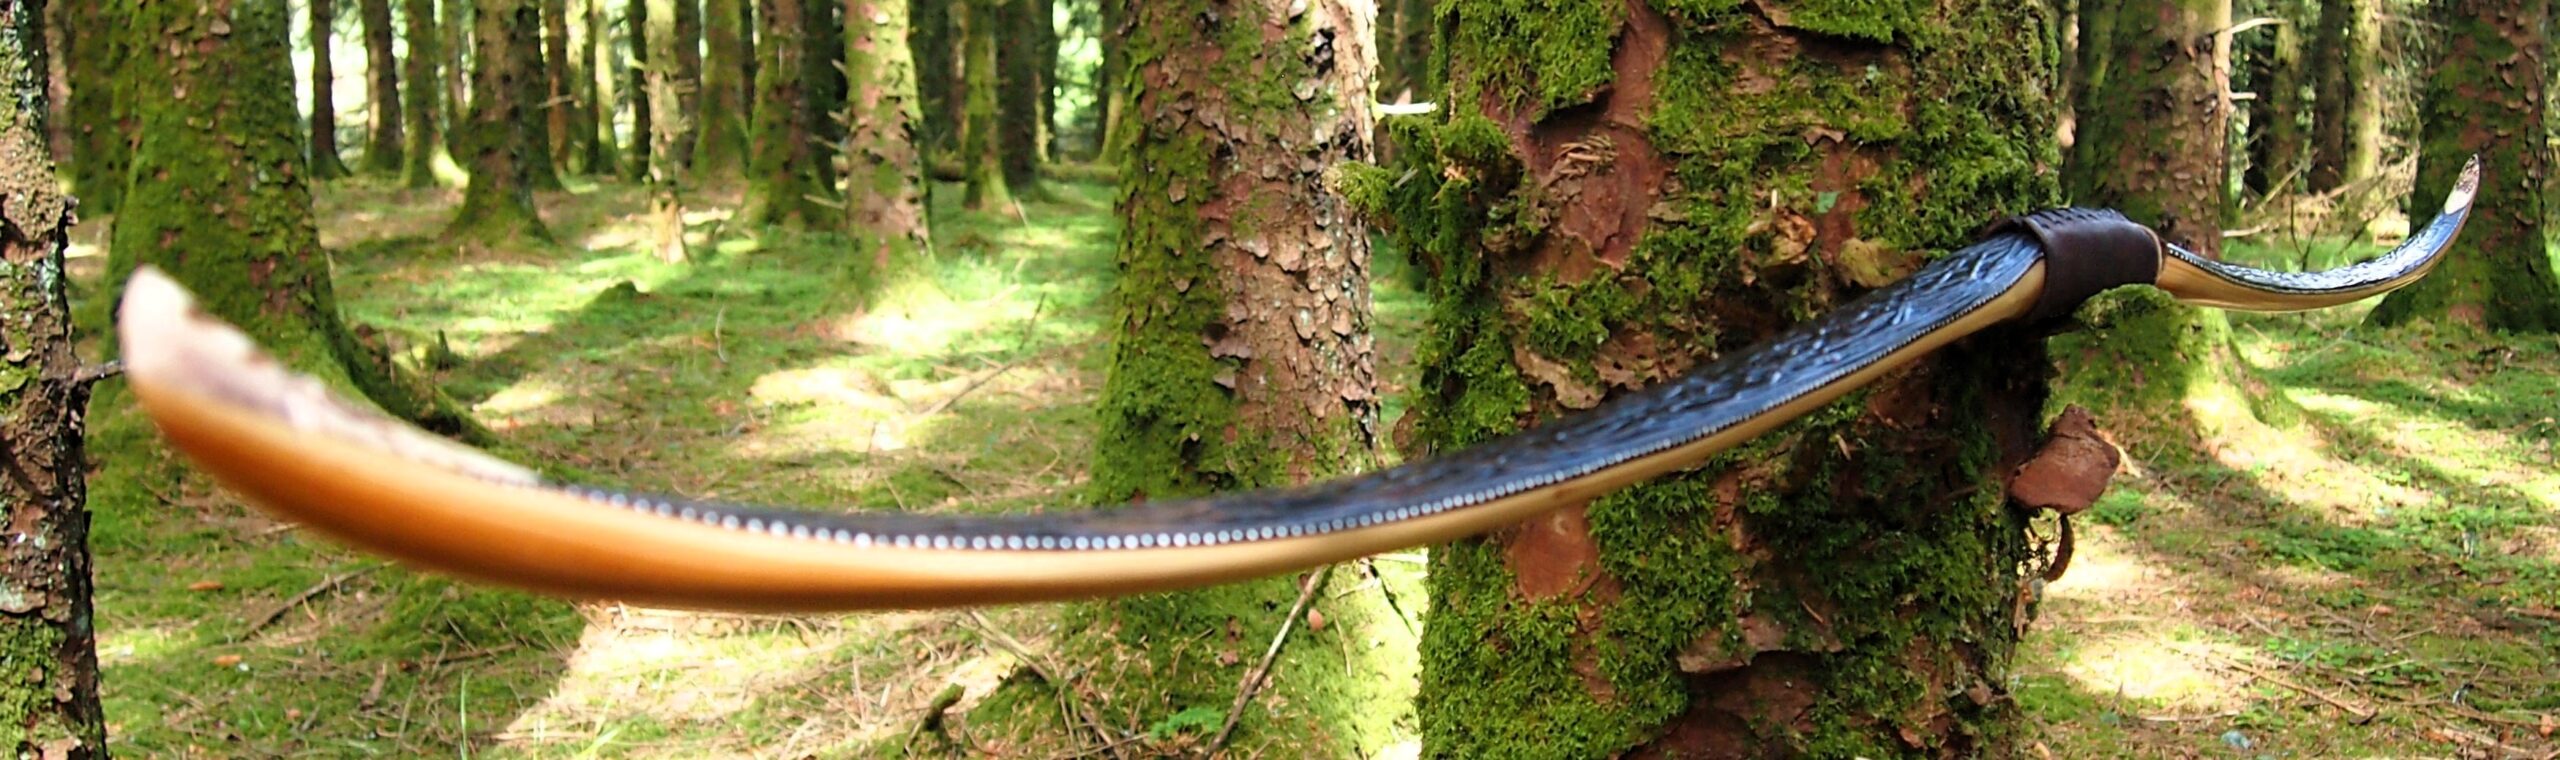
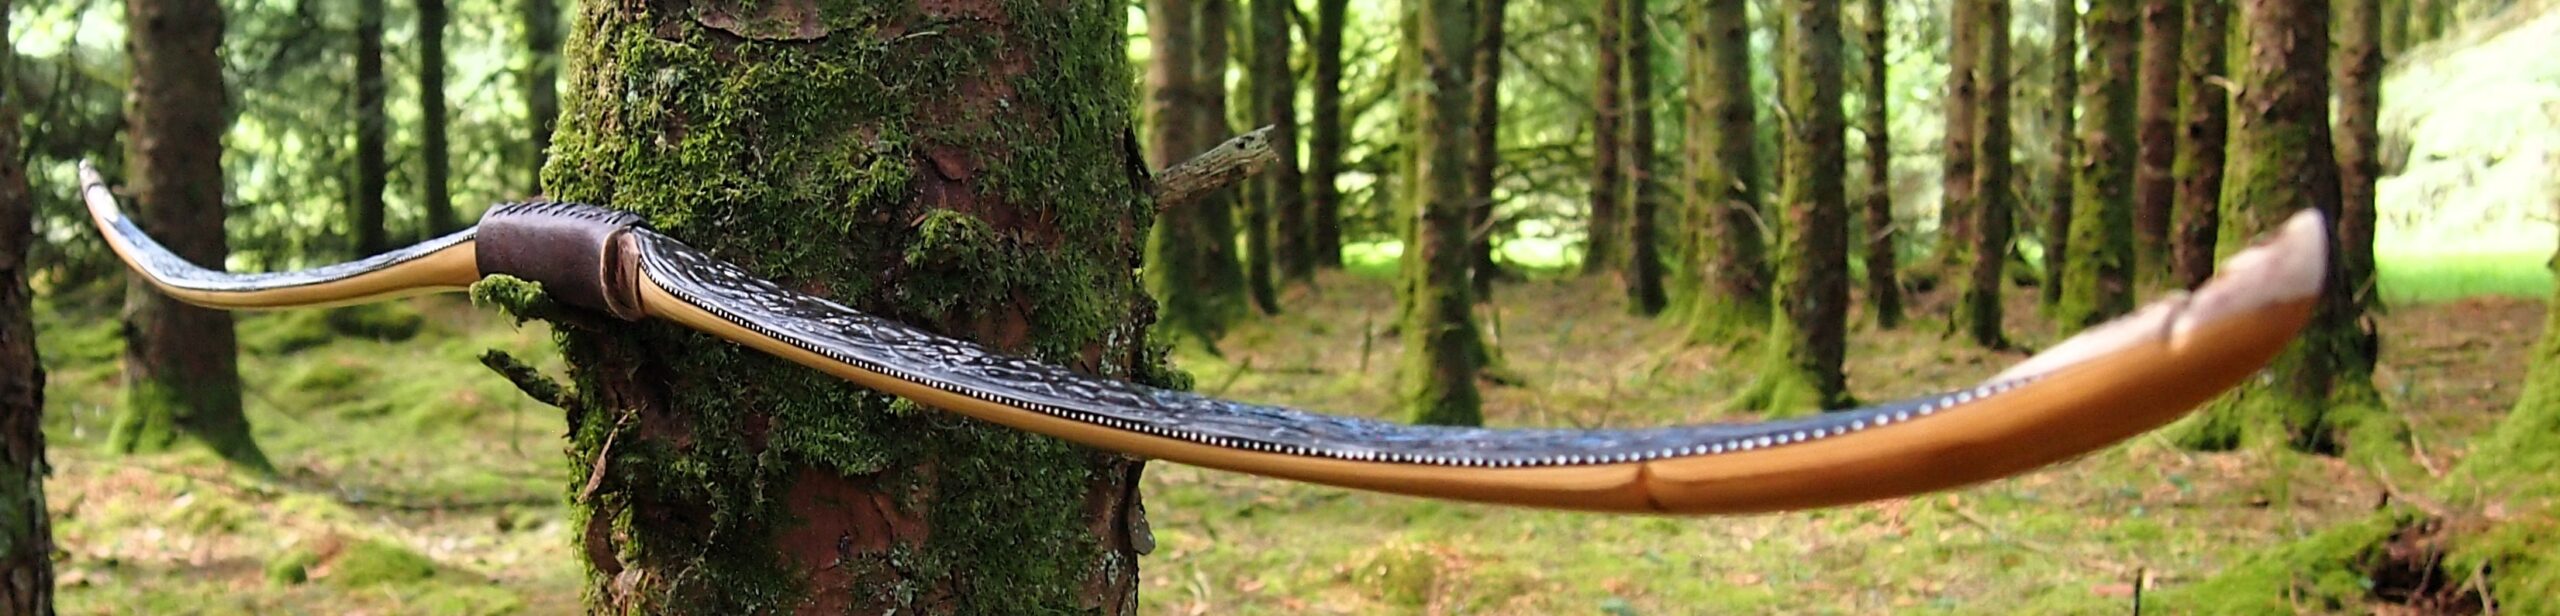
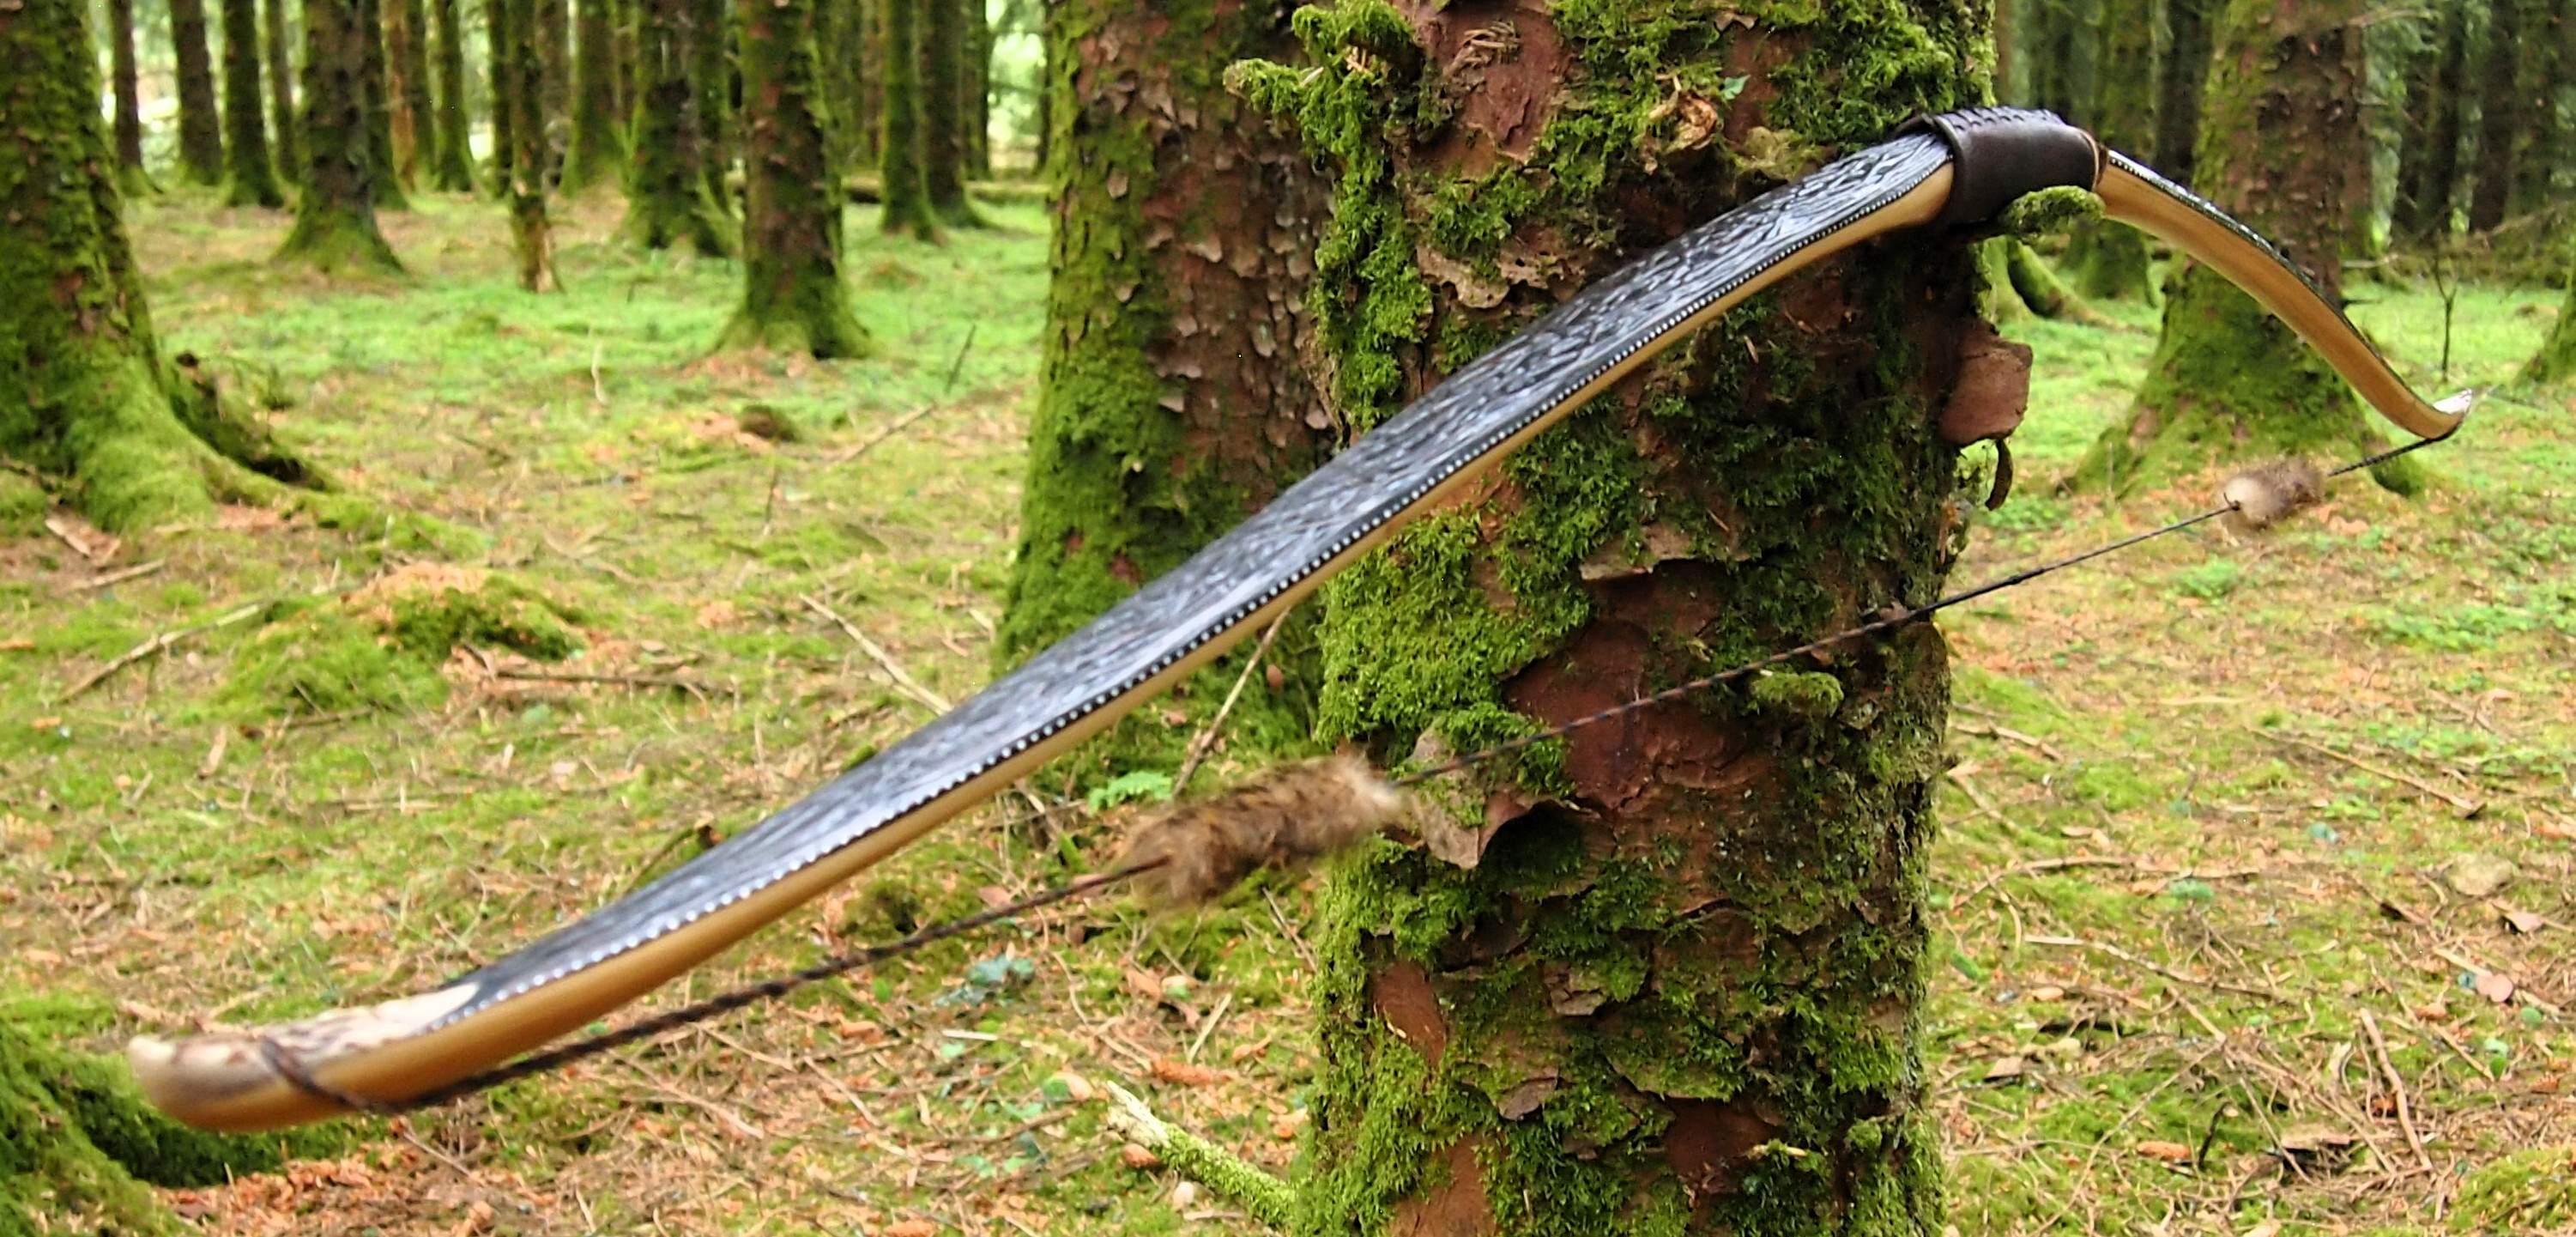
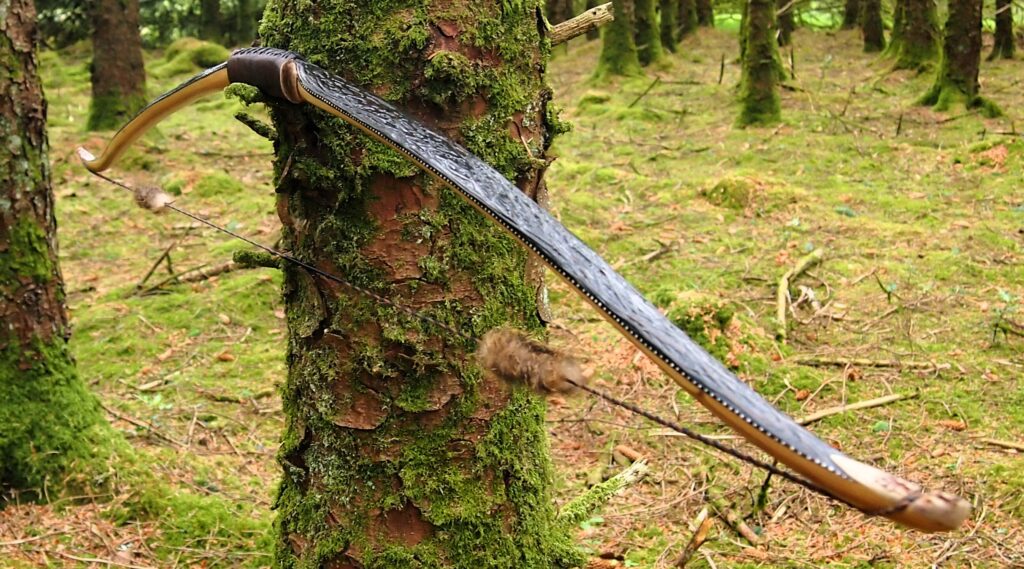
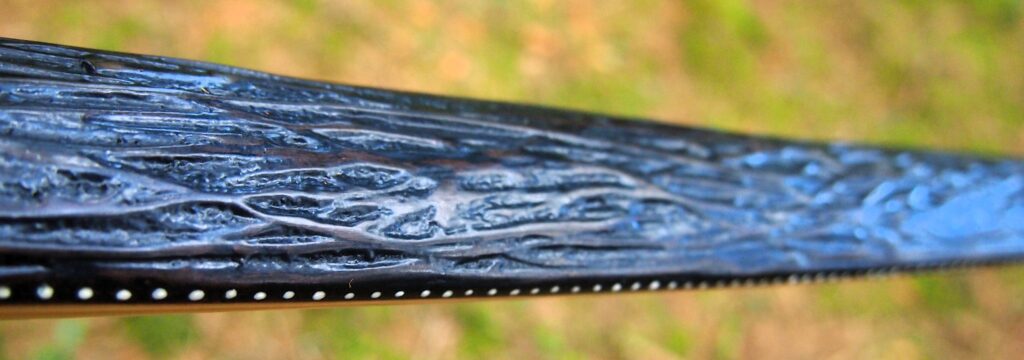
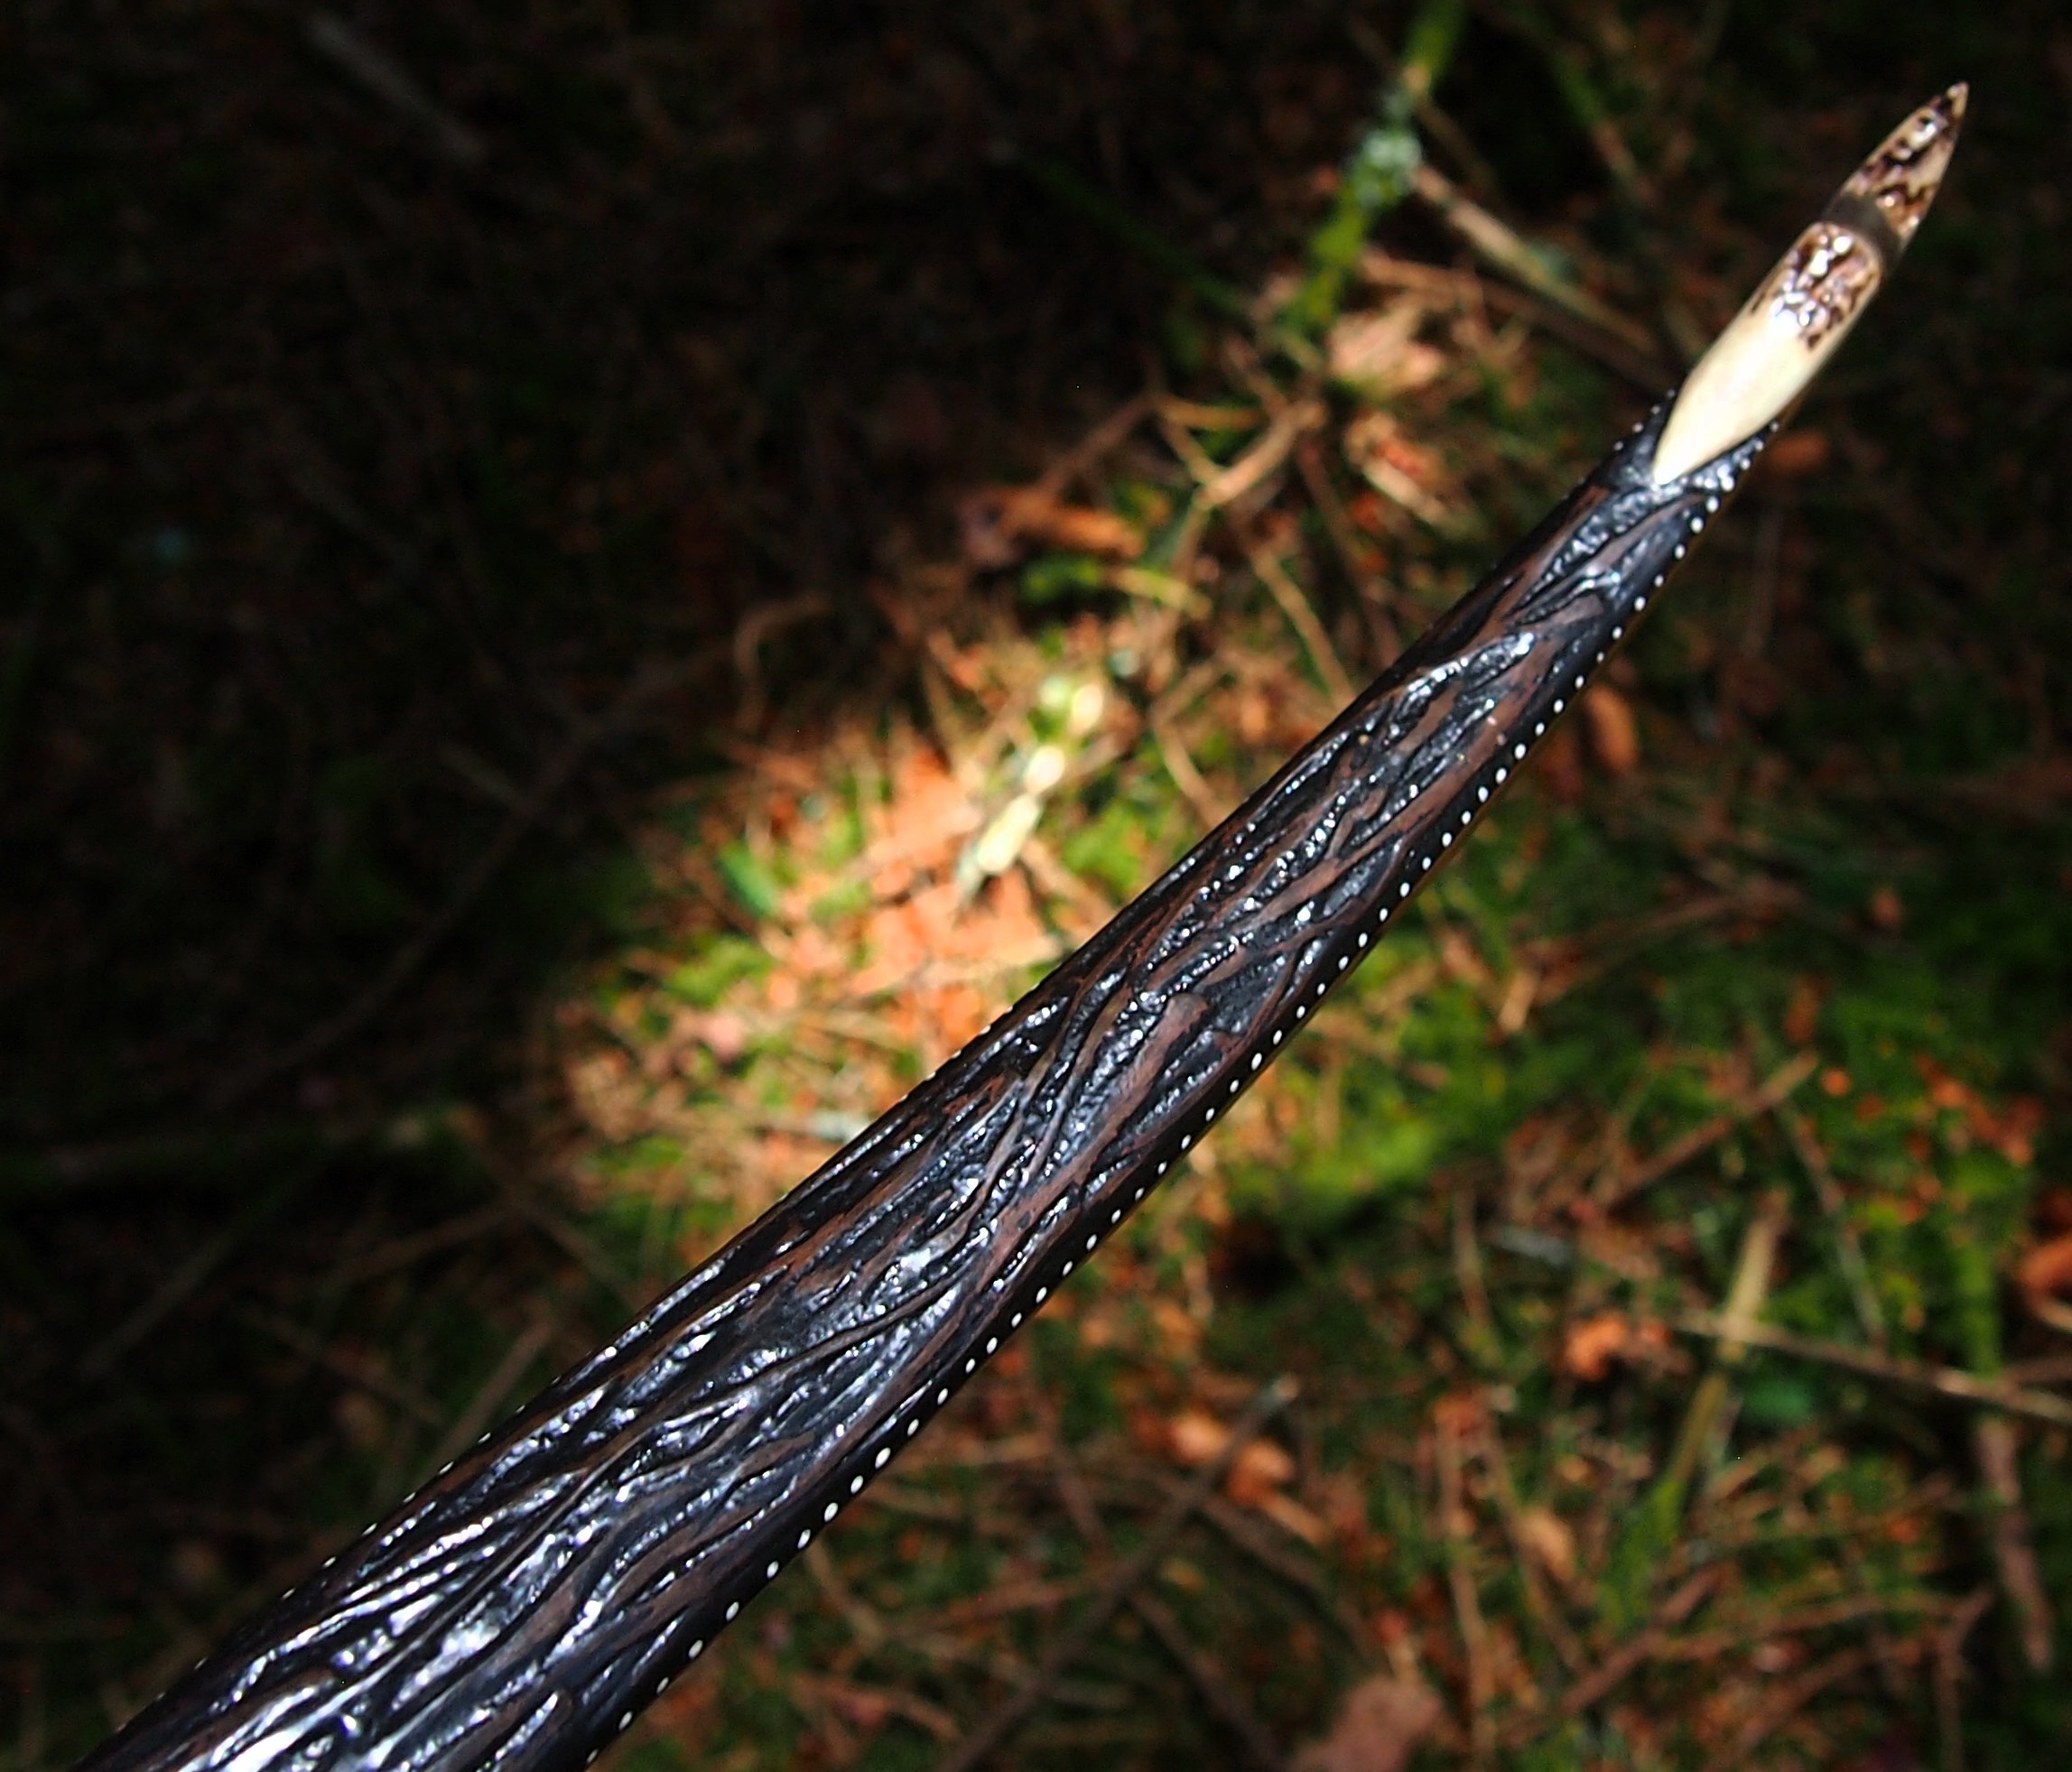
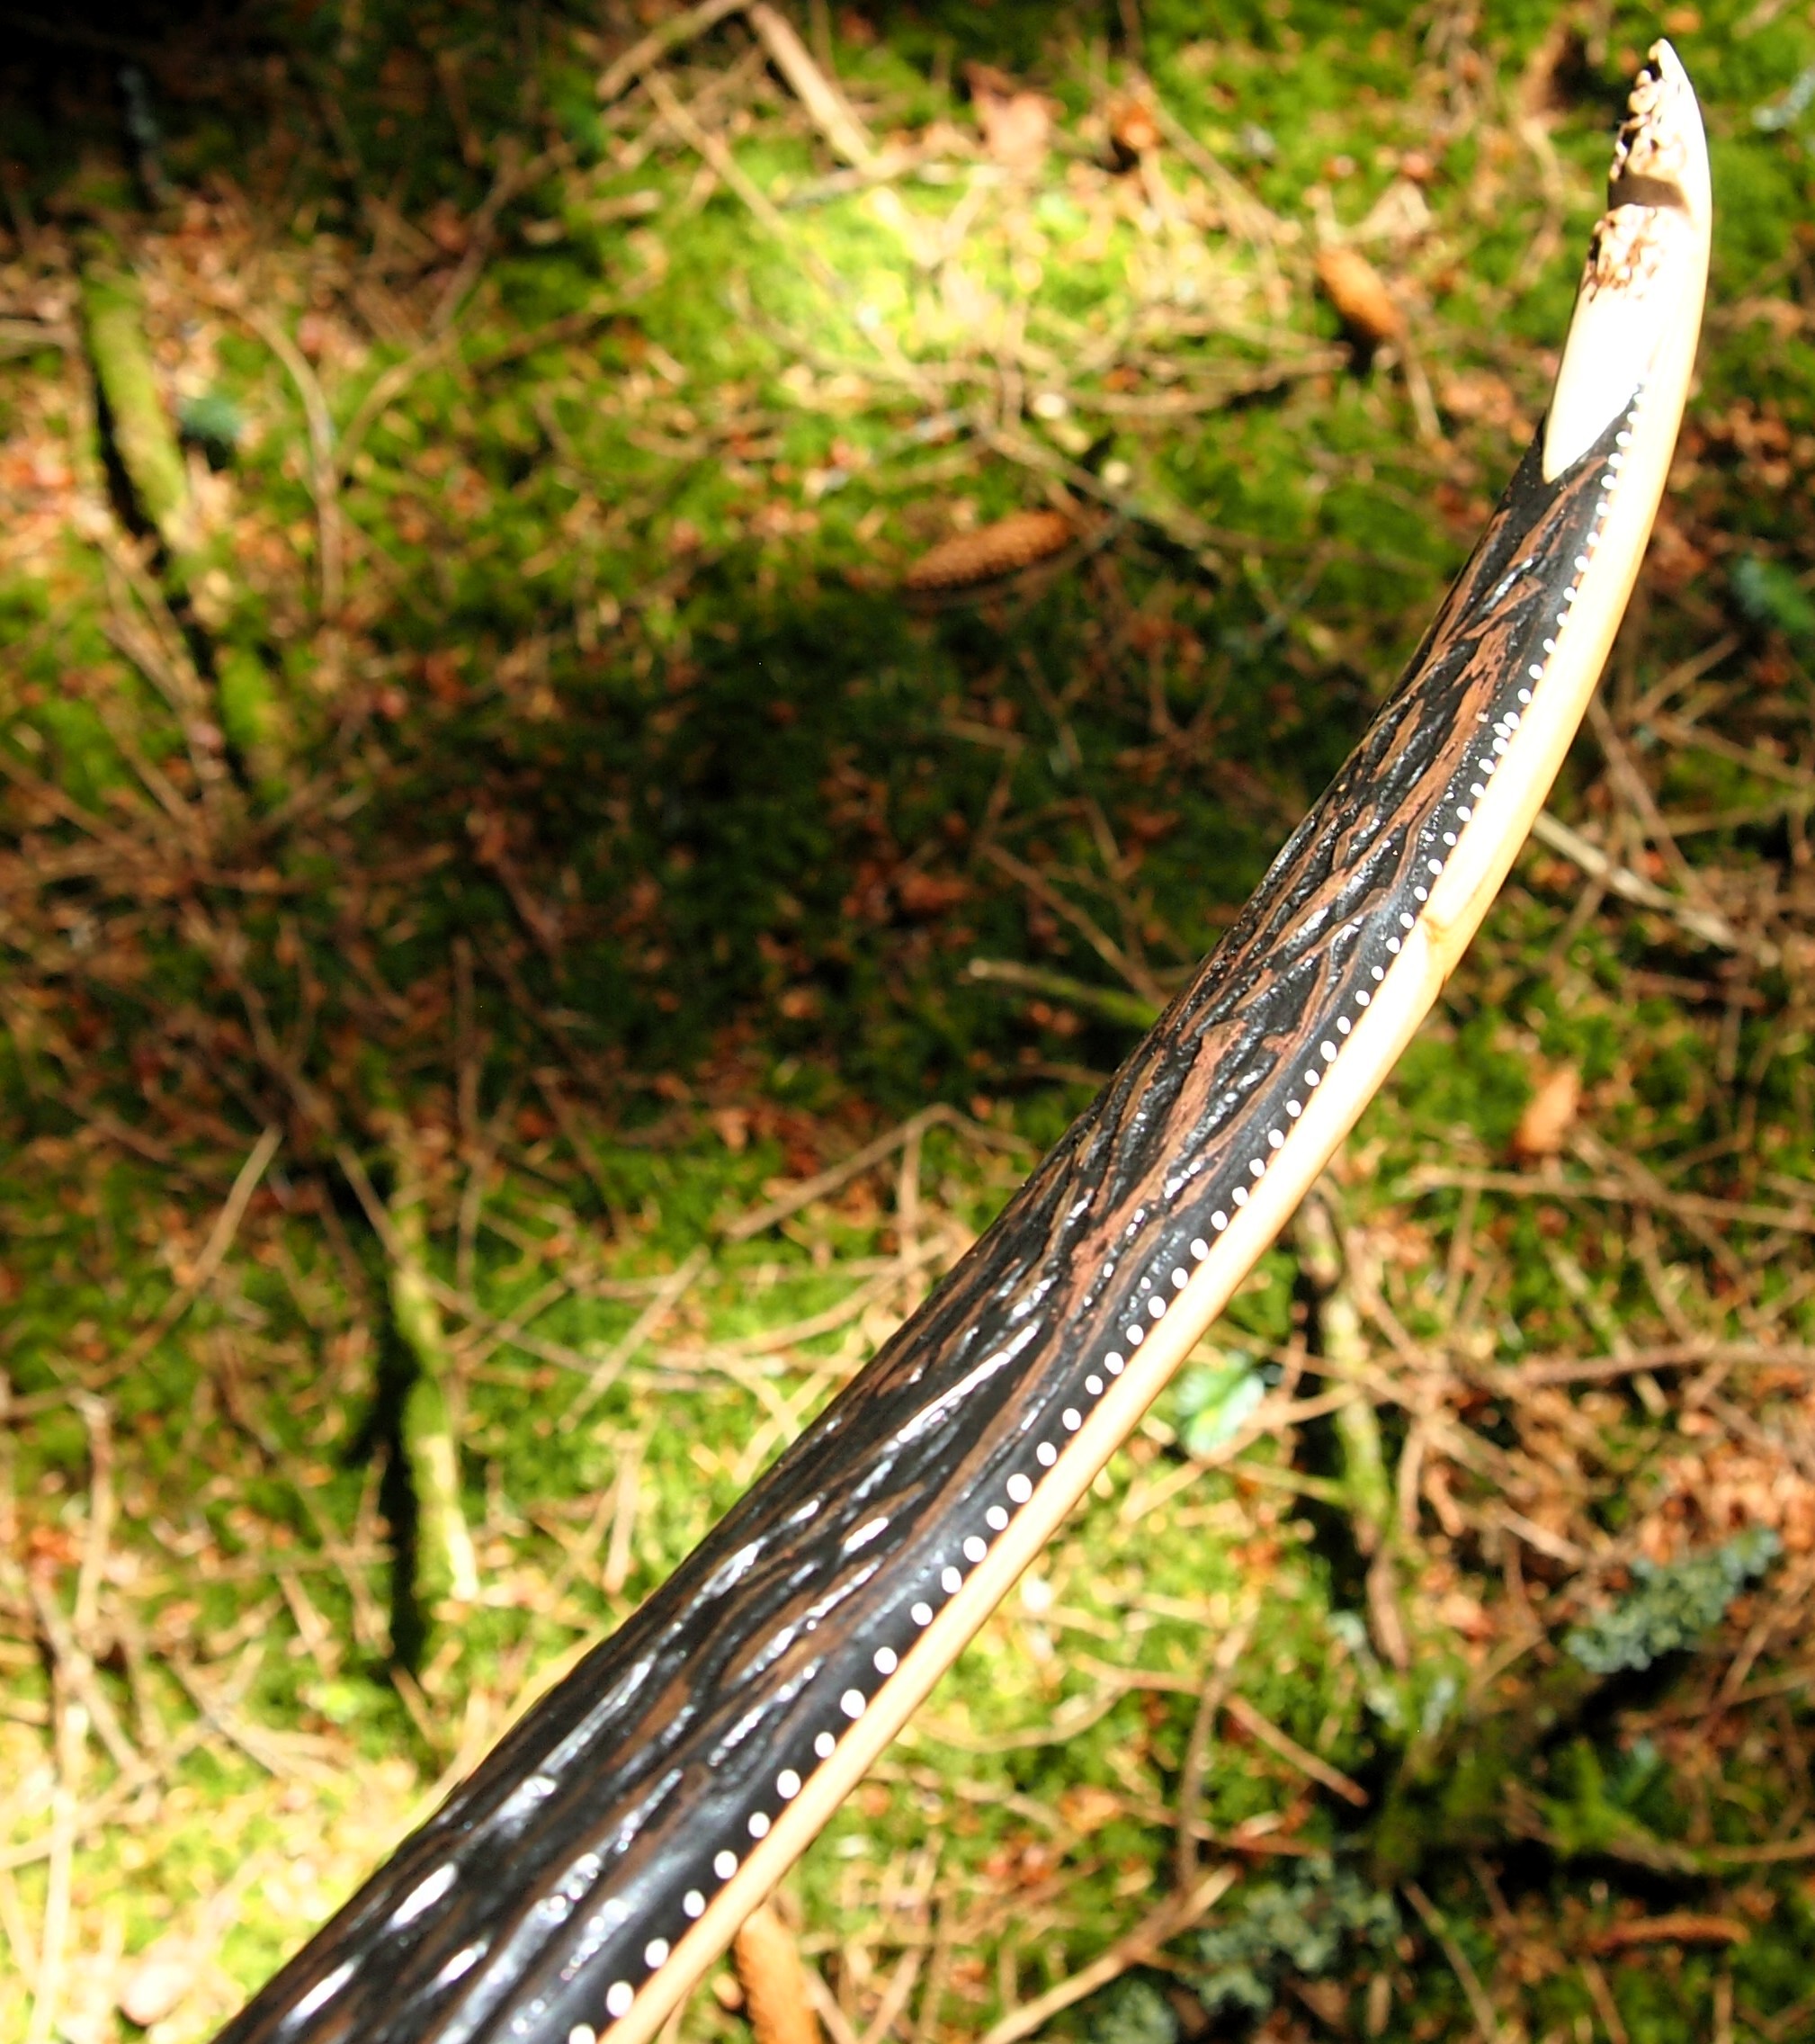
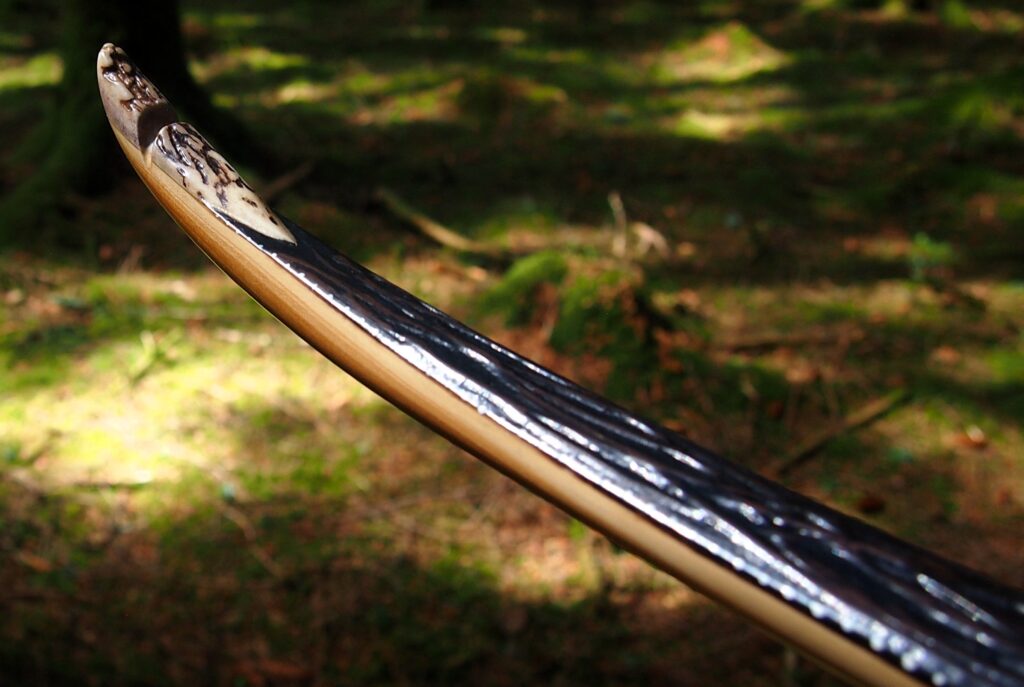
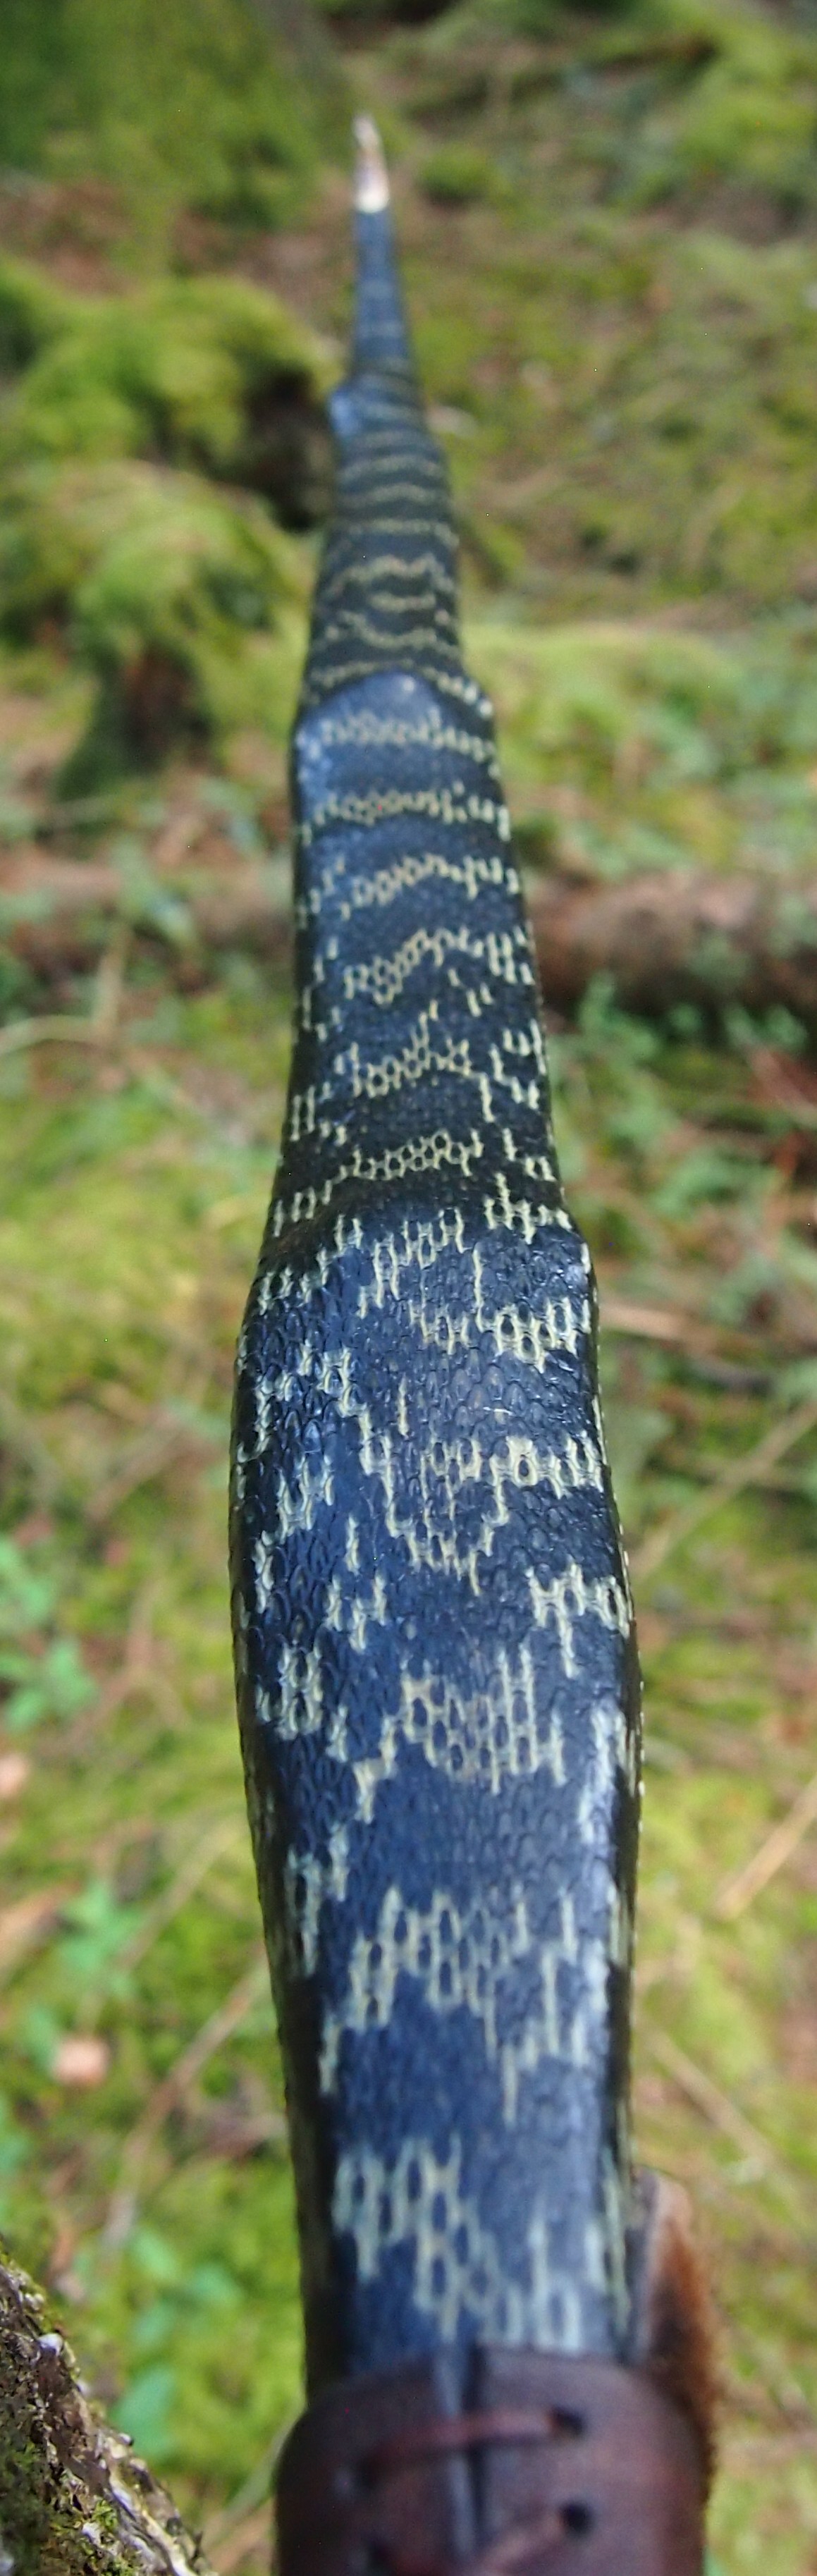
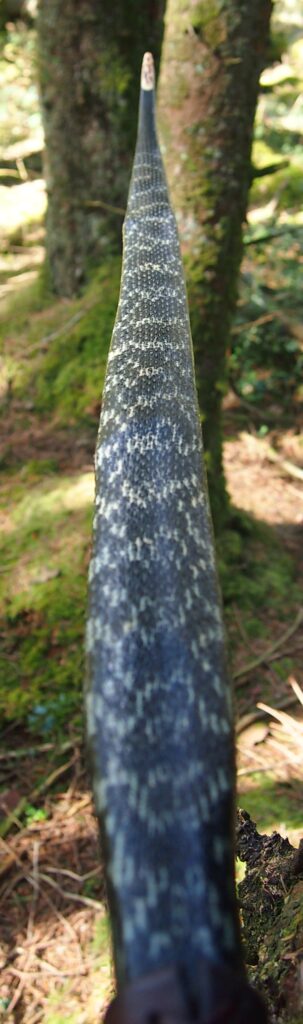
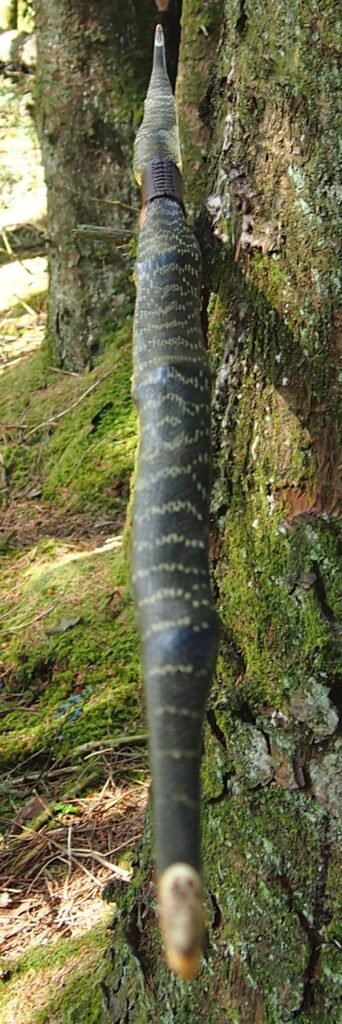
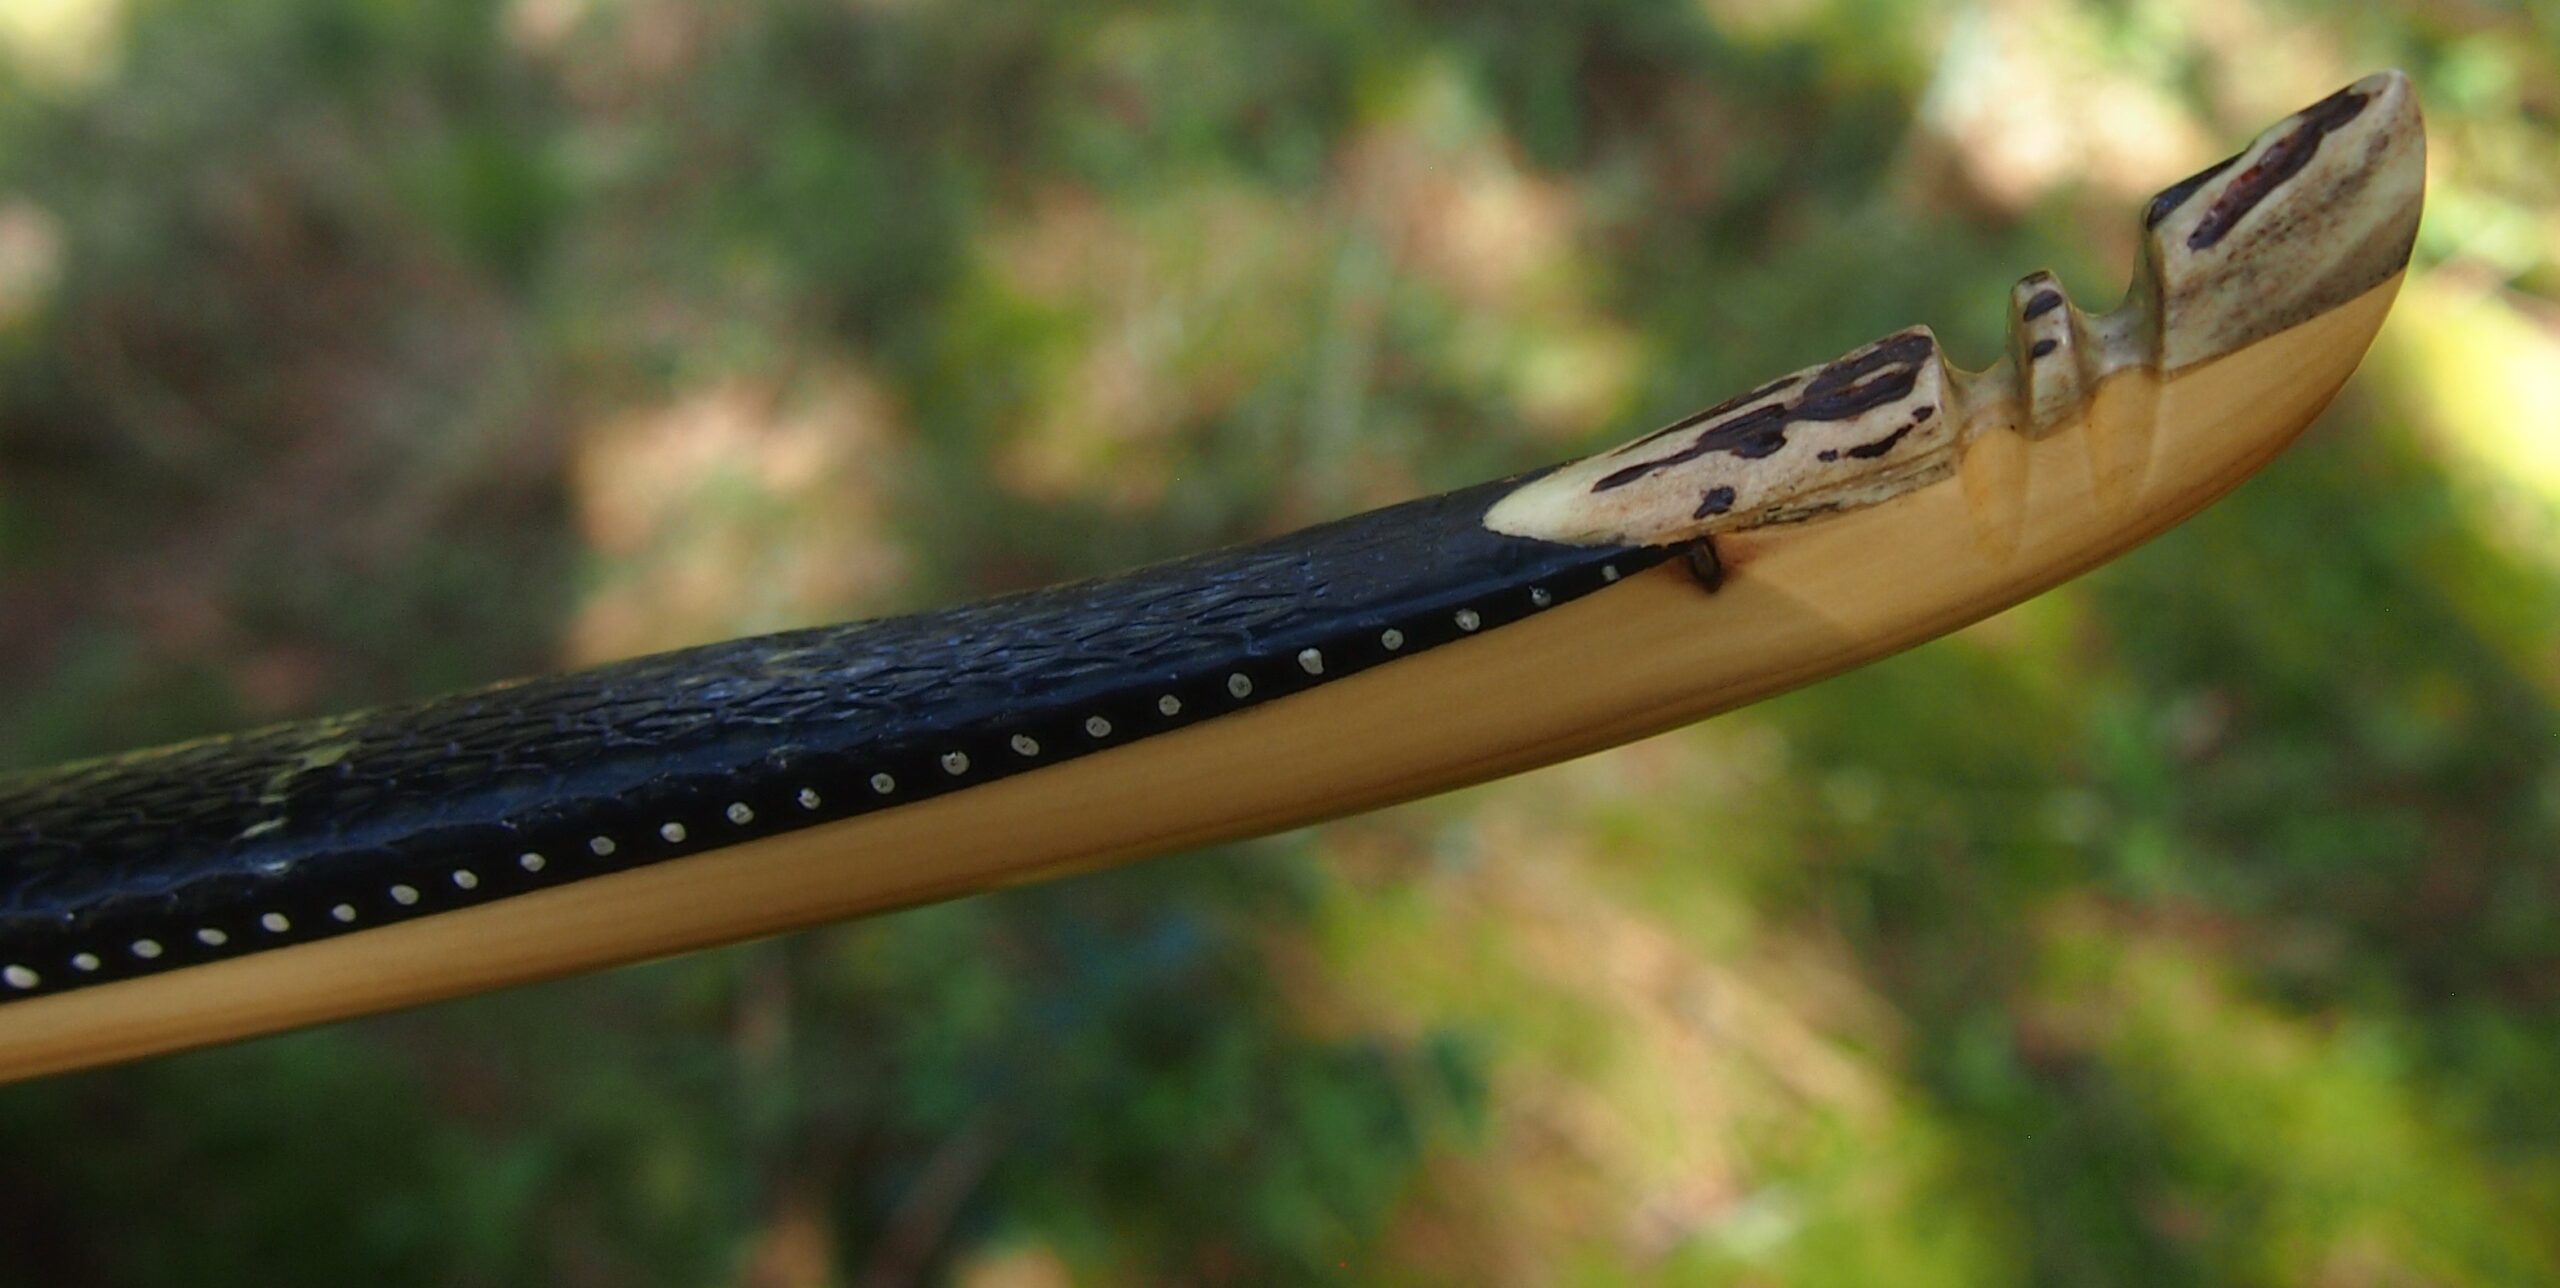
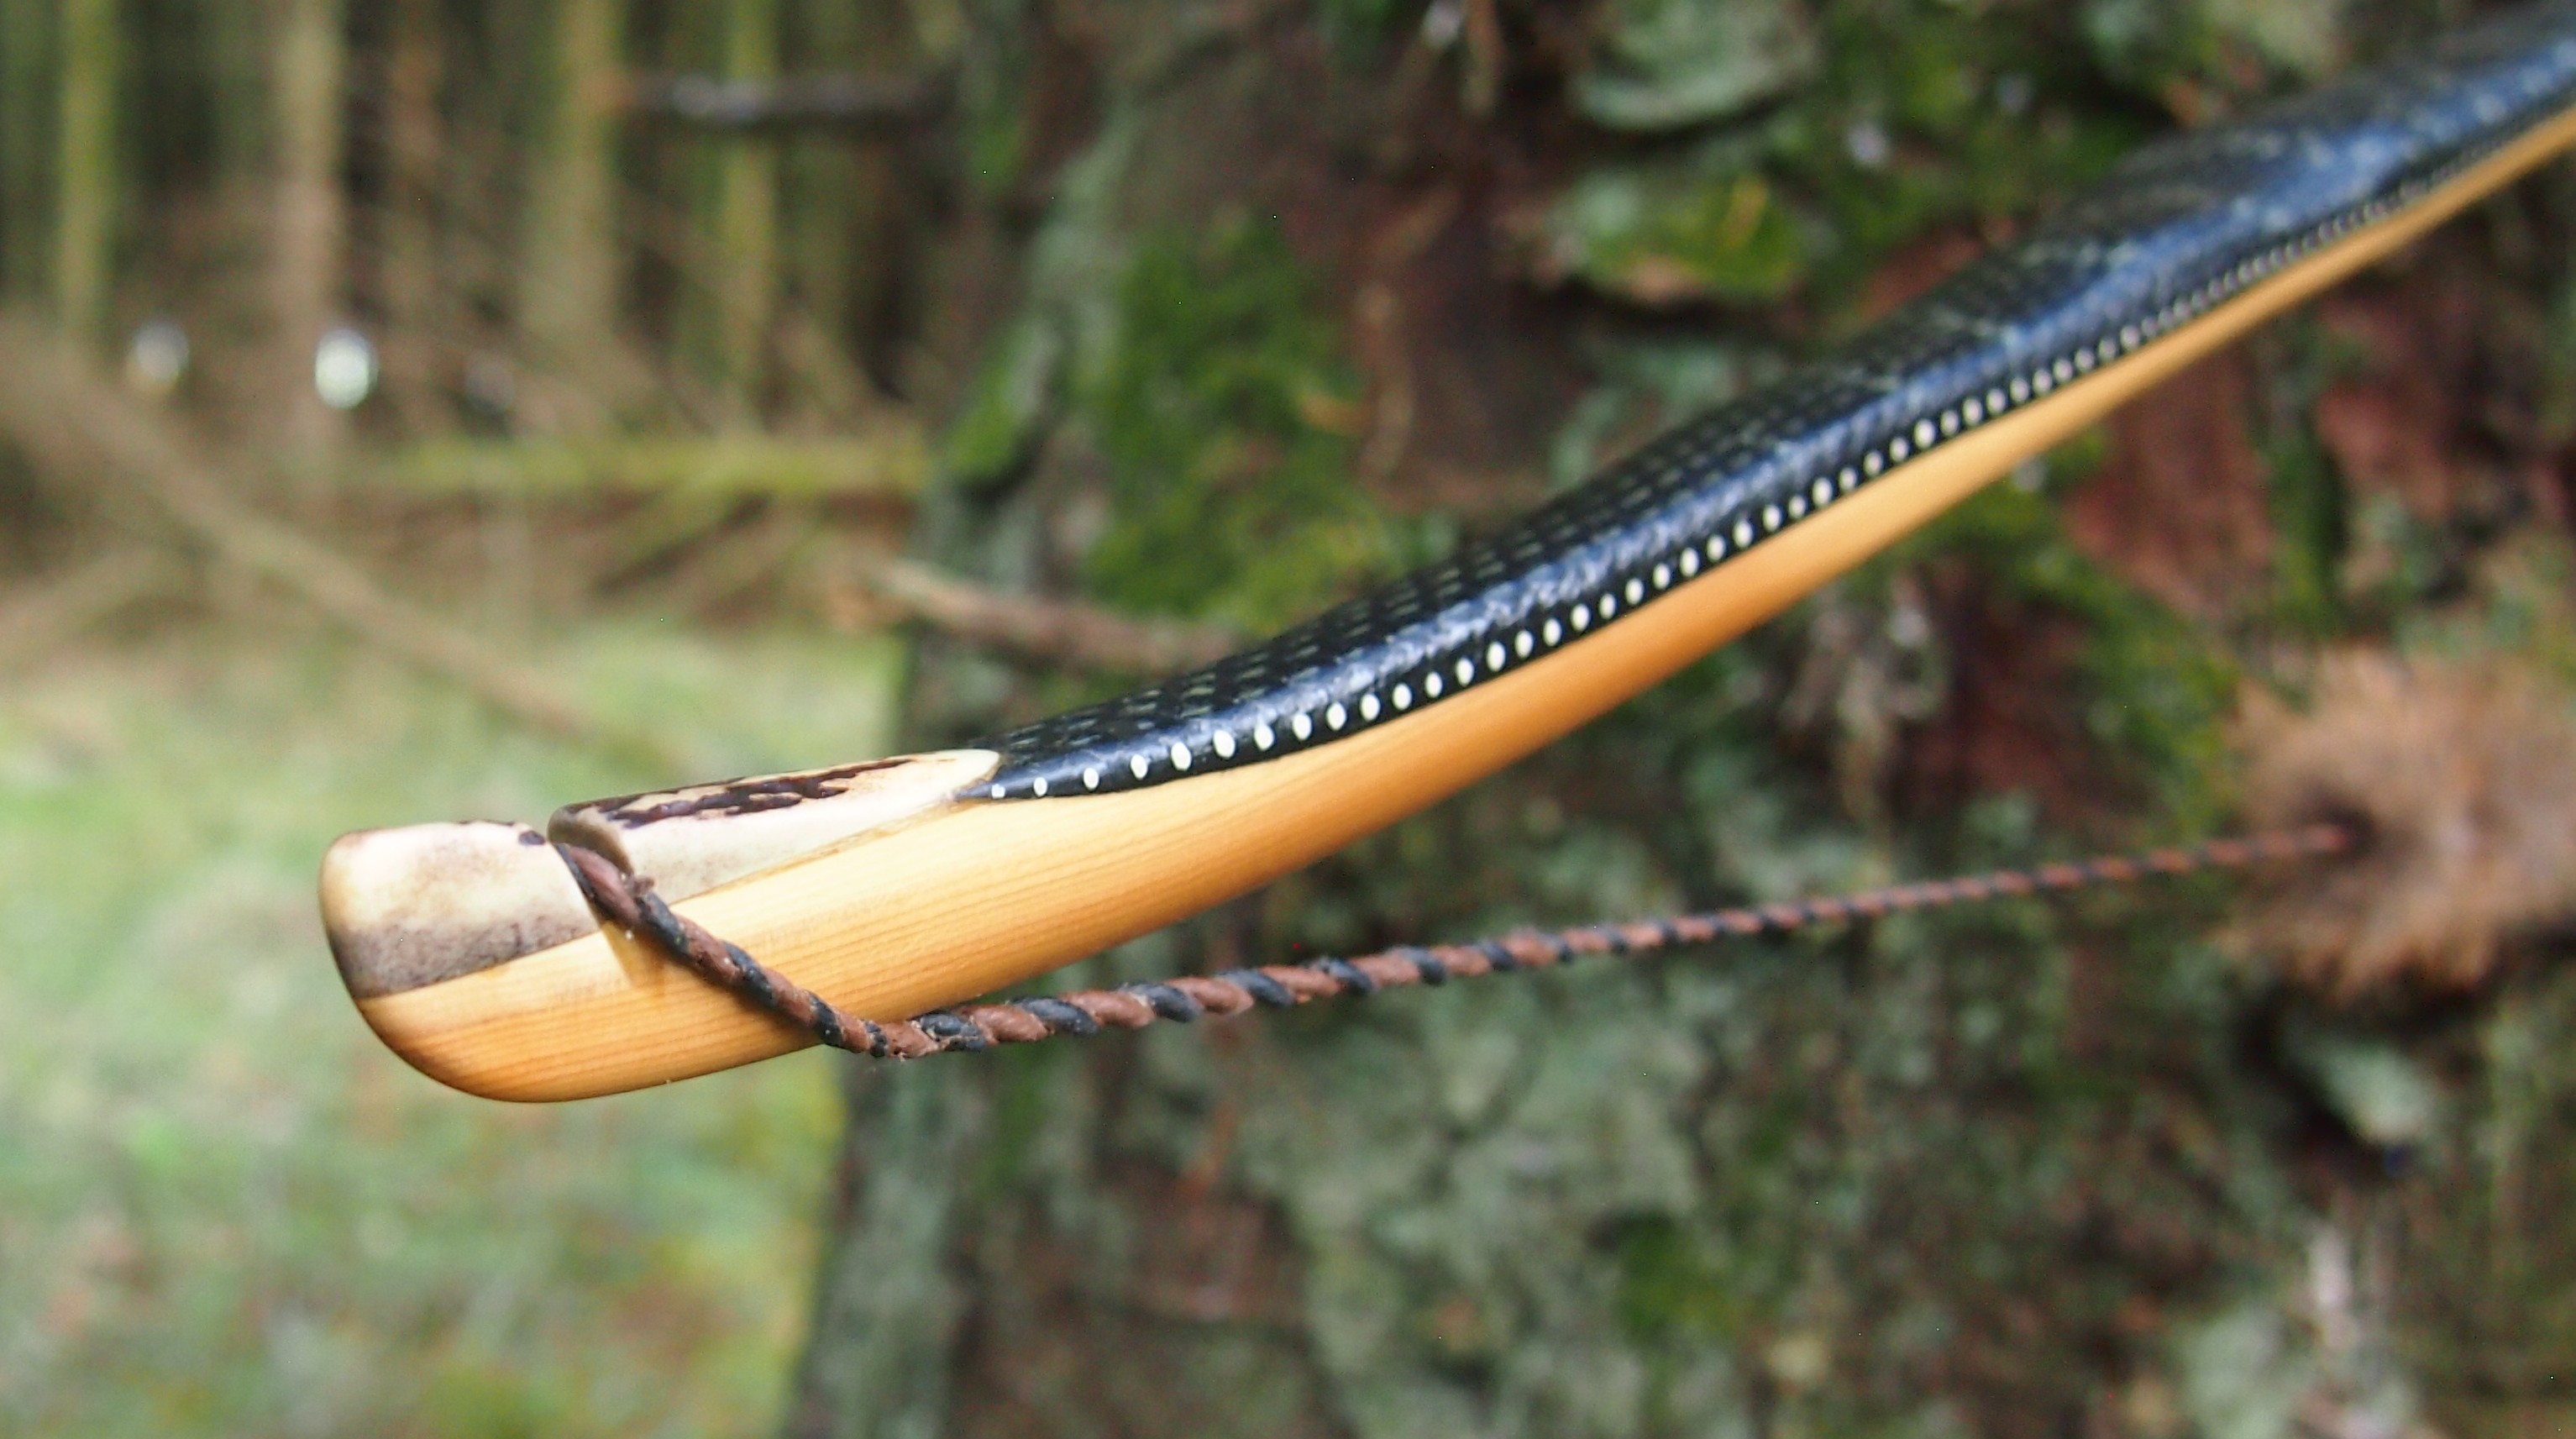
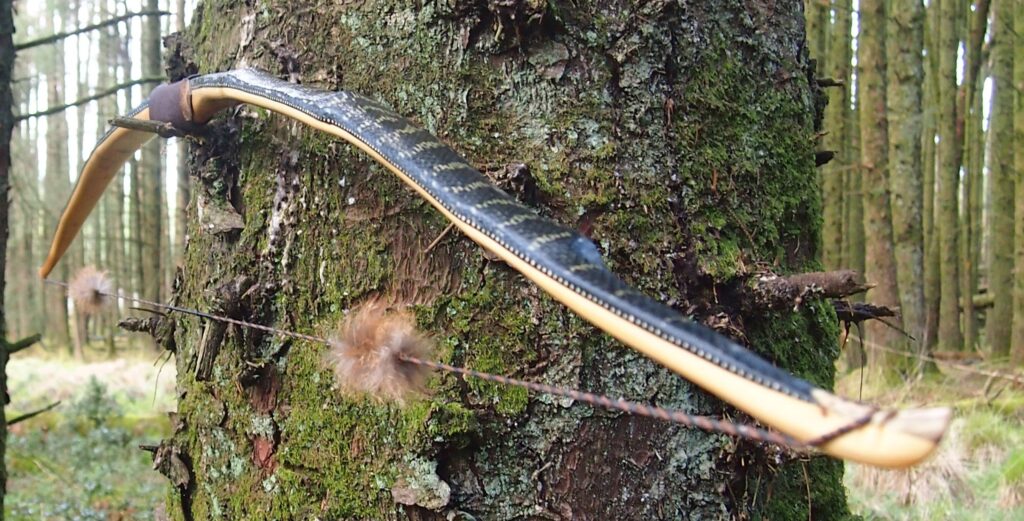
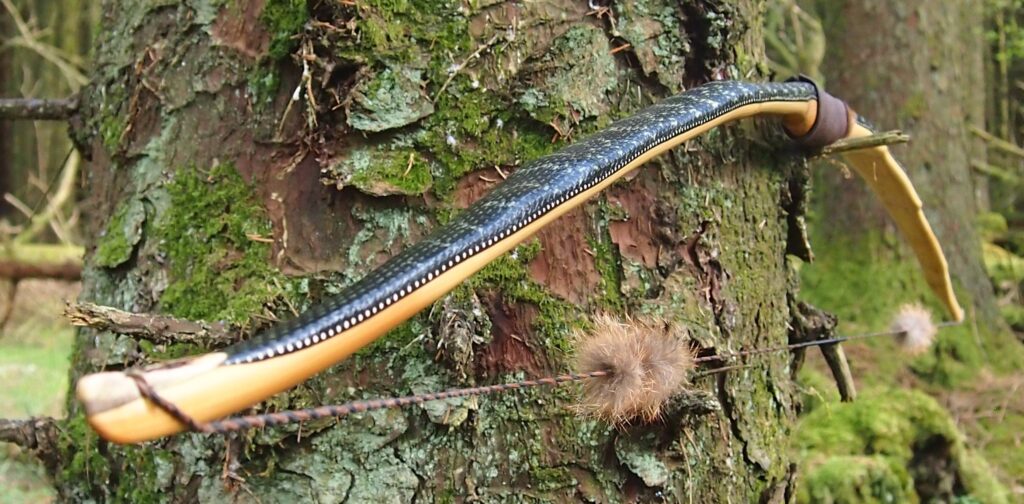
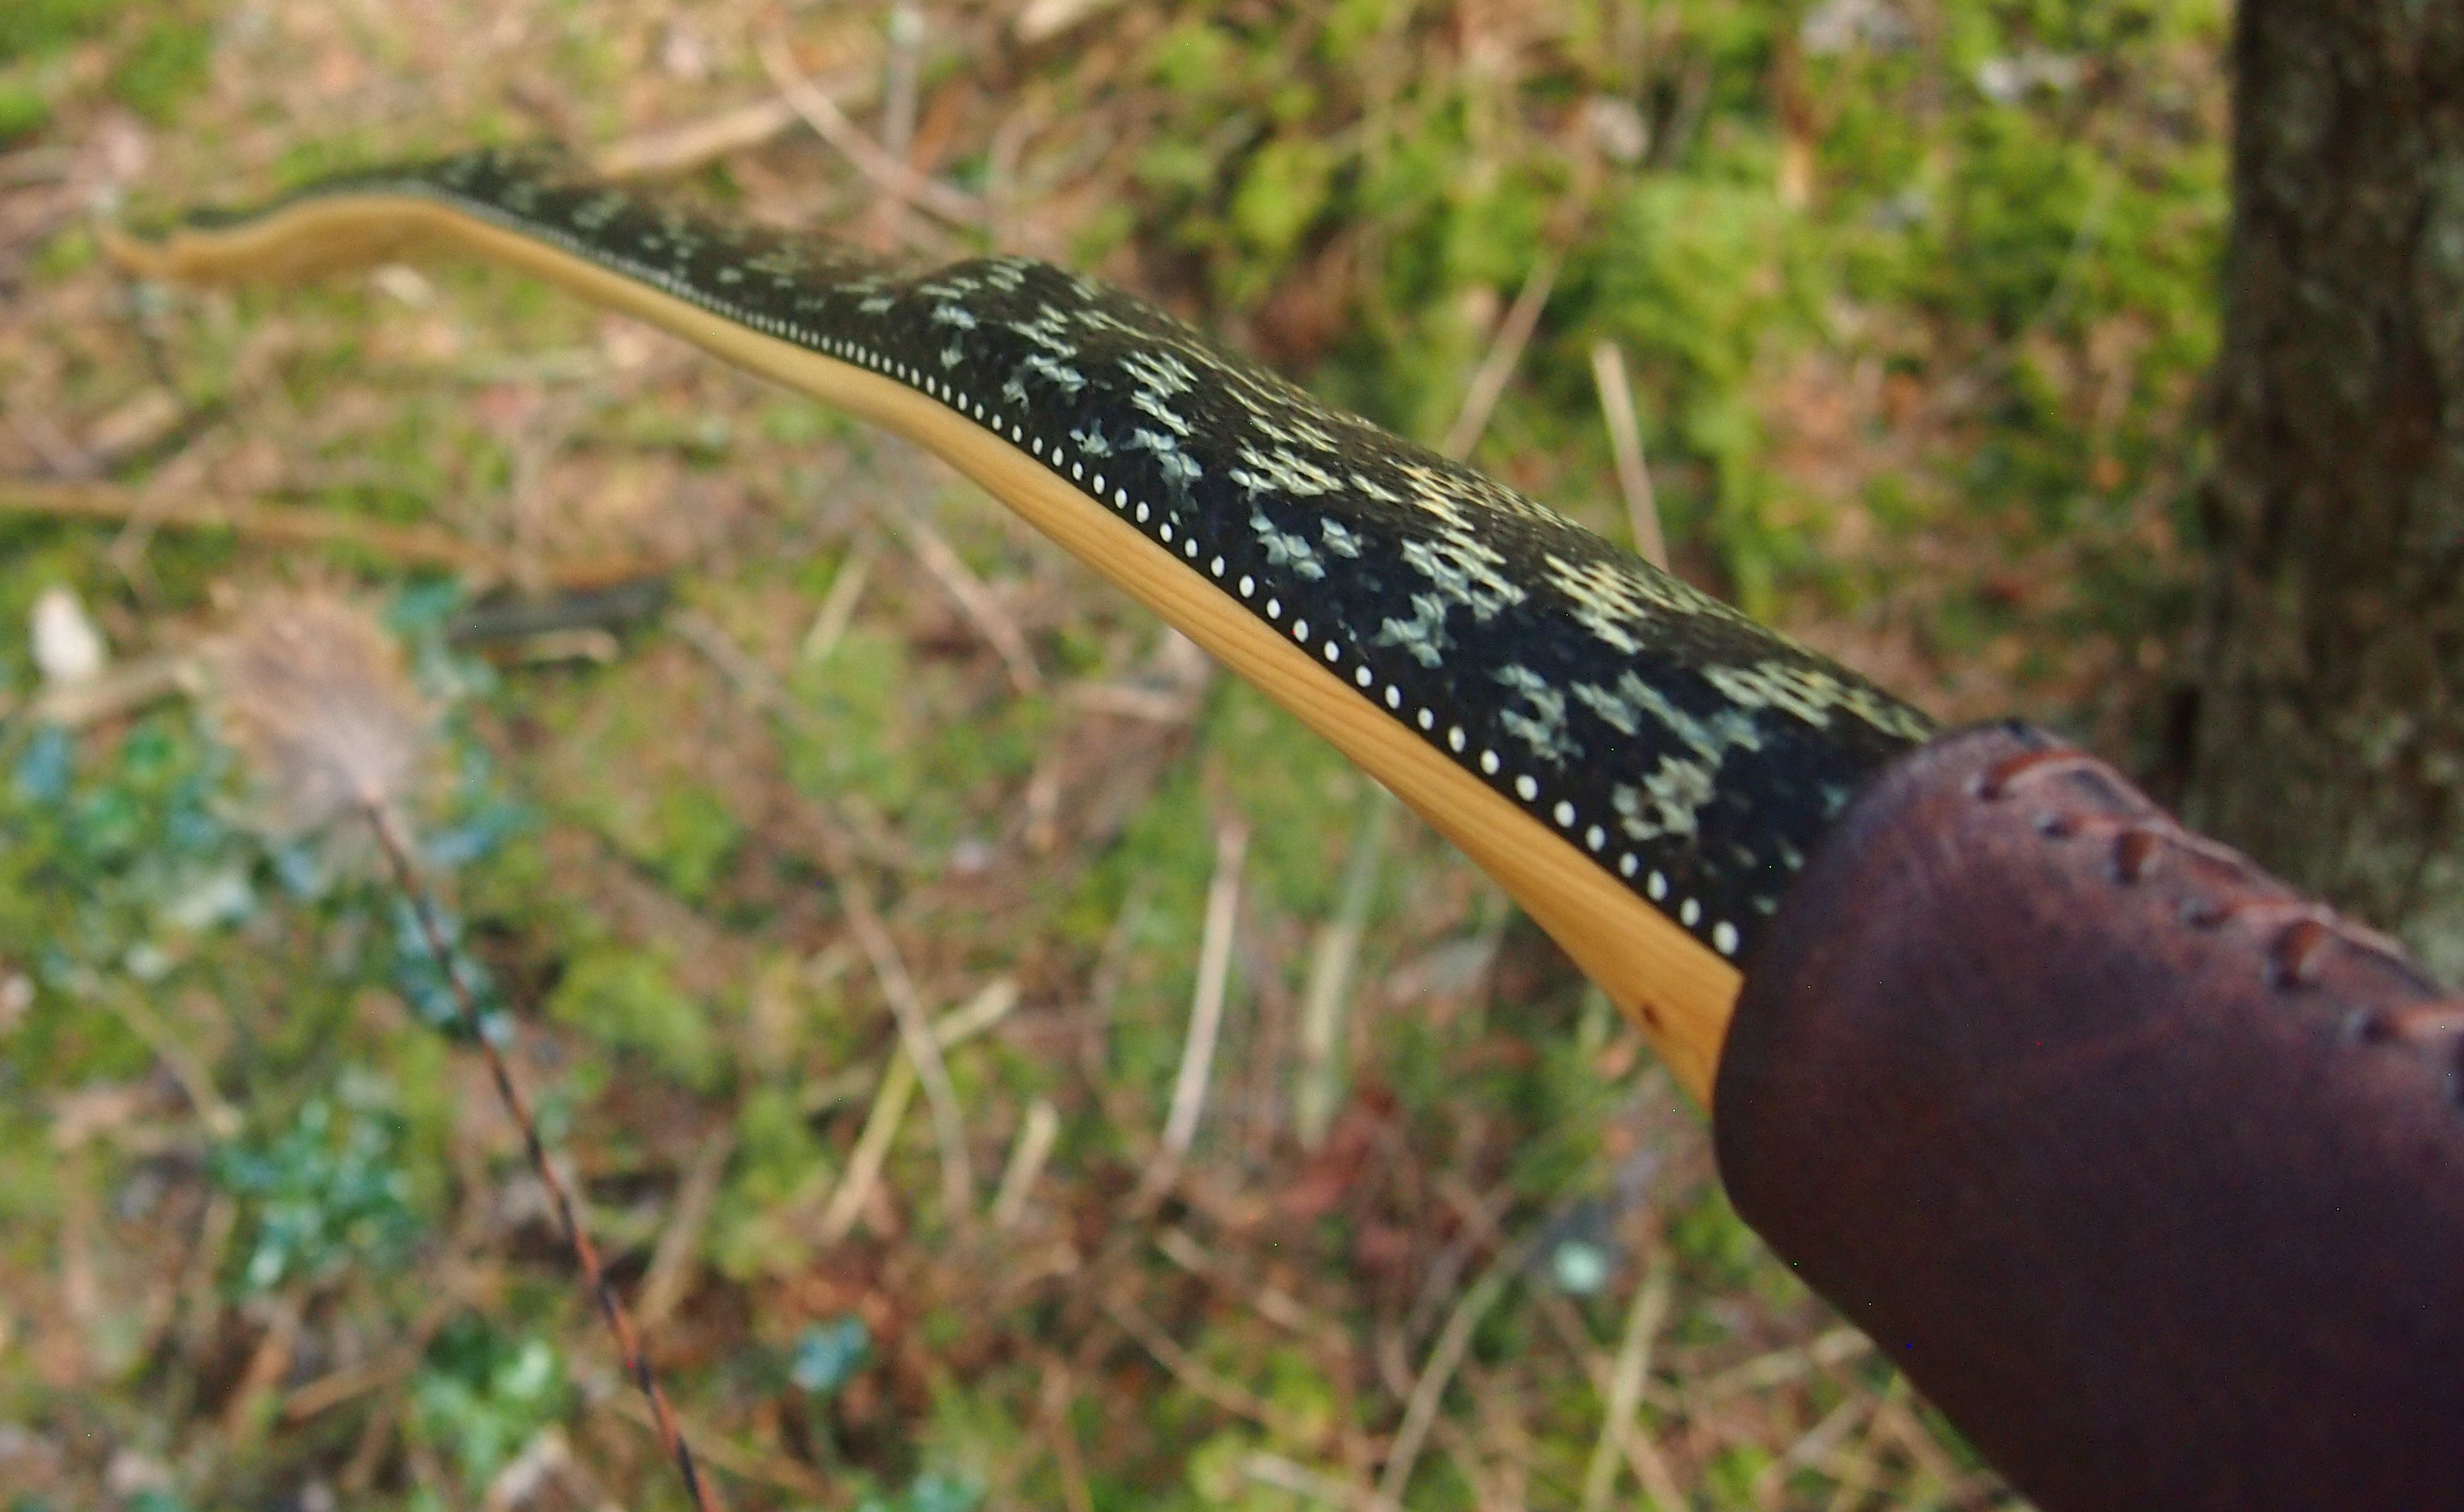
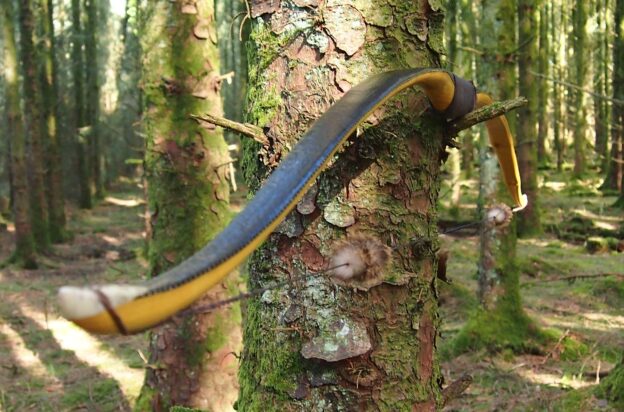
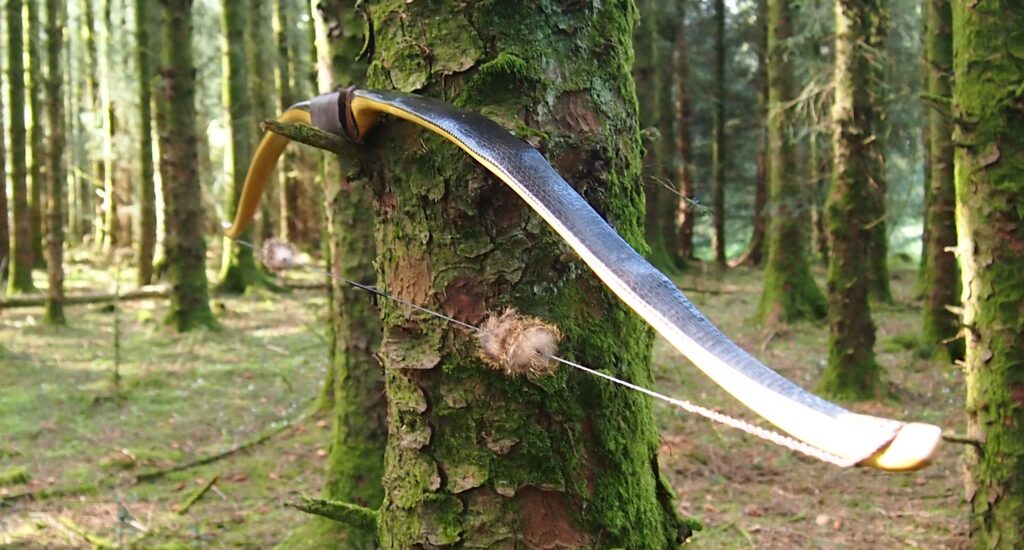
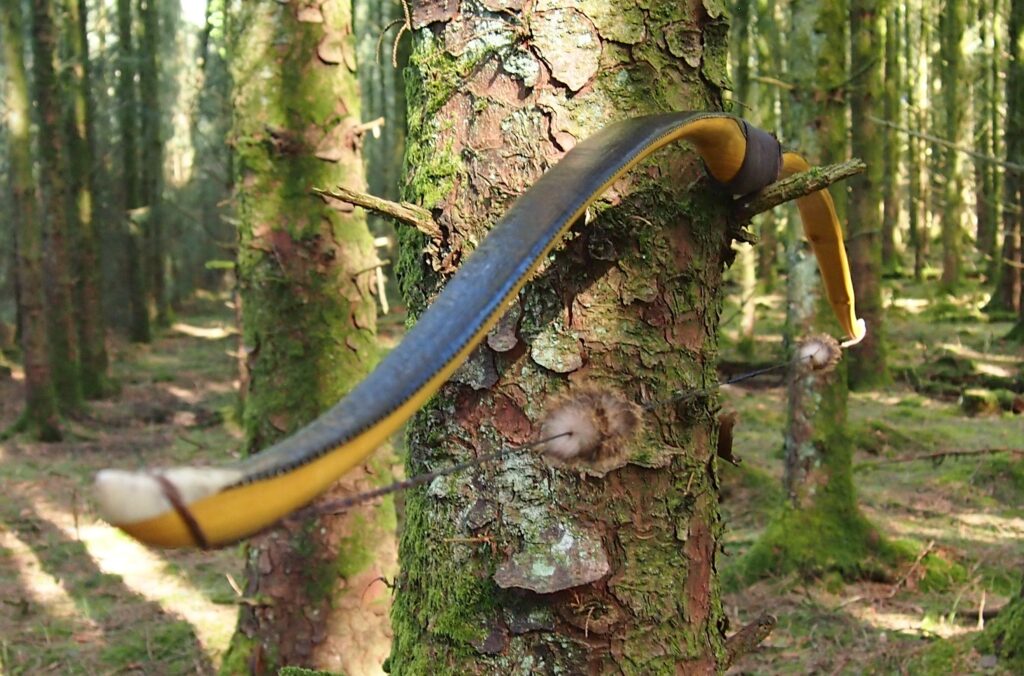
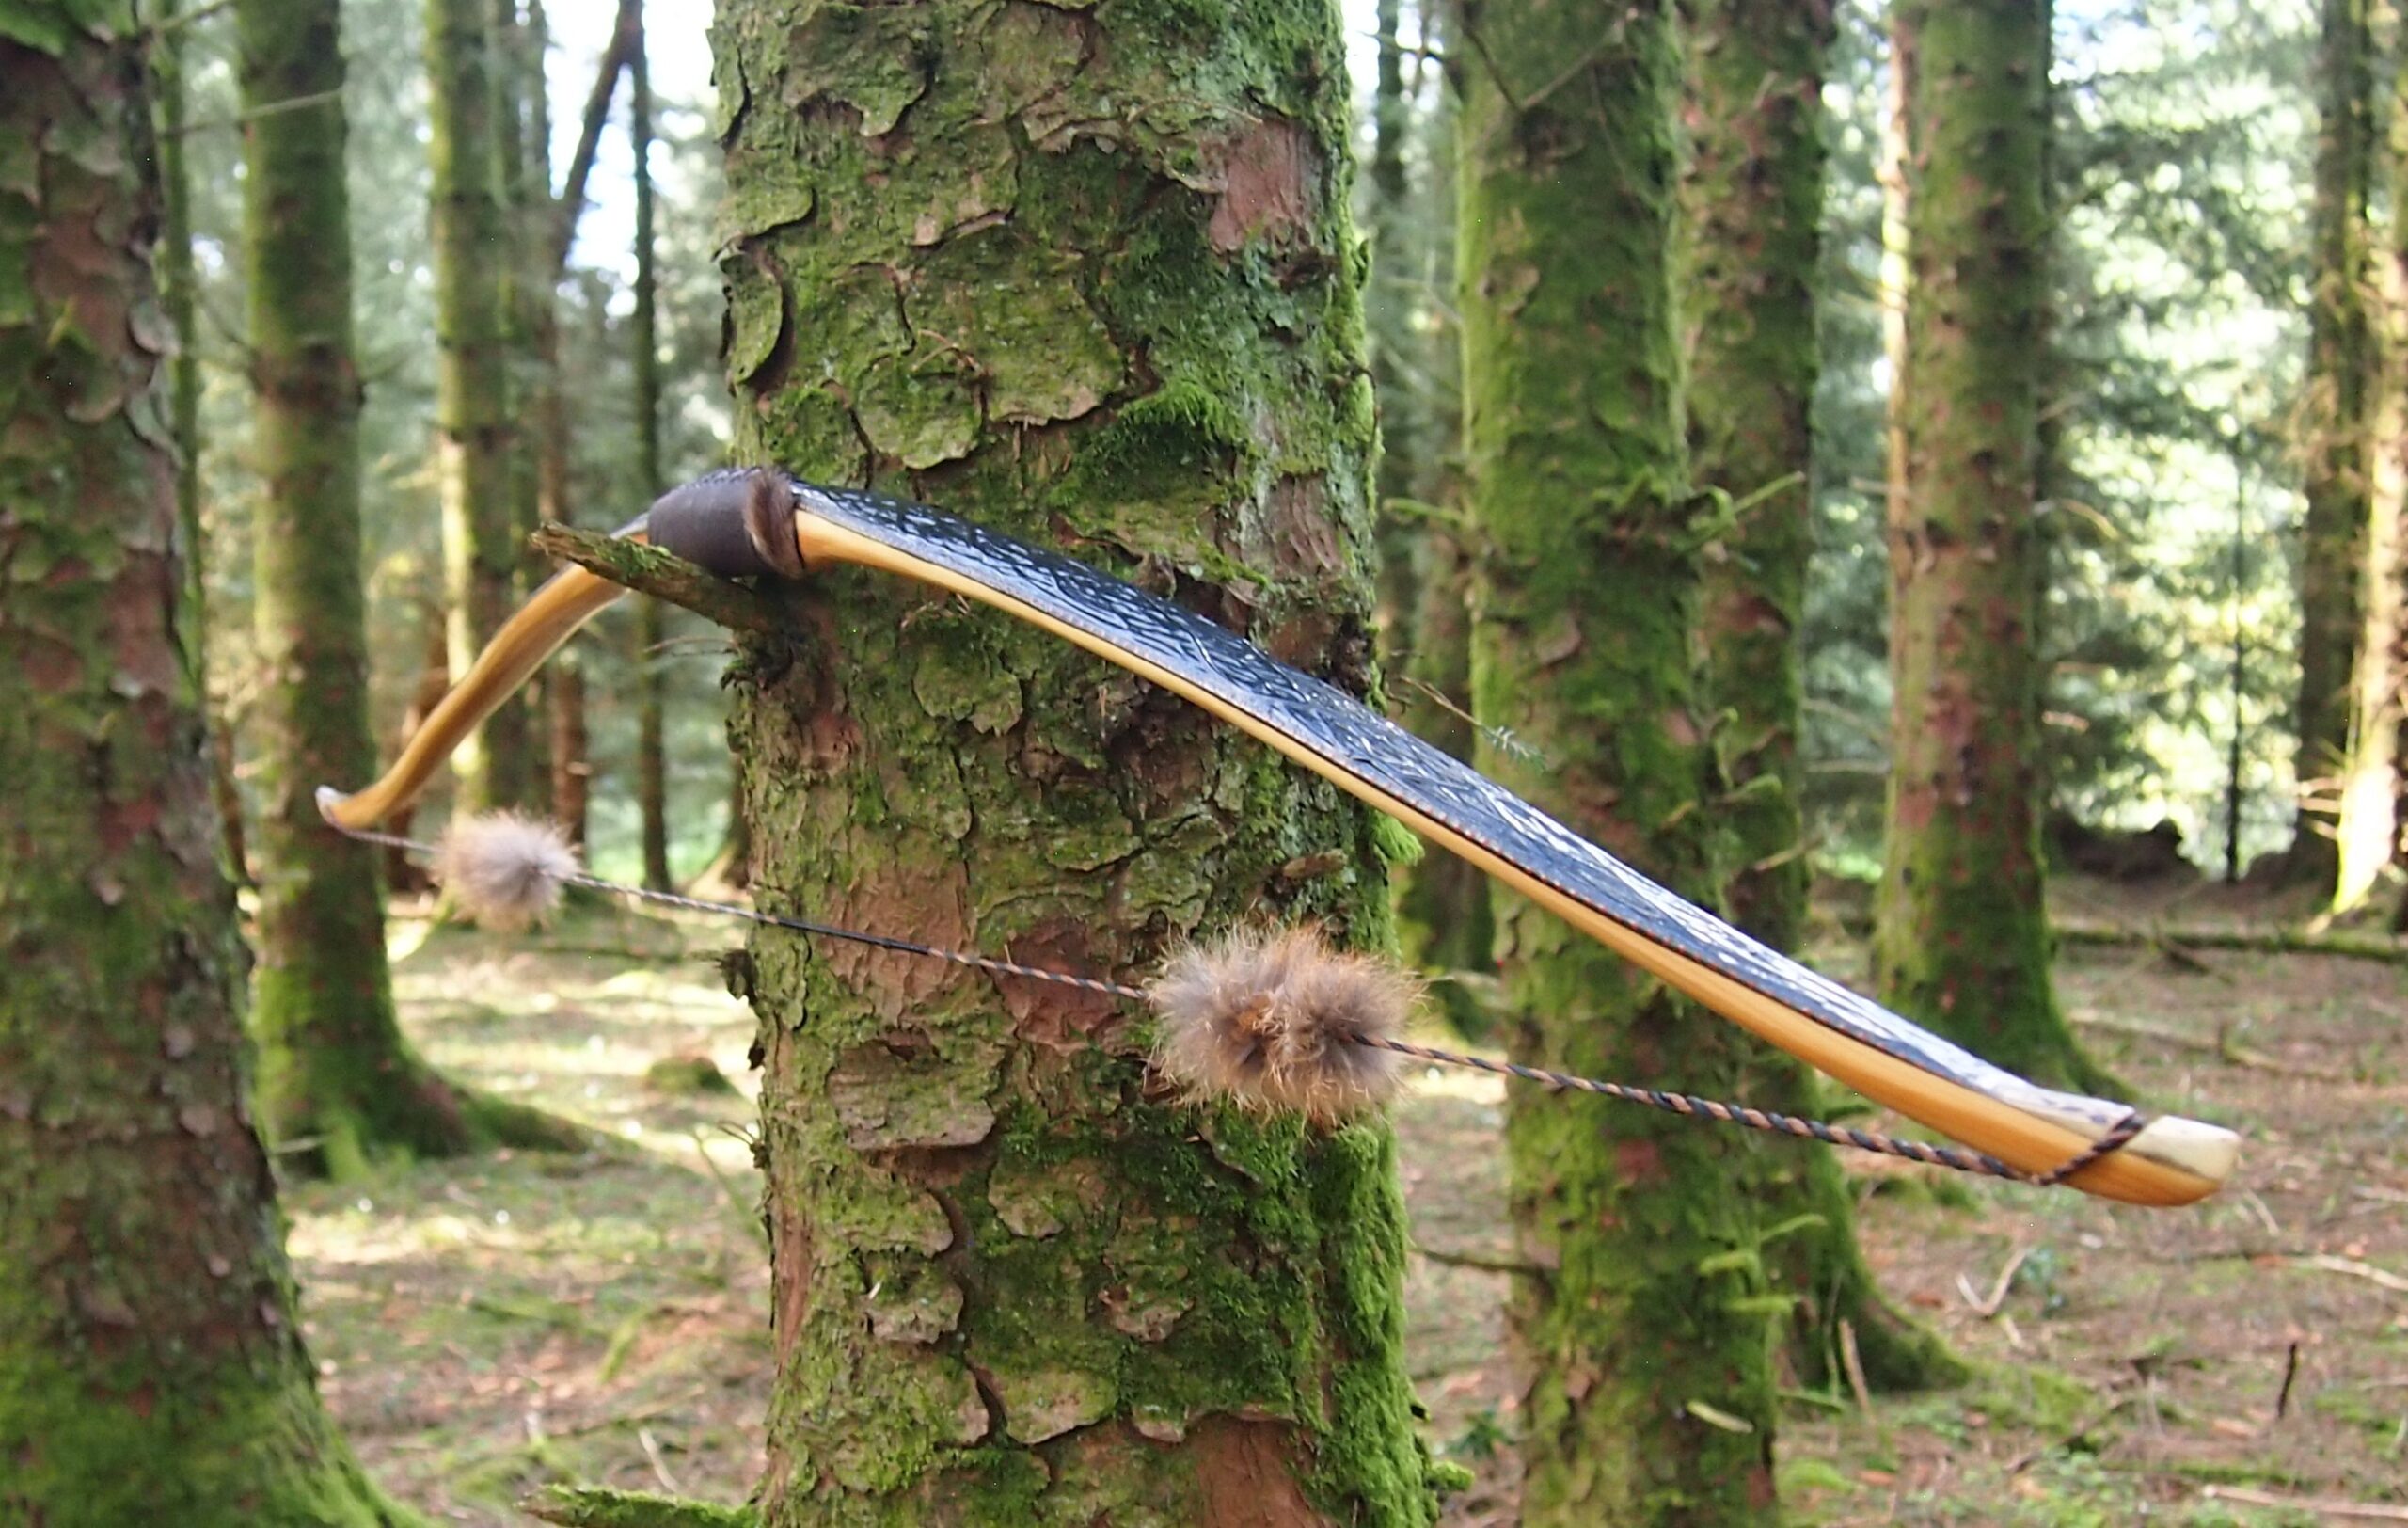
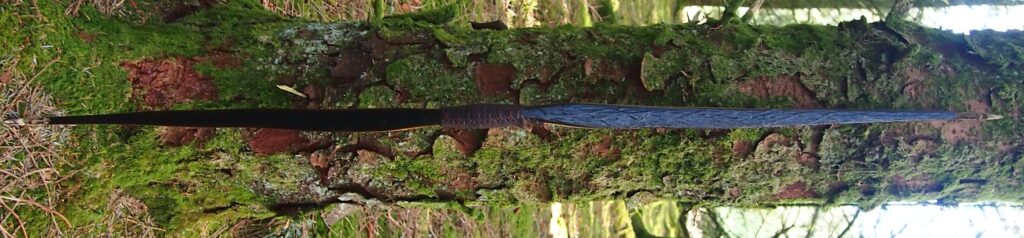
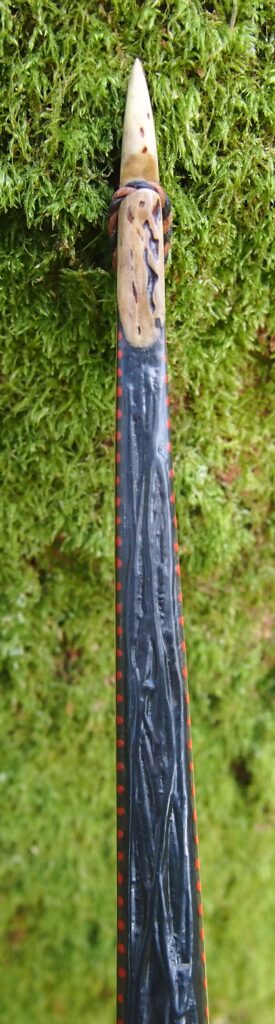
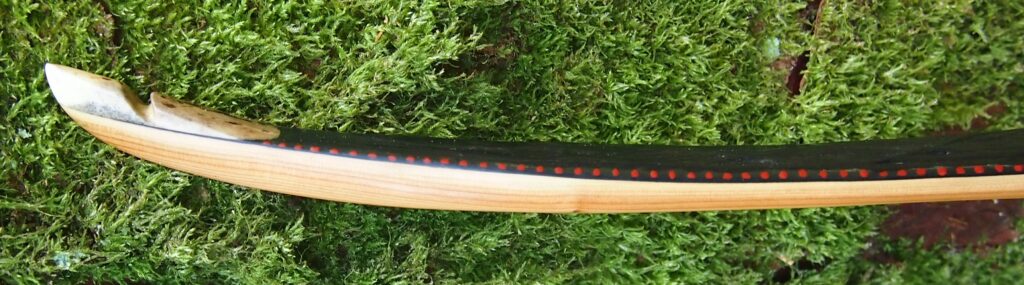
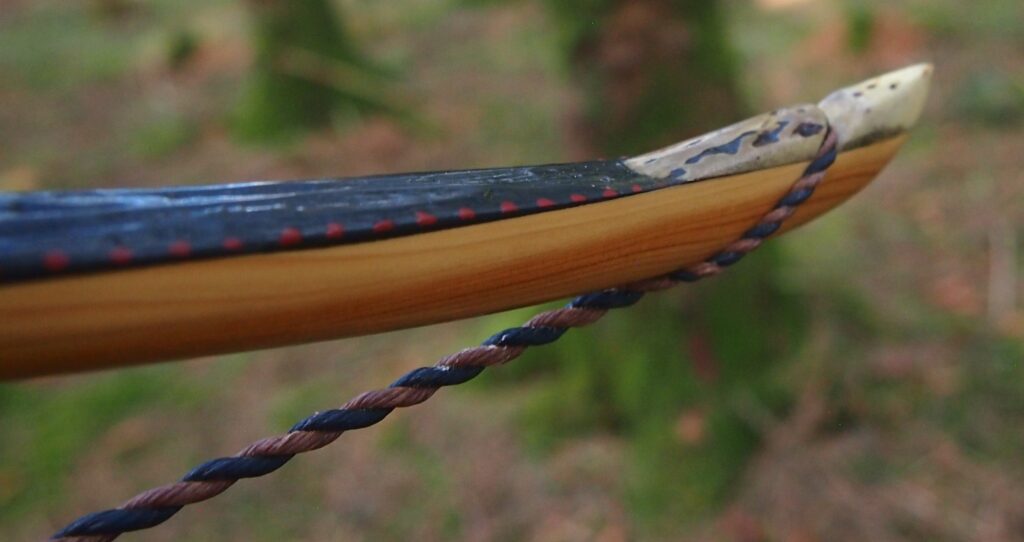
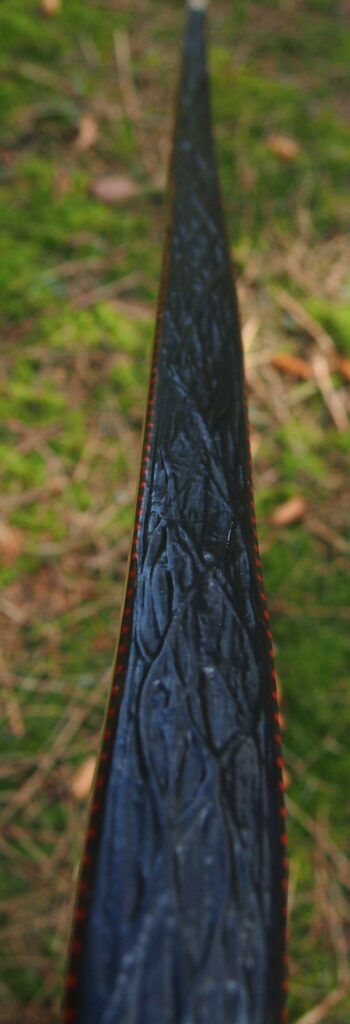
I decided to rawhide back this bow and decorate it with just an once of red deer leg sinew, more for safety, durability and aesthetics than anything else.

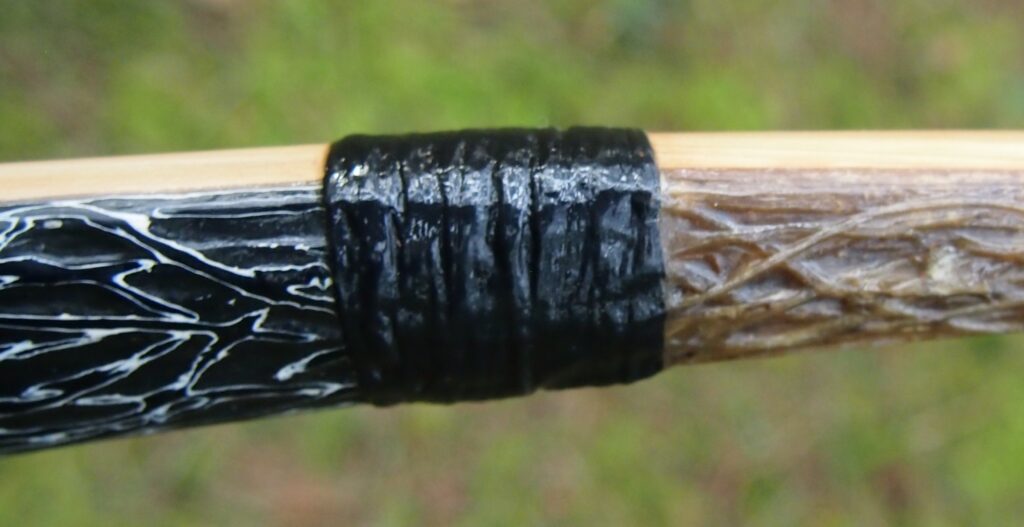
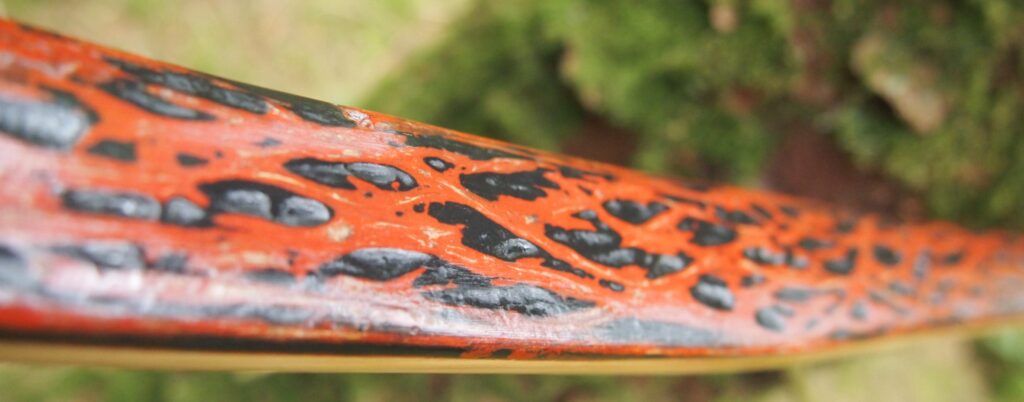
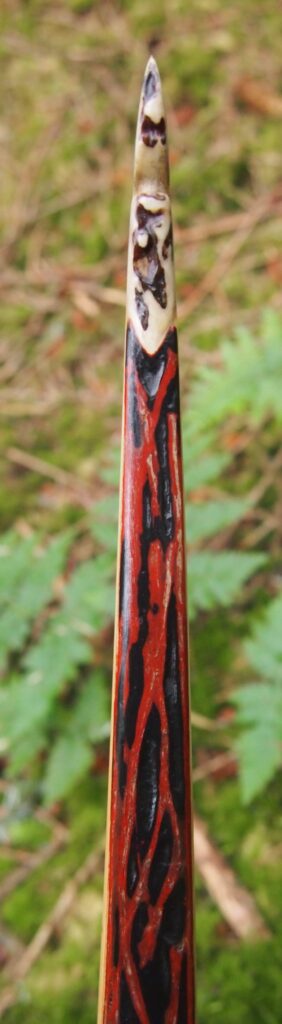
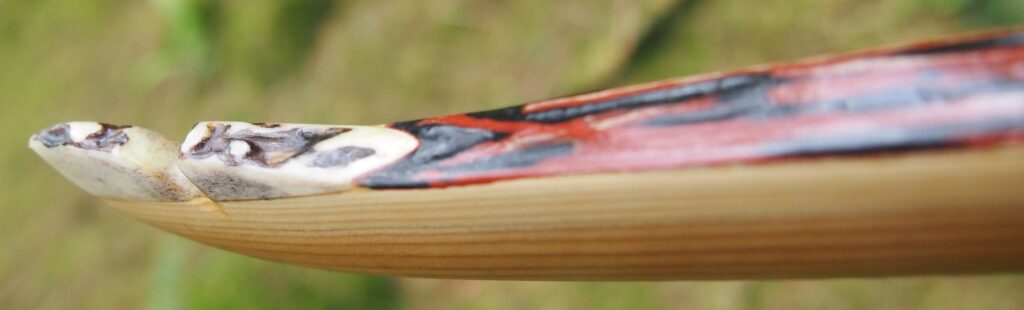
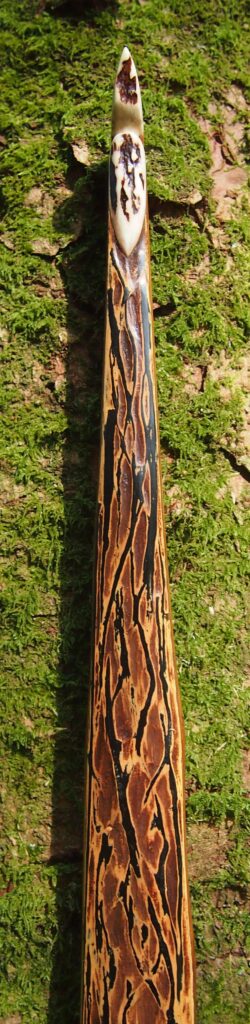
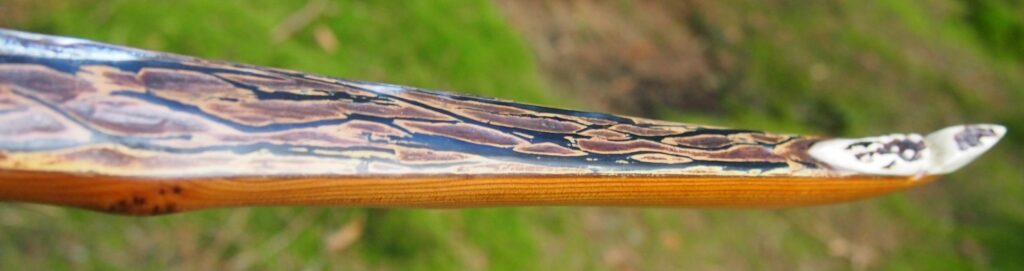
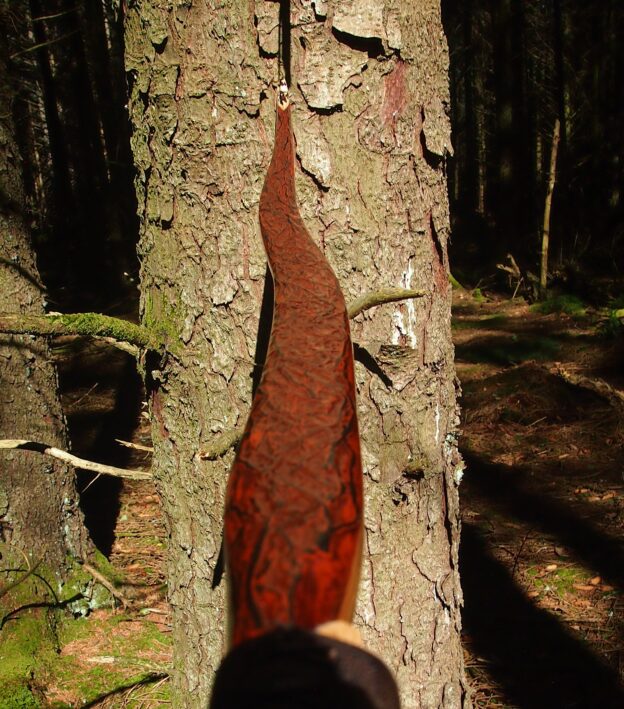
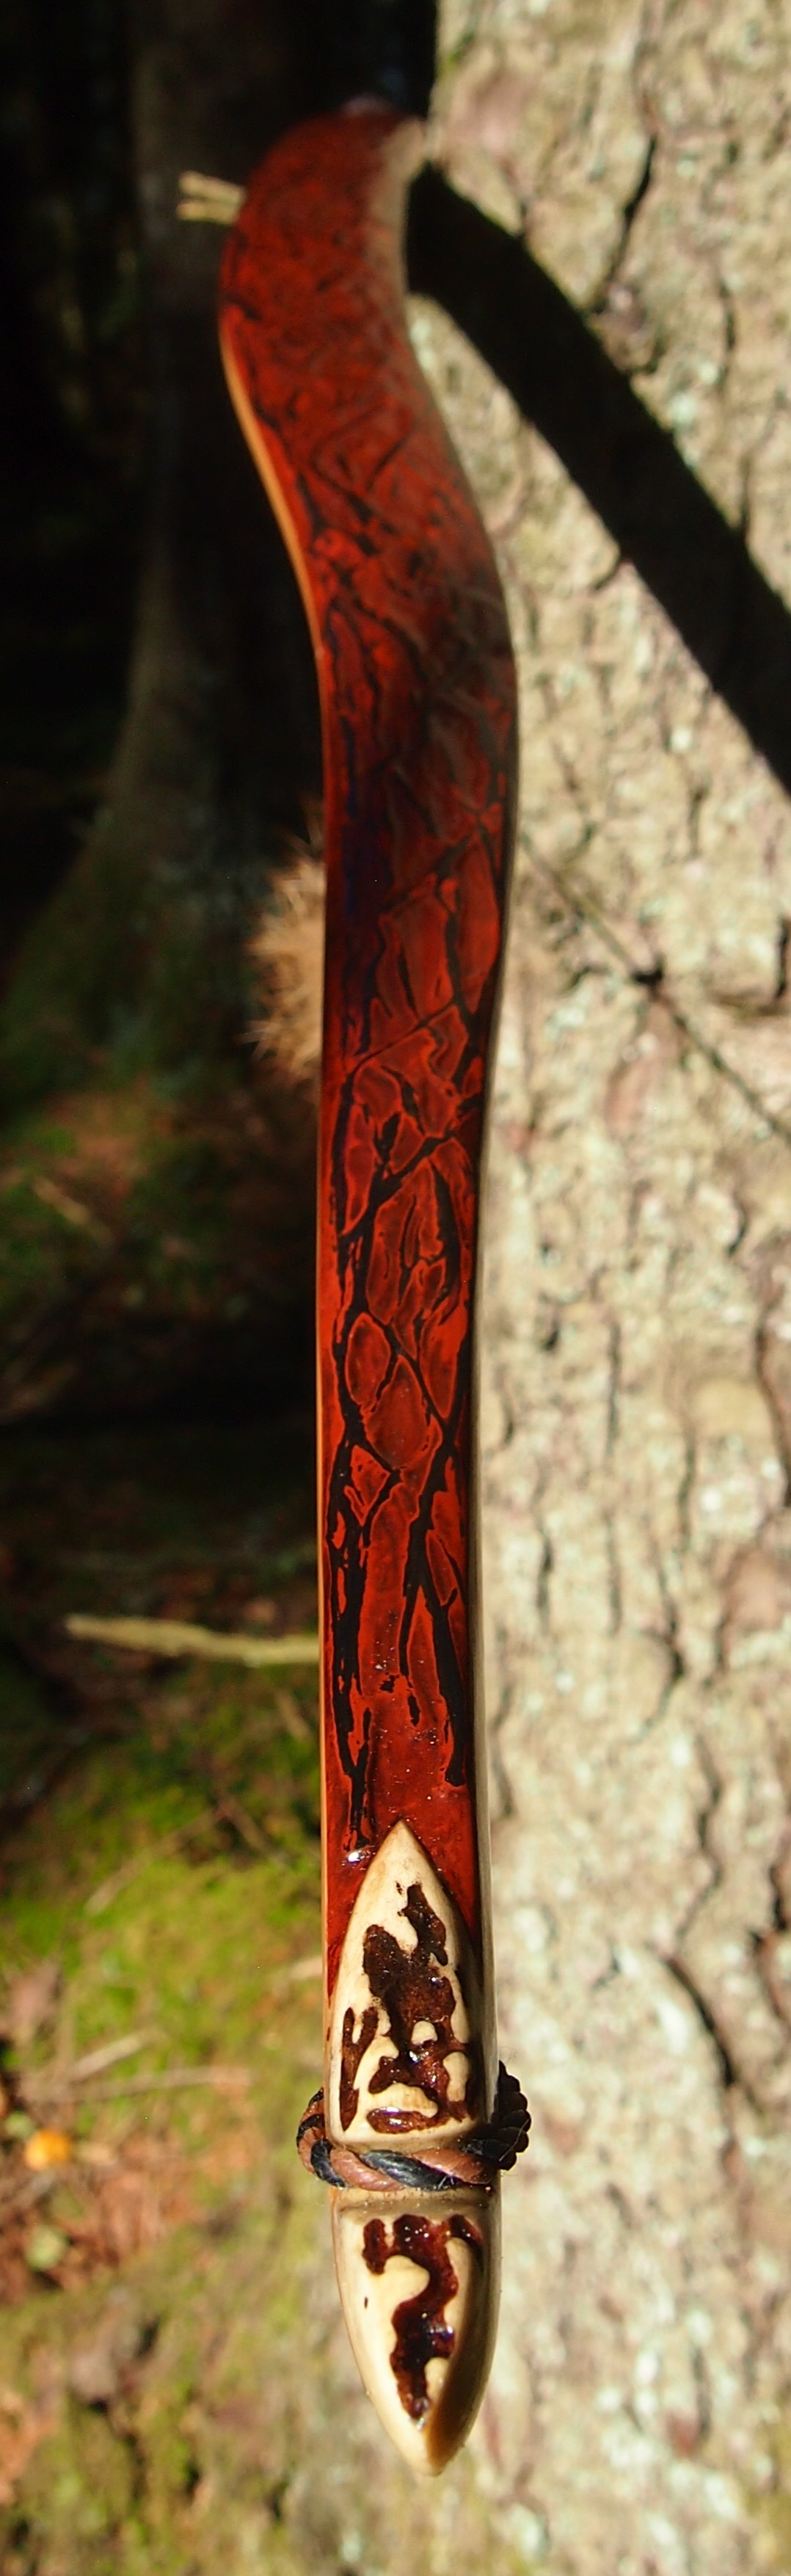
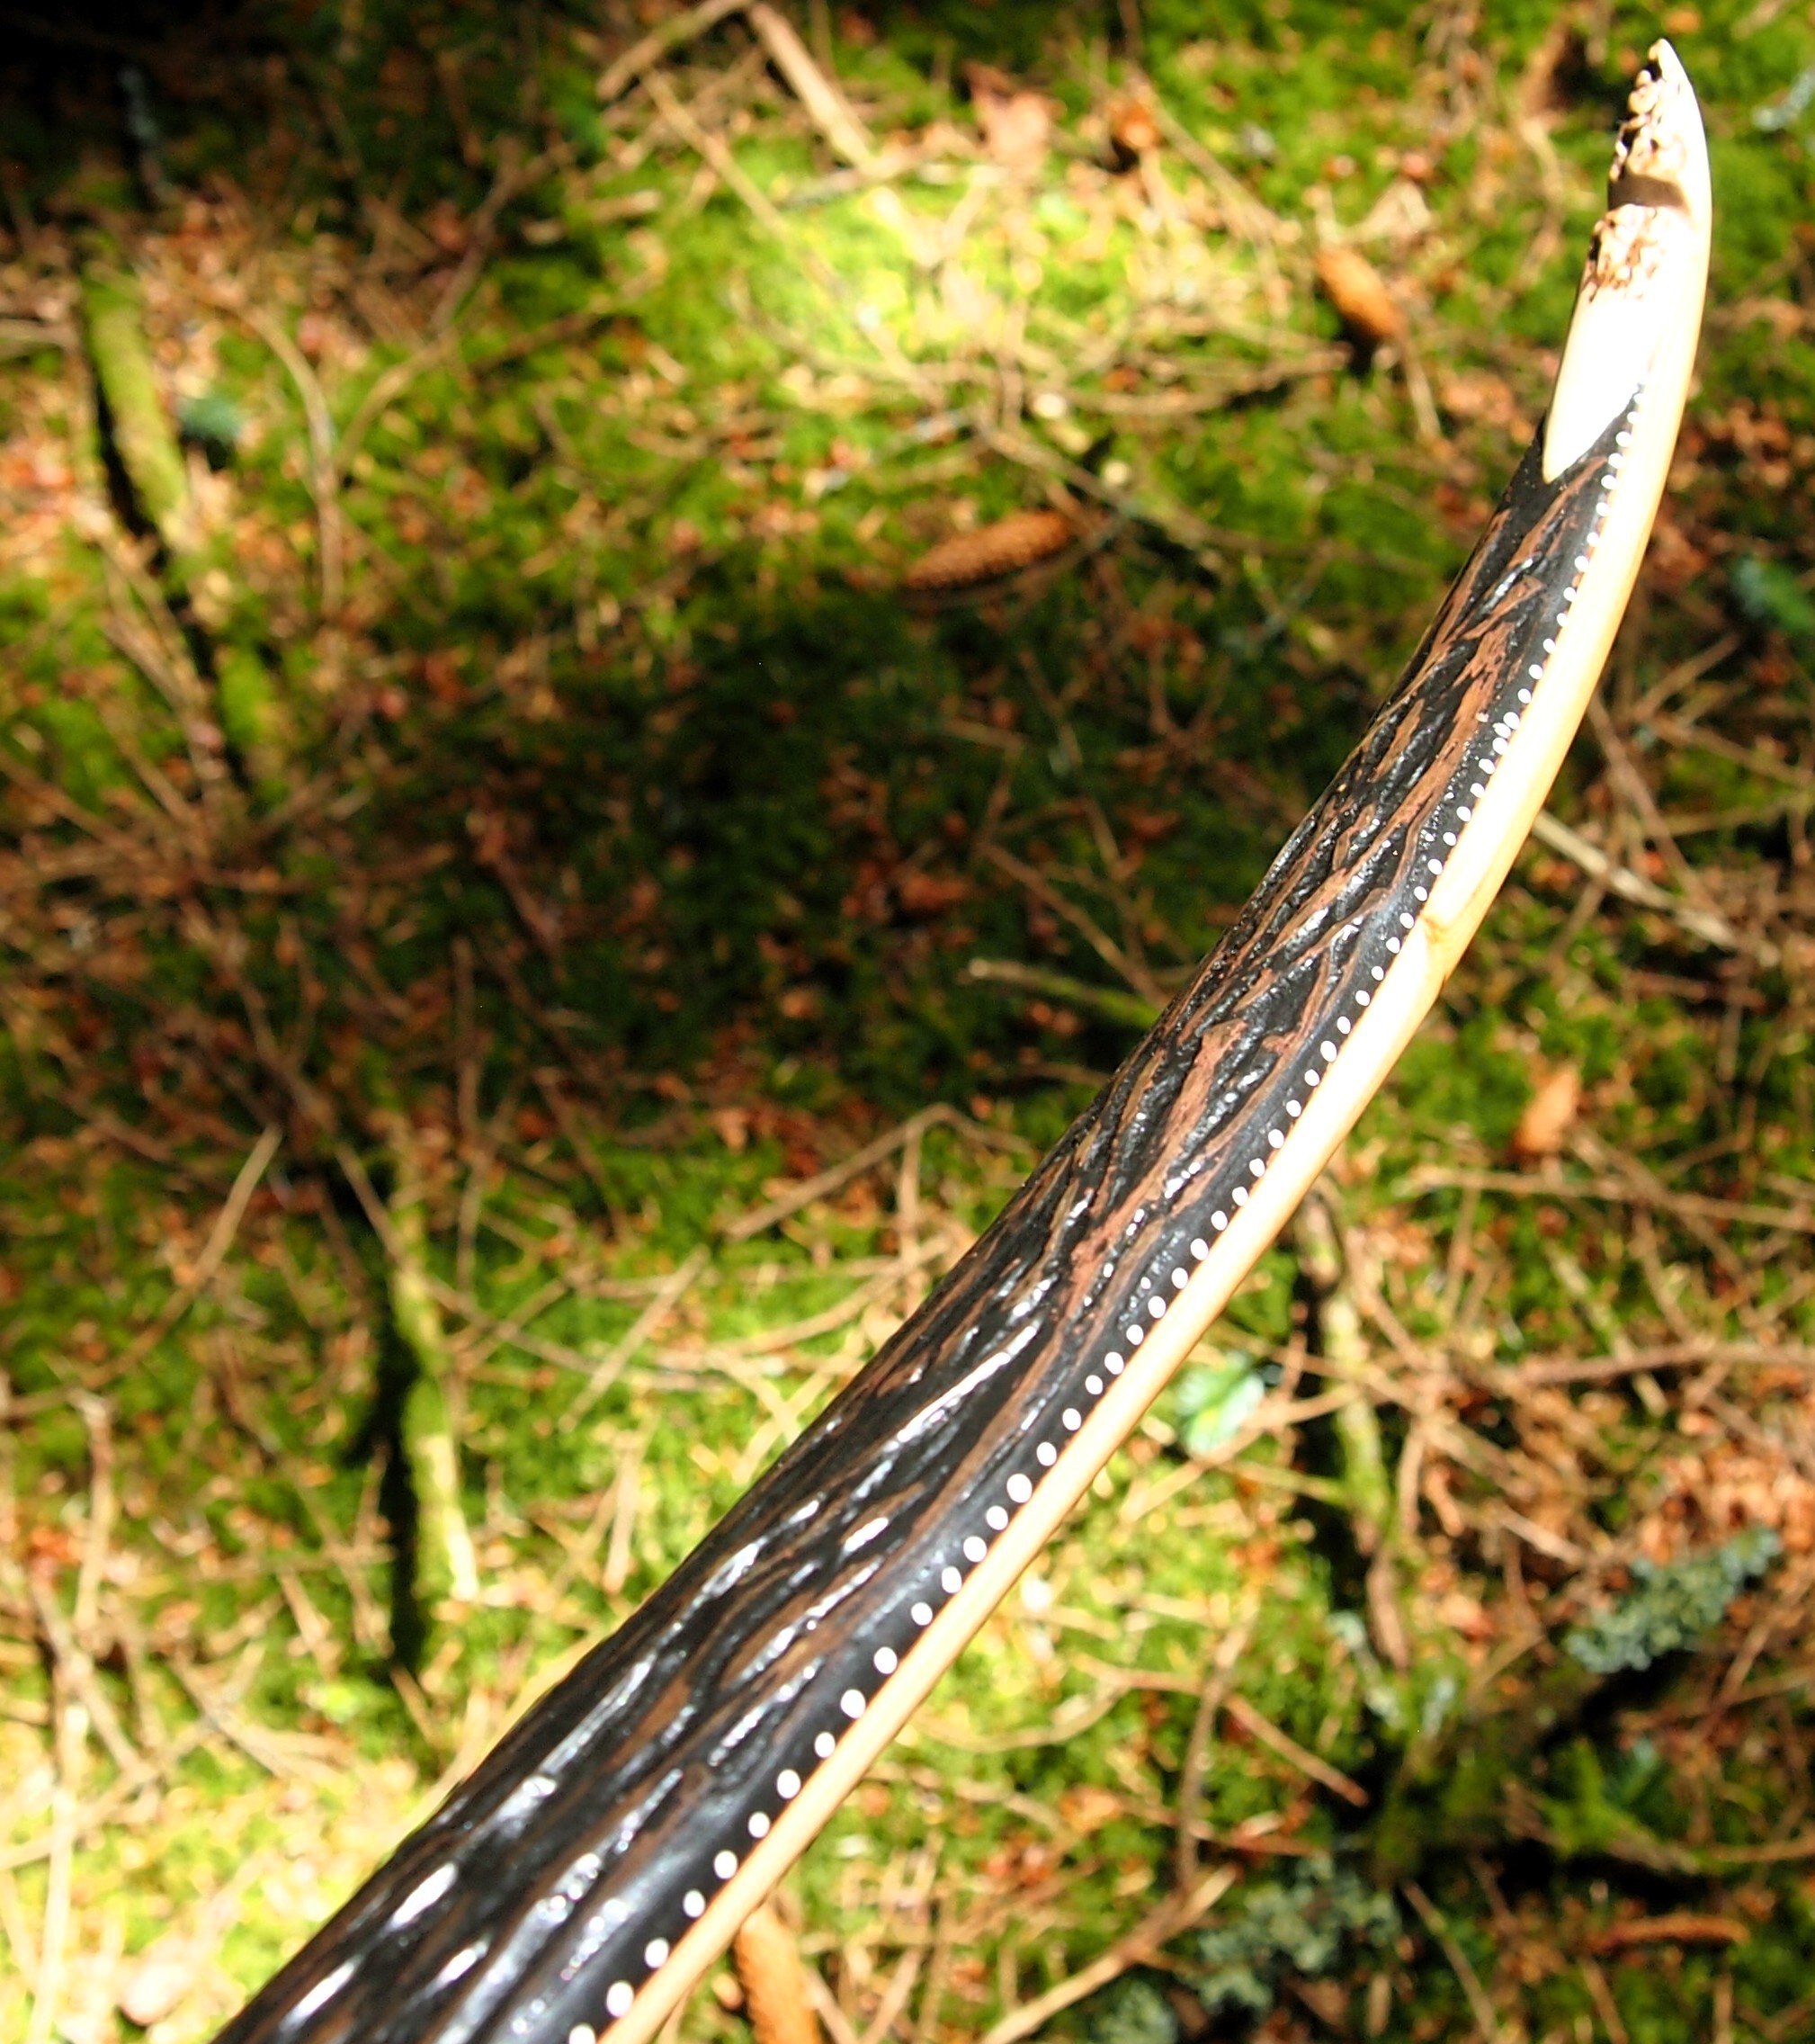
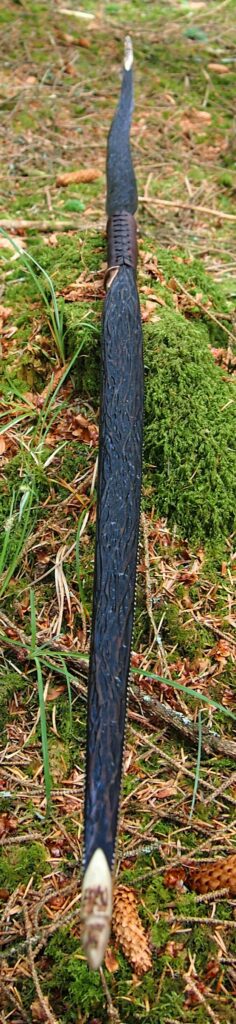
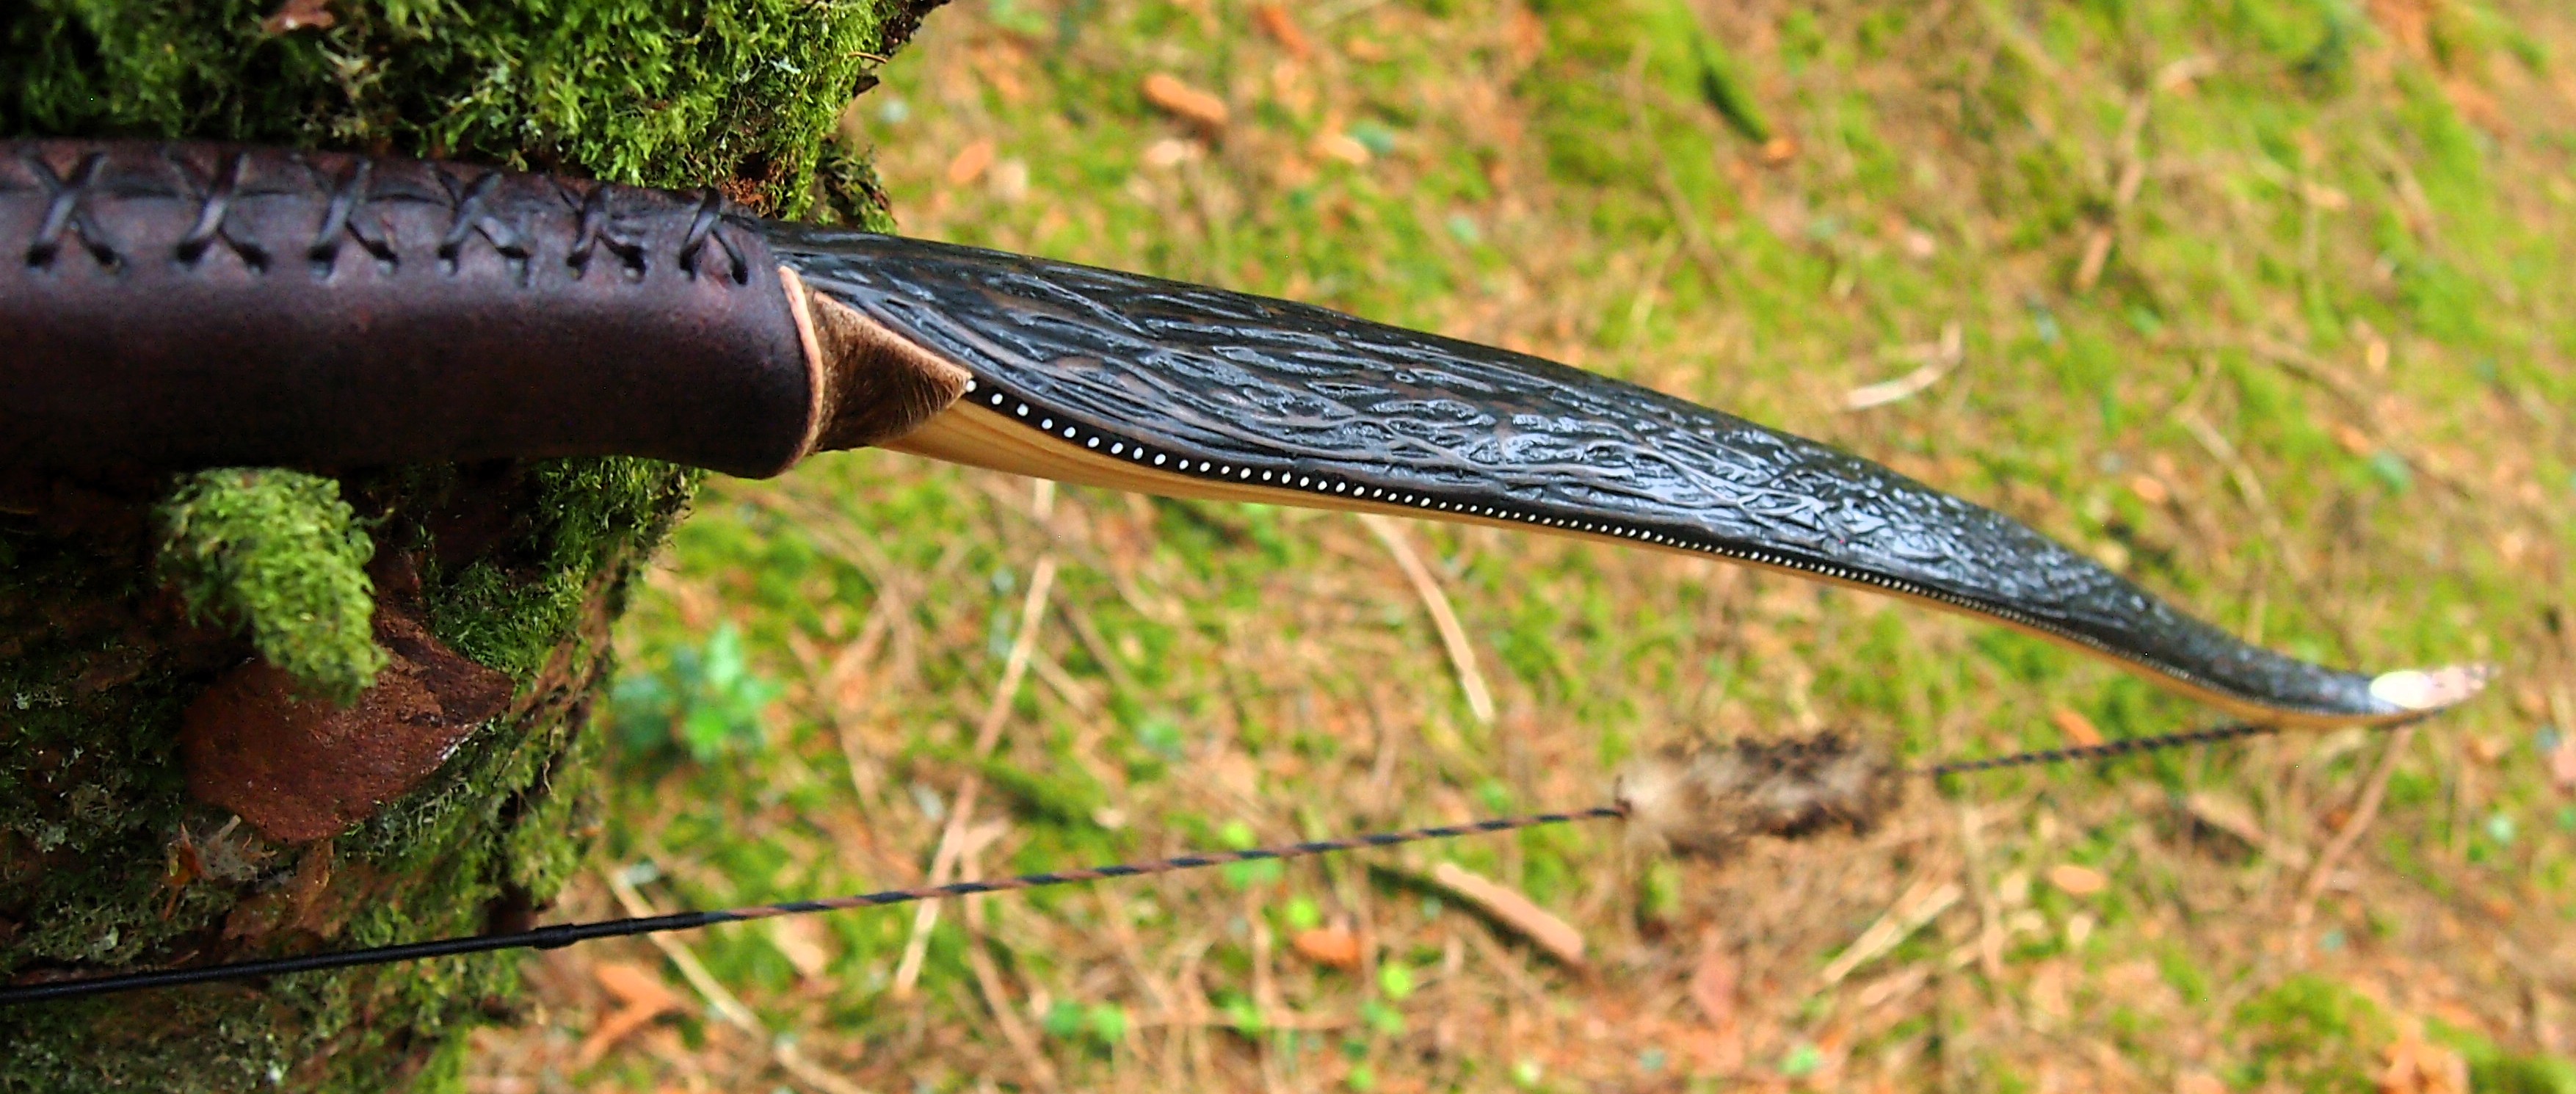
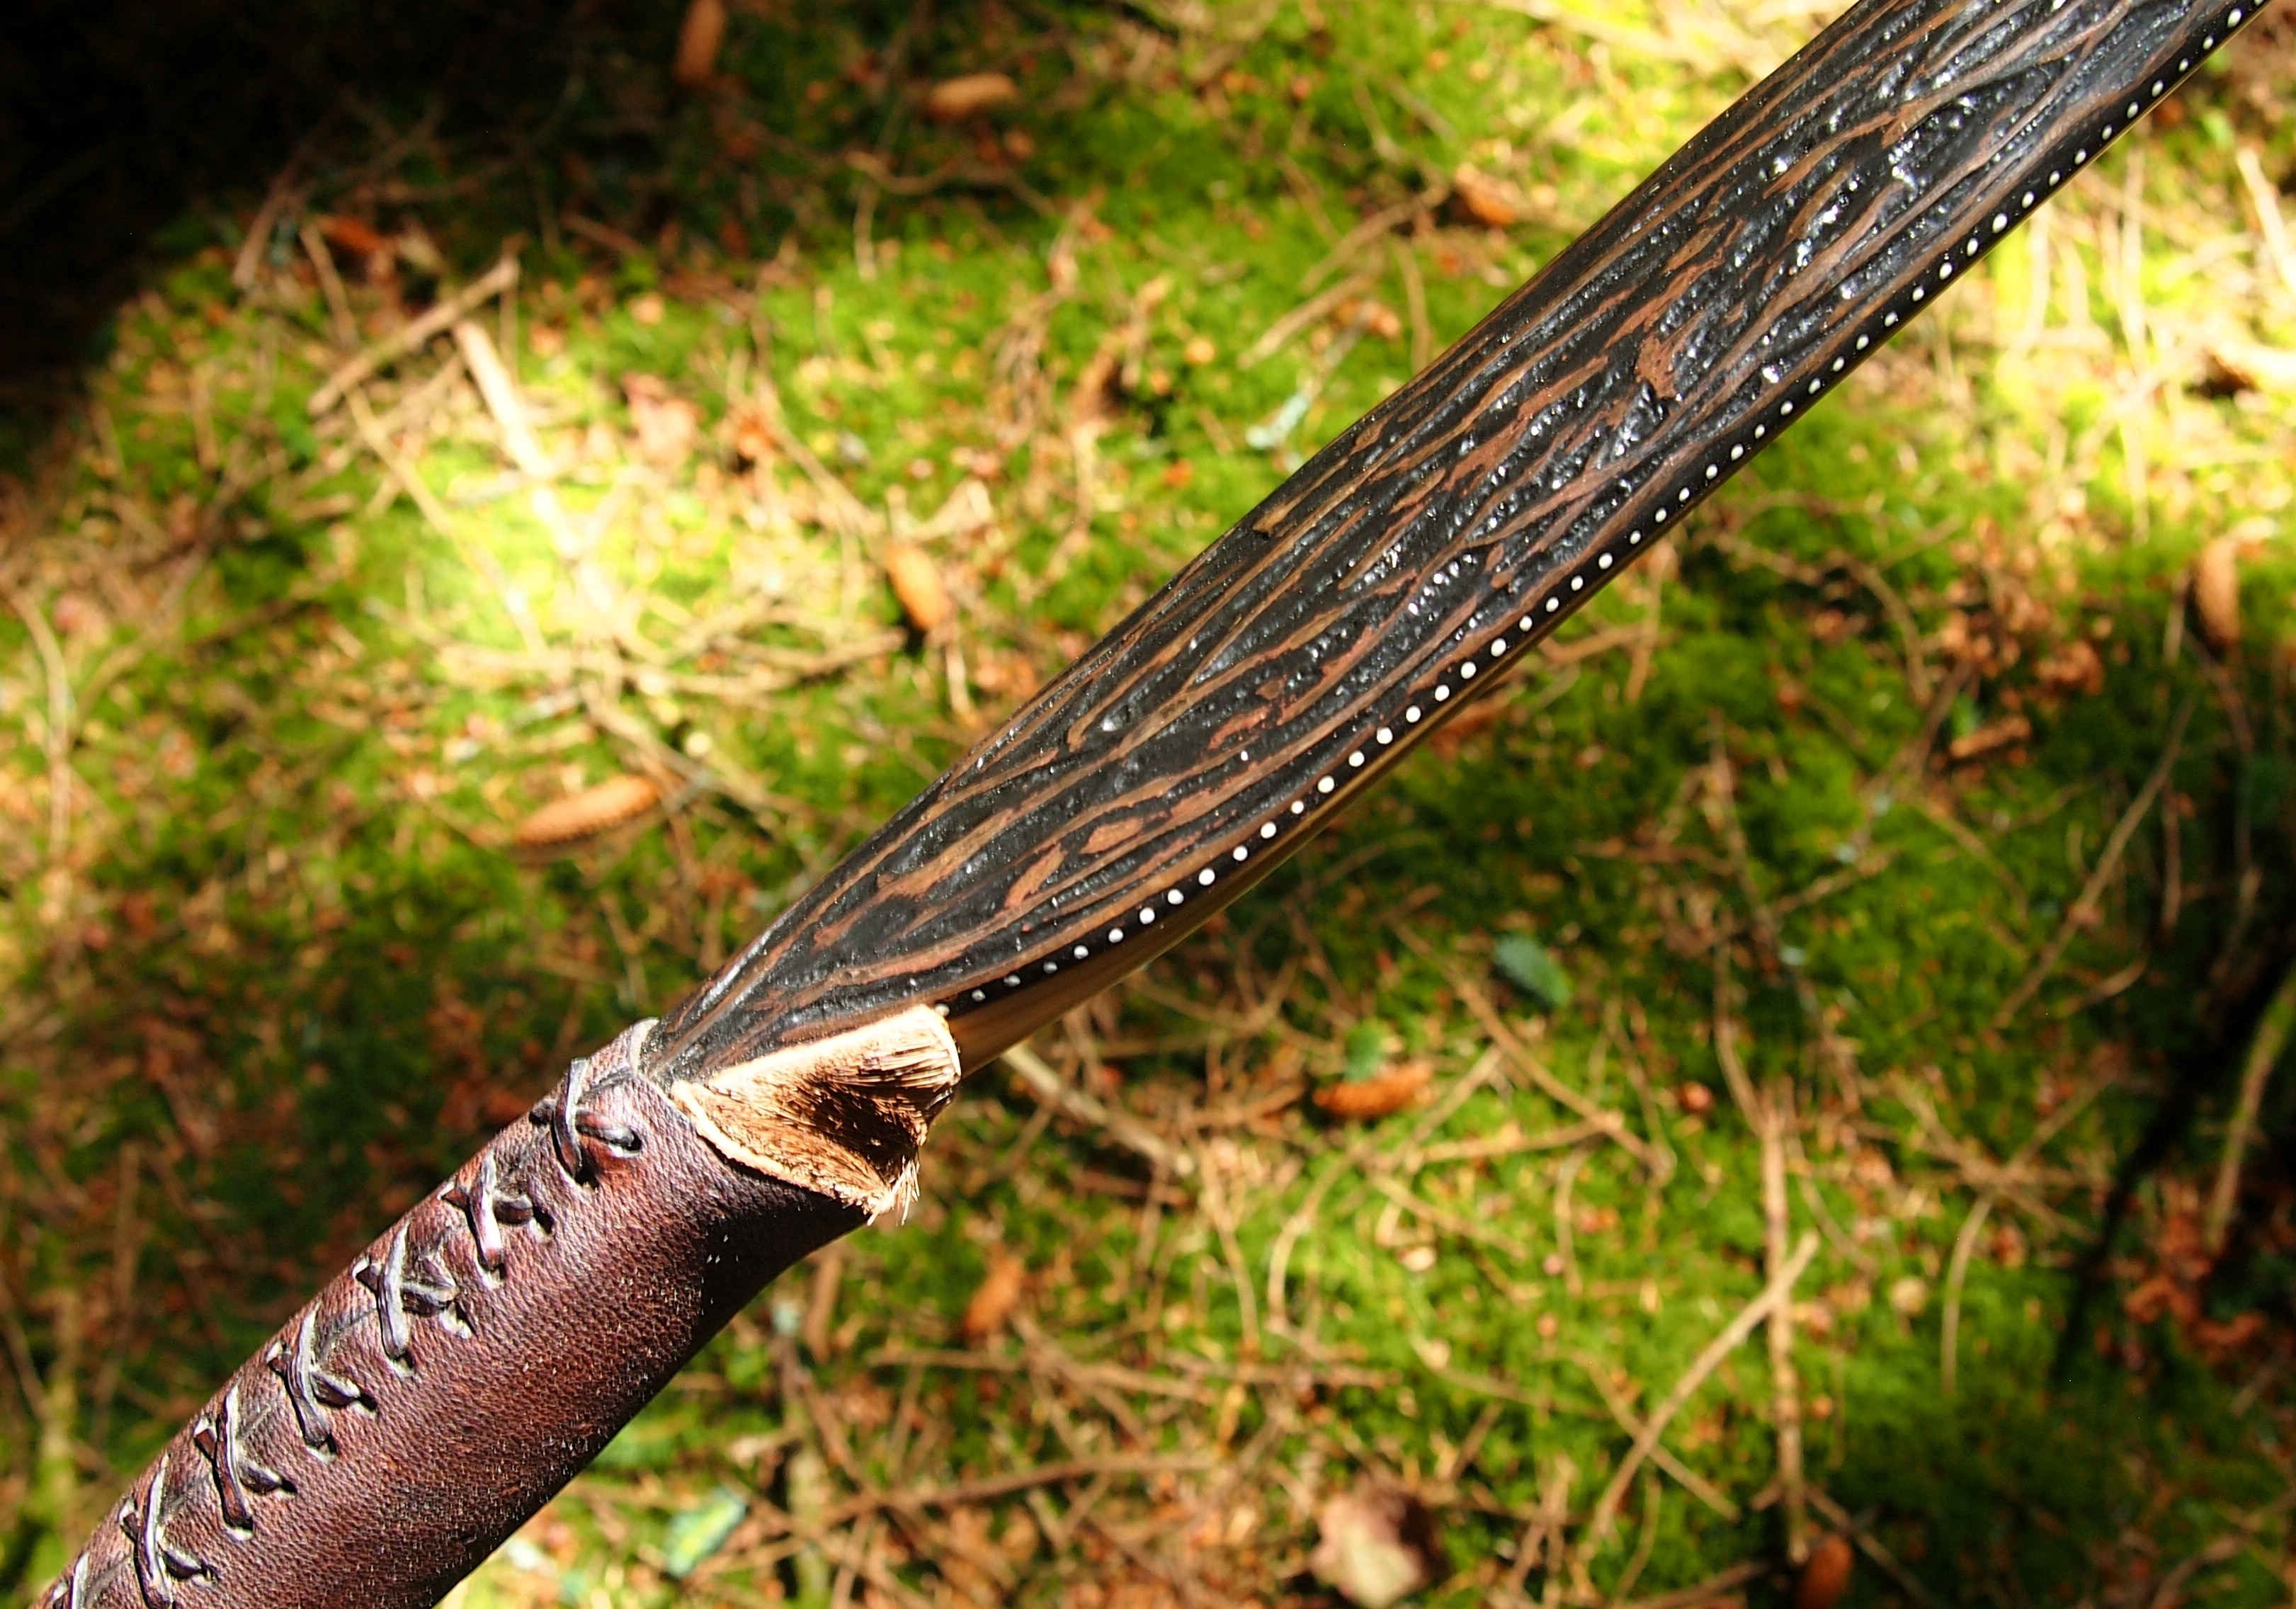
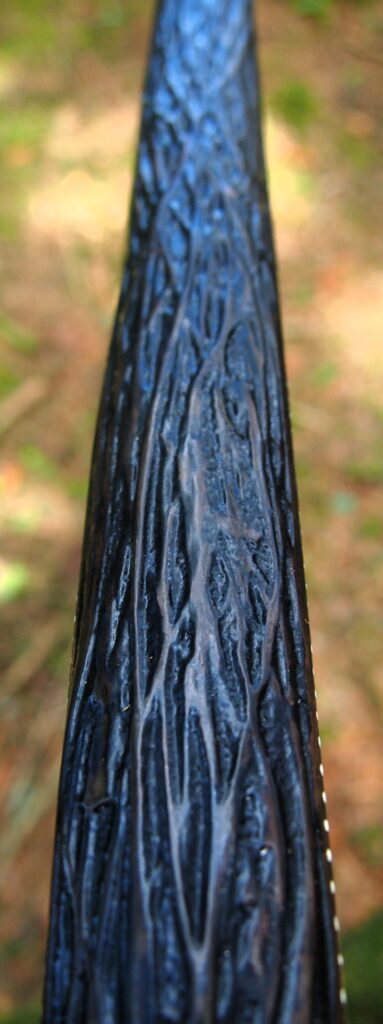
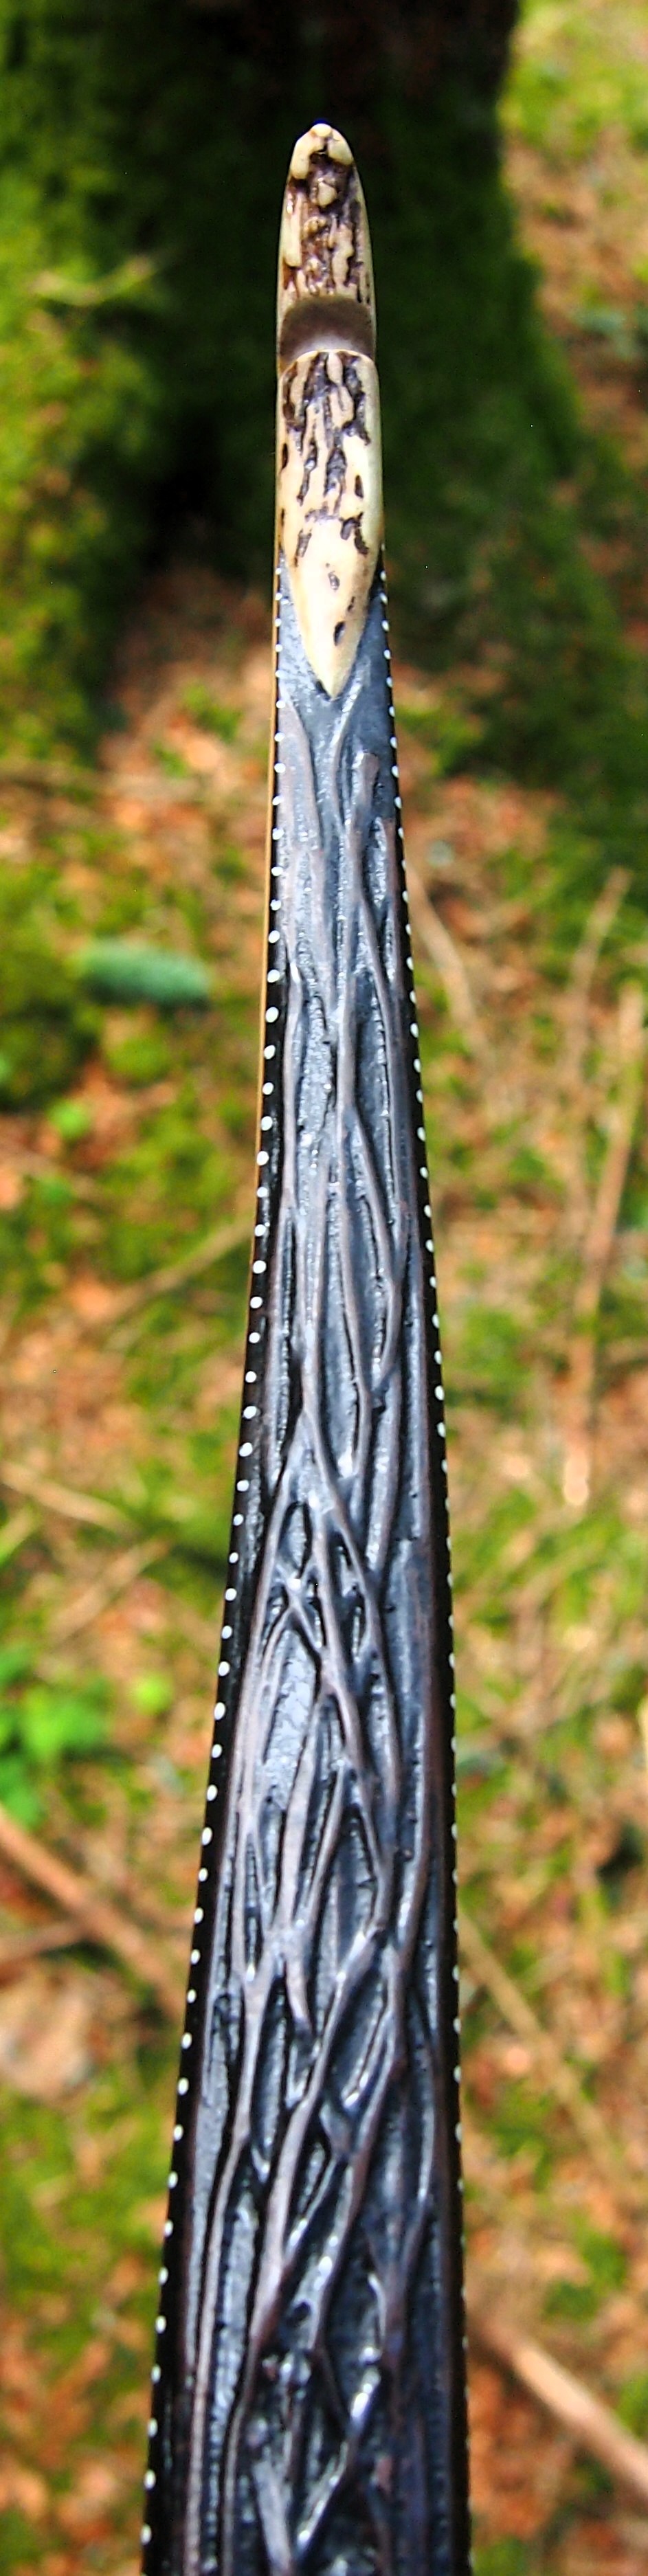
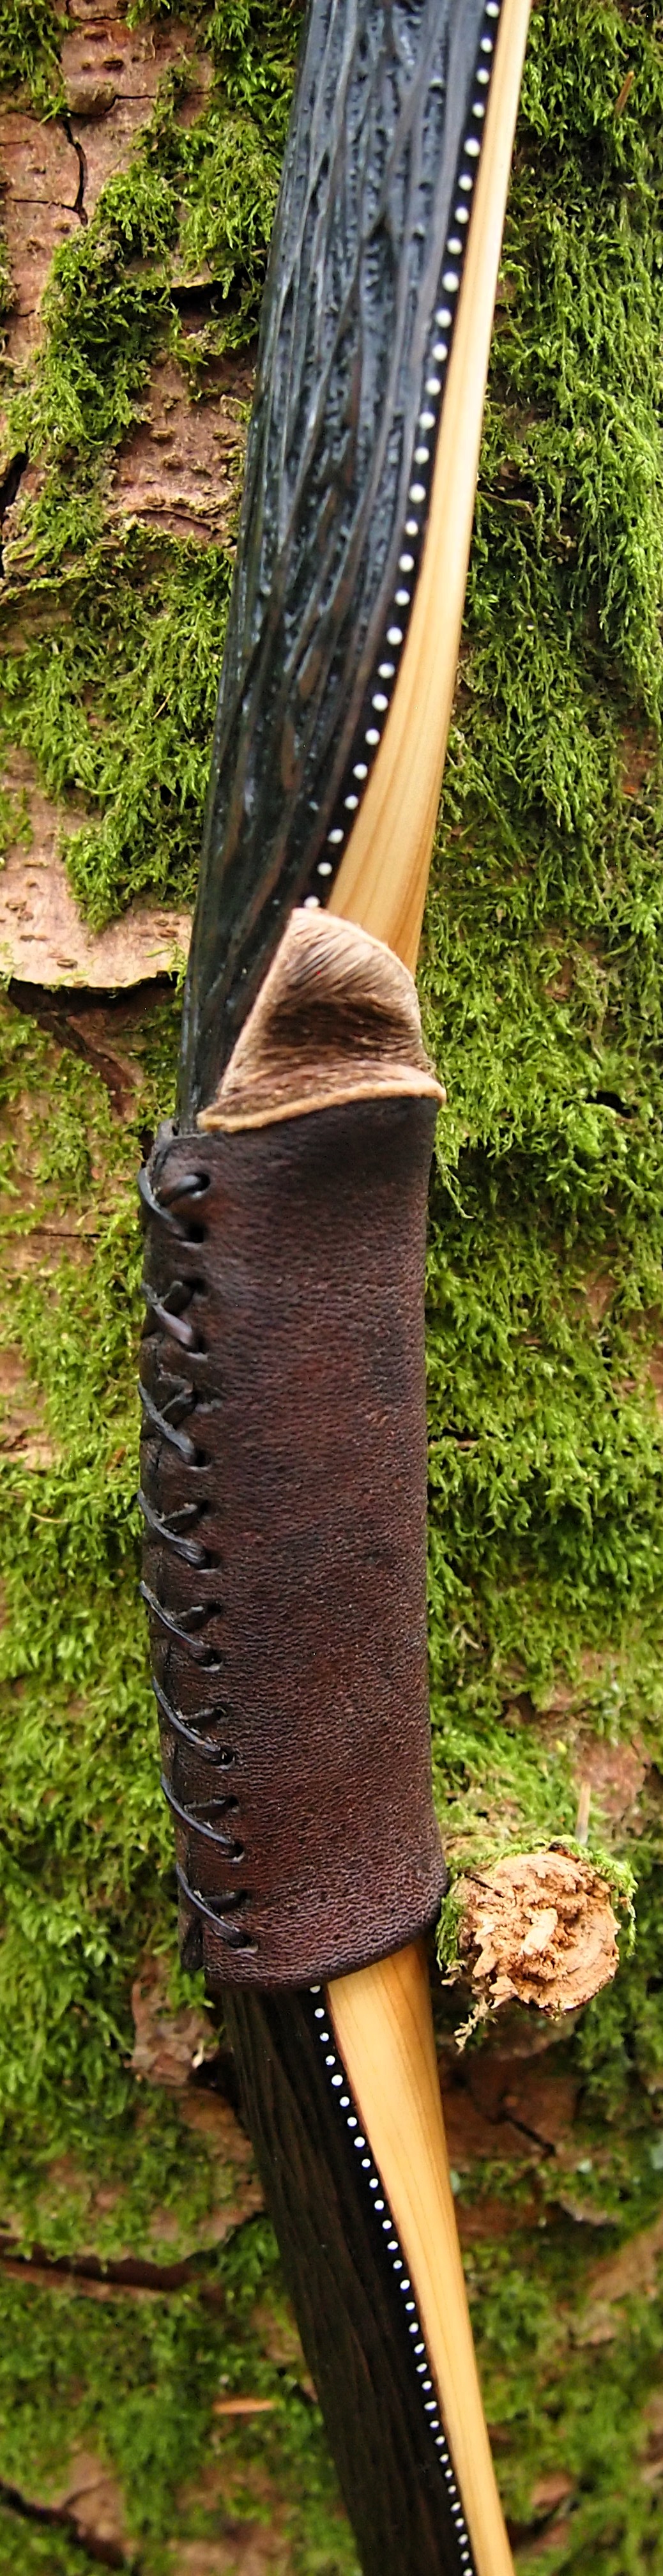
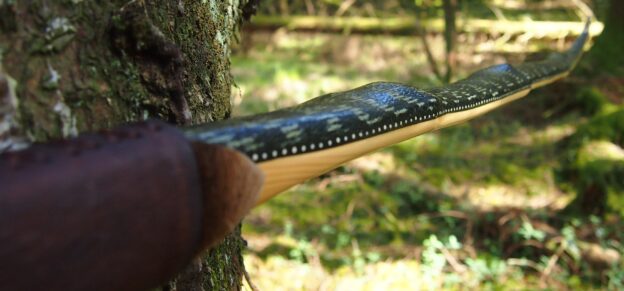
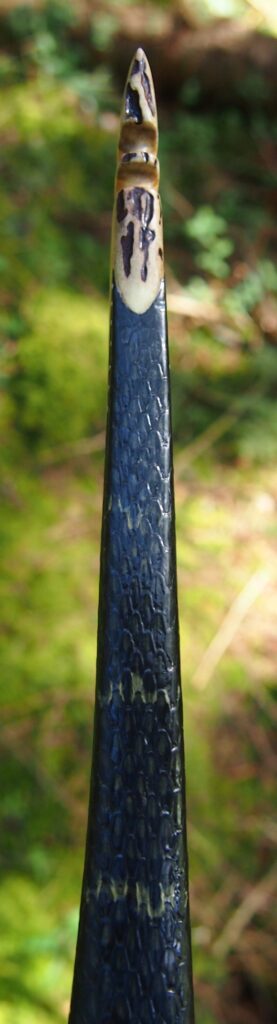
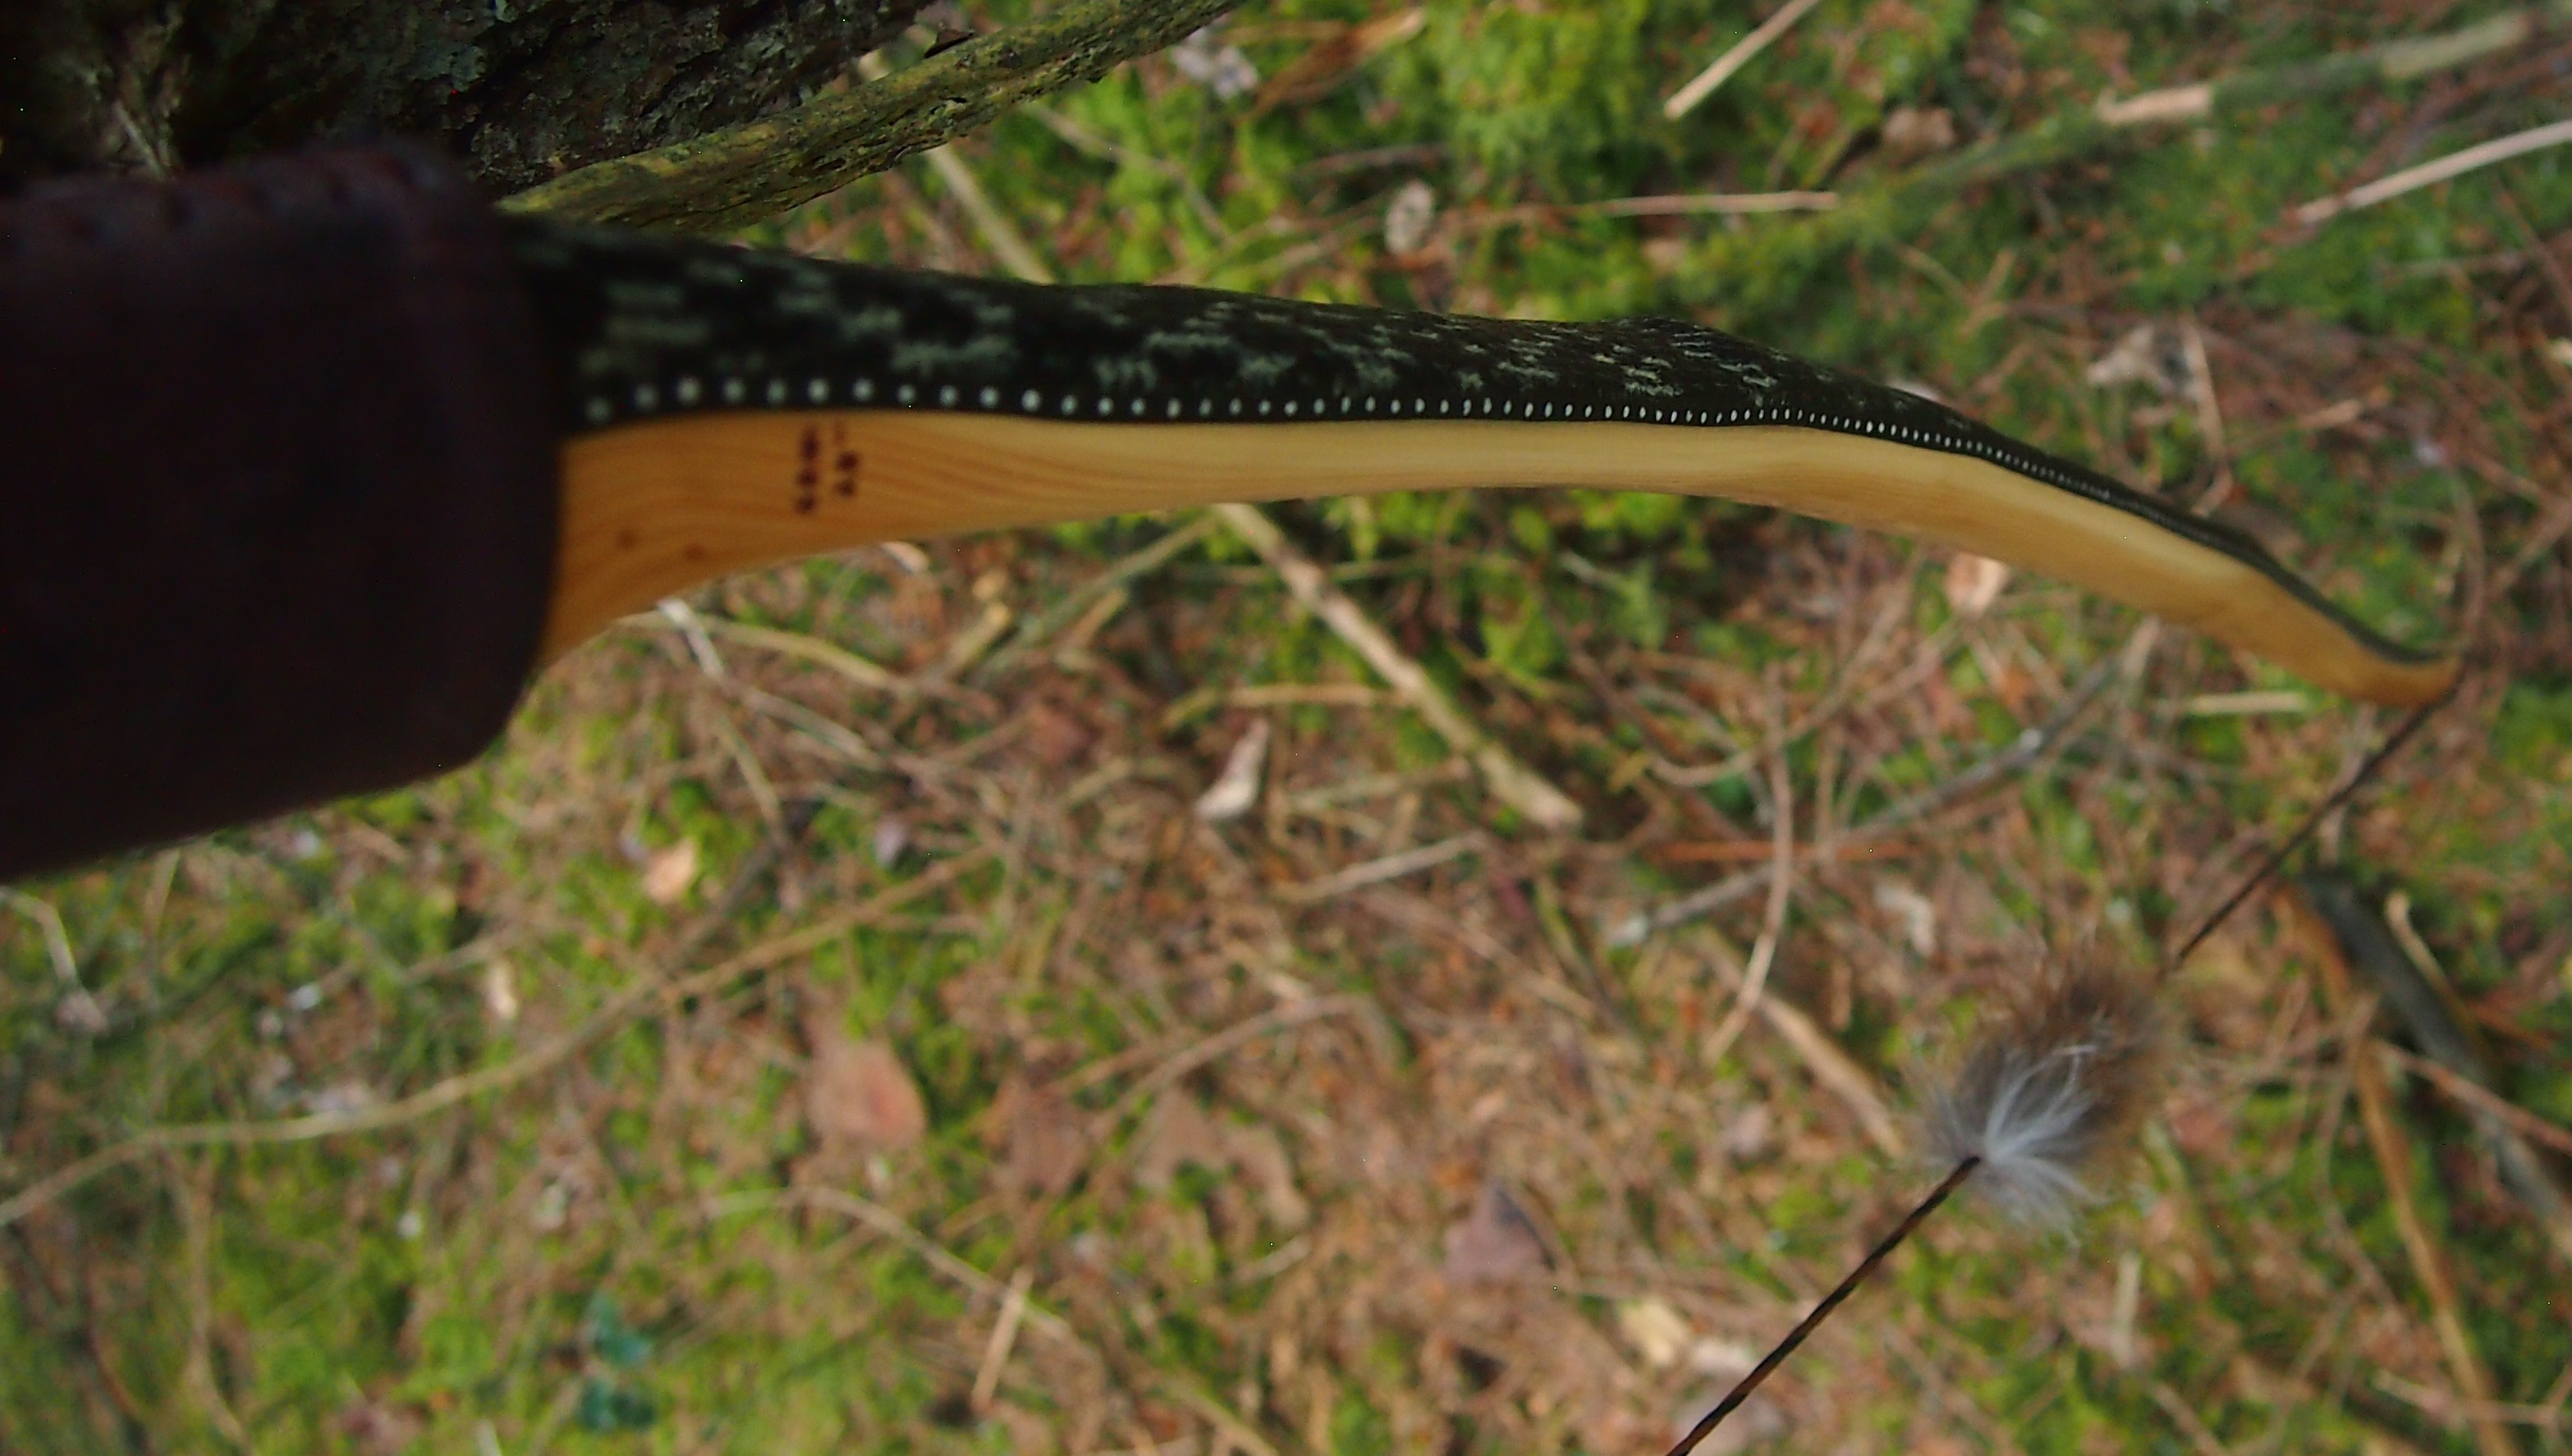
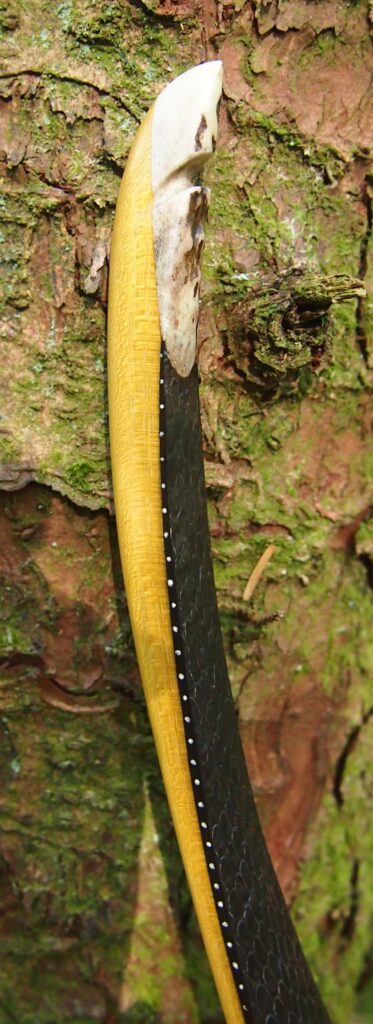
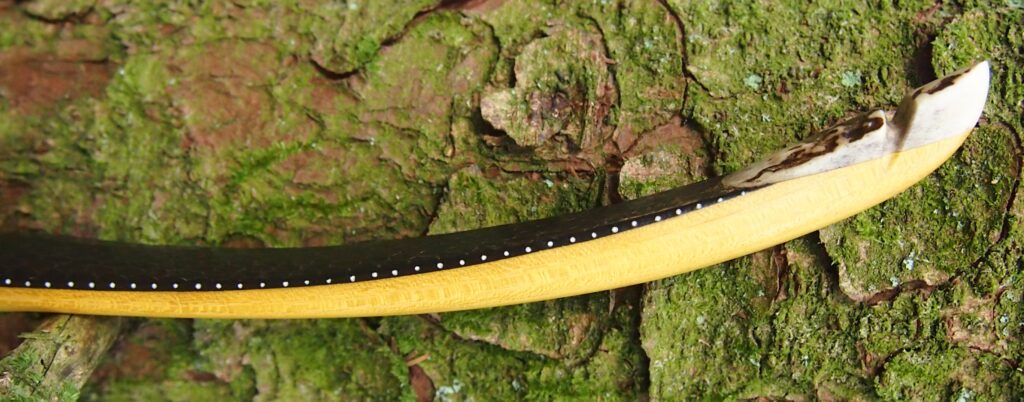
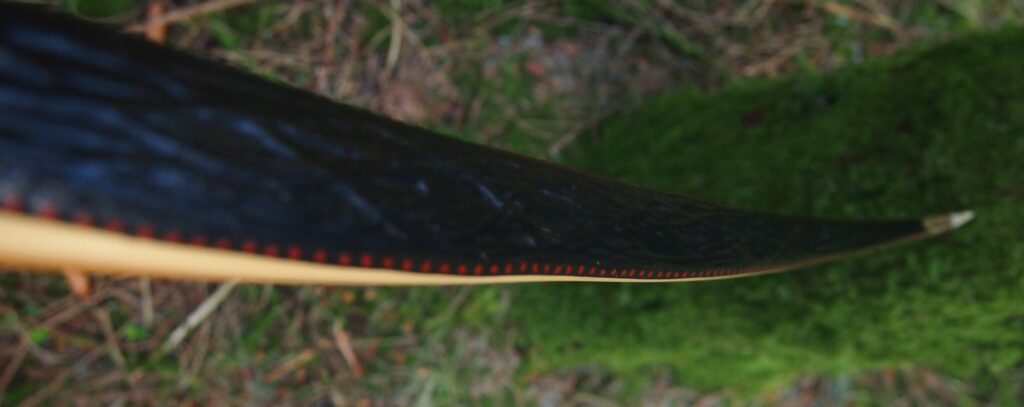
To create the textured coloured sinew backing effect, I rehydrated the sinew strands by dipped them into TBIII mixed with red ochre earth pigment to give it the nice red colour. And the black applied over the top is Bideblack earth pigment again mixed with TBIII painted over the top to ensure the sinew is waterproof. I then scraped and sanded through the black to reveal the red beneath.

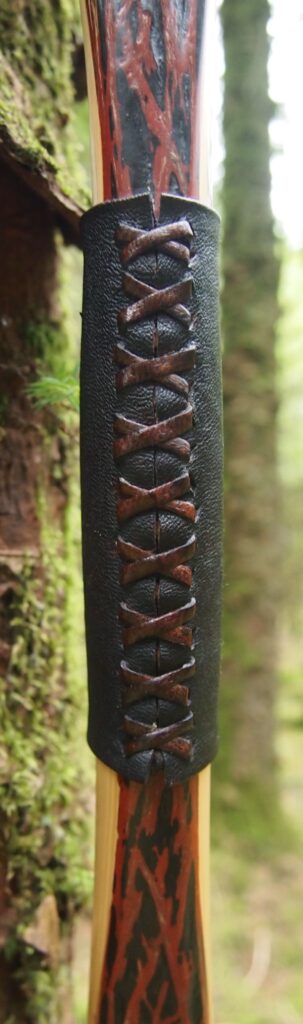
The dirty red/black combo looks great and my lad commented that it looks a bit like the colour scheme worn by Marvel’s “Deadpool” character. And whilst I’m not usually one for naming bows, I couldn’t resist calling this one “Deadpool”.

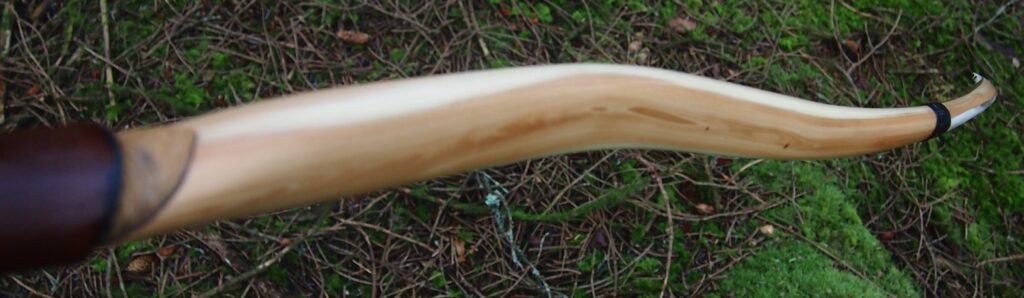
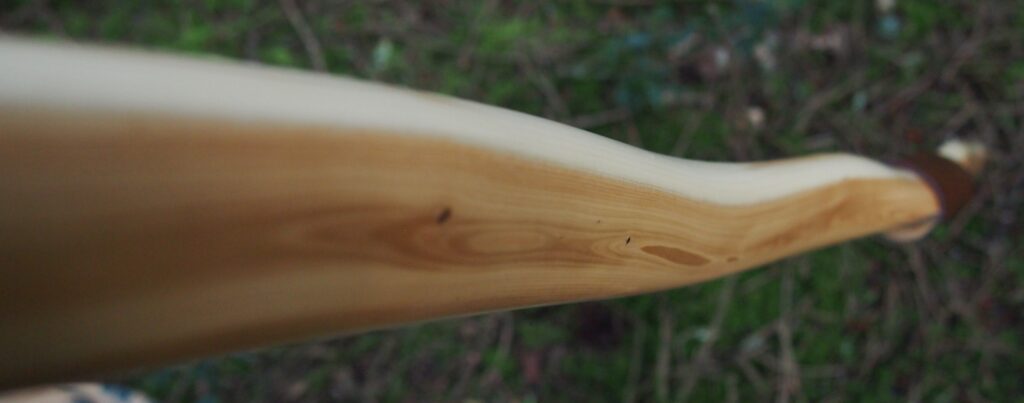
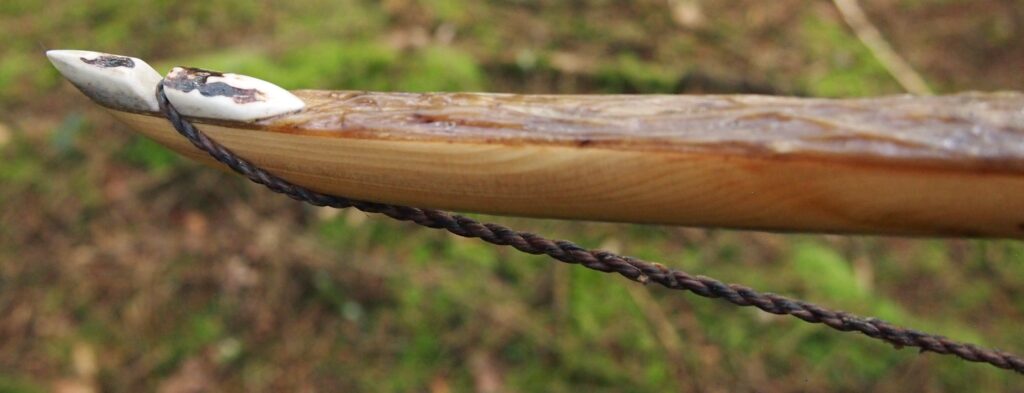
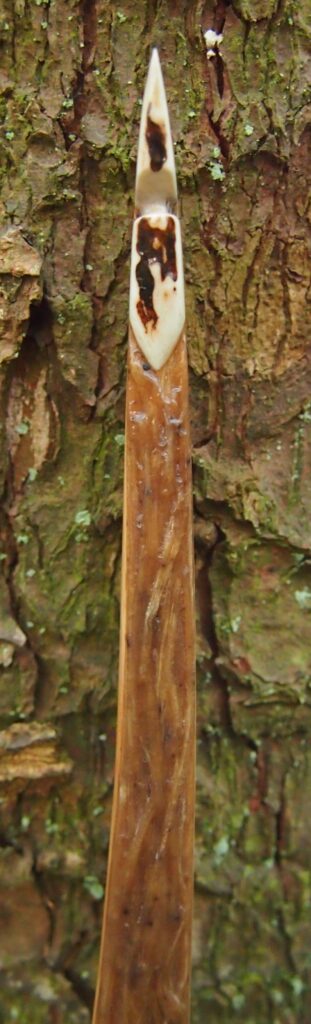
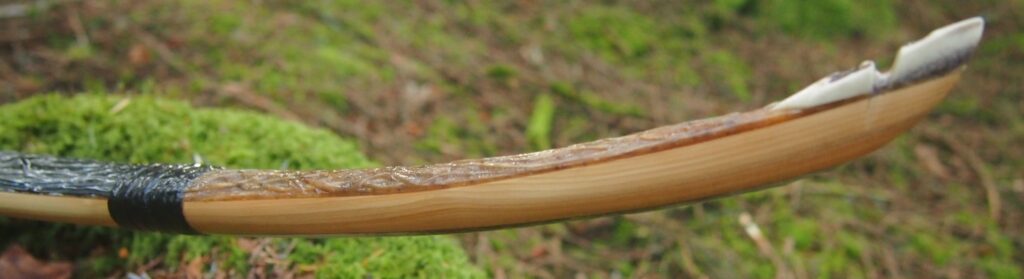
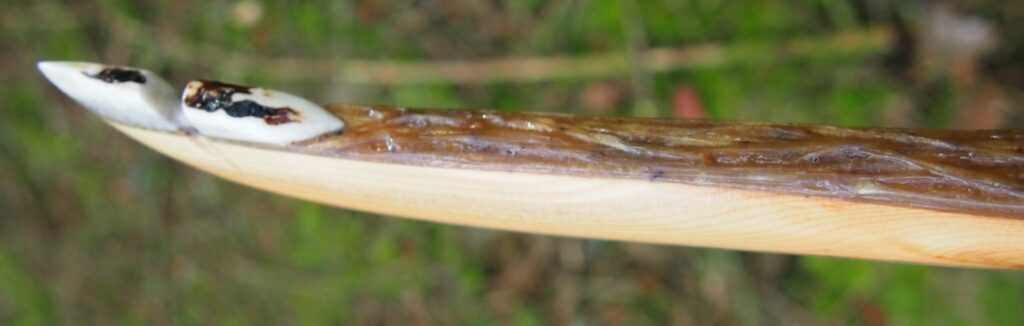
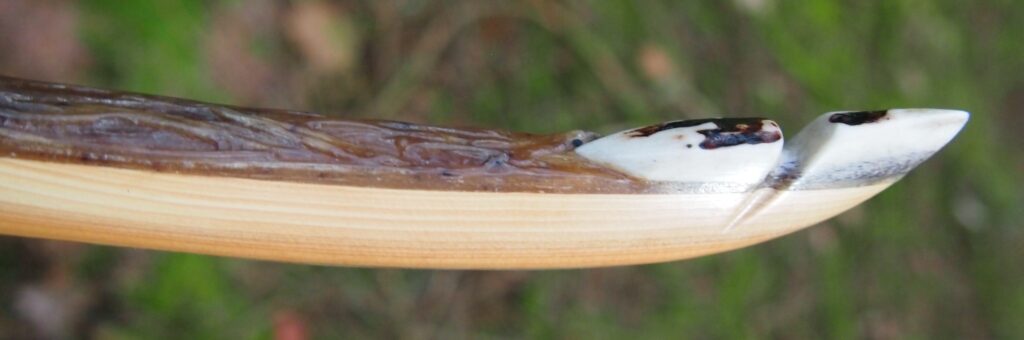
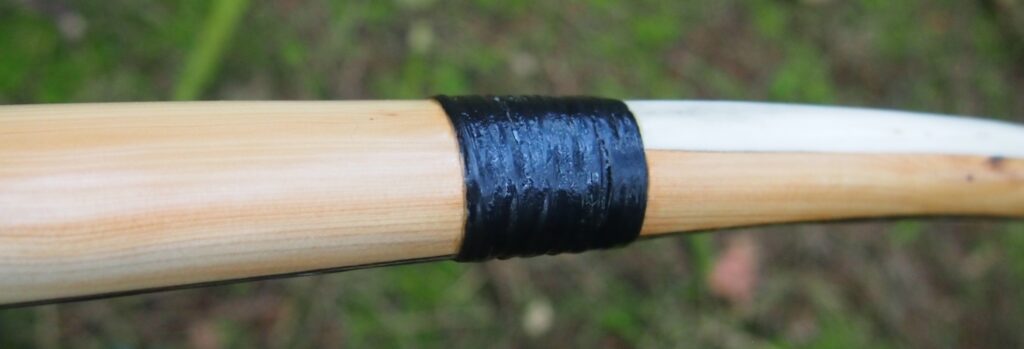
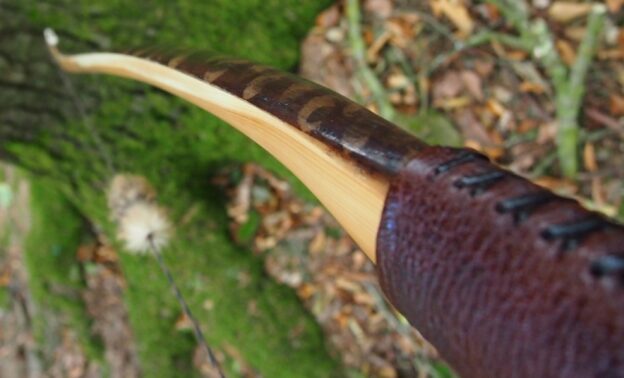
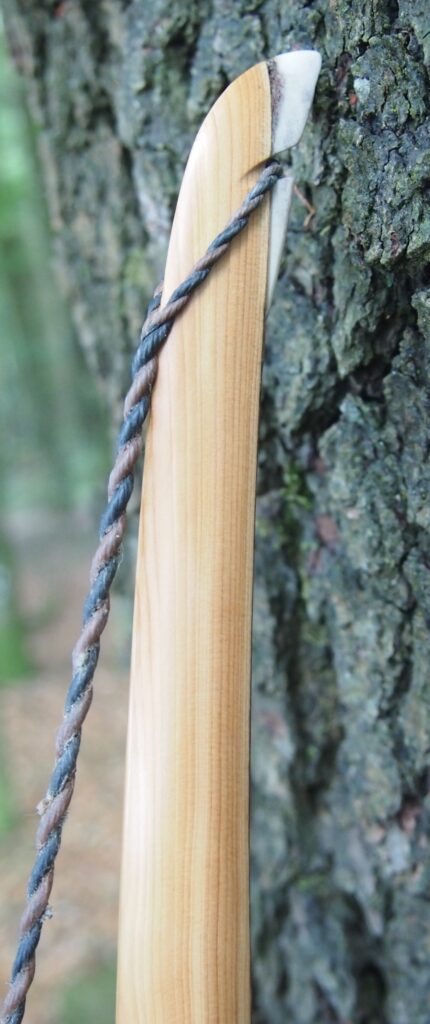
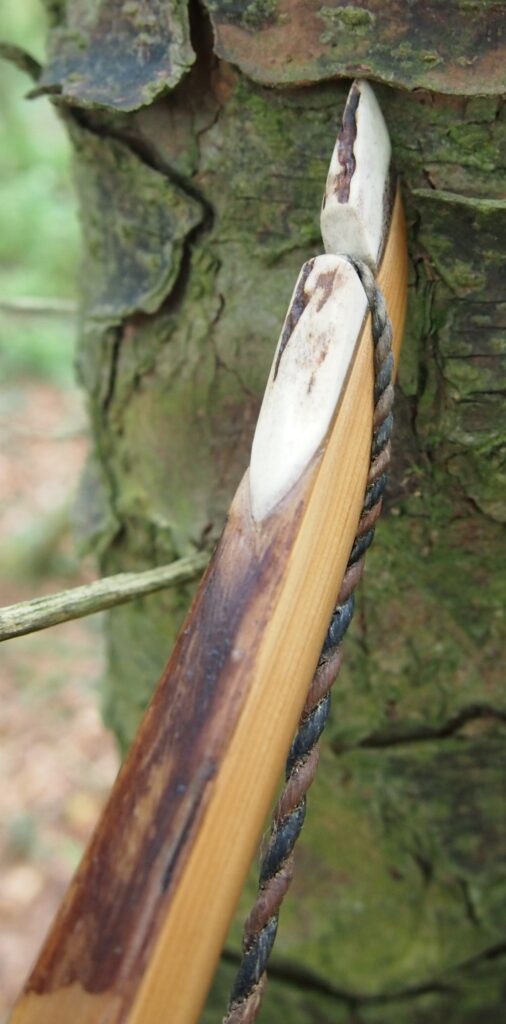
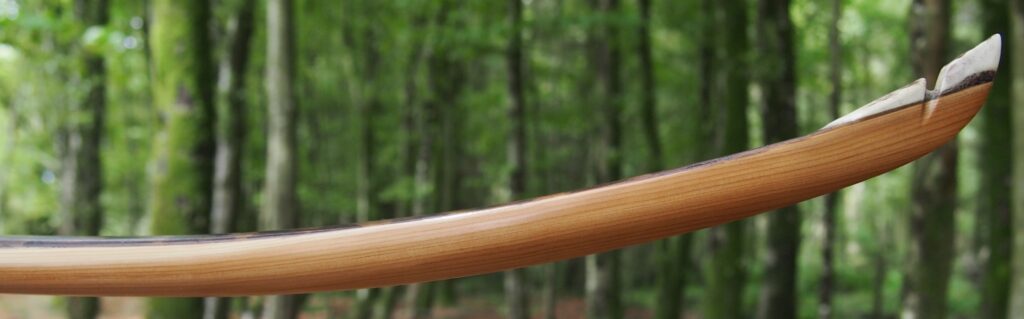
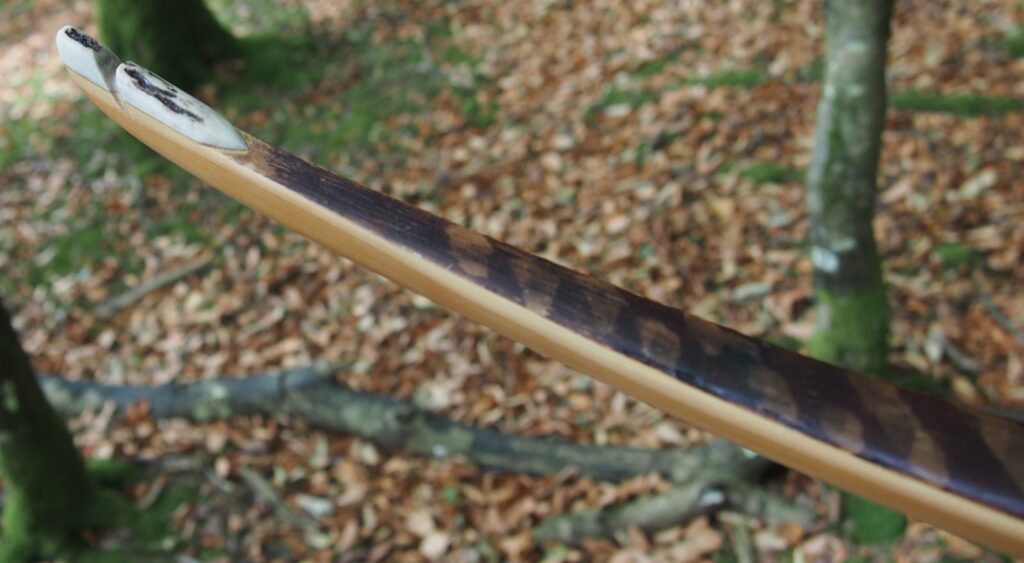
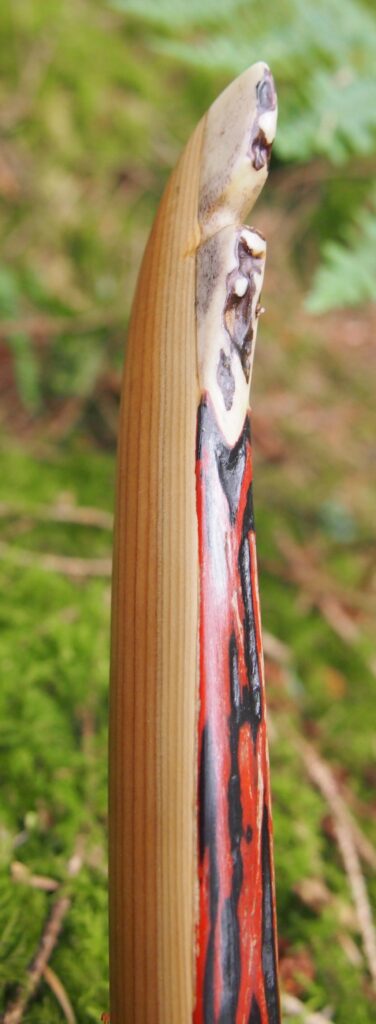
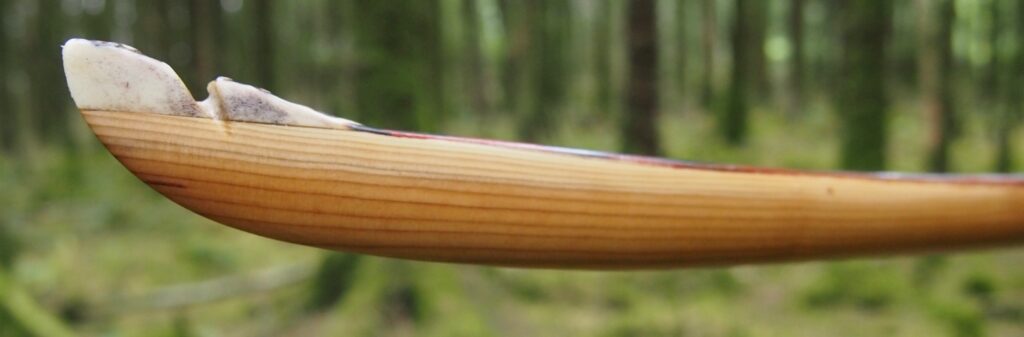
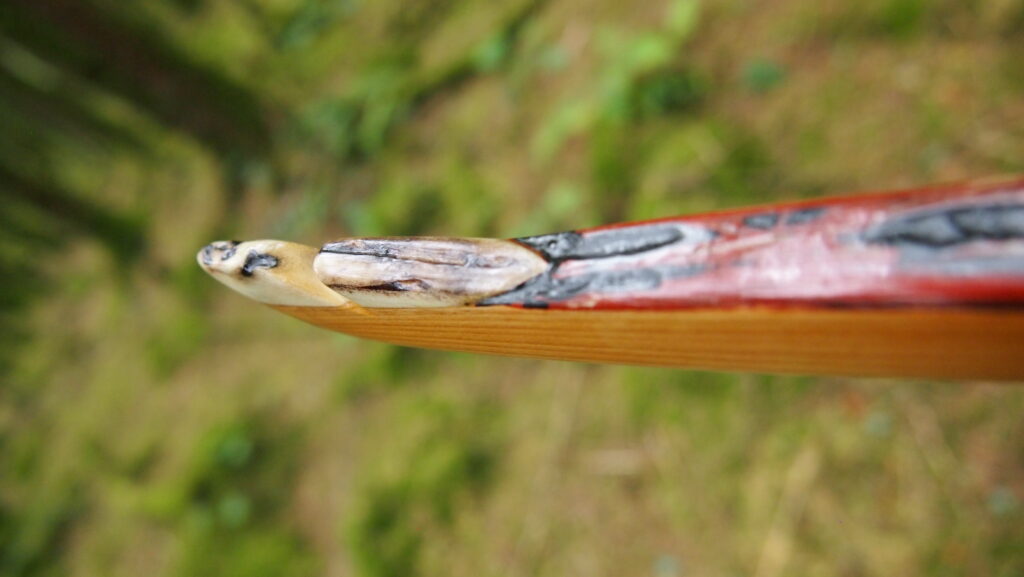
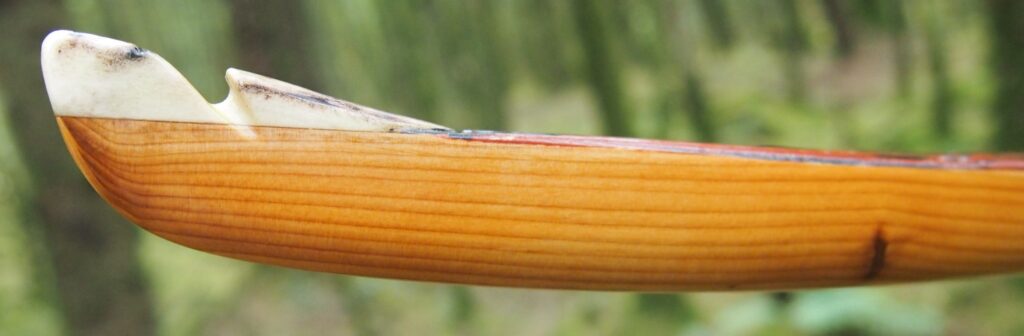
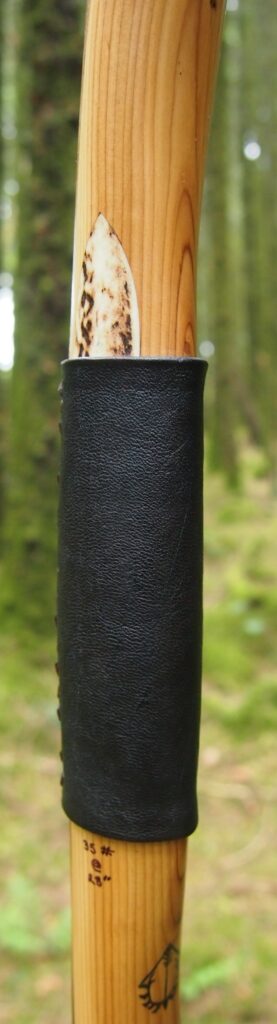
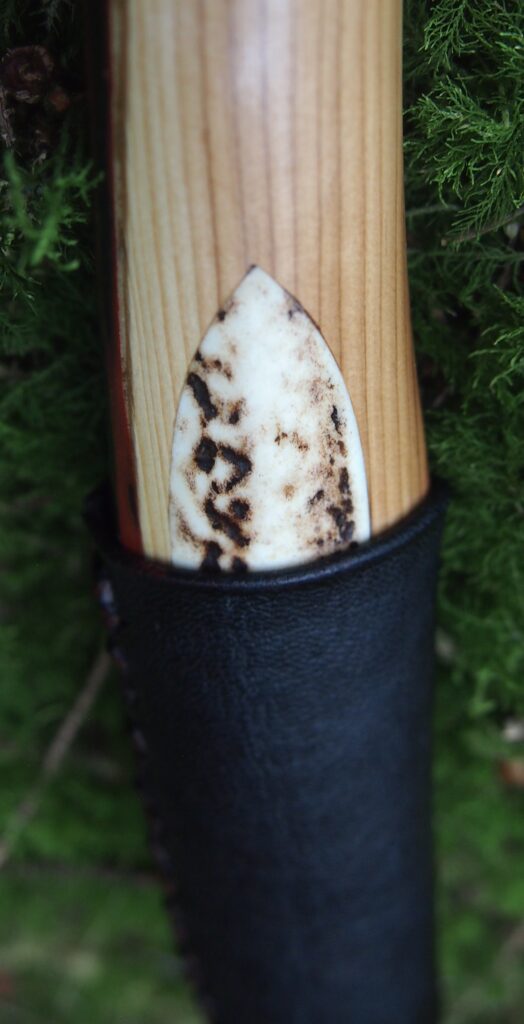
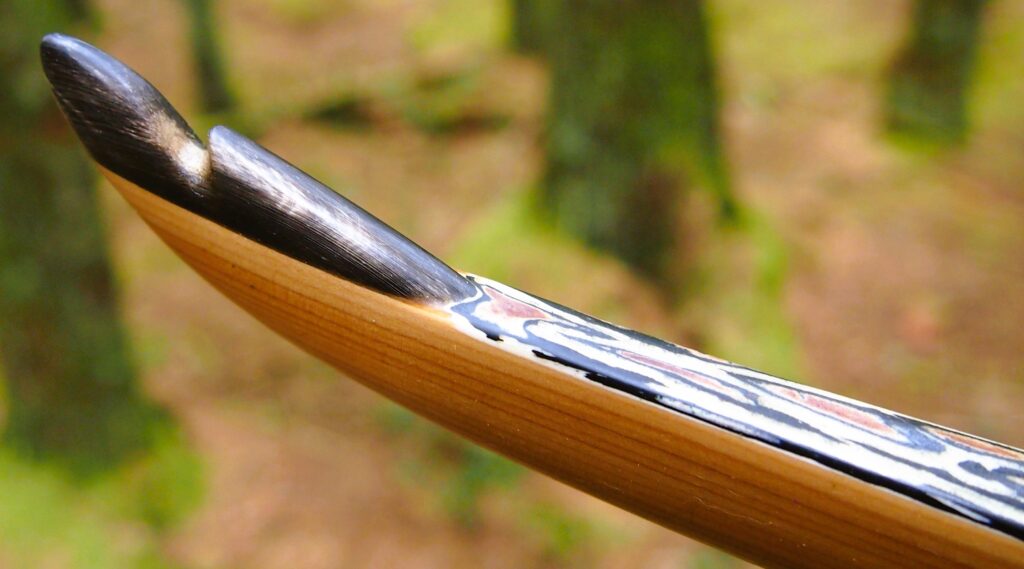
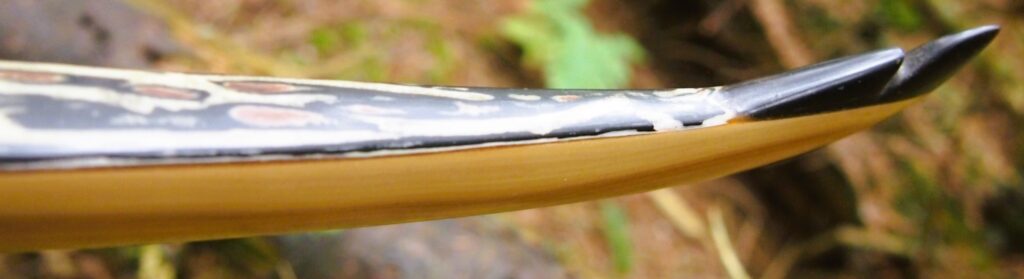
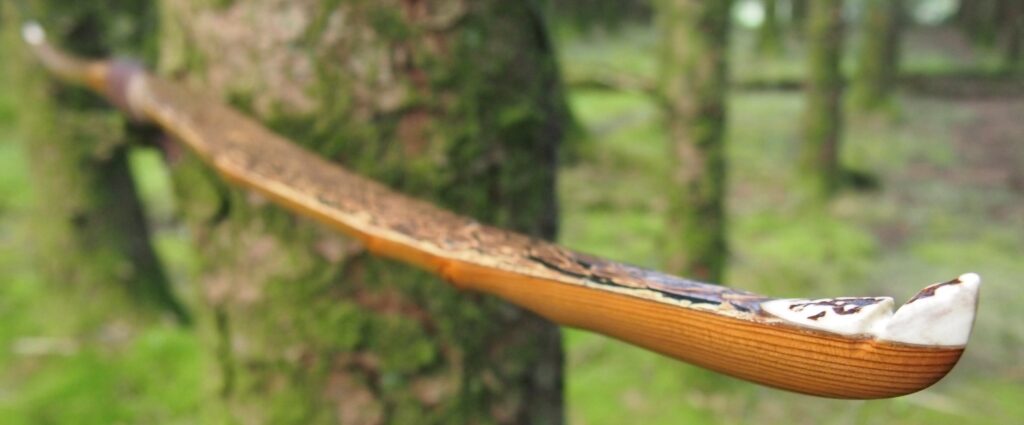
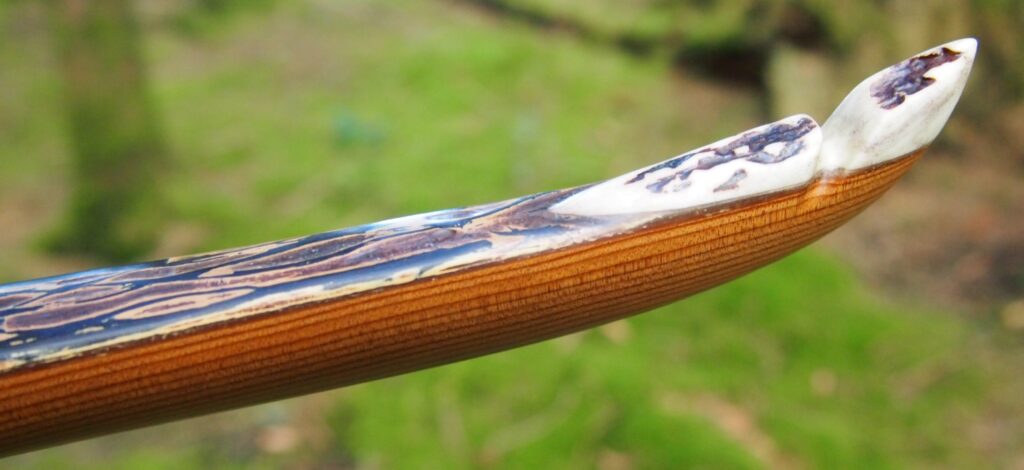
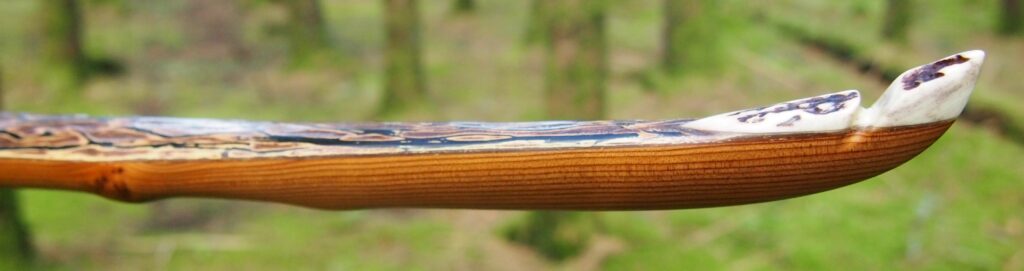
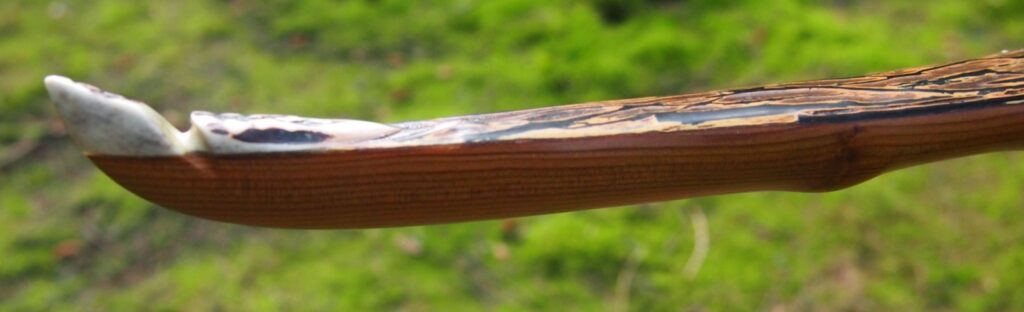
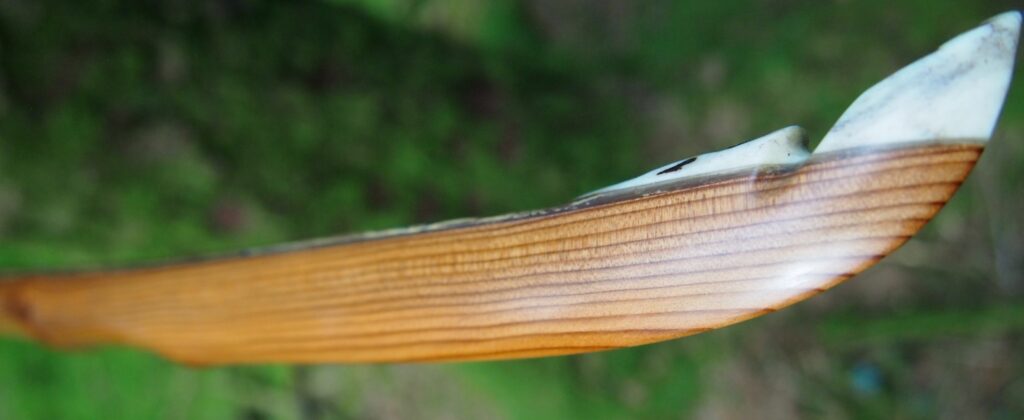
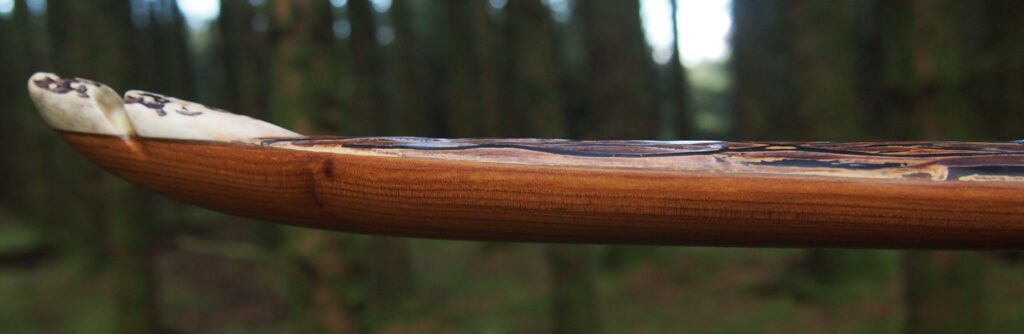
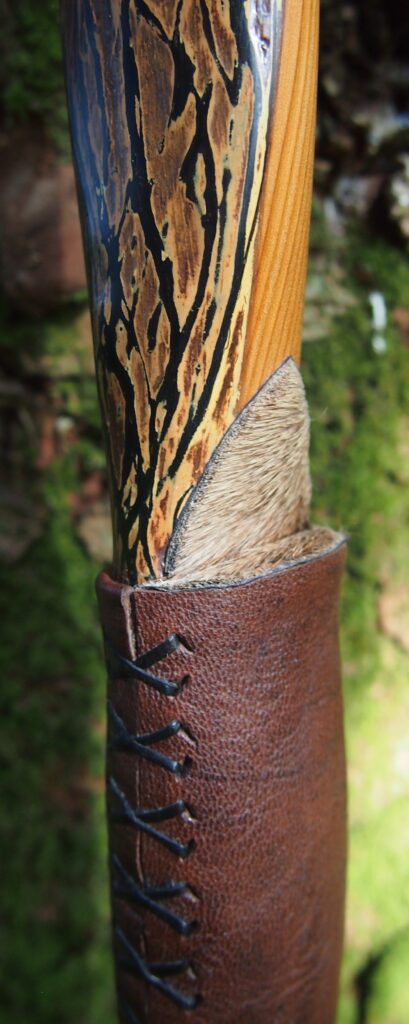
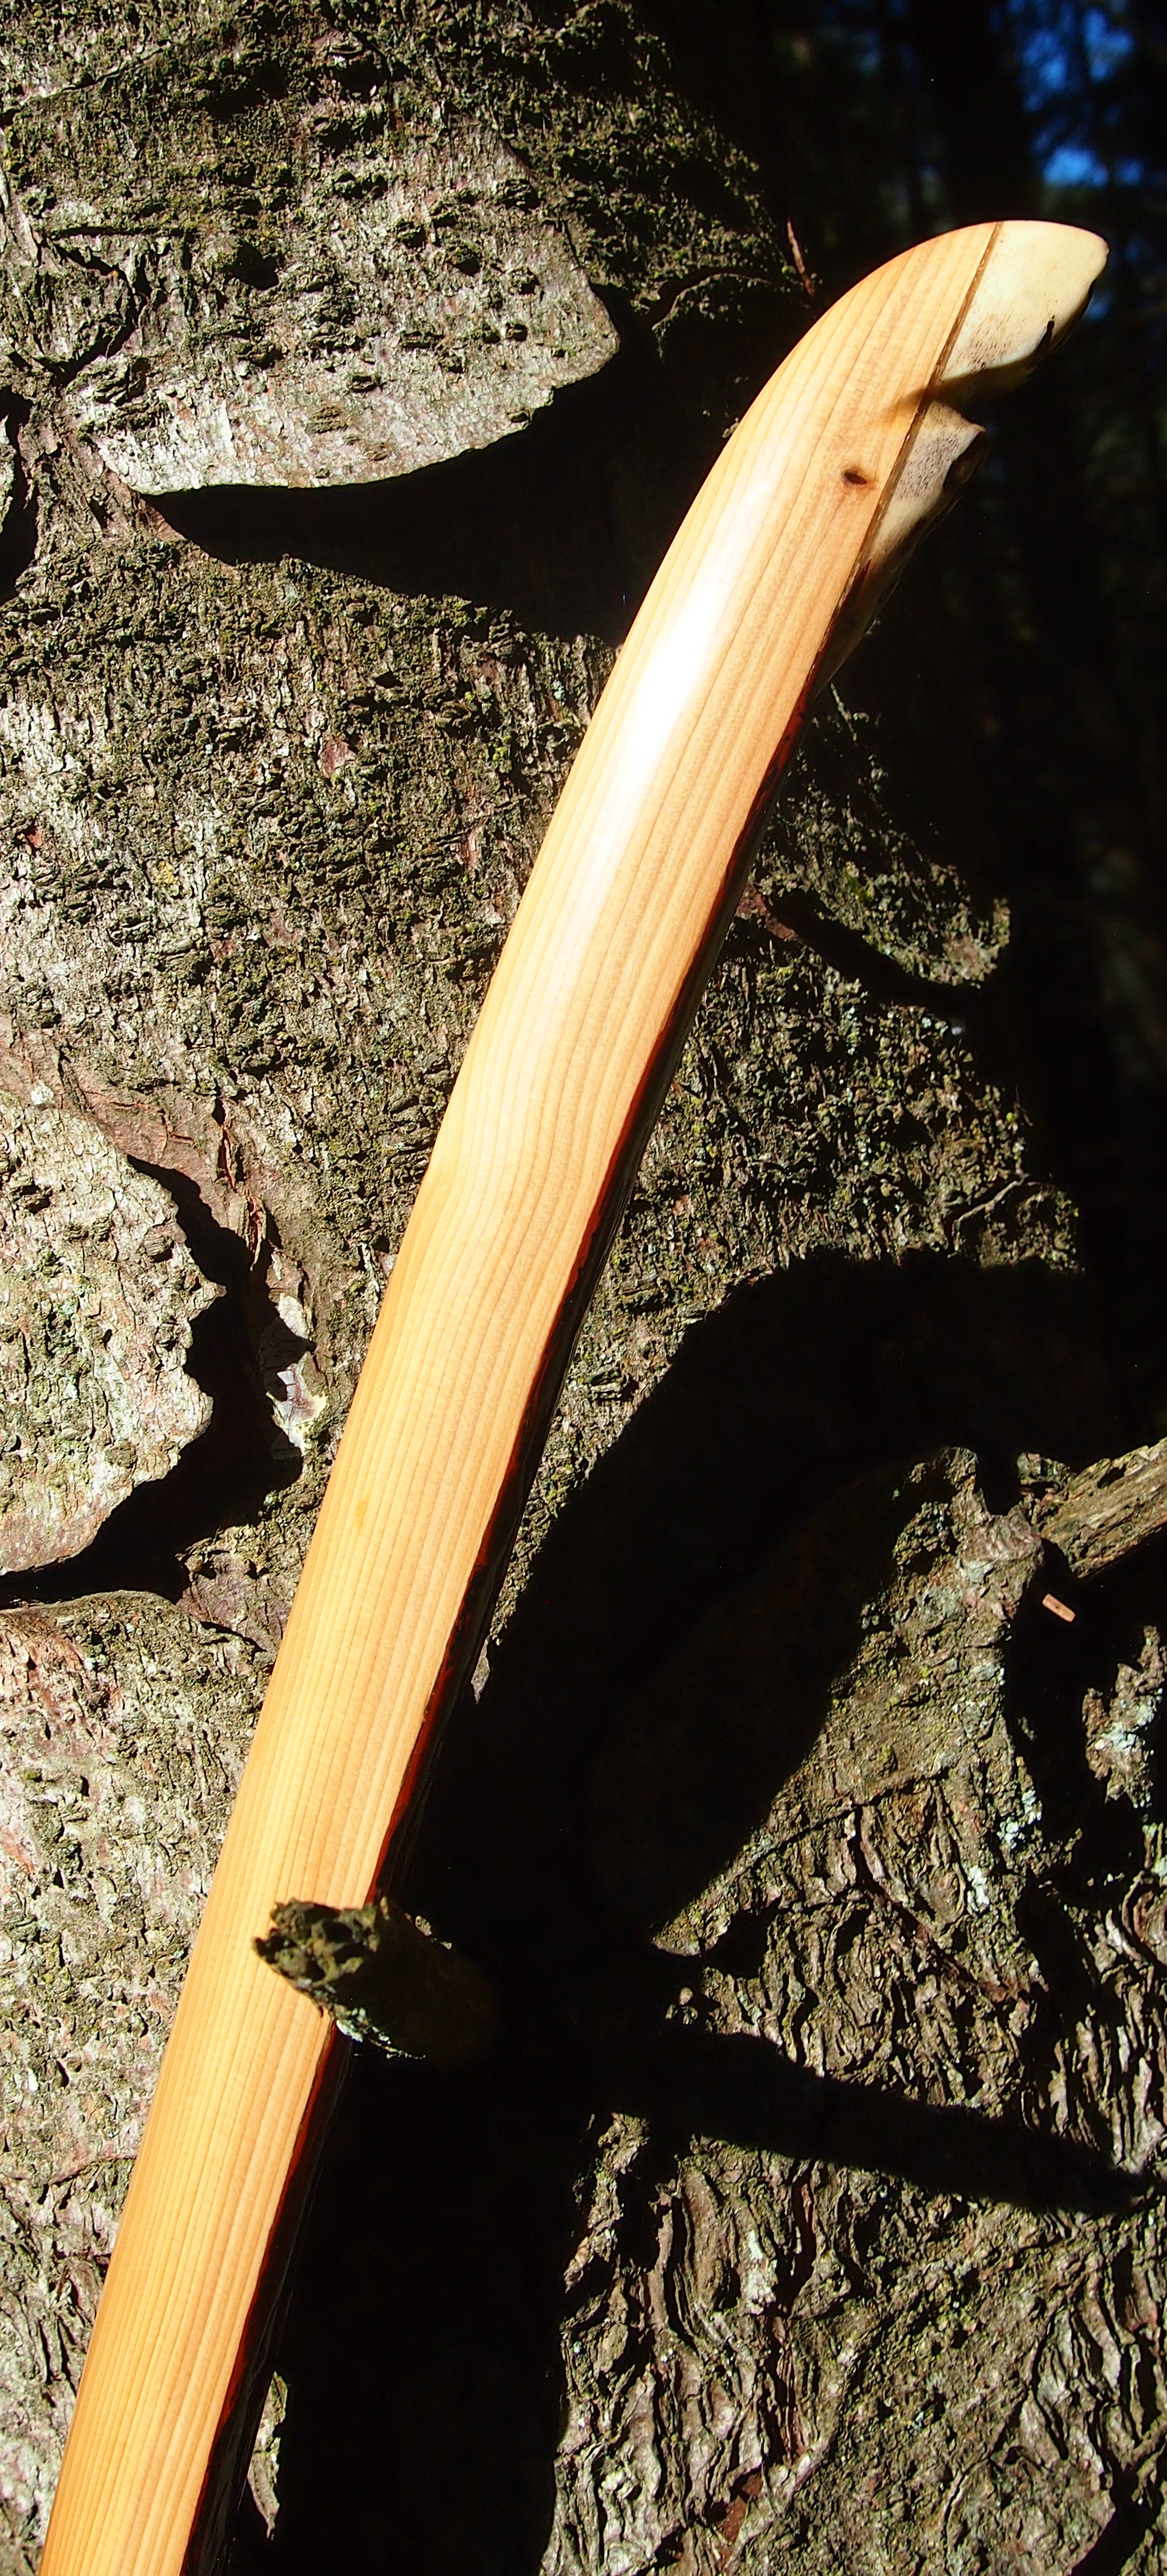
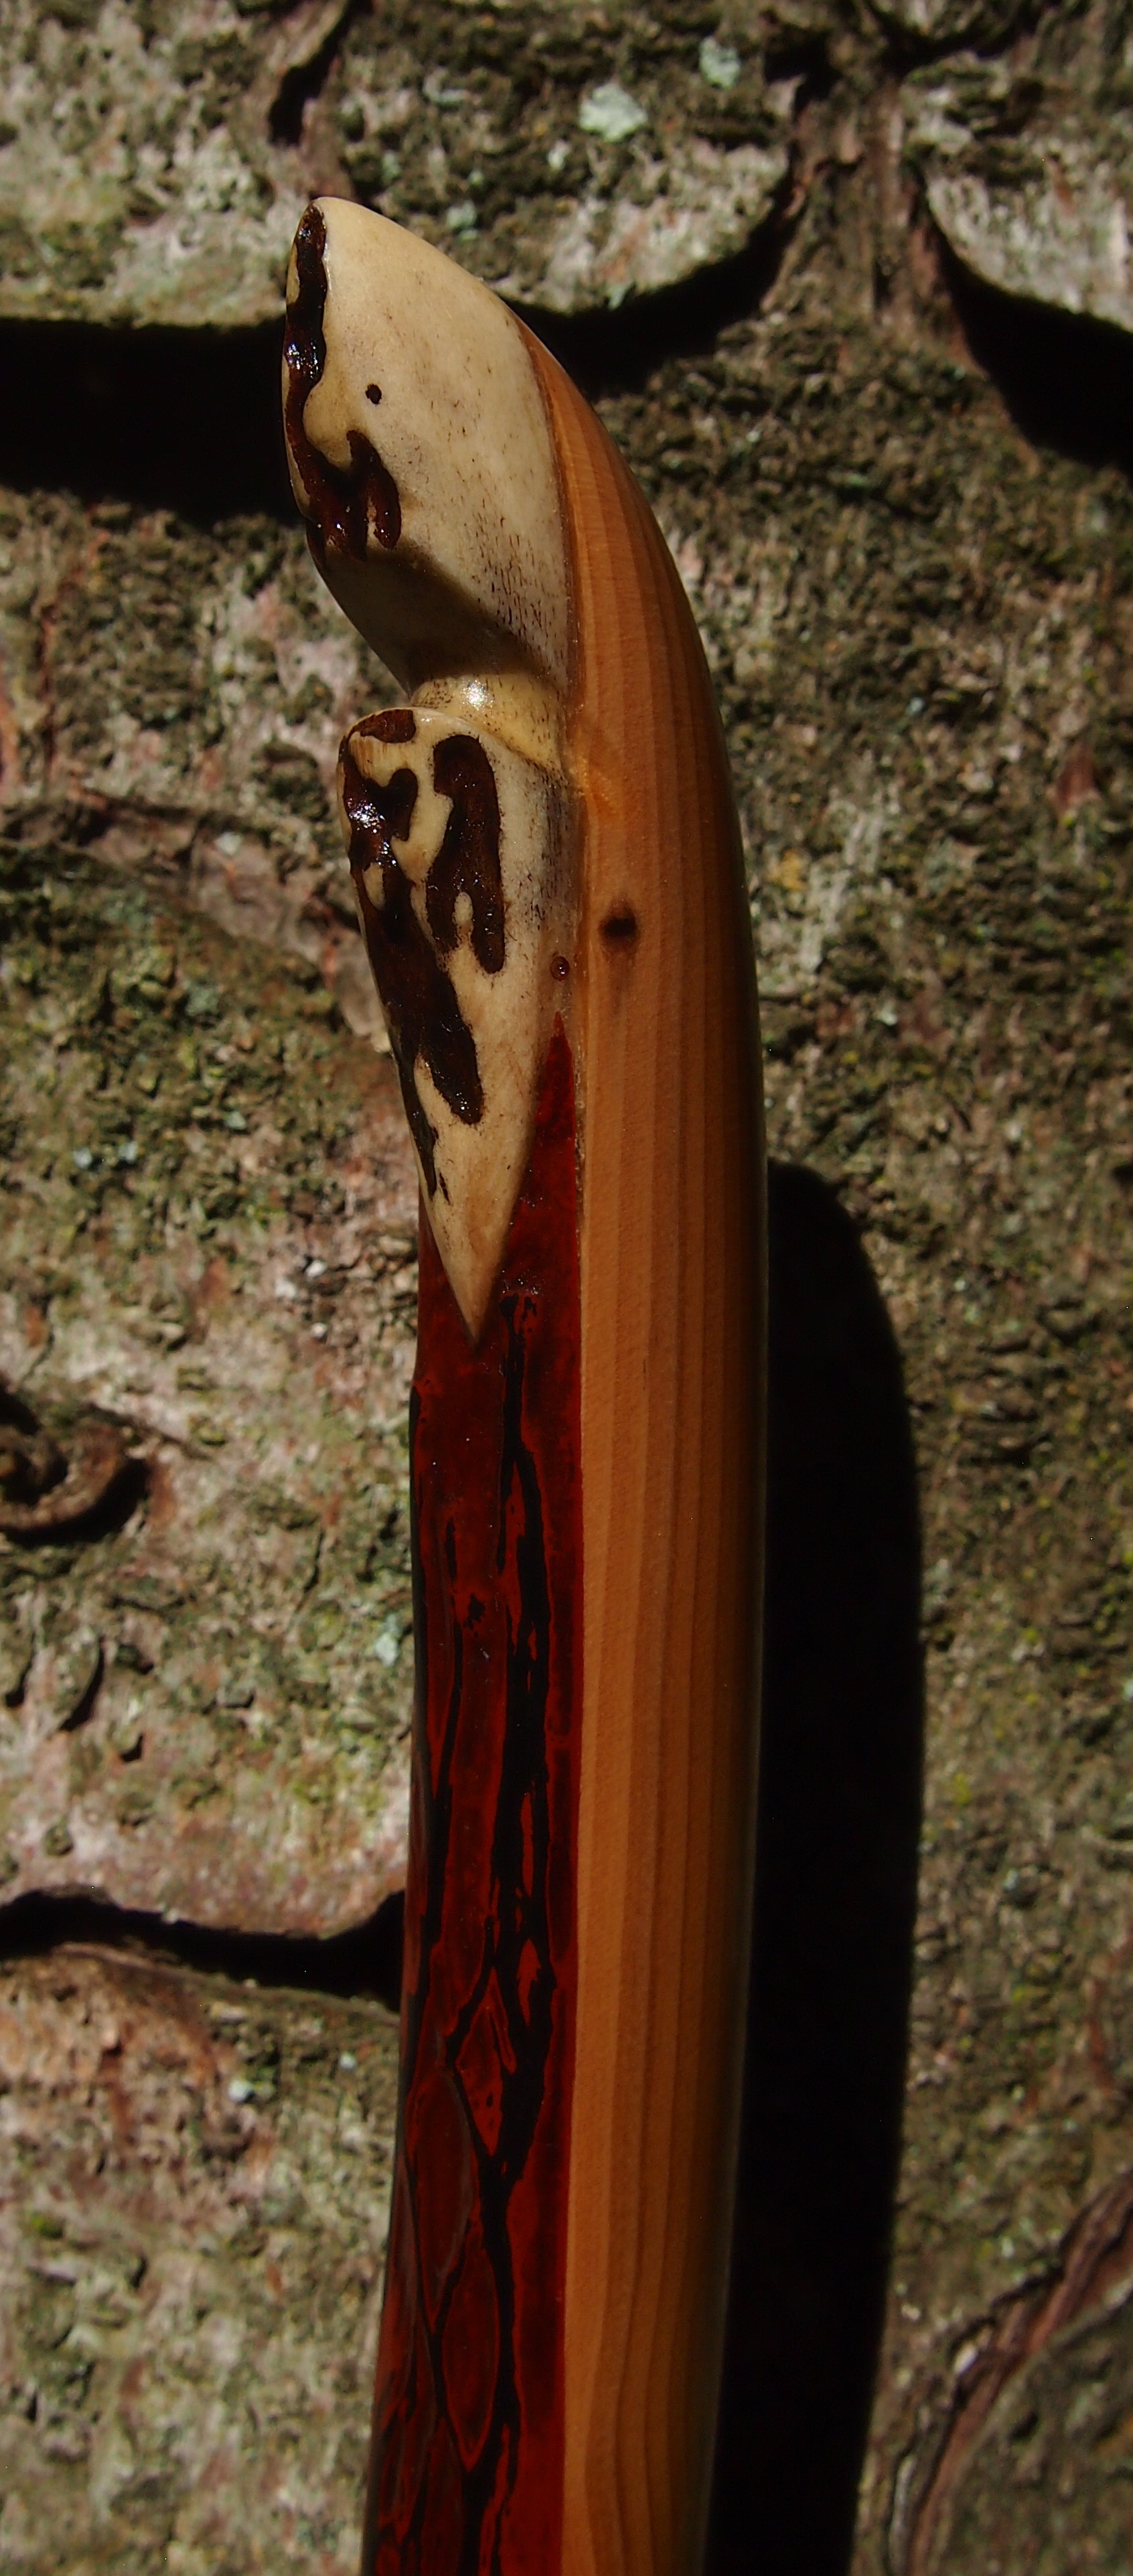
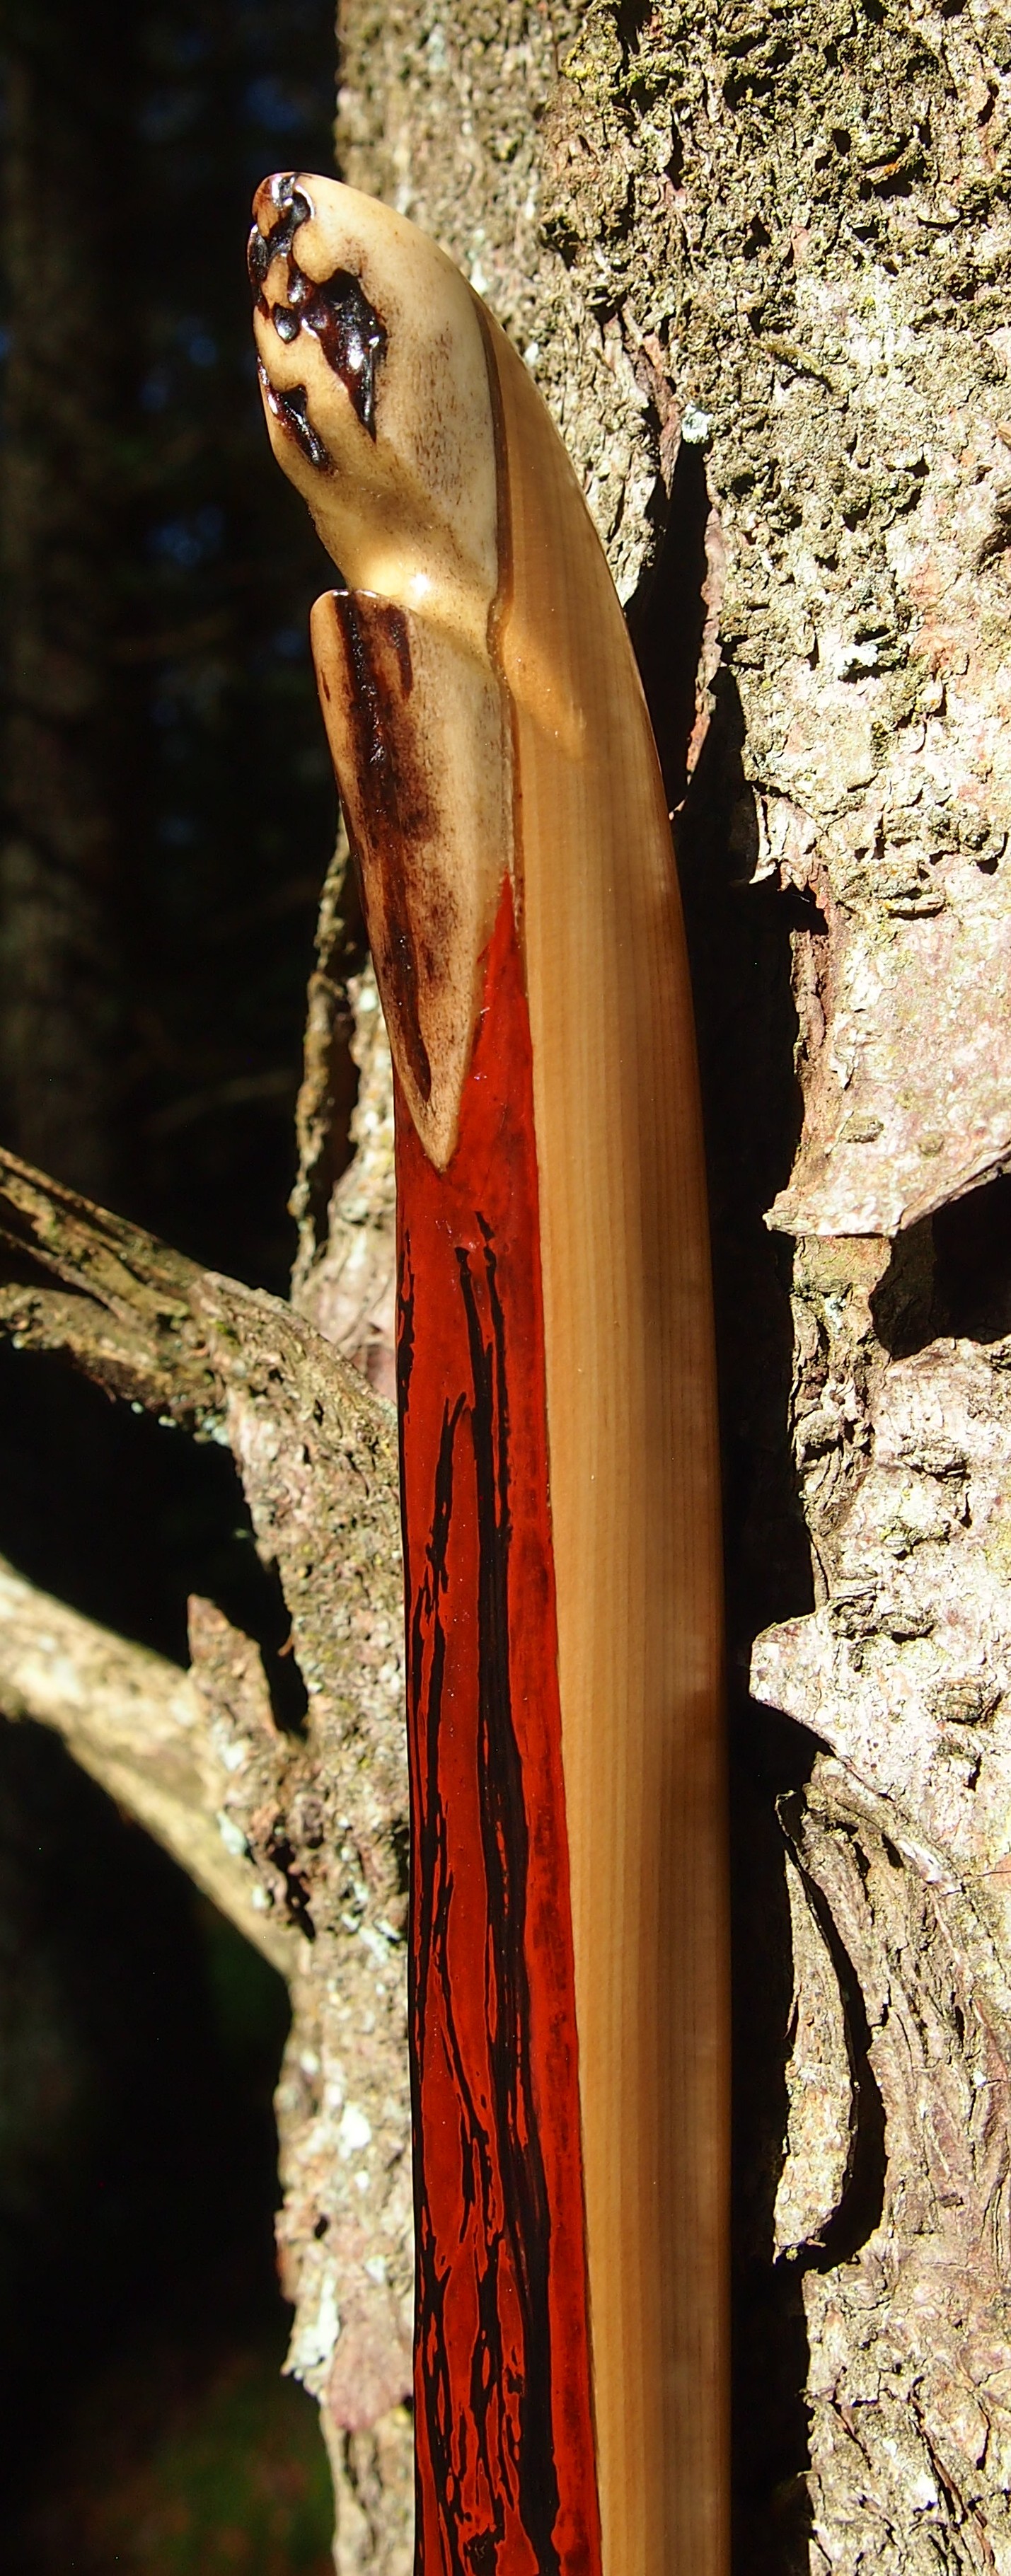
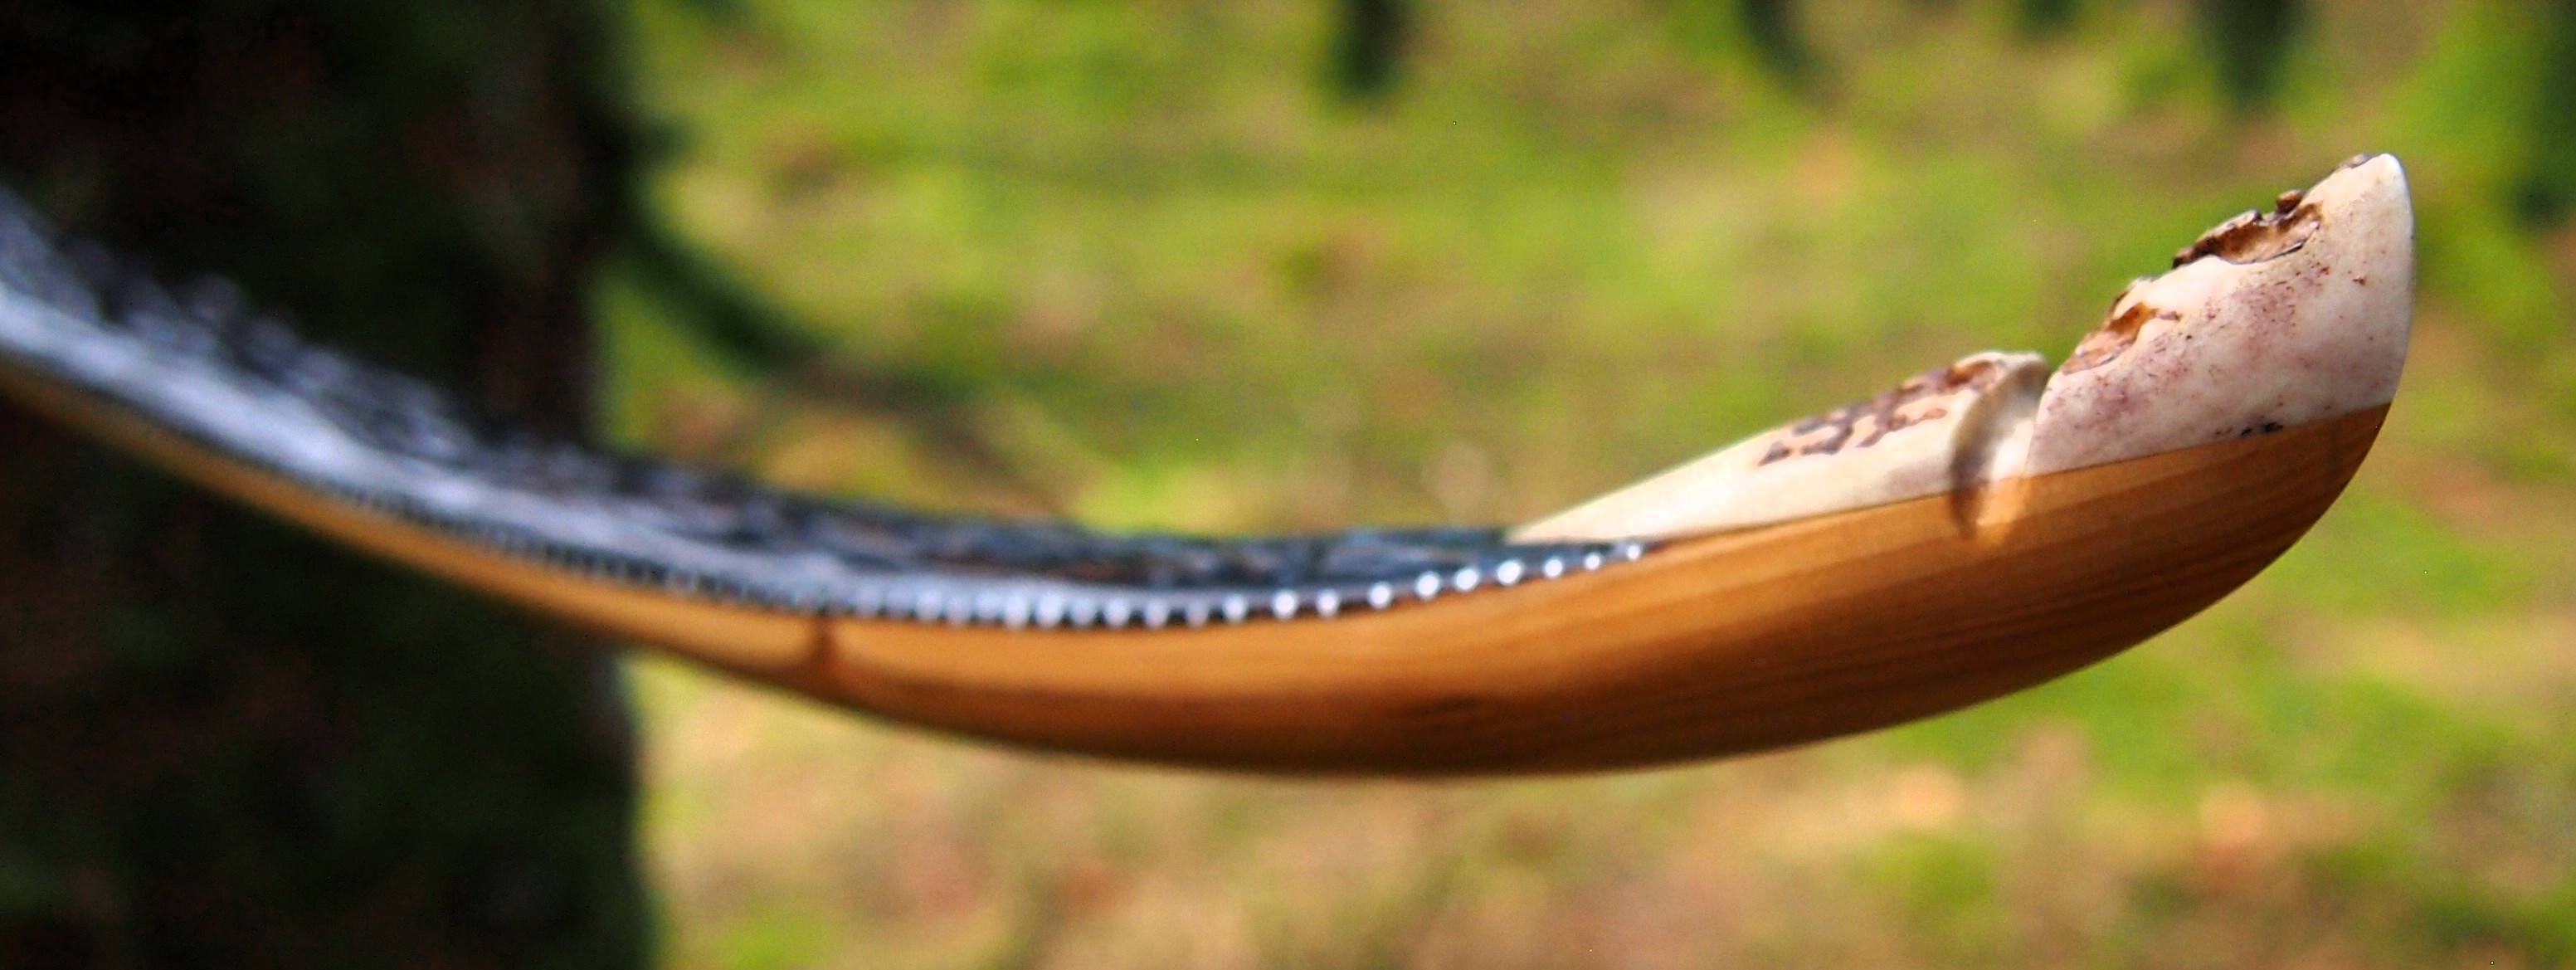
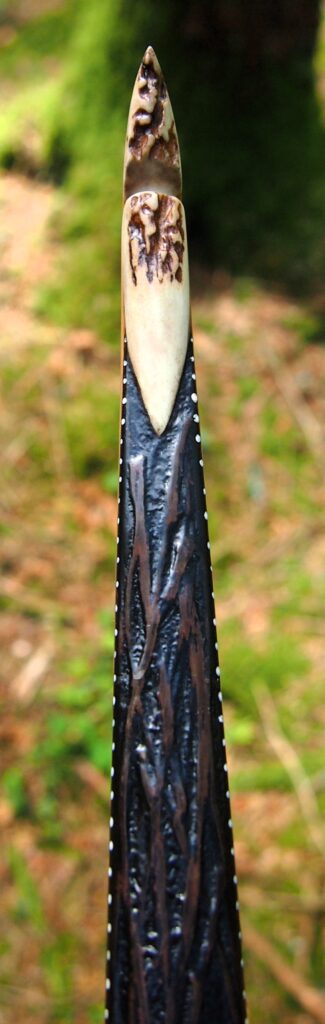
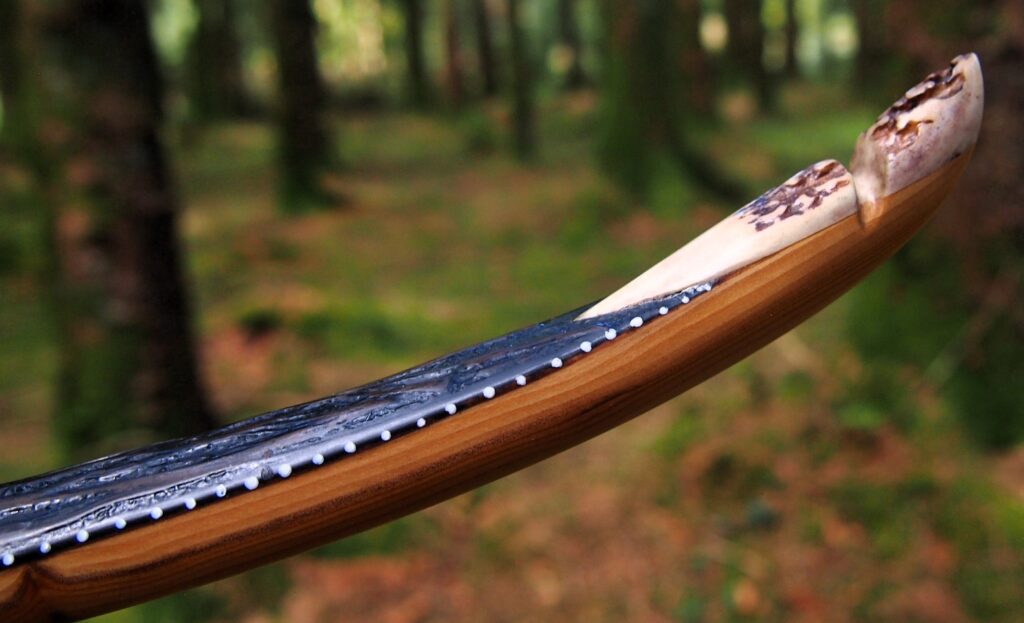
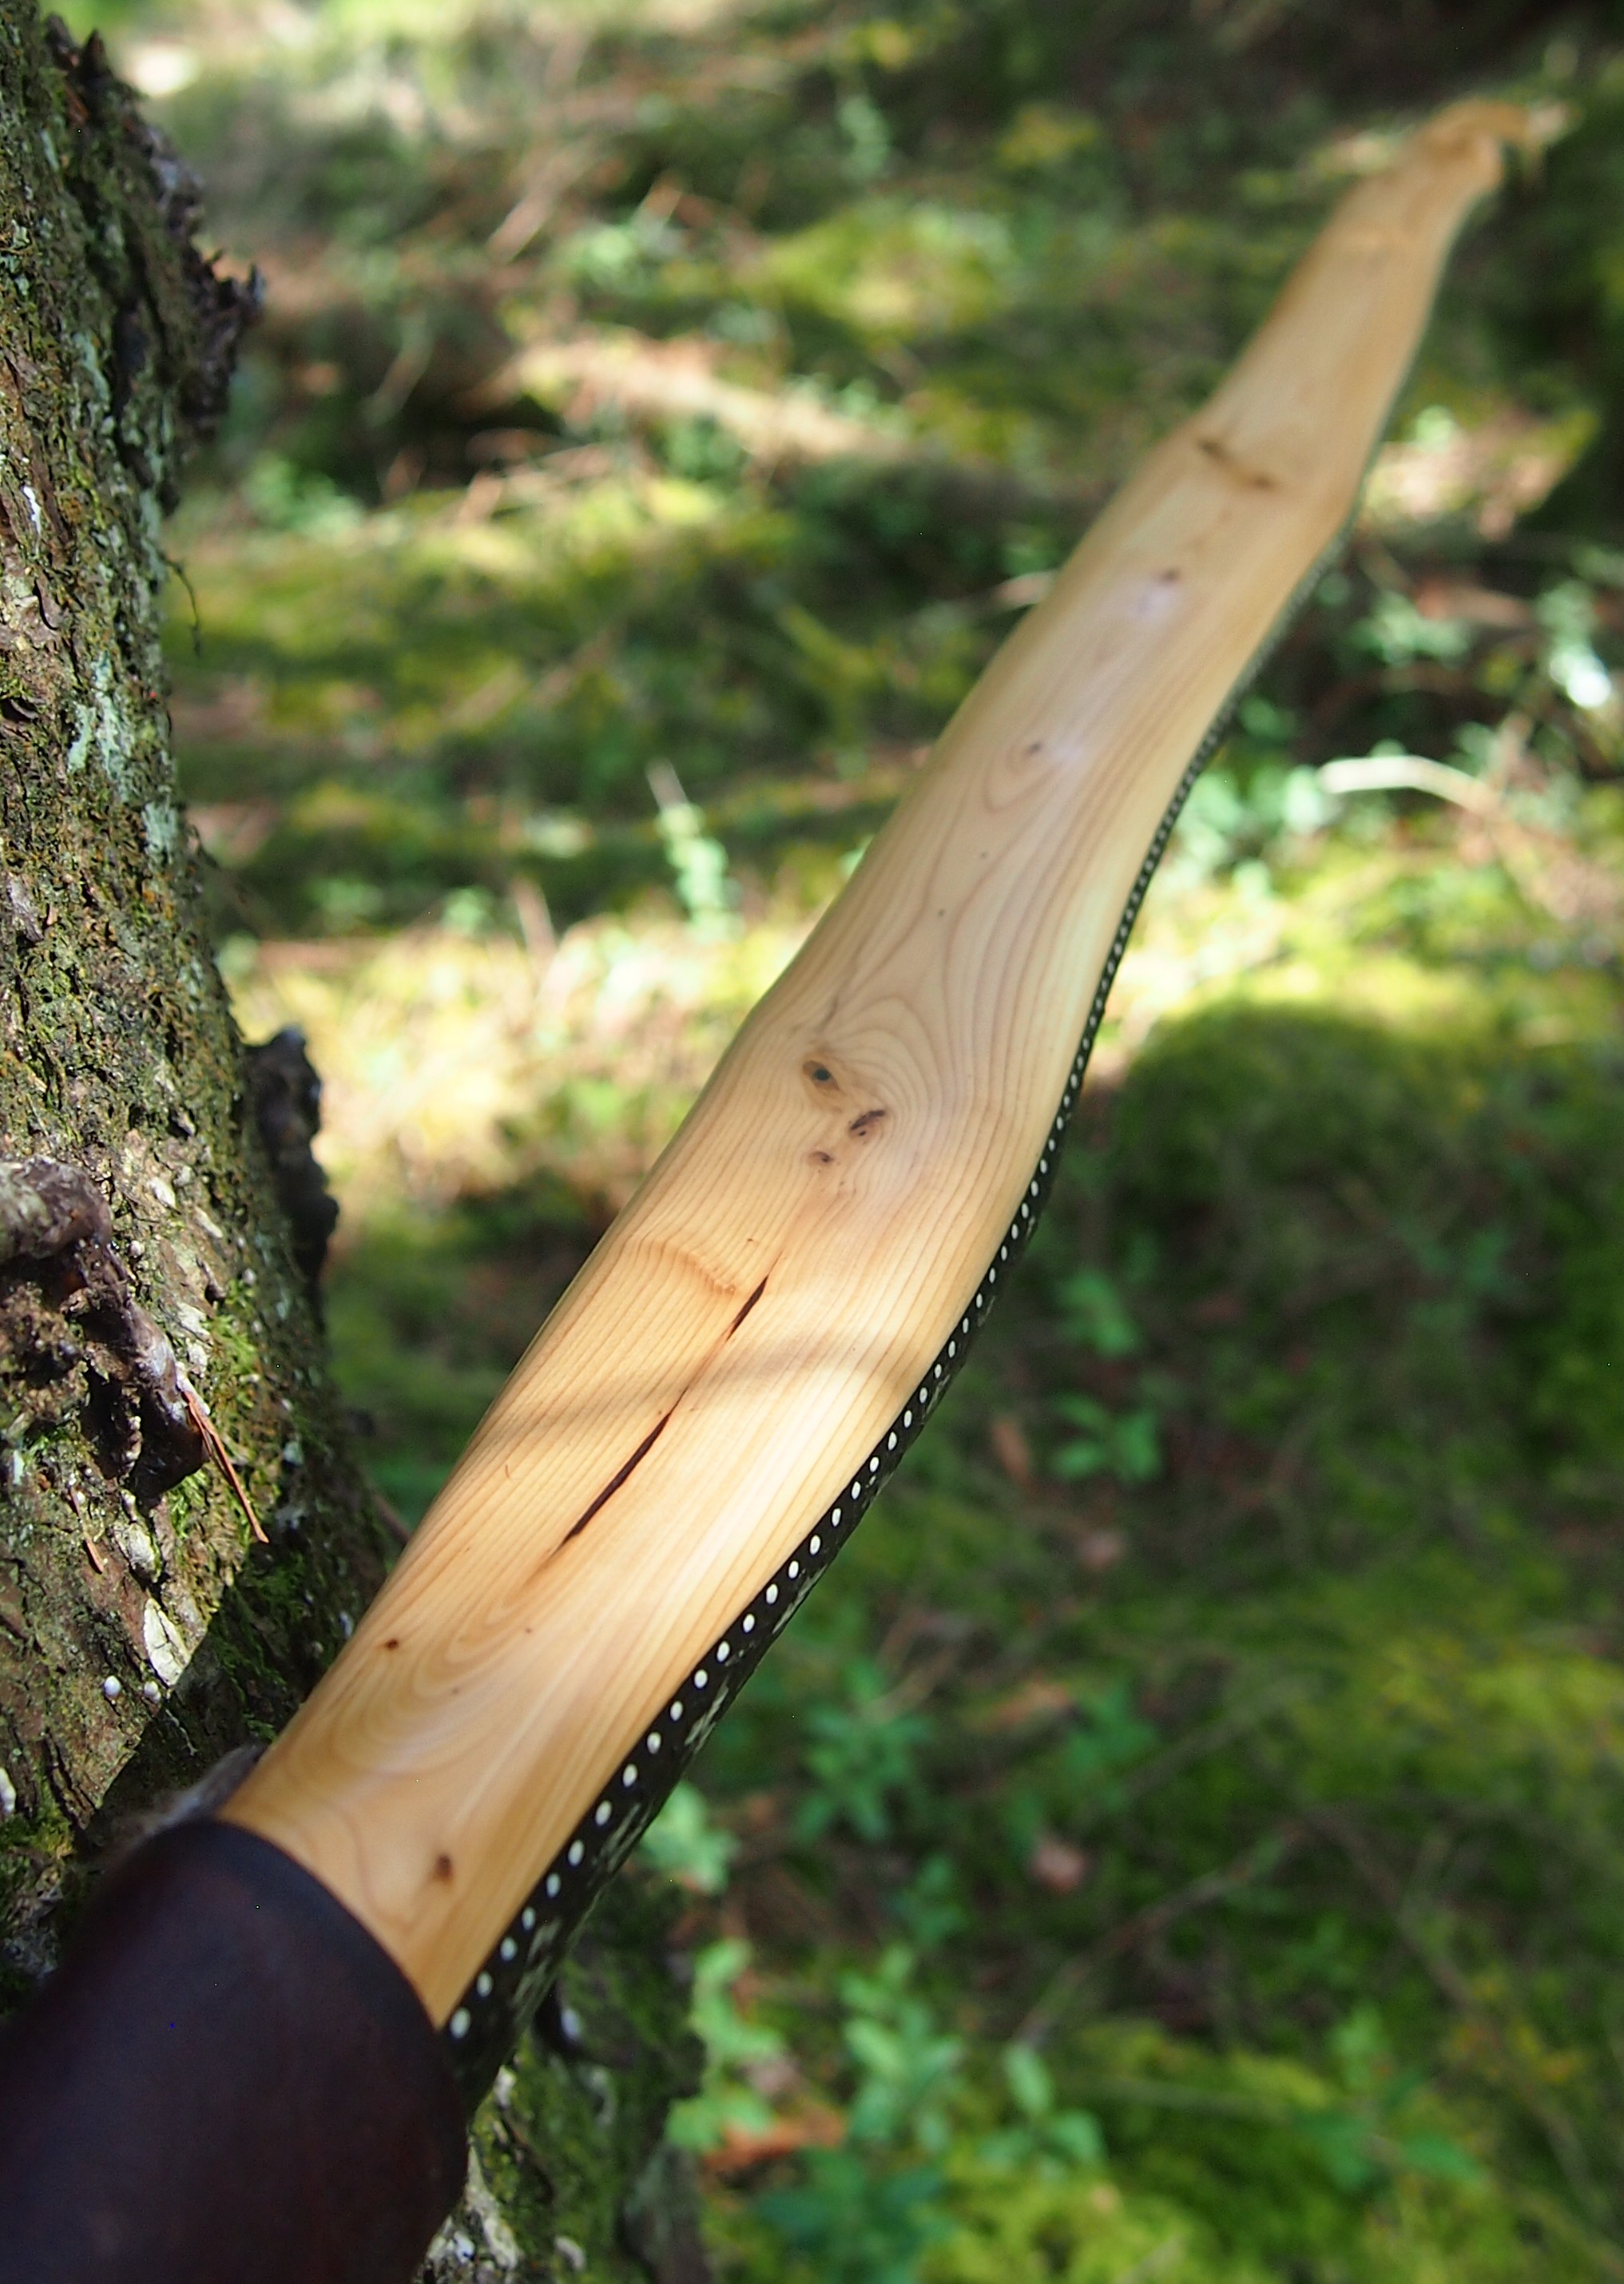
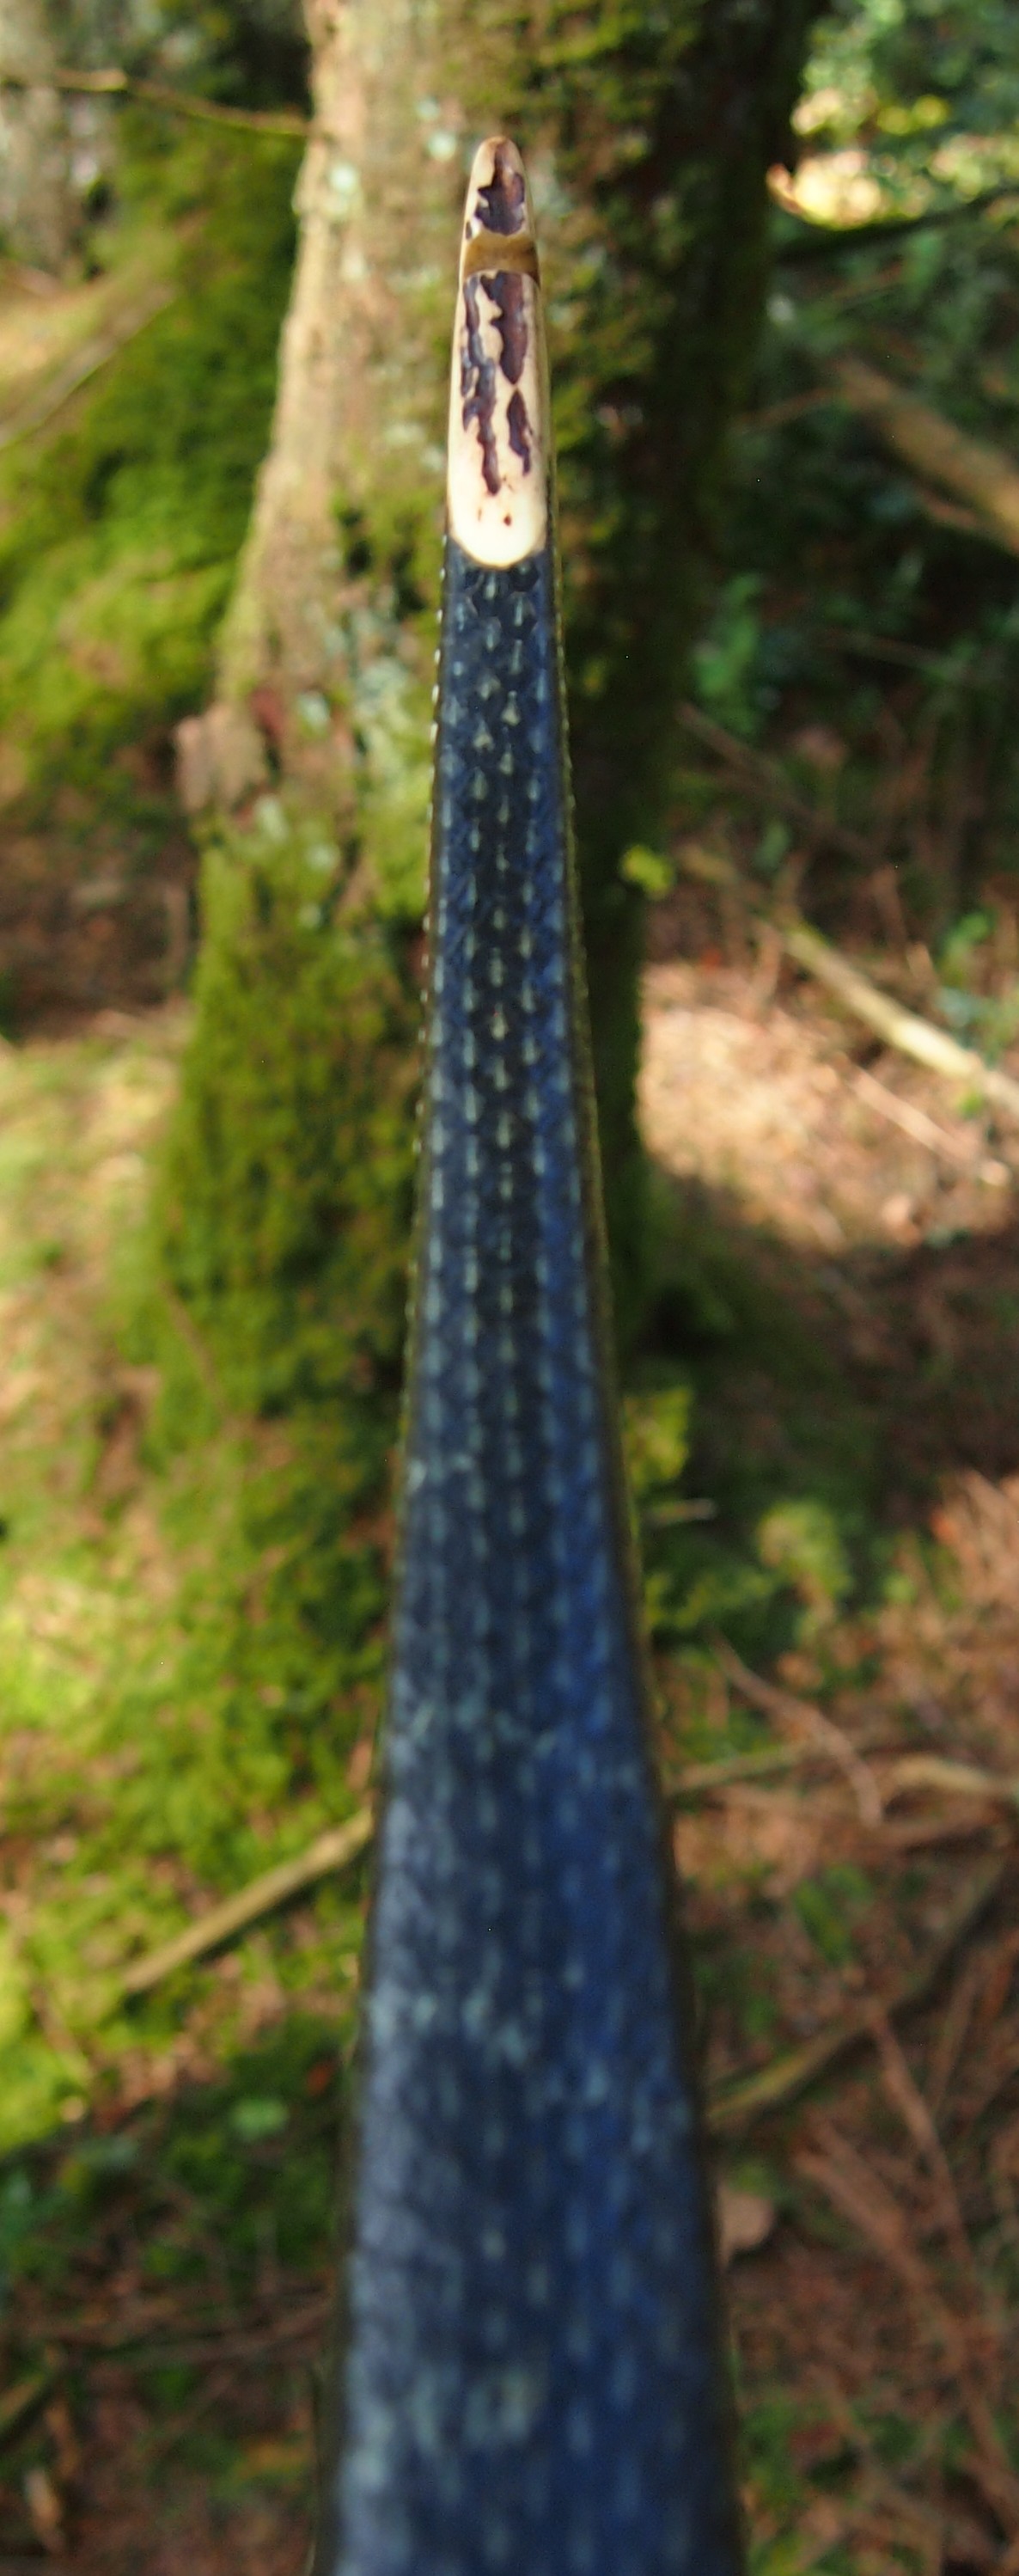
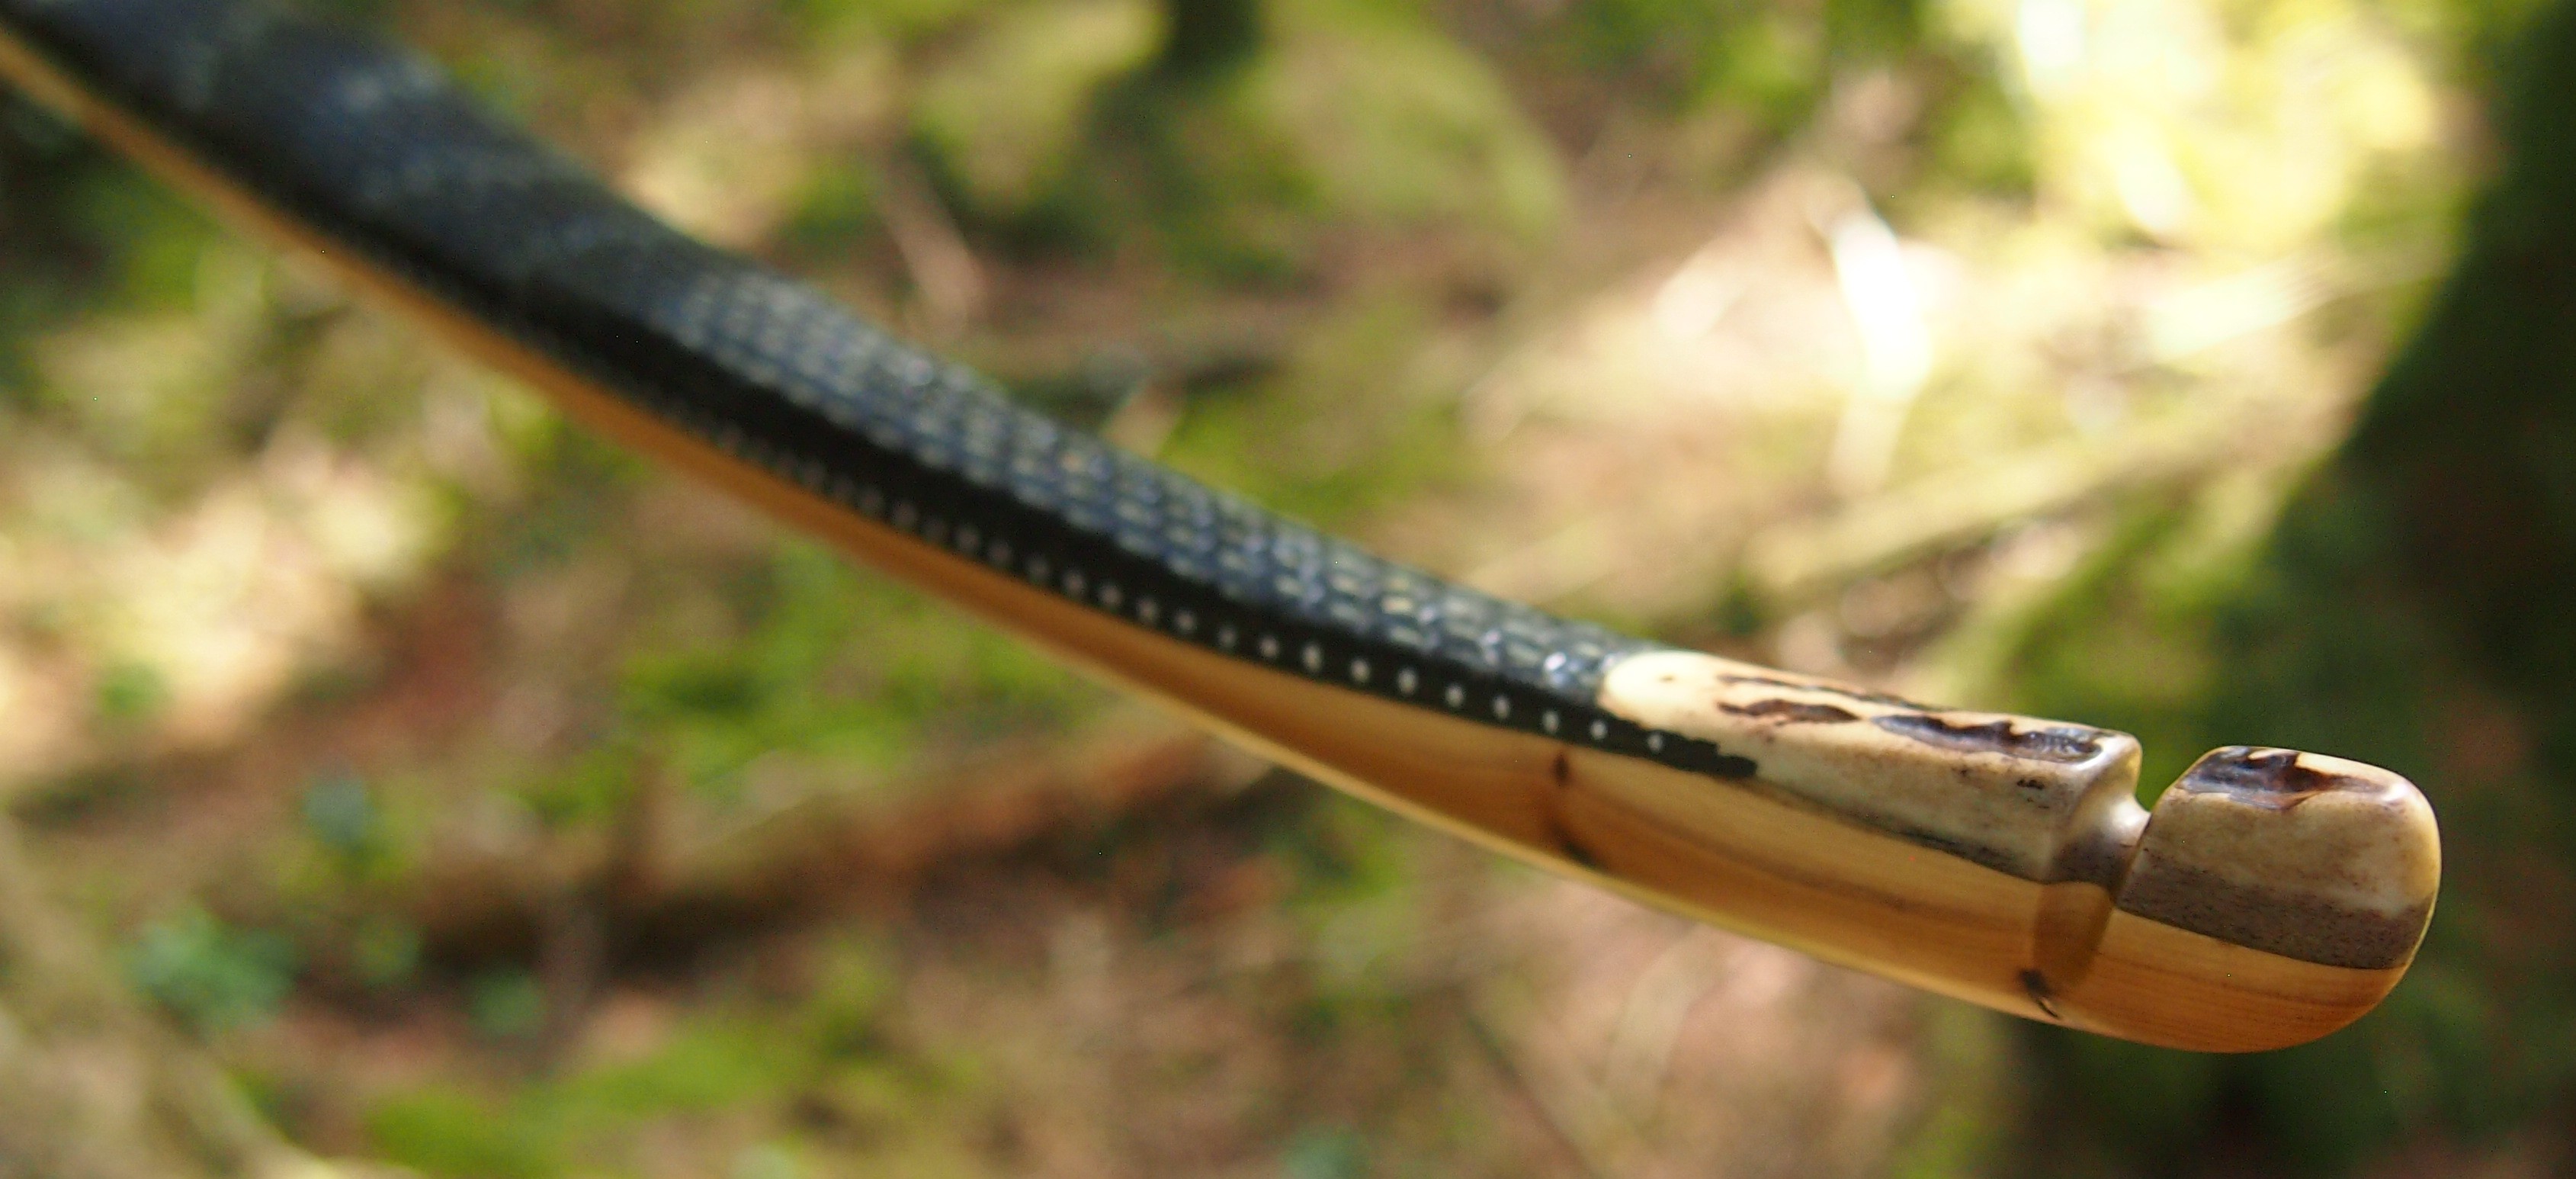
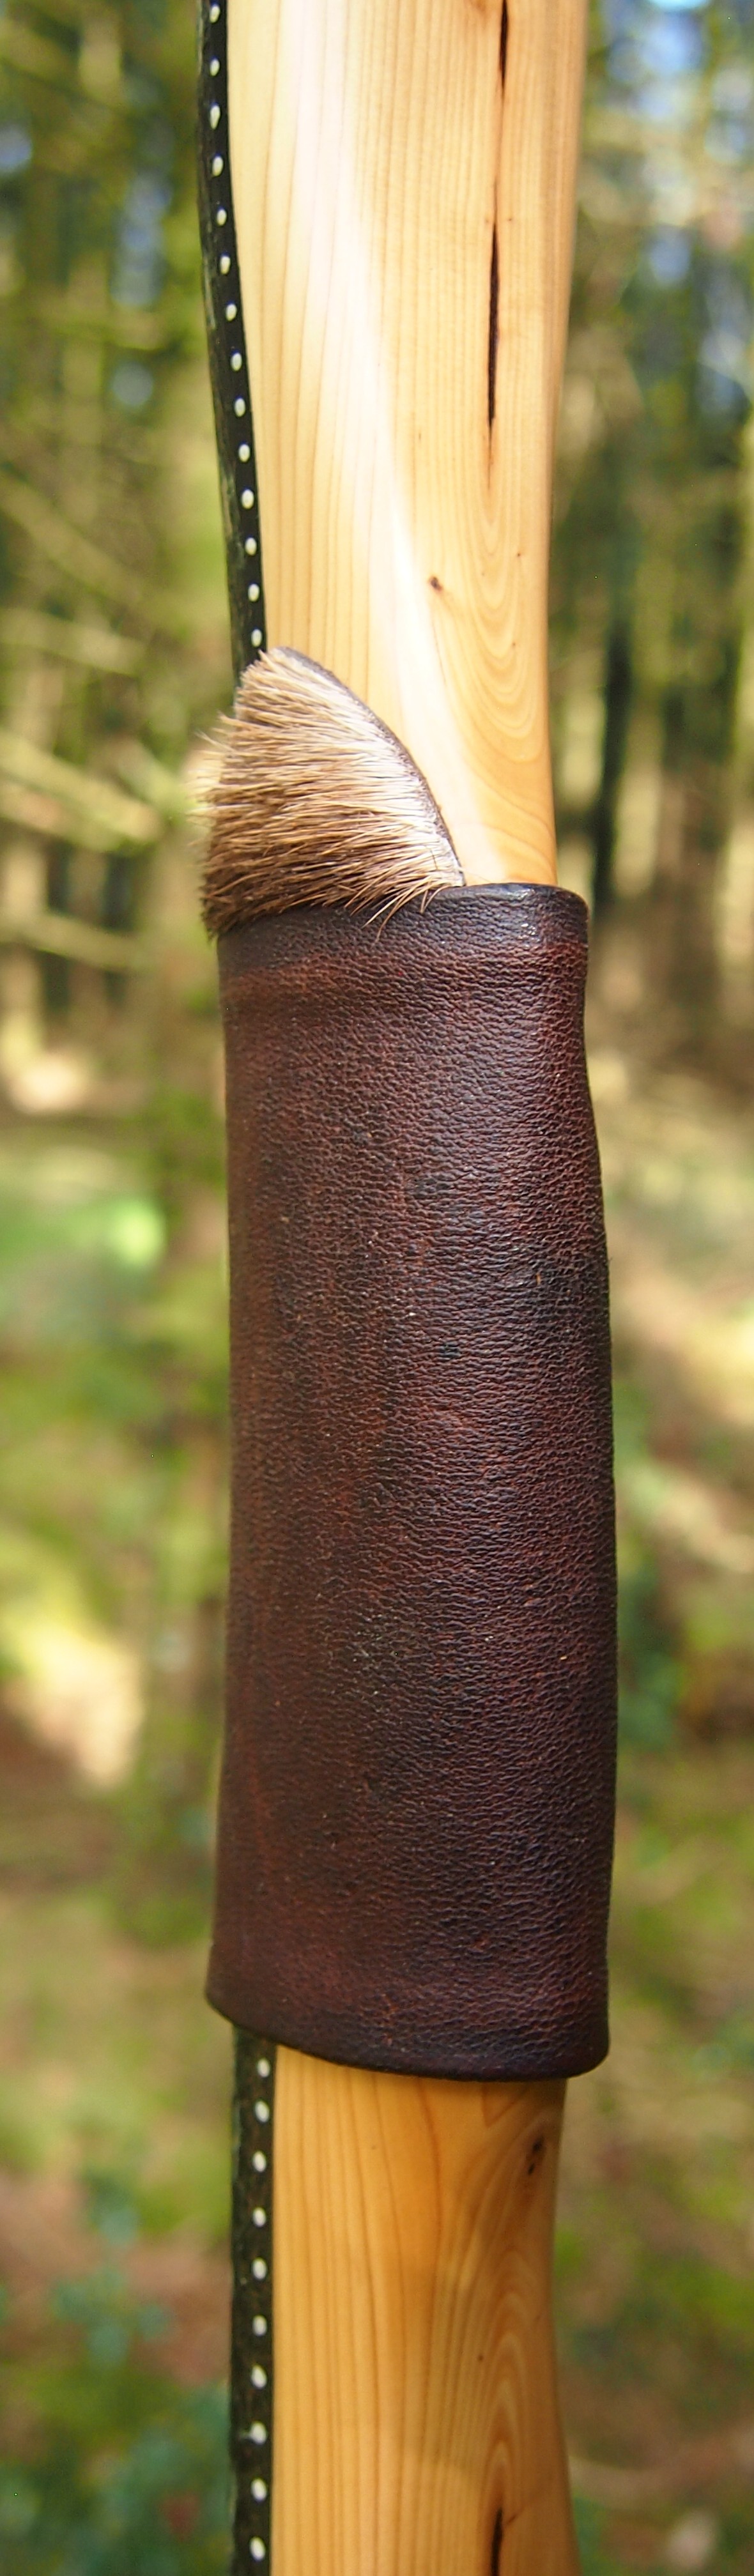
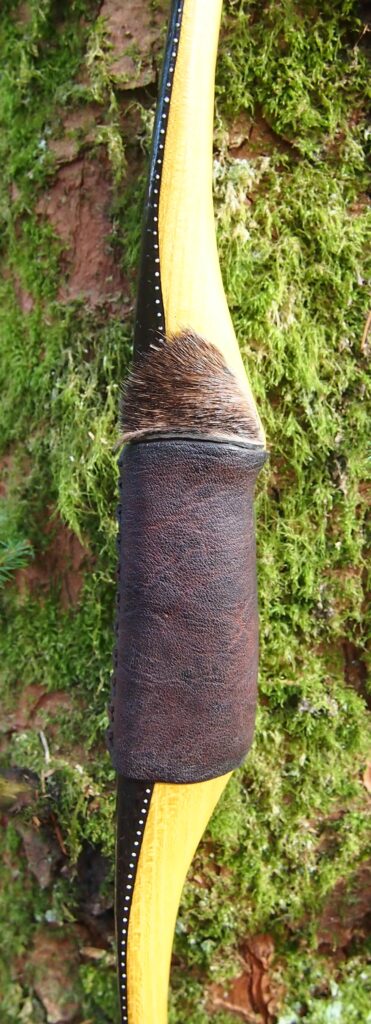
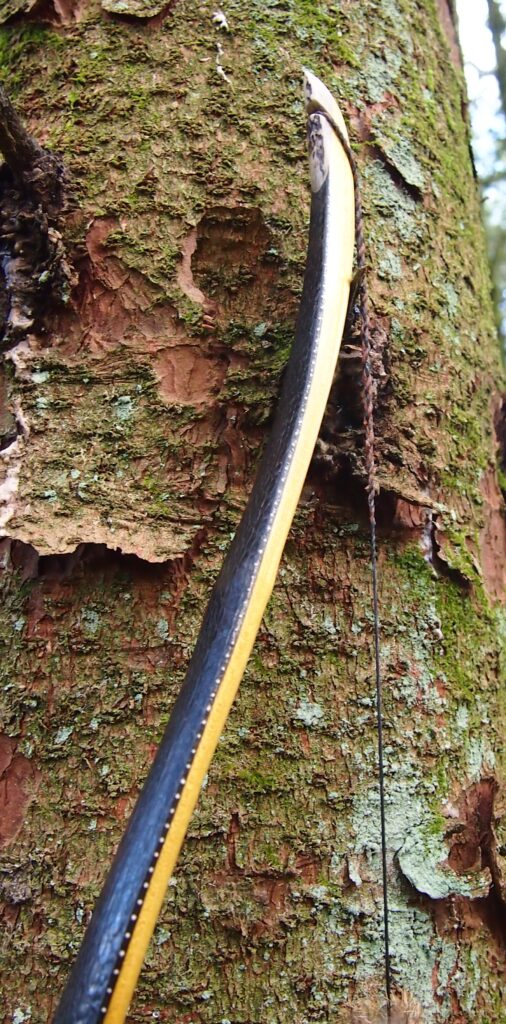
Overlays and arrow passes are both red deer antler. In addition to being asked to build some lighter bows, I also keep getting asked to build left handed bows. And since this bow was intended to be without an arrow shelf, and also had a string alignment right through the centre of the handle, I decided to inlay arrow passes on both sides so that it could be shot ambidextrously.

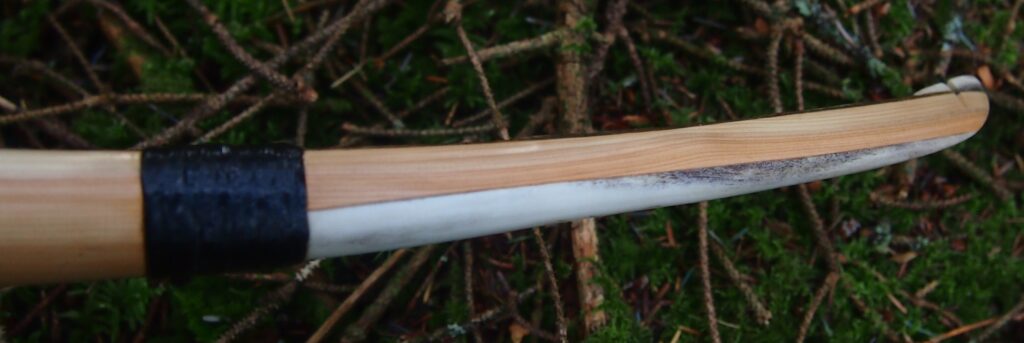
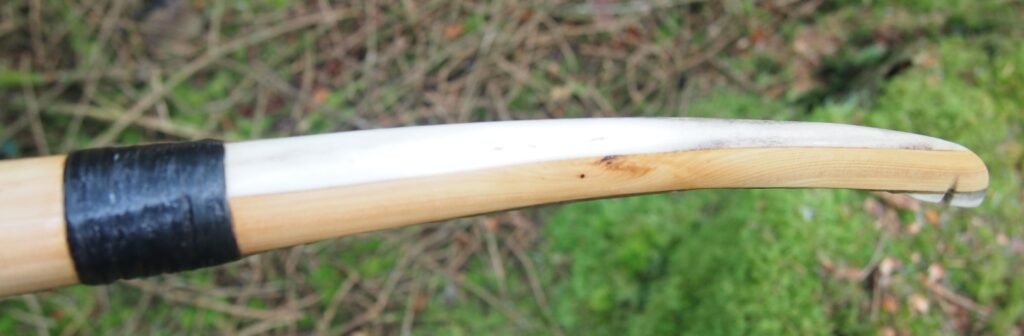
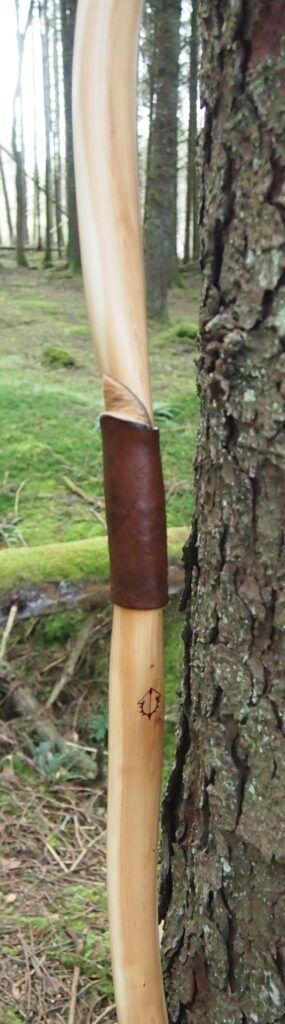
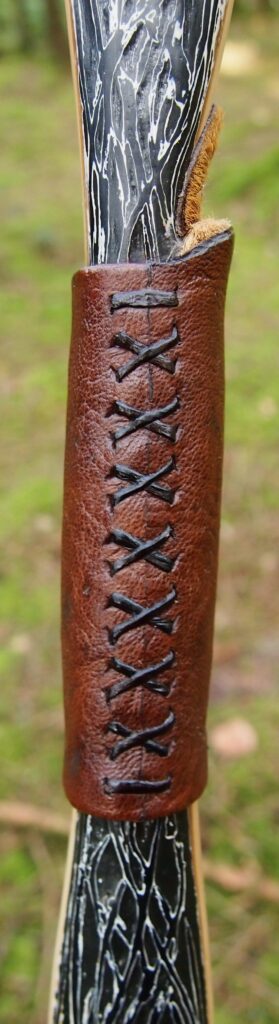
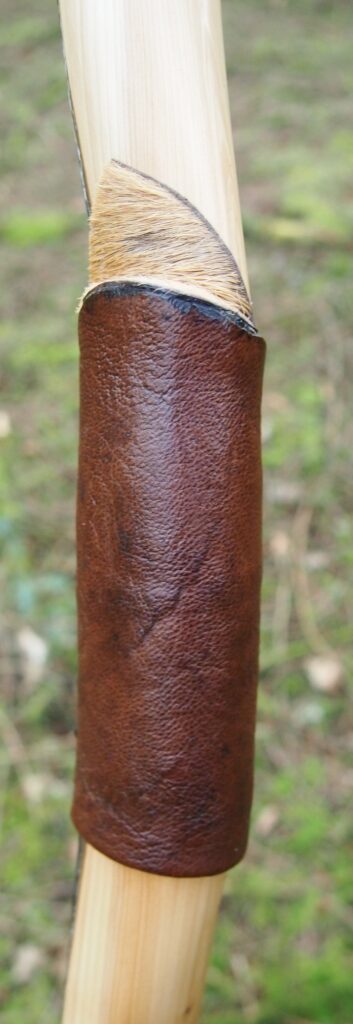
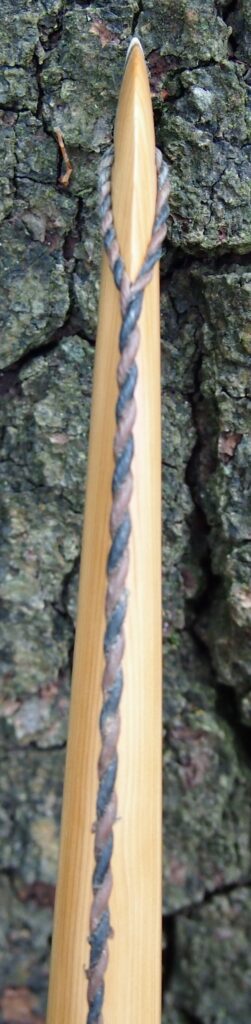
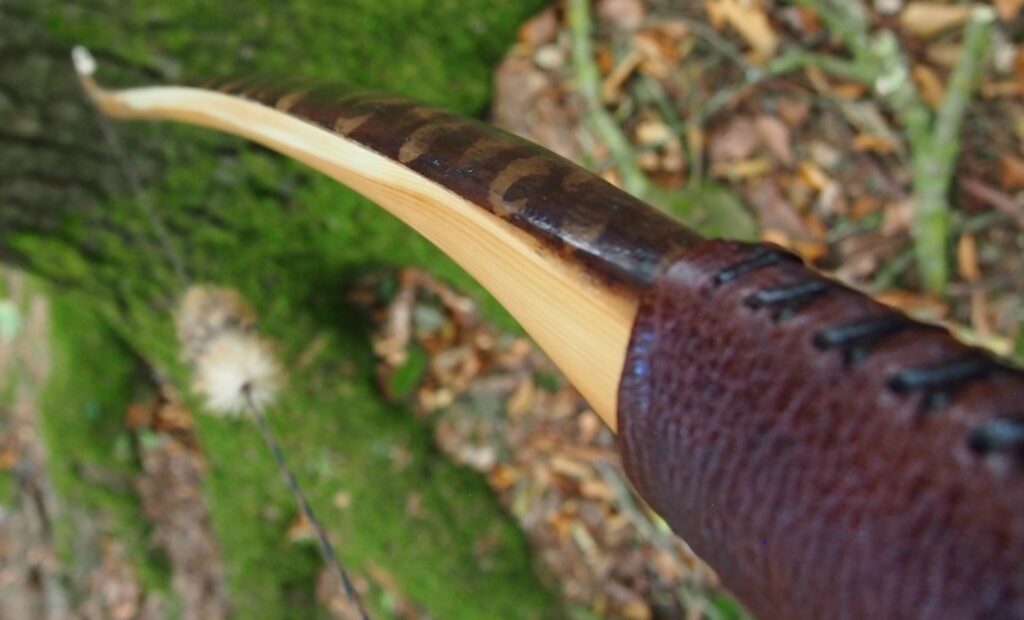
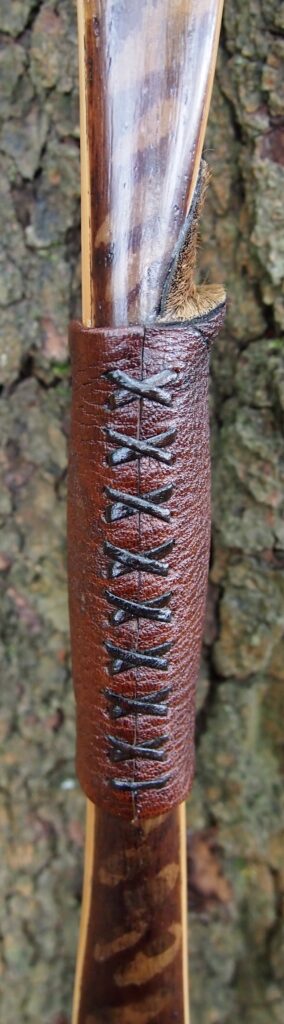
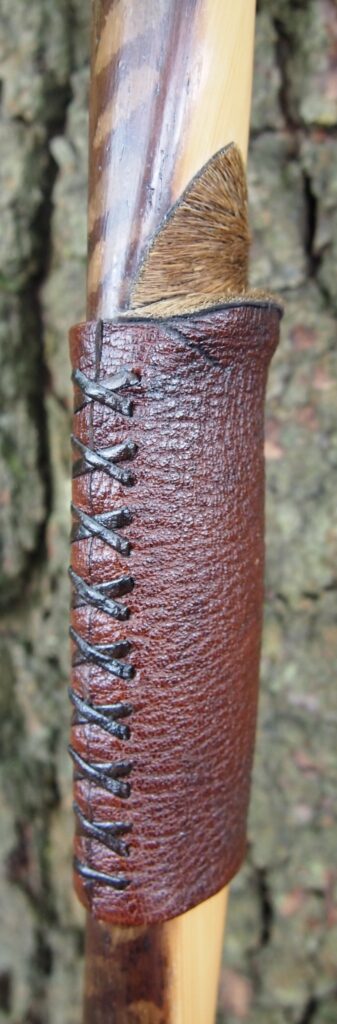
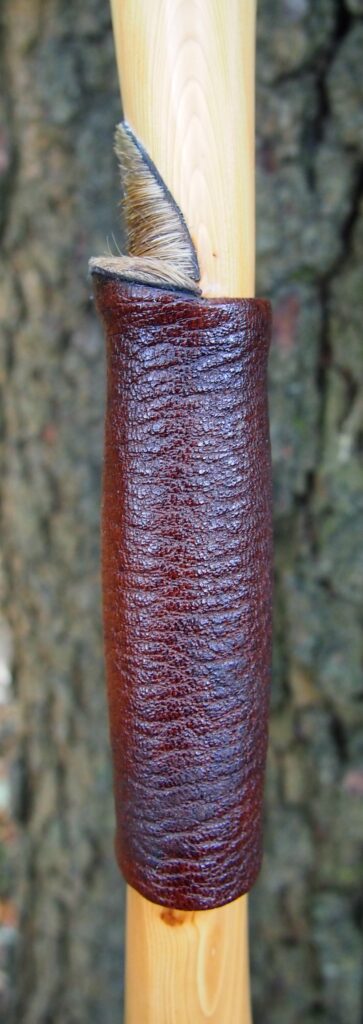
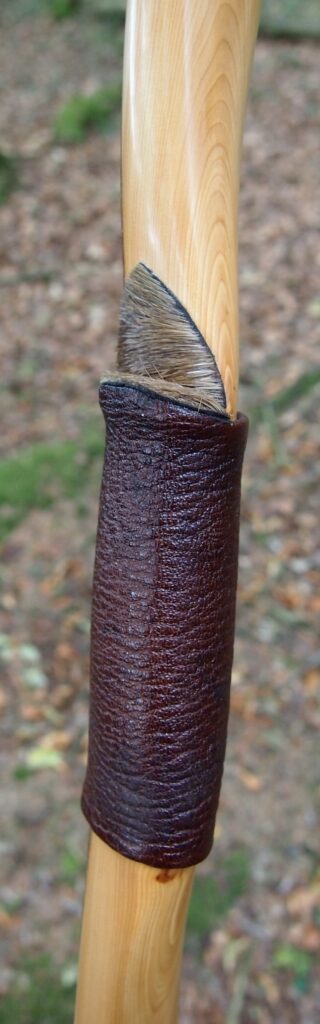
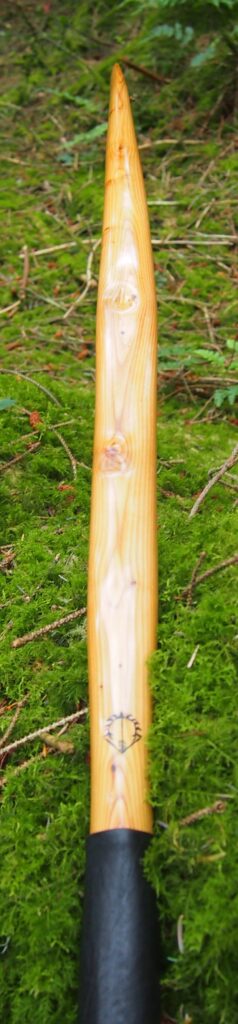
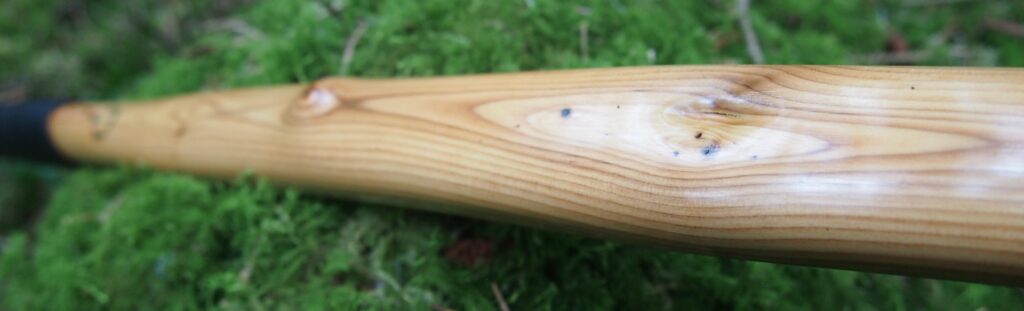
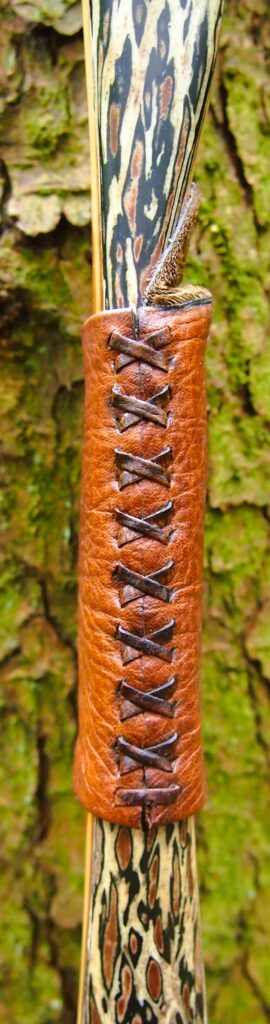
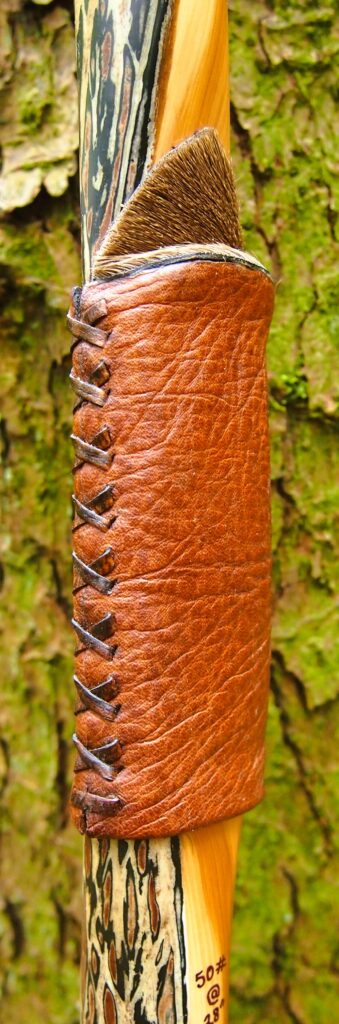
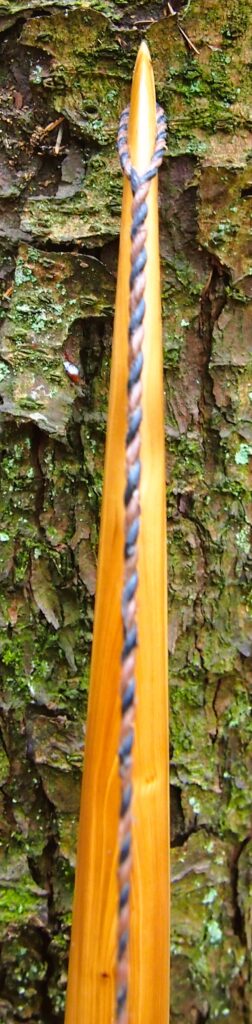
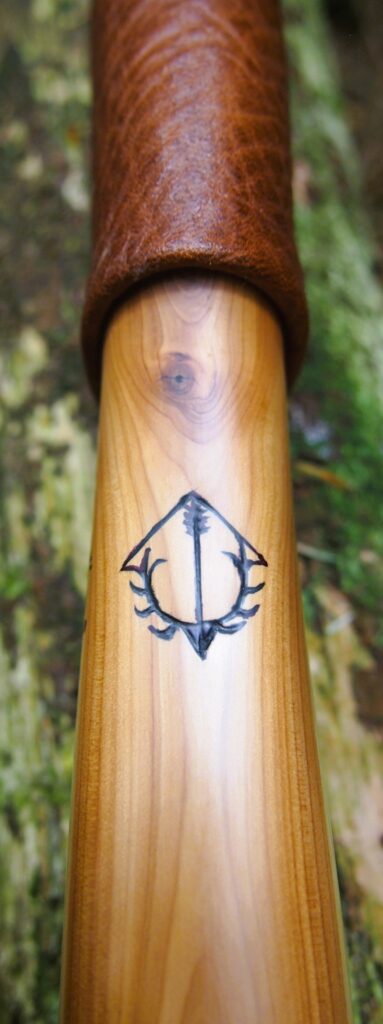
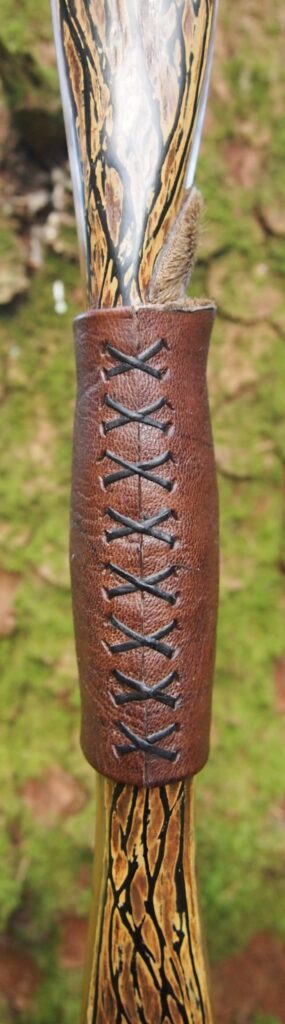
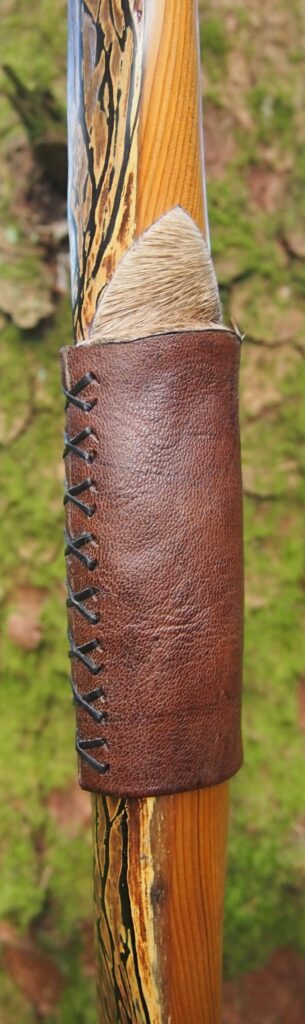
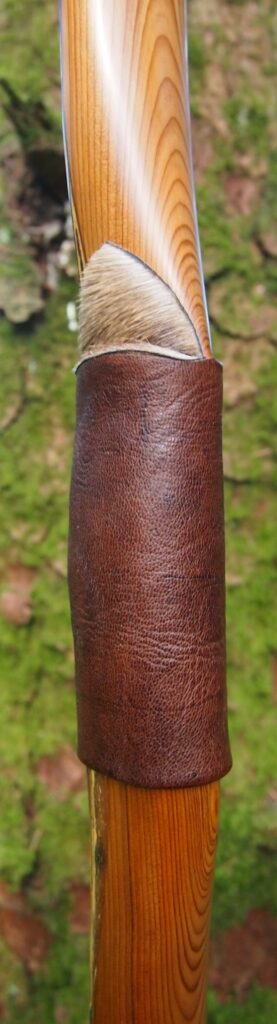
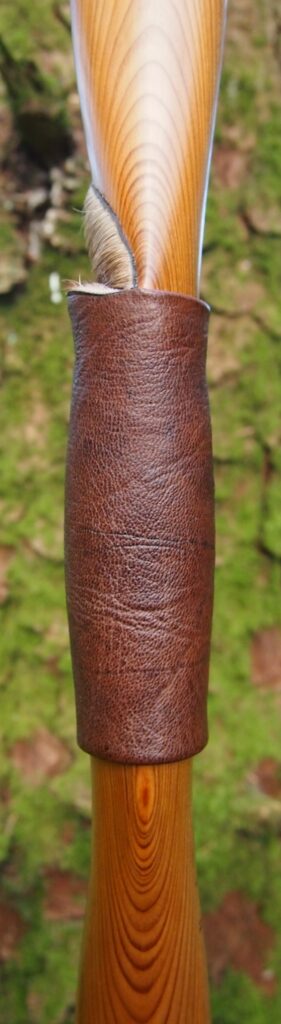
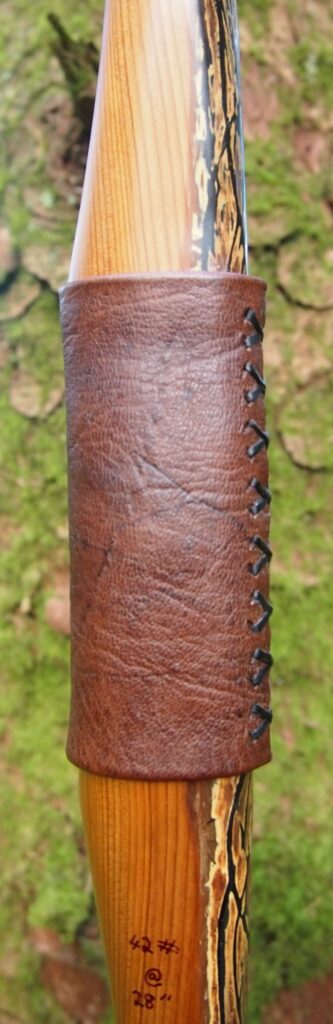
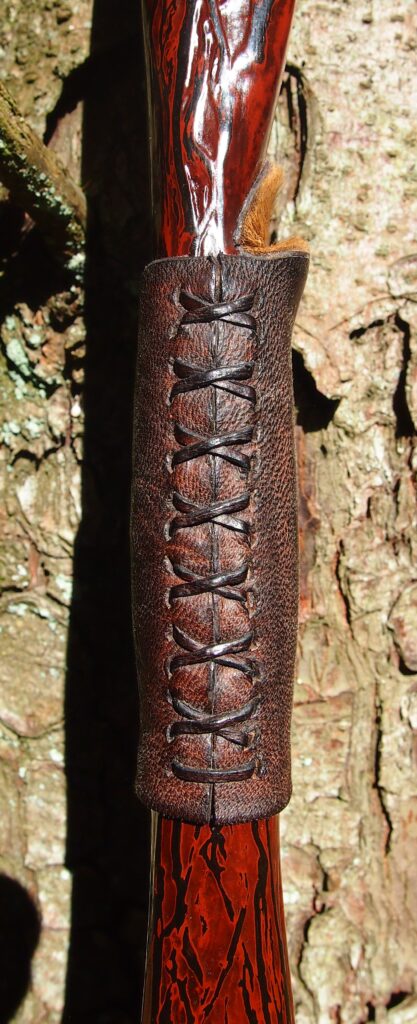
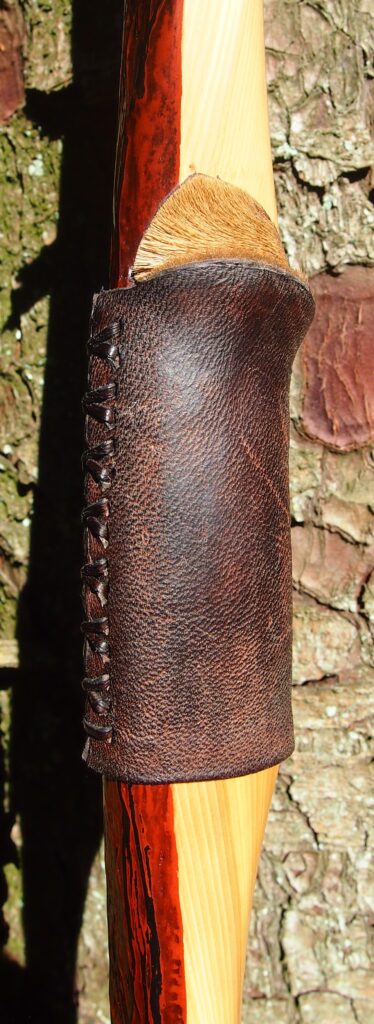
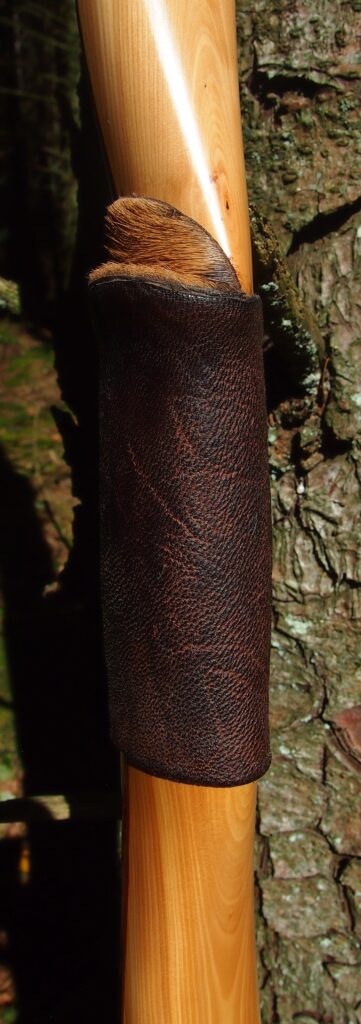
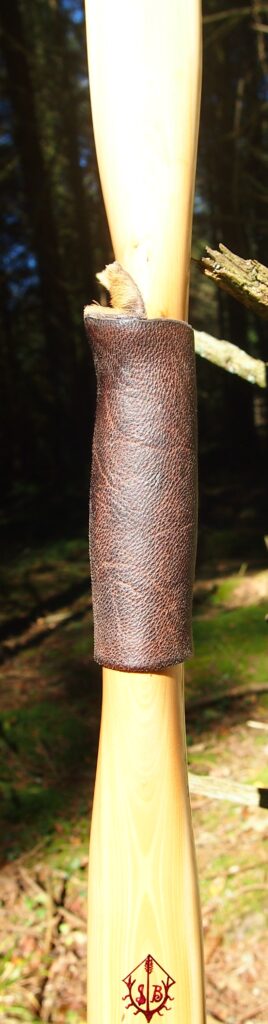
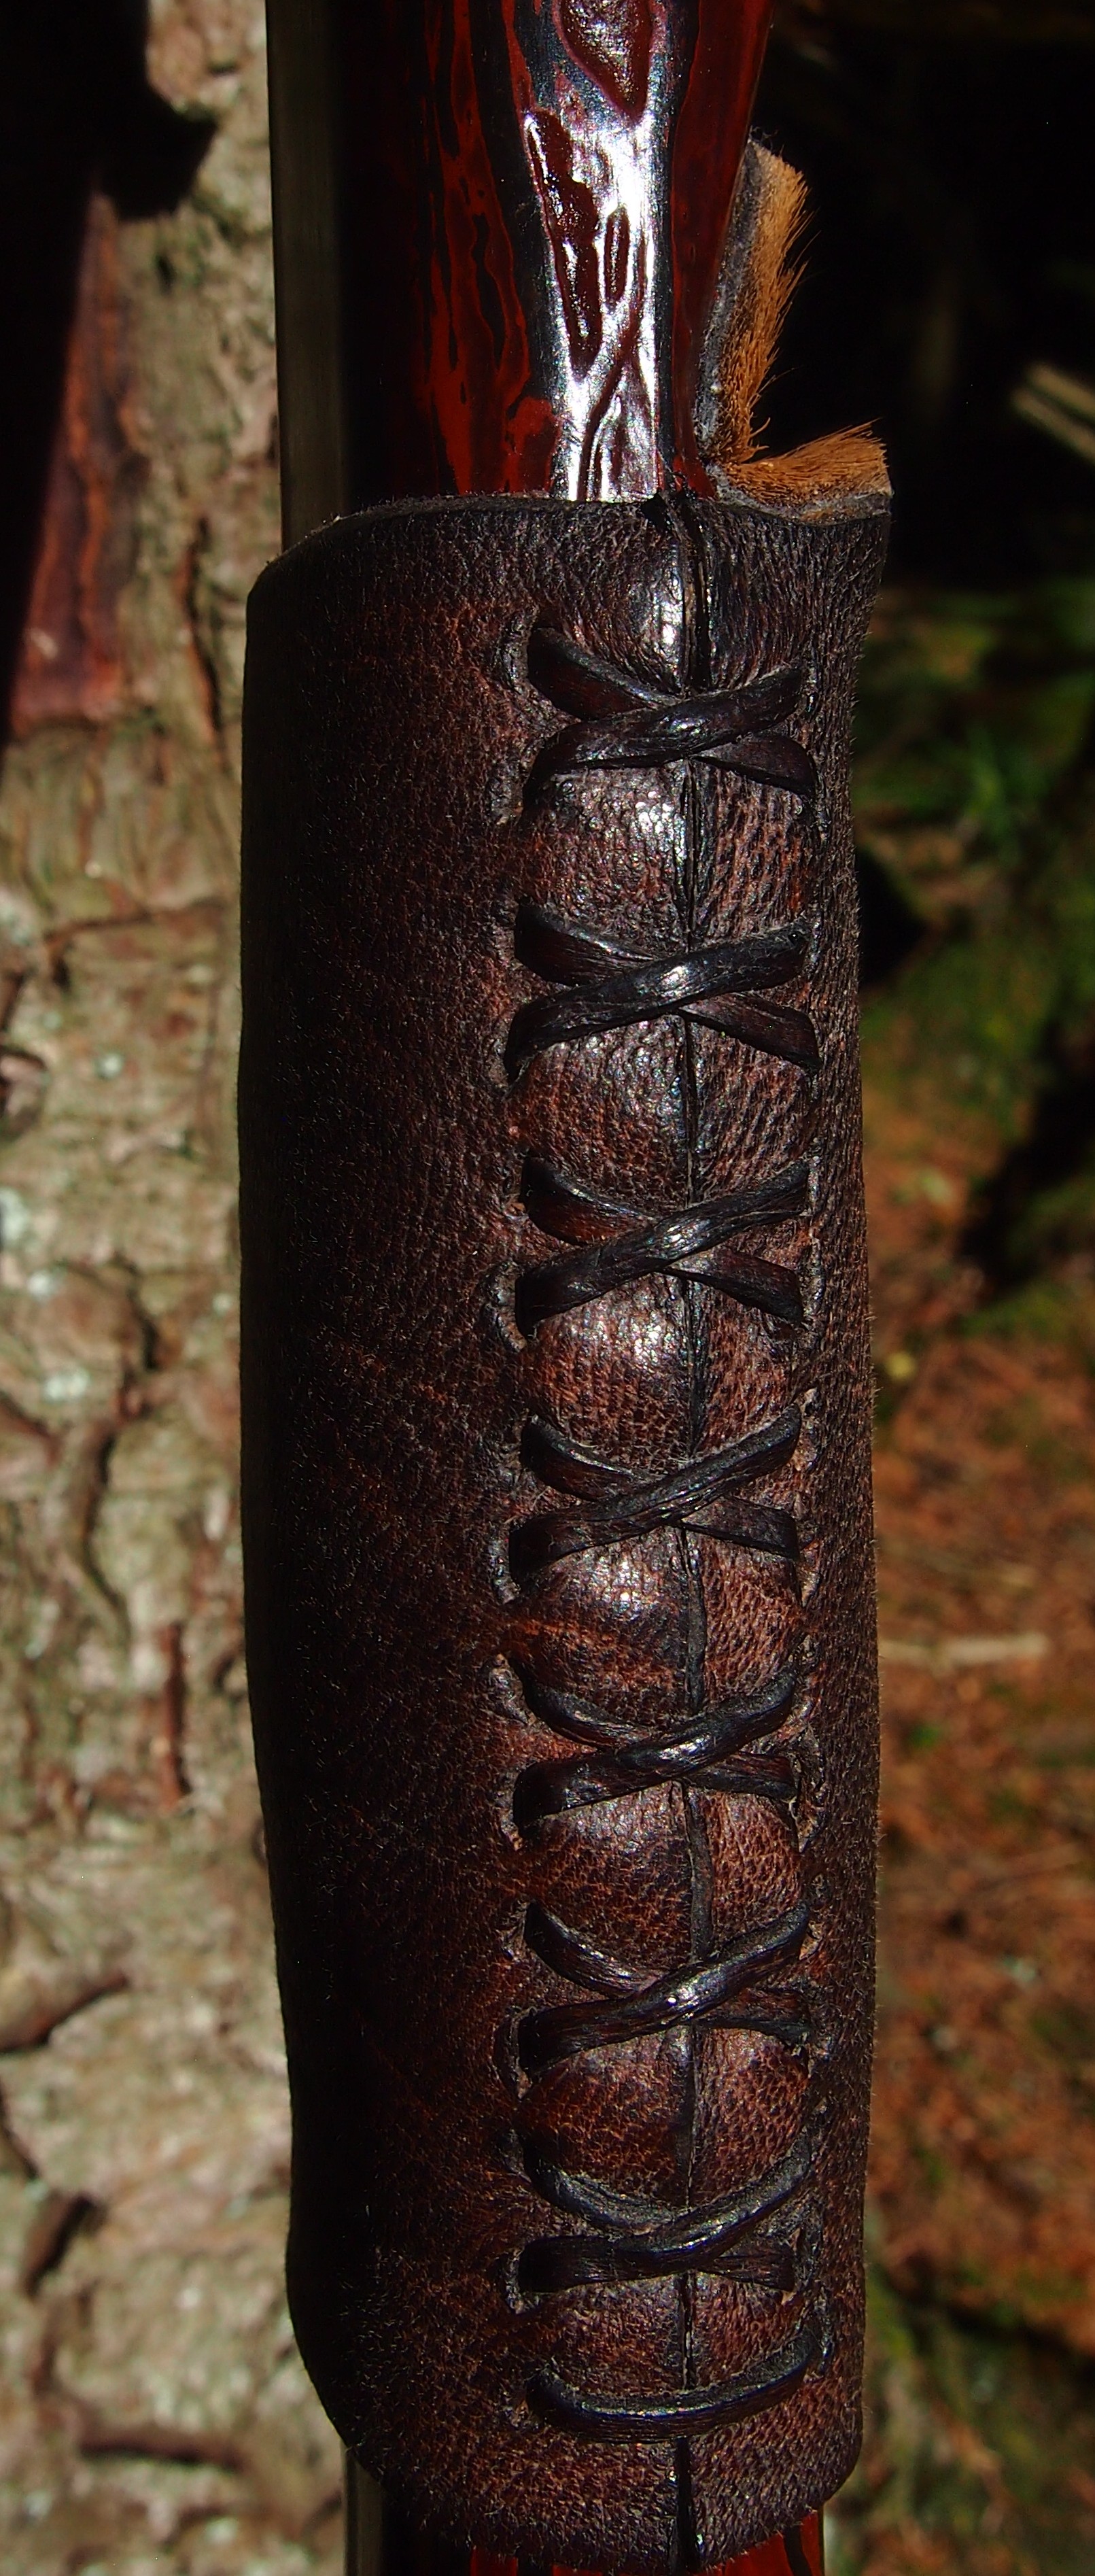
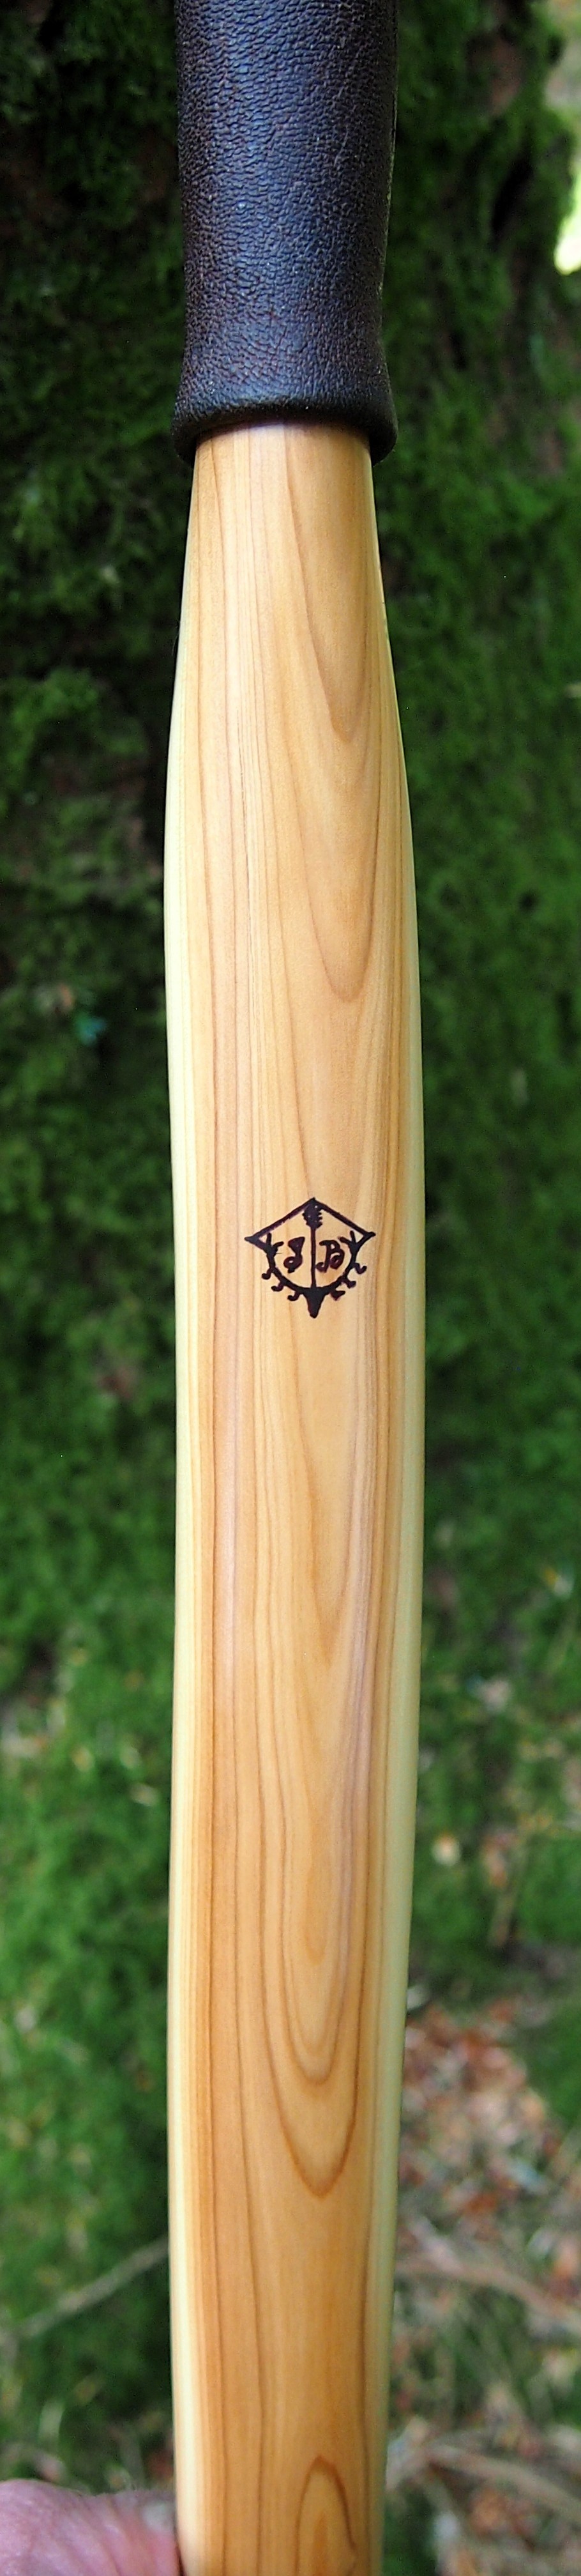
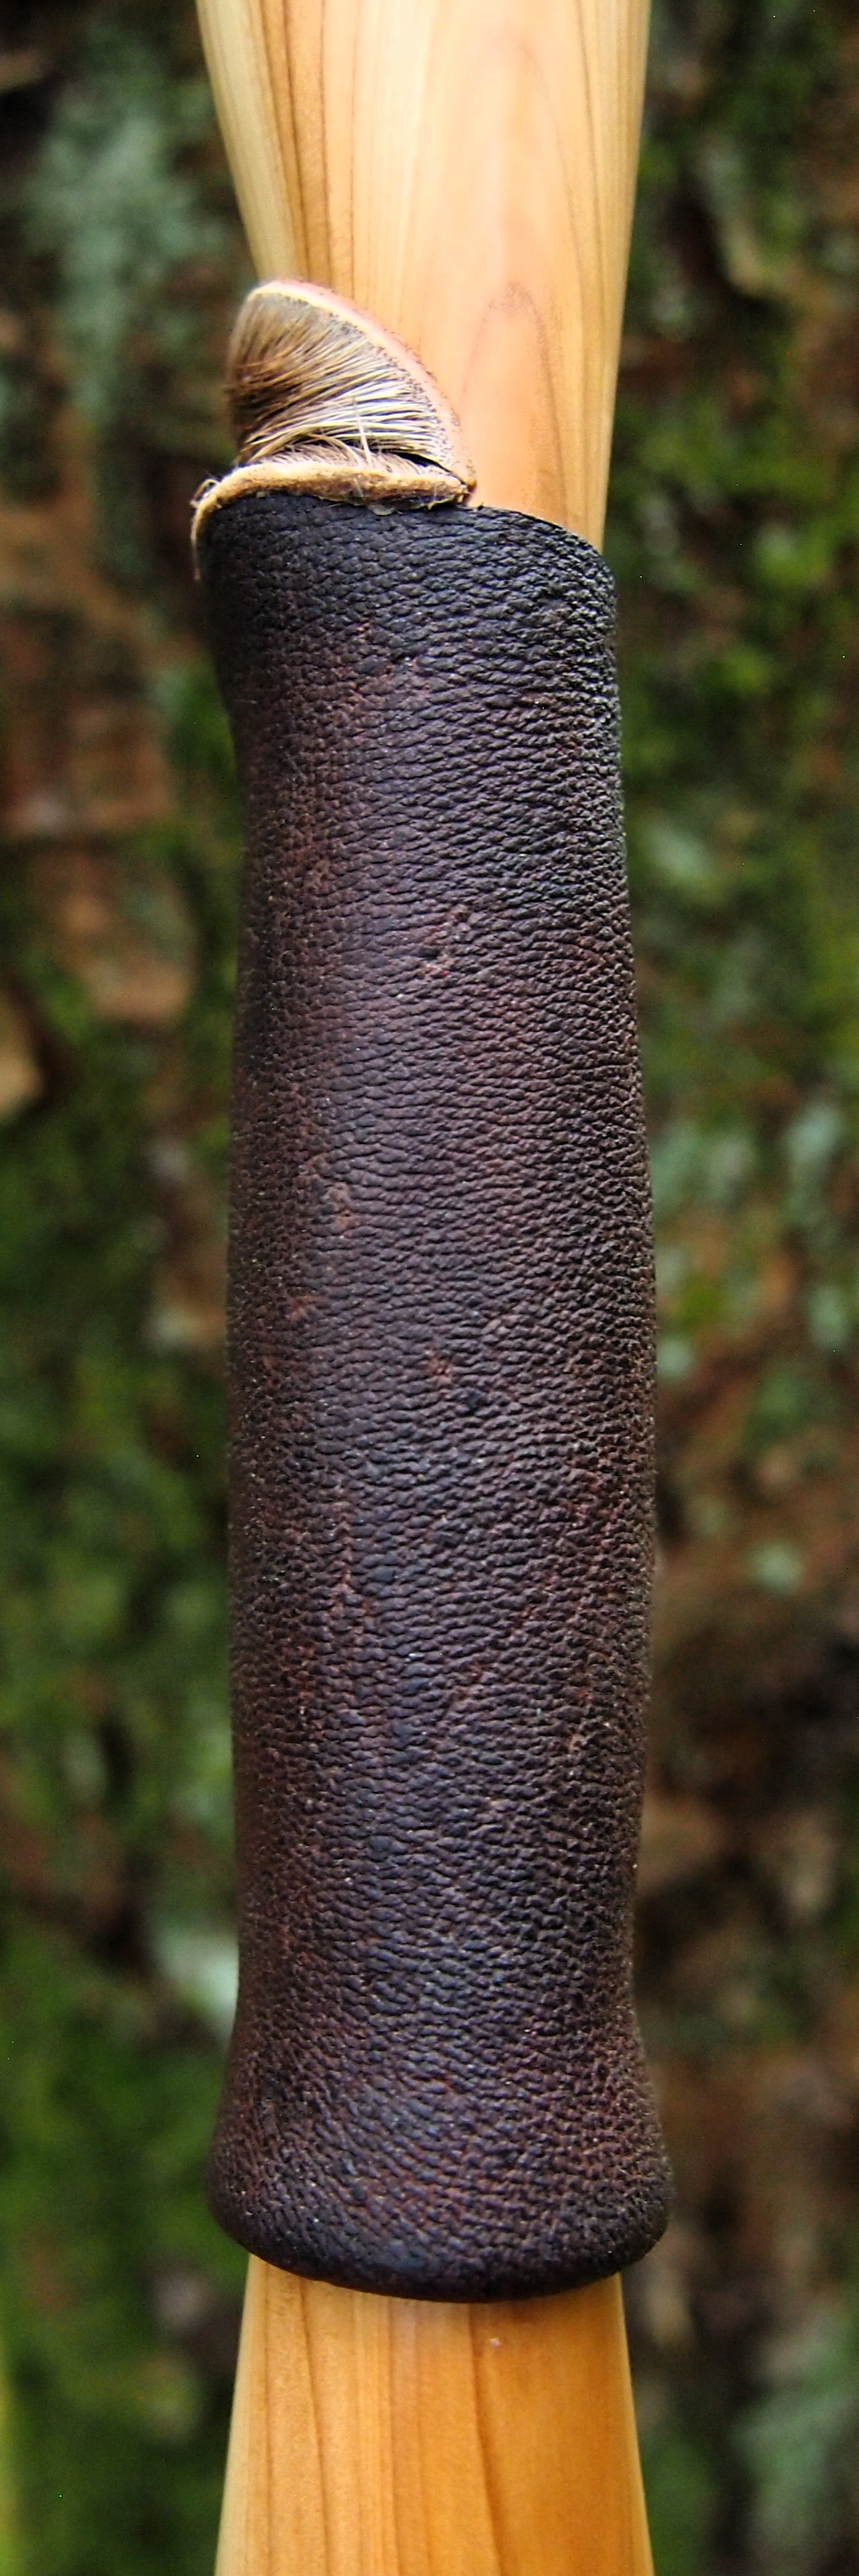
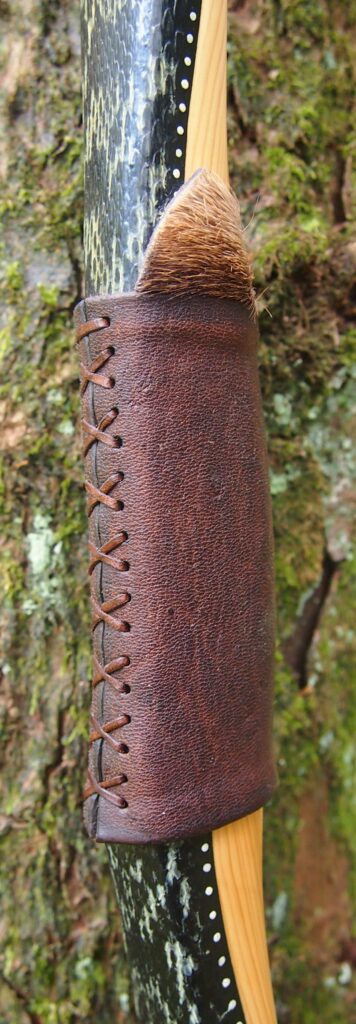
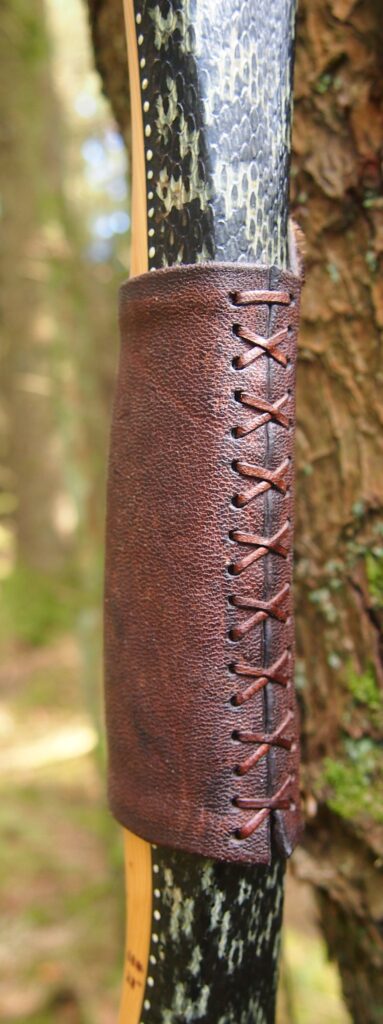
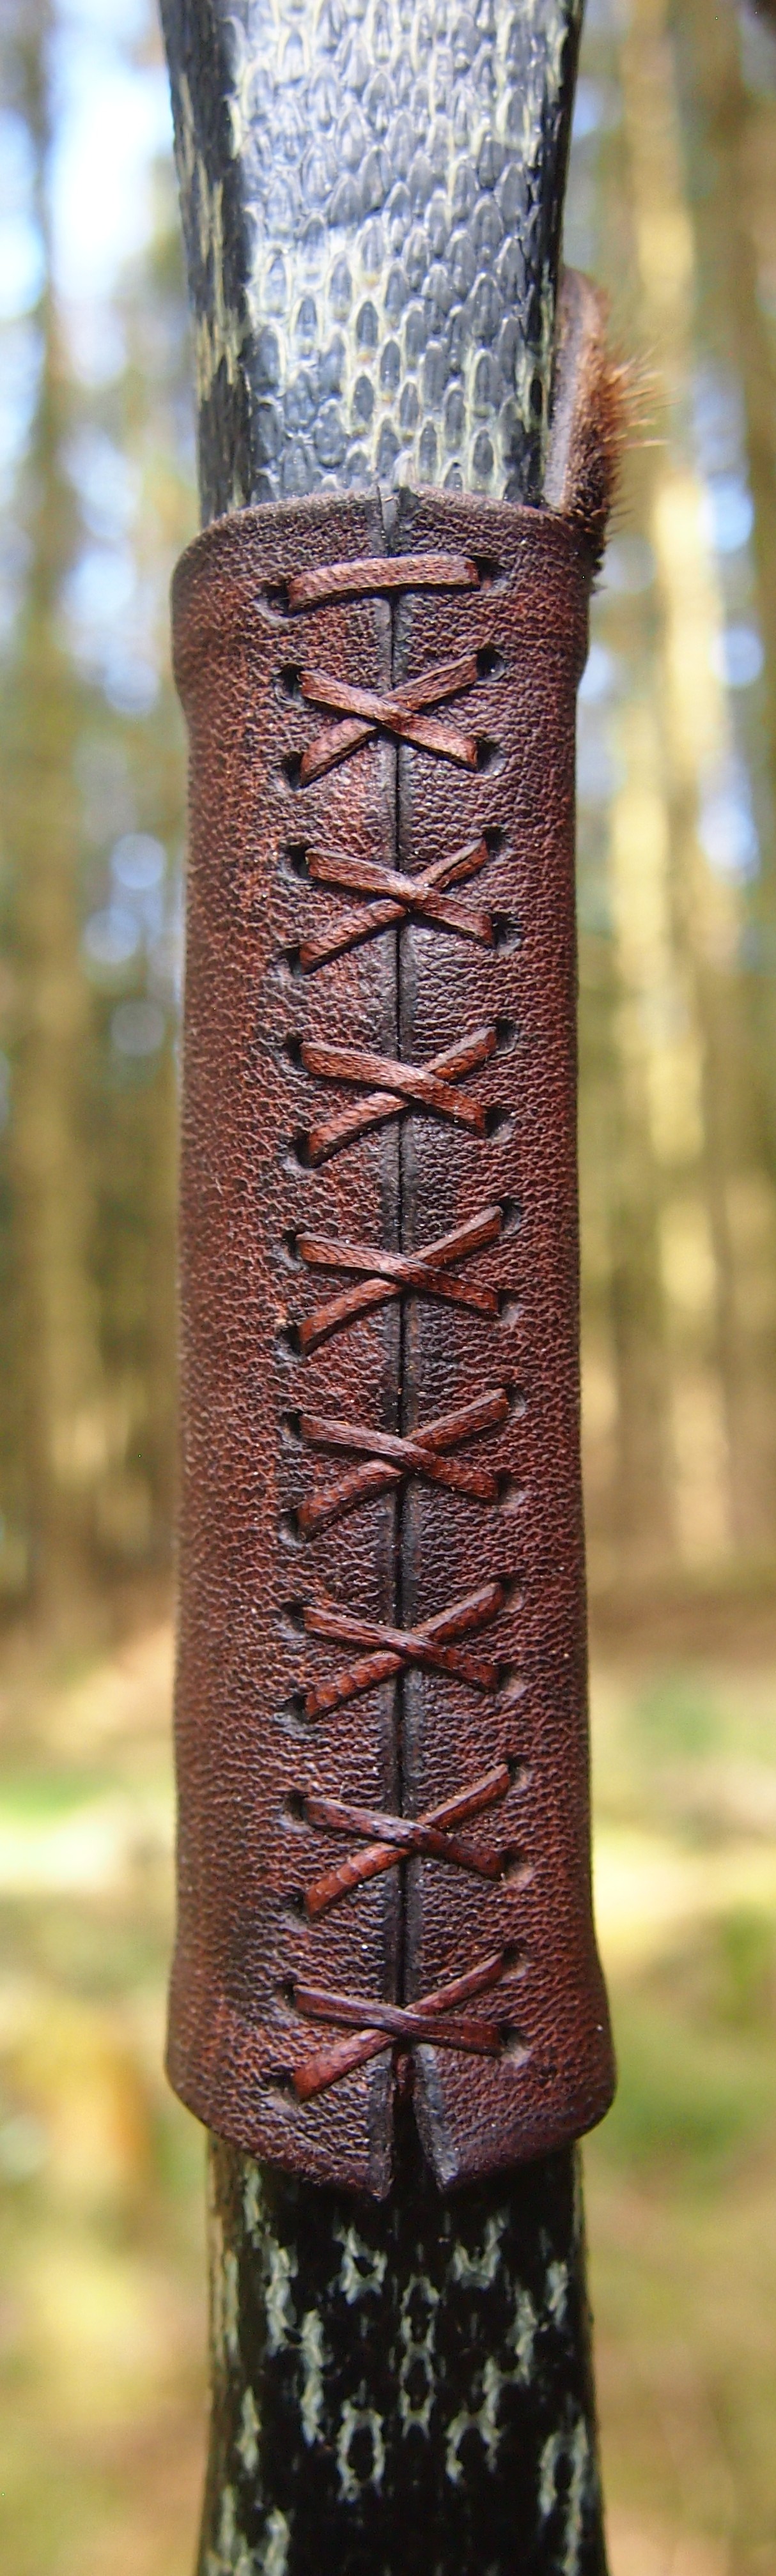
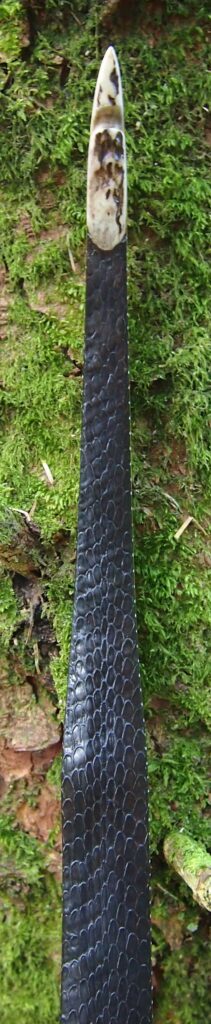
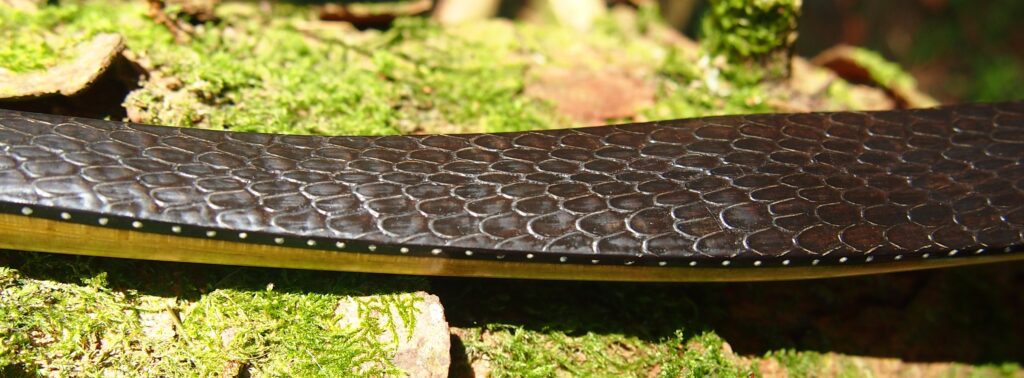
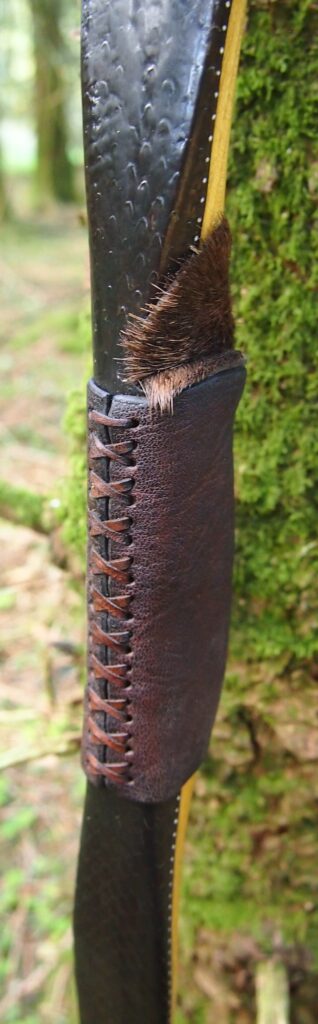
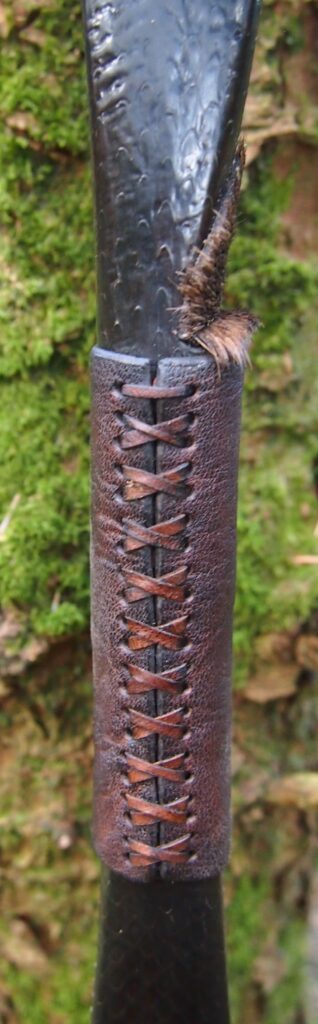
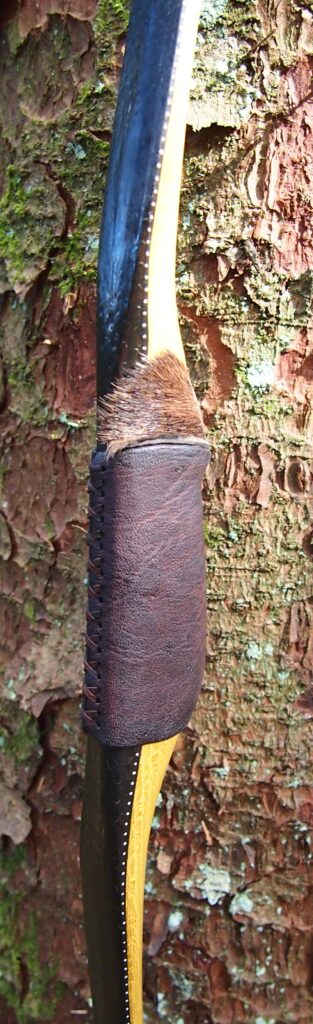
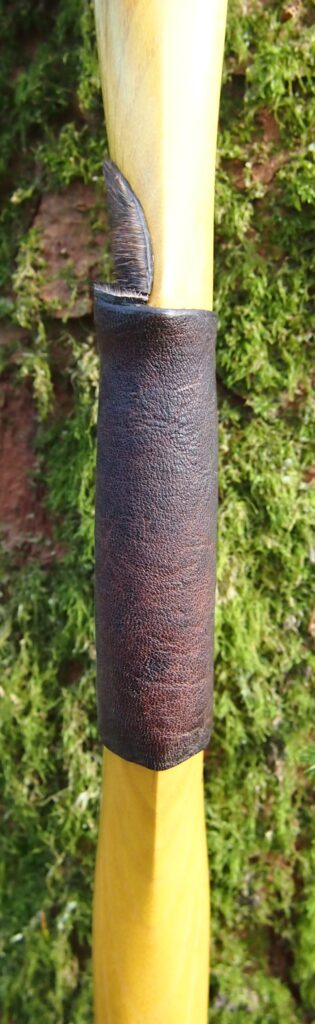
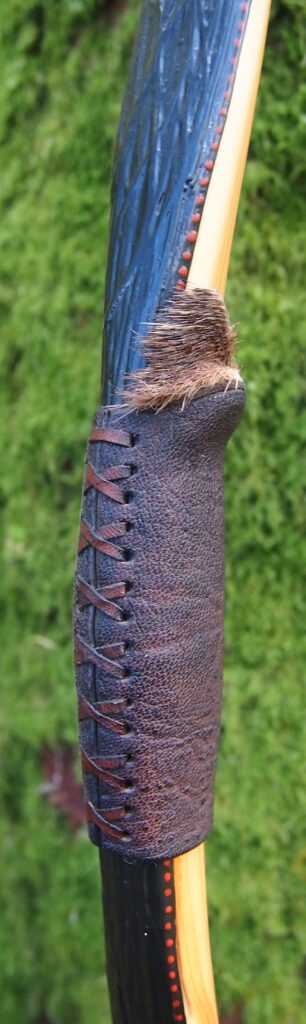
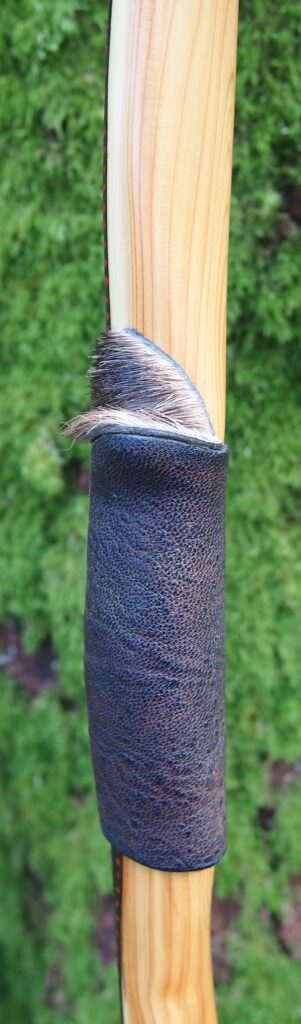
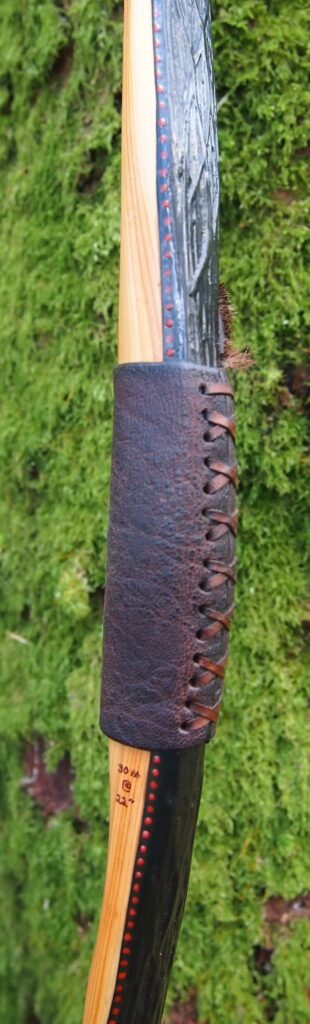
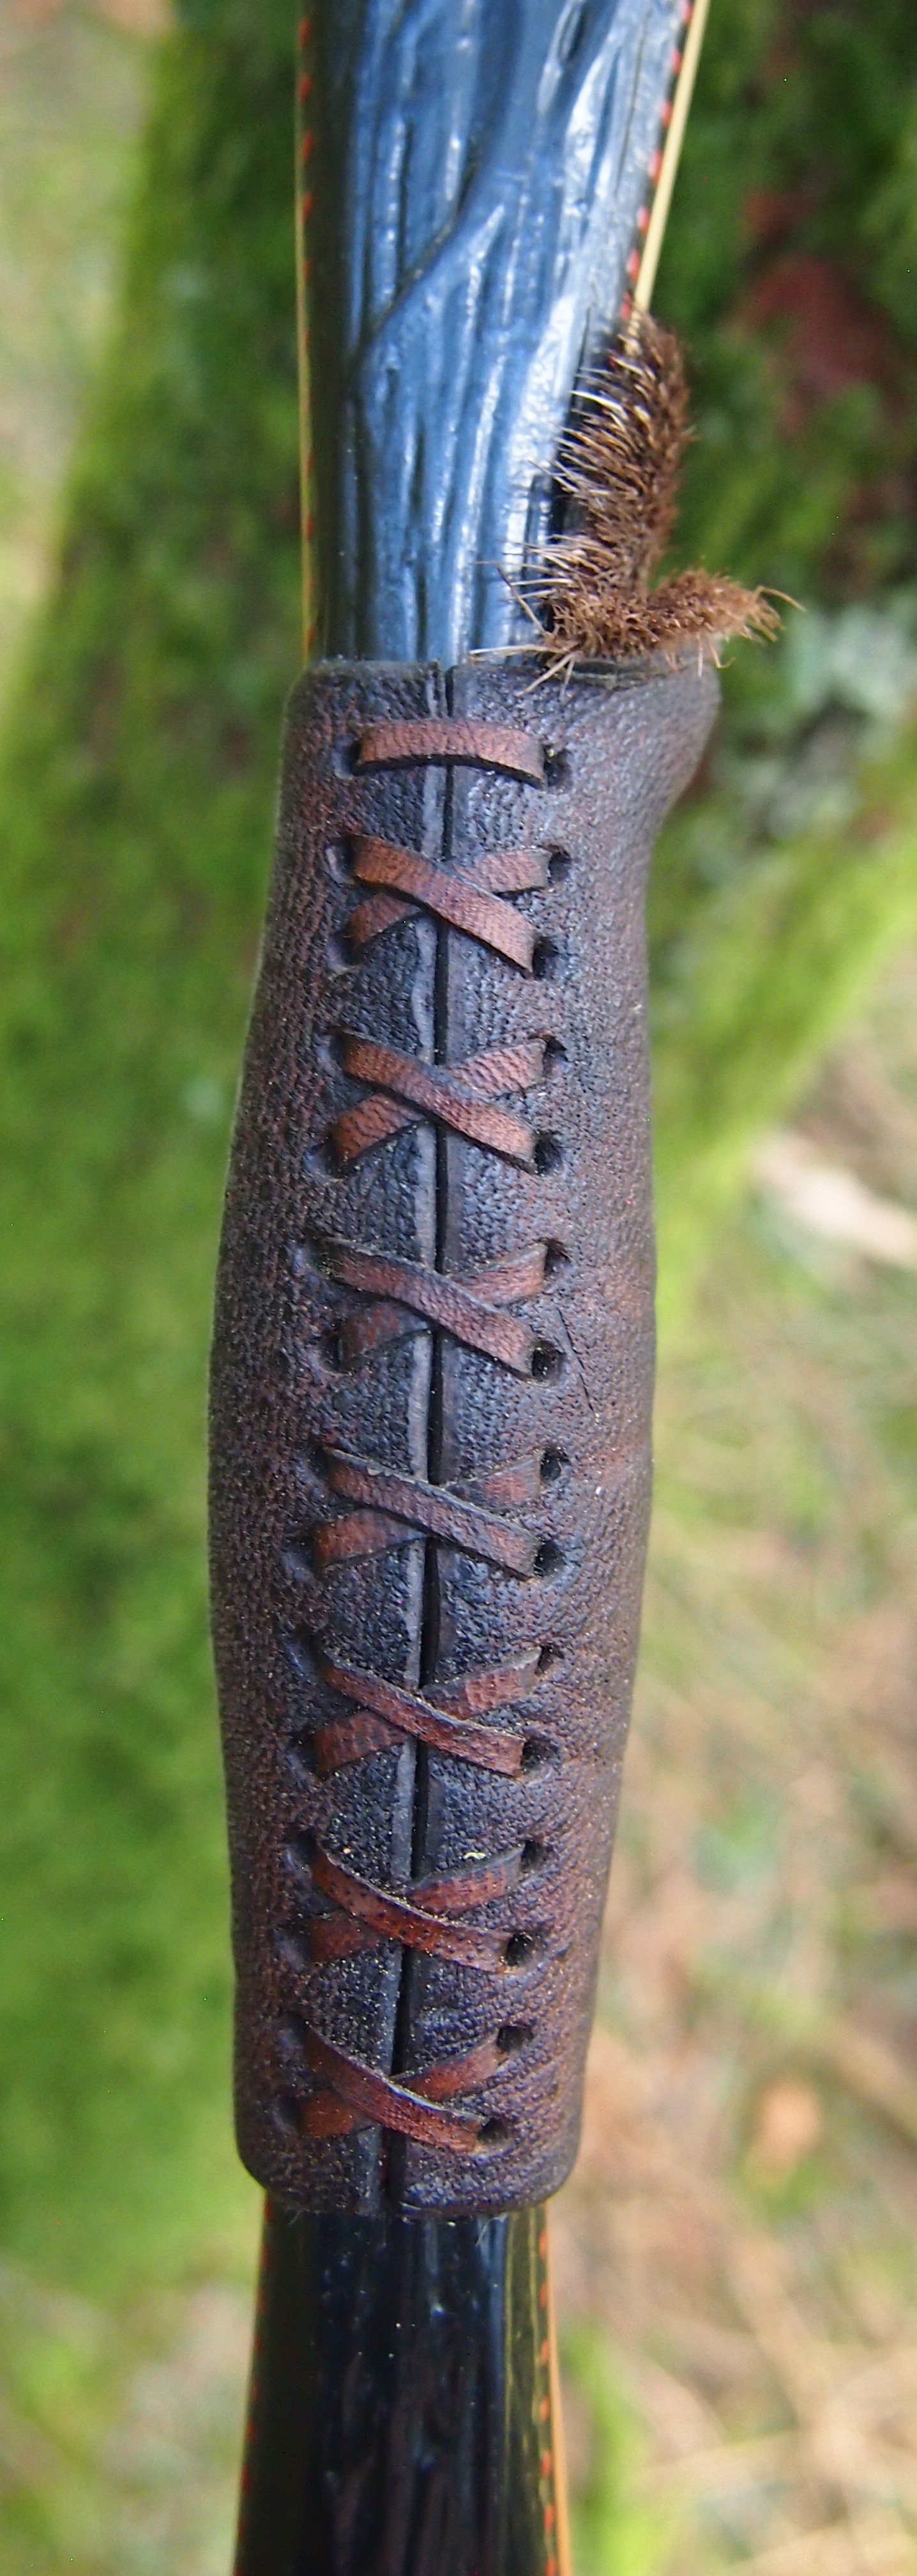
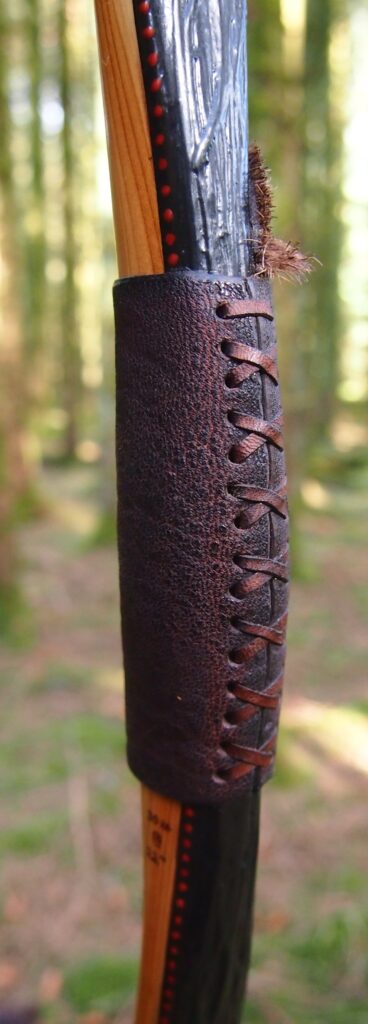
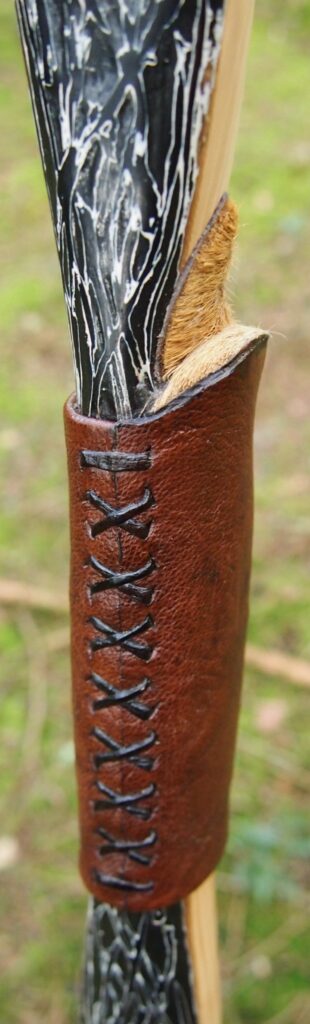
The handle wrap is my home bark tanned roe deer leather stained dark with home made vinegar stain and stitch up with the same leather thong but natural coloured. The really dark almost black handle compliments the black pigment used on the rawhide backing decoration nicely

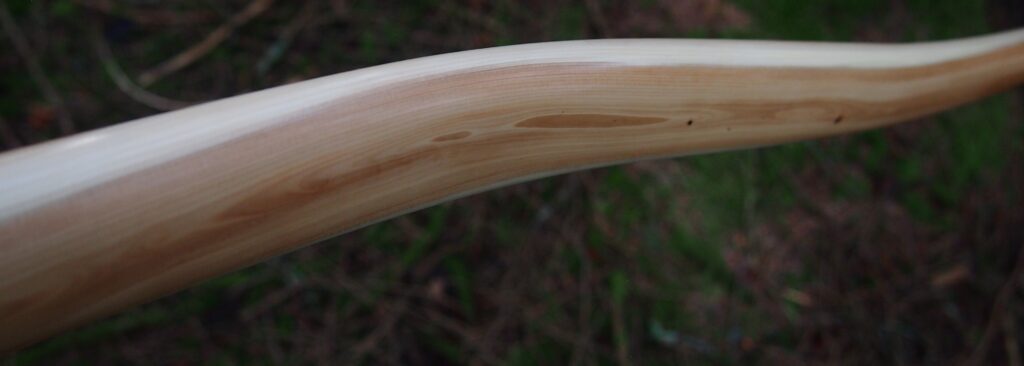
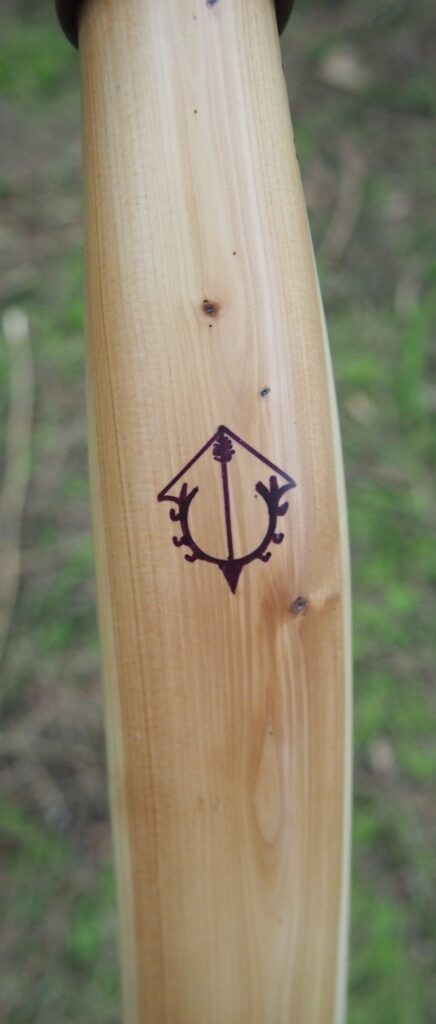
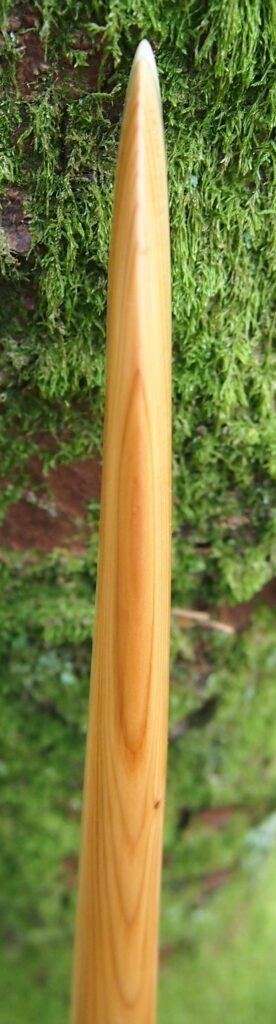
I’ve decided to start finishing my bows a bit differently lately as the usual Danish oil finish is so time consuming and laborious. So now I’m sanding my bows down to 0000 wire wool before sealing them up with a half pound cut of shellac to act as a base layer primer. The shellac also really makes the grain and natural colour of the wood pop. Then, instead of finishing a bow with many long winded coats of Danish oil as I have done in the past, I’m now using a few good clear coat spray lacquer applications to completely seal and waterproof my bows.

I really like this new finishing method as I can complete the process in just a couple of days, as opposed to a couple of weeks, which was the norm for the Danish oil finish. The spray clear coat is also harder and therefore less prone to wear and tear, and since it is heat resistant too, in the event of a bow warping out of alignment, I can reheat and realign a limb if ever the need arises without running the risk of ruining the finish. Danish oil will not tolerate direct heat and will blister terribly even if you hit it with a hair drier!

So what I do now is give my bows three good coats with the spray lacquer clear coat with 12-24 hours between each coat. Once fully dried and cured out, I then polish the surface with fine pumice to create a nice glassy smooth finish which can be treated with a simple wipe on beeswax paste finish to bring out the colours below and create a wonderful satin finish.

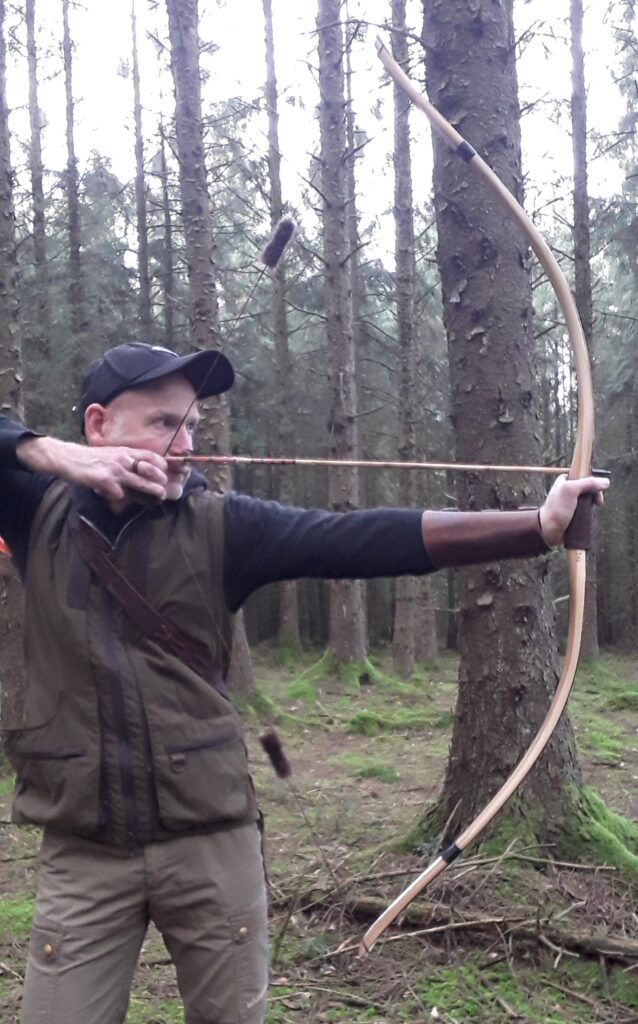
For a lighter draw weight bow, I was happy with the performance of this bow. I had a great time shooting her in over a period of a couple of weeks stump shooting. She is quiet and well balanced. This balance combined with the low mass tips creates a shot which feels crisp and free from hand shock. Over the chrono she was sending my lads 350 grain arrows at 148ft/sec so whilst nothing spectacular, perfectly good for most archers purposes.

I really enjoyed building this one and have since build another sister bow from the other half of the log. That bow will be here on the blog soon so stay tuned for that one next week.

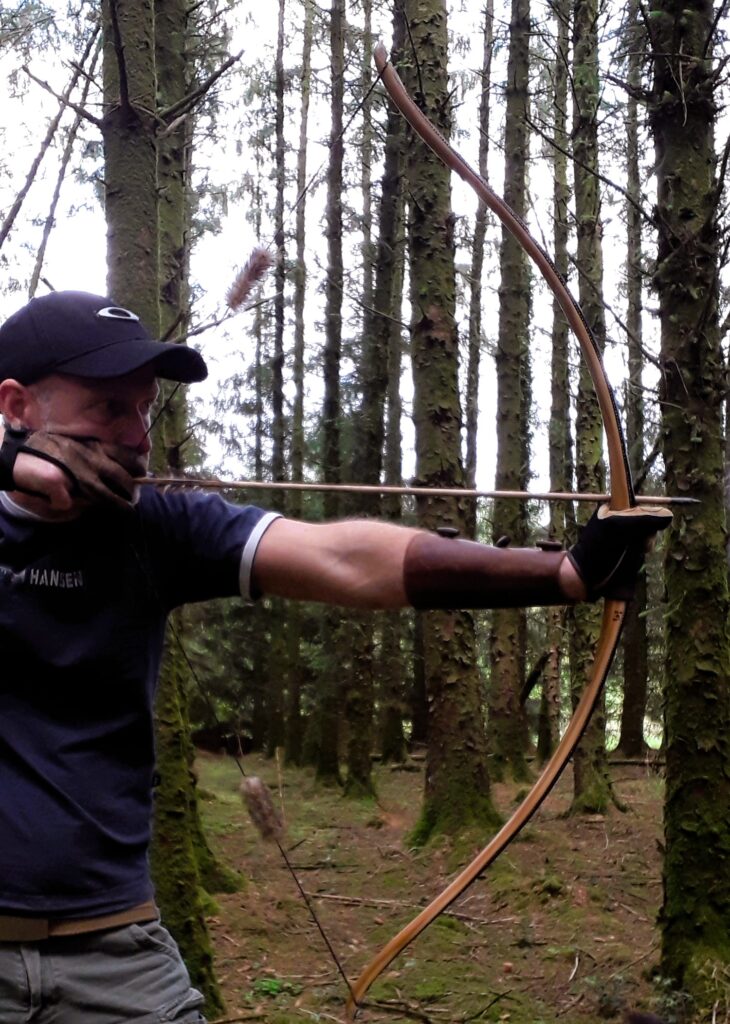
Until then, Hope you like the pics and video. Here’s “Deadpool”:

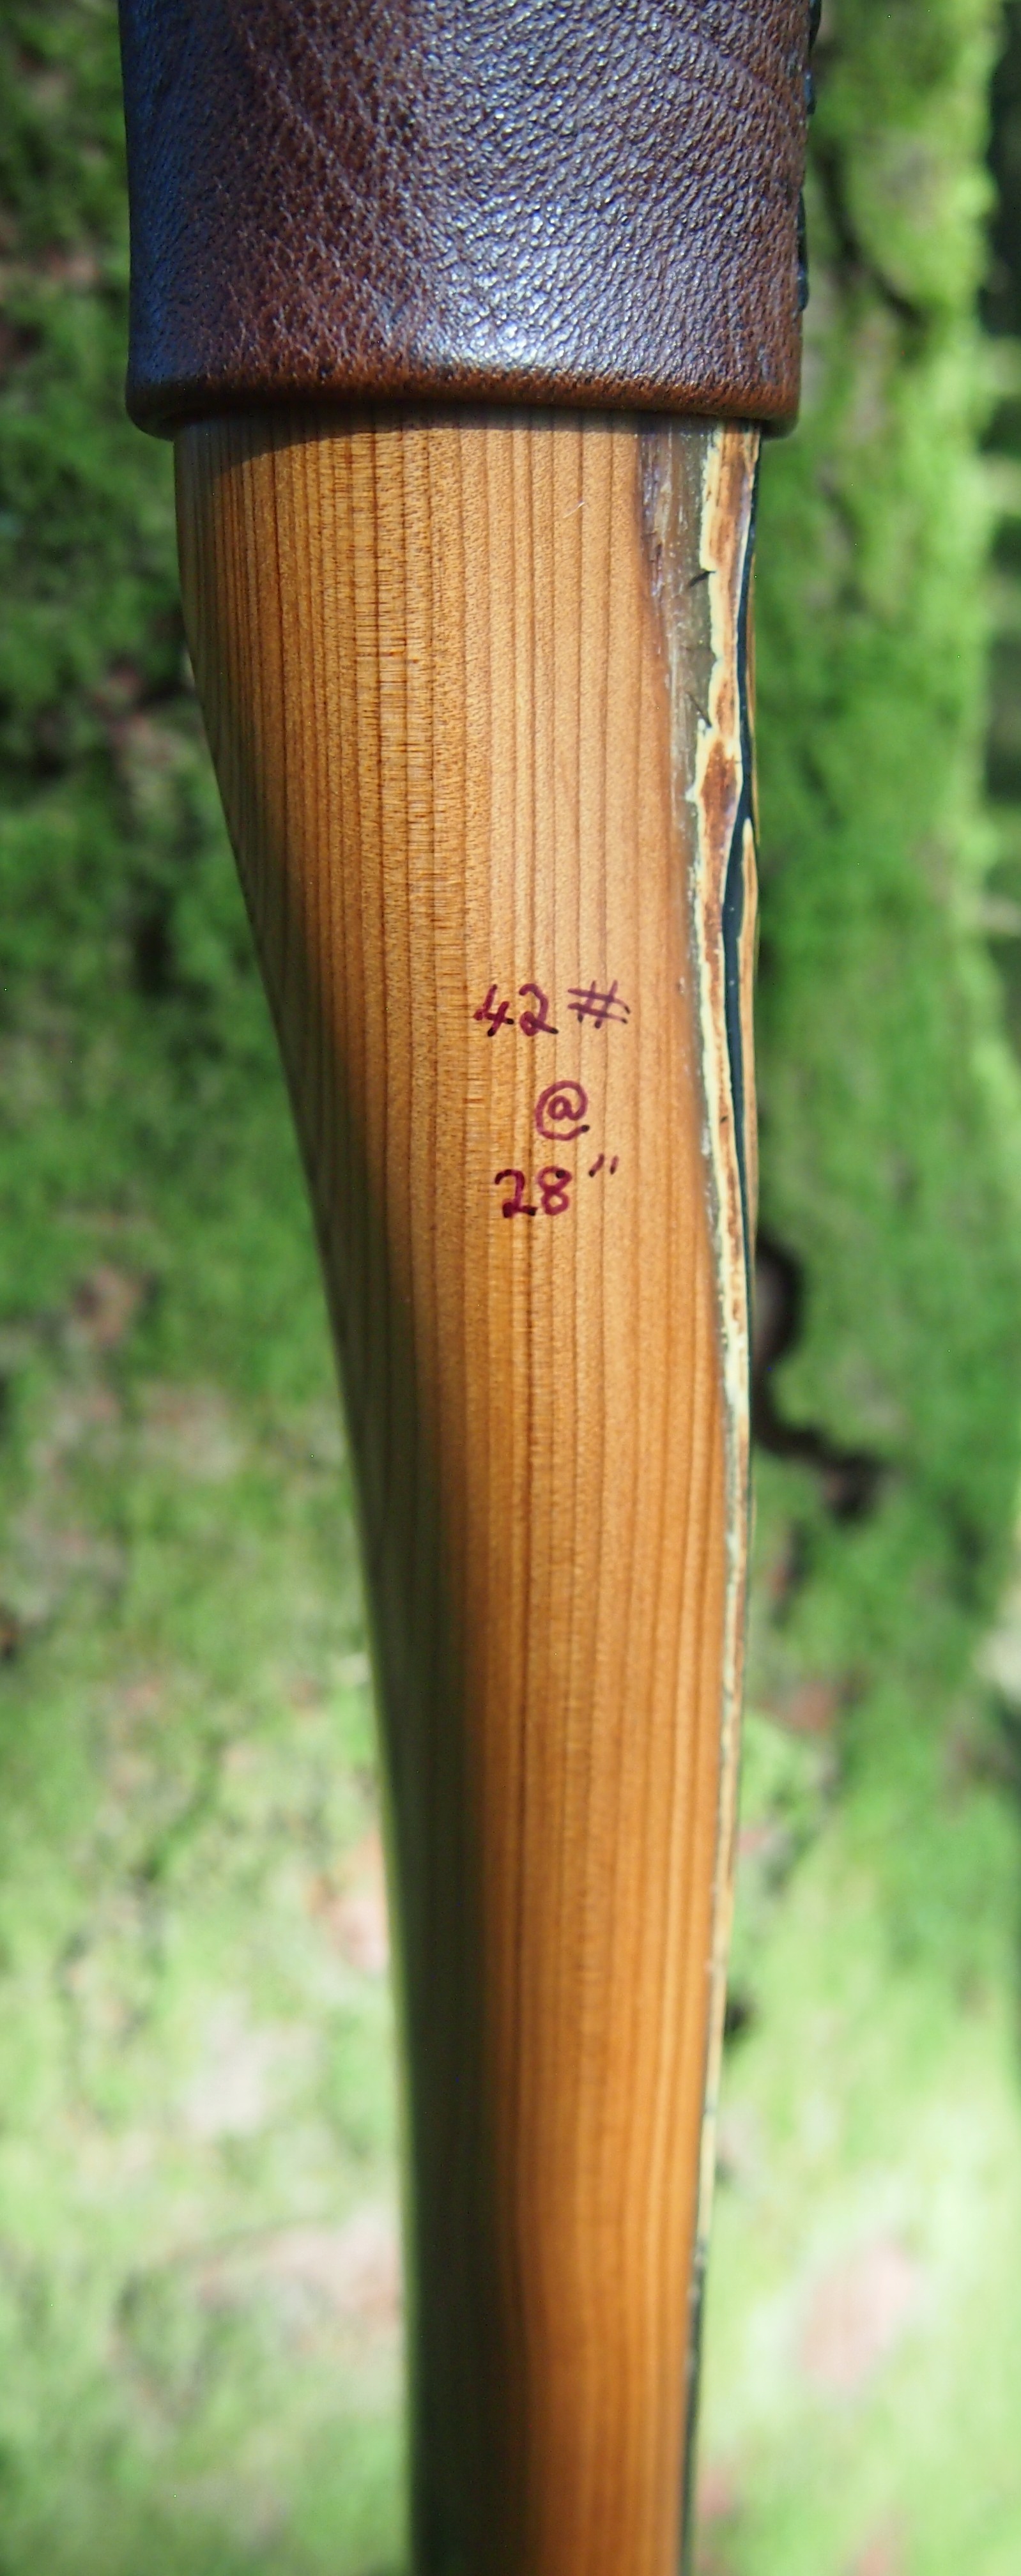
Draw Weight: 35lbs at 28”
Mass: 718 grams
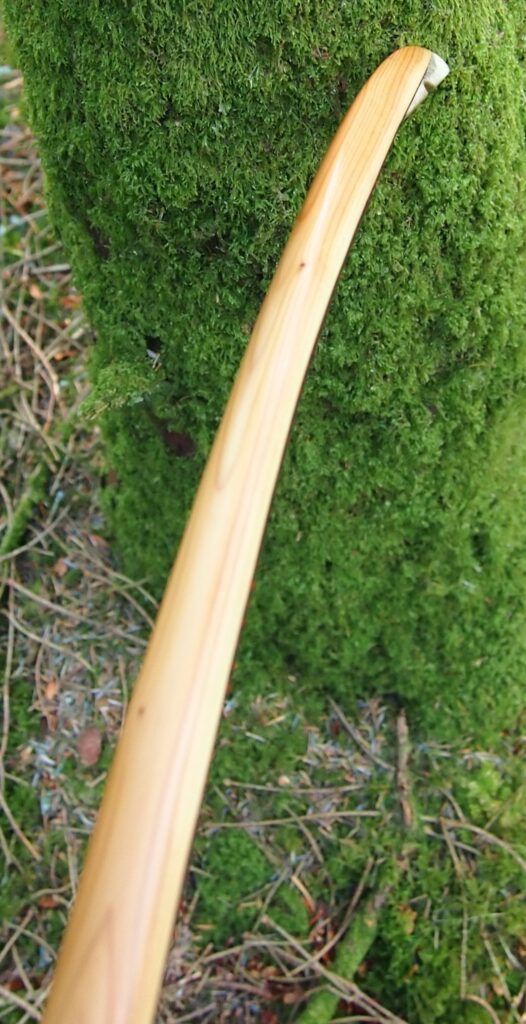
Length NTN: 66.5” (asymmetrical limb layout)
Width: 1 7/16″” at widest part
Tips: last 8” semi static reflexed, 3/8” wide
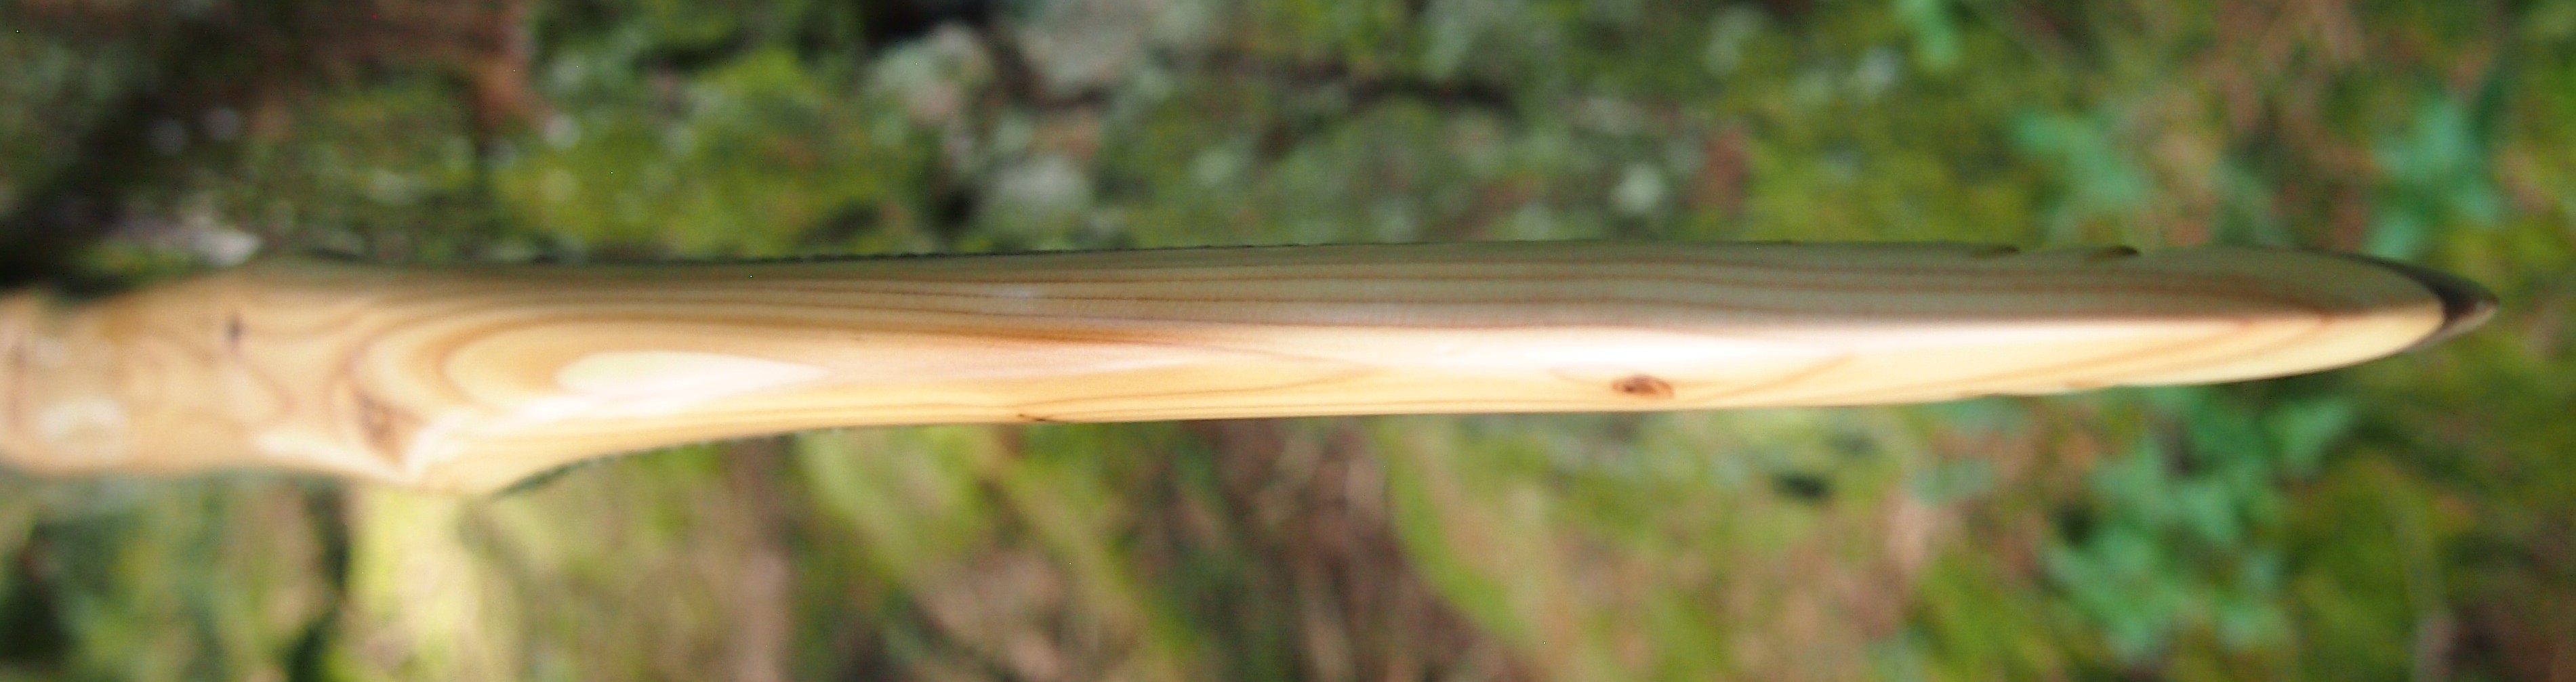
Back: Crowned. : Pyramidal face profile
Belly Profile: Working limb sections rounded D shaped, transitioning at the tips to a ridged cross section.
Tiller: Eliptical. 1/4” positive
Brace height: 5.5″

Top Overlay
Bottom Overlay

Sinew Backed Yew Longbow 50#@28” (Bow no: 28)

The stave I used to build this particular bow came from a storm damaged yew which had suffered the consequences of having had a massive oak tree fall right on top of it from some ones garden boundary back in 2023. It was brought to my attention by a tree surgeon mate of mine who was called in to clean the mess up.

Upon first inspection of the rather sad wreckage of what was a half decent sized mature yew (for around here at least), I didn’t expect to find anything other than possibly a billet or two. But to my absolute delight, and indeed surprise, I could see one solitary limb on the south side of the twisted broken mass of smashed branches, which had been completely missed by any part of the fallen oak.

Viewed from a distance it looked half decent at around 4-5” in diameter, but to be honest I was very much expecting upon further investigation to find the limb in question would be riddled with damage, side branches or other undesirable features. But instead, as if by miracle, I was further delighted to see that this solitary limb was not only fairly clean, but was almost perfectly straight along at least one angle when viewed side on.

Needless to say, for the princely sum of a few promised cold beers, I instructed my tree surgeon mate to CAREFULLY detach the limb so I could eye the stick over properly. And I was not disappointed. Nor was the lady whose garden had been trashed by the fallen oak, as whilst chatting to her as the chainsaws buzzed away, it turned out her late father used to build English longbows as a hobby when she was a young girl! You could not write it!! I swear we’re all in a simulation.

I got the limb home and inspected the ends of the log to see what the sapwood to heartwood ratio was like and inspect the growth ring configuration. And whilst the sap wood was a bit on the thick side measuring about half an inch thick at the fat end of the log, there was clearly plenty enough heartwood inside the log which would allow me to reduce the sapwood significantly without running out of belly wood outside of the pith line.

Now there has always been a lot of debate amongst the bowyer community regards what type of yew wood makes the best bows. Most of the advice passed around reflects upon the idea that thin growth rings dictate higher wood density and therefore the thinner ringed wood is stronger, therefore lending itself better to the purposes of providing for the needs of folk who like to fling arrows.

And whilst I have certainly found this general advice to hold some truth, especially with regard to yew timber which is growing straight up, I’m not at all convinced that this age old advice works well when we apply this logic to a side branch type stave, akin to the one I had before me on this occasion.

You see, a side branch of any tree is growing out horizontally. It does this to best expose it’s leaves/needles to the sunlight which would otherwise be masked by all the surrounding shad casting structure created by the canopy of the same trees own crown.

So a side limb, unlike a vertical growing “sucker” type limb, has to resist gravity each and every day of its existence due to its horizontal orientation. And it is this constant battle with gravity which is what causes the particular growth ring arrangement which you will always see in when looking at the ends of any side limb staves. Vertical growing limbs tend not to show the same ring configuration found in horizontally grown limbs unless the vertical limb is exposed to the prevailing wind. In that instance, the prevailing wind is acting like gravity by forcing the limb to withstand bending forces from a constant direction.

Take a good look at the end of any side limb stave whilst it is still in the round and you will quickly see that one side of the limb will have thin, tightly packed growth rings, whilst the opposite side of the limb will have much thicker, widely spaced rings.  And the pith will be much closer to the more tightly ringed upper side of the limb. The limb I had just acquired was exactly this way.

All this visual info tells us precisely which side of the limb faced the sky when it was still attached to the tree, whilst simultaneously slapping us in the face with which side of the limb faced the ground. Thin rings faced the sky, fat rings faced the ground. Simple!

Does any of that matter I hear you say. Dam right it does! So pay attention to this next bit, especially  if you are new to making bows out of timber you’ve paid hard earned beer money for!!

Those tight rings you saw in the cut end of your prized hunk of yew are telling you exactly where nature constantly exposed that limb to tension forces. And those thicker rings are screaming “I’m strong in compression!”

So which bit do we use then? We want wood that will give our bow a back which is strong in tension, but also a belly which is strong in compression. But we can’t use both halves of the limb, else we would just have a log, rather than a bow, right? Plus everyone says we want all that super dense tight ringy stuff right? Wrong!
In my experience of several decades working with mainly English yew in the form of less than 6” diameter side branch staves, you absolutely do NOT want to use the thin ringed side of a side limb type stave. Especially if the log in the round has a diameter of less than 4”. But let me explain why I’m telling you this before you call me an idiot and send me off to read the encyclopaedia Britannica of building English Longbows by the late legendary sole surviving participant of the battle of Agincourt, Dr. K. Now It’all.

Whilst all that tight ringed tension strong wood will indeed offer the bowyer a bow with a back which would be stronger than a rustic French cheese, that very same wood will produce a belly on a bow with the compression strength of one of them soggy prawn crackers which my local chippy hands out a bag of for free with orders over £30.

But if I were to use the heart wood as the bows belly from this side of the log, then I’d probably try heat treating it so that it would stand a better chance of standing up to all that tension strong sap wood. That said though, in my experience, belly wood from this thin ringed upper part of a horizontal limb will consist of all that pithy wood, which is really prone to splitting and checking when the heat gun comes out.

So why would the heart wood on the upper side of a horizontal side limb be weak in compression I hear you ask. Well it’s actually quite simple. It’s because the wood which sits on the skyward facing side of any side limb has one job to do. And that job is to resist gravity by being strong in tension. It is not expected to grow strong in compression because that’s the job of the side of the limb which grows facing the ground. And this goes for any species of tree, not just yew.

So what can we take away from this? Well the first thing to remember is that nature long ago realised the power of many thin layers. Those thin, tightly packed layers of growth rings are akin to the many thing laminations found in the blades crafted by master Katana sword smiths of ancient Japan, blades famous the world over for their tension strength. Insane force is required to break these relatively thin laminated blades which to this day are still famed for their durability, having been folded sometimes many hundreds of times.

The samuri didn’t care too much for blades with maximised compression strength you see. Make a blade too hard and it becomes hard to sharpen, prone to chip and most importantly, they become brittle. And brittle blades snap. Snapped blades aren’t much good in a sword fight. So strong, tension durable blades with good but not excessive hardness were more desirable than diamond hard blades.

I can’t help but wonder if our own medieval ancestors had a similar yearning for less destructible weaponry. I mean, If I was on a battle field, long bow in hand, would I be most concerned about the compression strength of the belly of my primary weapon, or would I care more about the tension strength of my bow’s back, and therefore the probability that it would not explode into kindling just as the opposition are charging. Hmmm, I think my bow staying in one piece might be more of a priority than a bit of string follow, don’t you!
But I back my bows. So do I really need the wood with all the tension strength? No I don’t. In fact a sinew backed, bamboo backed or even white wood lami backed bow is guaranteed to have a back which would be as strong as, if not stronger than, the very best yew sapwood on the planet.

My concern therefore is on using the best, cleanest and most compressing strong belly wood I can get out of a stave. Because a strong back, be it made by yew sapwood or an added backing like sinew/boo/ash etc, will over power a weak belly every time. And over time that over powering adds up to excessive string follow and possibly even crysaling on the belly. And whilst all the above might not produce a broken bow, it will produce a poor performing bow producing low arrow speeds and subsequently reduced cast.

These day I refrain from selling self bows. I just cant take the risk of someone buying and then mistreating a self bow only for it to end up being broken through misuse. And if one of my bows were to break at full draw then the possibility of someone getting hurt is not unreasonable. All it would take is for someone to leave a selfbow in a hot car or something similarly daft and BANG! And can you image the possible fall out if someone lost an eye or something. No chance
So every bow I sell nowadays has a bomb proof backing, both to maximise performance, as well as to mitigate risk. Risk not only to my customers welfare, but also to potential cause for litigation directed at myself or my business, because we are living in a time where common sense and personal responsibility appear in short supply, where as the blame culture appears the new norm.

Something else to consider when choosing which side of the limb to use as your bow is the location of all the difficult to work around features like knots and pins. Most side branch type limb staves will have the bulk of the knots and pins in the top and upper sides of the limb. And since the growth rings in this portion of the limb are much tighter, the heartwood mass will have less thickness of material between the bark facing the sky and the pith running through the limb. So often times the simply isn’t enough material in this side of the limb to make a bow. So once again we have more reasons to avoid the tension strong wood in the upper half of a horizonal growing side limb type stave.

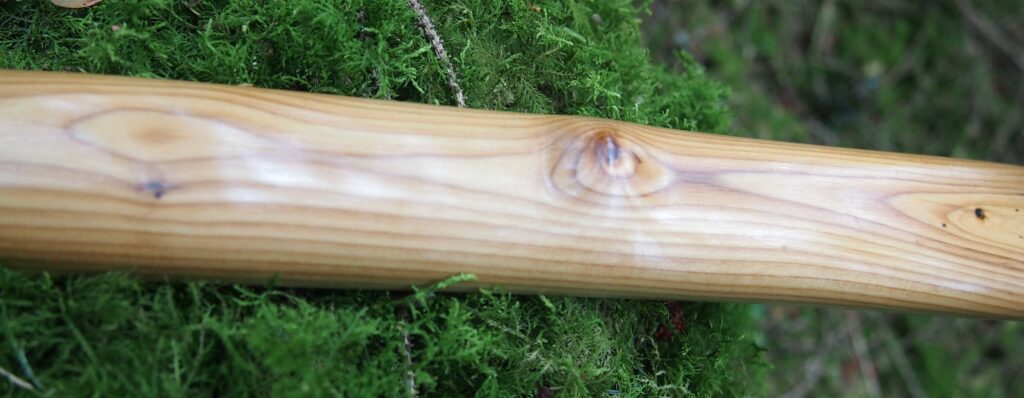
By now you will have guessed that for this particular bow build I chose to use the downwards facing compression strong side of this particular limb stave. And I’m very glad I did. After 3 years of seasoning, the stave was pulled out of my barns rafters and the compression side of the log gave me a stave which was almost completely straight and with a good inch and 3/4 of relatively knot free heartwood before I hit the pith. I did end up leaving a bit of pith in the handle though, but since the handle on this build was going to be stiff, I did not need not worry about the pith providing a weakness.

After roughing out I homed in on a vague pyramidal flatbow type profile, 20″ of working limb each side, 10 inches of riser (4″ handle/3″ fades), and 8″ static tips. This would give me a 66″ bow nock to nock, which should be optimal for a 28″ draw. And I could see I had enough wood to make a 50ish pound bow.

After reducing the sapwood and letting the stave air for a week in the house, I put the stave onto a form which was very slightly reflexed overall, so that I could use the heat gun to knock of some of the unwanted and difficult side profile wiggle, and perfect the already quite good string alignment.

At this point the tips were only very slightly reflexed just like the whole stave was, so I was effectively tillering a straight stave to start. Once I had all 40″ of working limbs bending evenly, I flicked the 8″ static tips on a slight recurve form, re checked string alignment and sinew backed it. Off she then went for 6 months of curing time.

After a whole winter and spring of seasoning I could see that the sinew had pulled an inch or so of overall back set into the whole stave. This was fine and I envisaged most of that back set being lost after tillering was finished plus shooting in was completed, and sure enough this is what happened. The flicked tips held firm though and the limbs reverted back to straight though which landed her with about 2.25 inches of overall reflex after unstringing and resting. Perfect!

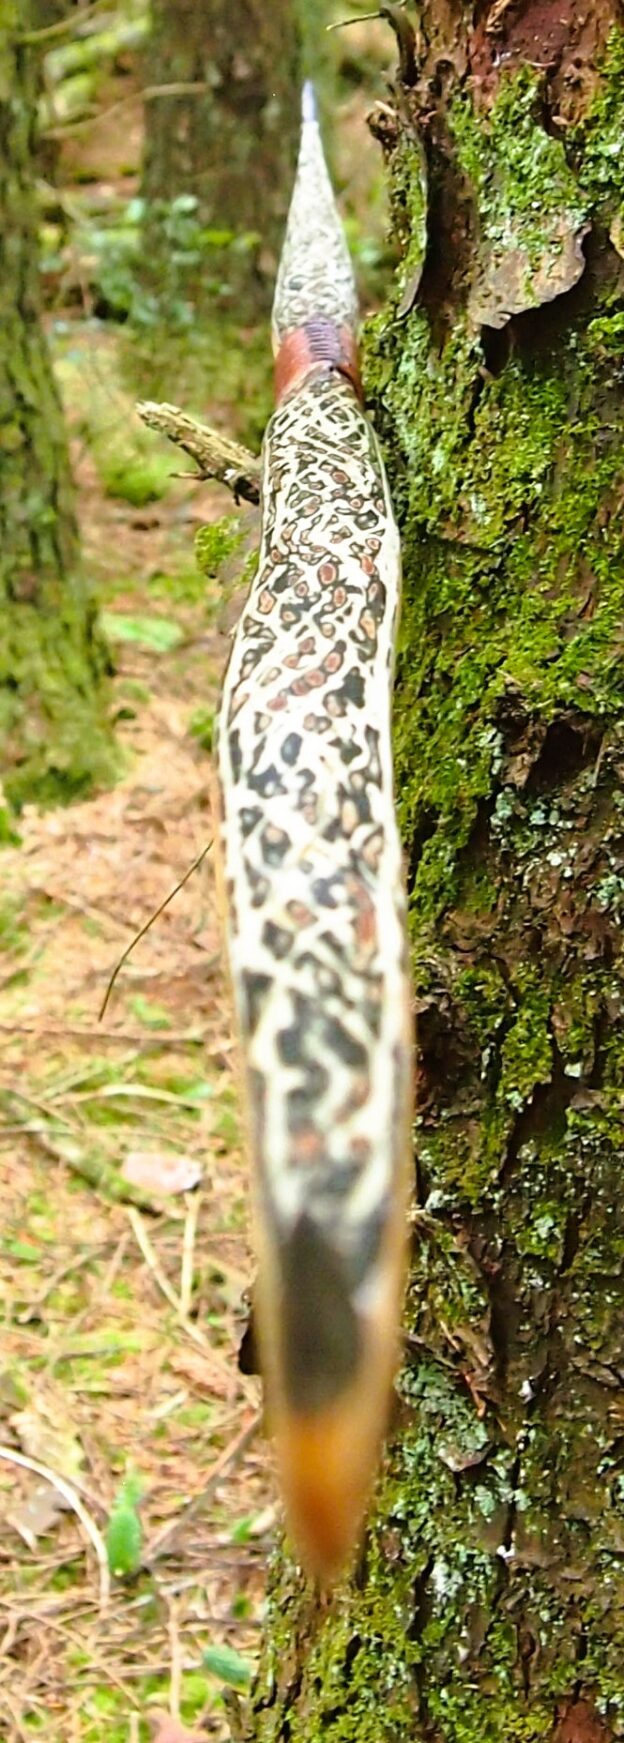
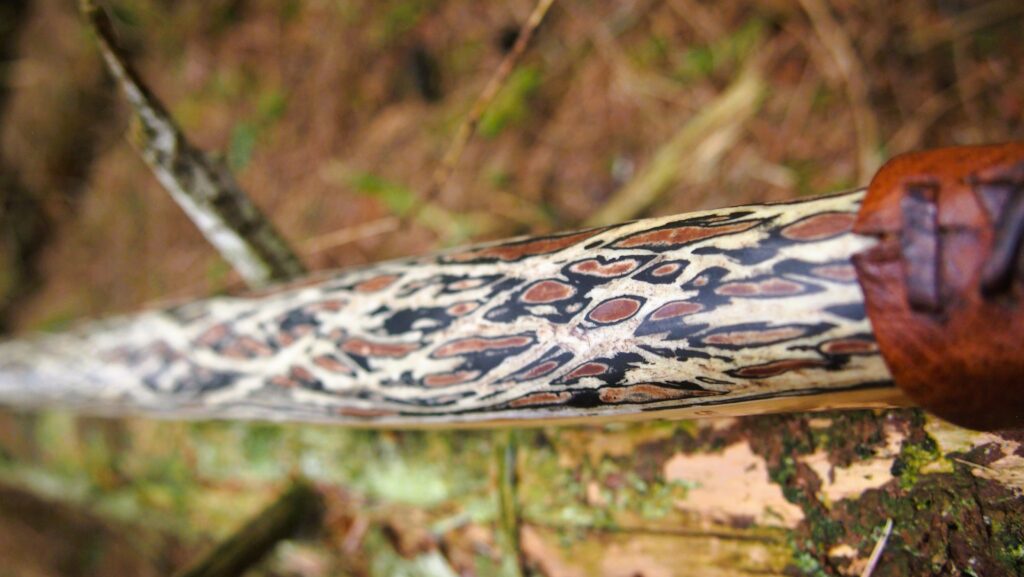
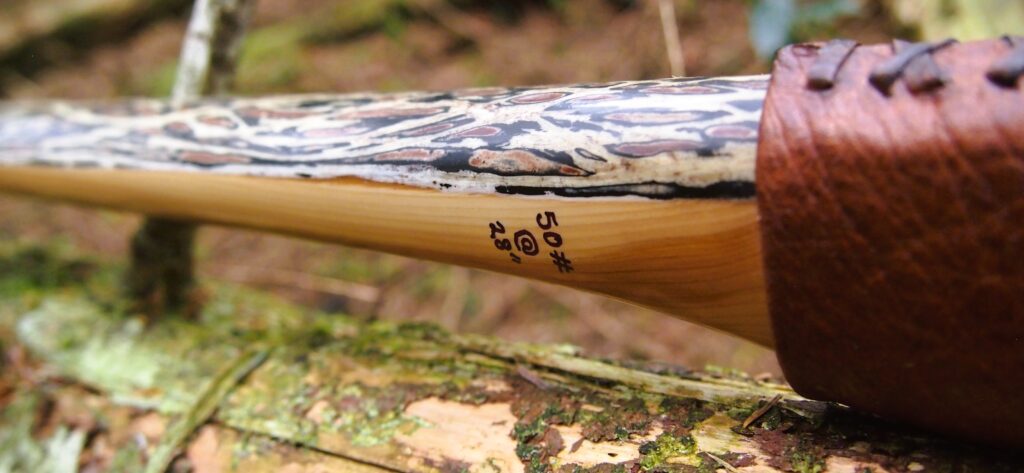
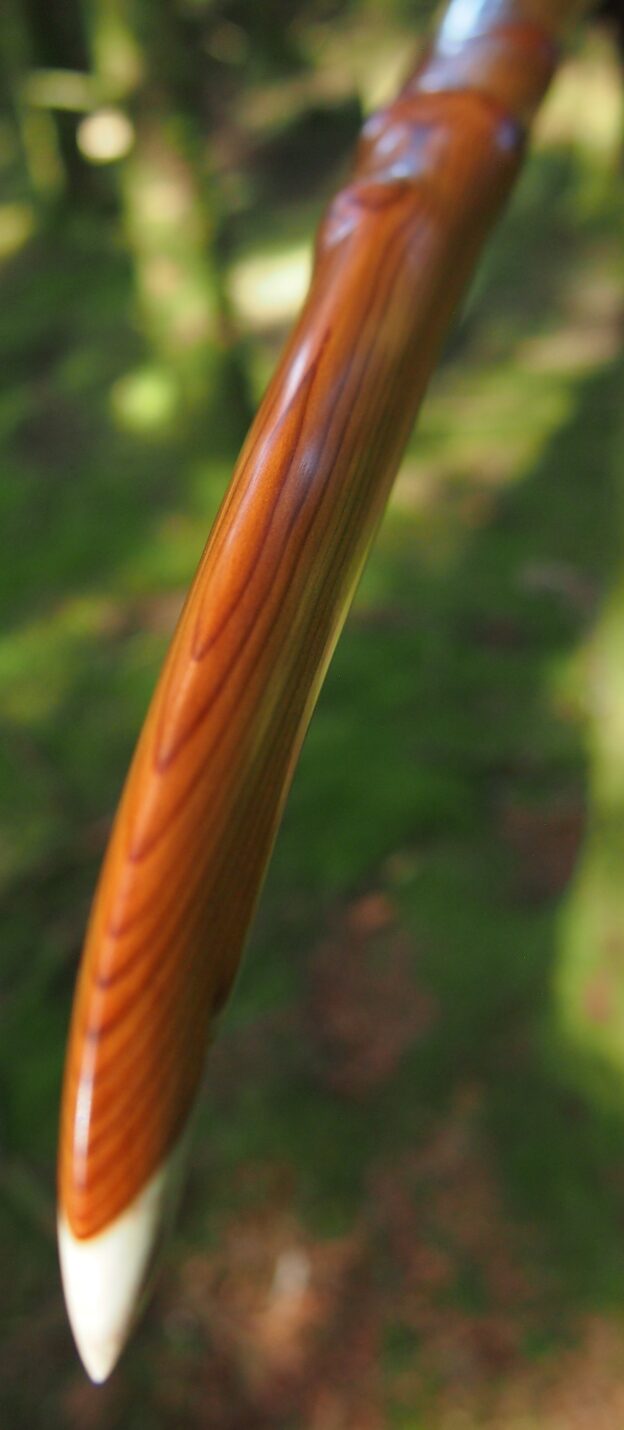
I managed to get 50 pounds of draw weight out of her as planned so got to finishing her up. For the tip overlays I fancied a nice bit of buffalo horn which had a little bit of grey streaking through it. Gorgeous stuff. For the sinew backing I wanted to create a camo, kind of birch bark type effect using my local earth pigments mixed with TB3, which would also water proof the sinew to a large degree.

The handle was wrapped in a rather lovely piece of soft, wrinkled red deer stag neck leather which I had bark tanned myself using sitka spruce bark, a bark which makes beautiful red/tan hides. The leather handle wrap was fitted with contact cement and lashed on with some roe deer leather lace I made last year. The arrow pass is bark tanned red deer hair on shin leather, which is just a great and very hard wearing natural material which makes the arrow whisper quiet when leaving the bow.

The finish is a few primer coats of shellac followed by many layers of danish oil. After pumice polishing the cured oil finish, Bees wax/linseed paste wax gave her a wonderful satin sheen.

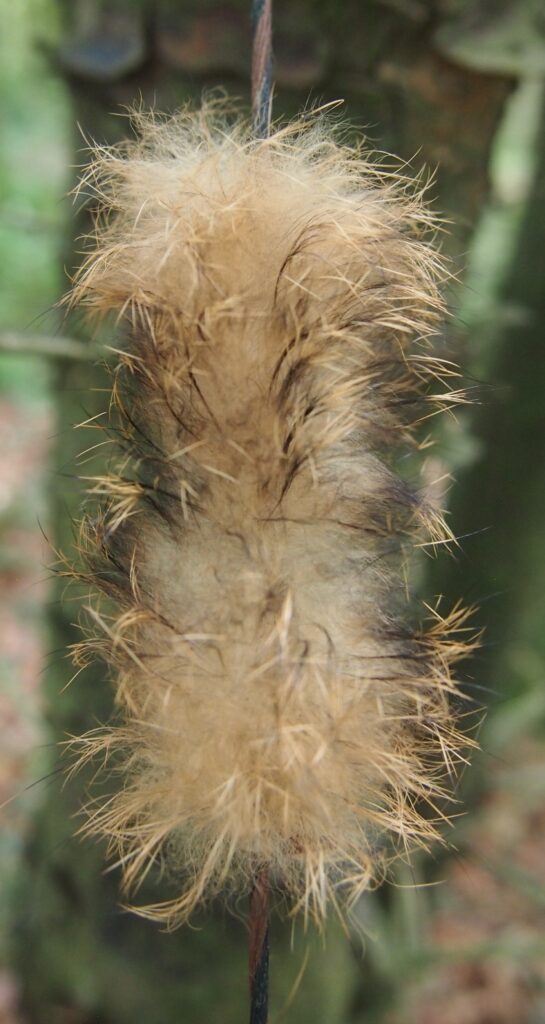
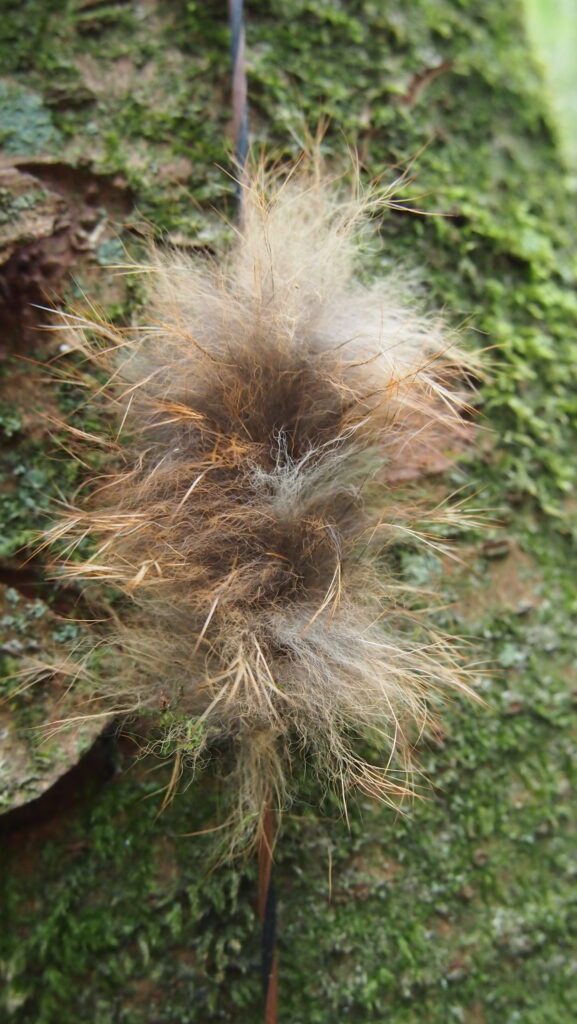
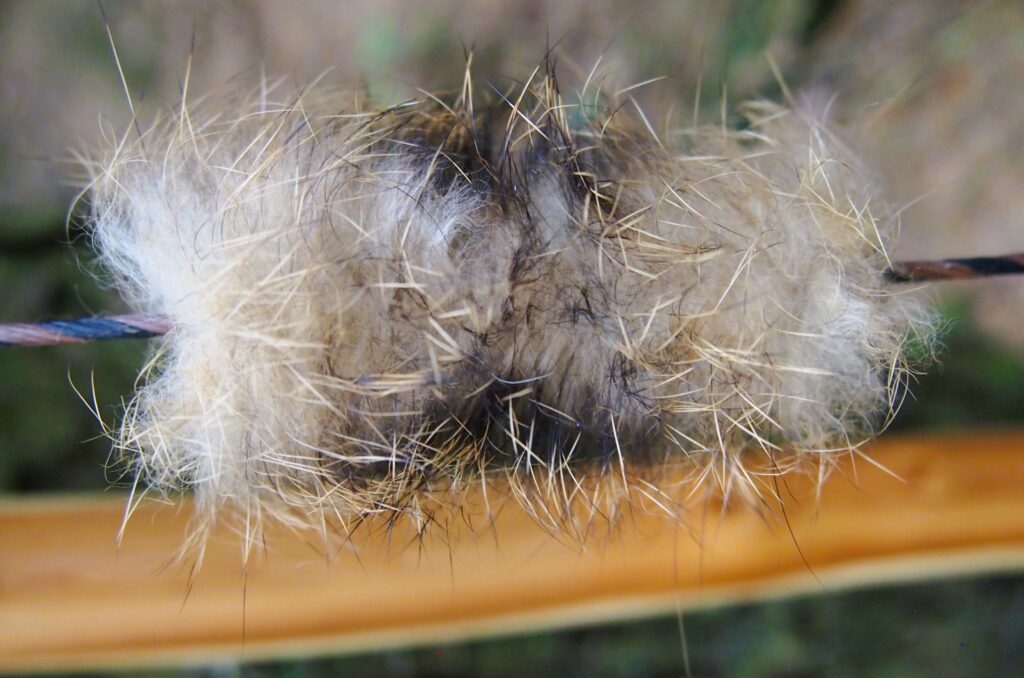
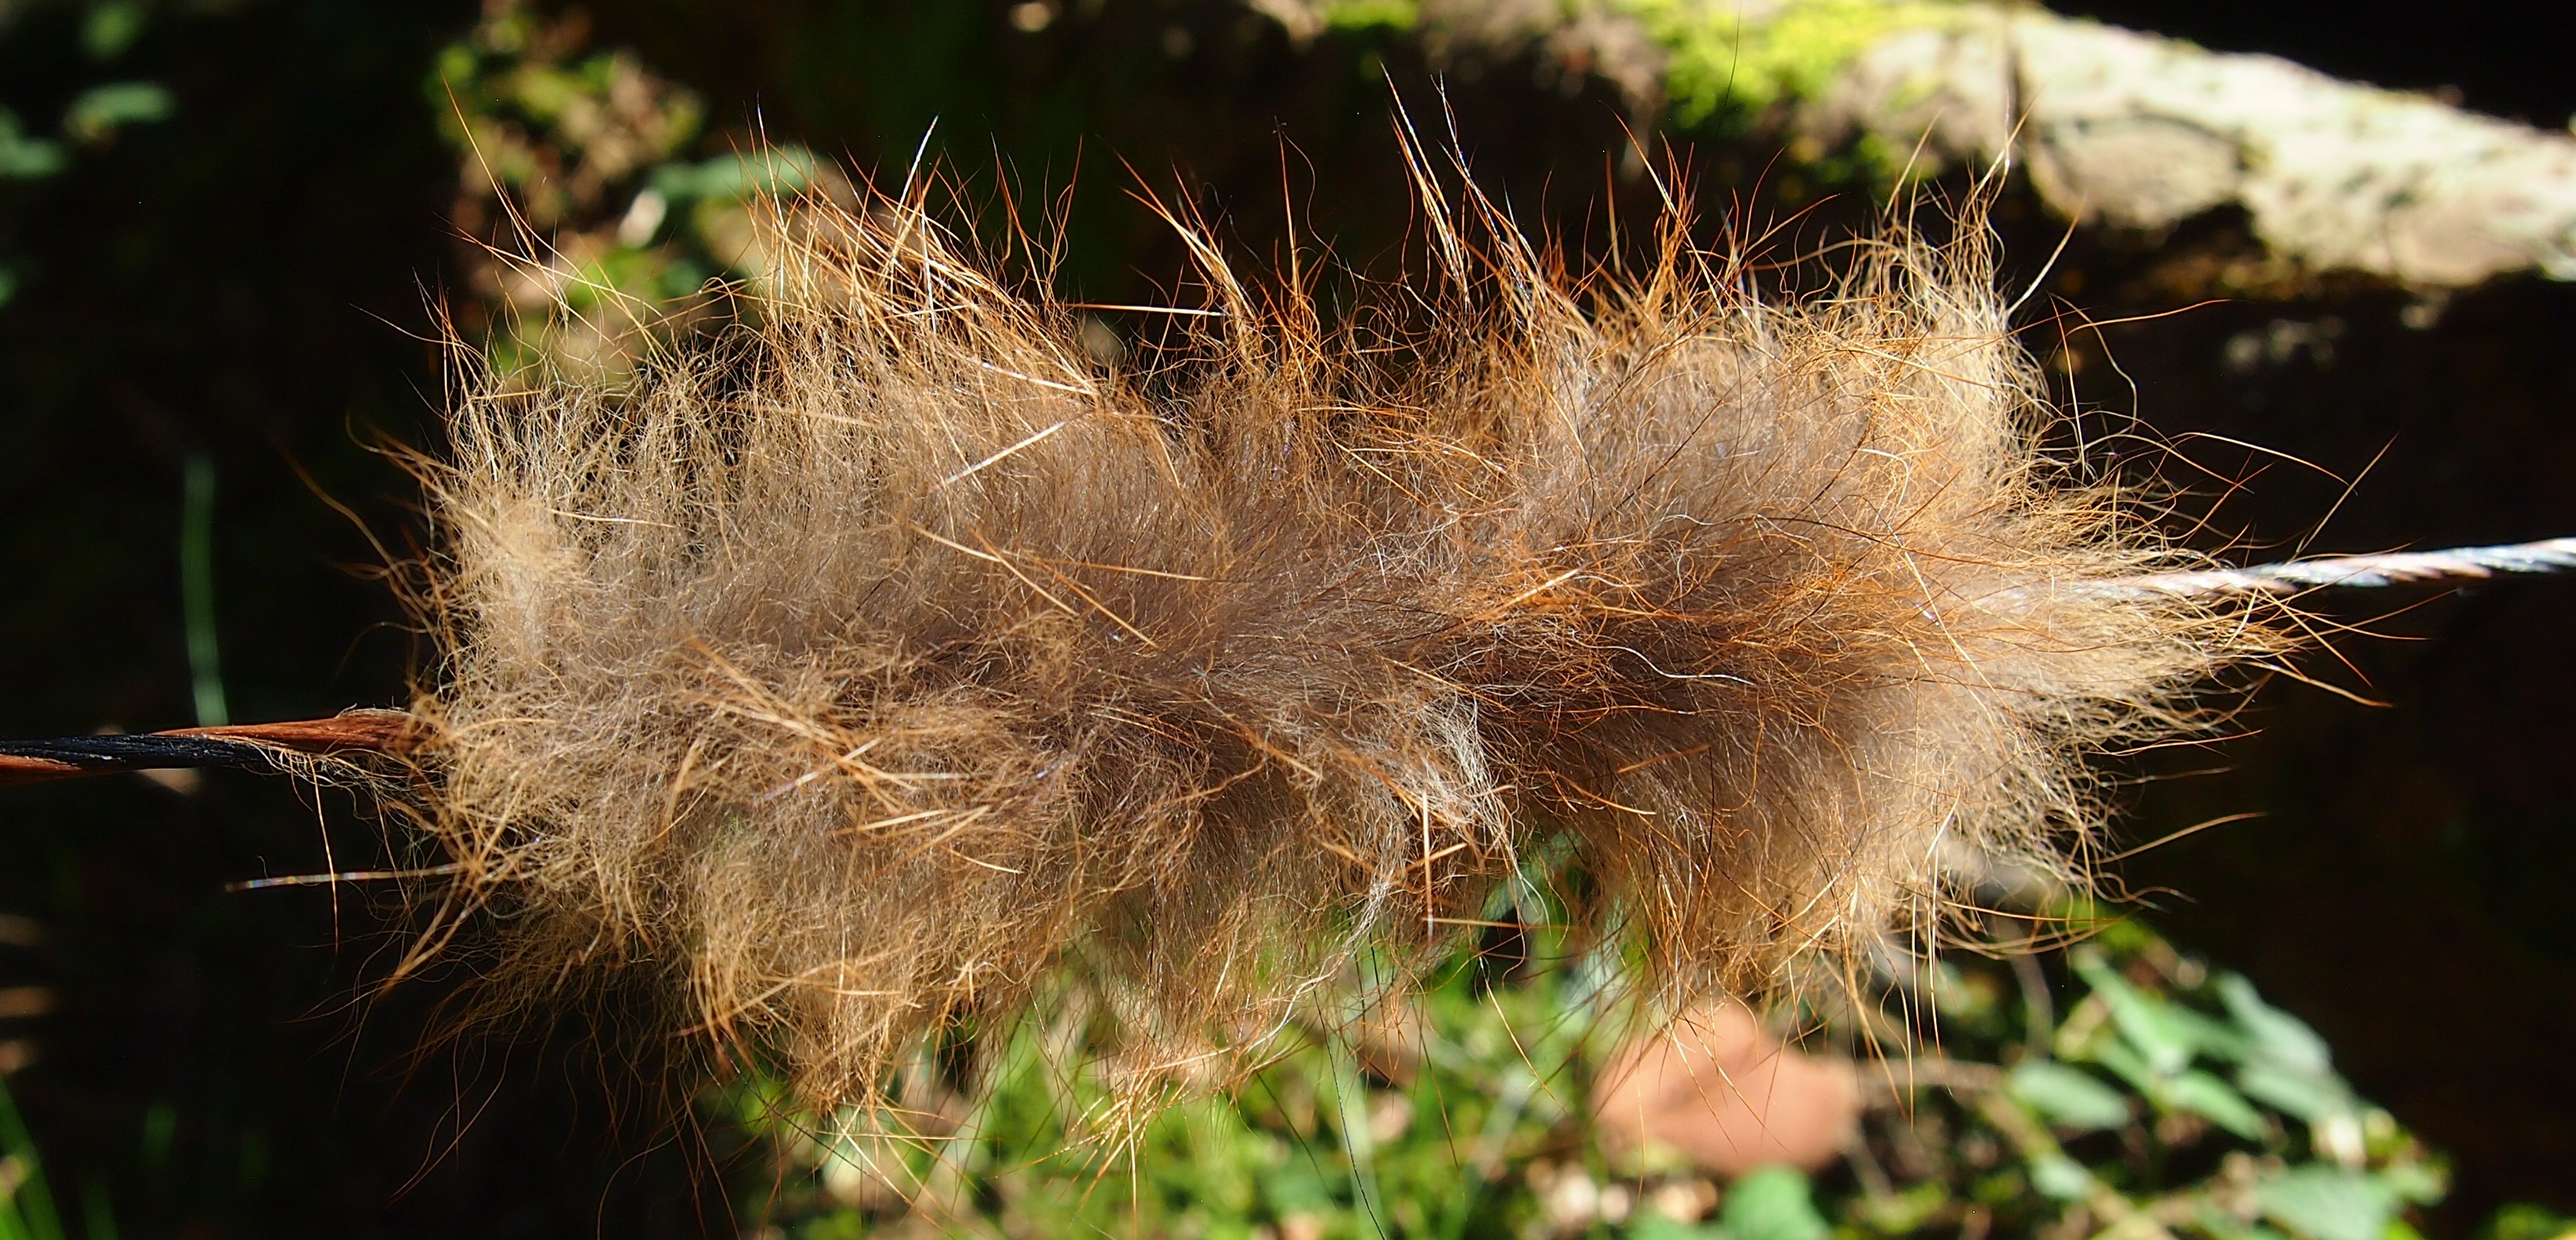
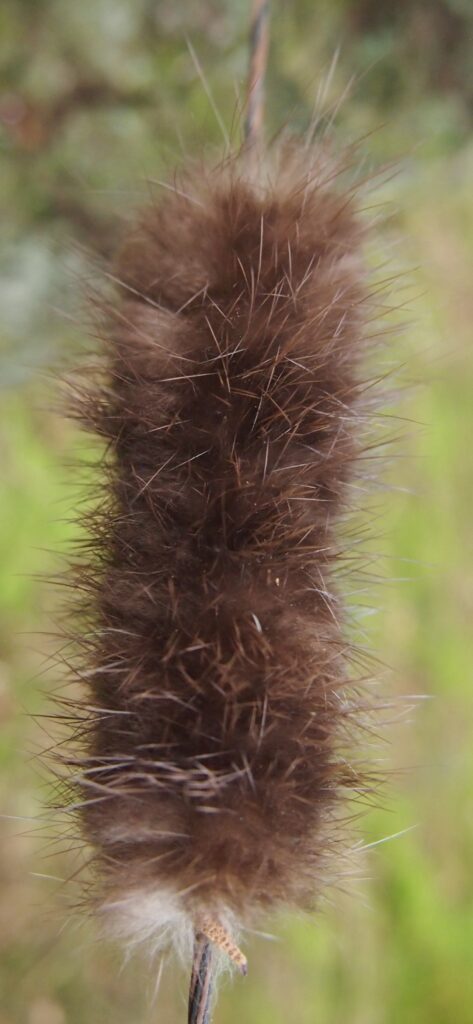
I made her up a B55 bow string with nice small loops which keep the string tracking straight on those super fine tips. Silencers are wild brown hare bark tanned fur and make the shot super silent.

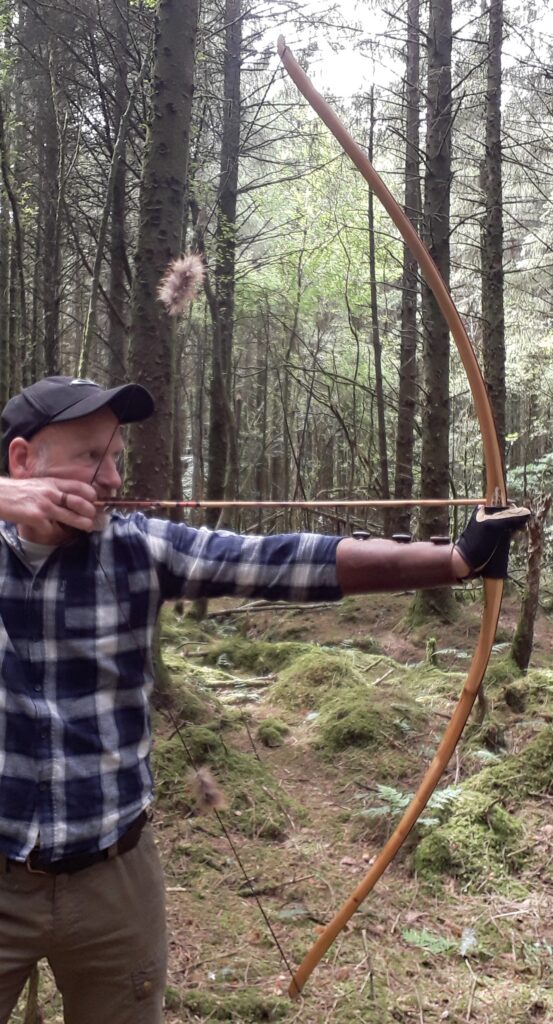
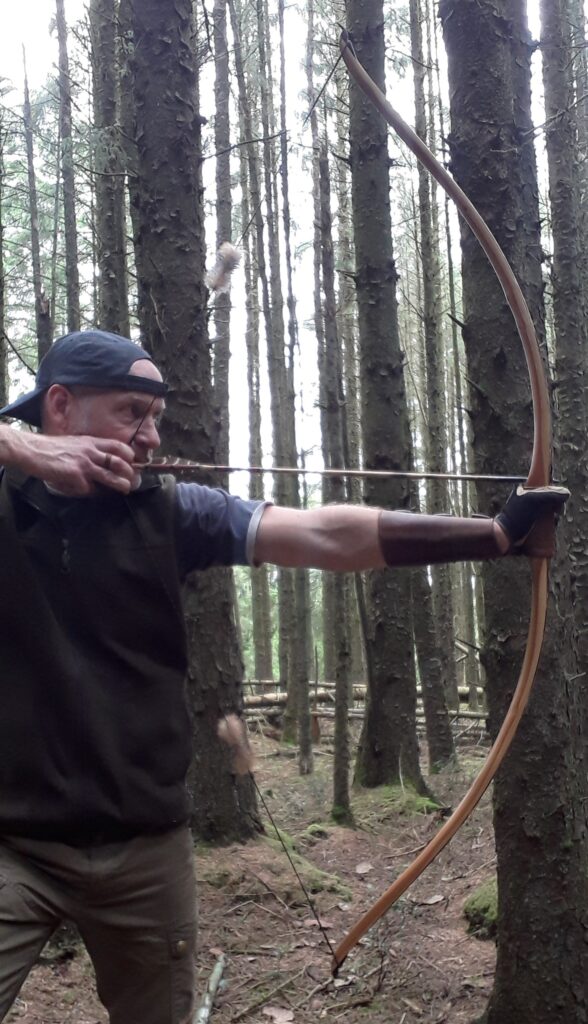
This bow turned out amazing. I loved shooting her in. One of my favorite bows for a while. Fast, quiet and little hand shock due to the low mass tips. She sends a 500 grain arrow over the chronograph at around 155 ft/sec and is just so much fun to shoot. And a real looker too.

Here are her stats:

Draw Weight: 50lbs at 28”
Mass: 825 grams
Length NTN: 66” (asymmetrical limb layout)
Width: 1 5/16″” at widest part
Tips: last 8” semi static reflexed, 3/8” wide
Back: Crowned with undulations. : Pyramidal face profile
Belly Profile: Working limb sections rounded D shaped, transitioning at the tips to a ridged cross section.
Tiller: Eliptical. 1/4” positive
Brace height: 5.5″

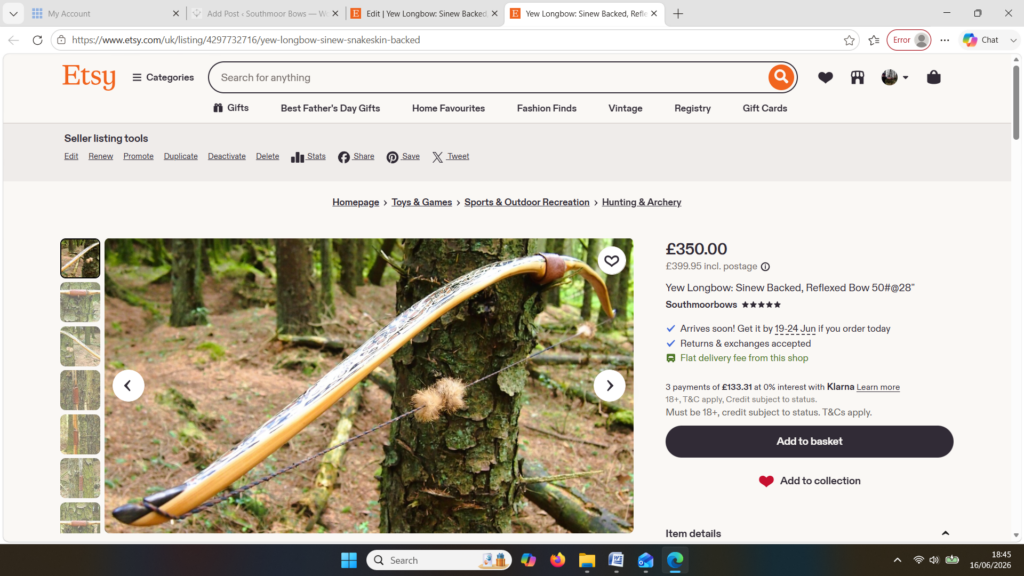
This bow is now ready for sale and will be listed in the Southmoor Bows Etsy shop. The listing can be found here: Yew Longbow: Sinew Backed, Reflexed Bow 50#@28″ – Etsy UK

Feel free to contact me with any questions either here through the contact page: Contact me

or through Our Etsy shop. I hope you enjoy the pictures and video and will have more bows to blog about shortly.

Until then, may your arrows fly true!

OLYMPUS DIGITAL CAMERA

Bog Yew Sinew backed  Longbow 52# @ 28” (Bow no: 26)

A friend of mine is a digger operator. He often ends up getting involved with projects like pond clearance/restoration type works. Whilst digging and dredging these kinds of places he often unearths all kinds of stuff. Much of my local part of North Devon is boggy wet ground. And whilst we don’t have those classic preservative peat bogs found elsewhere in the UK and Ireland, the bogs we have here are still sufficiently acidic and anaerobic enough to preserve certain types of organic mater which become submerged or buried within these often forgotten and neglected wild places.

Ages ago I asked this bloke to keep an eye out for any submerged oak he might come across, knowing that such a find would likely yield some very nice black ancient bog oak which would make for great carving or wood turning projects. So I was pleased to pick up a message from this chap last summer in which he detailed a find which he thought may be of interest to me.

He’d been working on an old estate property dating back to the early 1800s which had an overgrown cider apple orchard adjacent to a large silted up pond which he was in the process of reinstating on behalf of the estate. The pond was fed from a bog below the orchard which had a large earth hedge bank along one edge. And up on top of this hedge bank was a large, solitary, and likely very ancient yew tree.

At some point many years, if not decades ago, a large section of this ancient Yew had broke away from the rest of the tree and had fallen into the bog. And after decades sitting there this lump of yew had been completely consumed by the bog which had enveloped it with several feet of silt and clay.

Whilst digging out the bog this chap caught hold of this buried lump of yew and raised it up and out of the bog. Initially he assumed that it was just a big old piece of willow which had caved in from the edge of the bog. But once he’d pushed it up out the way he could feel how solid this particular timber was in comparison to other woods which would be well rotten and fragile by now.

He could also see from the broken ends of the tangled mass of wood that the preserved timber inside the muddy mess was a deep, bright orange colour, as opposed to a dull brown grey which you would have seen with most other species of rotten bog submerged tree.

Once he’d noticed the large yew tree standing up on the bank above the bog, he realised immediately that this buried timber was actually yew. And since he knew that woods like yew and oak will preserve in bogs, he thought he’d give me a shout in case I could make use of any of it. Trouble was he’d been distracted by other work and had forgotten about it for several weeks before telling me. Needless to say though, once he told me where it was, and that I could help myself to it, I was round there like a shot!

Upon first inspection of the mass of stinky mud and timber, I wasn’t very hopeful of salvaging much other than a few nice bits for making spoons and bowls etc. But after a bit of digging around, I was excited to find a fairly straight looking section of timber which was about 6 feet long, 5 “ in diameter and looked to have been undamaged by the digger.

With my silky saw I was able to cut the section of timber out from the rest of the fairly useless tangled mess of smashed branches and cord wood. And after wrestling this piece of timber out from the rest of it, whilst covered head to toe in mud and stink, I finally got a chance to inspect the log in more detail.

This log (like the rest of the wood) was completely free from even a hint of sapwood. The sapwood being free from tannins had rotted off decades ago. When a wood like oak or yew sits in a bog environment for any length of time, the sapwood simply rots off like any other wood would do. This is because most sapwoods including yew don’t contain the tannins critical for the preservation of the timber.

But due to the very high tannin content present within the heartwood of timbers like oak, chestnut and yew, the heartwood stays intact for decades, if not centuries, so long as conditions are suitably acidic and anaerobic enough to prevent decomposition.

And in addition to the anaerobic/acidic preservation of this tannin rich heartwood, there is another wonderful feature that our local bogs can bring about in tannin rich timber – and that is the unique colour change that takes place to the heartwood after many years saturated in our local ground water. This unique colour change is only attainable through this longwinded natural preservation process.

Due to our local underlying geology consisting of carboniferous sandstone, we are fortunate to have a large geological reserve of iron pan deposit within the sandstone bedrock endemic to our local landscape. This iron rich bedrock both surrounds and sits below our local bogs. And when these iron oxide deposits come into contact with our typically acidic ground water, the iron is dissolved into the water which in turn supplies high levels of dissolved iron rich water to these ancient saturated bog sites.

Given enough time submerged in such a iron saturated bog, the dissolved iron in the water reacts with the tannic acid in the heartwood of timbers like yew and oak. Slowly over time this turns the preserved heartwood a wonderful dark antique colour, which penetrates right through the entire log. Oak will often go almost jet black in this process. Oak preserved this way (“bog oak”) is typically prized and sort after by wood turners and carvers alike.

This salvaged pure heartwood yew log was clearly preserved and coloured right through as could be seen by looking at the end grain on the freshly cut log. I was blown away by the stunning bright rose gold colour which had penetrated the entire log. And from what I could see of the end grain so far, I couldn’t see any checking radiating in from the outside of the log either. Nice!

Drying checks in bog timbers is a common issue when wood is pulled out of its saturated boggy situation and suddenly exposed to air and sunshine for several weeks. Which unfortunately was the case with this particular find. But this log appeared to be free from checks and looked like I could potentially produce a bow stave. So once home it got hosed and scrubbed down so I could see what I had.

One side of the log was full of large knots and other problems, but the other side looked clean except for several whirls of pins situated with varying gaps between the pin whirls. I didnt dare to try and split this very precious stave, so I cheated and ran the saw through the middle of it splitting it into two halves. Inside was dreamy looking and also free from drying checks, mainly due to the stave still being saturated.

Keen to minimise the risk of drying checks developing, I decided there and then to get this stave roughed out to as close to final dimensions as possible so as to get way past the inner pith and reduce the mass to a point where I could feel confident that the stave wouldn’t start splitting as it rapidly dried out.

Once roughed out I used steam and a form to put a small amount of deflex in the middle of the riser. I also wanted to use this opportunity of having saturated wood to add a little gentle sweeping reflex into the entire length of the limbs to counter the deflex and reduce any potential stack felt at full draw.

Even whilst fully saturated this stave felt very stiff so I didn’t want to push my luck with the heat bending. So after heating, and once I was happy with the shape and approximate string alignment, I clamped her tight to the form and parked her up to dry out fully. After a couple of months the stave came off the form for inspection. No cracks visible and the light R&D shape had held tight. The stave felt a fraction of its former weight too indicating that it was now dry.

I’ve never before worked with bog yew so I was unsure of its ability to make a safe bow. Especially as it felt quite stiff. So to make absolutely sure this stave wouldn’t explode during tillering, or worse still, explode during use, I decided to sinew back it with 3oz of wild English red deer leg tendon sinew. Once the backing was completed and wrapped up on a drying form to retain the staves shape, the stave was put away again for another 8 months of curing time.

Once fully cured and cleaned up she tillered out to 55lbs at 28”. After tweaks, shooting in and sanding she finished up at 52Lb at 28”. She’s been a cracker to shoot and I had great fun putting a couple hundred arrows through her on my stump shooting forays. She’s sending 400 grain arrows over the chrono at 145fps at my draw length of 26” so I’m guessing at 28” she’ll be pushing 150+fps. She doesn’t stack and she doesn’t kick so she’s a real pleasure to shoot.

After refining the tips to minimise mass I fitted Wild English red deer antler tip overlays. I’ve also decorated the sinew backing in the exact same way as I’d described in my previous blog post which you can find here: Snakey Sinew backed Yew R&D Flatty (Zombie Killer) Bow No: 25 – Southmoor Bows

This time though I used a local Devon culm clay earth pigment as the underlying yellow/cream base colour. This contrasted wonderfully with the jet black sinew stands creating the mycelia look amongst the sinew backing. The tan wash to finish the look of the backing is once again concentrated spruce bark tanning painted on top of the creamy yellow clay pigment, then sanded/scraped through to expose the yellow/cream and dyed black sinew below. The tannin wash created a wonderful almost camo bark like affect on top of the creamy yellow, which almost looks like a natural creamy yew sapwood colour. This creamy yellow colour is fitting given the complete absence of any actual sapwood!

After sealing her up with many coats of shellac she got the polish and bees wax paste treatment leaving her with a wonderful satin sheen which realy make the rose gold almost translucent heartwood grain really pop. Especially beautiful are the pin whirls which I left nice a thick to remove any risk of pinching. The wood is a absolutely stunning even if I do say so myself!

For the handle wrap and lacing I used some of my home produced spruce bark tanned red deer leather. And for the arrow shelf/pass I used my own produced bark tanned red deer hair on shin leather. I love this material for arrow passes as its both silent to shoot across and really hard wearing.

The string is 12 stands of B55 fitted with double loops and my own produced bark tanned wild brown hare fur puffs for silencers making this bow whisper quiet to shoot.

So here she is. I hope you enjoy the look as much as I do, and please feel free to leave a comment below telling me what you think. This bow is now available to purchase in my ETSY shop here:

Alternatively you can contact me directly through the Southmoor Bows contact page here: https://southmoorbows.com/contact/

Specifics are as follows:

Draw Weight: 52lbs at 28”

Mass: 970 grams

Length NTN: 65”

Width: 1 -5/16” at widest part

Tips: 6” static 3/8” wide at the nocks.

Back: lightly crowned with with a pyramidal face profile.

Belly Profile: Working limb sections D shaped, transitioning at the tips to ridged shaped cross section.

Tiller: Eliptical. 1/8” positive

Brace height: 5.5″

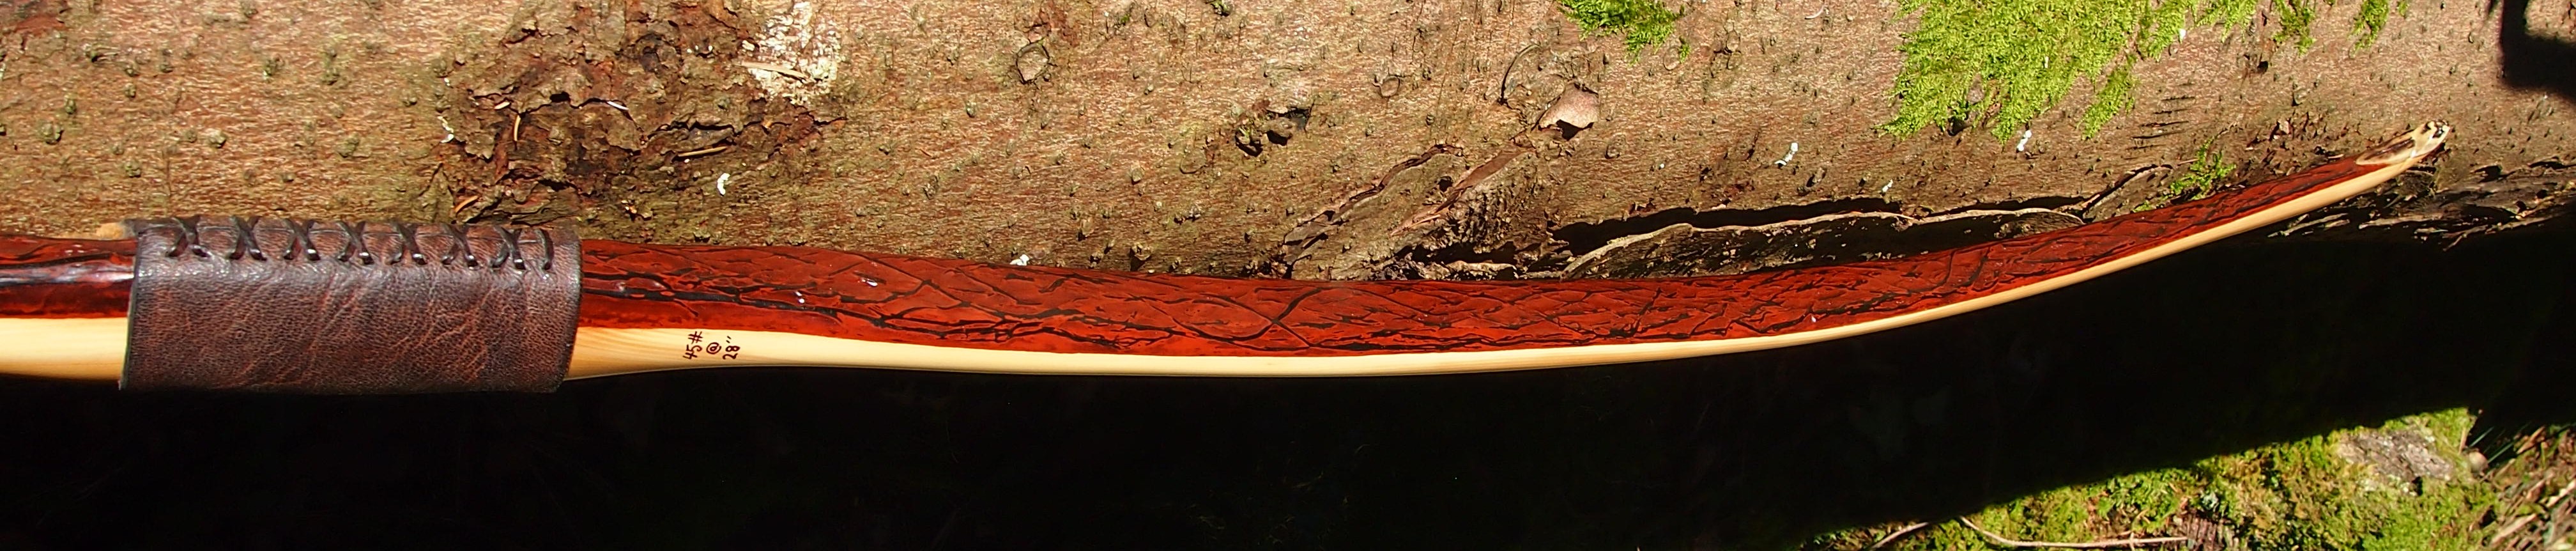
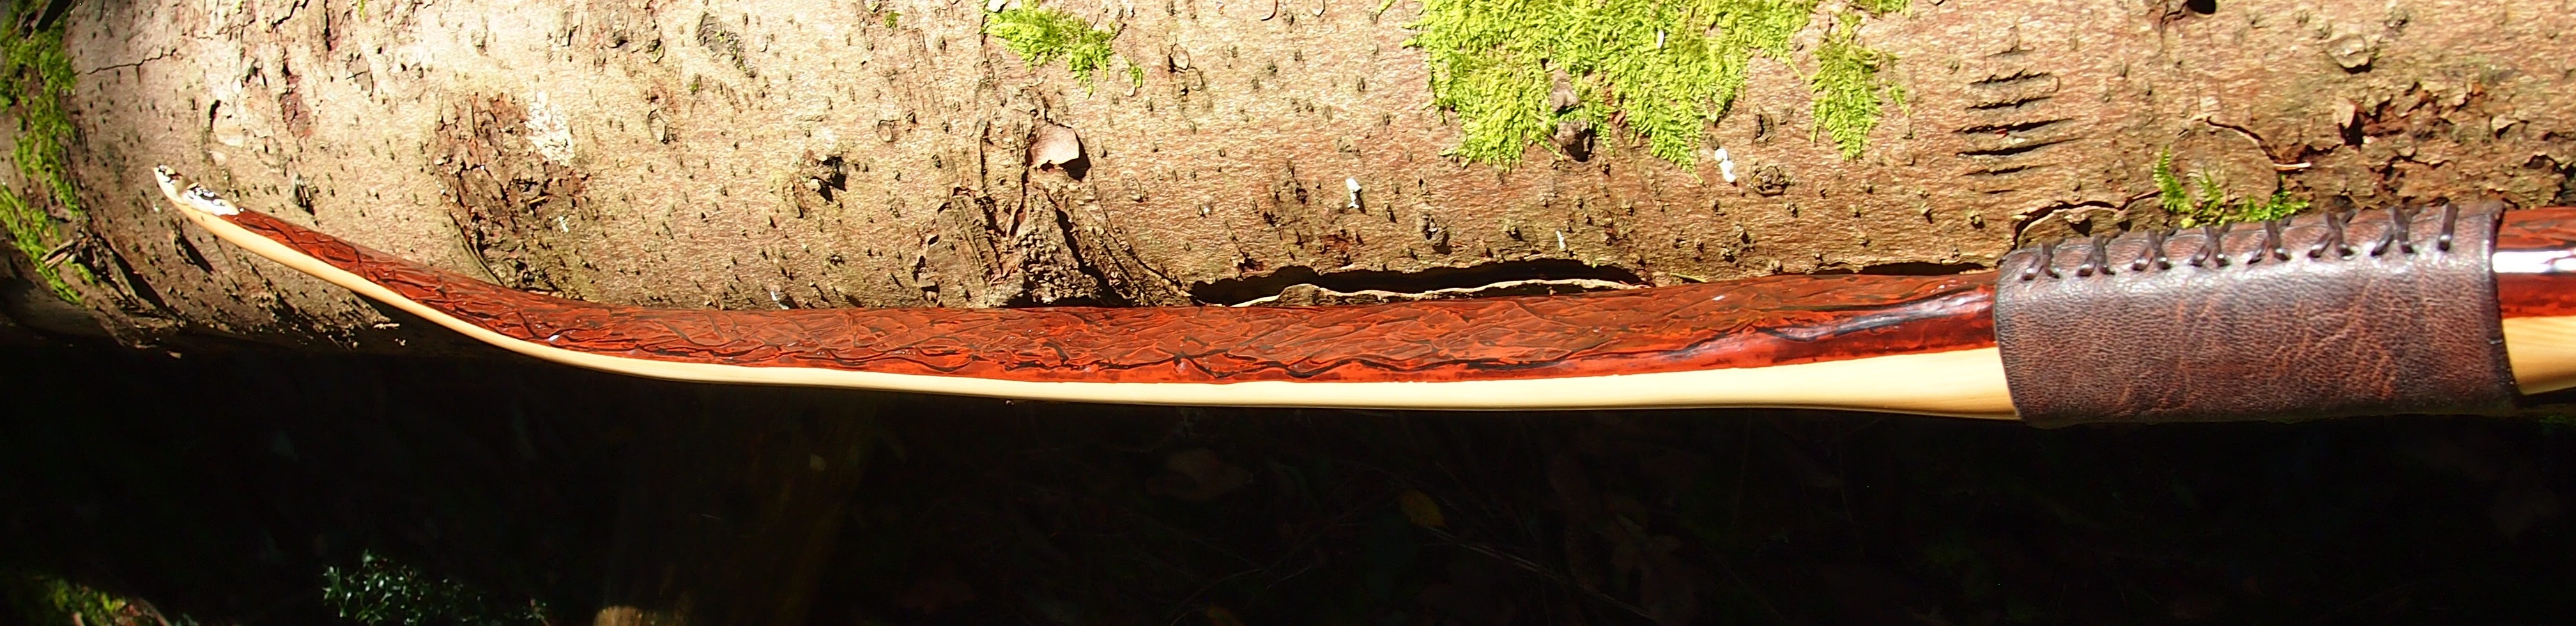
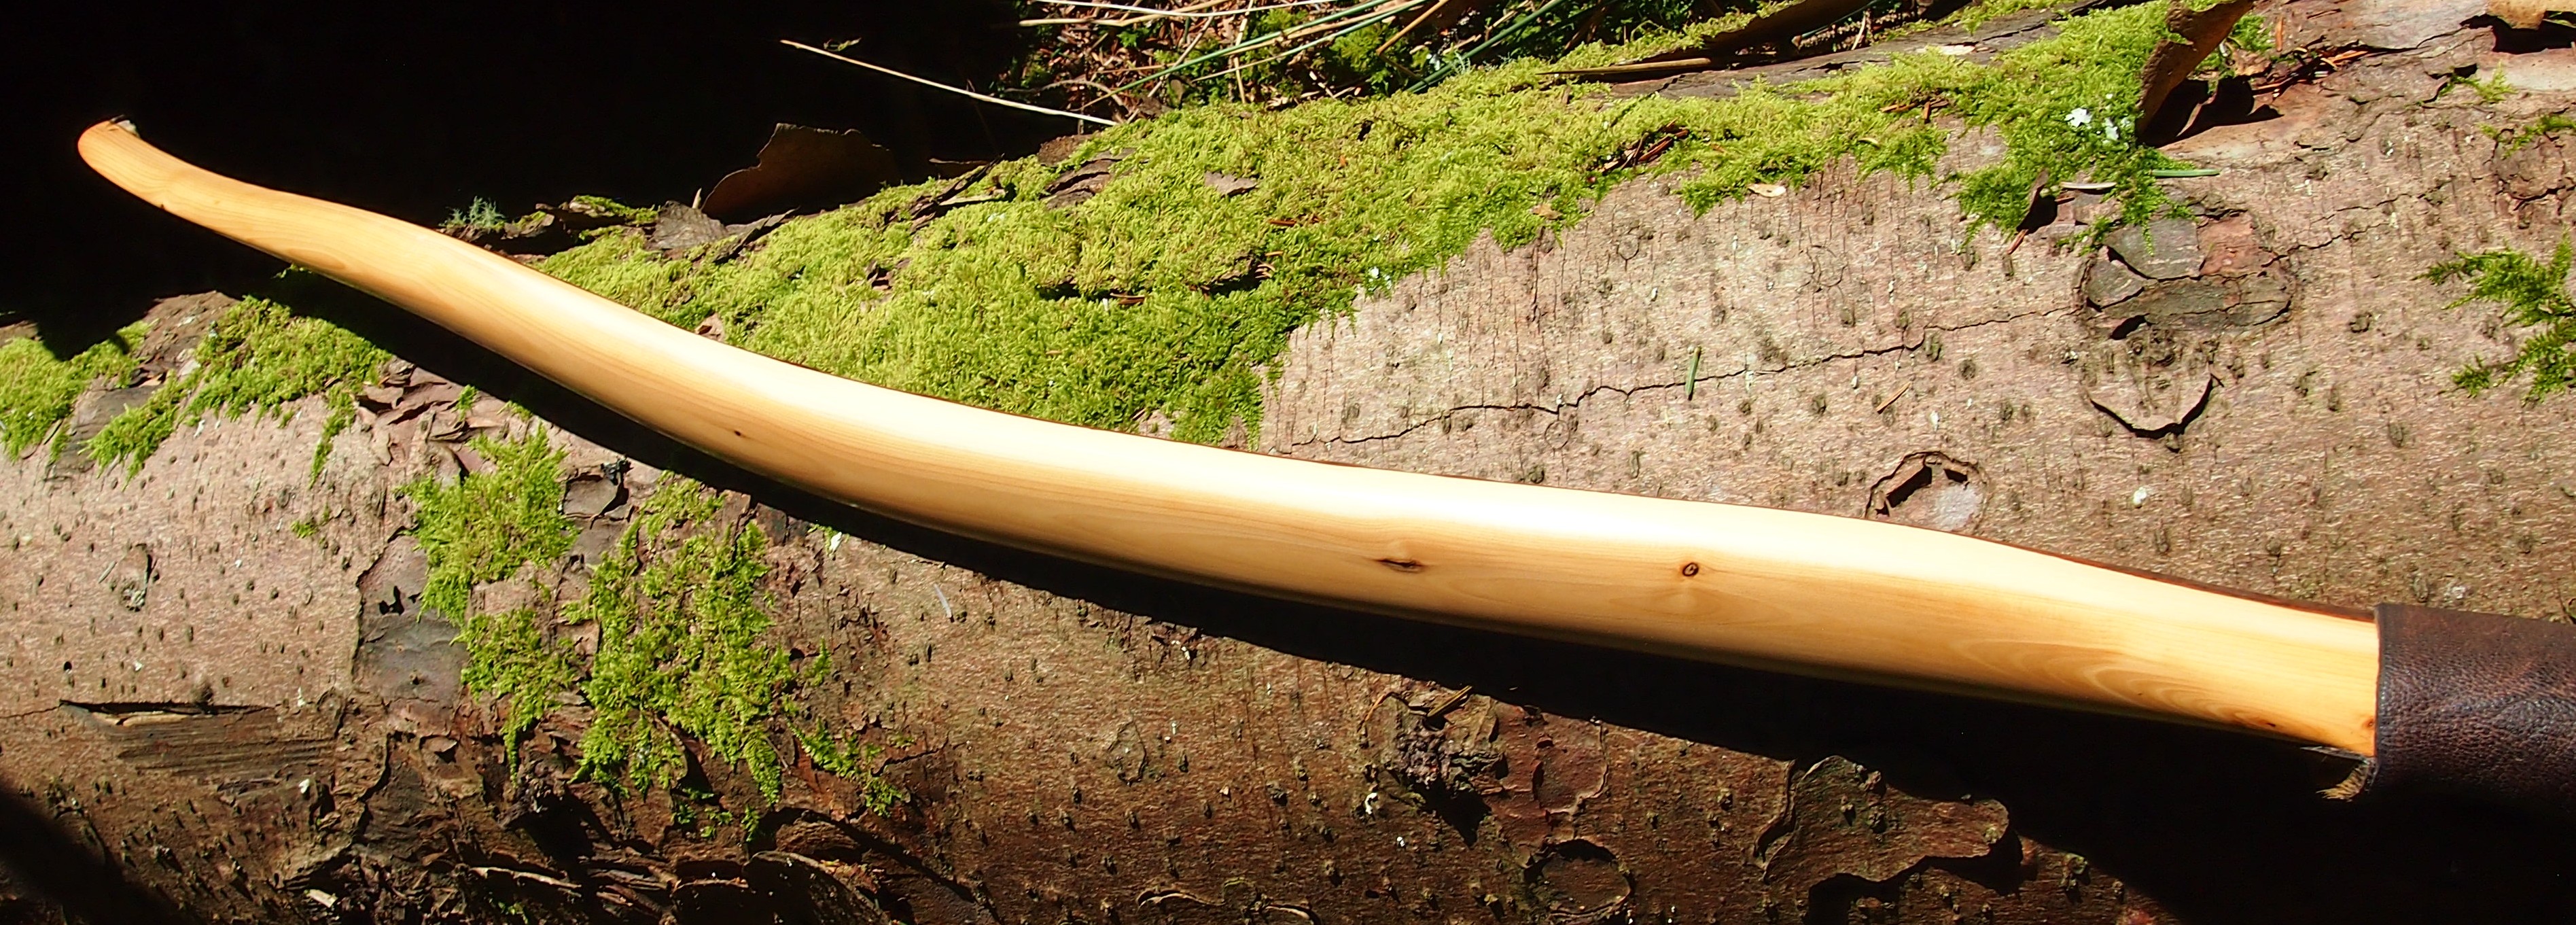
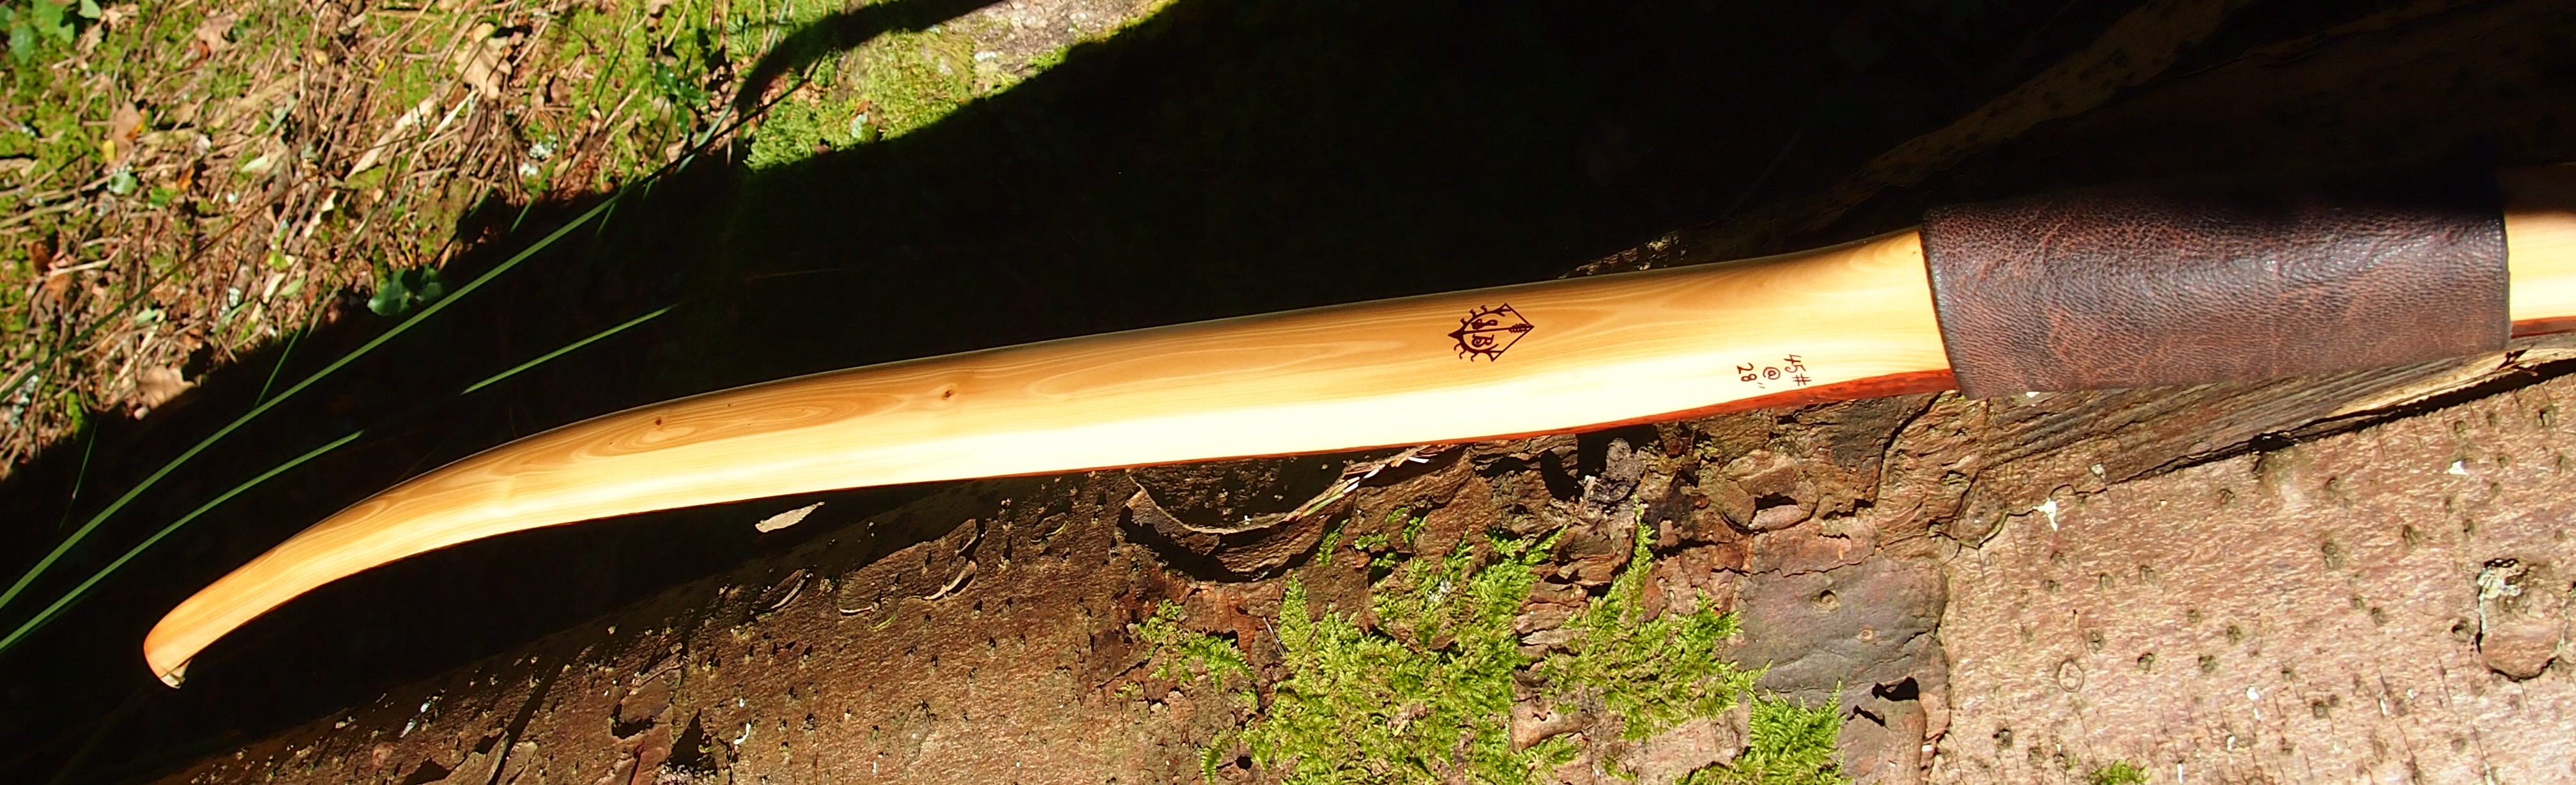
Snakey Sinew backed Yew R&D Flatty (Zombie Killer) Bow No: 25

This bow was built from a really nice clean English yew stave which had been put up in my barn rafters to season back in 2020. It measured 68″ in length and had about 8 inches of almost perfectly symmetrical distributed natural reflex running from end to end. This was obviously way too much reflex to be used as it was, but with some tweaking, I figured most of that reflex could be retained and put to great use.

The cleanest face on this stave was going to make the back of this bow and it only had a couple of tiny pins showing through the sap wood/bark. If it wasn’t for the fact that the sapwood was so thick, I could have just popped the bark off and called the back done. But I clearly needed to get the sapwood down from around 1/2″ thick to something more like 3/16″. This would maximise the potential to incorporate all the lovely heartwood this stave had to offer. Plus I intended to sinew back this bow so in all honesty sapwood retention wasn’t even necessary.

Knowing that the back of this bow was going the be backed with 3oz of Red deer leg tendon sinew, I didn’t have to worry about chasing a ring on the back. The sinew would make the back of this bow totally bomb proof so I just hogged off nearly all the sapwood leaving just a bit around the sides as an aesthetic compliment. I do like some sapwood on a yew bow, even if just to contrast against the heartwood in that classic “coffee with cream” composition. So I left enough sapwood around the edges so as to please the eye, but in truth this bow is comprised of mainly heartwood.

After flattening the back out evenly I laid out the bows face and thickness profiles so I could get the overall dimensions roughed out. For this build I planned on making a R&D pyramidal flatty but not too wide and with a slightly thicker rounded belly. So once the stave was roughly bow shaped I steamed the handle section and put the stave onto one of my R&D forms so I could bend a good bit of deflex into the handle. This was to reduce the overall reflex to something more manageable so it would be easy to string and less stressed at full draw.

Whilst the stave was on the form I used the heat gun to straightened out a slight issue with the string alignment. And I also took the opportunity to even up the reflex in both limbs so that they were as close to matching as possible. After a couple weeks for the handle section to dry out post steaming, I took the blank off the form and was happy with the overall shape and alignment.

With the deflex now added to the handle the blank was now carrying around 3″ of overall backset/reflex, which was far more realistic and functional. Next the blank was sinew backed, wrapped up and put away fixed to a drying form to retain the wonderful new shape and to allow the sinew to fully cure for 6 months.

After the sinew had cured out completely, the stave was inspected then very quickly tillered out to 26″. I find that blanks which have been shaped optimally prior to tillering are so much quicker and easier to tiller to full draw due to the even shape and profile achieved before the bow is asked to bend.

Once tillered to a point where the bow could be shot, I used it as my “stumping bow” for a couple of weeks of stump shooting out in the woods. The reflex held solid, as did the positive tiller and string alignment. Shot in she was registering 45 pounds of draw weight at 28″, which was exactly my intended target draw weight, so it was time to move onto finishing touches.

This stave was a very dense, high mass stave, and was noticeably heavier in the hand than other bows I’ve made of similar dimensions. So in order to minimise any kick that high mass limbs can produce upon string release, I opted to reduce the width of the limbs outer thirds as much as I dared in order to reduce the mass in the tips as much as possible and tame any kick felt in the hand.

This new narrower face profile in the outer thirds was achieved without running the risk of losing the static nature of the tips as I’d left the tips plenty deep enough in thickness to resist any bending. And fine tips of course need overlays to protect them adequately, so I opted to fit some lovely red deer antler overlays shaped to compliment the now adjusted and refined grace and flow of the outer limbs.

To decorate the bows back I fancied trying something a bit different. I’d been inspired recently by a pile of old beech logs which were full of that beautiful “spelted” black creeping web like fungal mycelia. I wanted to re create this creeping black fungal “mycelial” pattern and texture on one of my sinew backed bows, but using sinew threads dyed black to represent the mycelial component, set amongst a background of contrasting colour to represent the “growing medium”.

The primary colour I’d chosen to compliment the black of the sinew mycelia was a really nice dark red which I could create using a mix of my local iron oxide and carboniferous earth pigment. This combination of earth pigments creates that dark red blood colour, akin to what you’d find dried onto your sword after a busy day slaying a bunch of zombies! 🤣Perfect!

So I added a thin surface layer of new sinew threads to the already cured, established sinew backing. These new sinew threads however had previously been soaked in spruce bark tannin solution rather than plain water in order to hydrate them. And once fully hydrated with tannin they were then added to a little iron chloride solution which I make myself from wire wool and white vinegar. The chemical reaction which takes place between the tannin and the iron chloride resulted in the sinew threads instantly turning a stunning jet black colour.

These jet black sinew threads could then be glued onto the plain established sinew backing layer in a web like weaving pattern, just like those black fungal mycelia veins weave through a hunk of spelted beech wood.

Once these black weaving sinew threads were fully dry, I then painted the whole back with my dark red earth pigment paint mix. This dark red layer was then followed by a coating of concentrated spruce bark tannin solution to provide a slight chestnut brown overlay to the dark red paint below it.

Once it was all dry I then scraped through the chestnut tannin stain, and the dark red paint below that to expose the jet black sinew threads on all the high spots. This left the low spots red and tan coloured, and all the high sinew spots presenting as inky black veins weaving up and down the entire length of the the limbs. I was really pleased with how it came out and I intend to finish several more sinew back bow this same way, but with a variety of different colours and shades.

Once the back was all finished and the overlays/wood was all sanded up, I sealed her up with shellac. And after polishing her up she was treated to a nice satin beeswax/linseed paste wax finish. For the handle I fitted a lovely piece of my own home produced bark tanned roe deer leather stitched up with the same leather cut thin for lacing. And the arrow pass/shelf were both fitted with a couple of pieces of my bark tanned hair on roe deer shin leather.

I love the shape and finish of this bow and really enjoyed shooting her. She does not stack one bit, and despite all that reflex she is easy to string and silky smooth to draw. There is a slight kick upon release due to the high limb mass previously mentioned, but I got used to it after a couple of arrows and didn’t even notice it once I’d altered my grip a bit.

I found this bow very comfortable to hold at full draw, so was able to take a little more time shooting my full shot cycle. Subsequently I was able to shoot this bow with great accuracy over and over again. Across the chrono she was also performing how I’d expect too, sending a 400 grain arrow at around 150 FPS, which is what I’d expect from a 45lb primitive bow.

So here she is. I hope you enjoy the look as much as I do, and please feel free to leave a comment below telling me what you think. This bow is now available to purchase in my ETSY shop here:

https://www.etsy.com/uk/listing/4375183128/yew-longbow-sinew-backed-reflexdeflex

Alternatively you can contact me directly through the Southmoor Bows contact page here: https://southmoorbows.com/contact/

Specifics are as follows:
Draw Weight: 45lbs at 28”
Mass: 995 grams
Length NTN: ” (symmetrical limb layout)
Width: 1 9/16″” at widest part
Tips: last 8” static reflexed, 1/2” wide
Back: Flat: Pyramidal face profile
Belly Profile: Working limb sections rounded D shaped, transitioning at the tips to a ridged cross section.
Tiller: Elliptical. 1/4” positive
Brace height: 5.5″

Sinew backed Yew Ladies/Teens R&D 36#@24″ (Bow No.24)

This lovely little bow is the sister stave to the bow I previously wrote about here: https://southmoorbows.com/yew-sinew-backed-rd-primitive-for-ben-3022-bow-no-21/ Which I built for my son back in the early spring.

This twin stave had many of the same qualities as the previous stave, so I opted to build this one the same way. The Deflex and the sinew backing would cater for the short length by reducing stress at full draw. And the reflex would counter the power loss created by the deflex, plus reduce any stack felt towards the end of the draw cycle.

I kept the tips almost static for the last 4 or 5″ and reduced the width as much as I dared to remove mass and potential vibration post string release. 3″ fades and a 4″ very slightly dished handle maximised the length of working limbs whilst retaining a functionally none working riser with elegant lines which maximised the aesthetics as best as possible.

The rustic sinew effect of the backing was created by painting the whole backing black with my local earth pigment, then sanding the high spots to expose the natural dried bronze sinew colour. I think it looks pretty neat. The edge work is bone dust mixed with shellac applied by hand with a sharpened stick.

Tip overlays are red deer antler. The handle wrap is wild Roe deer bark tanned leather laced up with more of the same wonderful stuff. The arrow shelf/pass is bark tanned hair on red deer shin leather.

The finish is a Danish oil/Shellac caped off after polishing with my own bees wax/linseed oil mixed as a paste wax to give a lovely satin finish.

I had great fun shooting this little bow in over a couple of weeks. To settle her in I used a bunch of 35# spin 380 grain stumping arrows I made up for my sons bow. They shot great and despite the short draw length preventing me from hitting my usual anchor, I had no difficulty hitting my spot almost every time.

She shoots quietly and without any noticeable kick or hand shock and would make for a really beautiful and functional light weight introductory bow to anyone looking to enter into the world of primitive archery.

This bow turned out far too heavy for either of my daughters, so I’ve decided to put this bow up for sale and build them something much lighter instead. So this bow is now for sale in the Southmoor Bows ETSY shop and can be purchased here: https://www.etsy.com/uk/listing/1852784488/yew-longbow-3624-sinew-backed-primitive

Hope you like the photos and video below. Here are the stats:

Draw Weight: 36lbs at 24”
Mass: 510 grams
Length NTN: ” (symmetrical limb layout)
Width: 1 5/16″” at widest part
Tips: last 4” semi static reflexed, 1/2” wide
Back: Lightly crowned with undulations. : Pyramidal face profile
Belly Profile: Working limb sections rounded D shaped, transitioning at the tips to a ridged cross section.
Tiller: Eliptical. 1/8” positive
Brace height: 5″

Sinew and snake skin backed Heavy Yew Flat bow 68#@28″ (Bow No: 23)

This bow was built from a Yew stave which I salvaged from a pile of yew logs cut down by tree surgeons a few years ago. If I’d know in advance that this particular yew tree was scheduled for felling, then I’d have kindly asked the tree surgeons to have left the better logs long and scar free. But unfortunately I got there too late and they had butchered most of the nice clean limbs.

After wiping away the tears and a bit of searching through the carnage I was able to recover was the one stave that was used in this build. Thankfully this one stave was pretty decent. It was almost clean across one face and fairly straight viewed face on. Side on however was a bit less straight.

The stave measured 70″ long and viewed from the side, right smack in the middle was some deflex to the tune of around about an inch and a half overall negative tip to tip. There was a good chance that steam bending could pull that deflex out of the handle but I figured it would be fine left alone so long as the outer thirds of the limbs were flicked a little to compensate for the natural deflex positioned in what would be the handle in the finished bow.

So after taking the bark off and chasing off a few rings of sapwood, I reduced the edges and the belly material enough so that I could heat some reflex into the last 10 inches of the limbs outer thirds. This added reflex was able to bring the overall deflex to reflex ration back to a level playing field. Which is always where I prefer to start from.

After a good bit of cooling off time I roughed out the face profile so I could inspect the string alignment and was pleased to see that there was no need for any other heat corrections. And after a bit of whitling here and there I was happy with the overall shape and size of the bow.

Given the shear amount of material I had to work with on this stave, I felt confident in being able to produce a bow which would be a bit heavier than what I usually aim for. And given that I intended to sell this bow, I wanted to maximise it’s longevity, durability and performance by sinew backing it thus increasing its potential draw weight even further.

After sinew backing and a 6 month curing process I finished this bow and shot it in over a couple of weeks. The 1/4″ positive tiller held good and she performed with great power and cast. Over the chrono she consistently recorded arrow speeds of around 165 fps with a 550 grain arrow. And with no noticeable hand shock or kick, she was a pleaser to shoot in, despite the heavier than personally preferred draw weight of 65lbs.

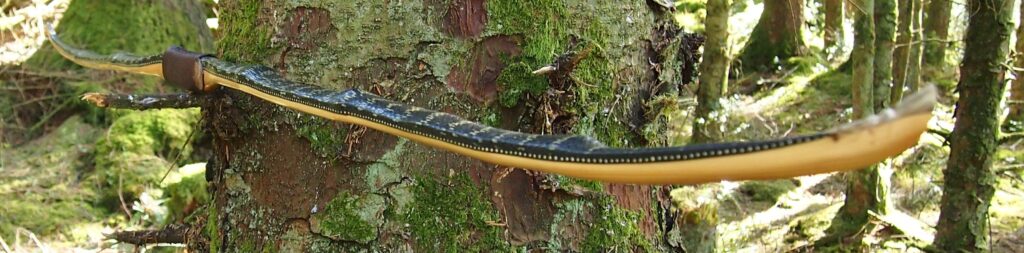
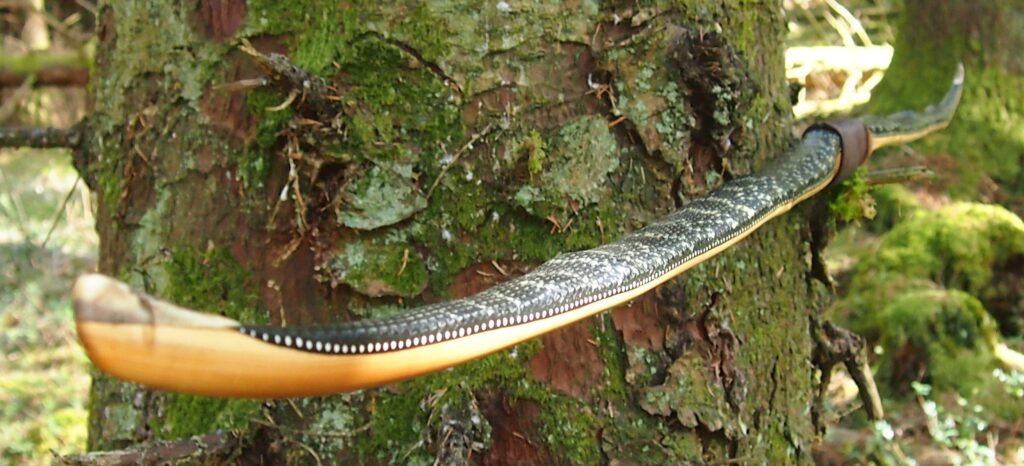
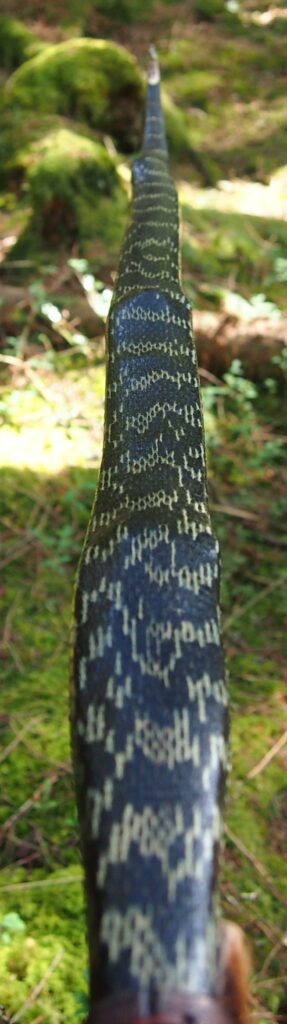
To finish and decorate I covered the bland sinew backing with two King Rat Snake skins embellished with some earth pigment edge work to make the transition from wood to snake skin pop. Tip overlays of red deer antler were fitted and the top nock was cut to receive a stringer since this bow was a little too heavy to safely string via push pull or step through method.

The handle covering/arrow pass is all wild red deer bark tanned leather and the finish is Danish oil buffed and polished with paste wax. For a string she was fitted with a custom built 12 strand B50 flemish twist string fitted with wild fox fur silencers to make this already quiet bow whisper quiet.

This bow is now available for sale and can be purchased in our Southmoor Bows Etsy shop found here:

Here are the details.

Draw Weight: 68lbs at 28”
Mass: 925 grams
Length NTN: 67” (asymmetrical limb layout)
Width: 1 11/16″” at widest part
Tips: last 6” semi static reflexed, 1/2” wide
Back: Crowned with undulations. : Pyramidal face profile
Belly Profile: Working limb sections rounded D shaped, transitioning at the tips to a ridged cross section.
Tiller: Eliptical. 1/4” positive
Brace height: 6″

Hope you enjoy the photos and video below. Please feel free to comment or contact me with any questions!

And here are a couple of pic kindly sent to me by Nick who bought this bow and the Osage R&D bow no: 21

Go on Nick – Send it!!

Osage R&D sinew backed longbow 52#@27″ (bow no. 22)

Trying to get your hands on osage staves in the UK is hard these days, which is a real shame as osage is one of my favourite bow woods, second only to yew (due to sentimental value mainly). I bought this particular osage stave from Anthony Hickman over in Texas who has an Etsy shop which can be found here: HickmanCreationsShop – Etsy UK

Anthony sometimes has some nice osage staves in his shop for a reasonable price (by todays standards anyway!) And the stave which this bow was built from caught my eye as being worth the near $100 price tag. I could see from the photos from this staves shop listing that the growth ring thickness (and the composition of late wood to early wood) was very good, and that this stave carried no propeller twist or potentially problematic knots/splits etc.

At 62″ long, this stave was a little shorter than I’d ideally have liked, however I would struggle to get a longer stave shipped out to the UK without incurring a massive increase in shipping costs. So after a bit of consultation with Anthony, he managed to secure a not too absurd shipping price, so I decided to pull the trigger on this stave feeling pretty sure it would make for a very nice bow. And I’m glad I did!

So total cost including shipping, this stave came in just a whisker under $200, which is an awful lot of money for a hunk of timber, but unfortunately this is just the going rate nowadays for osage shipped to the UK!

The stave arrived on my door step in only 12 days which was bloody good these days. And after a thorough inspection of it, I was happy with what I’d received. Since the stave had the felling date written on the end grain, I knew that this stave was still fairly green. So I was a little worried that drying checks might have formed during transit from the states.

But I couldn’t see any signs of drying checks, other than what was obviously already present on the sapwood. And Anthony had made me aware of these sapwood cracks before I bought it. Since all the sap was destined to come off, the sapwood checking didn’t concern me at all, as more often than not, the cracks rarely ever continues deep into the heartwood.

Osage heartwood can check quite badly if dried too fast though, so I immediately painted the staves ends and the sapwood surface with TBiii, before putting it aside in my spare room to dry out for another 6 months. I kept weighing it each week so I could see when the weight loss would plateau and finally cease altogether. That way I would know when the stave was dry enough to start working on.

And by the early part of the summer of 2024, the weight lost had completely stopped, and I finally felt confident that I could begin sapwood removal and general roughing out, without running the risk of incurring drying checks from the rapid loss of any remaining moisture.

The sapwood came off nice and easy and chasing a decent latewood ring on the back was made simple by the fact that the first ring directly under the sapwood was perfect in it’s composition by being nice and thick, so I chased this faultless first ring and made that ring the back of the bow.

Now I had to think about design. This bow was destined to finish out at 60″ nock to nock, so being a bit on the short side, I needed to consider incorporating some design features to maximise draw length potential, without over stressing the limbs. Ideally this bow would go back to 27″, but I’d have to wait and see.

A 60″ bow drawn beyond 24″ will experience some “stacking” towards the end of the draw cycle unless some reflex is incorporated into the tips. So I planned to flick the tips on this stave, but not enough to be able to call it a recurve.

But flicking the tips alone would add at least 3-4″ of overall back set to this stave since the back of this stave was essentially dead straight. That much overall back set would definitely create the potential for overstressing the limbs of a bow this short, since the working sections of the limbs would only incorporate a max of 20-22″ of each limb.

So to counter the back set created by flicking the tips, I decided to deflex the 3″ fades either side of the 4″ stiff handle. Ordinarily I would have steamed the desired deflex into the centre of the handle, but I could see a couple of tiny drying checks on the belly side of the roughed out handle section, which would most likely have opened out considerably if I had attempted to steam bend the deflex into the handle.

The fades however appeared free of drying checks, so with the help of the heat gun, a shaping form, and a pile of G clamps, I pulled enough deflex into both fades to cancel out most (but not all) of the reflex, which I had now steamed into the last 8″ of the tips. After subtracting the deflex in the fades from the reflex in the tips, I was now left with around 1-2″ of overall back set. Much more realistic!

I opted for a simple slender pyramidal face profile on this bow, as this design works very well for woods like osage and yew. Since osage (like yew) is so strong in compression, I didn’t feel the need to go super wide with the limbs, so opted for limbs around 1 1/2″ wide at the widest section just outside of the fades, tapering down to 1/2″ tips (which I would leave static for the last 4″ in order to resist the reflex being pulled out of the tips over time with heavy use).

The handle section in the roughed out state was nice and deep, even once the bulk of the splintery rubbish had been removed from the belly side. So at 2″ thick, I decided to keep the handle a little deeper than I normally do. This would also enable me to retain nice deep fades too, so I fancied shaping them up to a nice crisp sharp ridge to create a nice aesthetic leading into the handle section.

In terms of character, this stave had one simple clean and featureless limb, and one limb featuring a small hollow knot (which I pegged), plus four small pin knots aranged in pairs in two different locations. This limb also had a small amount of lateral wave to the grain, which presented some nice edge contour to the face profile of this particular limb.

This limb also had the remnants of an old impact scar which must have occurred whilst the tree was still living. This old scar presented throughout the entire width and thickness of the stave, including the sapwood, and appeared as a pretty cool looking lighter coloured diagonal line of grain about 4mm wide running across and through the entire width and thickness of the outer third of the top limb.

This kind of impact injury to a living tree is usually as a result of another tree falling, or being felled into it. The tree heals rapidly by reinforcing the cells within the injured section with additional lignin and other strengthening compounds.

This healing process creates dense and interesting grain changes, which not only look nice, but are also denser and therefore stronger in both compression and tension than when compared to the surrounding uninjured wood. As such, these healed wound scars can be left within the working sections of a bow limb without any fear of weakness. In fact these sections are stronger than the rest of the limb.

As this limb clearly held all the character, I opted to make it the top limb which places most of the character closer to eye level. And since this bow was going to be asymmetrical, this more characterful limb was going to be 2″ longer than the more plain (but likely stronger overall) bottom limb. Since bottom limbs tend to take more stress over the years of shooting and stringing, they benefit from any additional design decisions which ensure optimal strength in this limb.

Since this bow was a little shorter than I’d have preferred, I decided to sinew back it. This would add significant durability to the bow, and it would also significantly reduce the amount of set which such a short bow would ordinarily take when being drawn back beyond 26″. I also consistently find that sinew backed bows retain their zip much better as the years roll by too, (so long as they are stored and cared for properly!)

So once the shape was roughed out and the back was suitably prepared, roughed up and sized ready for sinew backing, I added 3oz of processed wild English Red deer leg tendon sinew to the back of the stave with my own home produced hide glue made from cooked down red deer rawhide and sinew scraps. After sinew backing was complete, I then wrapping the stave up with bandages and put it away in a cool dry spot to cure for another 6 months.

By the beginning of this year (2025) the stave was dug out of hibernation for an inspection and I was pleased to see that the sinew was now fully cured. An additional 1″ of backset had been drawn into the stave as the sinew had shrunk down, so the overall backset was now almost back to where it was before I deflexed the fades.

This is very normal for sinew backed staves and I felt confident that after tillering, this extra 1″ of back set would likely fall out leaving something close to a more suitable1-2″ backset. And sure enough, after tillering to 27″, the stave was now back to around 2″ overall backset. Perfect!

After a good bit of early shooting in and a little fine tuning of the tiller, the bow seemed to settle into and hold the 1/8″ positive tiller really well. She was turning out to be a nice quiet snappy shooter, and a very enjoyable bow to accompany me about the woods stump shooting for a few weeks. not only did she not kick at all, but pound for pound, I recon this bow is possibly one of the fastest shooting bows I’d ever made.

Now to finish her up I decided to cut an arrow shelf into the handle as I personally love an arrow shelf and knew it would enhance the pointability of this bow significantly. And for the tips I went for wild red deer antler overlays.

Whilst the sinew backing on this bow provided great functionality, it did look a bit plain, so I decided to cover up the rather bland looking sinew with a couple of nice dark brown/purple cobra skins I’d had lying around for ages. The edges of the skins where then sealed and decorated with white dots made from ground deer bone dust mixed with glue and applied with a sharpened stick. I find that this edge work really helps to make the skins pop.

For the handle I ended up contouring the back of the grip to create a very slight pistol grip with the dip pulled up nice and tight to the arrow shelf so as to keep the arrow as close as possible to the top of the index finger of the bow hand. I really find that this little detail allows me to shoot a bow instinctively with considerably more accuracy through enhanced pointability.

After sanding I sealed her up with 8 coats of danish oil. Then the final extra fine sand and pumice polish was finished off with my favourite home constructed linseed oil/bees wax paste wax polish, setting her up for a nice deep satin look to compliment those snake skins and the wonderful golden yellow of the osage heartwood.

For the grip I found a nice rustic piece of home produced bark tanned red deer leather laced up with some roe deer leather thong. And for the arrow pass/shelf I fitted a couple of nice pieces of natural coloured hair on bark tanned red deer shin leather. Which is a better looking wild and rustic version of the commercially available “calf hair” leather the archery suppliers sell!

Fitted with a custom built ultra low diameter fast flight sting, I put a dozen or so 50# 550grain doug fir arrows over the chrono to see how she performed. The chrono recorded an average arrow speed of 168 FPS, which is about what I’d expected given how spicy she felt when first shooting her it. Easily capable of being classified as a “hunting bow” and very accurate and enjoyable to shoot split fingers and instinctive.

This bow is now available to purchase through the Southmoor Bows Etsy Shop, listing available here:

If you have any questions, feel free to contact me either here, or through the shop!

Here are her stats, hope you like the photos and video!

Draw Weight: 52lbs at 27”
Mass: 650 grams
Length NTN: 60” (asymmetrical limb layout)
Width: 1 7/16″” at widest part
Tips: last 4” static reflexed, 1/2” wide
Back: Crowned with undulations. : Pyramidal face profile
Belly Profile: Working limb sections rounded D shaped, transitioning at the tips to a ridged cross section.
Tiller: Eliptical. 1/8” positive
Brace height: 5.5″

Yew Sinew Backed R&D Primitive for Ben 30#@22″ (Bow no: 21)

About a year ago I came across a short piece of round yew log which I’d kept with the intention of using as a billet. It measured 52″ long and about 3″ in diameter and was really nice and clean. After a bit of contemplation I wondered if I could get away with splitting it straight down the middle and getting two short staves out of it. So I thought I’d give splitting it in half a go.

For once it worked! Normally yew never plays ball when trying to split it, so ordinarily I would have taken it to the table saw, but in this instance I couldn’t be bothered, so I just set to it with an axe and wedges instead! Well low and behold it split just perfect! And no propeller twist evident either!

So now I had two nice clean straight, short and relatively thin staves. Should I splice them together and make a light weight full sized bow? Or, should I finally get around to making my kids a pair of proper character primitives, like I’d been promising them for ages. Of course, the kids won!! So this bow is the first of two bows which I made back in 2024. This one in particular is for my 10 year old son, and the other bow (which also came out great) I’ll blog about another time.

My son Ben has been wanting a heavier bow for some time. He’s really grown out of his first bow, a junior recurve which I bought for him when he was only 5. At 15#@ 20″, his recurve is now quite under weight for him and he’s probably drawing more like 22″ now anyway. So in the interest of keeping him excited about archery, I planned on making him something primitive and characterful, with enough punch to get him enthusiastic about flinging arrows again. And hopefully, if it didnt come out too light, it would be a bow that he can properly grow into over the next few years.

I wanted this bow to be a surprise for him, but at the same time, I also wanted to be sure that I built him something which he’d like the appearance and feel of. So in the interests of getting it right first time, I asked him to go through my collection of primitive bows and point out which style of primitive bow he liked the most. He chose the R&D sinew backed elm bow which I blogged about here:

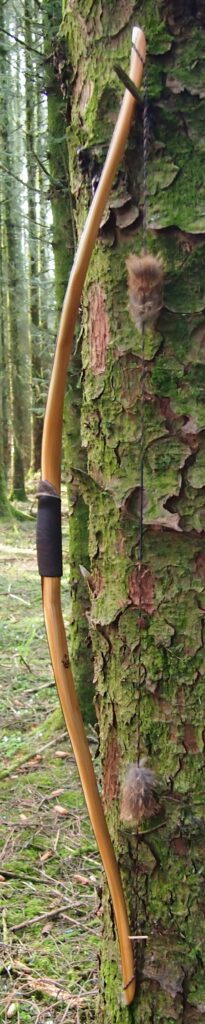
He told me that he liked the shape (R&D pyramidal) and that he loved the rustic sinew backing effect that I’d created with that particular bow. He also made it clear that he wanted antler tip overlays, an arrow shelf cutting into a static handle, and a rustic leather grip. So now I knew what he liked, I set to work on one of the two yew staves with a plan to build a similar looking bow to the one he’d picked out of my collection, only made from yew and way more suited to a small, but rapidly growing young man!

After roughing the stave out to something close to final dimensions, I spent a bit of time heating a nice even Reflex/Deflex side profile into it using a mixture of steam and dry heat applied whilst using a shaping form I built a while back specifically for kids bows.

The sapwood was only about 1/4 – 5/16″ in thickness so I just left the back of the stave as it was directly under the bark. Ben had already made it clear that he wanted his bow to be sinew backed “like the Indians did”, so after I had the bows shape and profile locked in, I sinew backed it with red deer leg tendon sinew applied with TBIII, and parked it in a dry, cool place to cure for 6 months.

After waiting through the entire summer and autumn of 2024, the stave was finally ready to dig out of slumber so I cut some temporary nocks into and got it on the tillering tree. Within a couple of hours I had the tiller pretty much done but was a little concerned the weight was still too heavy. And at 40lbs at 18″, I was right!

By reducing the limb width a bit I managed to shift about 5lbs of draw weight without moving the tiller off, but I still had at least another 8lbs to get rid of before I could close the gap on the target draw weight of around 30Lbs at 22″. So I carefully scraped away at both limbs checking constantly for tiller change until I reached around 30lbs at 20″

Happy that the rest would probably fall off through shooting in and final sanding, I shaped the handle, cut in an arrow shelf and took it out for a spin in the woods with a hand full of 350 grain 35# stumping arrows which I’d built to accompany the bow when I gift it to Ben. They were a little stiff so I ended up keeping them a tad longer than I normally would so as Ben’s draw length increased with his age, his arrows should still be safe for him to use. Hopefully I’d just reduce the point weight as his draw length increased to keep them flying true.

I had a wail of a time over the next few day trying to shoot a 22″ draw without an anchor, and have to say, I actually got half decent at snap shooting from the hip like the Comanche did in the archery videos Ben’s been watching lately on YouTube ! After a couple hundred arrow and a good bit of fun the tiller seemed to be holding just fine, well for split fingers at least, (pinch grip not really being my thing!) So I decided to move on to finishing touches.

Tip overlays from red deer antler went on easy enough and once I had them shaped up, I could envisage going really fine with the tips so as to create a really sharp but elegant look to what is after all a rather petite bow. And of course by minimising the mass in the tips, I would also help to ensure that this little bow was maximising energy transfer to those nice light arrows.

Whilst I had the rasp out thinning down the tip tappers, I also saw fit to do a bit more handle shaping which brought the grip into a nice comfortable shape. Ben is a bit finicky about bow grips and hates bulky handles! This handle now had a slim profile and a slightly dished out belly side to it, which felt really natural in the hand. I figured he’d like that. I certainly did!

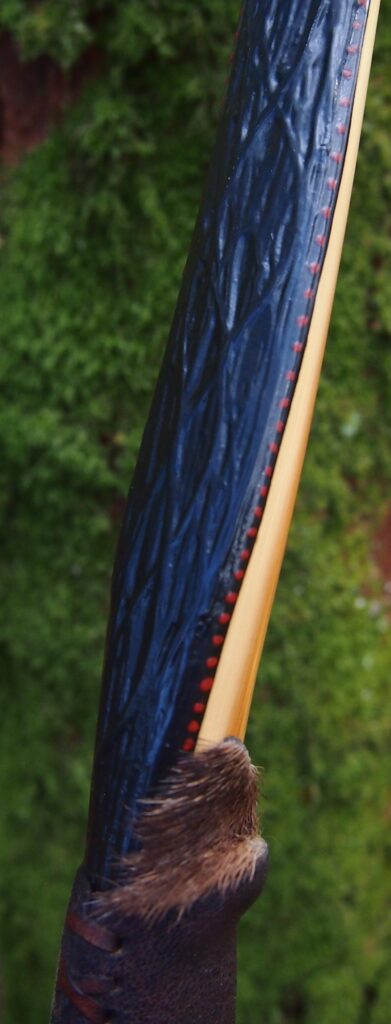
Ben had said that he wanted the same textured sinew effect on his bow that I’d done with the Elm primitive he’d selected from my bow collection. So Instead of filling and smoothing out the rough sinew on the back like I often do before adding snake skins etc, I simply gave it a light sand to knock off the snaggy raised ends of of the sinew stands. Then after sanding the whole bow, I masked off the belly and edges of the bow, and painted the whole sinew backing jet black with a paint made up of shelac and my local Bideblack earth pigment.

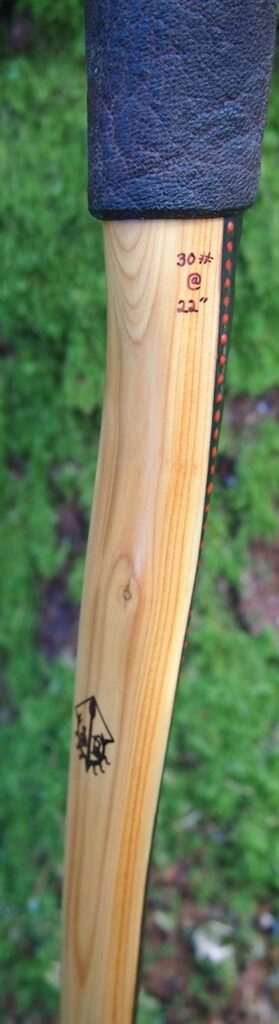
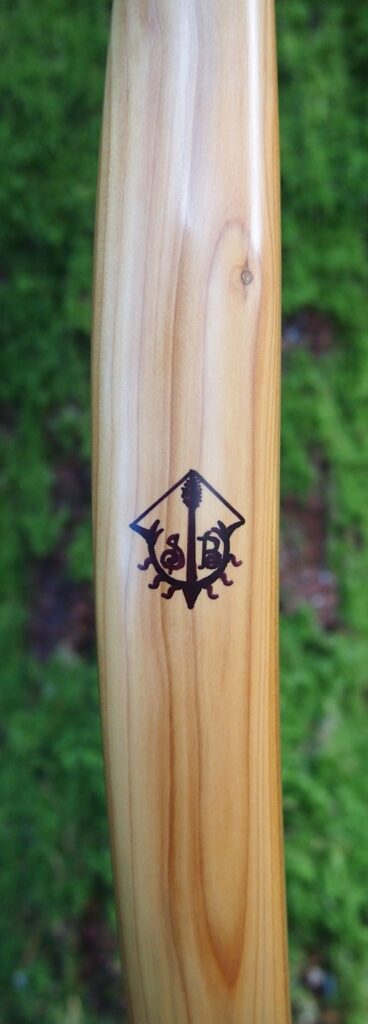
As a bit of a edge decoration I painted a row of red earth pigment dots along both edges of the sinew backing to give a buffer to where the black met the light coloured sapwood along the edge. And after writing on the draw weight/length and adding my bowyer’s motive, I sealed her up with Danish oil, topped off after polishing with my favourite paste wax.

For the grip I fitted a nice rustic natural bark tanned piece of roe deer leather sticked up with a thinner piece of the same material cut into thin leather lace. The cut leather edges of the grip and lace where then “aged” with Iron chloride to create that natural patina look that old worn leather gets on its edges. A coat of the same paste wax I used on the wood was applied to the leather grip and polished up to give a nice low gloss/satin water proof finish. The arrow shelf/pass was then treated to a couple of pieces of bark tanned “hair on” red deer shin leather to add a nice rustic, primitive look whilst maintaining functionality and durability.

Ben was absolutely over the moon when I presented the bow to him. Of course he wanted to take it out right away and shoot it, but since it was dark outside, I managed to get him to wait until the next day! He had a great time zipping his arrows off at stumps situated off in the next county, and proceeded to loose two of his new arrows in the process! Doh!! But never the less he had a blast, and has shot his new bow many times since with a newly rejuvenated enthusiasm for archery!

Despite Ben not quite yet being able to get the bow all the way back to his normal 22″ draw length, he is definitely getting it back to around 19-20″ now more often than not. So he’s probably drawing something like 25 ish lbs from his new bow at the moment. Which is still a lot more than his usual 15lbs! And he could immediately see how much more speed and power his new bow had in comparison to his little old recurve.

Anyway, I hope you like the photos below. If you like the look of this bow and think that your child might like something similar built for them, feel free to get in touch as I will consider commissions for unique pieces of work like Ben’s bow. Either message me through the contact page on this website or contact me through the Southmoor Bows Etsy shop and we can discuss designs/materials/prices etc.

Here are the stats for Ben’s bow. Keep an eye out for the sister bow to this one, which I’ll post about very shortly! Until then, may your arrows fly true!!

Design: Reflex Deflex, Symetrical Pyramidal longbow

Draw Weight: 30lbs at 22″
Mass: 440 grams
Length NTN: 49”
Width: 1 3/16” at widest part
Tips: 4” static 3/8” wide
Back: Crowned with sinew. Pyramidal face profile
Belly Profile: Working limb sections D shaped, transitioning at the tips to ridged cross section.
Tiller: Elliptical. 1/8” positive
Brace height: 5″

Sinew Backed Primitive Elm R&D Longbow 48# @ 27″(bow: 20)

It’s been ages since I made myself a bow. So when I uncovered a forgotten Elm stave which I’d had up in the barn rafters for a couple of years, I rather fancied turning it into my next favourite stumping primitive.

Whilst the stave was fairly clean, it did have a knarly looking end section which looked more trouble than worth the effort to work around. So I opted to cut this end off. This only left me with 61″ to play with. That’s not much for a white wood bow.

A white wood bow this short, intended to be drawn back to my 26″ draw length, would stack unless the tips were flicked. But flicking the tips on an otherwise short and straight stave would probably overstress the limbs.

As the added reflex was only to reduce stack, not add speed, I opted to deflex the handle section/fades so that it would cancel out the added stress from the recurve induced throughout both outer thirds. This is something that I tend to do routinely now, as even just a whisper of R&D makes for a much smoother, less stacky draw.

And as this white wood bow was always going to be a tad on the short side of ideal, to make sure that there would be no risk of his bow blowing up on me in a few years time, I decided to sinew back it with 3oz of Red Deer leg tendon sinew. Whilst it’s always a hassle and a massive faff to sinew back a bow, in addition to the extra durability sinew backing brings, it don’t half add some resistance to set, not to mention a fair bit of extra zip!

The stain on the wood is iron chloride, and the light dark effect on the sinew was achieved by painting the rough sinew backing jet black using my local “bideblack” earth pigment mixed with TBIII, which was then sanded along all the high spots to reveal the underlying natural sinew colour standing proud above the black sinew valley bottoms.

Edge work was done with the same black paint and the white dots are deer leg bone dust mixed with glue. I personally really like this kind of edging as it really makes the face profile pop.

Tip overlays are wild Red deer antler, and the handle/ arrow pass is covered with my home produced traditional spruce bark tanned wild roe deer leather. The wood was finished and sealed with shellac.

Given the sinew component, this bow took a full year to build from start to finish, but I’m really happy with how she came out. She is fast and light in the hand, and produces zero hand shock. Quiet as a feather and very pointable too. Whilst I’ve yet to put more than a couple of hundred arrows through her, she is already rapidly becoming one of my favourite woodland bows.

Here are the stats:

Draw Weight: 48lbs at 26”
Mass: 660 grams
Length NTN: 59.5”
Width: 1 3/4” at widest part
Tips: 5” semi static 3/8” wide at the nocks.
Back: Moderately crowned with a pyramidal face profile.
Belly Profile: Working limb sections flat with rounded corners, transitioning at the tips to ridged shaped cross section.
Tiller: Elliptical. 1/4” positive
Brace height: 5 1/2″

Here are the photos/video.

Sinew Backed Yew Primitive 46# @ 27″ (bow no: 19)

Since gaining a bit of a reputation locally for being the guy who makes “Character bows”, I’ve been “gifted” rather a lot of “character staves”! And not wanting to appear ungrateful, I’ve become prone to accepting these staves, rather than politely declining the “generous” offer of yet more firewood!

Actually, once in a while, some of these typically low diameter branch staves don’t look too bad, (at least upon initial inspection) and the bow featured in this post was built from one such branch stave which was donated to me in 2022.

Despite the low diameter and general knottiness of this particular branch stave, there was one face which looked quite nice and could make for a sound back. So other than a couple of branch whirls to deal with on the belly side, I could easily envisage making a simple but effective primitive bow from this stave. So in the spring of 2024 I set to work on it.

Roughing out was straight forward enough and I was pleased to get past all the pith without running low on heart wood material. I decided to keep the face profile fairly narrow so as to minimise the amount of sapwood which was curling around the edges towards the belly due to the low diameter and high crown on the back.

The stave was fairly straight other than a tiny amount of deflex right in the middle where I’d lay out a stiff handle with fades. I decided to leave this deflex alone since I only had 62″ of overall length to work with, and really hoped to get 27″ of draw length out of this bow. I figured that lightly flicked tips could possibly work since the deflex in the handle would help cushion the extra strain that any reflex might place on the relatively short working sections of the limbs. Flicking the tips would help reduce any stack experienced which might result from the short length.

A stiff 4″ handle with 3″ fades, and 5″ stiff tips would reduce the overall working sections of both limbs down to around 20″, which isn’t a great deal to support the load that a 27″ draw would place on a bow as short as this one. So after roughing out and steaming the tips into a light reflex, I decided to sinew back this stave and leave her to cure out over the summer of 2024.

By early autumn the sinew backing appeared to be thoroughly cured and a little bit of overall reflex had been drawn into the stave as the sinew had shrunk down tight. This often happens when enough sinew is used, which is why I typically apply my sinew backings by weight to ensure enough (but not too much) sinew is applied.

I find that a total of 3 ounces of sinew (an ounce and a half of dry processed sinew per limb) is the perfect amount for a bow in the 58 – 64″ range. 3 oz is plenty enough sinew to add significant extra power and resistance to set, but not so much sinew that the added weight of the sinew starts to add power robbing mass to the limbs.

I find that more than 3oz of sinew on a bow this length crosses the point of diminishing returns, and the extra weight the additional sinew gives to the limbs can actually start to decrease arrow speed and create a fair bit of limb vibration too. This vibration post string release is typically felt as an uncomfortable form of hand shock. So when it comes to sinew backing a bow, more is not necessarily better!

So 3oz of dry sinew is about perfect, so long as the bulk of its distribution is along the working sections of the limbs, as opposed to the handle section or the last 6″ of the tips, which will not be improved one bit by the added weight of a full thickness layer of sinew. In fact the tips really only want as thin a layer of sinew as is possible. Just enough to cover the visible surface of the back. Enough to add structural integrity but not weight.

The stave was brought into shape and a rounded D shaped belly was chosen so as to get as much sap wood off the belly corners as possible. This allowed for the retention of as much heart wood as possible and resulted in an overall ratio of around 50/50 sapwood/heartwood. Which was pretty good for a low diameter branch stave.

Three of the small knots presenting on the belly were a bit weak looking so I opted to dig them out and fill them with a mixture of epoxy and yew dust so as to add back some strength whilst retaining as best a natural look as possible.

Before putting the long string on for the first few pulls the stave held about 2″ of overall reflex, but I new that a fair bit of that overall reflex would disappear once the tillering got well underway. And as expected, by the time 26″ had been reached the overall reflex had reduced to about an inch. My expectation was for it to drop another inch by the time full draw was reached and the bow had been properly shot in, and my expectation was spot on.

So after a thorough shooting in period, the overall reflex/deflex reduce to about neutral, which was ideal for a bow which was going to end up only 60″ nock to nock. The light reflex in the tips had held it’s shape, even with their relatively low diameter, and the 1/4″ positive tiller had stayed true throughout the shooting in period.

46# at 27″ was about right for a stave of this nature and she was pleasant to shoot too. So to finish her up I fitted her up with a pair of red deer antler tip overlays. To decorate the back I fitted a nice King Rat snake skin which I had squirreled away. As well as looking quite cool, I also like that snake skins are pretty water resistant and afford a sinew backing quite a bit of extra protection from water/humidity ingress, which is always a bonus in a humid country like ours!

This snake skin wasn’t long enough to run tip to tip so I left the tips bare to show off the sinew backing. The transition from the snake skin to the sinew at the tips was wrapped with deer back strap sinew to tidy up the termination of the snake skin. The snake skin and the sinew wrappings were then edged with a black paint made from my local black earth pigment (Bideblack) mixed with hide glue. And the cream coloured dots added to the black painted boarder were made from mixing hide glue with deer bone dust.

The bow was finish and sealed thoroughly with 8 coats of danish oil made satin in appearance through a final pumice polish buffed down with wax paste. I opted to cover the slightly contoured handle with a nice piece of my home bark tanned red deer leather in a nice natural red tan colour, laced up with some leather lace cut from a roe deer hide I bark tanned last year.

The arrow pass is a piece of red deer shin leather which I tanned with some of the hair still on. It’s a bit like a rustic primitive version of the calves hair leather pieces you can buy from archery shops, only cooler!

I really enjoyed building this bow and found her to be really pleasurable to shoot. The chrono consistently recorded speeds of around 150ft/sec from a 400 grain arrow which is quite reasonable for a character branch stave.

The balanced tiller and flicked low mass tips helped mitigate any hand shock and the slightly contoured handle made for a nice comfortable grip. I can imagine this bow giving someone many years of enjoyable and reliable shooting so will be offering this bow for sale in my Southmoor Bows Etsy shop, the listing can be found here:

Specifics are as follows:
Draw Weight: 46lbs at 27”
Mass: 725 grams
Length NTN: 60”
Width: 1 3/8” at widest part
Tips: 5” working 3/8” wide at the nocks.
Back: Moderately crowned with undulations with a pyramidal face profile.
Belly Profile: Working limb sections D shaped, transitioning at the tips to ridged shaped cross section.
Tiller: Elliptical. 1/8” positive
Brace height: 5 1/2″

Here she is, hope you enjoy!