Tag Archives: Flatbow

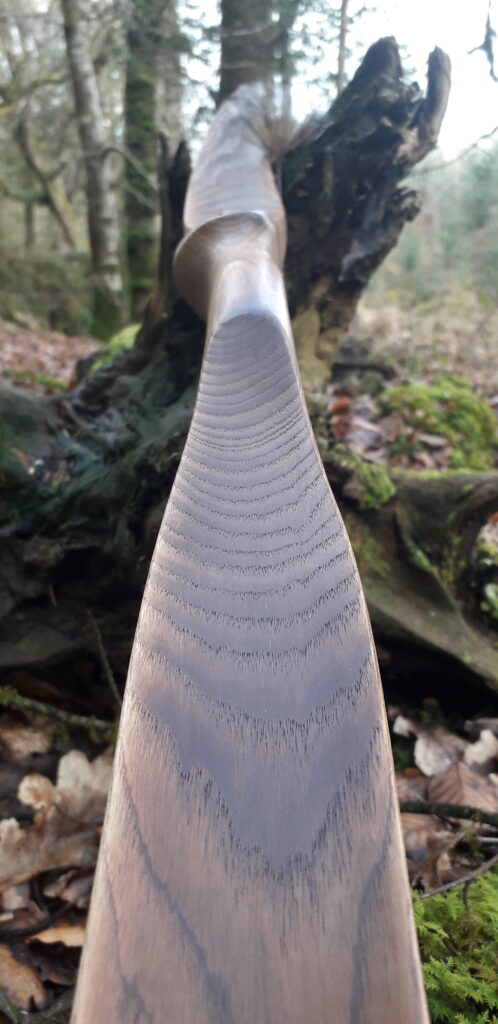
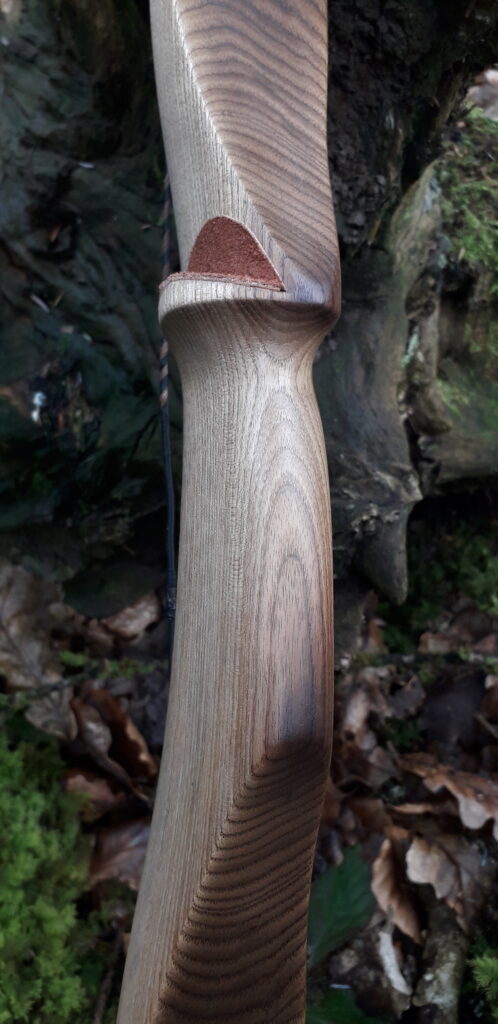
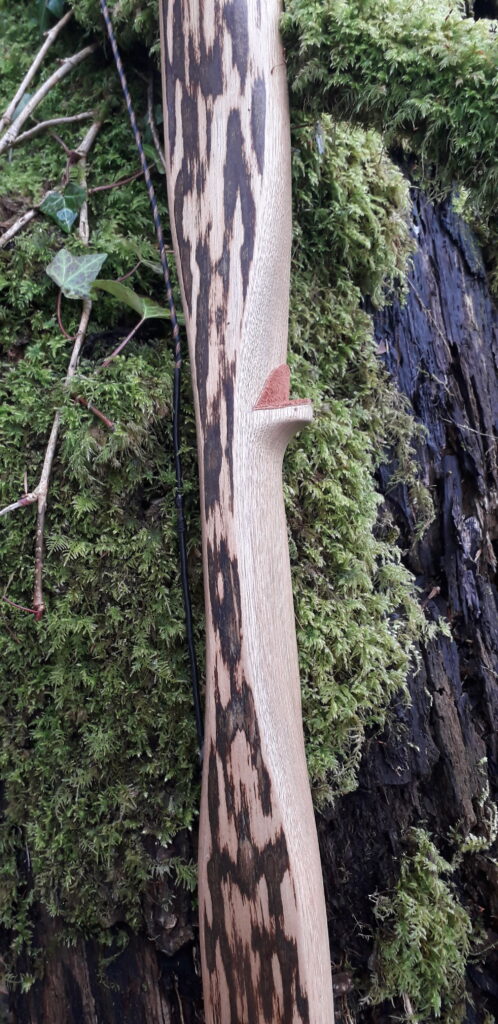
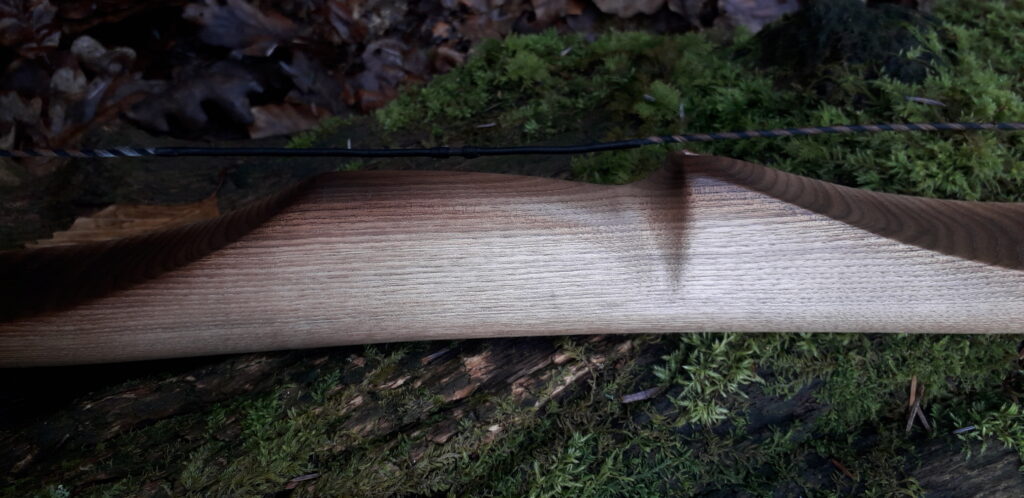
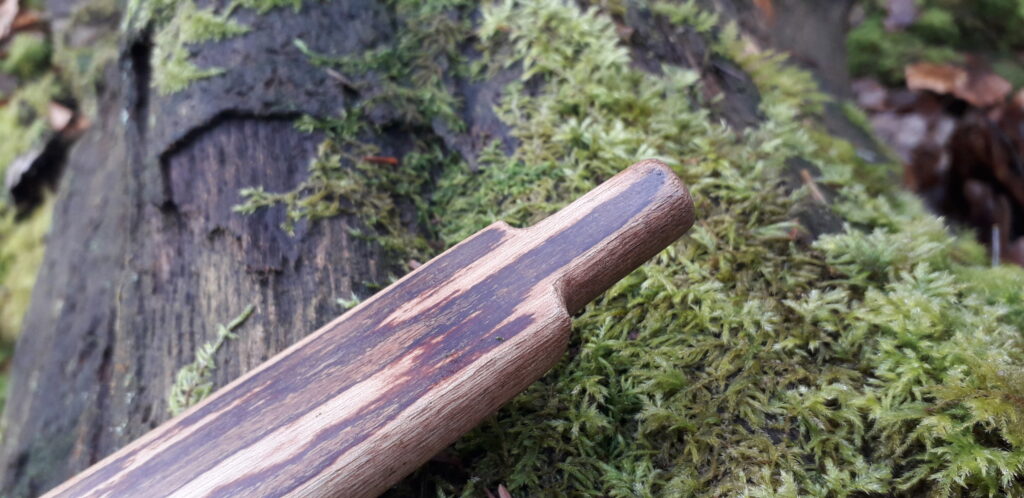
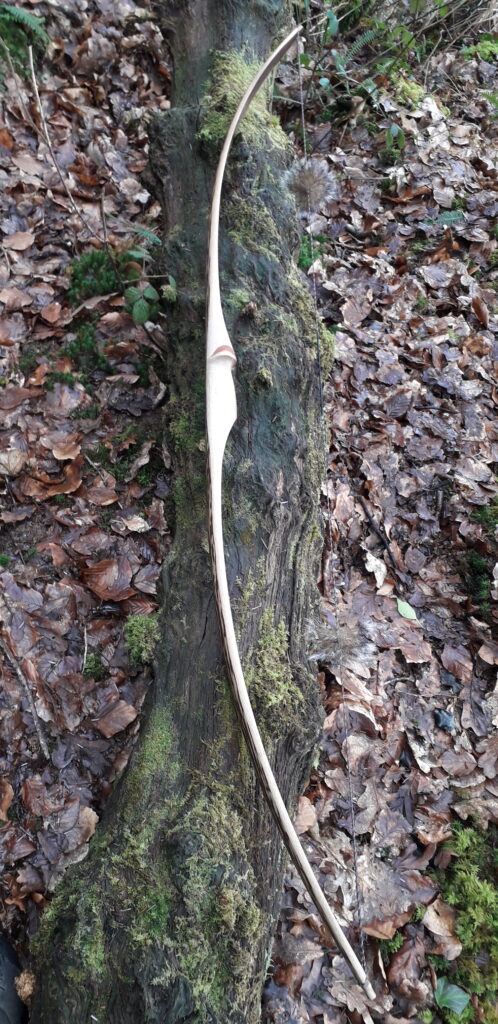
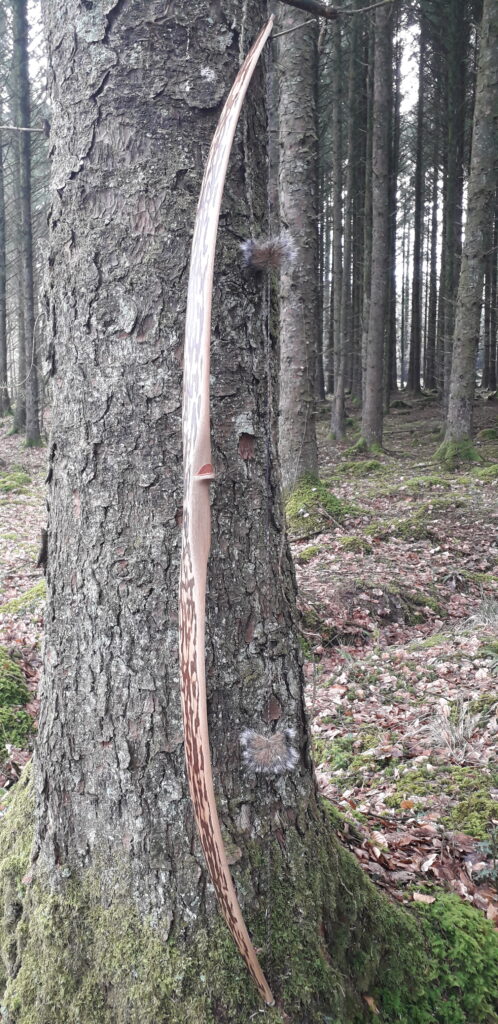
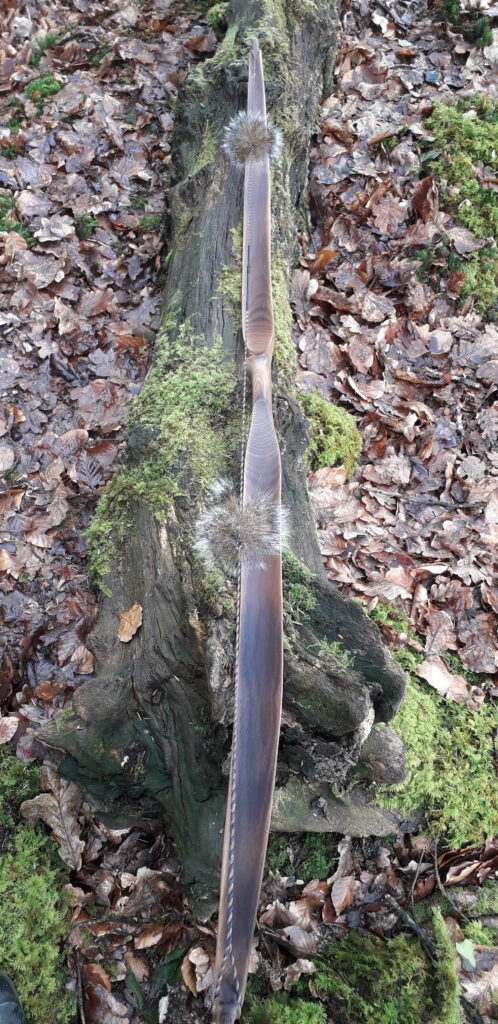
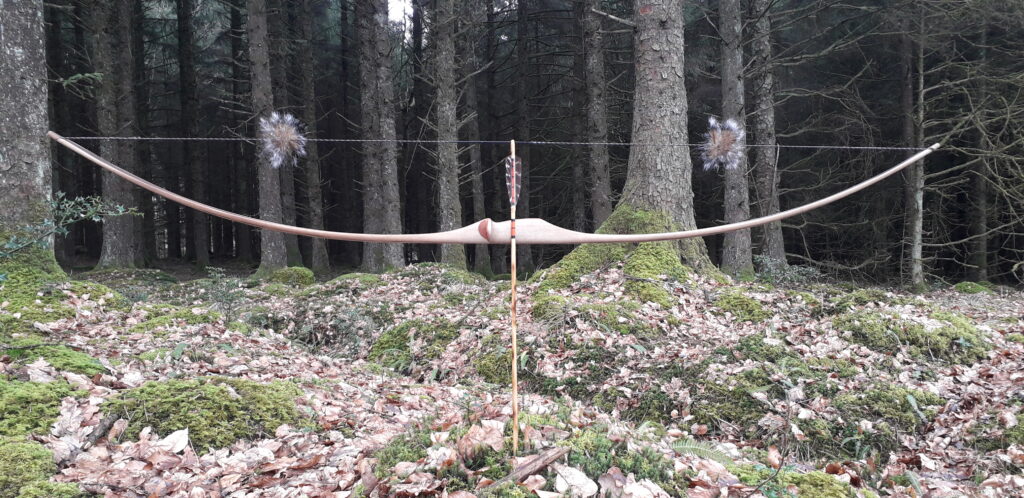
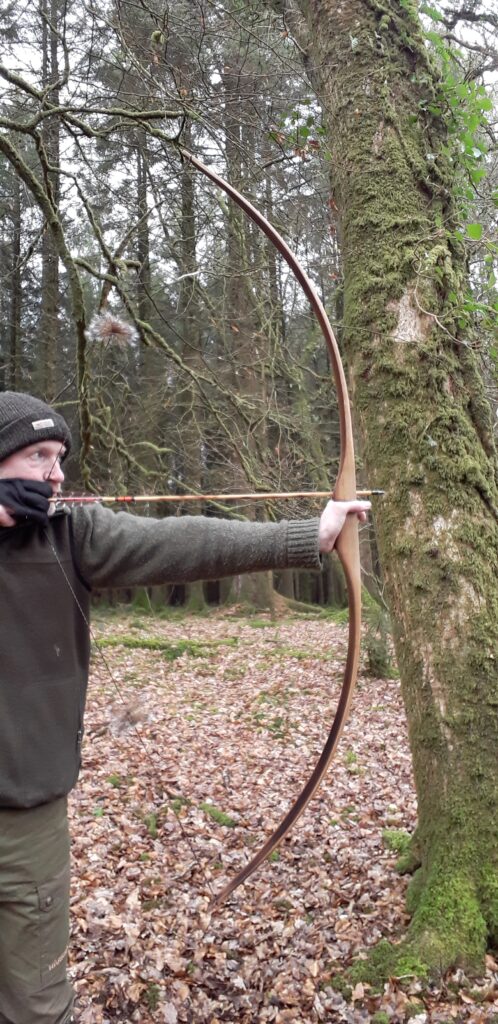
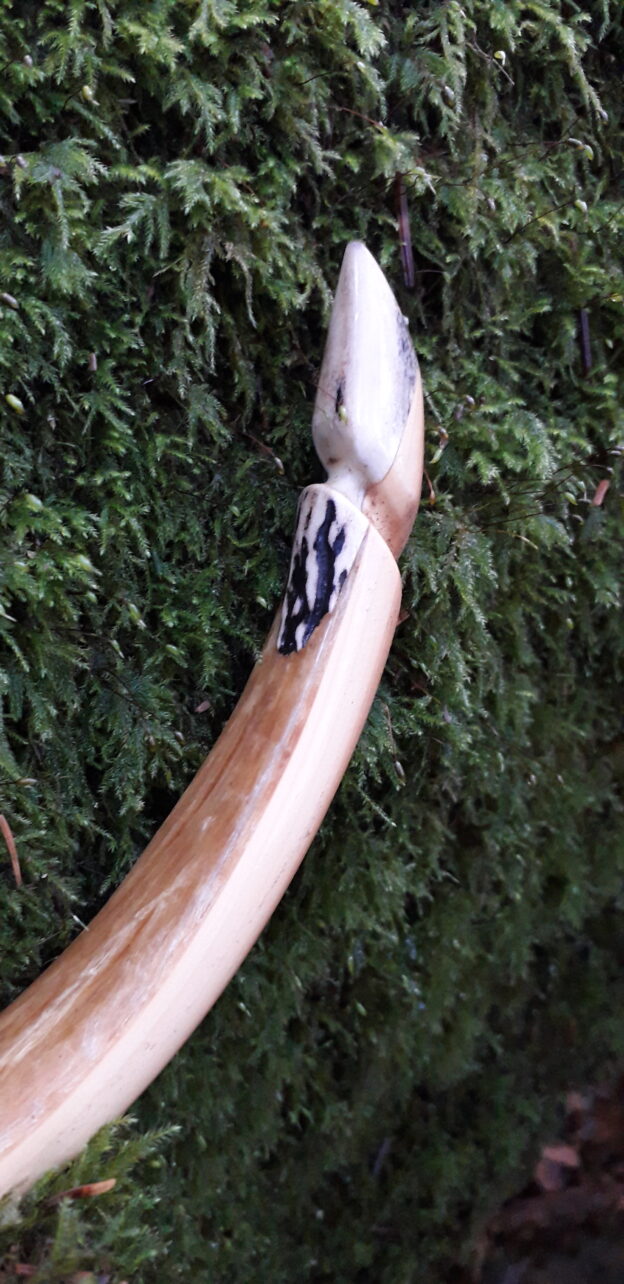
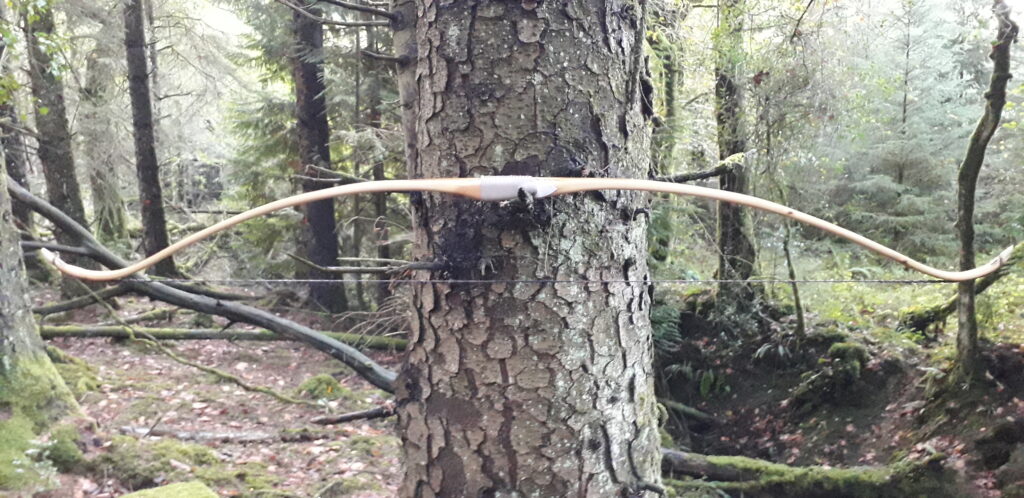
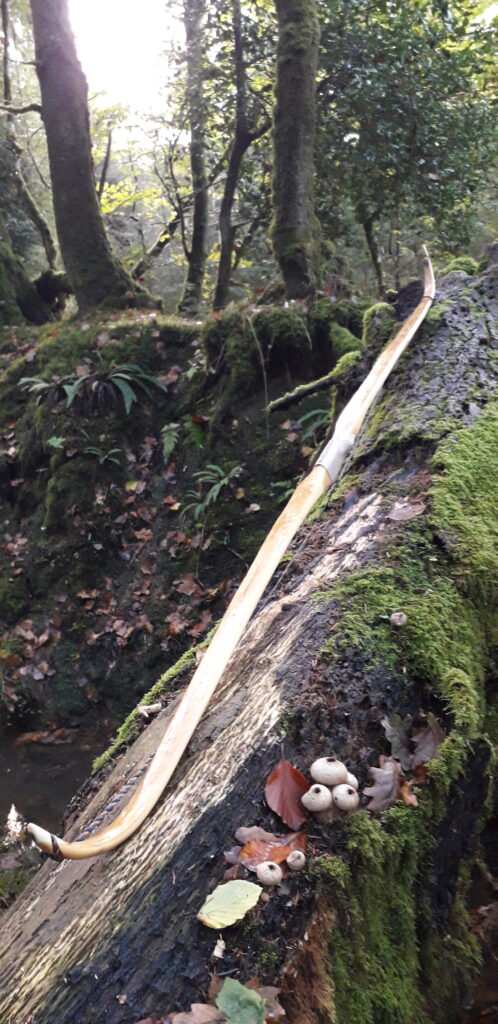
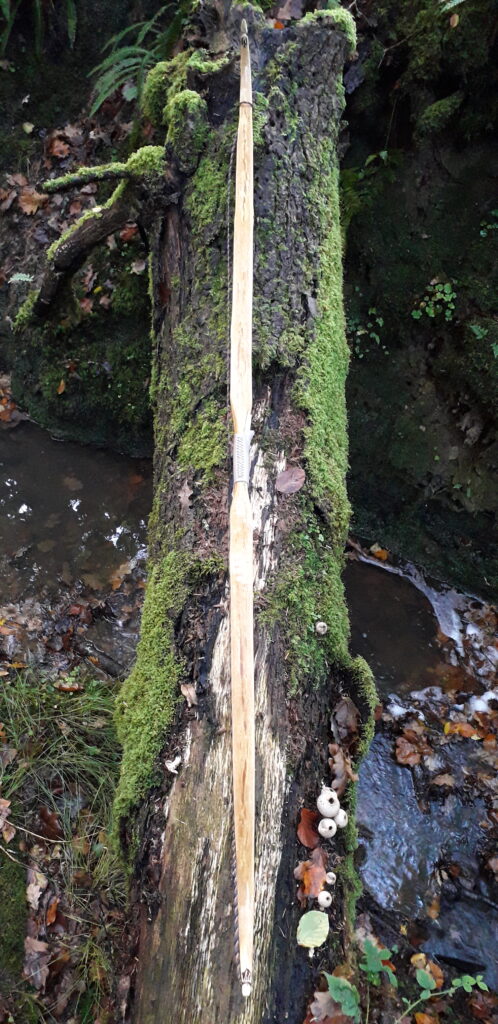
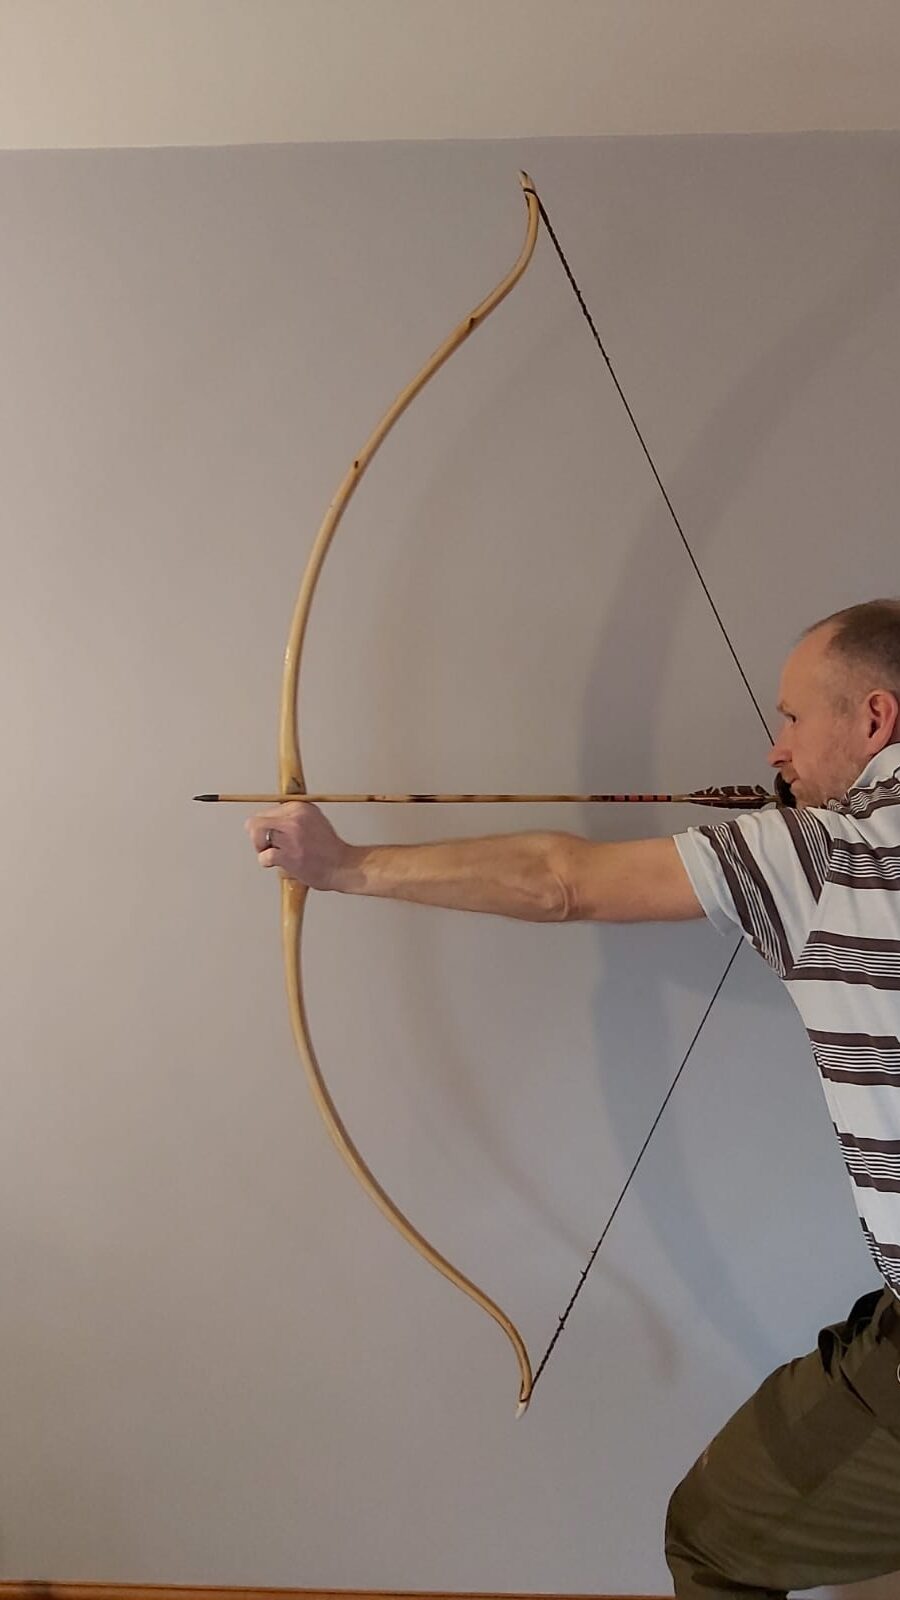
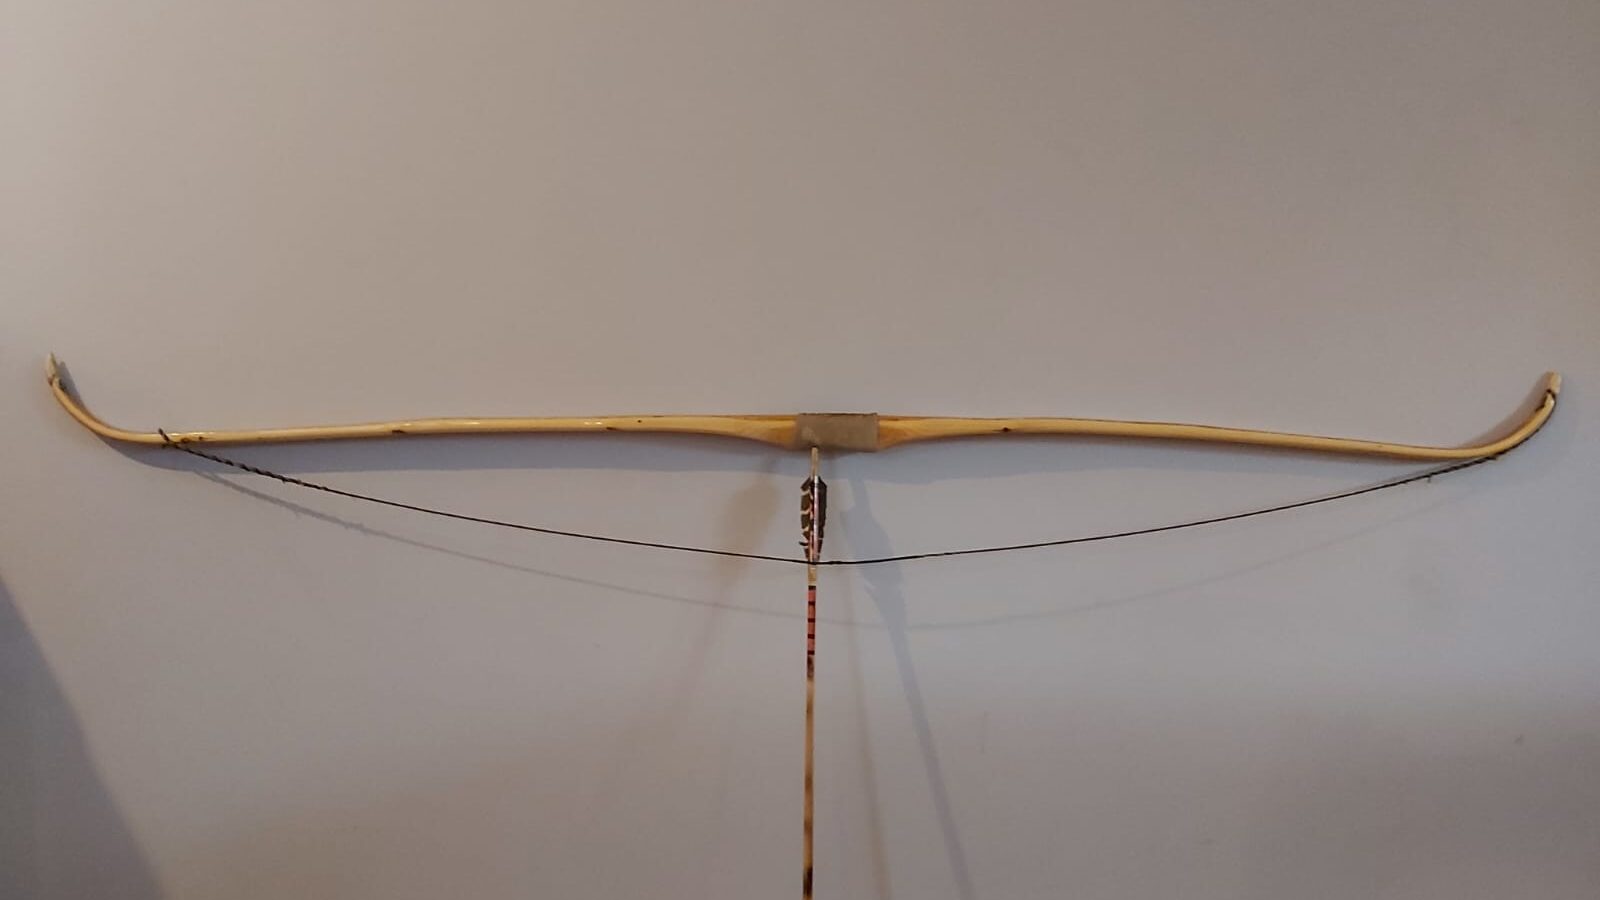
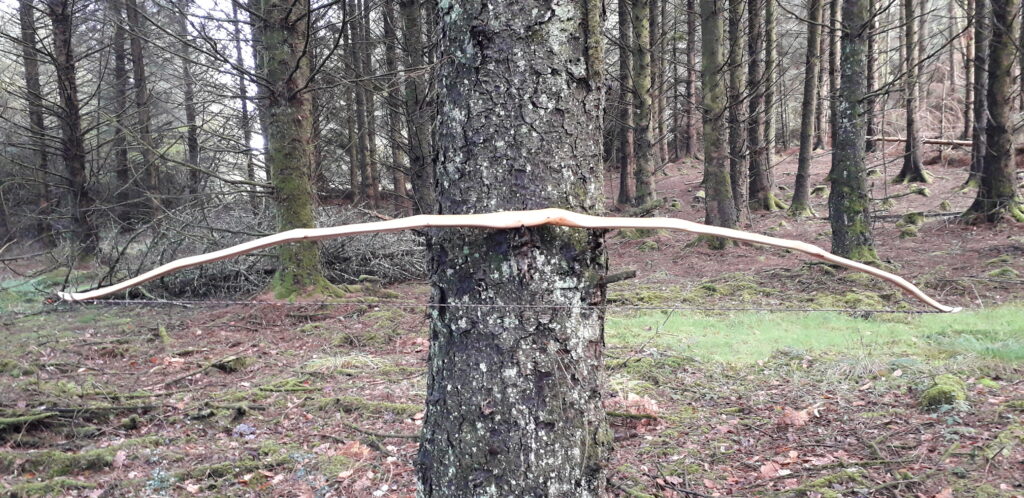
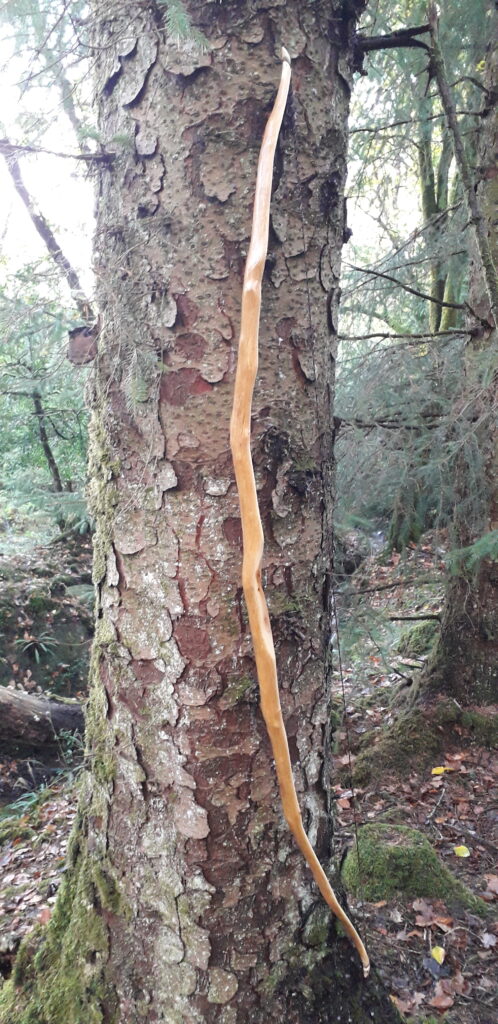
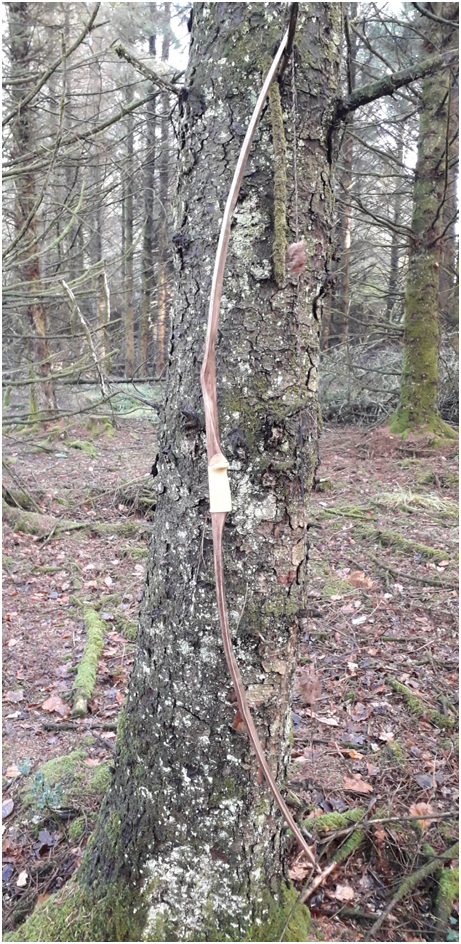
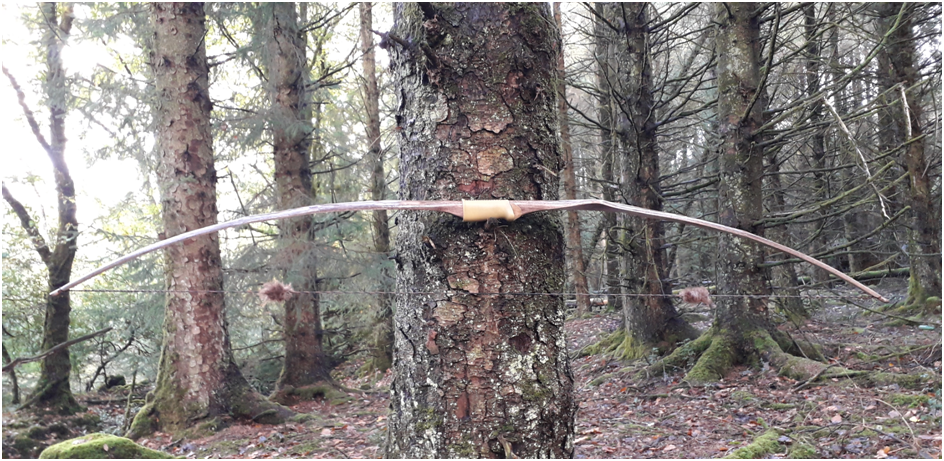
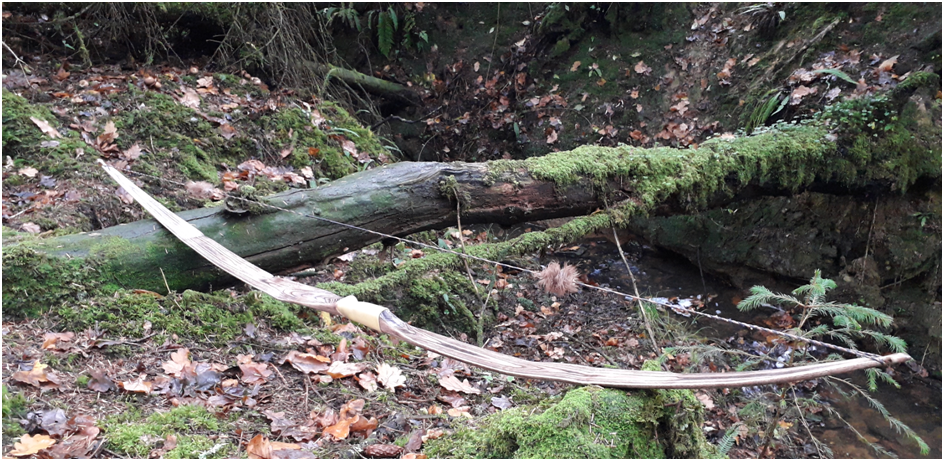
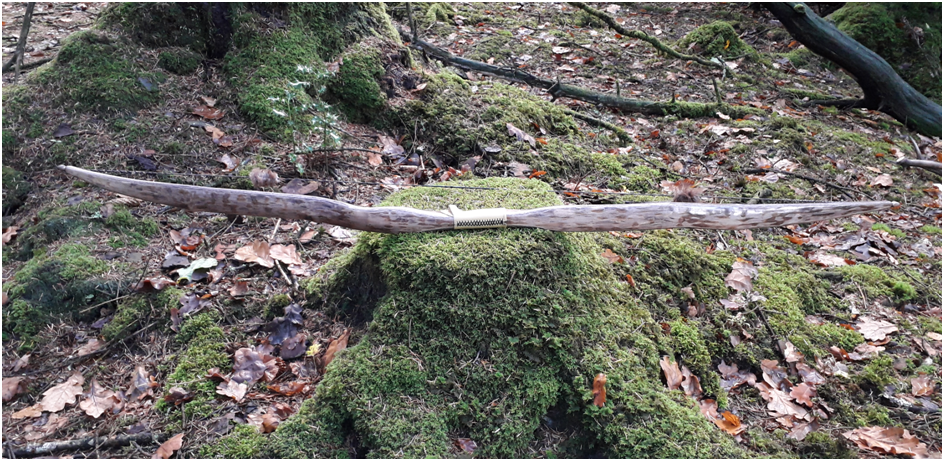
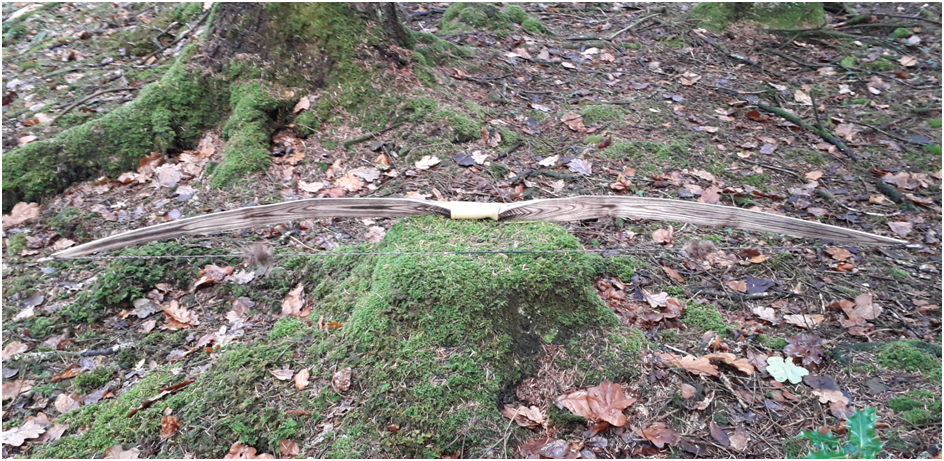
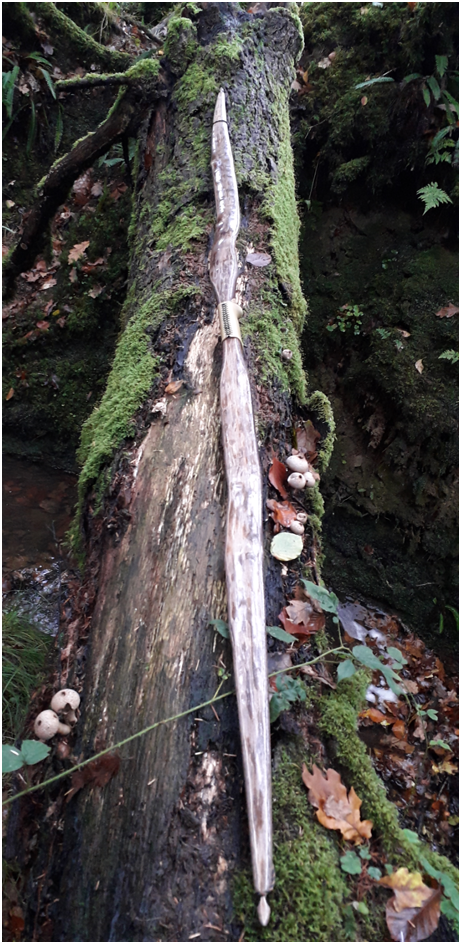
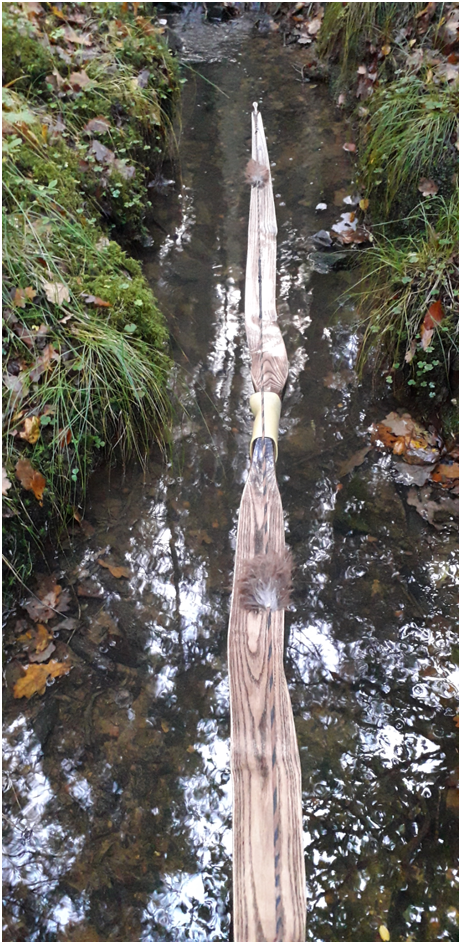
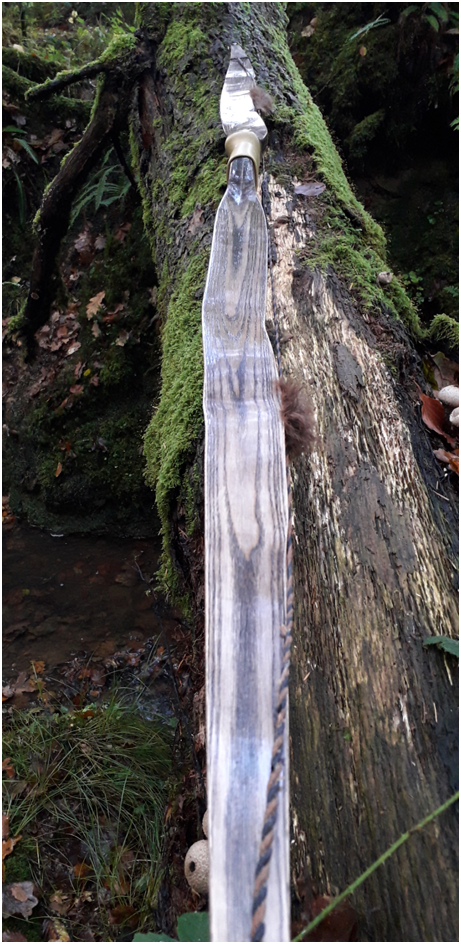
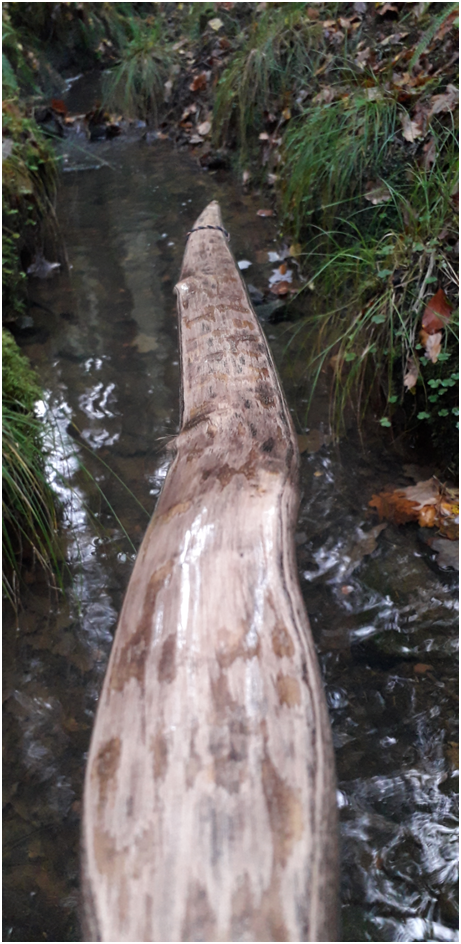
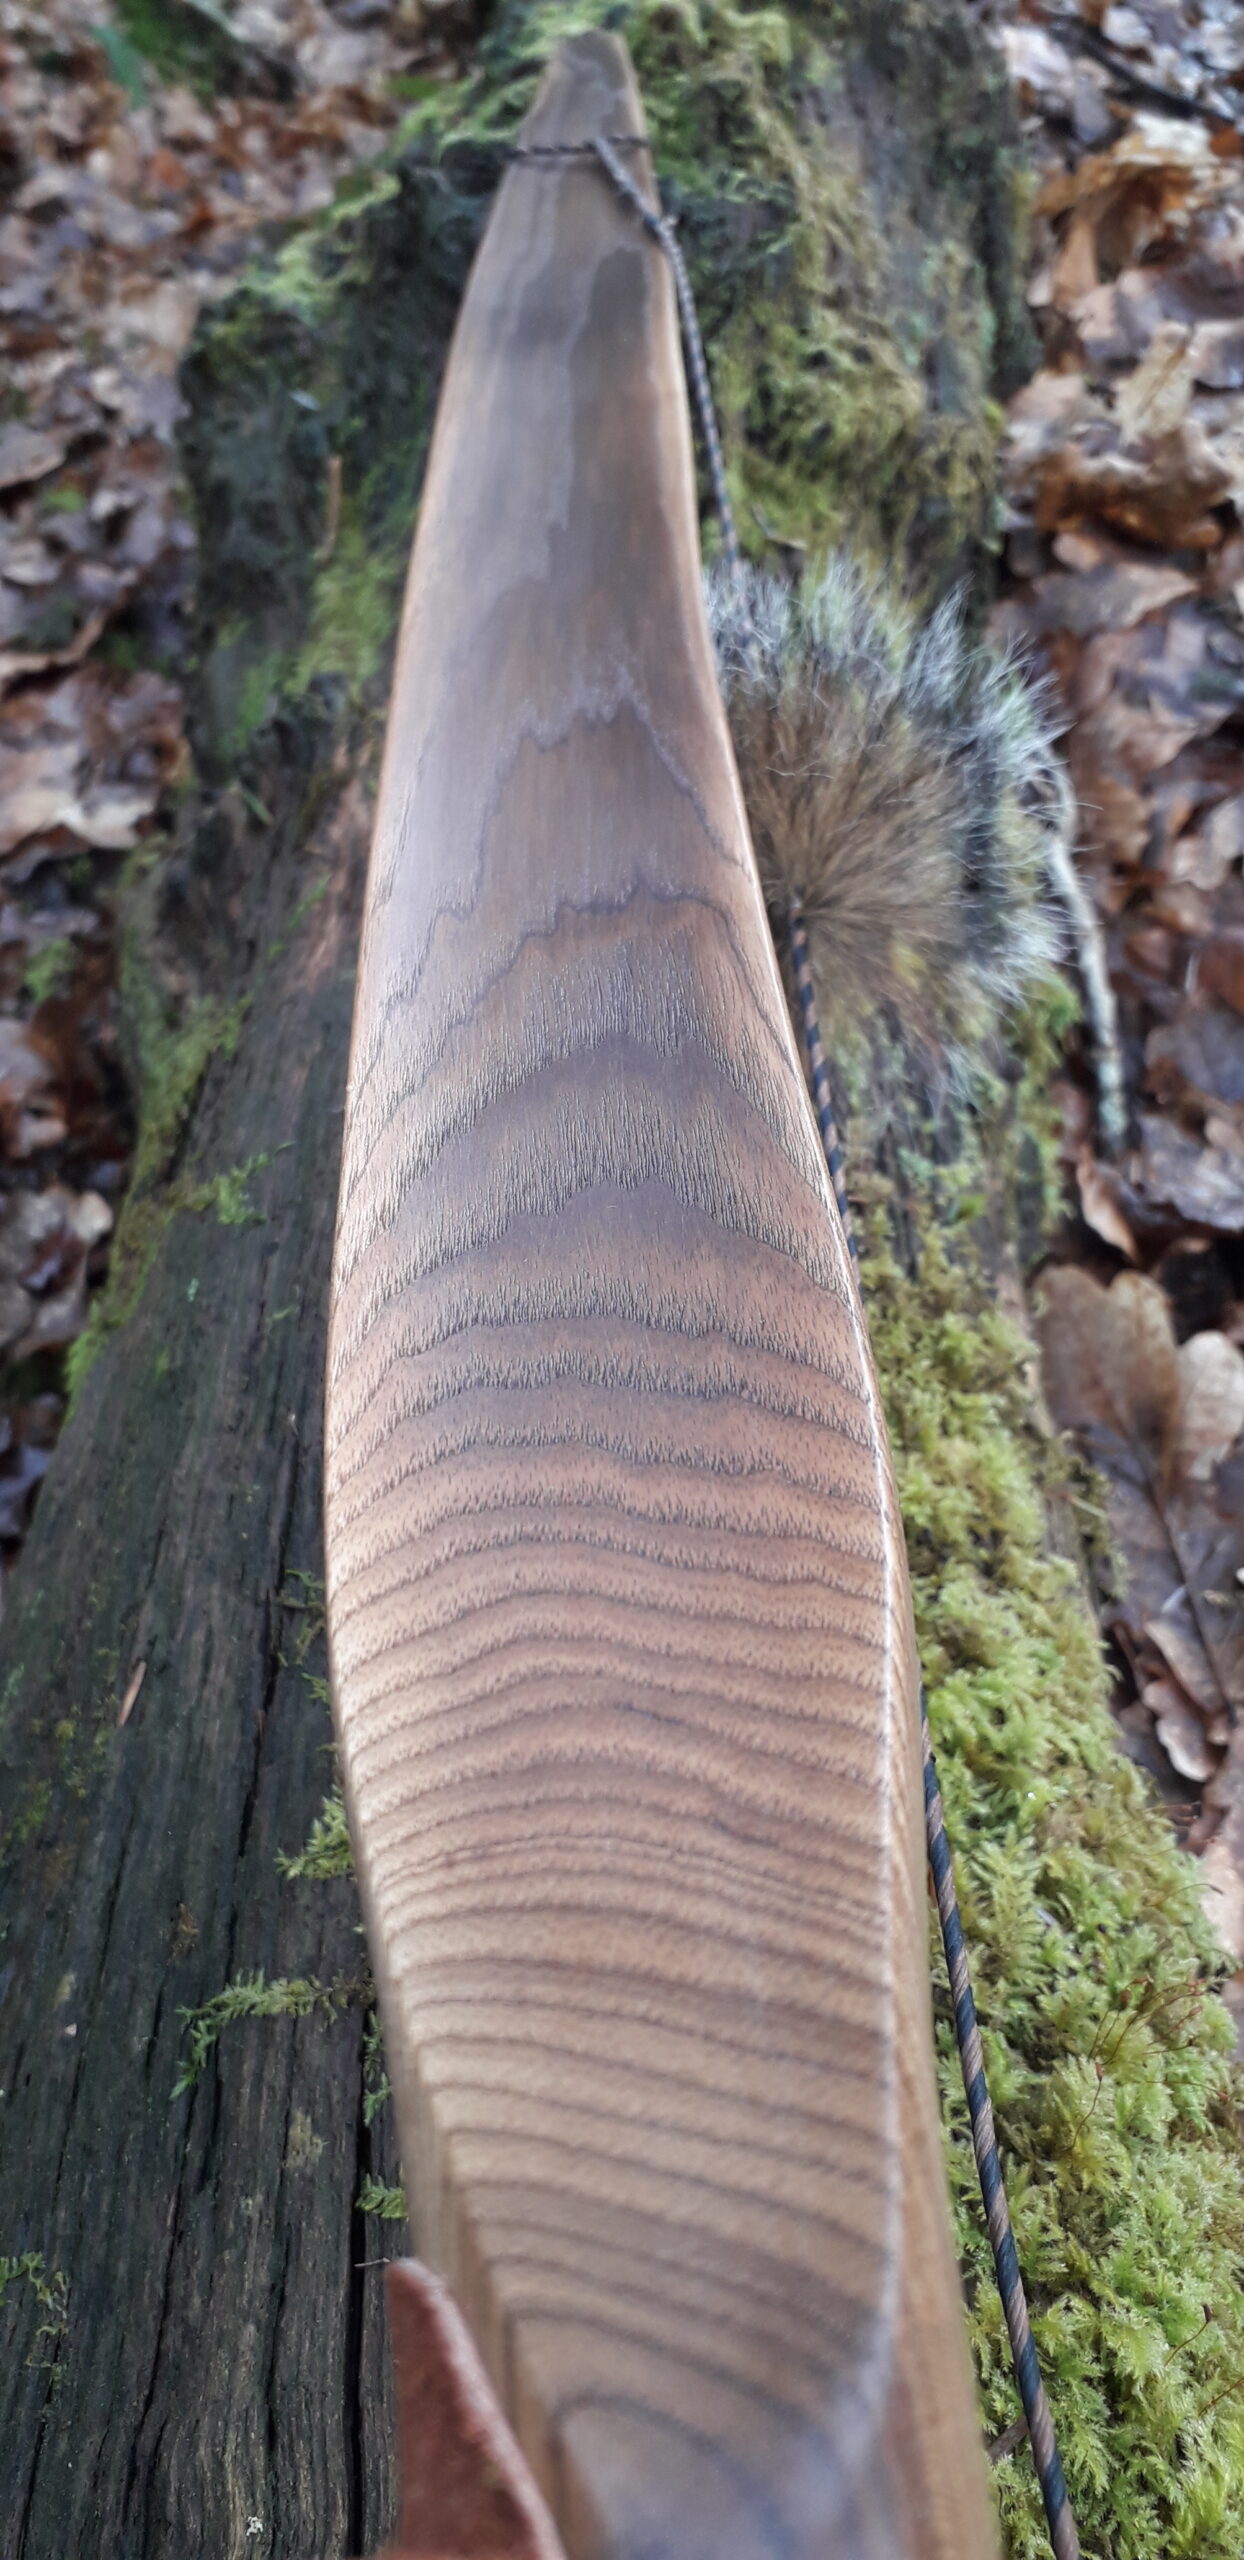
Ash HLD Selfbow – Heat Treated 51# @ 27” (Bow No. 8)

Ash is a timber which is super common in my part of the world. As a firewood, Ash is a favourite of mine. As a bow wood though, it is never my first choice. Nor is it my second choice come to think of it!

Ash staves always seem to find their way into my stave collection though. Not surprising really given the abundance of clean and relatively straight logs which abound within my local landscape.

The stave which this bow came from was cut out of a hedgerow by one of my neighbours who was in the process of laying an old derelict hedgerow. The hedgerow in question was full of nice straight and clean 4-6” diameter Ash stems which had coppiced up from the remnants of the parent trees which were laid decades earlier.

I dread to think how many bows I’ve made from Ash. Back in my late teens I would try and make English style D shaped longbows from Ash only to be bitterly disappointed when the bellies chrysaled and the set was measurable in feet not inches! (Joking of course).

So when I pulled this stave out of the rack a few months ago I knew that, without optimising the bow design, a bow made from this stave would only make a “reasonable” bow at best, no matter how clean and straight it was. 

So I decided to make yet another Ash bow, but one which would incorporate design features which would enhance efficient and durability whilst also making it a pleasure to shoot. But without any frills! This was going to be a quick and simple primitive bow with only one none essential addition – An arrow rest. Just because I fancied one!

As is the norm around here, this typical Devonian Ash stave showed thin rings and way more early wood than I like to see. But this is just the way most of the Ash in this part of the world grows. Here in the South West, our mild and wet 10 month growing season produces timber which is fast growing through the spring months. This long growing season leads to many of our native hardwood species laying down a considerable proportion of its total seasonal growth ring to early wood.

Ash in general is weak in compression. Our local Ash is even weaker in compression than normal, so if this stave was going to make a bow which would perform and last, then I would have to pull out all the stops to prevent any delaminating in the fades and/or the belly getting crushed. Both of these faults are common place with our local Ash unless extra care is taken.

This bow came from a stave which was 76” long. I cut it down to 68” to ensure that the length was adequate enough to mitigate for the weaker than average compression strength I’d envisaged this stave suffering from. The plan was to end up with a bow measuring 66” nock to nock with limbs 2” wide for the inner thirds tapering down to 3/4″ wide self nocks

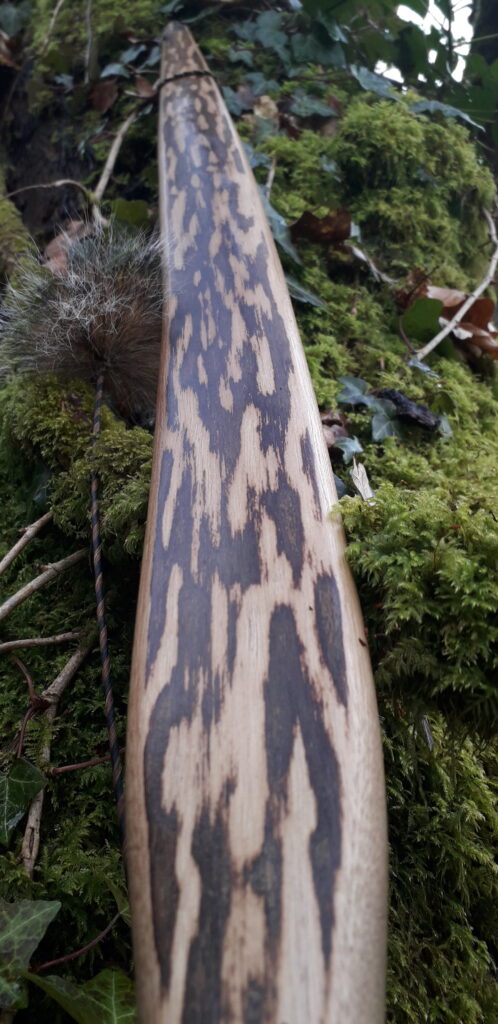
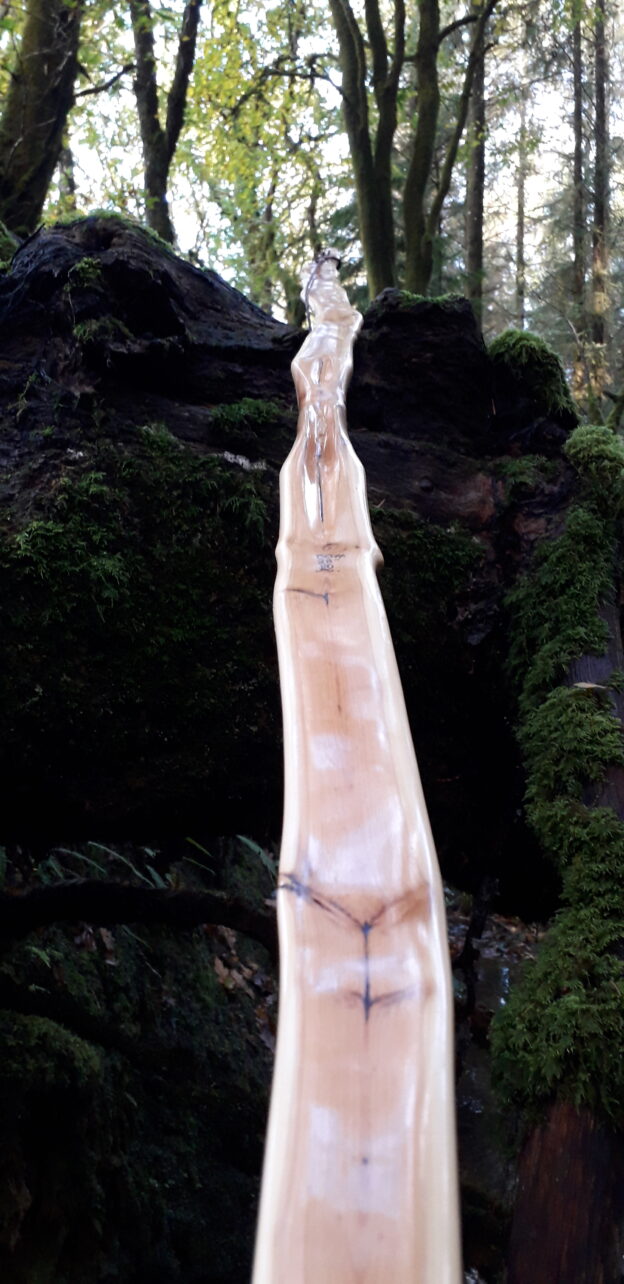
In terms of basic appearance I was going for the typical flatbow face profile with limbs lenticular in shape. The cambium had been left on this stave so I worked a camo effect pattern into it. The handle would be deep and contoured simply because I can knock my favourite shape out so quick and easy these days that it takes me no time but adds tremendous comfort to the grip.

Tiller would be circular and the limb tips would be made to do as much work as the rest of the limb in order to maximise the distribution of compression over the greatest possible surface area. Fades would be 3” max in order to get as much limb bending as I could without sacrificing a rigid handle.

The limbs would be slightly hollowed out so as to almost mimic the crown on the back in order to increase the surface area of the belly. Thickness across the width of the limb would increase slightly towards the centre line and thin towards the edges. And the corners on the back would be slightly rounded in order to take some of the tension strong back wood out of commission. This would achieve a better balance between the overpowering tension strength and the compression weak belly wood which this particular Ash stave presented me with.

After basic roughing out, the stave was pretty straight and with a moister content probably around 12%. I wanted some overall reflex in the bow before starting the tillering process so I clamped the stave to a reflex form with about 2” of induced reflex. Clamped in reflex, I then force dried the roughed out stave over my wood burner until the weight would not reduce any further.

After some time to recover ambient moisture levels (6-8%) I tillered the bow to brace height. Most of the force drying reflex had fallen out so before commencing with full tillering, I decided to put the bow back on the same reflex form and thoroughly heat treat it over my wood burner stove top.

My stove was running scolding hot thanks to some lovely dry beech logs. Each limb got about an hour and a half sat over the stove top in order to cook both limb bellies right through to the centre of the limb. The bow’s mass was reduced significantly and given the depth of the cook, there was no way this bow was going to take in much ambient moisture again.

One of the benefits of heavily heat treating white woods is that the cooking process makes the belly side of the bow somewhat hydrophobic. This reduces the woods ability to suck ambient moisture back in. Raw untreated/unsealed Ash loves to suck in atmospheric moisture, which is why it can become a noodle very quickly in damp condition without very good sealing.

After heat treating, I gave the bow a couple of days to rehydrate back to something more like 6-8% moisture content. An untreated, unsealed ash bow will soon suck in enough ambient moister to raise its moister content back up to around 10%. that would be a recipe for set. However a heavily heat treated bow will not slip back to that kind of moisture content without actually wetting it.

After a couple of days to reacclimatise, I then carried on with tillering the bow back to brace again. The cooking of the belly had moved the tiller slightly and added several pounds in draw weight. This is usually what happens so should be expected. In fairly short time she was finished on the tiller tree and looked and felt about 1/8th positive at 53lb at 27”.

I find that heavily heat treated bows will produce the same arrow speeds as untreated bows of significantly higher draw weights and this bow proved that theory once again. The chronograph demonstrated average arrow speeds of 168fps with a 450 grain arrow. That’s not bad for a simple Ash self bow which was only drawn to 27”!

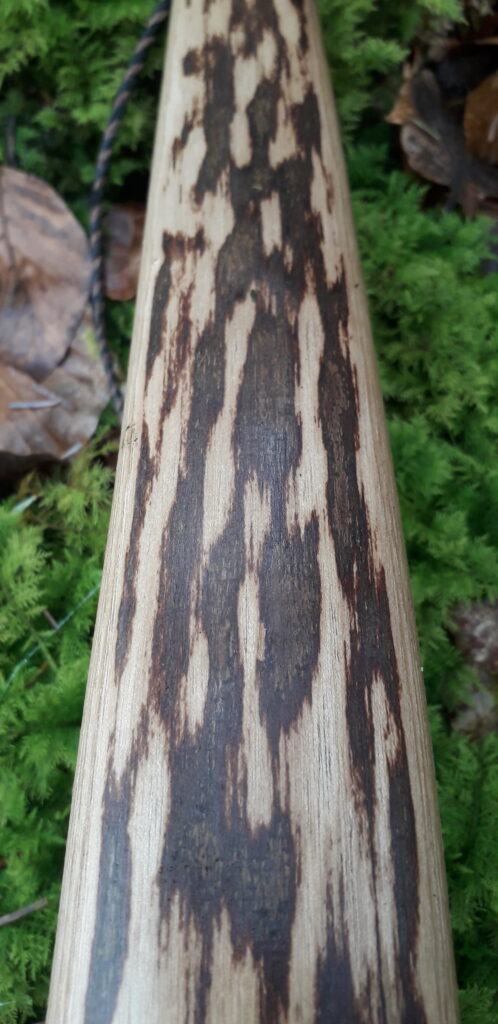
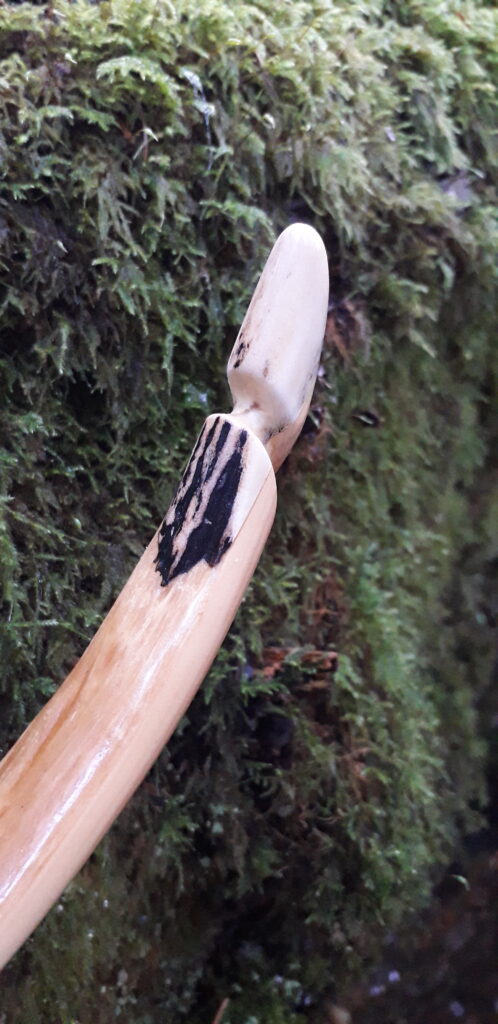
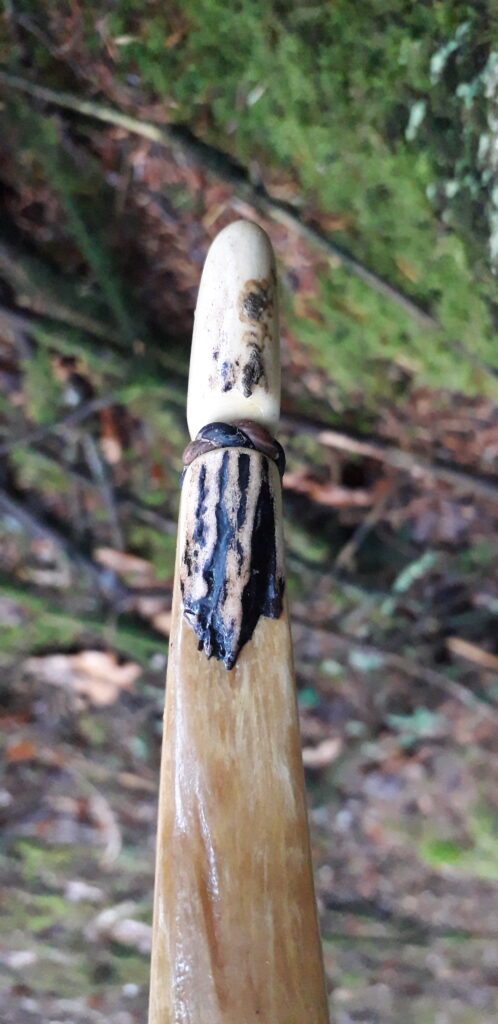
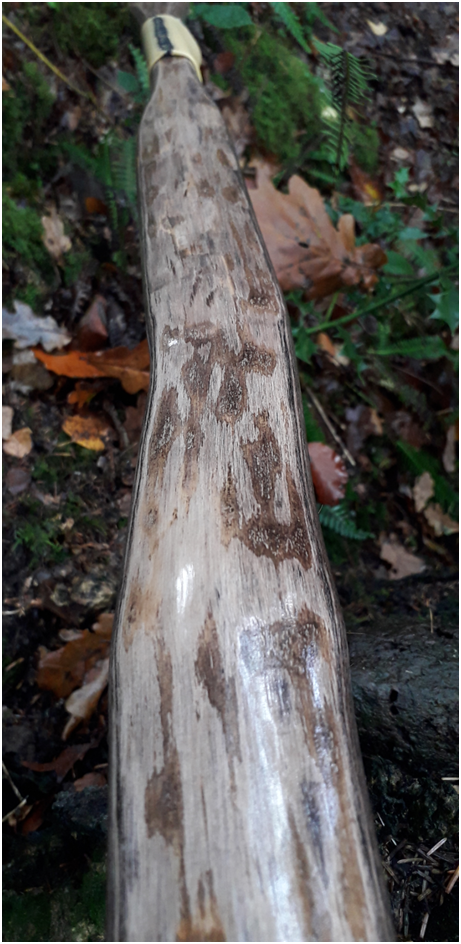
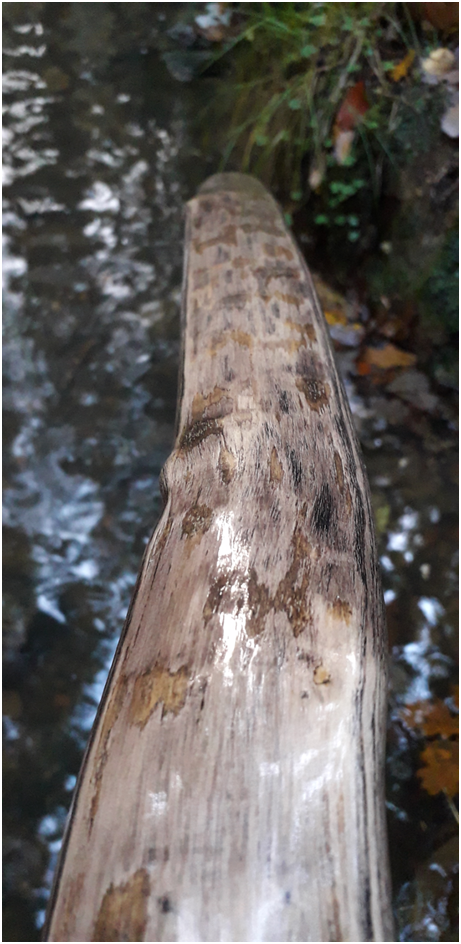
For a finish I just used a clear polyurethane which I had kicking about. The colour which you can see in the remnants of the cambium are as a result of a couple of days sat in the ammonia fuming pipe before roughing out and force drying began. The tannins in the bark went a nice dark green/brown. The cammo effect looks great.

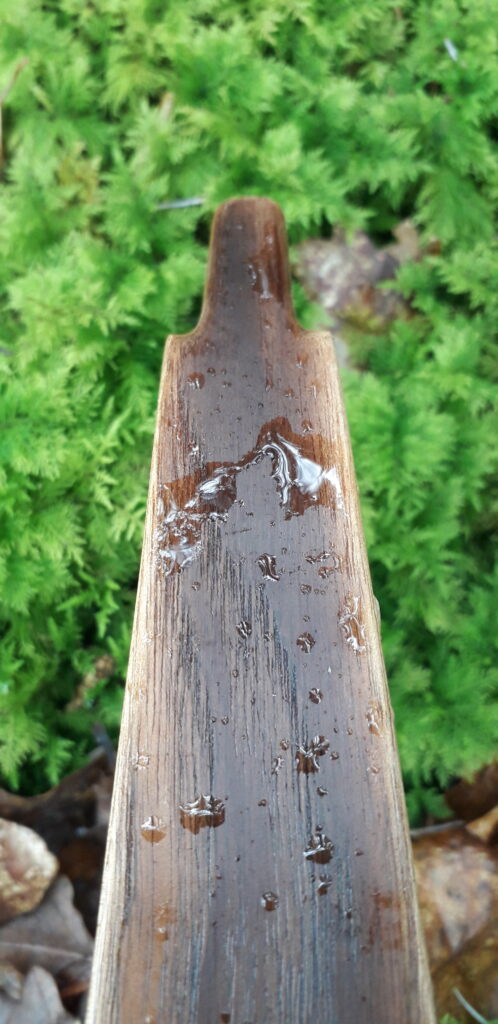
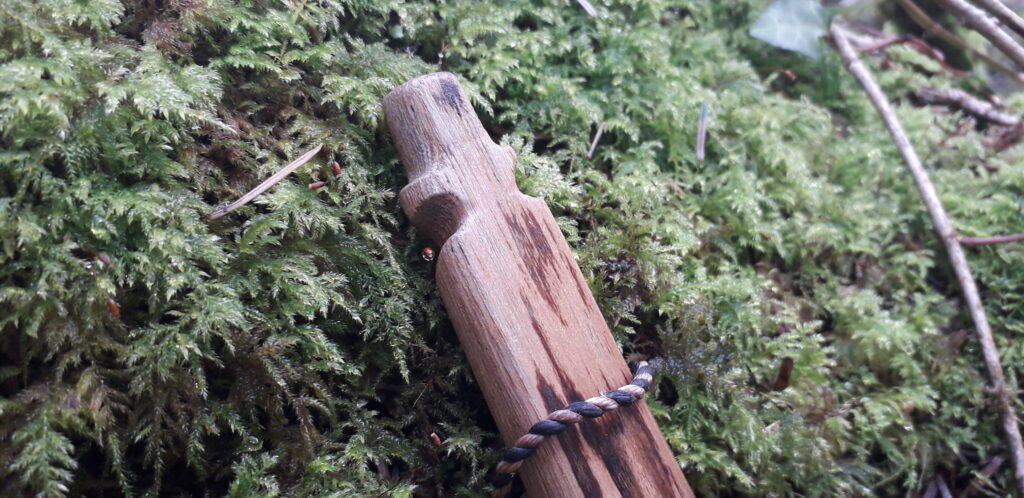
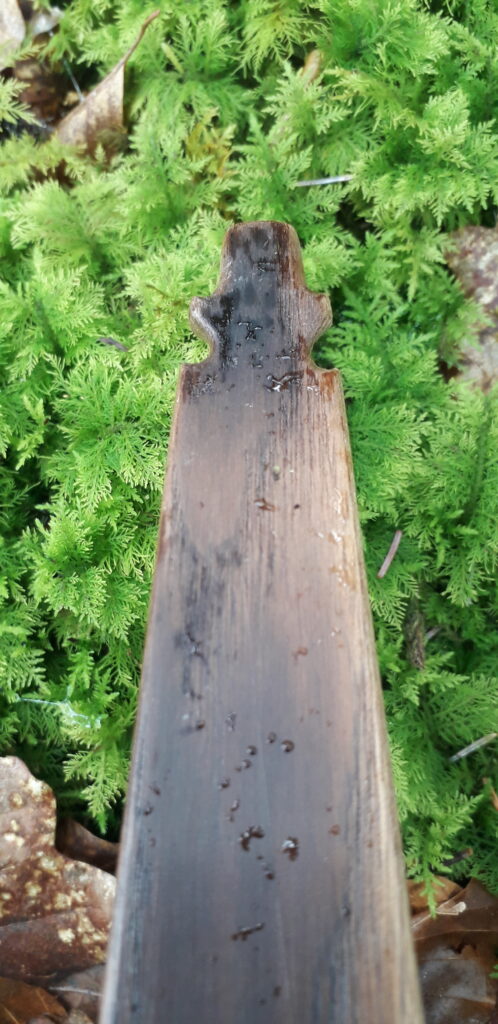
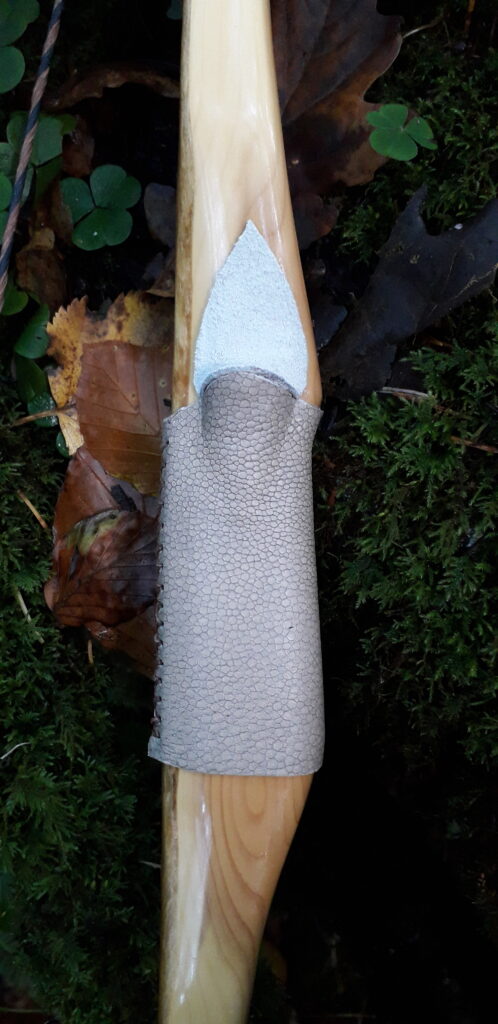
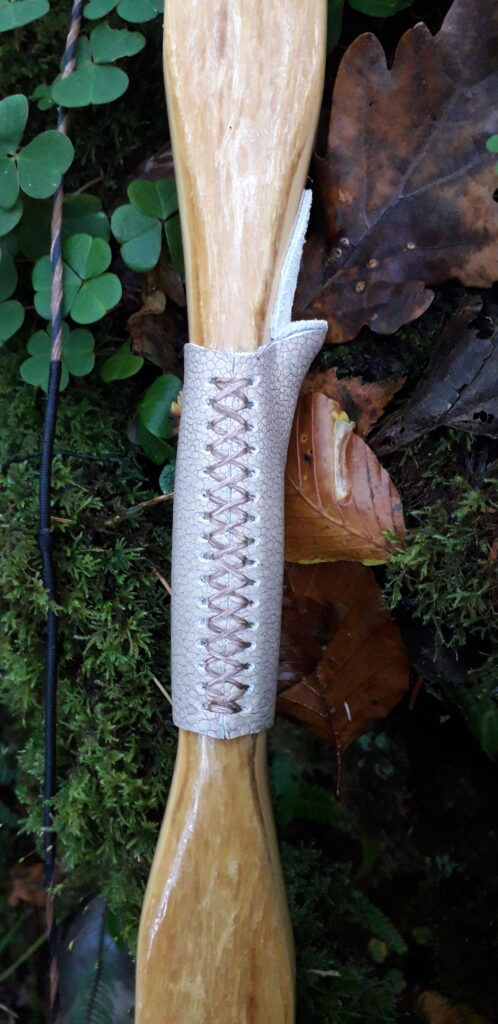
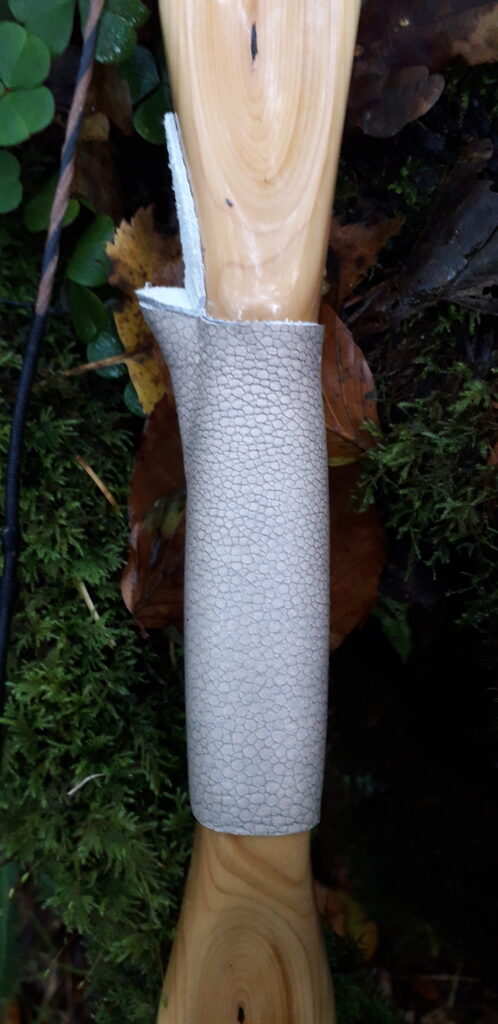
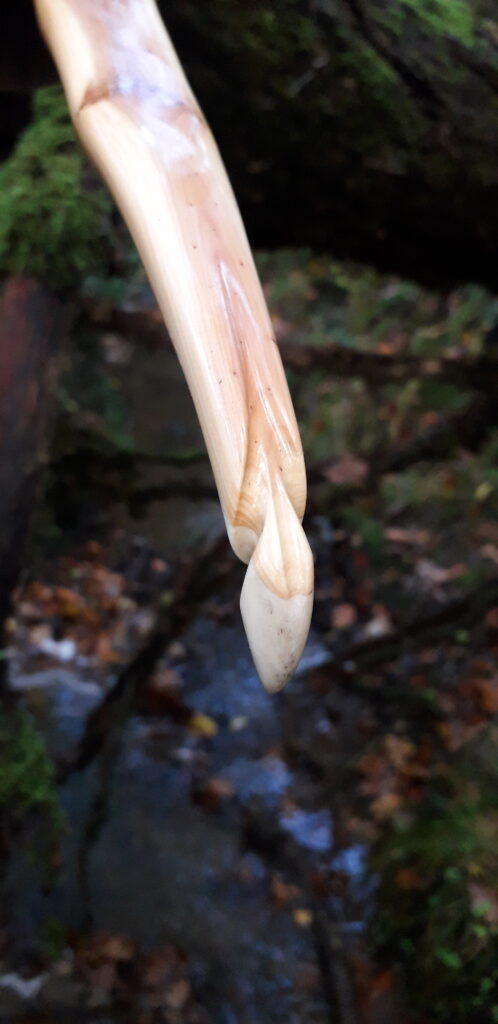
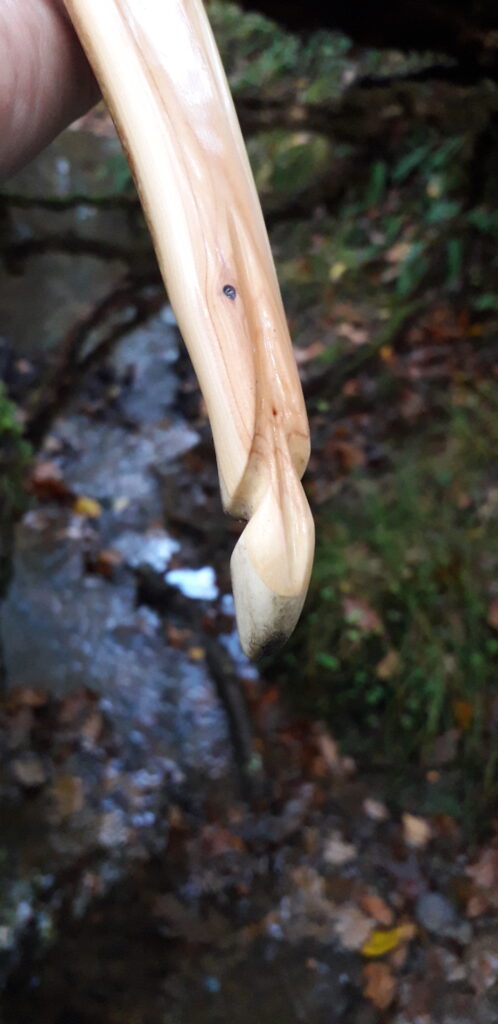
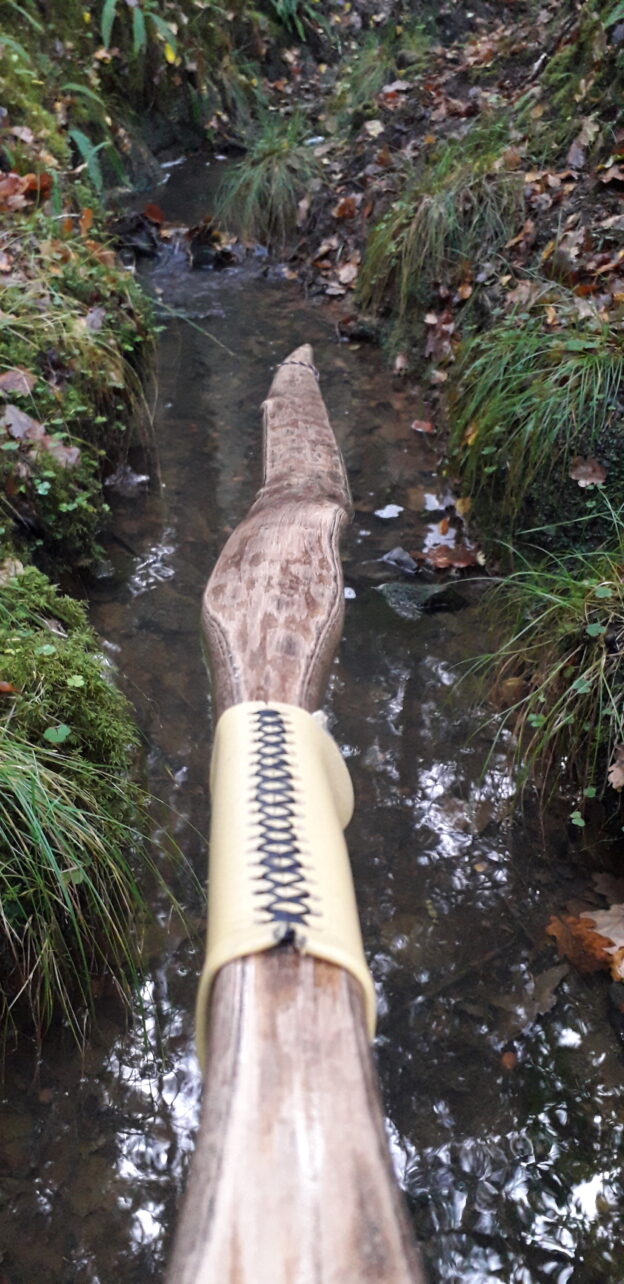
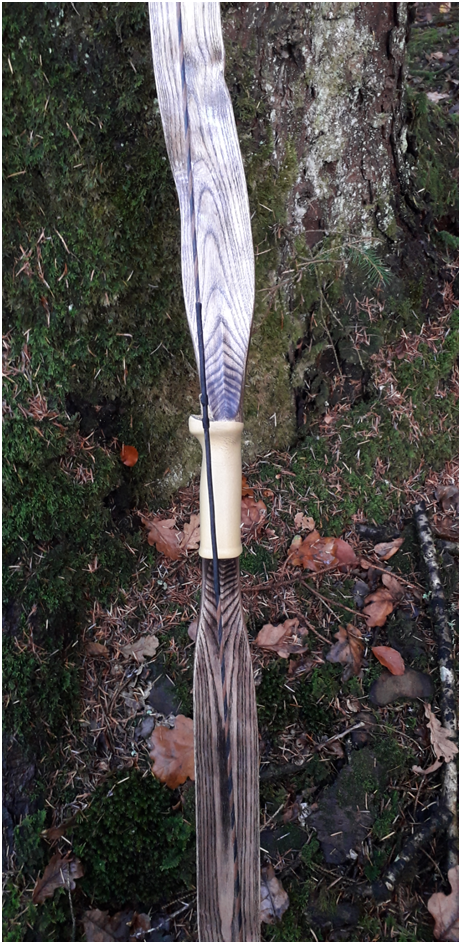
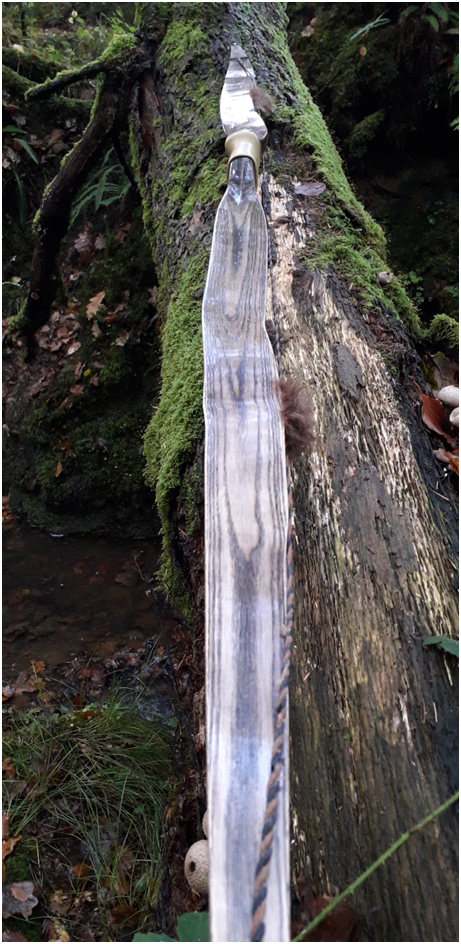
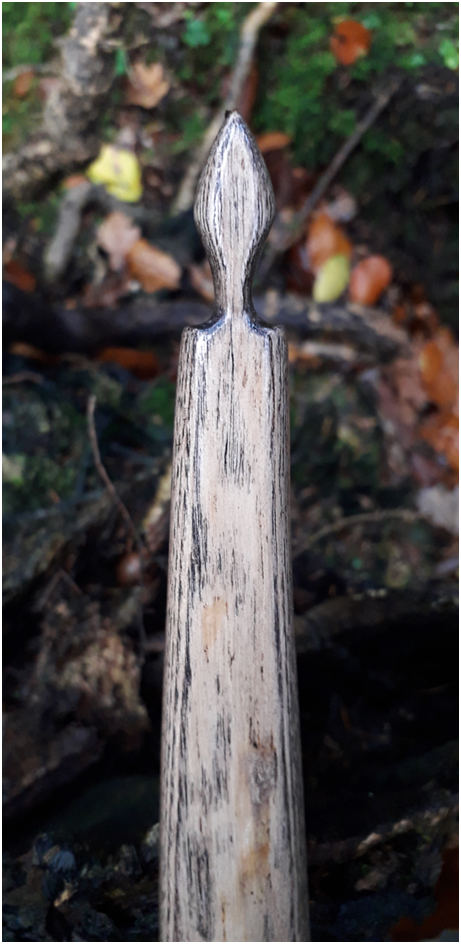
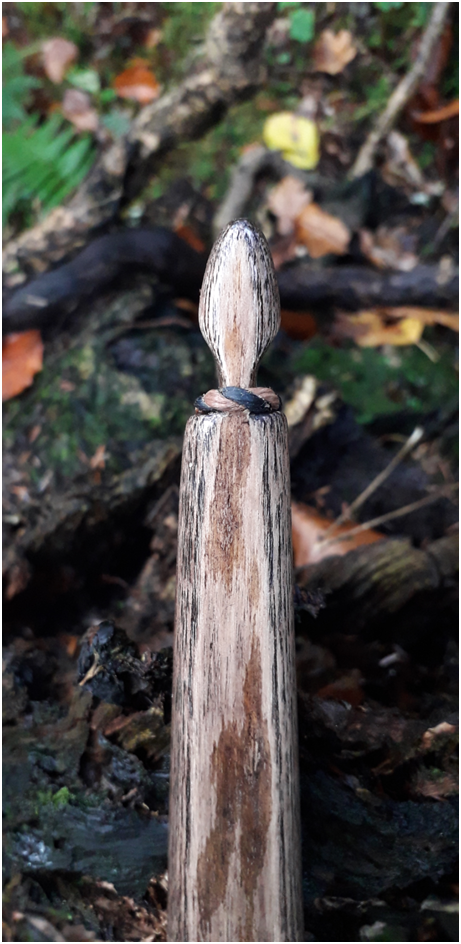
I didn’t bother with a handle covering on this one. It feels very comfortable even without a covering. For the arrow rest I just used some leather scraps. Nocks were a rendition of the classic Sudbury bow design as depicted in the fantastic book: Encyclopedia of Native American Bows, Arrows & Quivers Volume 1 page 32. My nocks were filed in at 45 degrees though, as opposed to the original 90 degrees as illustrated in the previously mentioned book.

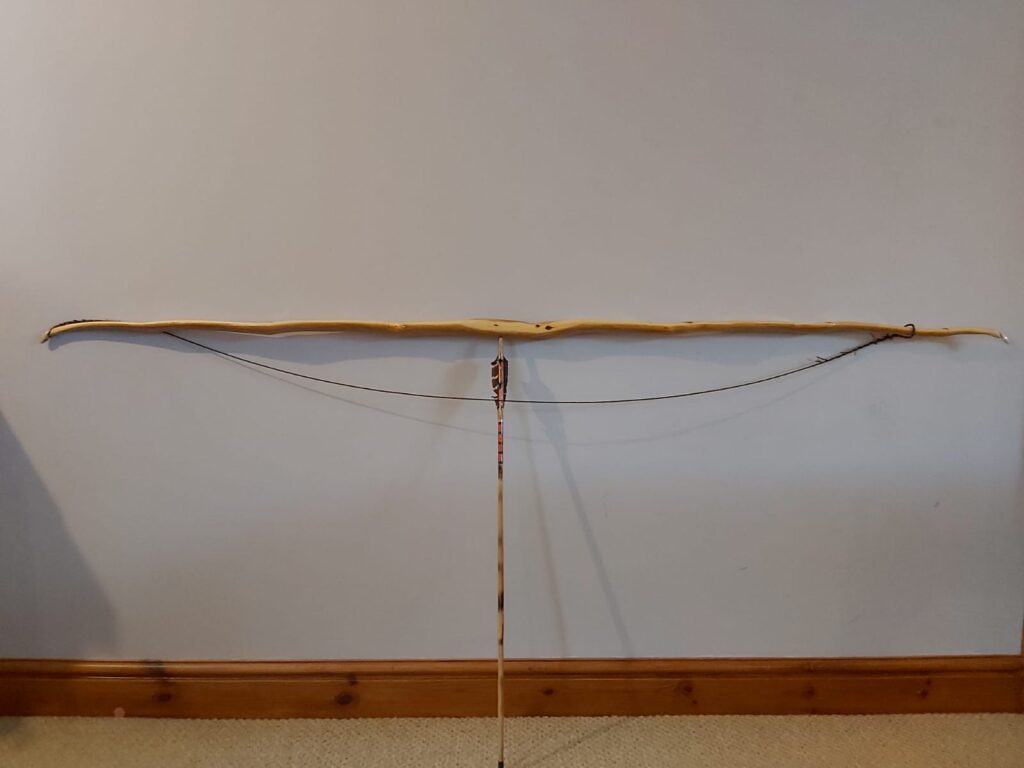
The mass was reduced tremendously by the heat treating process and this bow feels nice and light and manoeuvrable in the hand. After shooting her in, the reflex had dropped a bit. Immediately after unstringing there is about 1” of reflex which settles back to about 1 ½” after resting.

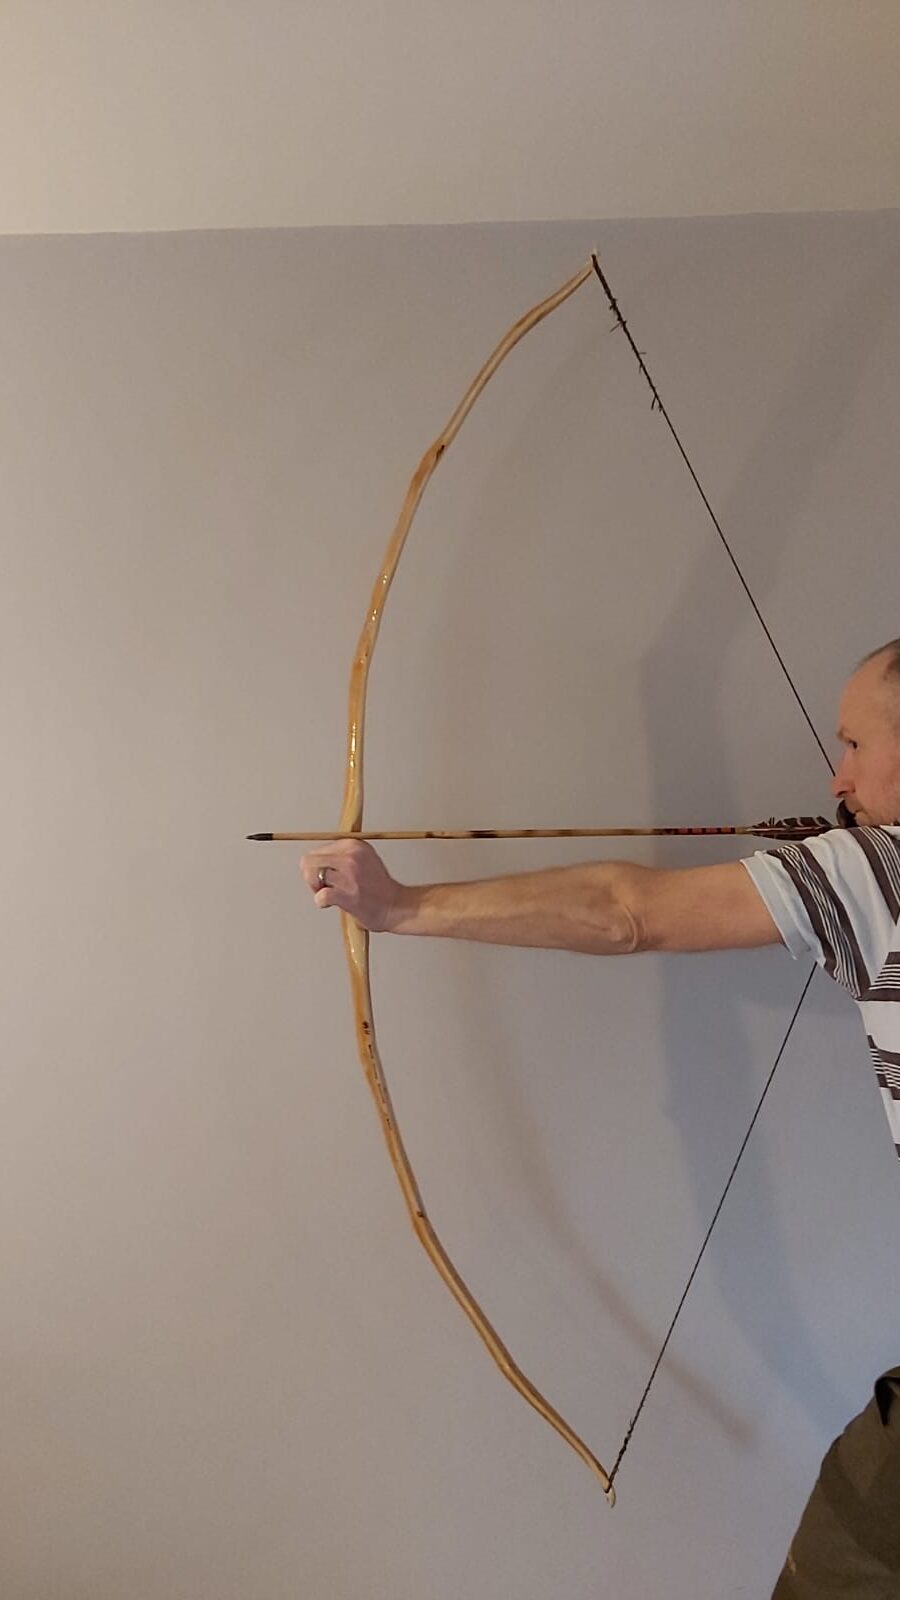
This ended up being a super snappy lightweight bow settling in after 2 weeks of shooting at 51lb at 27”. She is certainly plain and simple but has all the power and functionality that you would want in a primitive hunting bow.

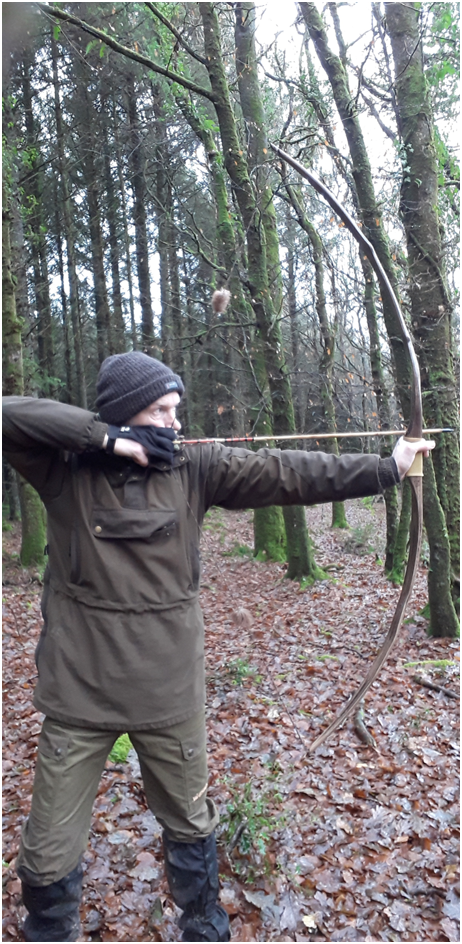
She balances well in the hand whilst being carried and feels well balanced through the draw cycle. She doesn’t stack and is lovely and comfortable to hold back at full draw. The release is nice and quiet without any hand shock due to the low limb mass and comfortable grip. The bow string is the one I made for the previous blog post article I did a few weeks ago discussing using a squirrel tail to make string silencers. You can read that post here: https://southmoorbows.com/squirrel-tail-bow-string-silencers-quick-and-easy-way/

So here she is, hope she inspires you to have a go at heat treating an otherwise simple white wood flatty. Enjoy!
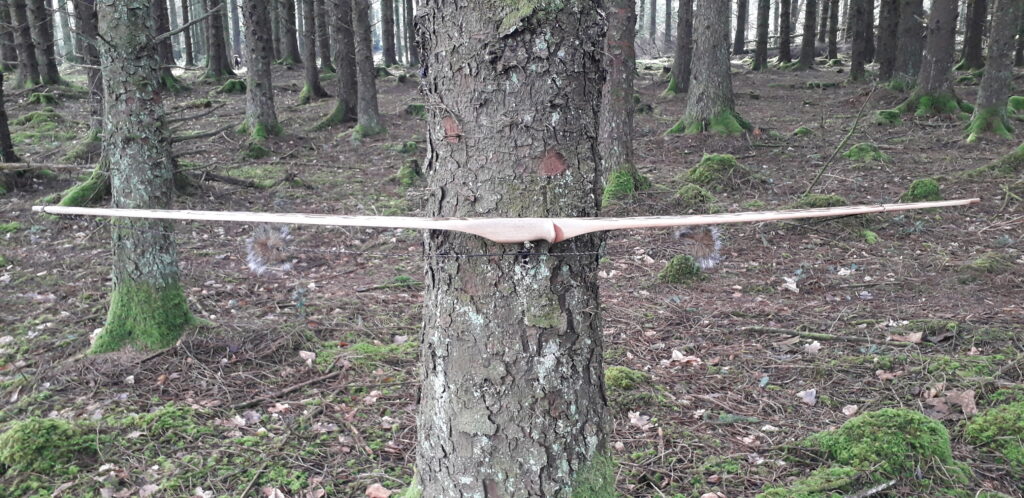
Sinew Backed Yew Recurve Flatbow 55# @ 28″ Bow No.6

This is one of the many “lockdown bows” which I made through 2020/21. Having been furloughed for a couple of months I took the opportunity to tinker with a pile of difficult staves which I’d had kicking about for years. A good time to try and sort the potential staves from the firewood!
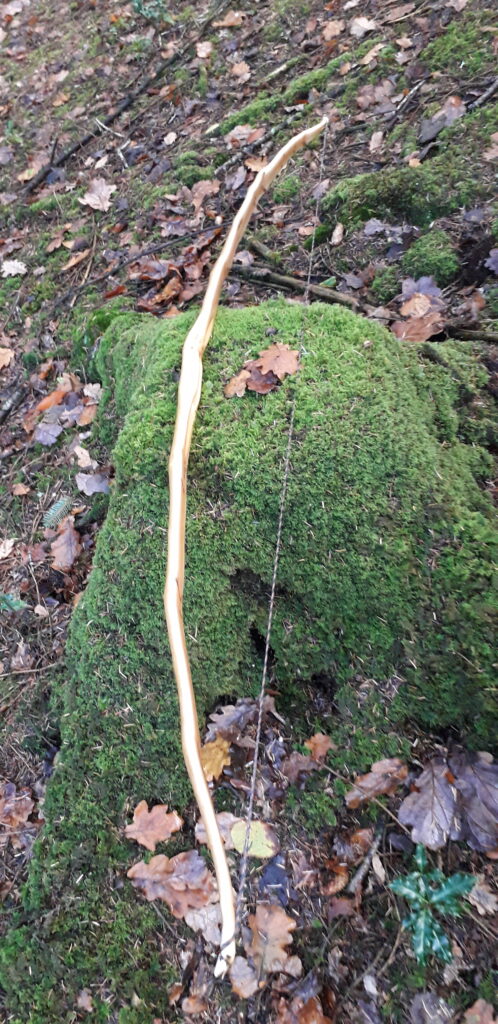
This bow came from one such stave. It was nothing more than a branch to be honest but was still one of the better potential staves in terms of its overall shape. That said, It was still flawed to some extent with masses of pin knots on what would be the back side of the stave. It also had quite a lot of deflex across the entire length of the back. Especially in what would be the bottom limb.

Despite the imperfections I committed to making a bow from this stave and had long since promised to build a mate of mine a yew recurve. So I made it my mission to honour my promise using this far from optimal Yew branch. The basic plan was to build a 66″ nock to nock” 50-55lb recurve flatbow.

The stave had nice tight growth rings of between 1-2mm thickness but unfortunately carried little heartwood. The sapwood on what would be the back was too thick at around 12mm thick, but due to all the tiny raised pin knots, it would be impossible to properly chase a ring down to a better sapwood thickness without violating the back around all the tiny raised knots.

A trick which I have used many times before in this situation is simply to accept the violation of rings on the back but mitigate against limb failure by sinew backing. So that’s what I decided to do with this bow.

The stave was only 3″ wide so the crown was moderate. Rather than try and reduce the sapwood thickness in a rounded fashion as would be necessary to mimic the natural crown, I decided to just flatten the whole back with a rasp. In doing this I was able to work down to approximately one sapwood growth ring right down the centre line of the bows back and follow that from one end to the other maintaining a totally flat back profile.

Now that I had nearly 50% of the limb represented by heart wood, I roughed out the general limb thicknesses and finalised the face profile. In order to counter the significant deflex I recurved the tips with steam and performed a small amount of dry heat correction to line up the tips and correct some small string alignment issues. Then it was on with 3oz of deer leg sinew, glued on with my own home made sinew glue.

After the backing was completed I wrapped the whole thing up for a few days in cloth strips to keep the sinew from peeling away from inside the recurves and around the handle.

Once I could see that the sinew was dry I unpeeled the wrapping so I could take a peek. To my disappointment some of the sinew had dried out to form some small fissures. I put this down to one reason. Taking way too long to apply the sinew!

I’d timed the sinew application with the kids getting home which invariably led to a pile of requests, Dad jobs and other frivolous distractions all when I’m trying to slap on my glue soaked sinew bundles. Lesson learnt!!

Anyone who has done any amount of sinew backing will tell you that the best sinew jobs are done quickly and smoothly whilst the glue is still warm and not allowed to set up in between bundle applications. Each fresh bundle of sinew wants to be laid down alongside its neighbour before the neighbouring bundle has started to “Gel”. That’s where I’d gone wrong.

All the distractions had led to me applying bundles as and when I got chance as opposed to in one fast fluid operation. This meant that by the time my next sinew bundle got applied it’s neighbour has gelled up reducing the ability of the fresh sinew bundle sticking to it’s neighbouring bundle.

The result is bundles of sinew separating apart from one another when the bundles start to shrink during the drying process. I should add however that the adhesion between the glue soaked sinew and the bow’s back is not affected by this phenomena.

As disappointing as the end result was, the imperfections that I was seeing in the dried backing were only aesthetic. The functionality of the bow’s backing was completely unaffected.

So onwards we went. After the cloth wrappings had been removed and re-tightened several times over the initial drying period (a week), the wrappings came off and the stave was set aside for nearly a year to cure thoroughly.

I’d kept the limbs asymmetric to try and mitigate for the lower limb deflex which was now substantially less than it was. This was due to the sinew backing pulling the stave back about 1 & 1/2″. Now the deflex was only about 3/4″ in total which was a massive improvement as before backing the natural deflex was about 2 “. After coming out of hibernation, deer antler tip overlays were fitted over the top of the sinew and the tillering began.

In order to preserve as much heart wood on the belly as possible I opted to create a slightly rounded albeit mainly flat belly. An arrow shelf was added in the form of a scrap piece of deer antler.

The bow was quick and easy to tiller and looked nice pulled down to 28″. At this point the weight was 58lb which was about right for the guy who would be getting this bow.

Before finishing the bow I shot stumps with it for a couple of weeks then re adjusted the tiller slightly to weaken the top limb just a tad bit more then called her done at 55lb at 28″ with a neutral tiller. (The owner of this bow shoots three under.) To finish I coated the sinew with a good covering of Titebond III so seal and smooth out the sinew. After sanding it was on with 8 coats of Truoil to finish.

The handle was covered with a piece of scrap leather and the same leather in reverse was used to protect the arrow pass.

I really like this bow. It’s a bit heavy in the hand (630Grams) due to the extra weight from the sinew but isn’t really noticeable once you get in the swing of shooting her. The limbs are an even tapper from 1″ 3/8ths at the fades down to 1/2″ at the tips.

This bow made for a snappy shooter which I really enjoyed shooting. I shot her over the chrono to see if she was quicker than usual and, whilst hardly getting blown away by the speed, I was quite happy with the 162ft/sec average that I got with a 500 grain arrow. That’s not bad for a stick and string bow!

Anyway, I hope you like the pics!

Bow No.4 – Sinew Backed Character Yew Flatbow 50lb at 28″

I built this bow about this time last year after coming across a knarley 2 1/2″ thick yew branch which had been kicking around in my yew stash for a few years. It was one of those branch wood staves which no conventional bowyer would have used for anything other than firewood. And I must admit, I nearly added it to my own firewood stack!

The branch was relatively straight across the cleanest face but had several bumps, knots and wiggles distributed between 8 sections of reflex and 7 sections of opposing deflex. The sap wood to heartwood ratio was about 2-1 with sapwood clearly forming the majority of the branches volume.

I decided to give it a chop about with the axe to see what the belly would look like with most of the waste wood chopped away. To be honest, it looked like it might just about make a bow.

My main concern was that the pith centre looked like it might not come out without reducing the thickness to a point where the bow would end up very light. But after long string tillering it looked like the limb thickness would be clear of the pith whilst leaving behind enough wood to make a light to moderate weight bow. But the pith would run through the handle along with a drying check which looked unsightly.

My original plan was to produce a stiff handled flat bow with a high crowned D section cross section. But I just couldn’t put up with leaving that horrible crack running right along the length of the handle and fades. So I decided to gouge all that split wood out from the handle and the fades leaving me with just enough wood to function as a handle albeit a bendy character handle!

I made the limbs symmetrical and a max width of 1″ 5/8ths. Tiller was 1/4″ positive. Fades about 2″. Antler tip overlays were fitted after sinew backing so that the overlays could sit on top of the sinew. Nock to nock the finished bow measures 64″.

The single layer of deer leg sinew backing was a hedge against the knots but in hind sight was completely unnecessary. That said the sinew has kept the set to absolute zero. In fact before I sinew backed the bow I tillered it as a self bow to 28″ and was content with the 44lbs draw weight and the 1″ of permanent set after shooting in over a hundred arrows.

But I had a small pile of sinew to do something with so decided to stick it on the back of this bow to see what effect it would have on such an undulating and knarly high crowned back. The results were better than expected!

After sticking 2oz of sinew on with sinew glue the bow was wrapped up and shelved until Nov 2022 so it had about 10 months of curing time. During this time the bow had straightened out and the permanent set had disappeared and didn’t reappear even after retillering and significant shooting in. The weight had jumped up too so I ended up with 50lbs at 28″ with no set at all.

With no skins to cover up the sinew I decided to just leave it bare. I gave the whole back a coat of Titebond III to help smooth down the rough sinew before finishing the whole bow with Trueoil. I refrained from wrapping the handle so that the gouged out handle could feature as part of the overall character of the bow.

An attractive knot is in just the right spot to function as an arrow pass so I didn’t bother with an inlay. The final look is certainly rustic but to be honest, I quite like it!

The handle contours naturally in such a way that the crook acts as a locator dish which feels quite comfortable in the hand, even with the handle bending upon drawing. That said, unless I hold this bow lightly I do notice a bit of hand shock. I think that this is down to the mass of the tips which is probably not helped by the presence of the sinew. In fact, this bow is a little bit on the heavy side thanks to the backing. The total weight of this bow is 760grams! Yikes!

I actually like shooting this bow and it gets quite a bit of attention from others who often see it and comment with questions like “What the heck is that!?” Once they’ve shot it though they usually ask if I can make one for them!

Anyway, here are the pics. Hope you like!

1/4″ positive circular tiller
This larger knot acts as a natural arrow pass.
Top nock
Bottom nock
Top nock
Bottom nock
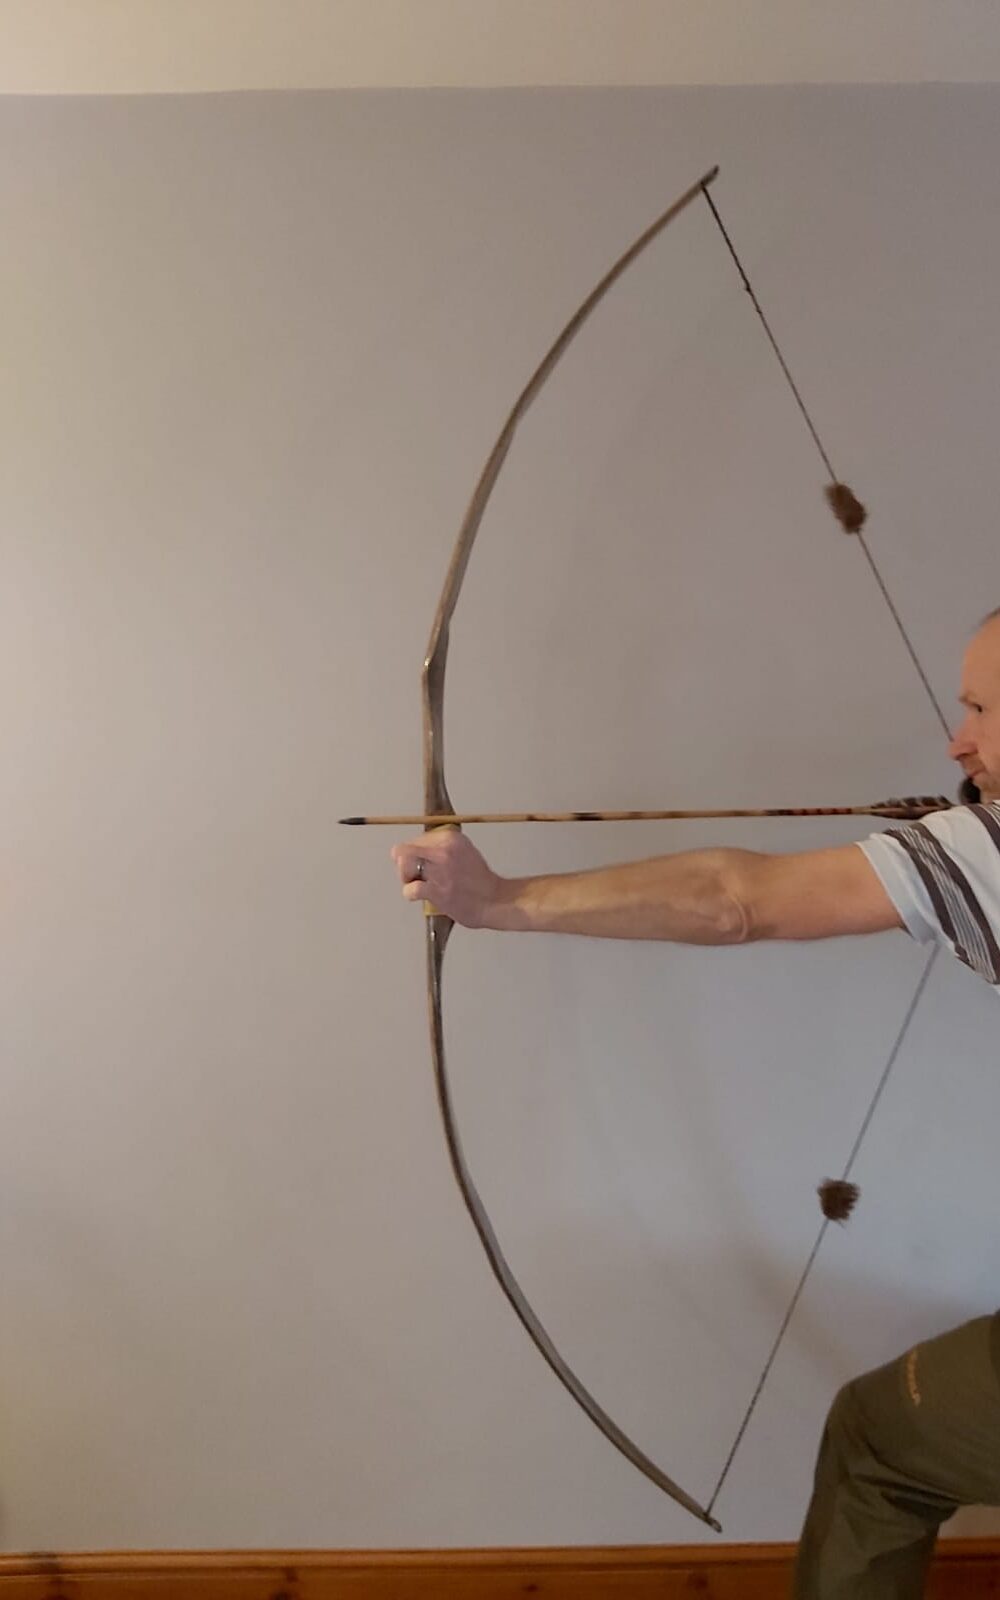
Drawn to 26″
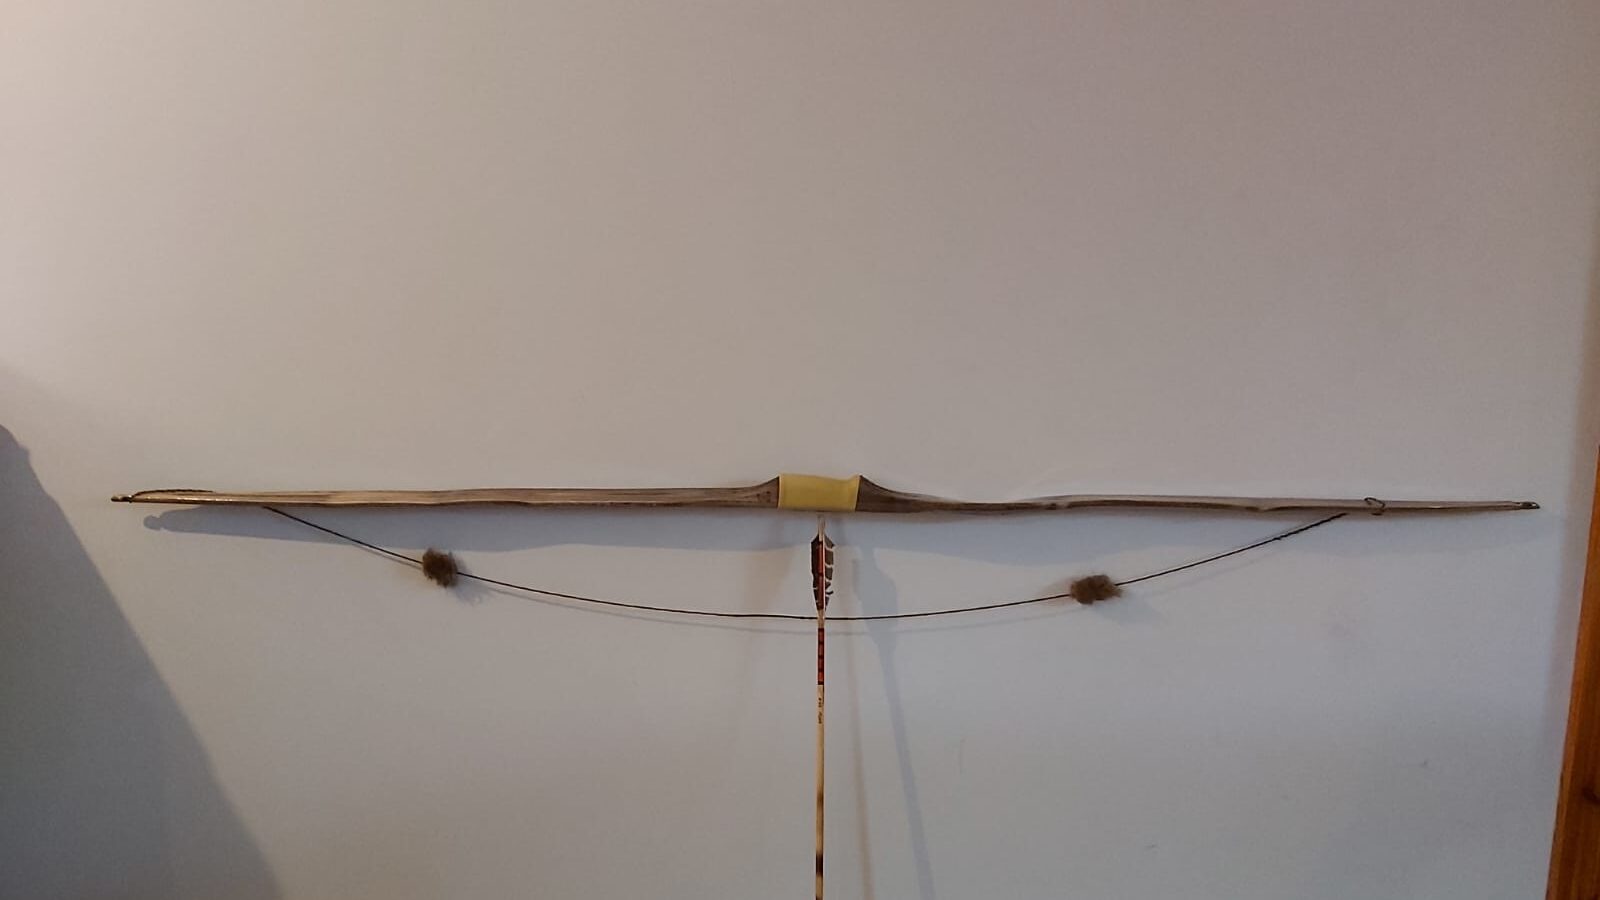
Immediately after unstringing.

Bow No.2 – Character Primitive Ash Selfbow 48#@27”

The stave for this bow came from a 4” diameter Ash tree which produced two staves. One stave was pretty straight and featureless and I used that stave to make a plain but functional rawhide backed recurved flatbow for a friend of mine. The other stave had a nice bit of wiggle in one half and a few other little features so I decided to use it to make this unbacked character flatbow.

The tree was felled back in the late summer of 2022 so it had a bit of cambium left on after taking the bark off. I roughed the stave out whilst totally green and force dried it on a slightly reflexed form in order to fix some slight tip/handle misalignment. The form also evened out some slight but uneven and mixed deflex/reflex in both limbs and corrected the very small amount of limb twist which was apparent in the bottom limb.

After a month of drying whilst clamped to the form positioned indoors on my sun baked windowsill, I was left with a nicely aligned stave with an inch of evenly distributed reflex and just the right amount of wiggle left to make this flatbow worthy of the title “character bow”.

The small to moderate crown on this stave was worth considering. I find that a higher than average crown on tension strong woods like ash can sometimes be advantageous. As I’m sure many bowyers will attest to, Ash wood bows are quite susceptible to compression fractures on the belly. This is because Ash is far stronger in tension than in compression.

The small to moderate crown on this stave could allow most of the back of this bow to work in tension. Too much tension could chrysal the belly if not considered carefully in the design process. A high crown would allow less of the backs width to work in tension therefore reducing the crushing force imposed on the fairly flat belly.

Bearing in mind that the growth rings on this stave were a bit on the thin side, and that the early wood in the growth rings made up a reasonable amount of the bows volume, I decided to round the corners on the back quite heavily in order to create an artificial high crown and reduce the tension strength of the bows back.

I’ve used this little trick many times before to help protect the bellies of bows made from compression weak woods such as Ash, Hazel and Elm which are all very strong in tension. The result is a D shaped limb cross section with the curved portion of the D representing the bows back and the flat portion of the D representing the bows belly. The complete opposite to a classic English Longbow design which works very well with high quality Yew.

The down side to this approach is that much of the edge wood is taken out of commission. The up side however is that the full width of the flat belly is still able to function by providing compression resistance which will oppose the crushing forces of the tension strong back as the belly relates to the now tension weakened artificial high crown.

The artificial high crown imposed in the design of this bow worked well at preventing fretting on the belly, as did additional mitigation measures such as forgoing recurves, minimising the length of the stiff handle section, and maintaining adequate limb length and width. For this reason the bow was kept long at 66” nock to nock and has 1″ 15/16 wide limbs for the first two thirds of the working sections. The riser section is approx 10” long including 3″ fades and is stiff.

Previous experience of Ash staves from this particular area have reinforced the idea that extra precautions need to be taken to avoid excessive tension forces on staves like these which clearly have limited compression strength. For this reason I opted to keep the weight down to 50lb at 26″ or less which is around my favourite draw weight anyway. Much heavier than this and fretting might occur without increasing limb width or length, which I couldn’t really do with this stave anyway given the dimensions I had to work with.

The bow was very easy to tiller, even with the wiggle in the first third of the top limb. The tiller is elliptical ¼” positive and shoots well with split fingers with both limbs timing together very well. When unstrung after shooting a few rounds this bow shows about half an inch of sett which quickly returns to dead straight after resting.

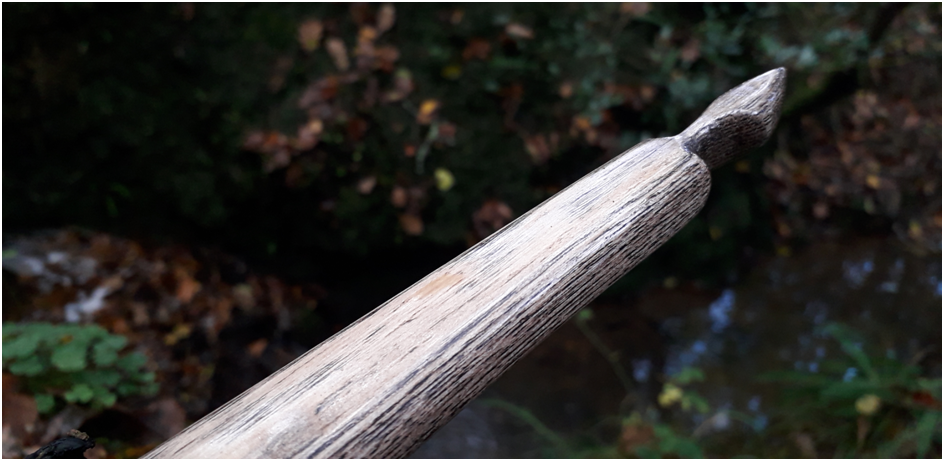
Since the bow was for me to use I opted for simple but small self nocks. If I’d built it for someone else then I’d probably have put overlays on it. The arrow shelf was a last minute addition whilst contemplating the final handle design.

I like to shoot of the knuckle personally but figured my wife might shoot it so I used the significant width of the staves handle section to produce an arrow shelf which is certainly not cut to centre, but is not far from being in perfect alignment with the string which clearly favours the left side of the riser. This bow isn’t very arrow fussy but definitely favours an arrow in the 45-55# range.

The lightly fluted 3” fades were an afterthought and were an attempt to create a little more feature to the otherwise plain bottom limb. In hind sight this was a risky manoeuvre on a timber like Ash which is very prone to delaminating between the growth rings at the fades. That said, so far so good. No sign of any splitting yet and I’ve been shooting this bow quite a lot.

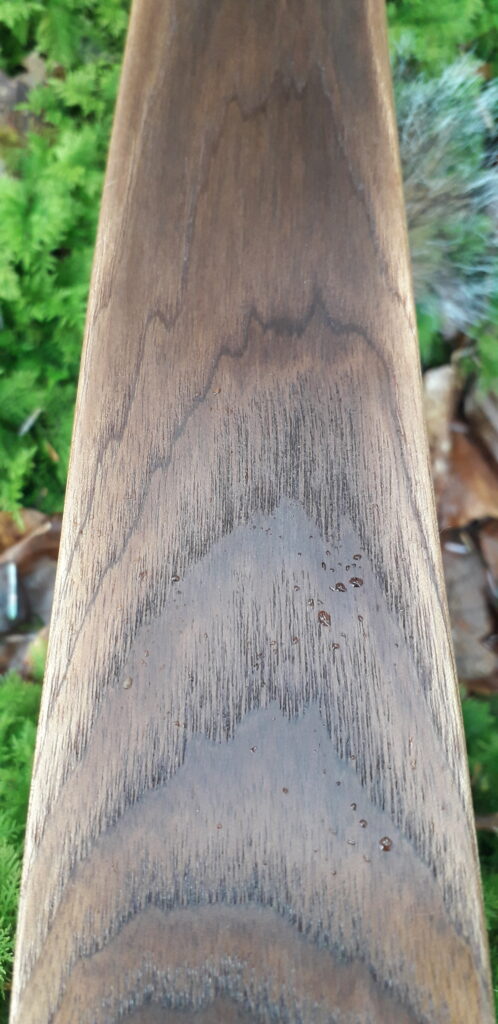
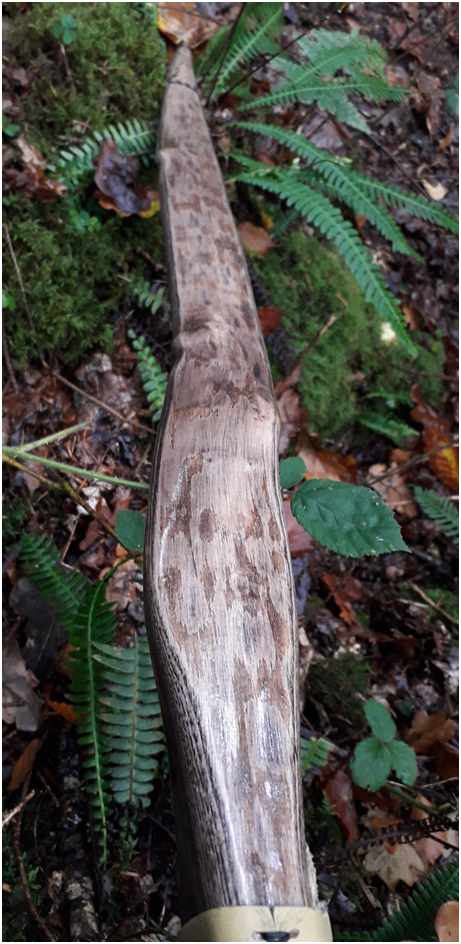
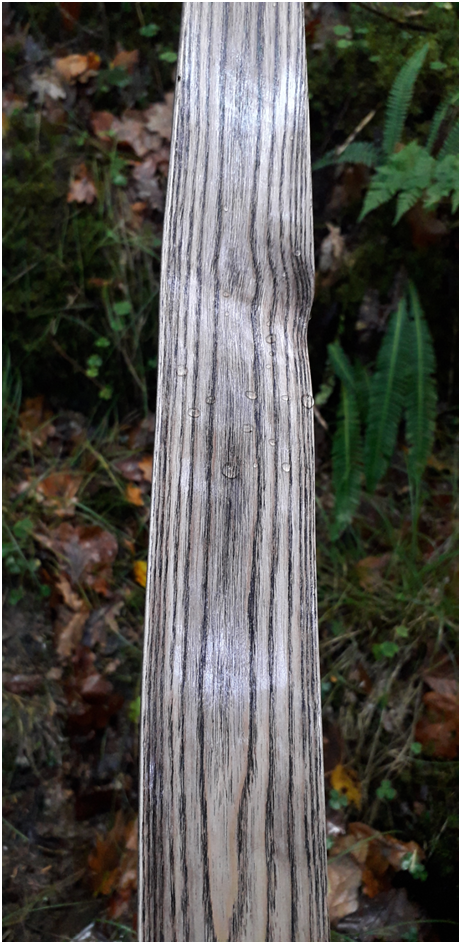
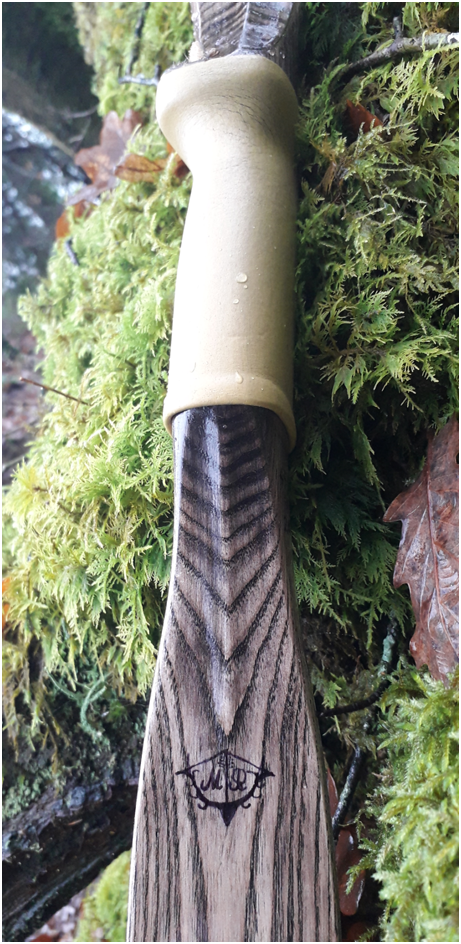
The finish on this bow is an oil based dark oak stain followed by many coats of Trueoil. The small amount of cambium left on the back picked up the stain differently to the exposed wood on the back which created a nice camo effect. This particular stain really grabs hold of the grain on Ash and produces a beautiful high definition wood grain on the belly.

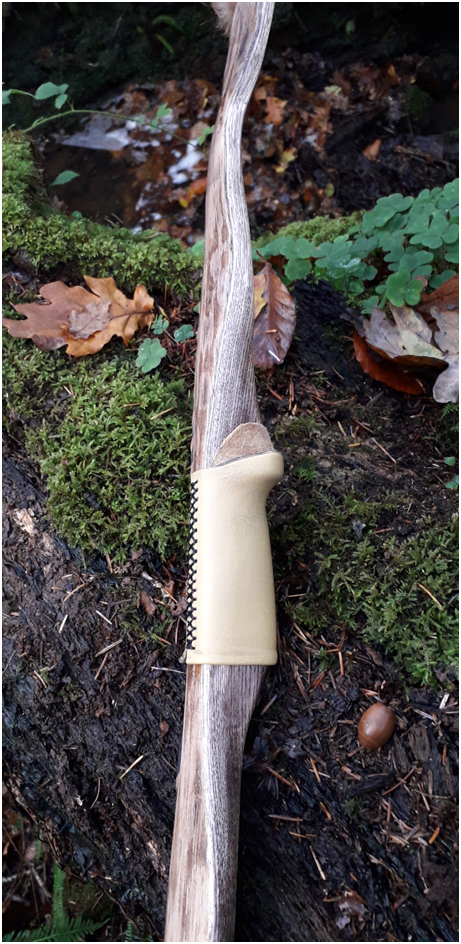
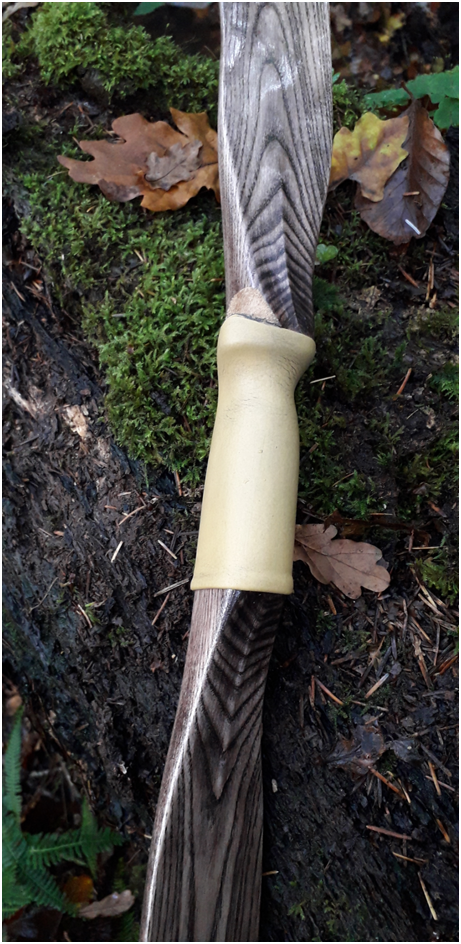
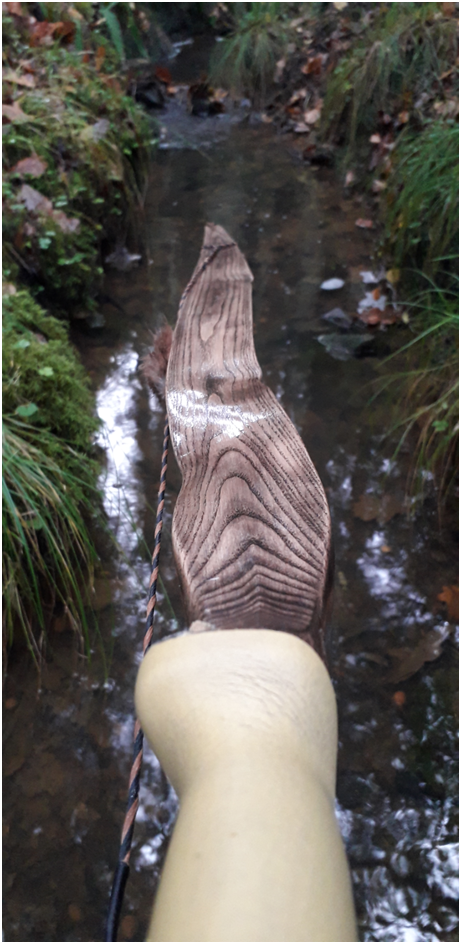
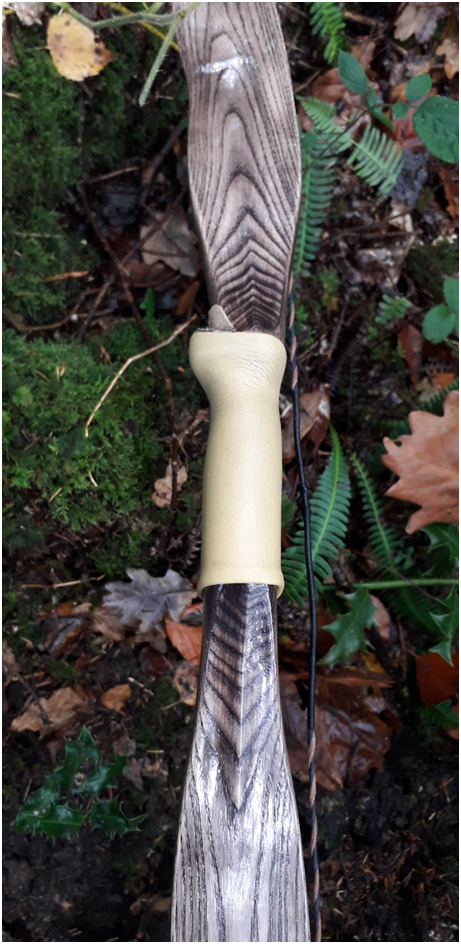
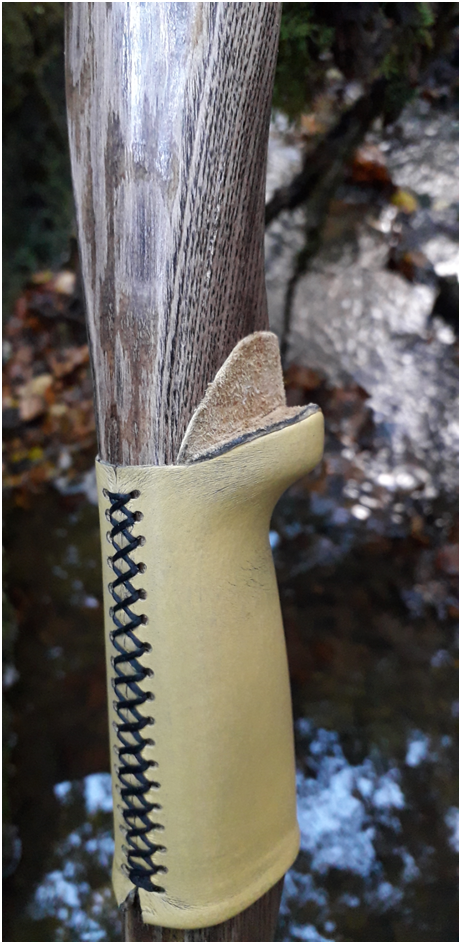
The handle is contoured to my favourite grip pattern and is covered with a scrap of leather from an old jacket which I rubbed some earth pigments into in order to produce a more mat/antique appearance. The arrow pass is covered in the same leather only rough side up.

This bow shoots well. Not the fastest longbow by any stretch (450gn arrow at 27” 148ft/sec) but nice and comfortable to hold back at full draw without stacking much if at all. No hand shock due to the balanced tiller, comfortable grip and moderate tip mass.

I really like this bow and it has been my favourite stump shooting bow throughout the autumn of 2022. That said I have loads more just like it and might have to find a new home for it since I’m fast running out of space for more bows. Well, at least that’s what the wife keeps telling me! If you like the look of this bow then keep an eye out on Ebay as it might end up being listed there some time after Christmas. If I do list it then I’ll edit in a link to the listing at the top of this post.

Here are the pics:

Drawn to 26″
Immediately after unstringing. About half an inch of set which recovers back to straight after 10 mins.