Tag Archives: selfbow

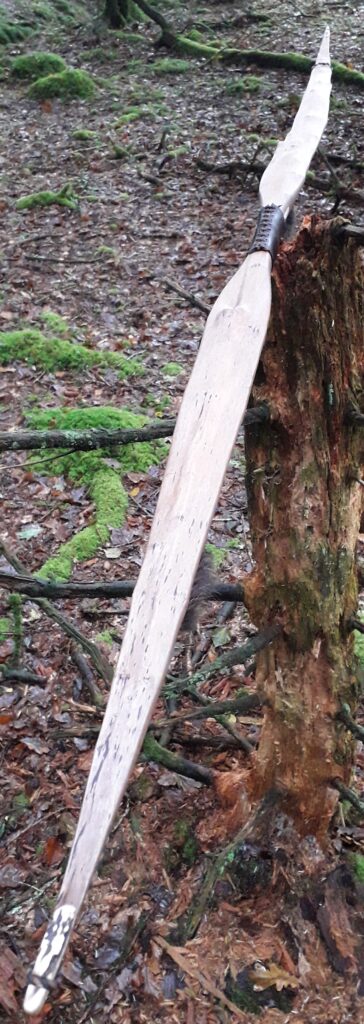
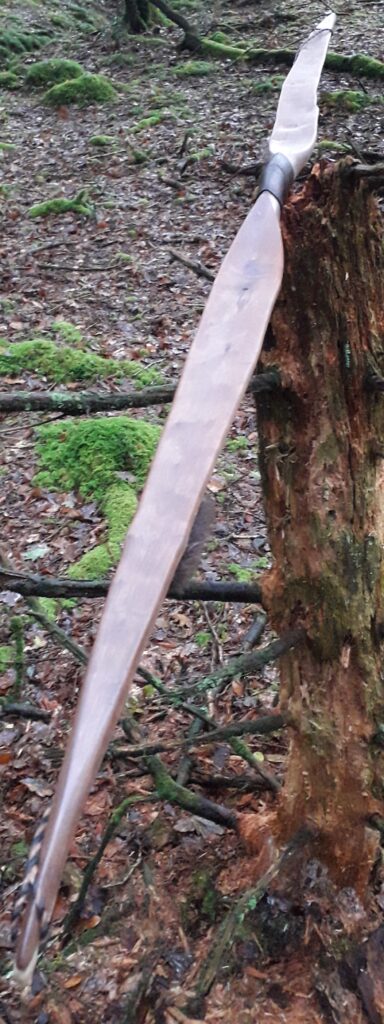
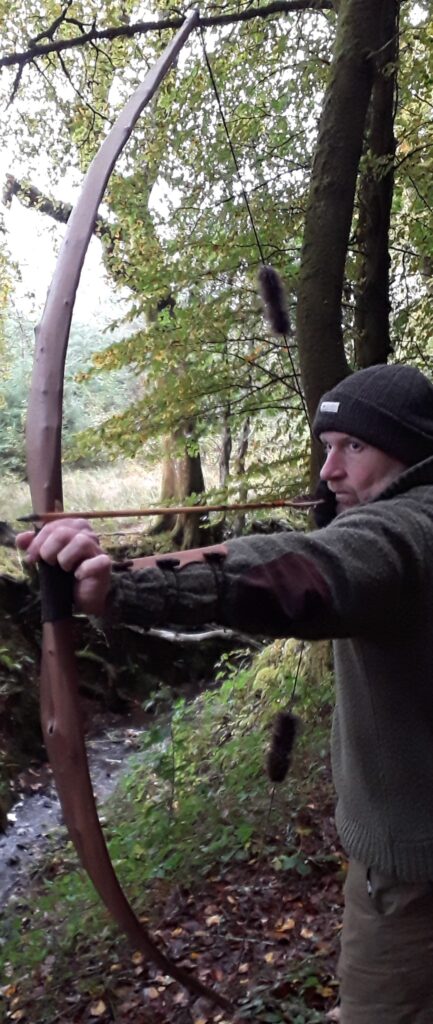
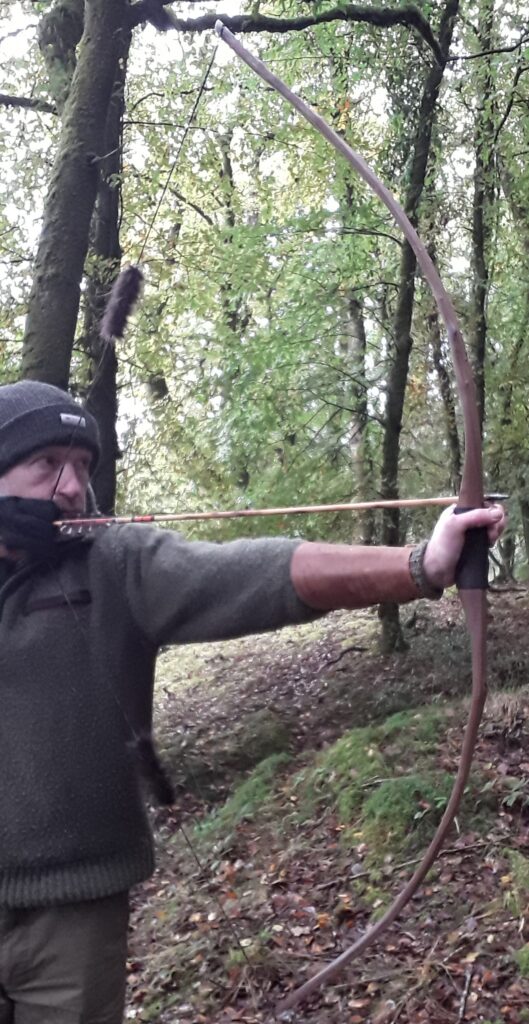
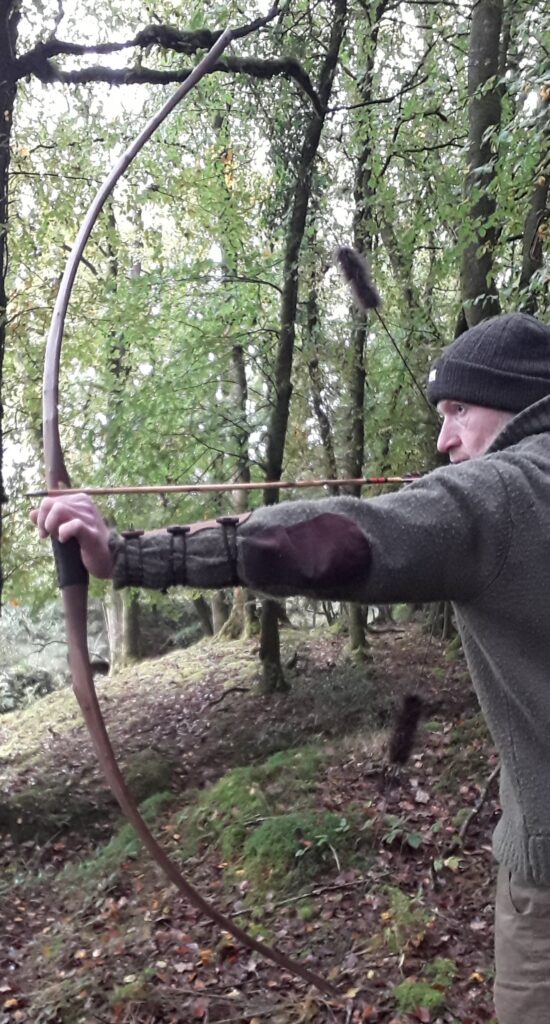
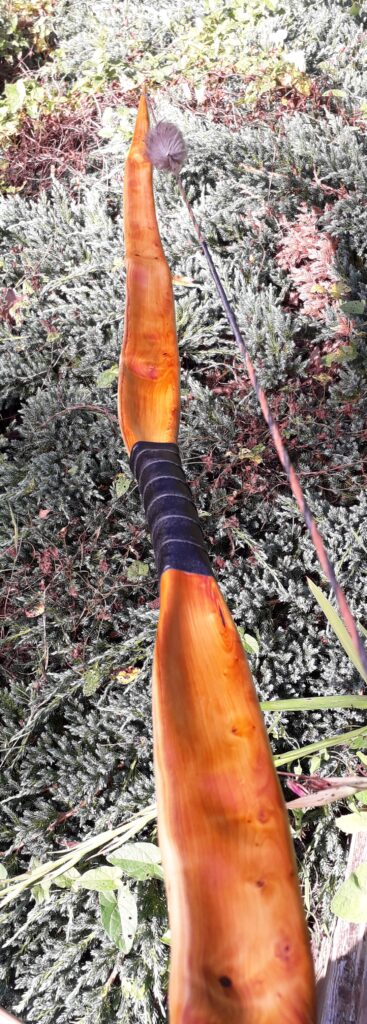
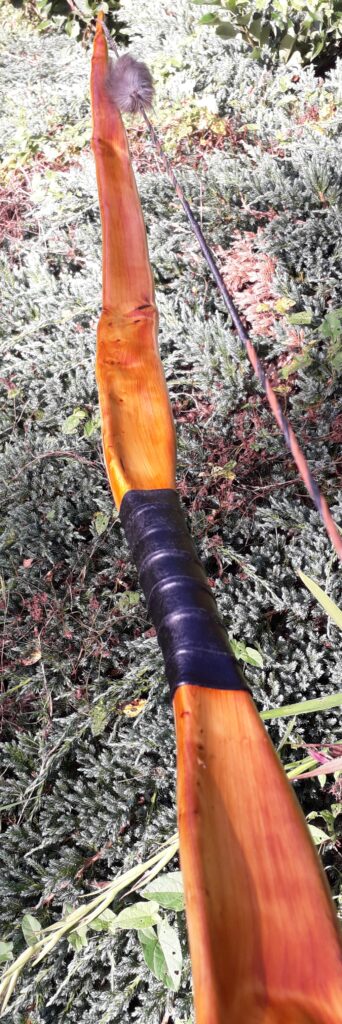
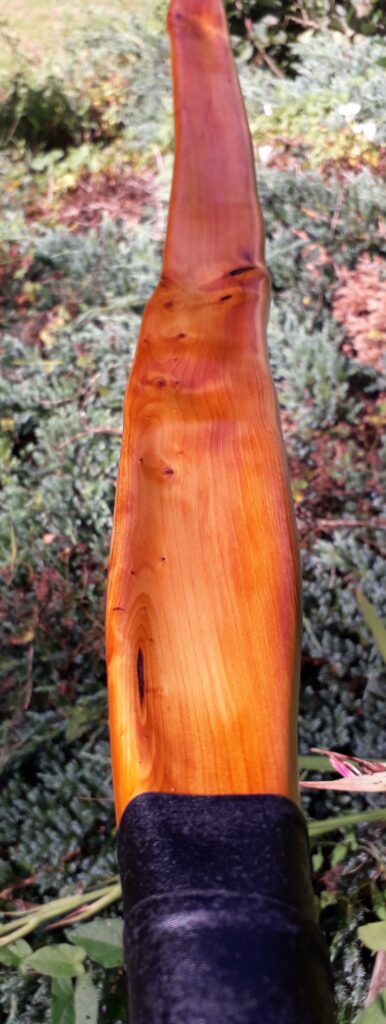
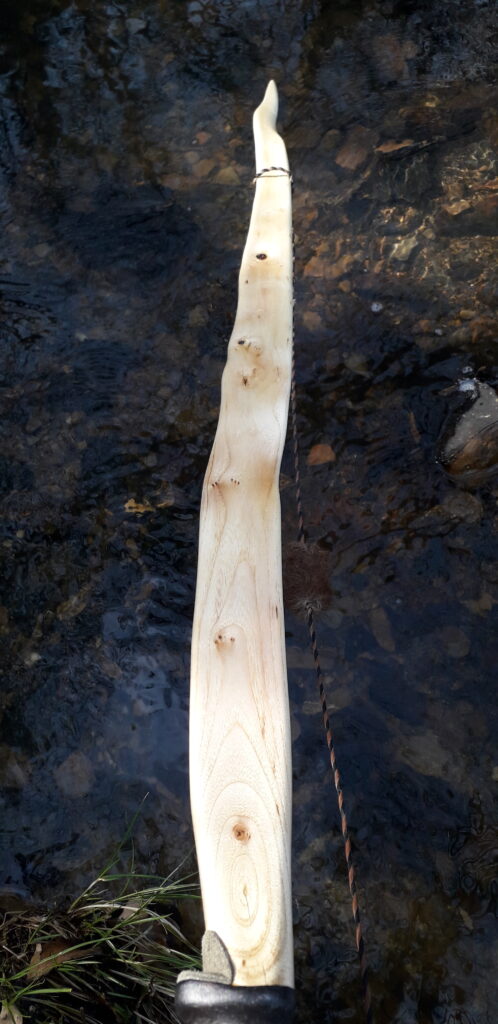
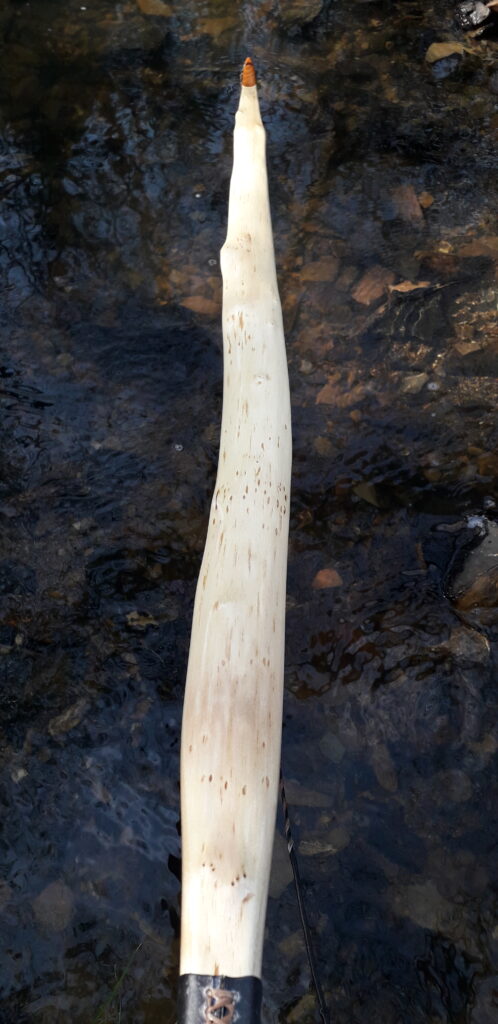
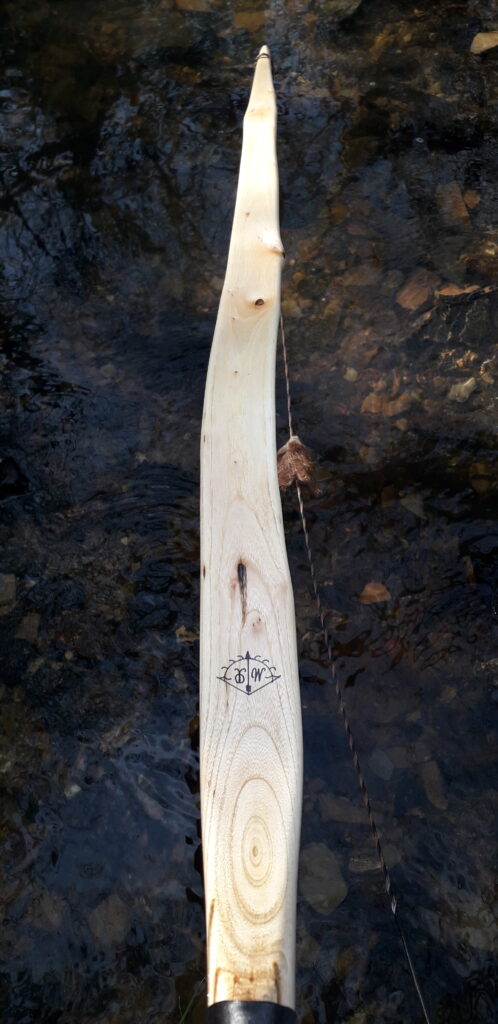
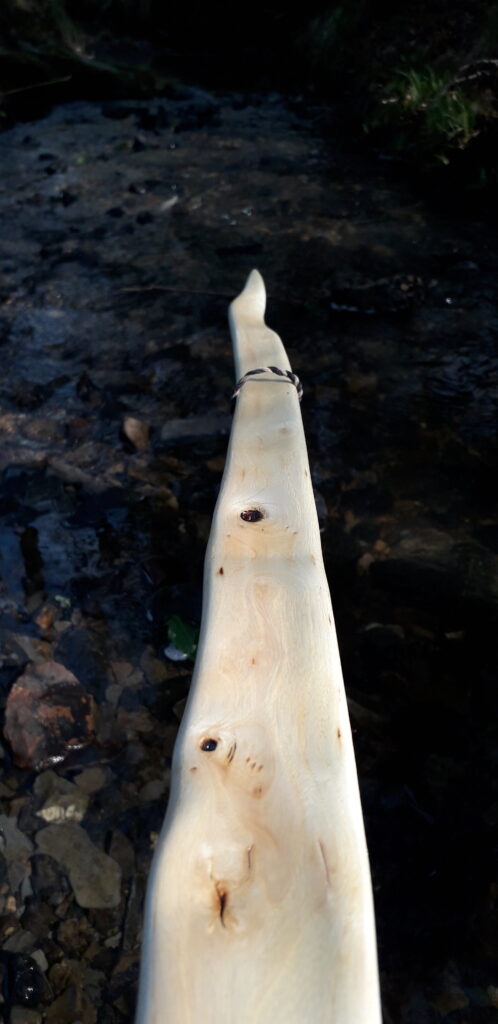
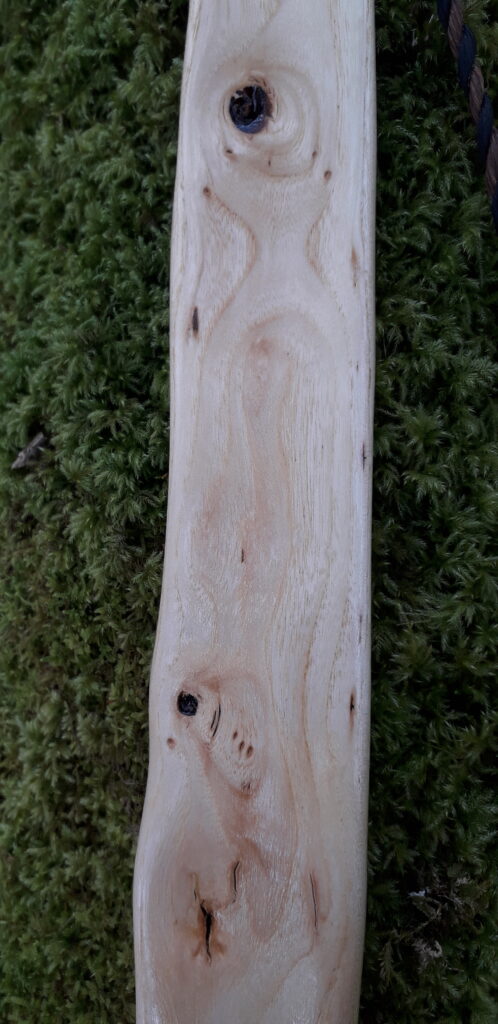
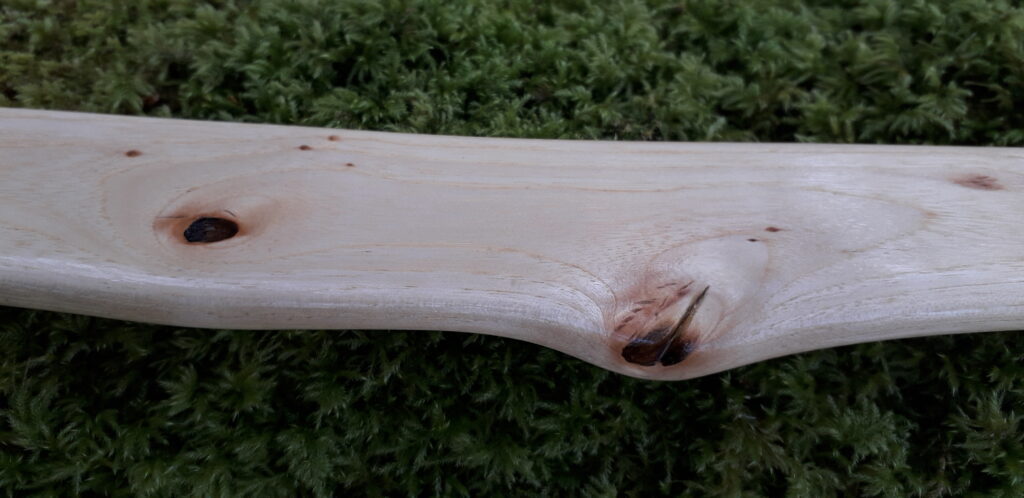
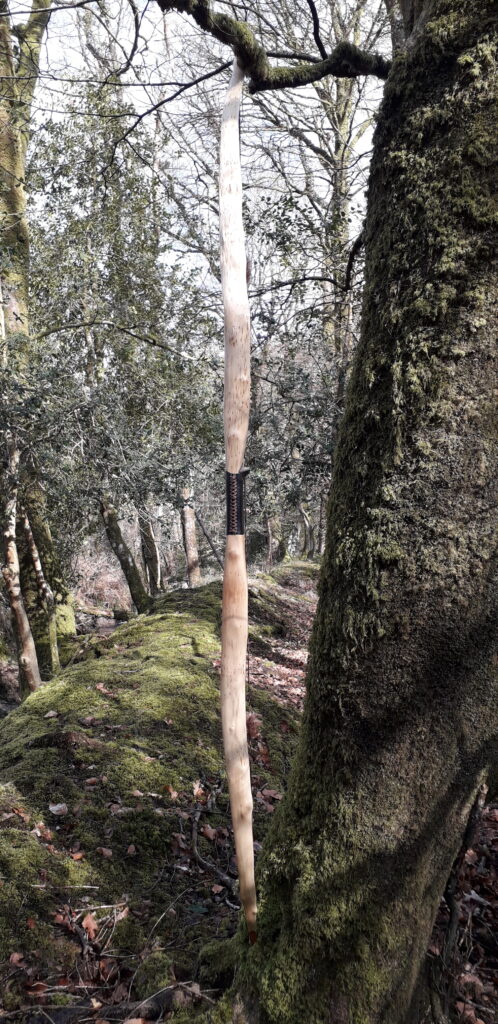
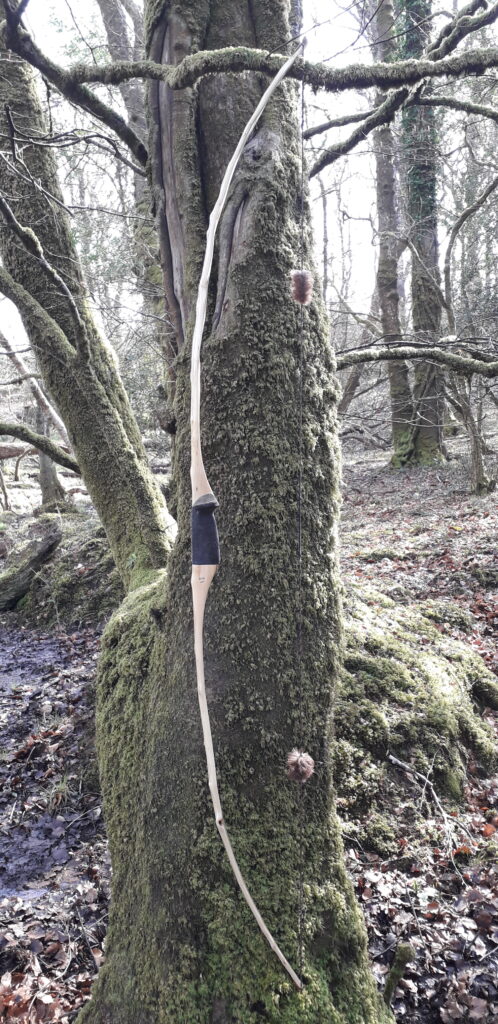
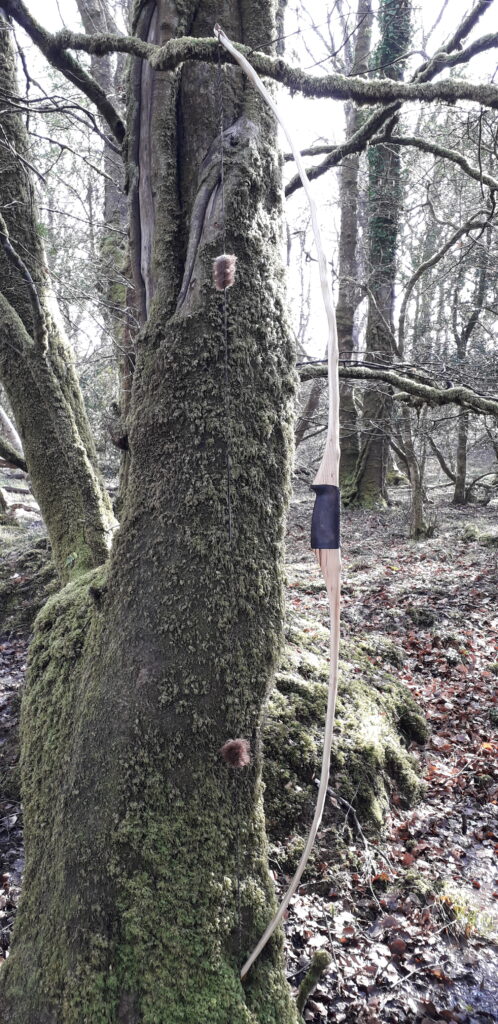
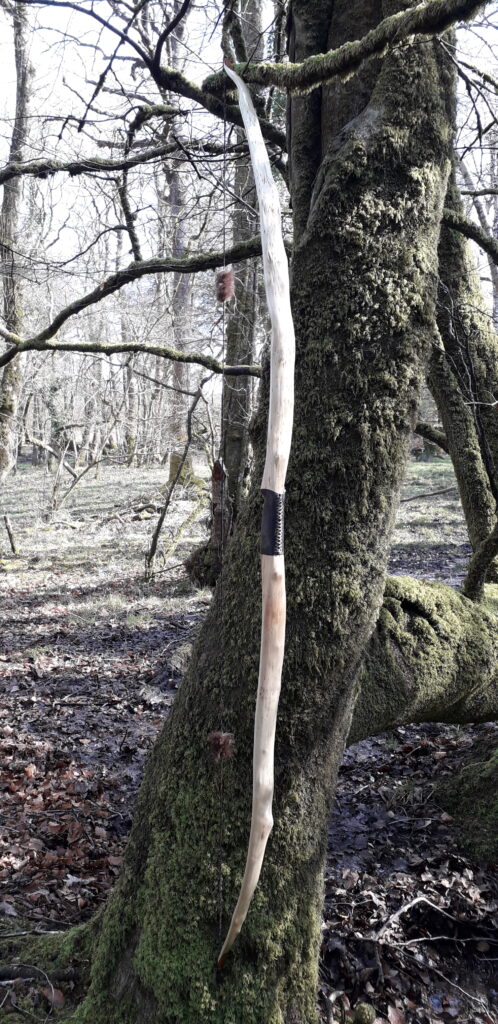
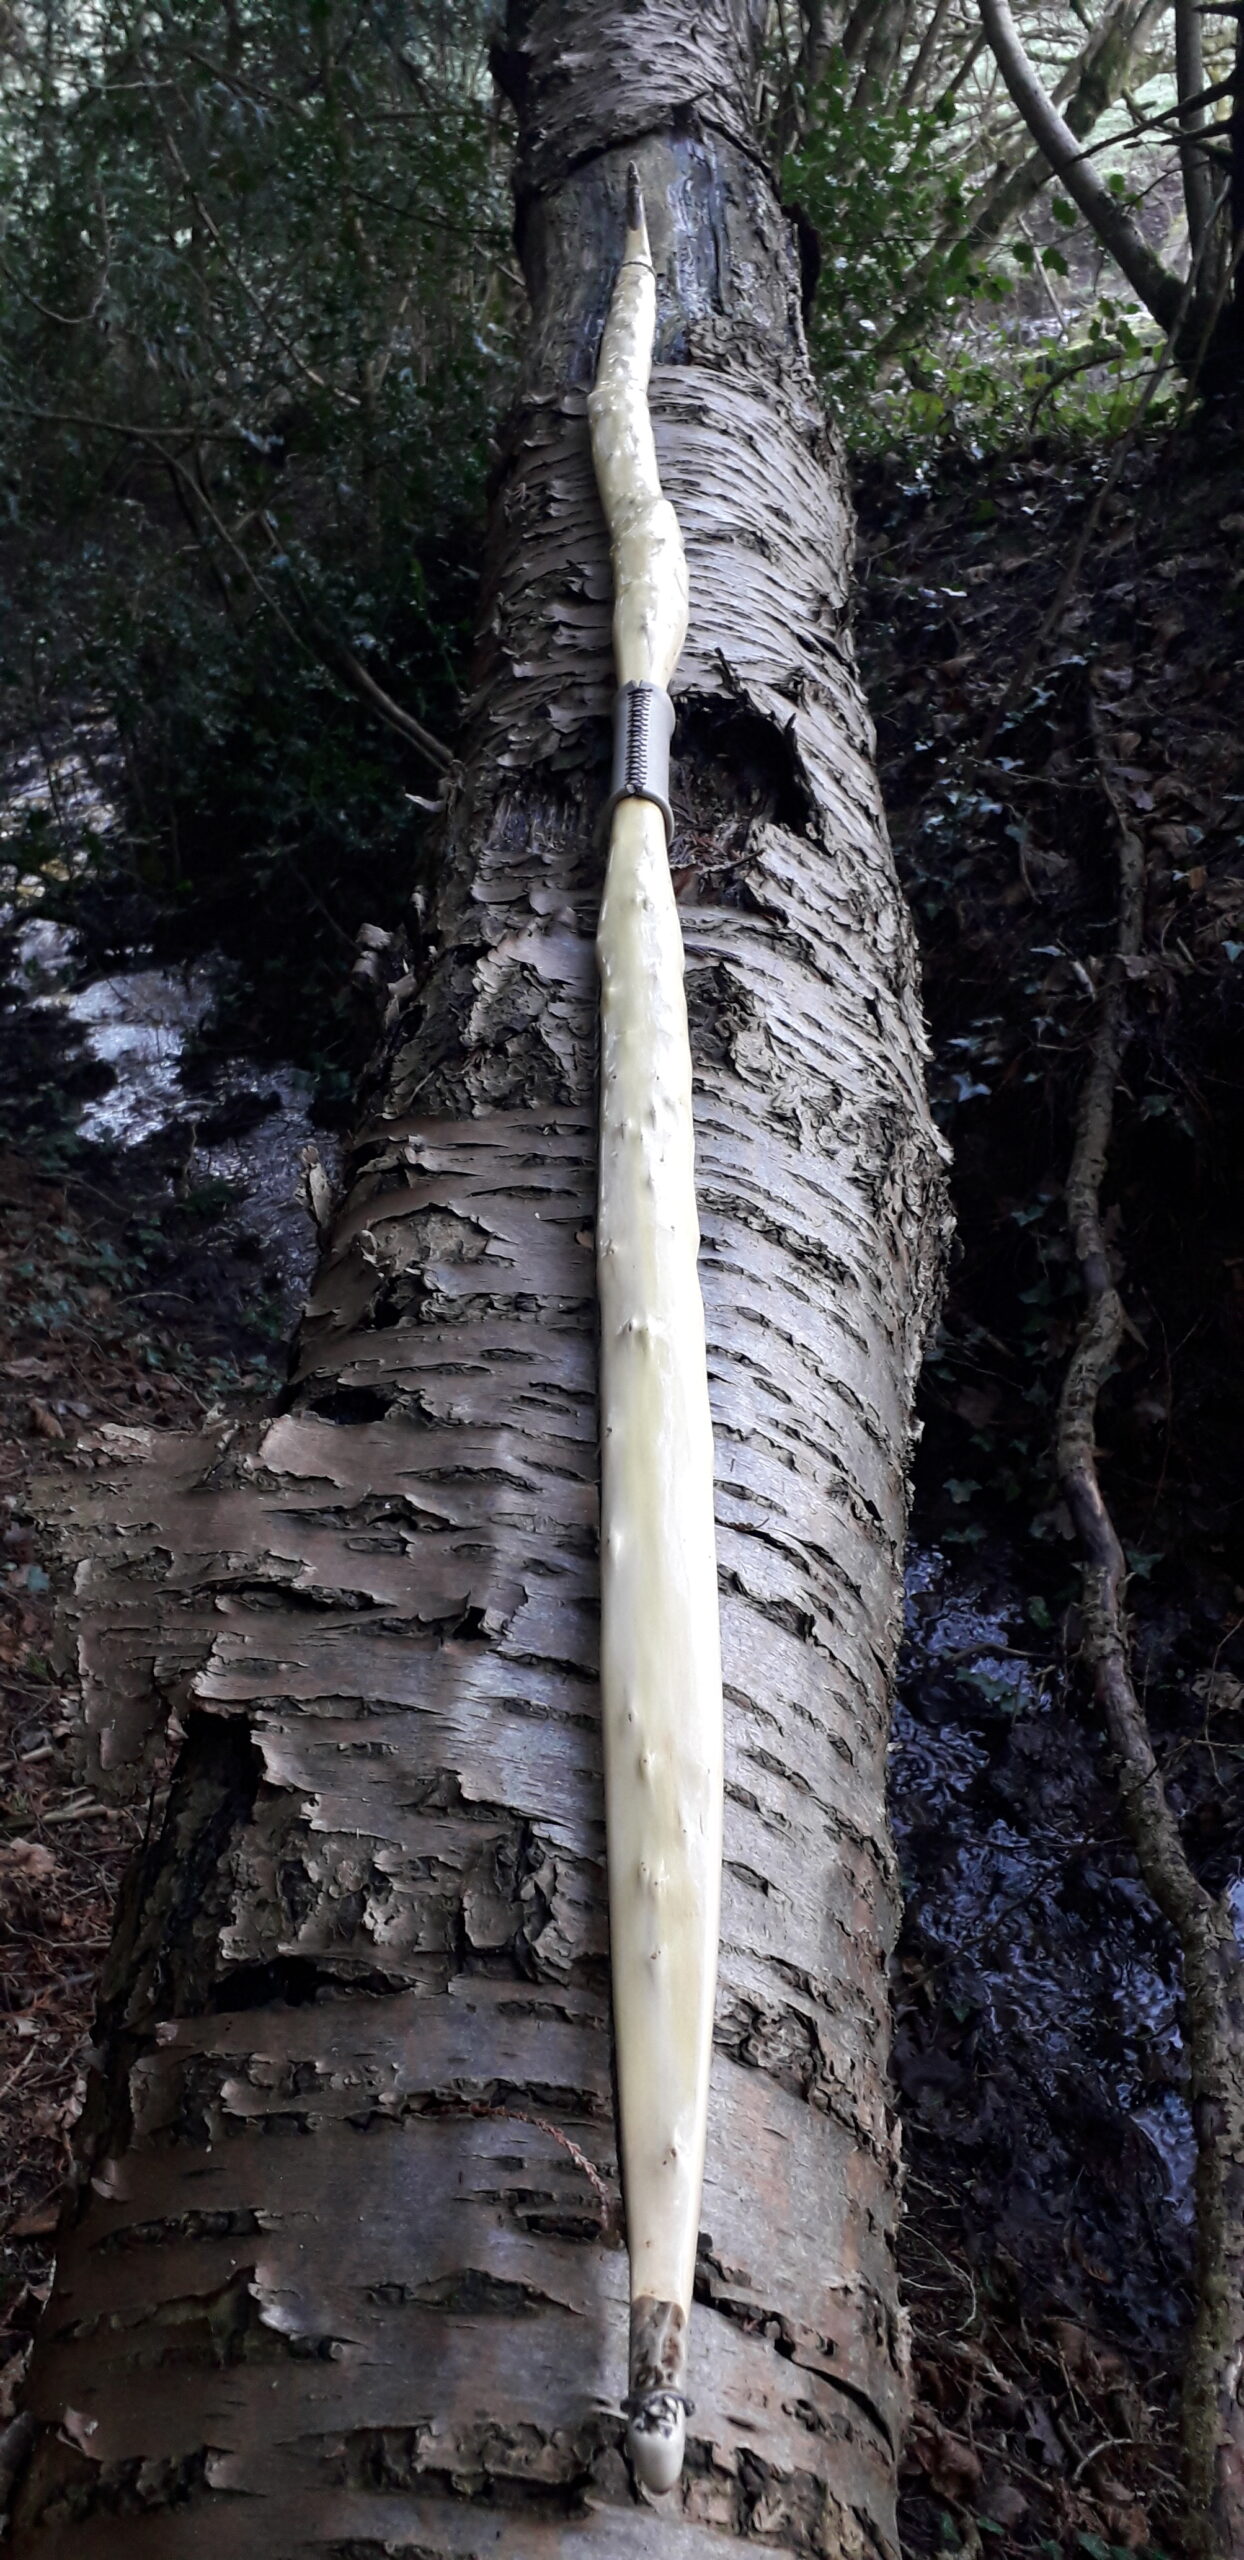
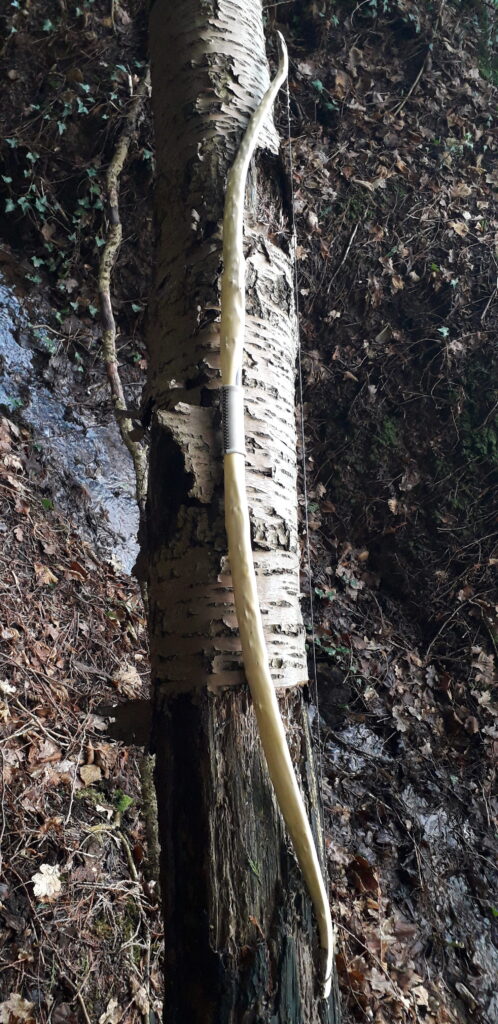
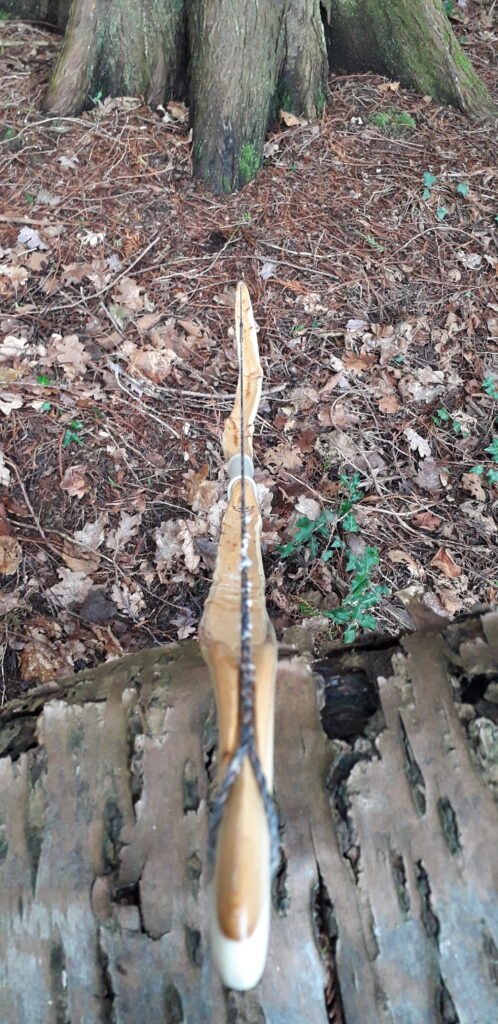
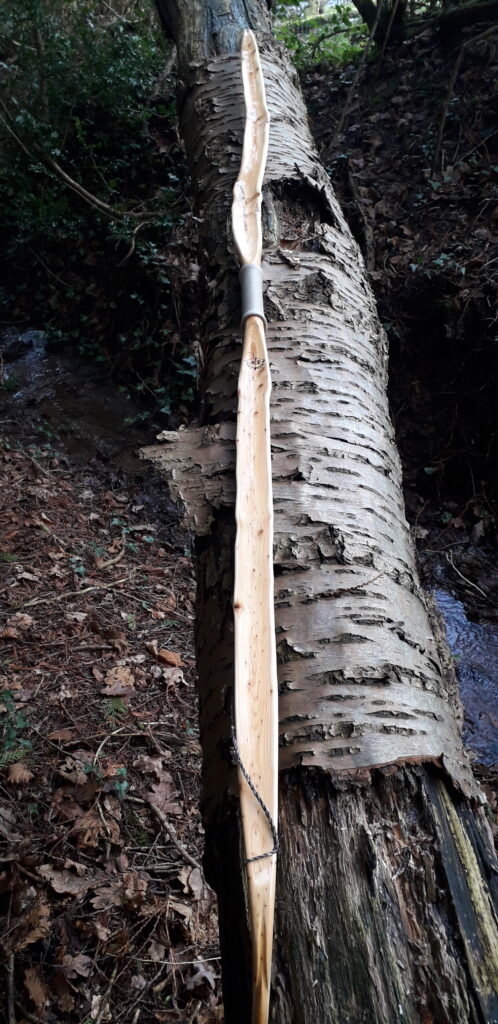
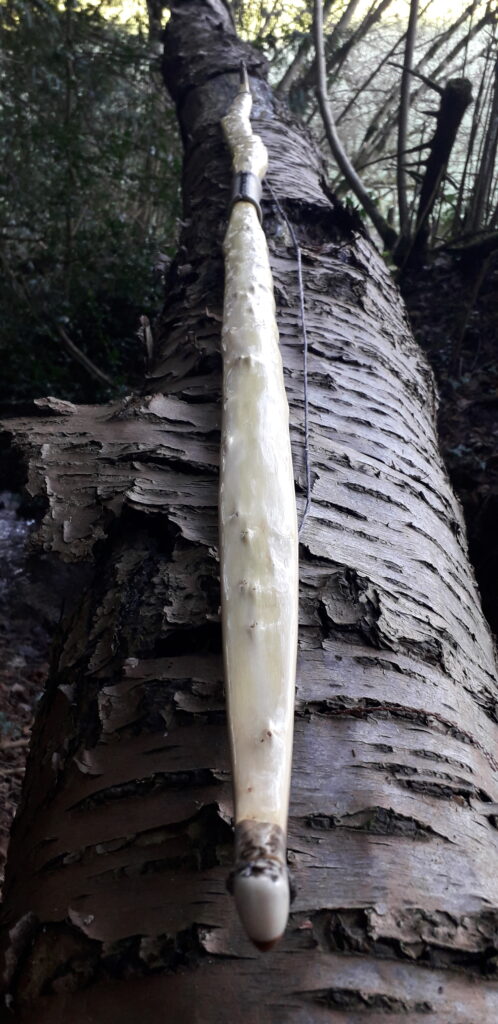
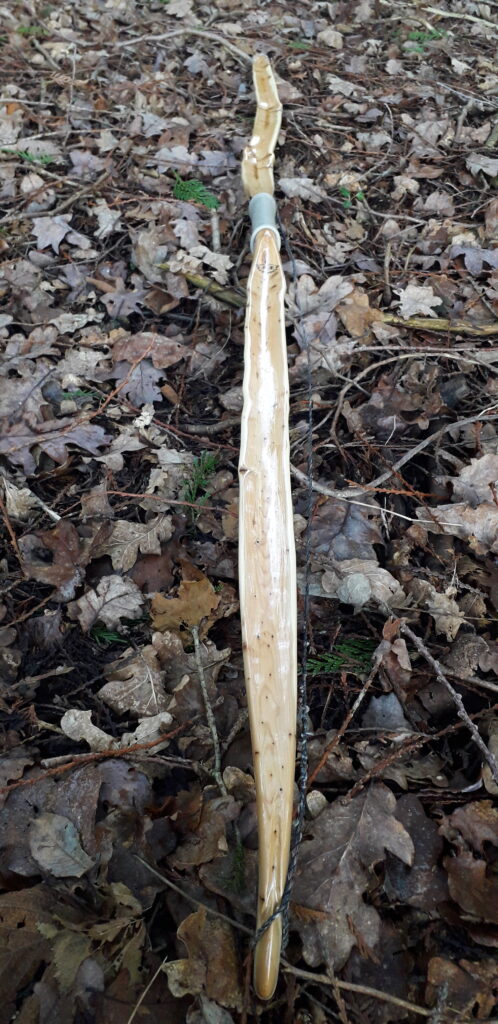
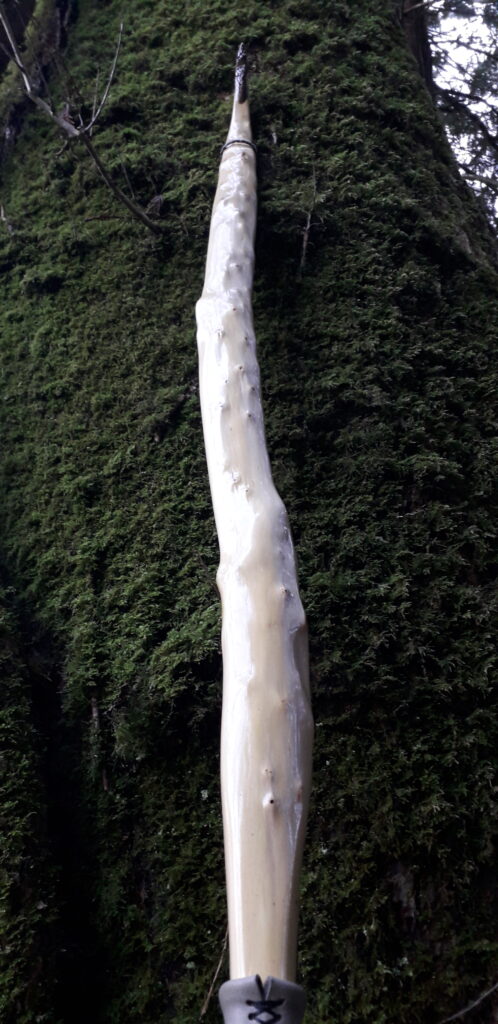
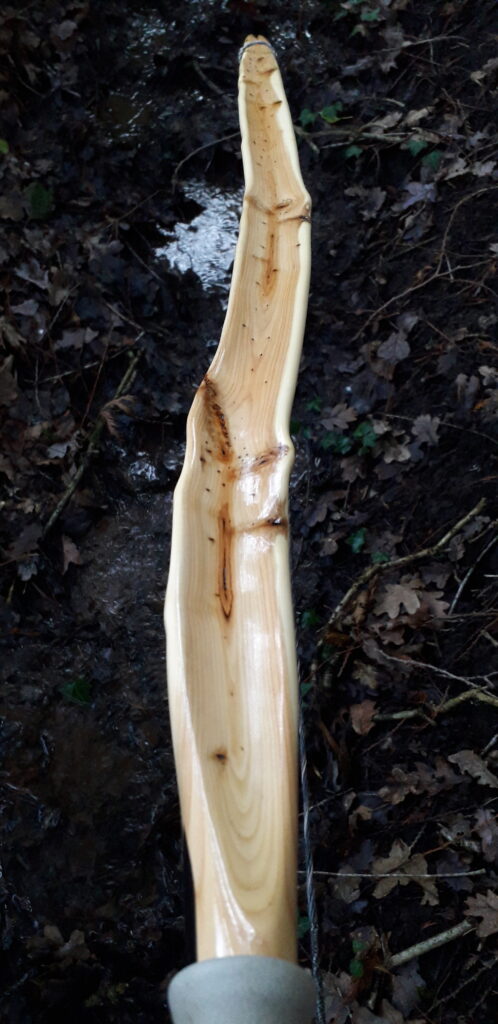
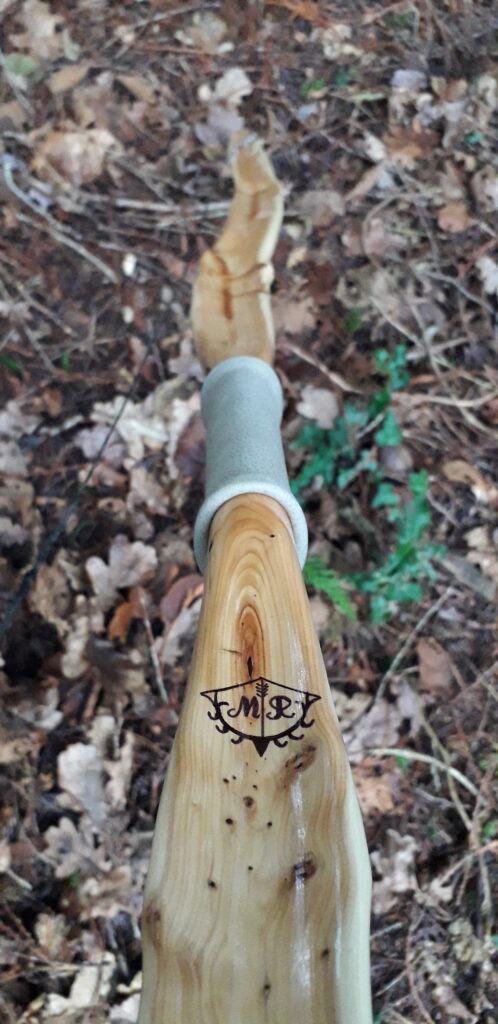
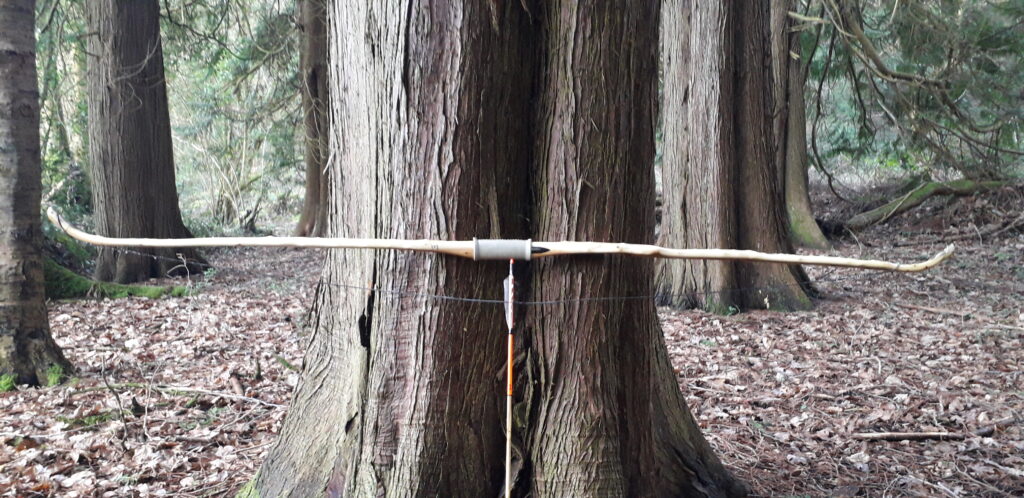
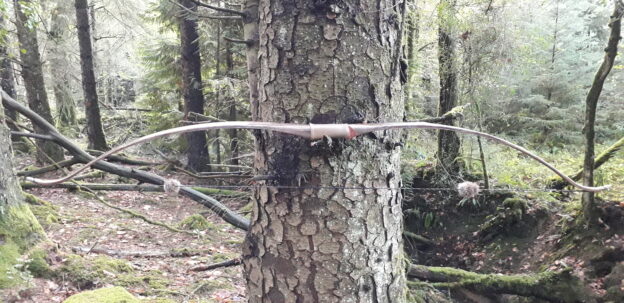
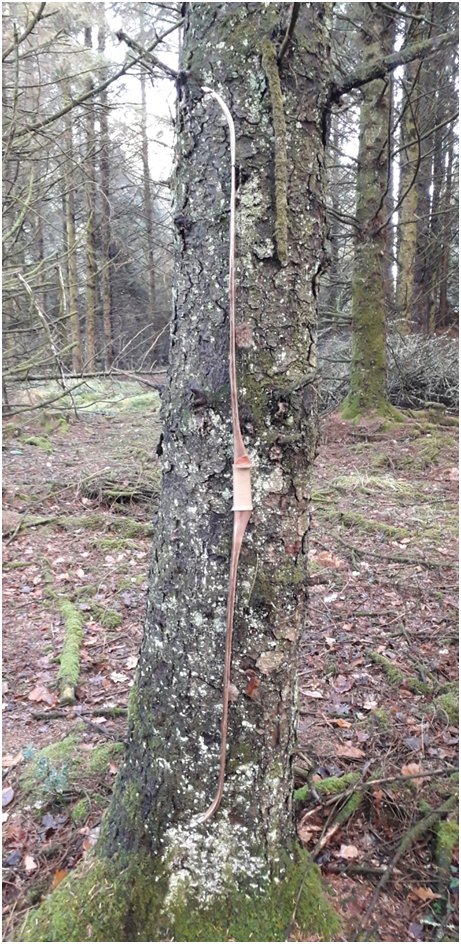
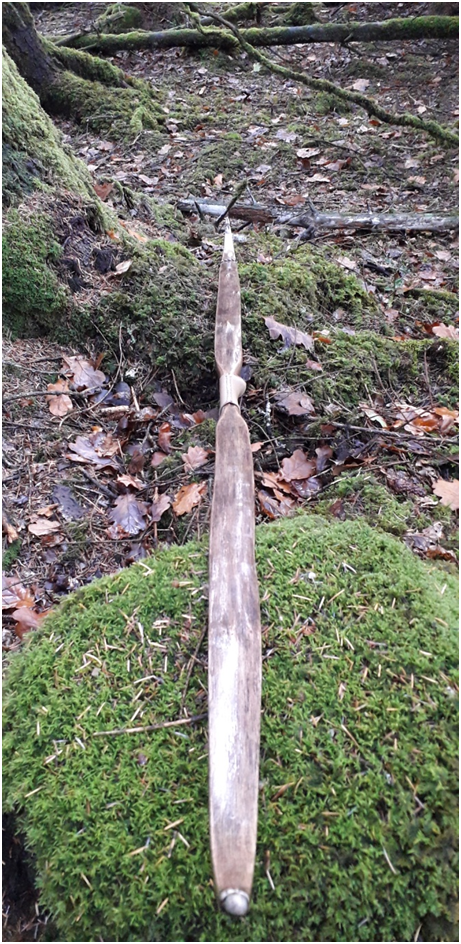
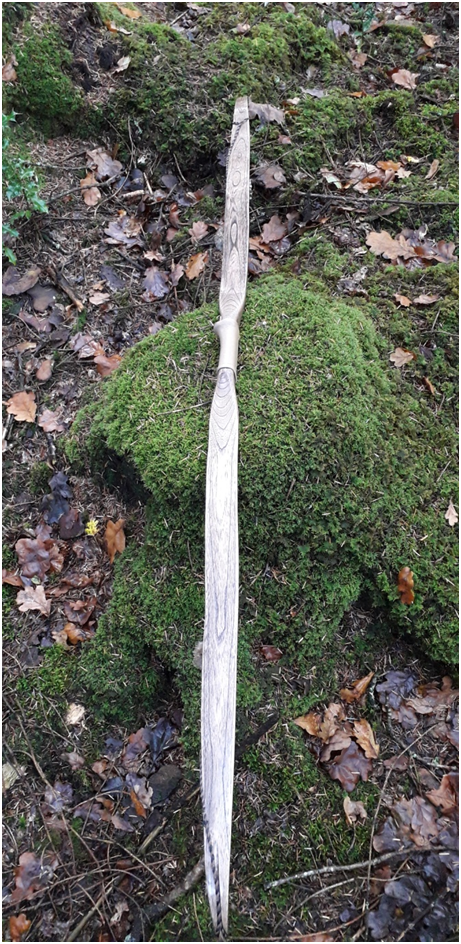
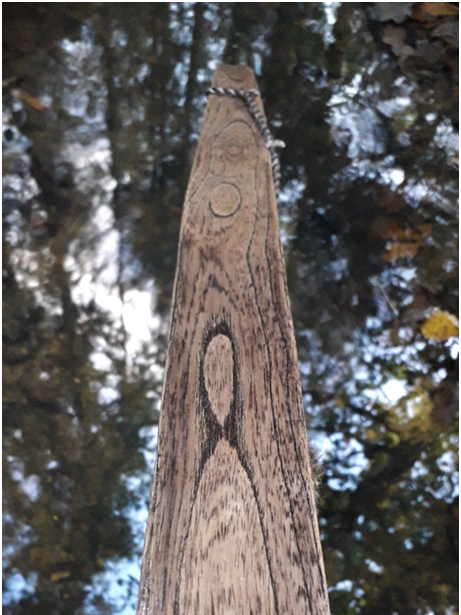
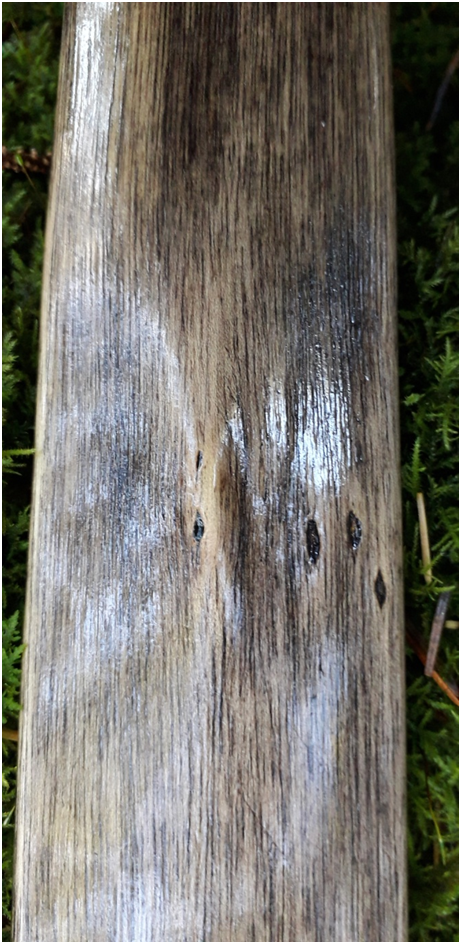
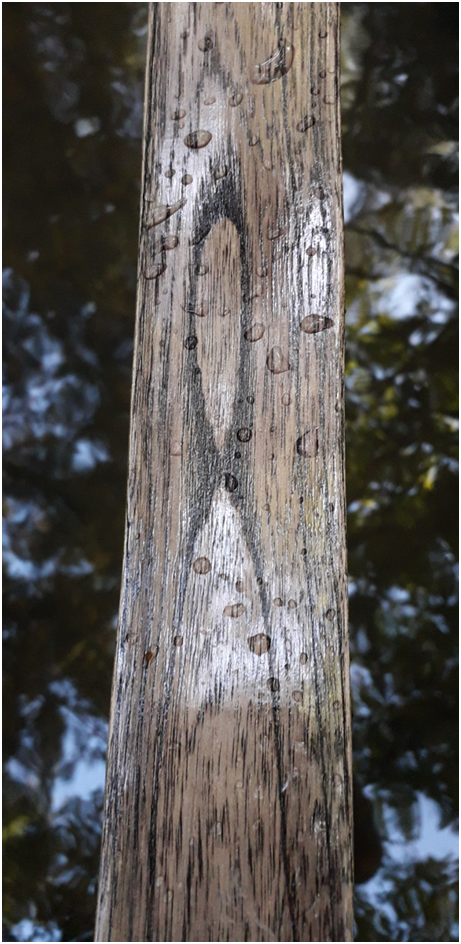
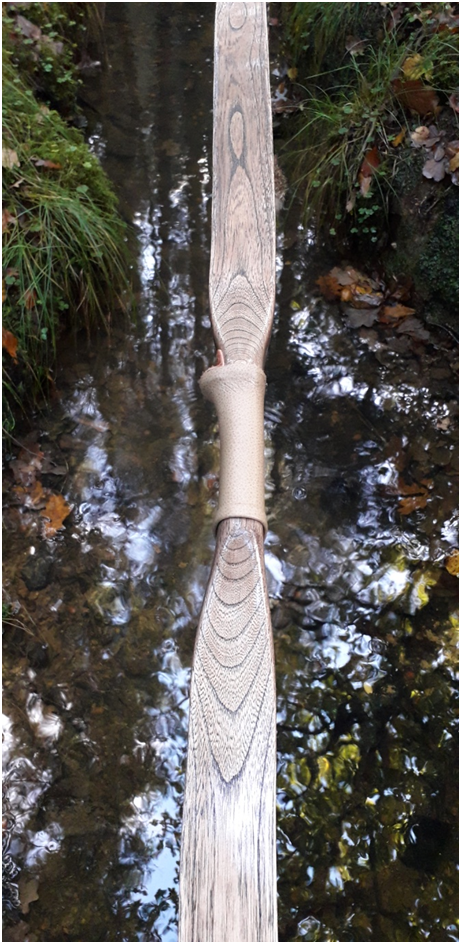
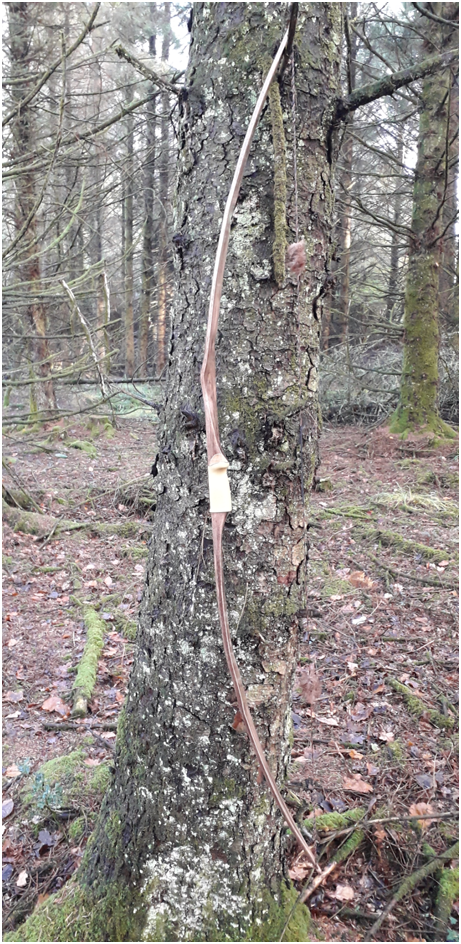
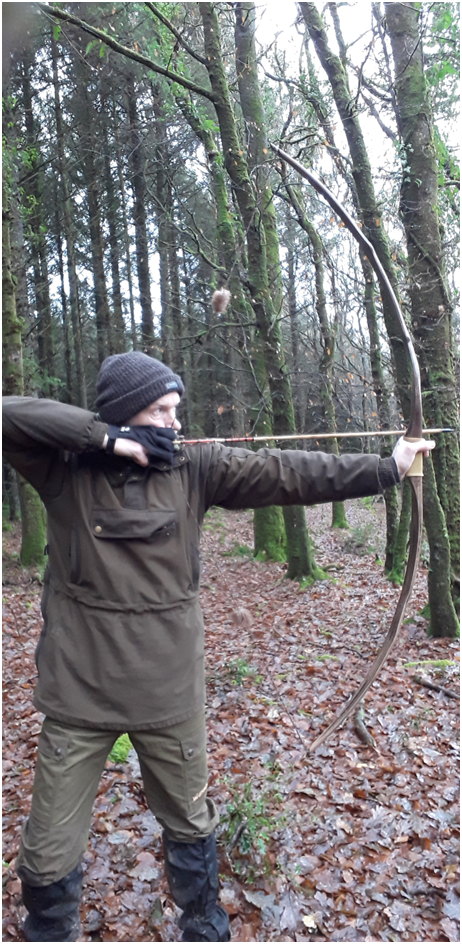
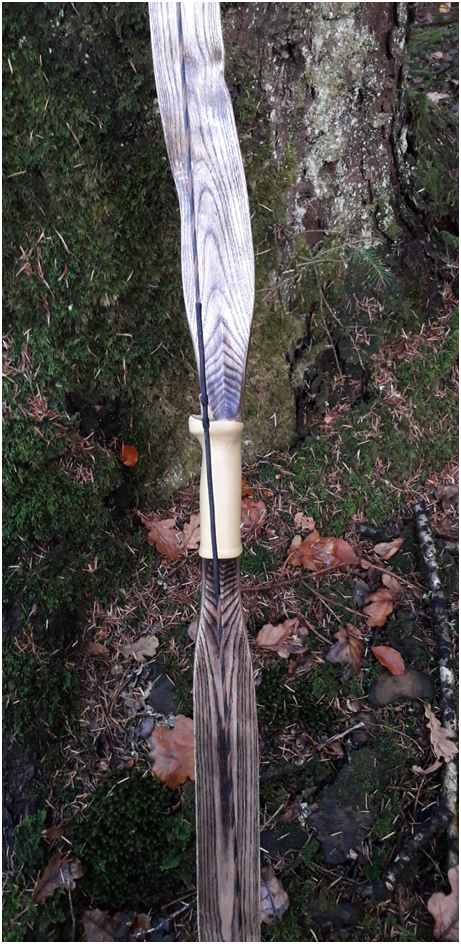
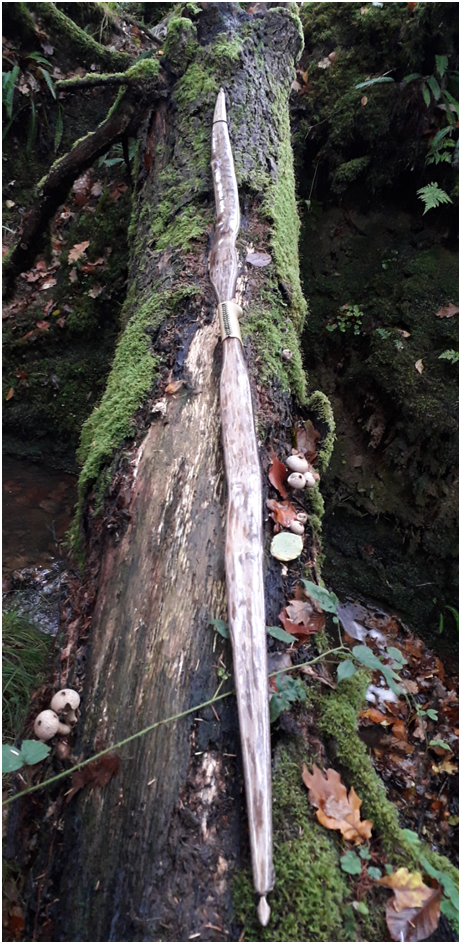
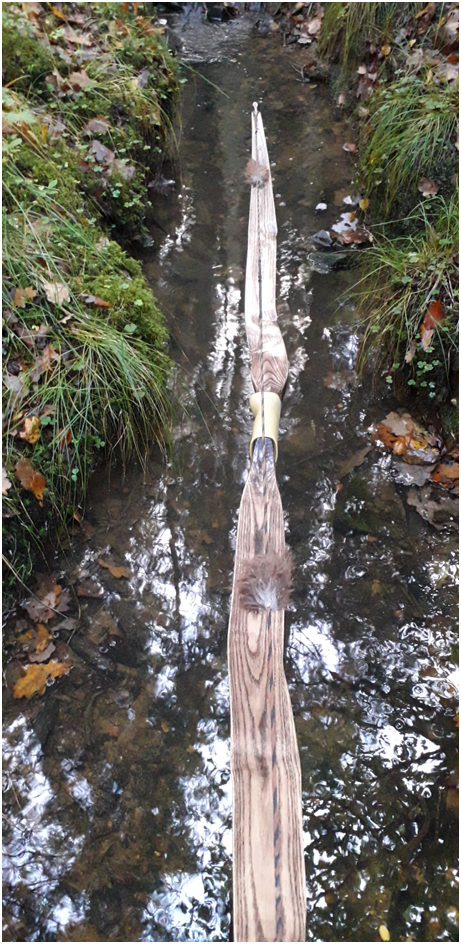
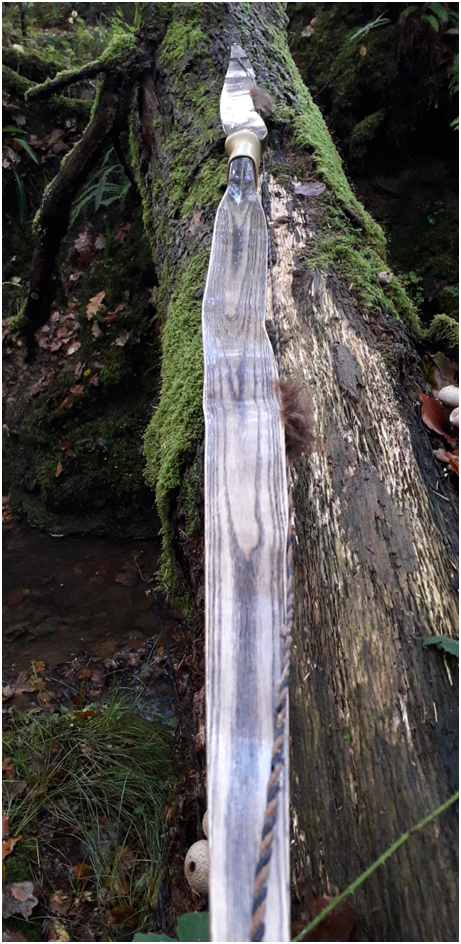
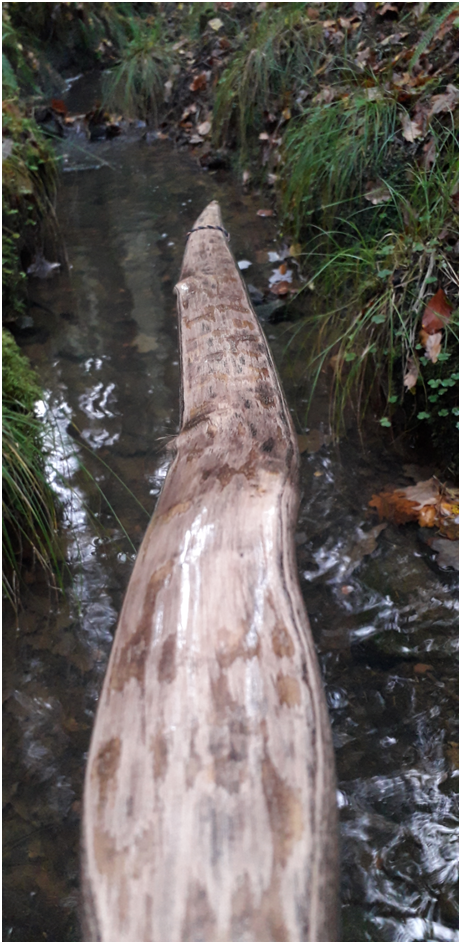
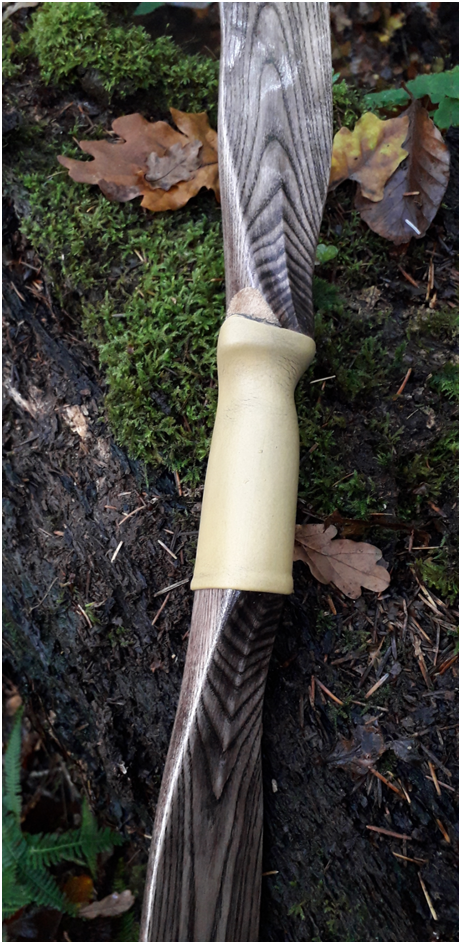
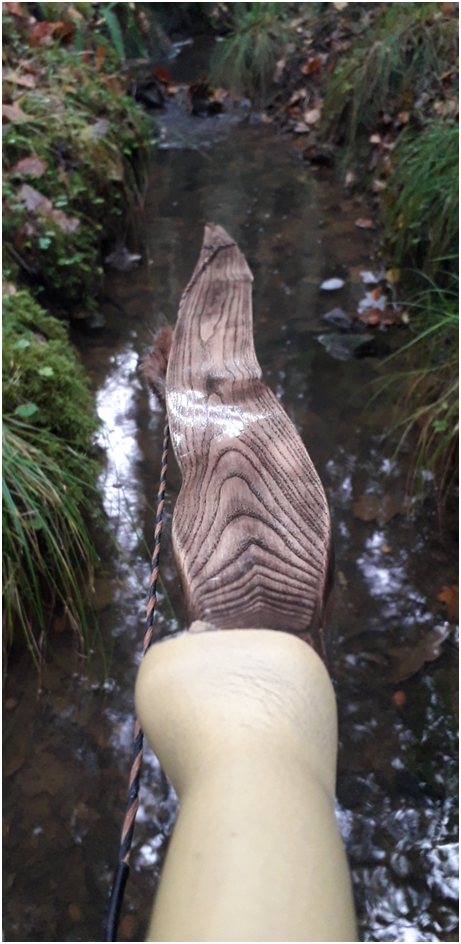
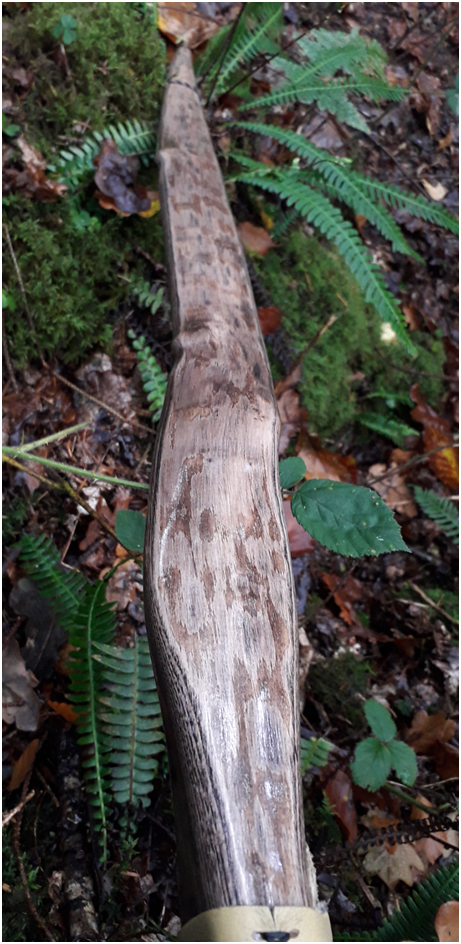
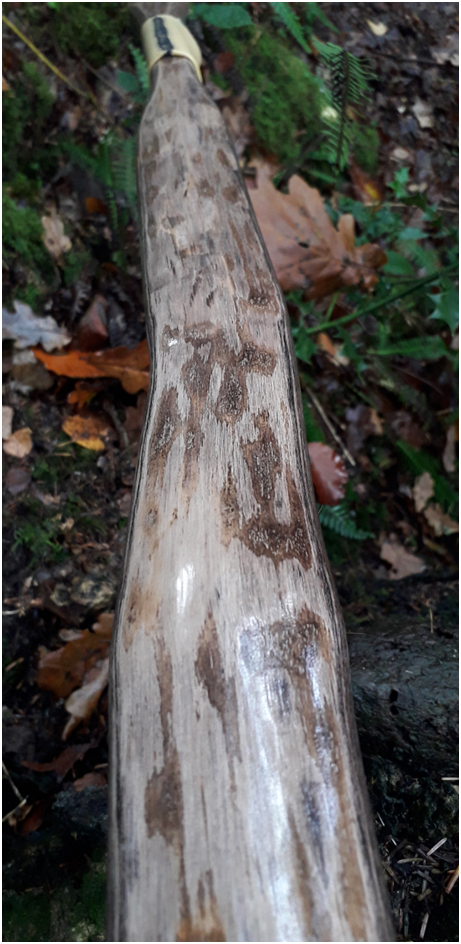
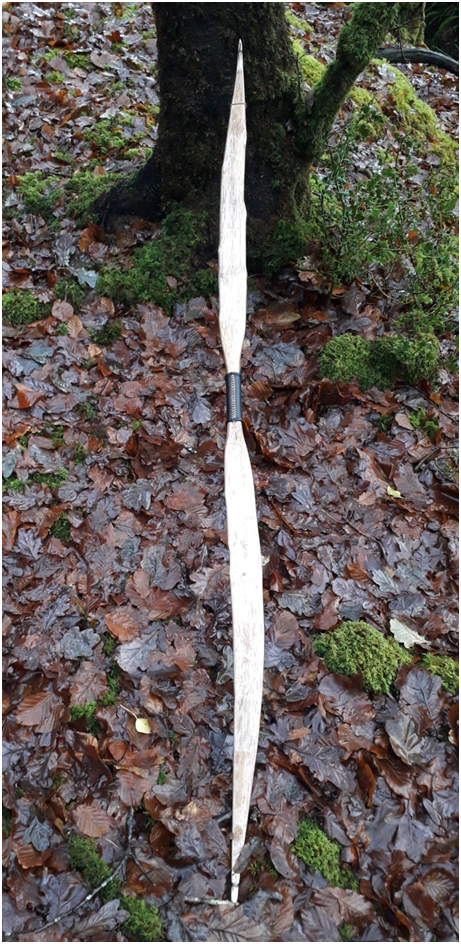
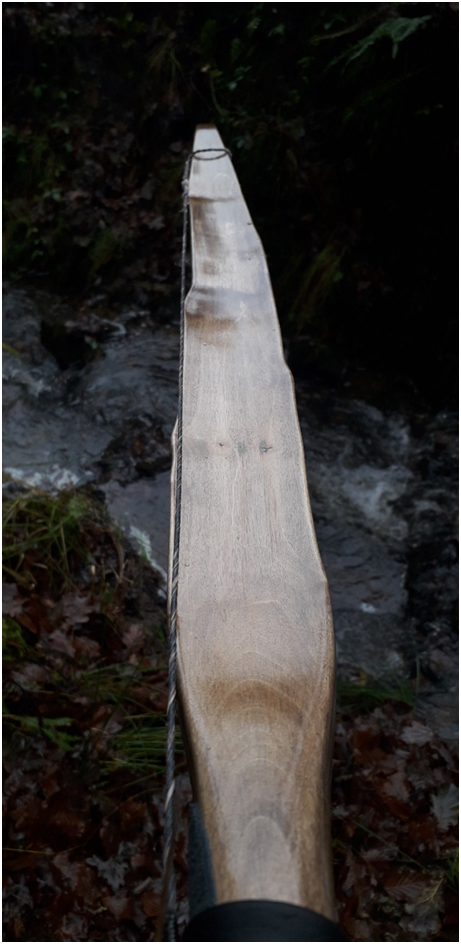
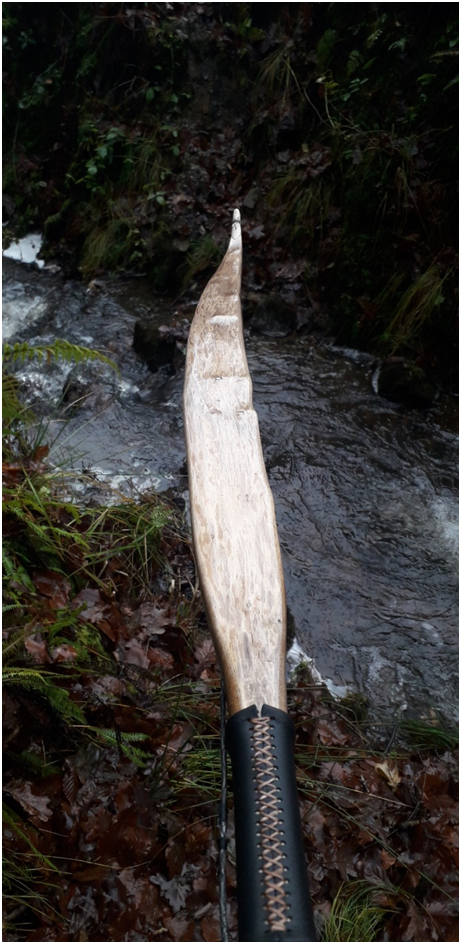
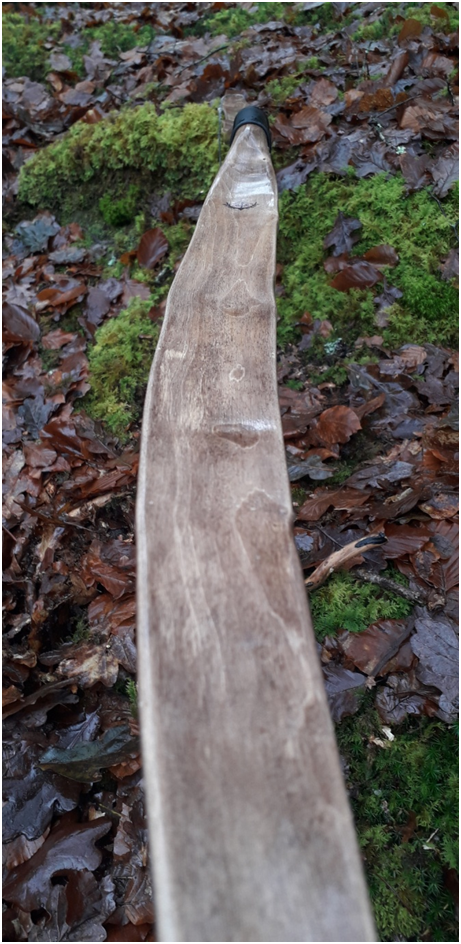
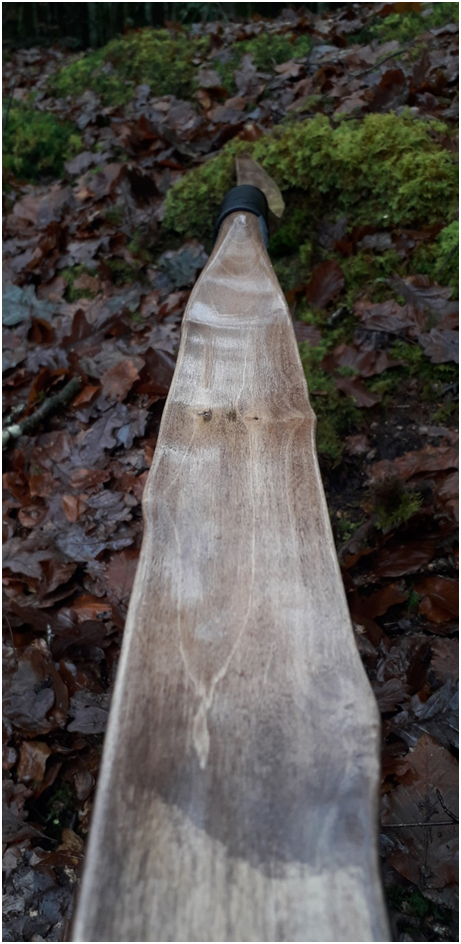
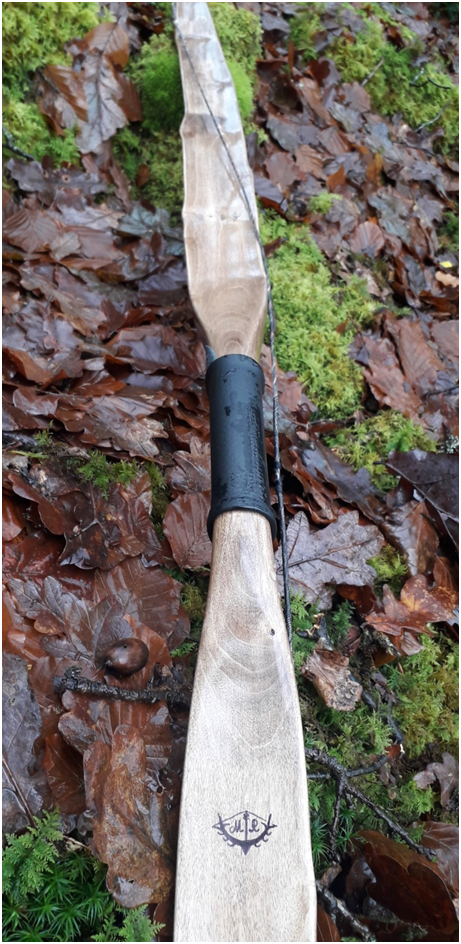
Primitive Hawthorn Flat bow 52#@28″ (Bow No. 15)

A good friend of mine does a fair bit of hedge laying through the winter months and has been kind enough to supply me with several nice bow staves over the years. Most of these staves have been Elm, Ash and Hazel. One bow wood which I’ve been badgering him about for years is Hawthorn. So it came as a nice surprise when he walked me out to his shed to show me what he’d accumulated for me over the winter. Because sat in the rafters was a reasonably clean, straight and fairly untwisted 70” long Hawthorn stave!

When I say “clean and straight” I mean by Hawthorn standards. The best of hawthorn would still deter all but the most insane of bowyers (like me). And by “untwisted”, what I actually mean is propeller twist of less than 45 degrees, because around here at least, if you can find a Hawthorn stave with less than 45 degrees of twist then boy have you done good!!

I like to split my bow wood logs into staves, and I could have done that with this hawthorn log as it was about 5” in diameter. Trouble is, every time I try this with hawthorn, it splits out into a spiral of doom, terminating with a grain run out which you can absolutely guarantee will run across the proportion of the log which would have made for the back of your bow. I was not going to take that risk with this precious log!

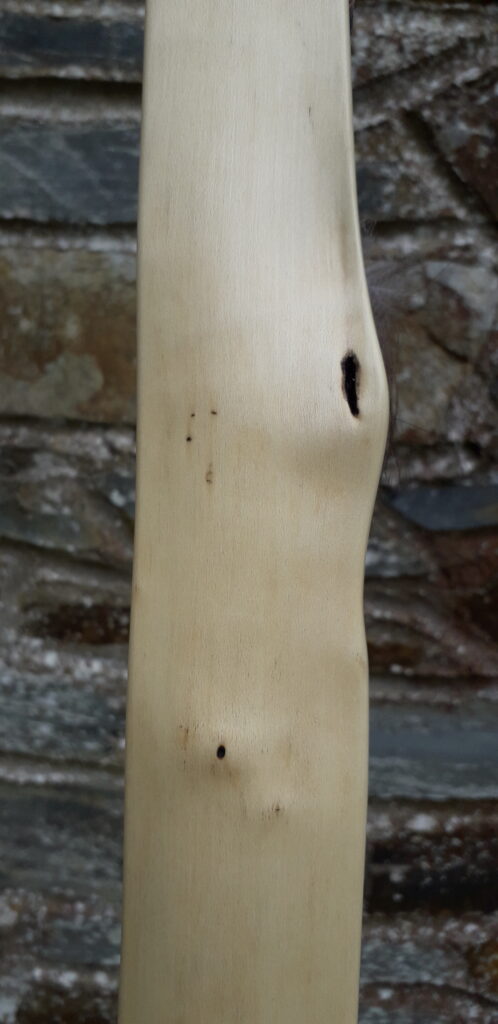
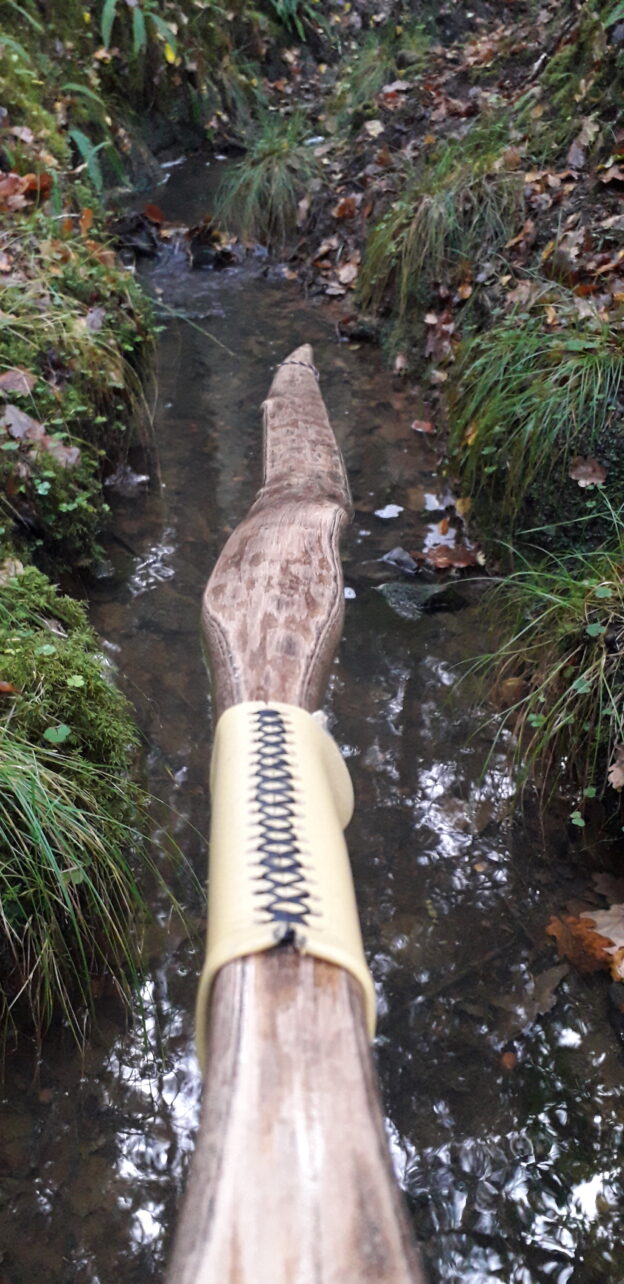
Hawthorn is nice bow wood. Let me explain what I mean by such a statement as there will be seasoned bowyers reading this that will screw their faces up at the very thought of using such a problem laden wood for bows. Hawthorn, with its twist, knots, interlocking grain and undulating back topography will certainly challenge the best of us. But with a bit of patience, and the right design, Hawthorn can make for a powerful, hard hitting bow which will rival many yew bows in terms of performance.

Hawthorn, like most UK thorn species, is more flexible and springy than many other white woods. Most whitewoods in my experience are quite stiff. Hawthorn however is one of only a few whitewoods which has about the right balance between tension and compression strength. Most white woods, at least here in the UK, are very strong in tension, but they lack the compression strength necessary to withstand the crushing forces which the bellies of whitewood bows routinely experience. This creates a challenge for bowyers and requires consideration to be given to bow design in order to mitigate the problems of using such tension strong woods.

Hawthorn is a bit different. Hawthorn has a much more balanced distribution of tension and compression strength. In fact I’d estimate the balance between tension and compression to be pretty close to even. With all that said, correct bow design is still important when using hawthorn, but not as important as when using woods like Ash and Hazel. Leave too much back wood working on a compression weak white wood like hazel, or worst still, not enough belly wood working, and you will experience fretting on the belly for sure. And that’s even with a perfectly tillered bow.

For this reason I typically reduce the amount of back wood which is truly working on most whitewood bows. This can be done a couple of ways. An example would be to use a stave with a naturally moderate to high crown. A high crown ensures that only the central section of the back is working and therefore coming under tension. Another way to balance the tension and compression forces on a tension strong wood could be to keep the entire width of the belly nice and flat so that all of the belly is working against the compression forces brought about by the tension strong back. Heat treating the bellies of compression weak timbers can also help to strengthen the compressive qualities of woods with weak bellies. But go careful with heat treating. Cook it for too long and you can make belly wood even weaker.

But none of this is necessary with Hawthorn. On a hawthorn flat bow at least, you can have just as much back wood as belly wood working and you will likely not experience chrysaling. Or at least you won’t as long as you have a well designed and tillered stick without any hinges of course!.

Heat treating the bellies of Hawthorn bows is unnecessary in my experience. Whilst heat treating woods like Ash, Elm and Hazel will undoubtedly make these woods behave more springy, Hawthorn is plenty springy enough just as it comes.

A conversation about hawthorn as a bow wood wouldn’t be complete without touching upon the down sides however. And one of the main down sides to Hawthorn is its tendency to check quite badly during the seasoning process. For this reason I work all of my Hawthorn staves down to as close to final dimensions as I dare. And I do this as soon after felling as is humanly possible.

Normally, if I’ve felled a Hawthorn stave myself, I’ll be planning to get the bark off and work it down to within a couple of millimetres of final dimensions the same day as I felled it. That way I’ll be sure to have removed the bulk of the staves pith therefore significantly reducing the very real risk of the stave splitting out from the bark right to the central pith of the log. That kind of splitting happens very quickly with Hawthorn. And you can bet your bottom dollar that if a drying check does emerge, it will be right through the face which you intend to use as the back of your bow!

The Hawthorn log which my mate had kindly stashed away for me had indeed split and badly. But since the whole log was relatively clean of knots, I was fortunately able to find a face which did not contain one of the deep drying splits.

Once home I set to the log with my axe and within half an hour I had a roughed out stave without any major nightmares to contend with. I was very careful to follow the grain with the axe as the natural tendency of the grain was to spiral. Fortunately the amount of spiral in the log was manageable and ended up being about 30 degrees of propeller twist.

Since this stave was still wearing its bark, the next thing I needed to do was get the bark off. Since the log was cut in the middle of winter, the bark was stuck on good and proper, so I took the draw knife to the bark with a view to leaving a trace of cambium behind to serve as some level of protection whilst the stave was being worked on.

Once the bark was off, I clamped the stave to a flat form and parked the clamped stave in a warm spot for a couple of weeks. The stave was still very green at this point so I was hoping to use the opportunity to clamp out some of the twist on the form whilst the stave was still able to lose a significant proportion of its heavy moisture content.

When the stave finally came off the form, it had actually gained a fraction of reflex. Some of the twist had come out but about 10 degrees remained and would have to be heated out at a later date. For now though, I needed to get the moisture content down to as low as I could get it, which normally works out around 6 – 8%.

I have a room in my house which is both warm and has low humidity. I built a bow rack in this room so that I can store all of my wooden bows, and all of my drying roughed out bow staves, without the risk of them gaining moisture or getting bent out of tiller. The rack enables me to keep all of my bows lying horizontally, whilst being supported at only two points situated approximately mid limb. This ensures that the distribution of gravitational force is equal across my bows whilst they are not in use.

The wall against which the bows supports are fixed is the back of my chimney breast, so when the wood burning stove is in use, the wall gets nice and warm. This increases the ambient temperature within the whole room, but especially around the immediate vicinity of the bow rack. 

This slow and steady maintenance of warmth, combined with a dehumidifier situated in the middle of the property, really speeds up the drying process of green staves. Especially during the winter months, which is when I like to cut most of my bow staves. This arrangement also keeps all of my finished bows at below 8% moisture content all year round. So with this set up in mind, within just a few weeks I was able to get this stave down to a point where it was not losing any more weight.

So once the weight loss had completely ceased, I set about fixing the 10 degrees of remaining propeller twist. Some dry heat applied to the fades and limb tips and some strategic application of force in the right direction got the twist out easily. Another benefit of using Hawthorn as bow wood is that it bends quite easily with both dry and steam heat.

In fact, as long as a piece of hawthorn is clear of knots, some pretty aggressive bends can be put into Hawthorn using steam. And dry heat can move Hawthorn a good bit too. I wouldn’t say that Hawthorn heat bends almost as well as yew. Or at least it certainly bends much better than most other white woods!

Whilst I was in bending mode, I used the heat gun to very slightly flick the tips and perfect the string alignment, which was pretty good from the start. Then after a day to reacclimatise after all that heating, I set about finalising the face profile which had been left excessively wide to facilitate better torque when using my G clamps to pull the twist out.

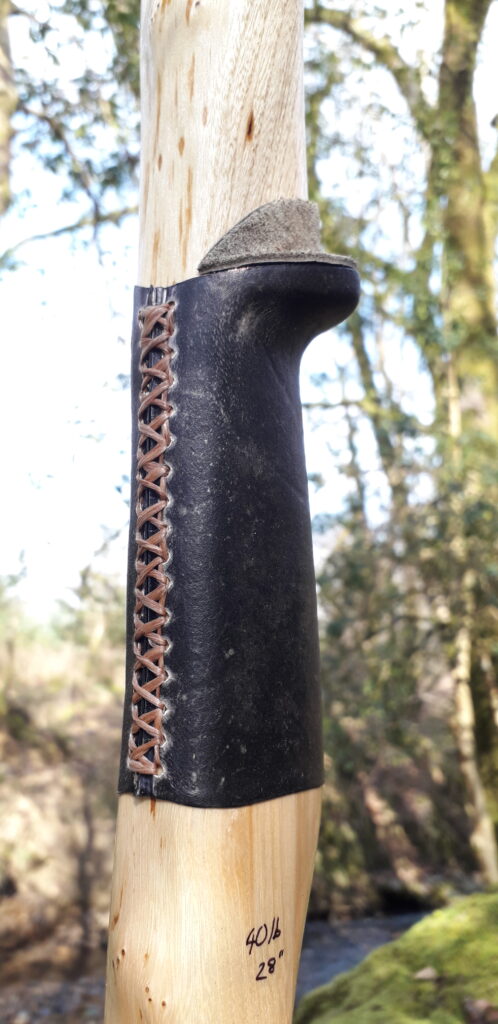
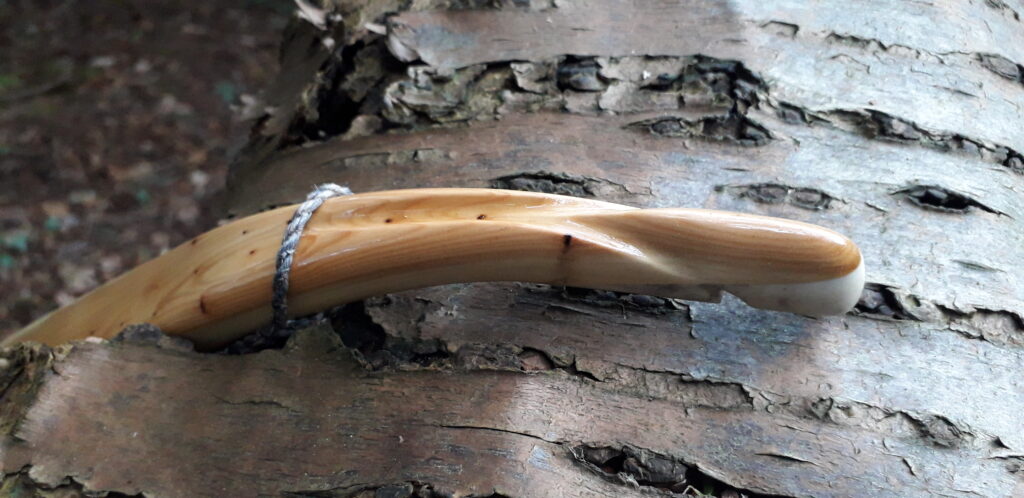
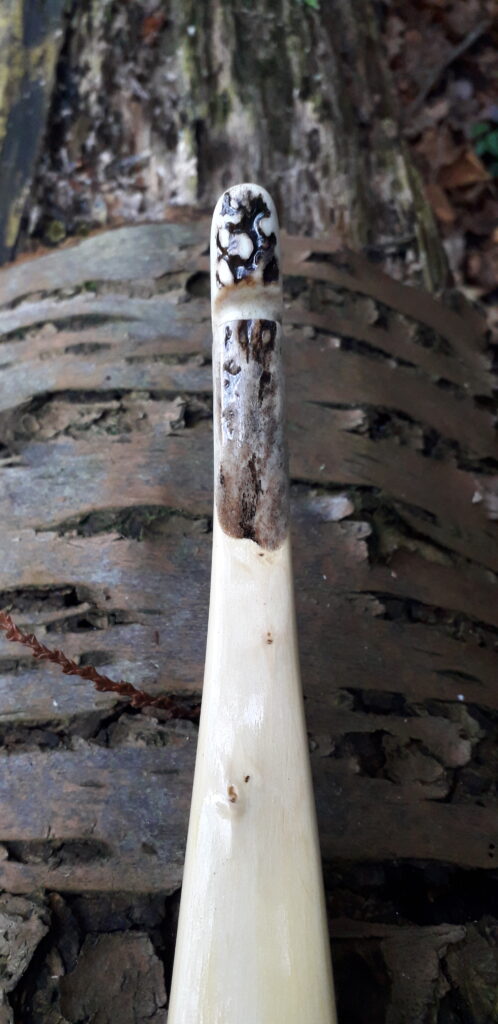
The design I was planning for this stave was nothing fancy. I just wanted a nice, clean, functional, hard shooting right handed flat bow. My idea was for something in the region of 50-60lbs at 28” with a pyramidal face profile merging long fades and nice fine semi static, lightly flicked tips. These tips would be fitted with overlays. The handle would be 4” long, rigid, and without a shelf and inlayed with antler at the arrow pass.

Since the limb face profiles were tapering evenly through the working sections, I wanted to keep the tiller elliptical so as to spread the work evenly across the whole of both limbs. For this reason I also decided to only very slightly flick the semi static tips. This design would maximise the retention of as much of the slight overall reflex as possible. And for the same reason, since the overall length of the stave was now 66” after cutting of the split ends, I was looking to maintain all of that length in the finished bow. This gave me plenty of bow to provide long working limb sections which would help avoid any risk of overstressing a bow which was destined to be drawn to 28”.

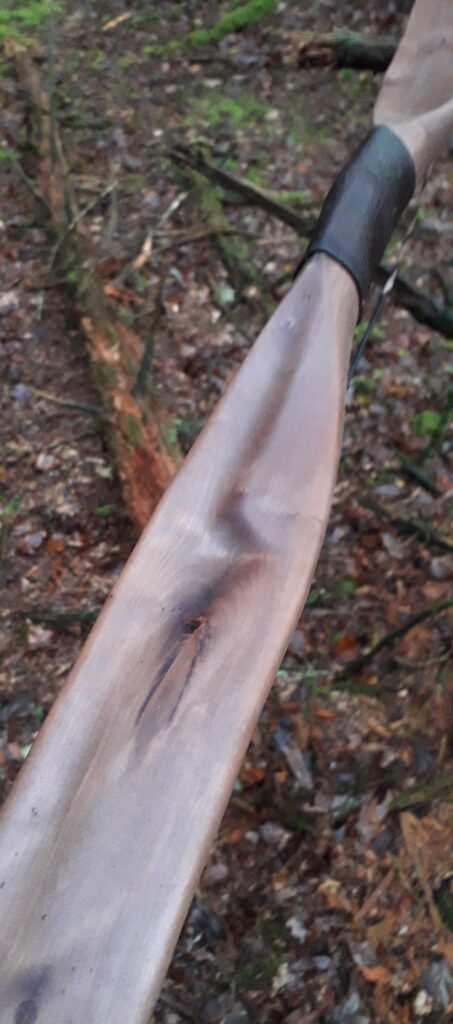
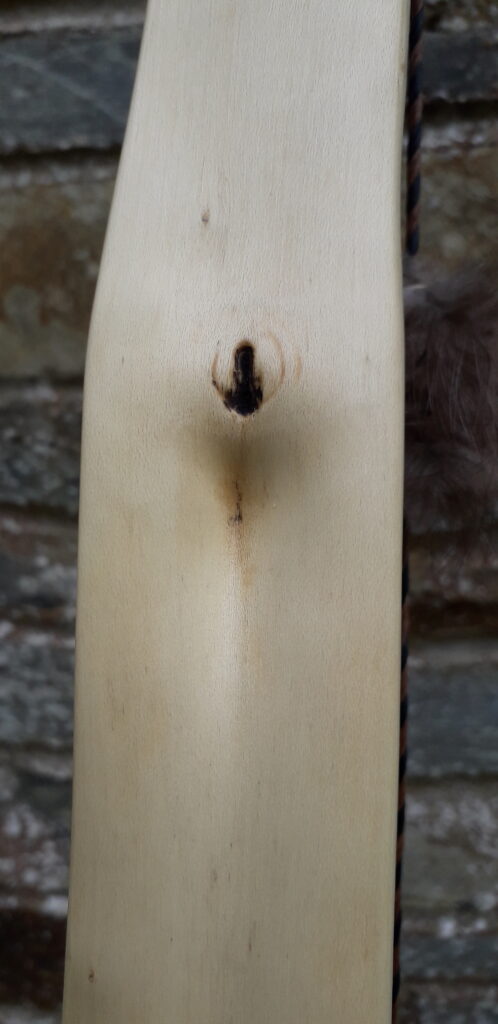
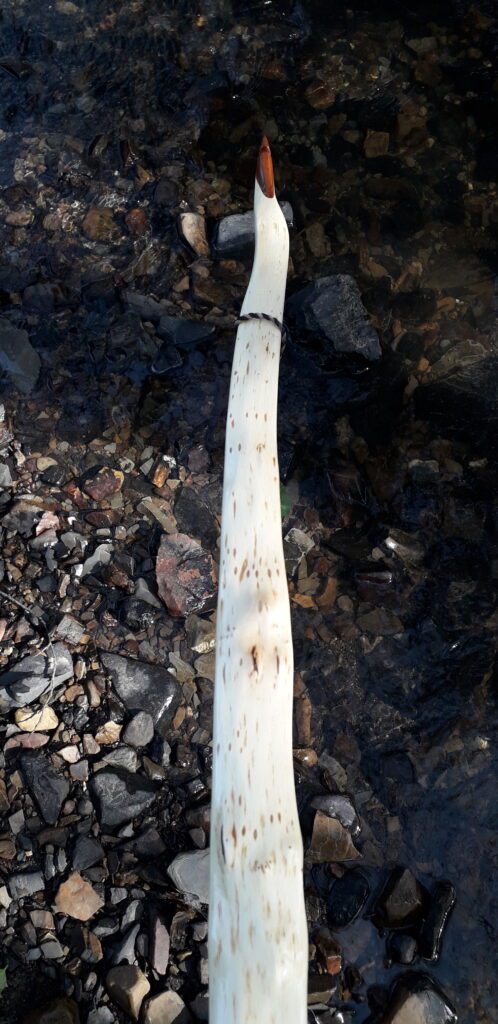
With the face profile finished and the handle and fades basic shape finalised, I set the working limb thickness up as close to even as possible. The back of the bow was carrying some undulation and a significant knot presented in the middle of the inner third of the lower limb, so with the gouge and the curved scraper, I followed the limb thickness up and over all the high and low spots to mirror on the belly what was presenting on the back. As time consuming as this process is, it really is worth it in my opinion as it ensures true, even distribution of thickness across the length and width of the limbs. This in turn increases the likelihood of achieving an even distribution of tension and compression throughout the entire length and width of the working sections of the limbs. Extra meat was left around the large knot to provide some extra strength there.

Before proceeding to tillering I wanted to experiment with a process which I’d been wanting to try for some time. This process is called “fuming”. I’d come across this process whilst drooling over some of the beautiful works of art produced by seasoned bowyer Simon Sieß who’s inspirational and informative website can be found here: Stonehill Primitive Bows – Handing the flame on since 2005 (primitive-bows.com)

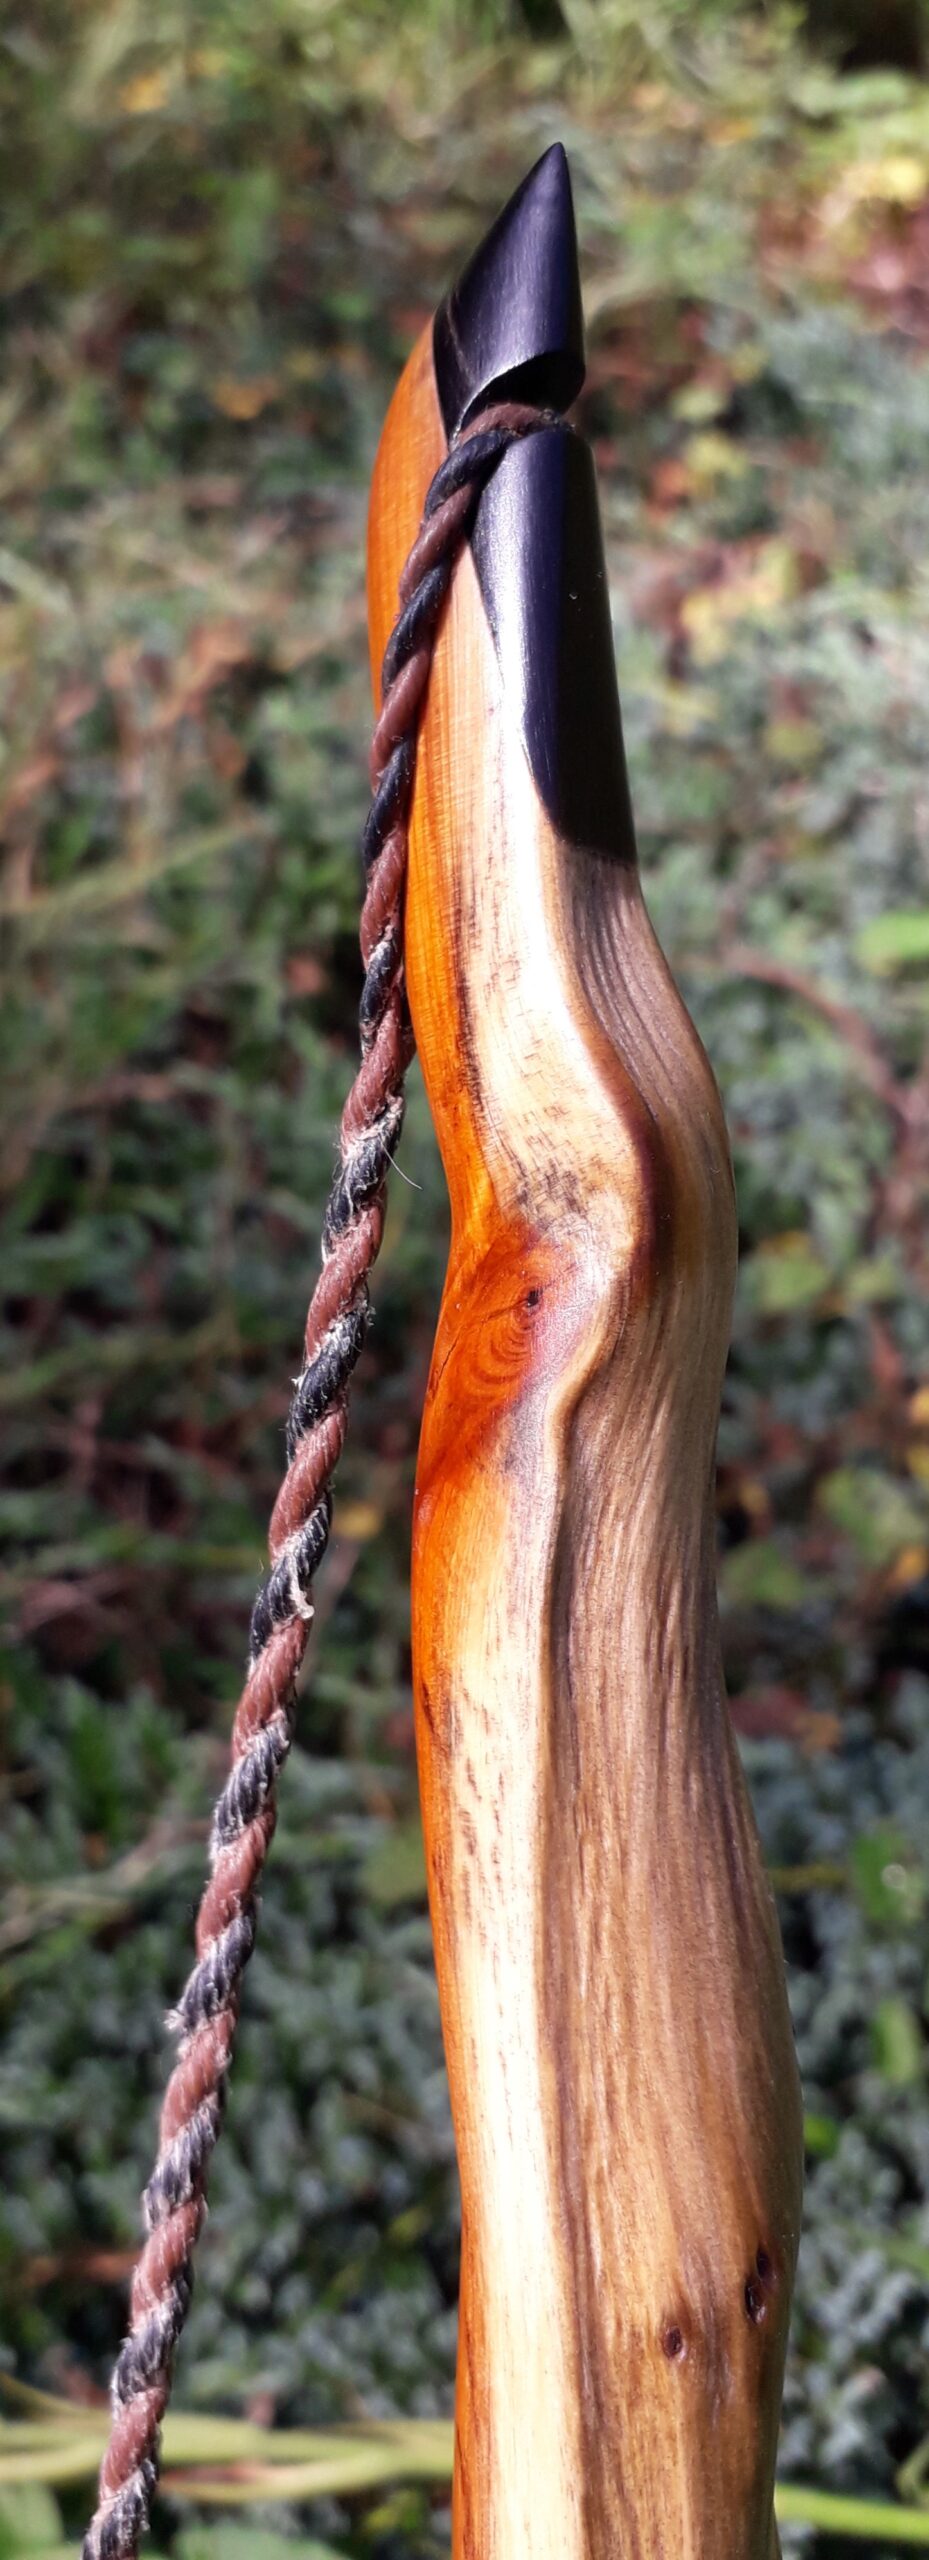
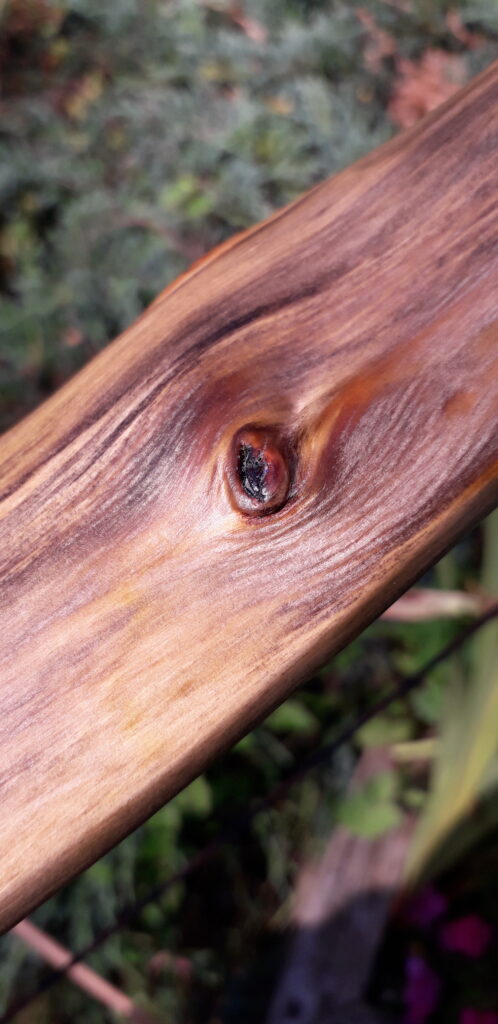
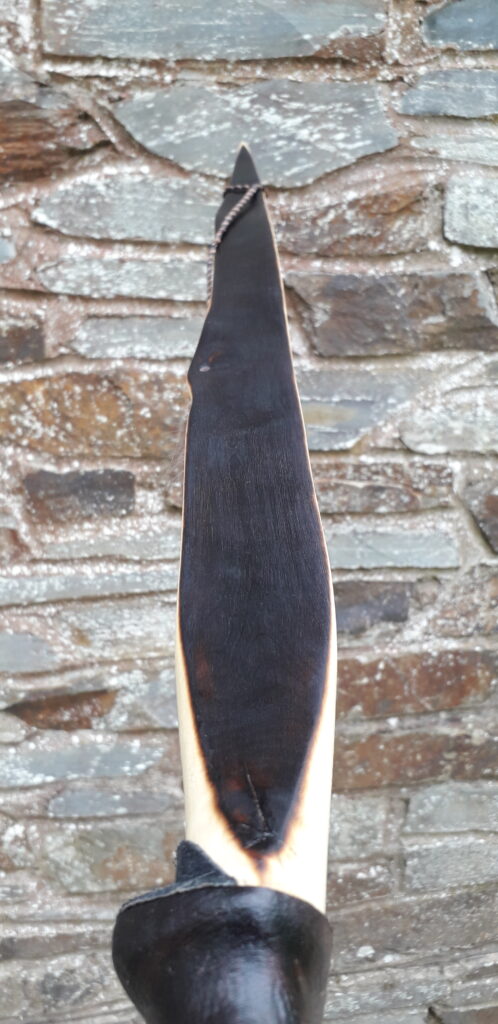
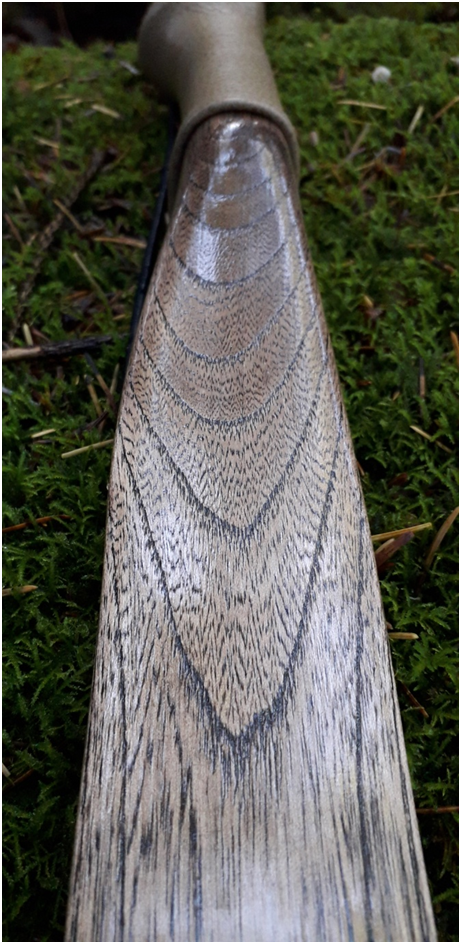
Simon and I have shared conversations in the past about the whole process of using ammonia fumes to colour and darken tannin rich woods like hawthorn. Simon has a great article on his website which details the process of fuming and can be found here: Fuming experiments – Stonehill Primitive Bows (primitive-bows.com) Inspired by Simon to try fuming hawthorn, I set about following his advice and proceeded to fume this hawthorn stave for two weeks. The colour transformation was wonderful! And the colour transformation had penetrated deeply throughout the fibres of the entire bow, just as Simon had described. Thank you Simon!!

After letting the now damp fumed stave dry for another couple of weeks to remove the strong smell of ammonia as well as restore the staves pre fuming mass, I was now ready to start long string tillering. So I cut in some tillering nocks so that I could get the long string on and see what she looked like when pulled down an inch or two on the tillering tree. A bit stiff in the out thirds was my first thought and the bottom limb was looking considerably stronger than the top limb. So after letting off the outers, and dropping some wood off the whole of the bottom limb things were starting to look quite balanced.

Once I’d got her down to brace height I could see that a little bit of limb twist had returned so a little more dry heat in the top limb got things back to nice and even. I could also now see that a 4” section in the middle of the bottom limb was carrying a bit more reflex than everywhere else. This was resulting in the appearance of a very heavy positive tiller. I decided to heat this reflex out a little to create a more even overall reflex of the bottom limb. This resulted in a much more even looking side profile at brace whilst still maintaining a 3/16” positive tiller overall.

After achieving as good an elliptical tiller as I could I began pulling her down a bit further. I stopped at 22” I checked the draw weight. I was getting around 55lbs at 22” so clearly had a bit of wood still to remove before I could push on down to 26”. So I kept on perfecting both limbs by carefully removing more wood from the bellies of both limb wherever I figured I could improve the evenness of limb thickness or the visual presentation of bend.

Once I was down to 52lbs at 26” I called her done. No signs of any overstressing were noticed and overall, set was minimised to about 1/4 of an inch, which is what I would expect from a nice dry hawthorn stave. Since I was now close to shooting her in, I shaped the handle up to facilitate putting a few arrows through her. Since this required the removal of a fair bit of wood from the handle and fade sections I thought I’d better recheck the string alignment to see if there had been any change. I could now see that the alignment had shifted slightly away in the direction of the right side of the bow.

Since this bow was intended for right handed shooting, I really wanted any string bias to favour the left side of the bow, so I gently reheated the handle section with dry heat once more and eased the tips back across to the left hand side of the bow. Once cooled off thoroughly a quick recheck of alignment with the help of a piece of string and some hand clamps now confirmed that the string alignment was back to just favouring the left side as originally planned. Perfect for a right handed shooter.

Time to shoot in the last 2” of tiller. On went a piece of leather strip would make do for a quick and simple handle wrap/arrow pass. Then out we went for some stump shooting. I like to give all my unfinished bows a good bit of shooting in before committing to final touches. There is nothing more upsetting than going through the whole finishing process only to identify an issue with the tiller once the bow is properly shot in.

I always put at least a couple of hundred arrows through a bow before I consider finishing a bow. Even the most perfect of tillers witnessed on the tillering tree can change dramatically after a few hundred arrows, so I always expect to see some change and need for adjustment before I embark on sanding and sealing a bow. The last thing any bowyer wants to have to do is make tiller adjustments to a bow which has already been finished.

This bow had moved a little during the shooting in phase and the tiller had droped from 3/16th” positive down to about 1/8” positive. I personally think that a bow with these dimentions and draw weight would better suit a 3/16th – ¼” tiller if it’s likely to be shot with split fingers. So I let the top limb off a tad bit more to regain that nice 3/16th” positive tiller. This resulted in the weight being reduced slightly which when combined with the sanding and shooting in was now registering as 52lb at 28”. This was pretty much what I wanted so I was happy with the final weight.

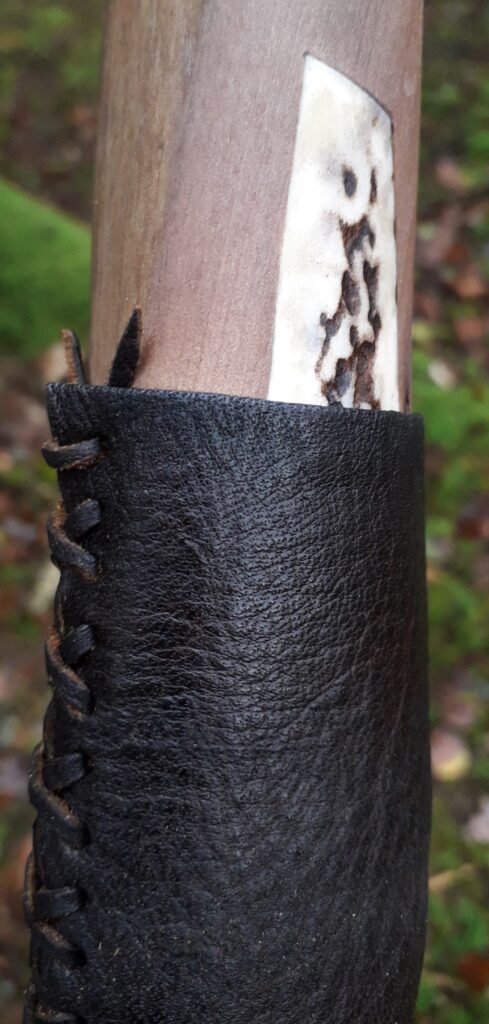
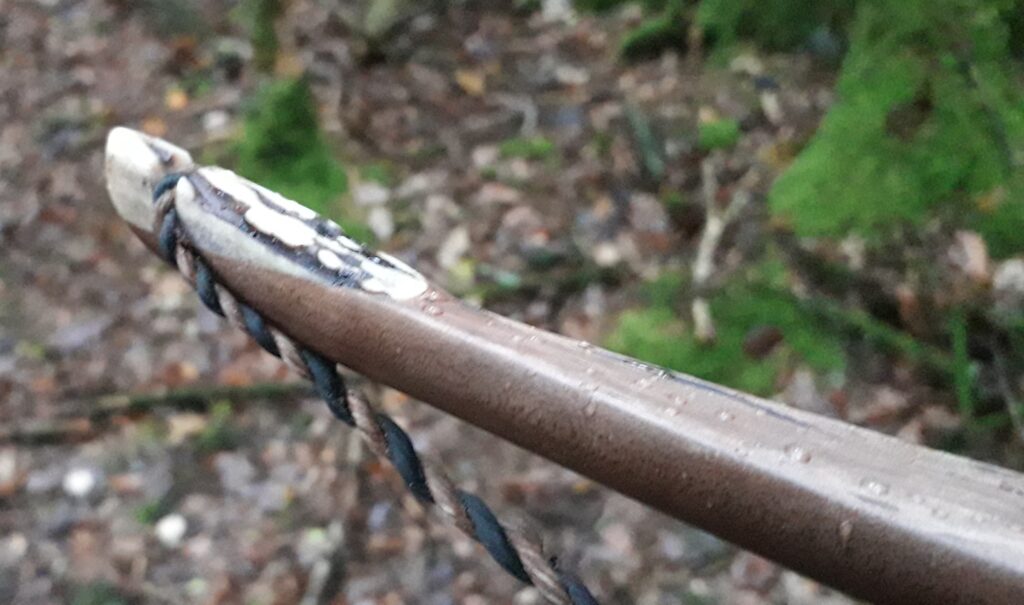
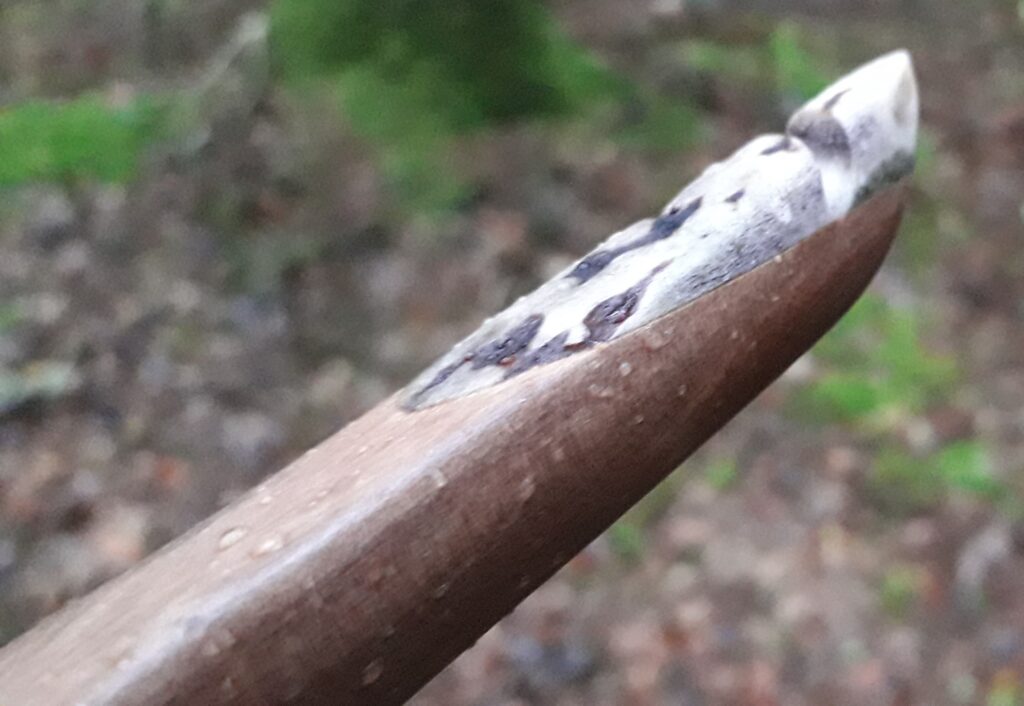
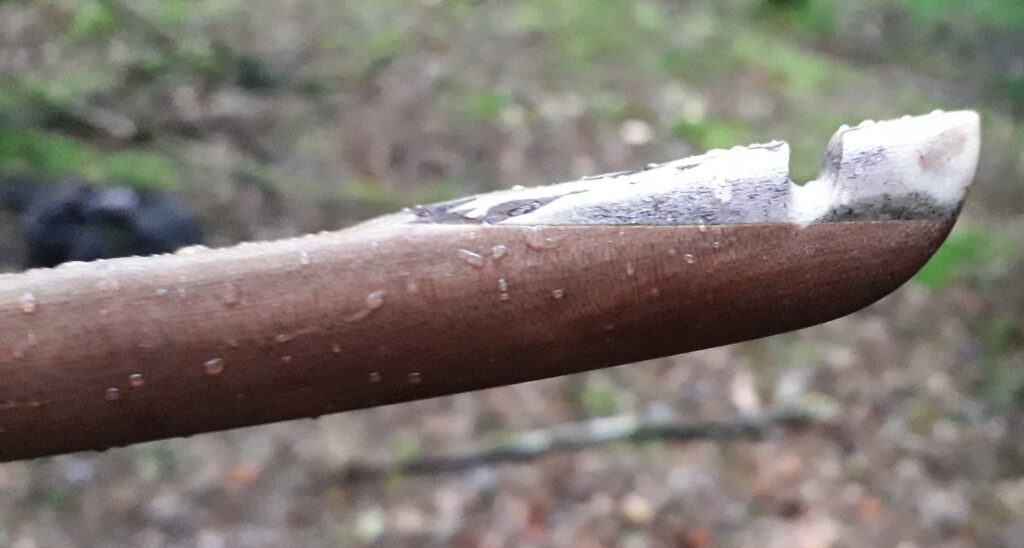
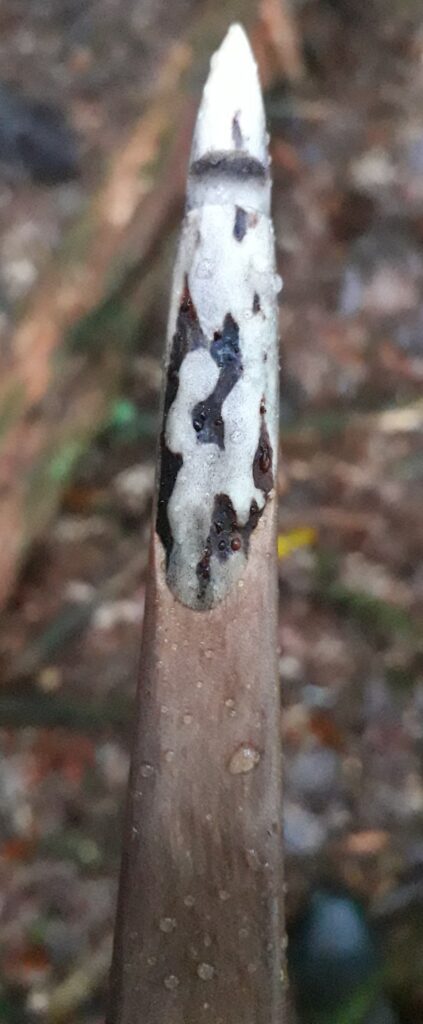
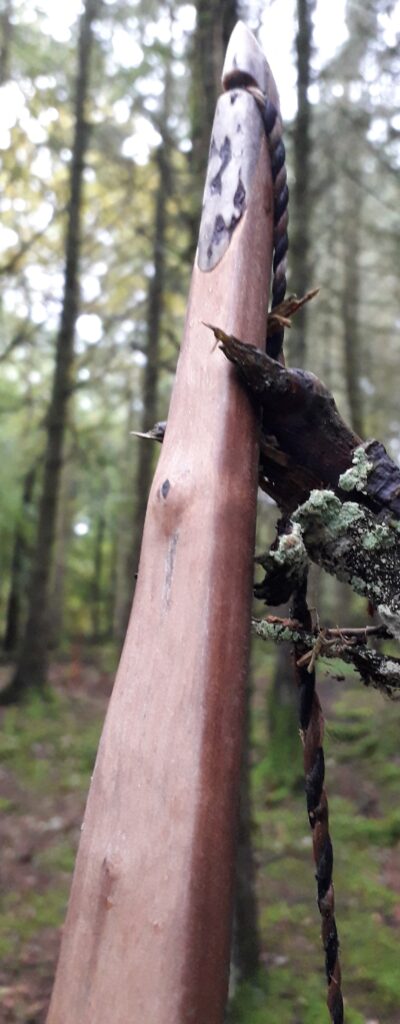
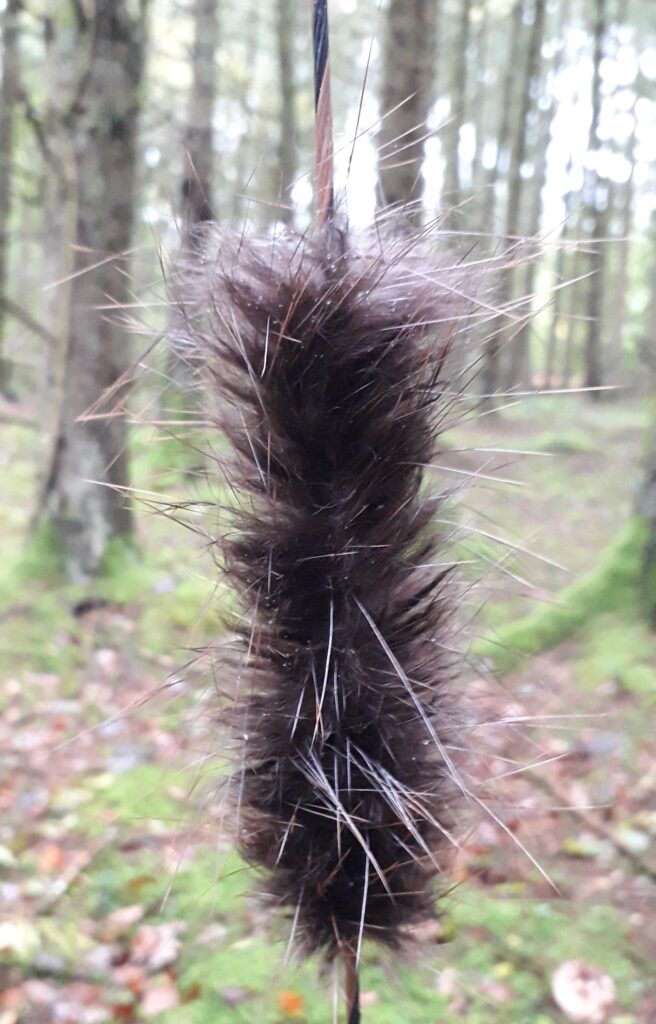
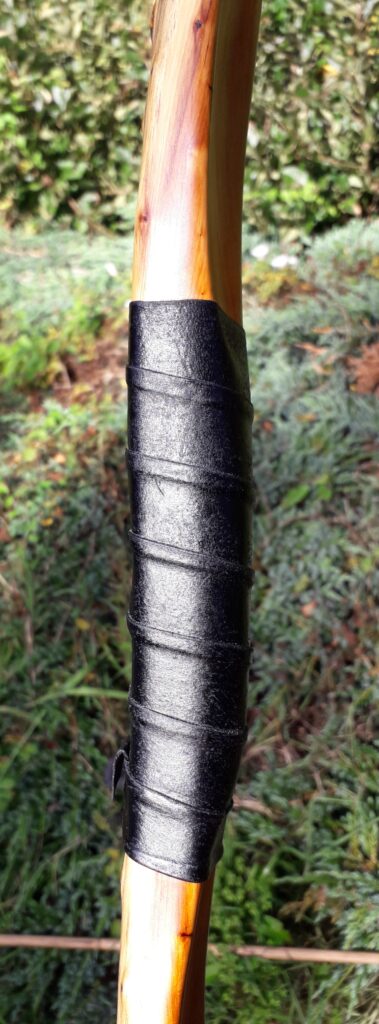
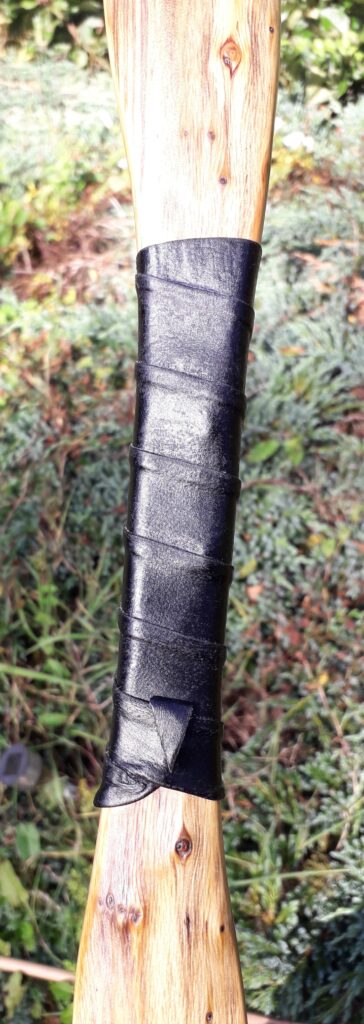
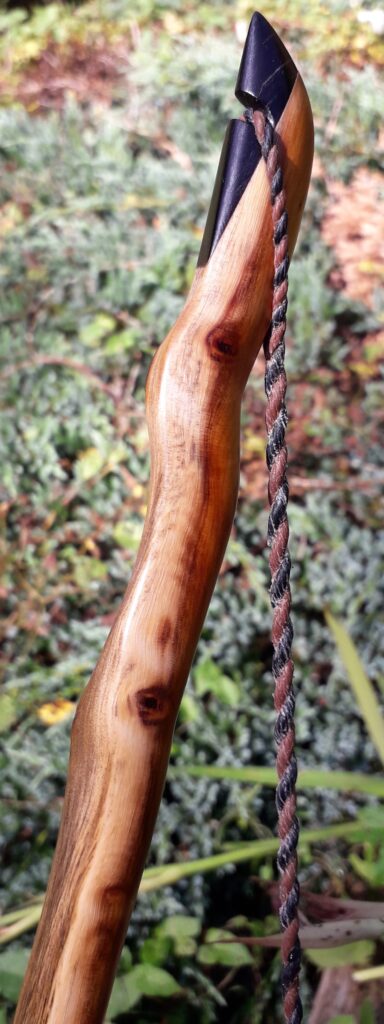
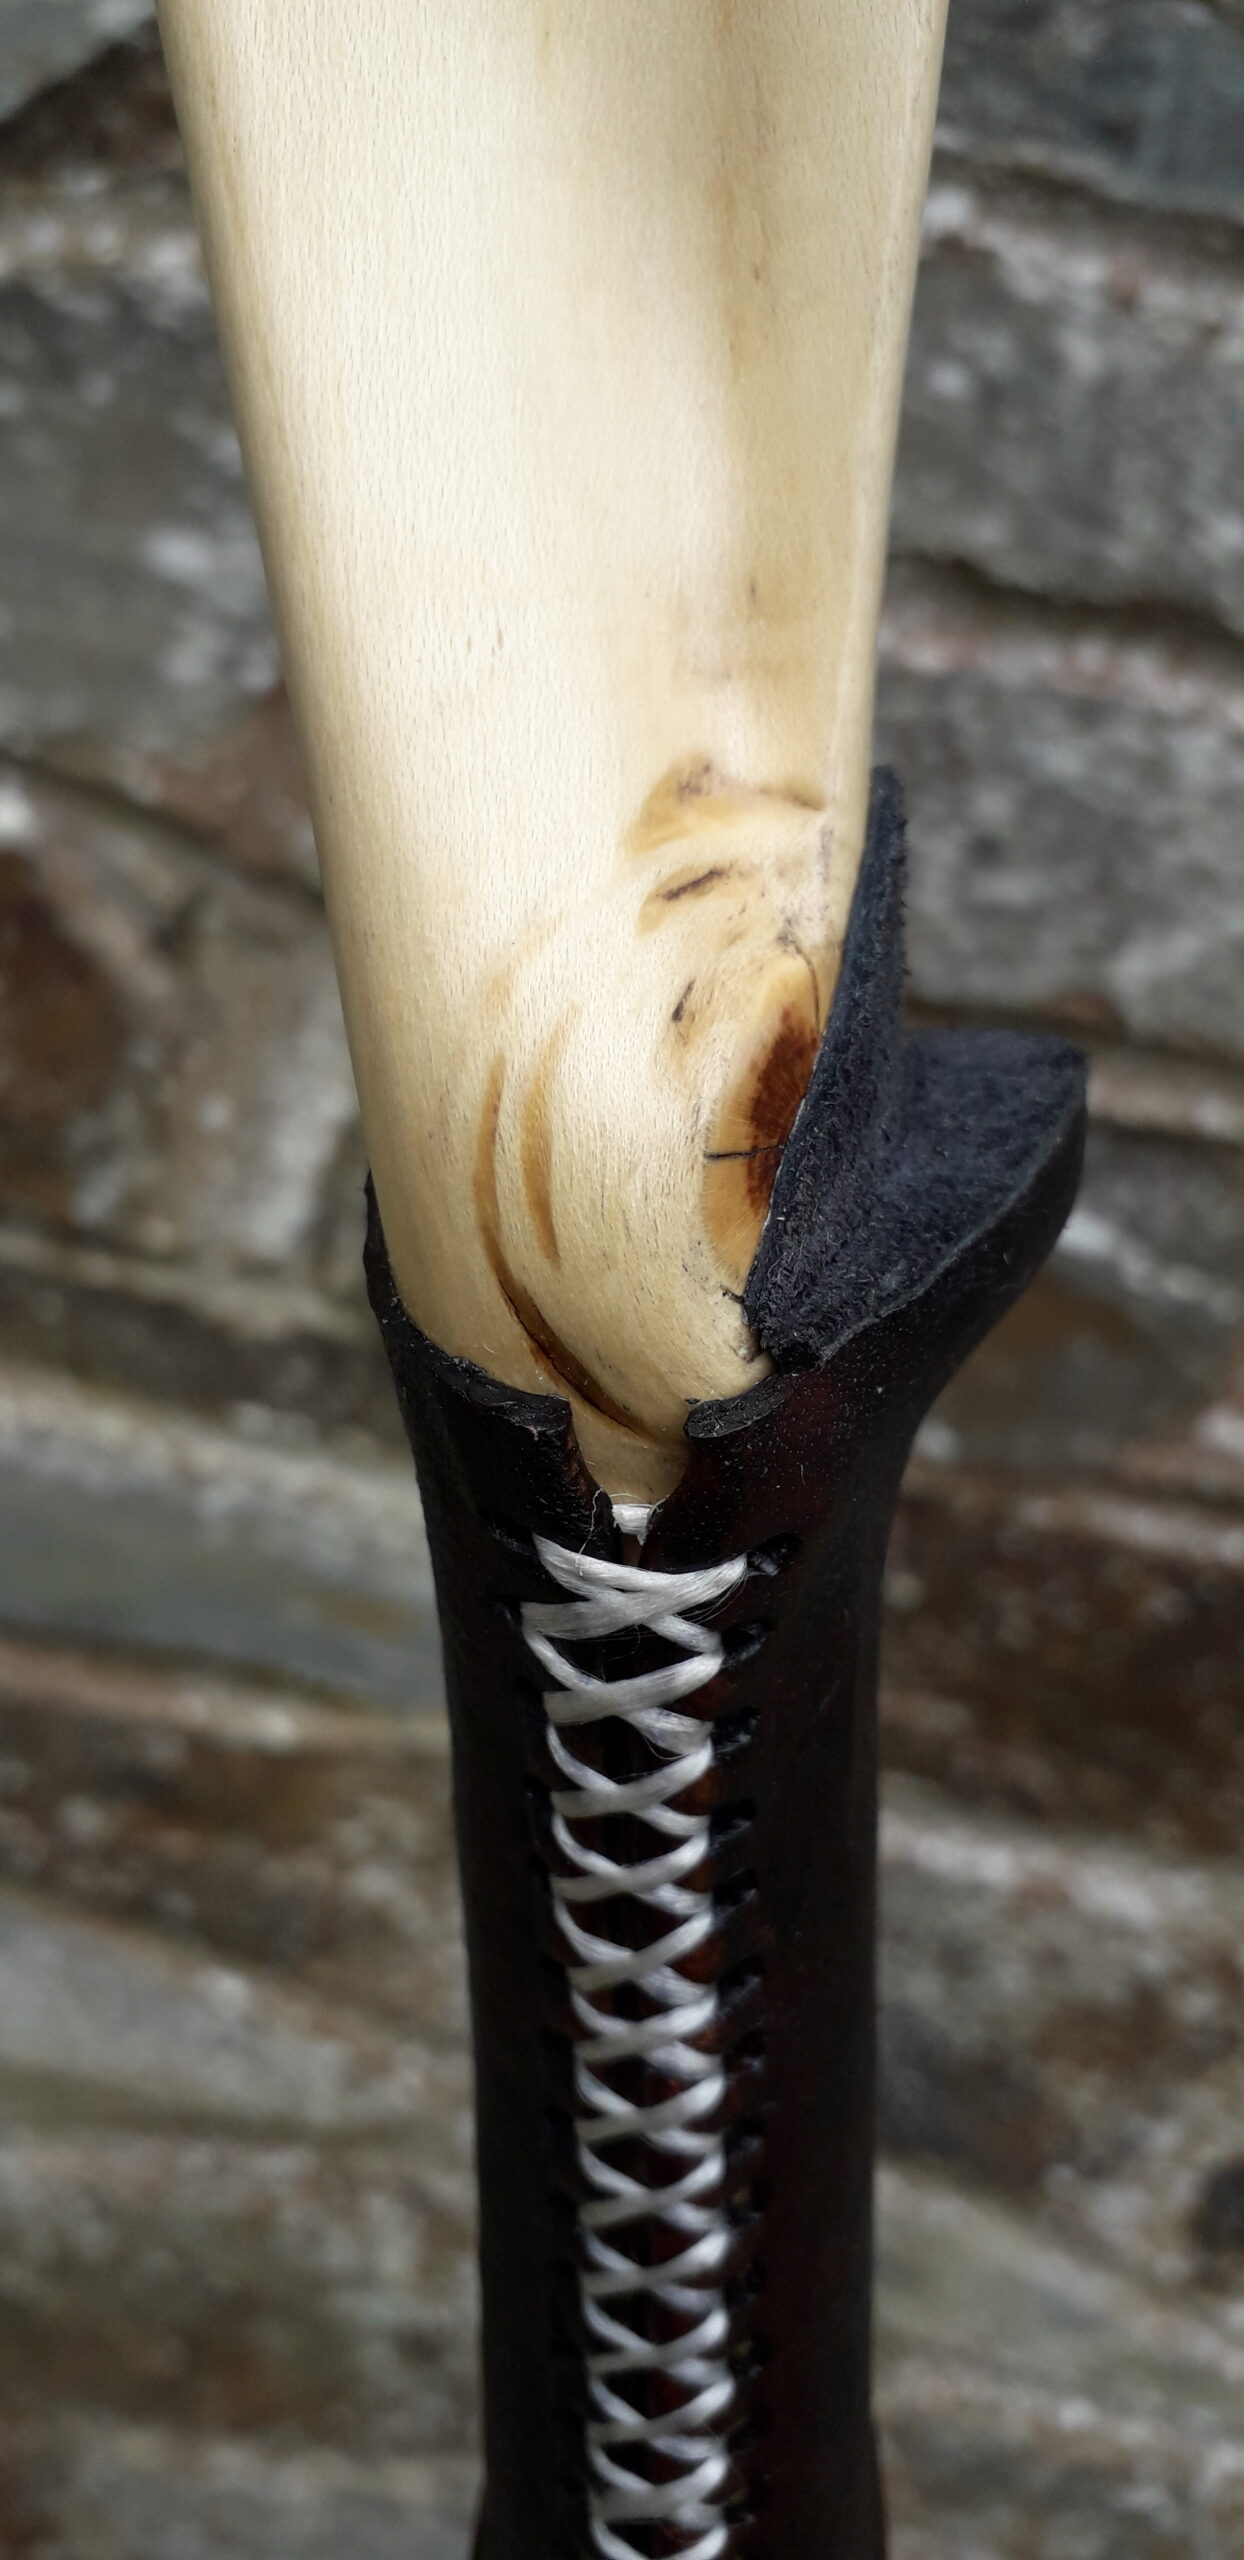
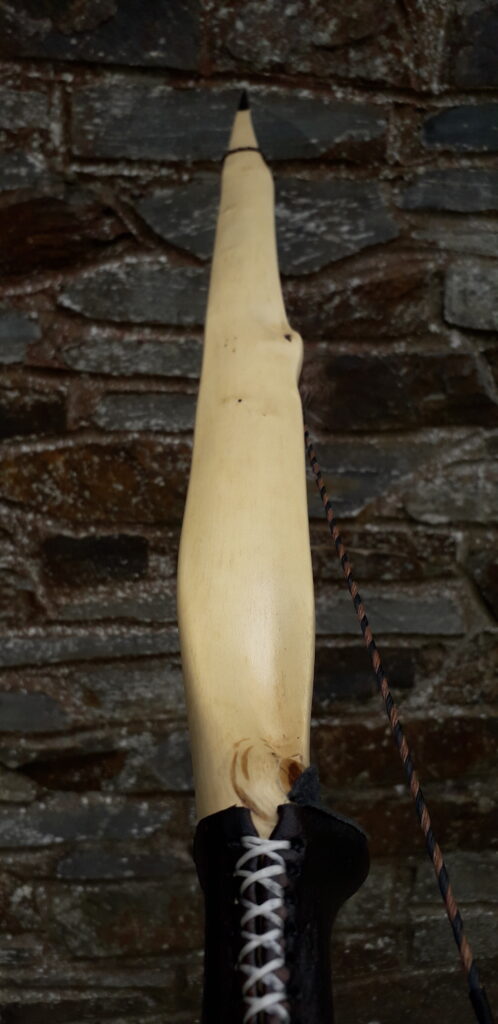
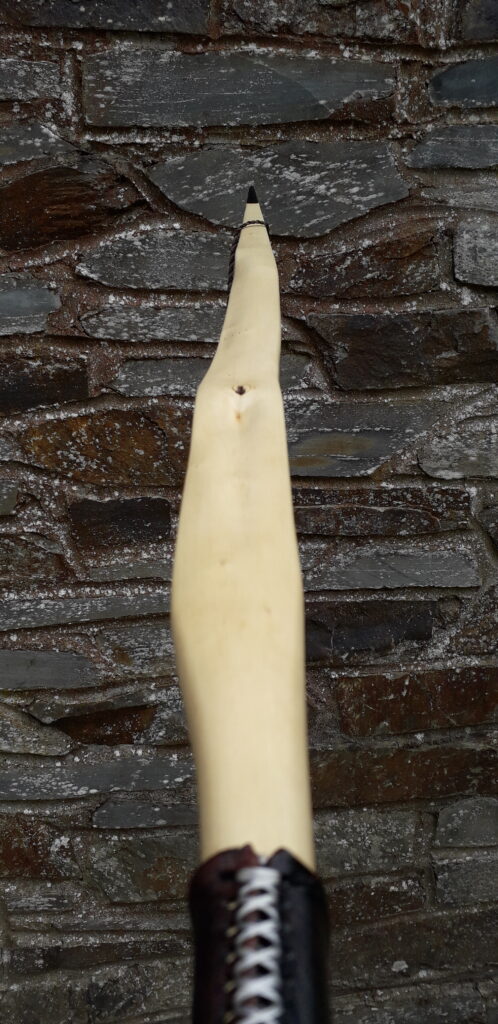
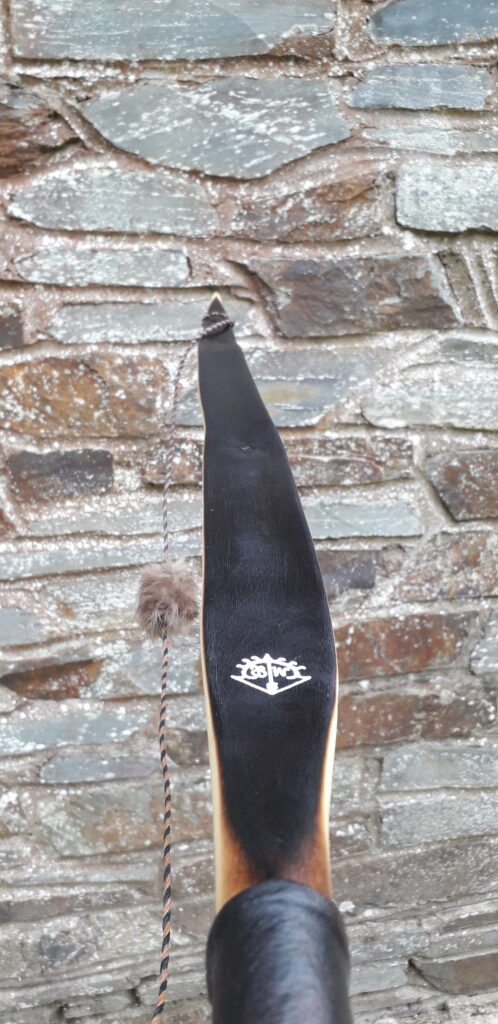
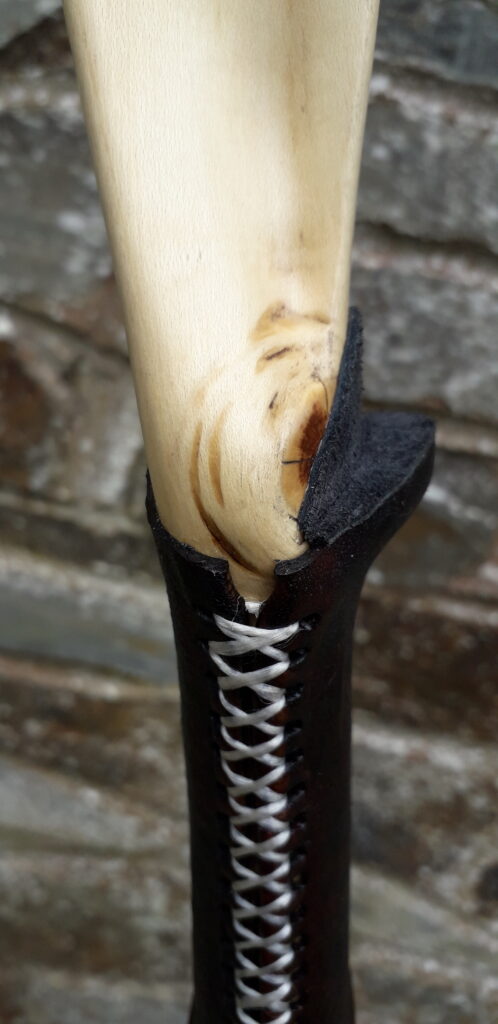
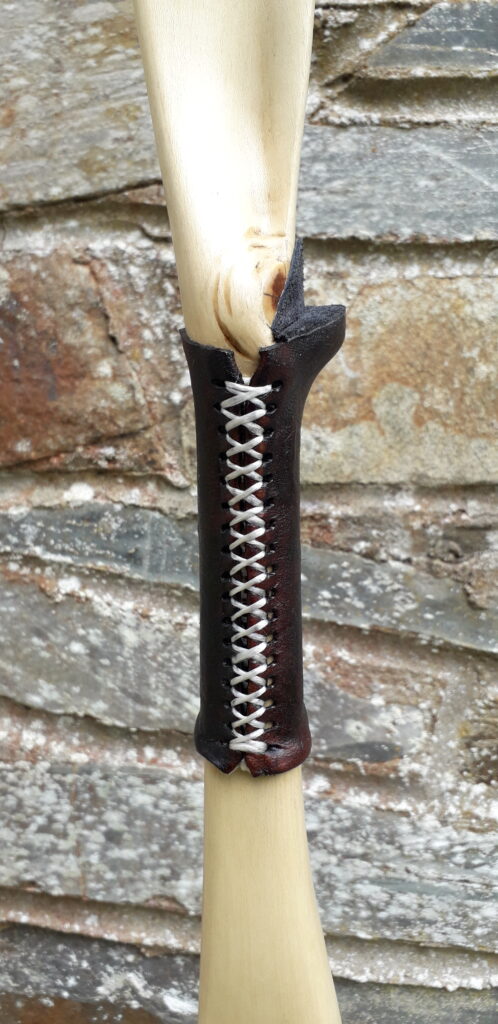
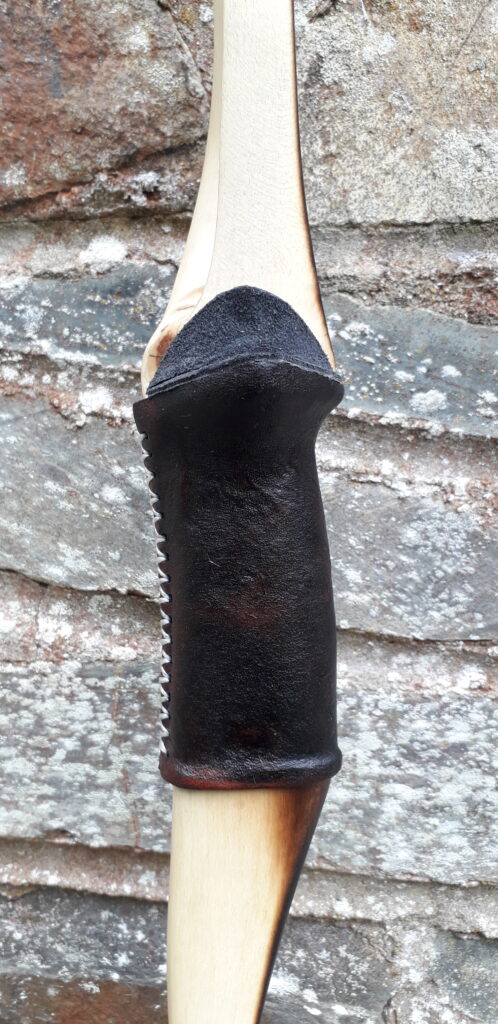
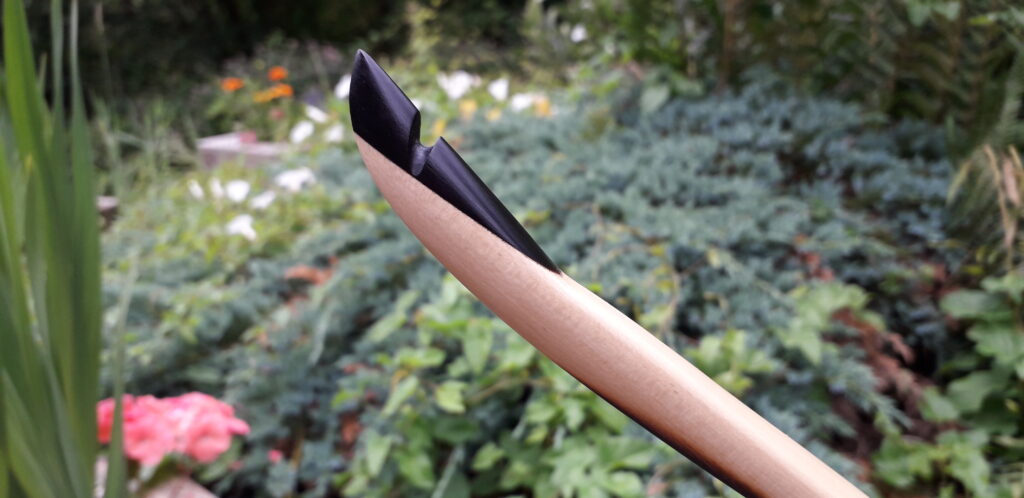
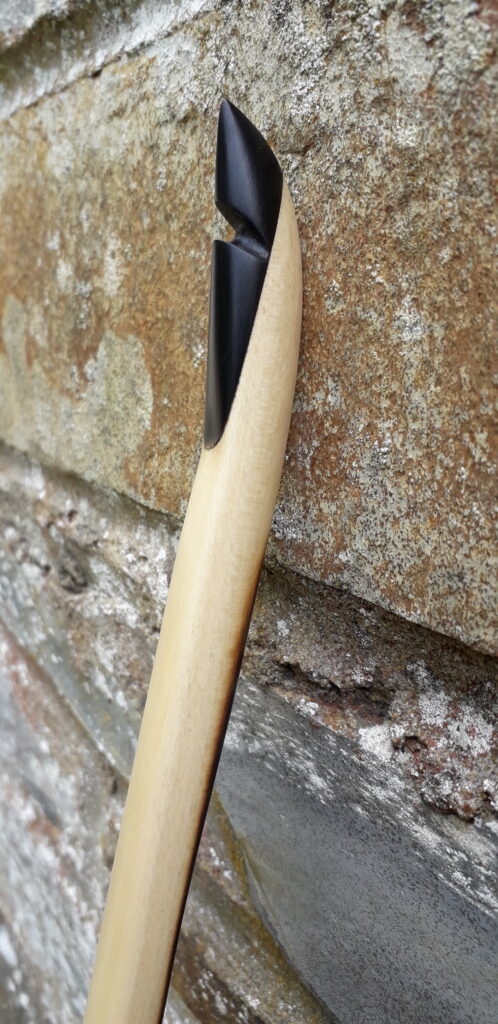
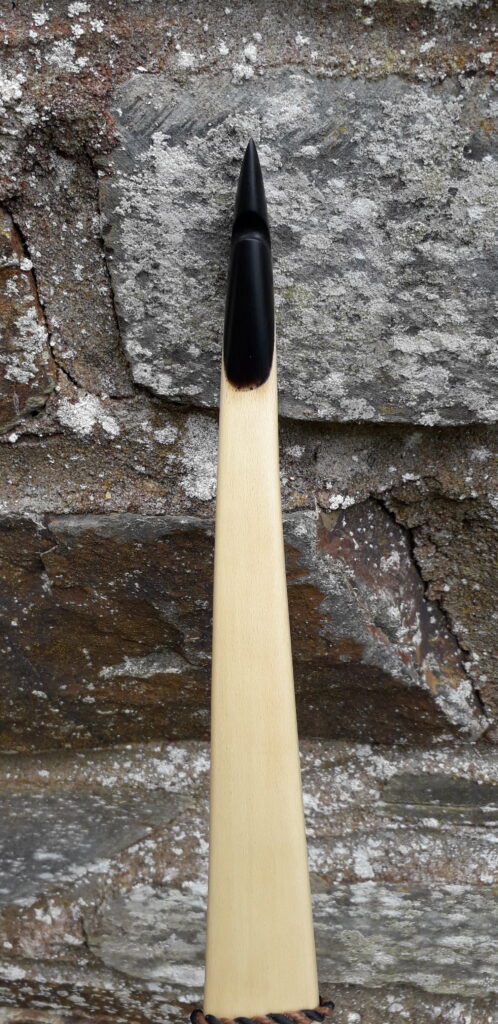
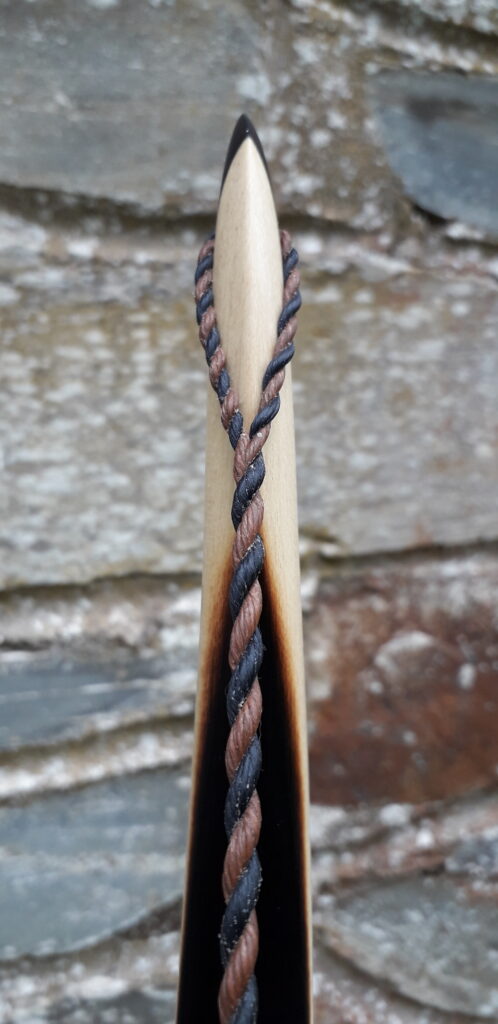
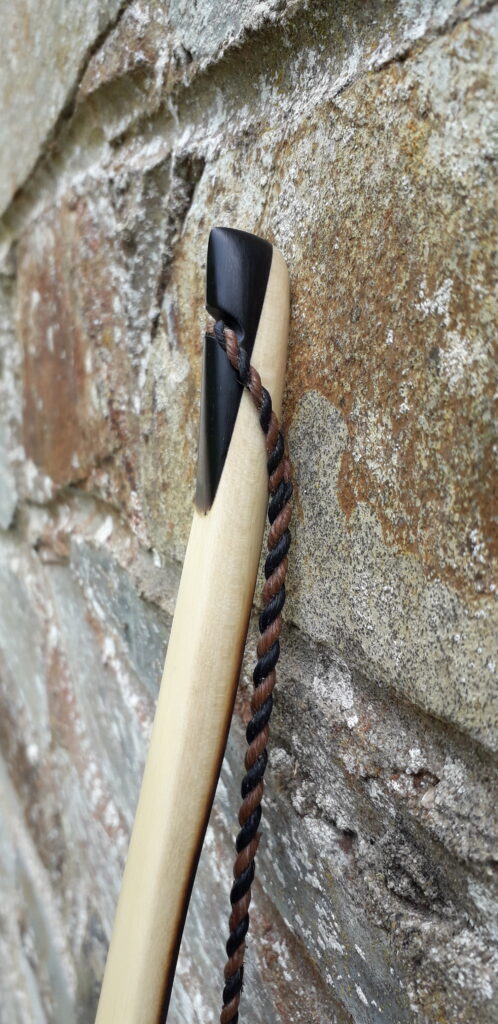
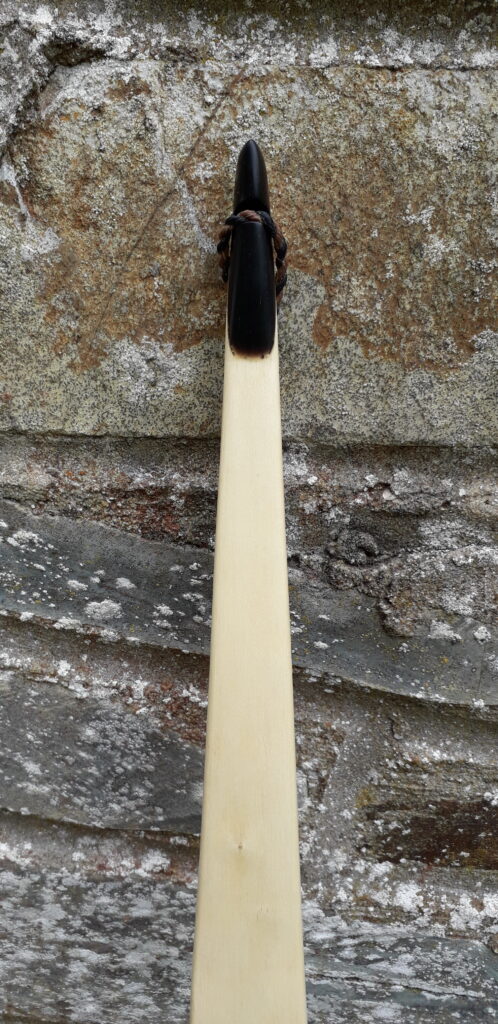
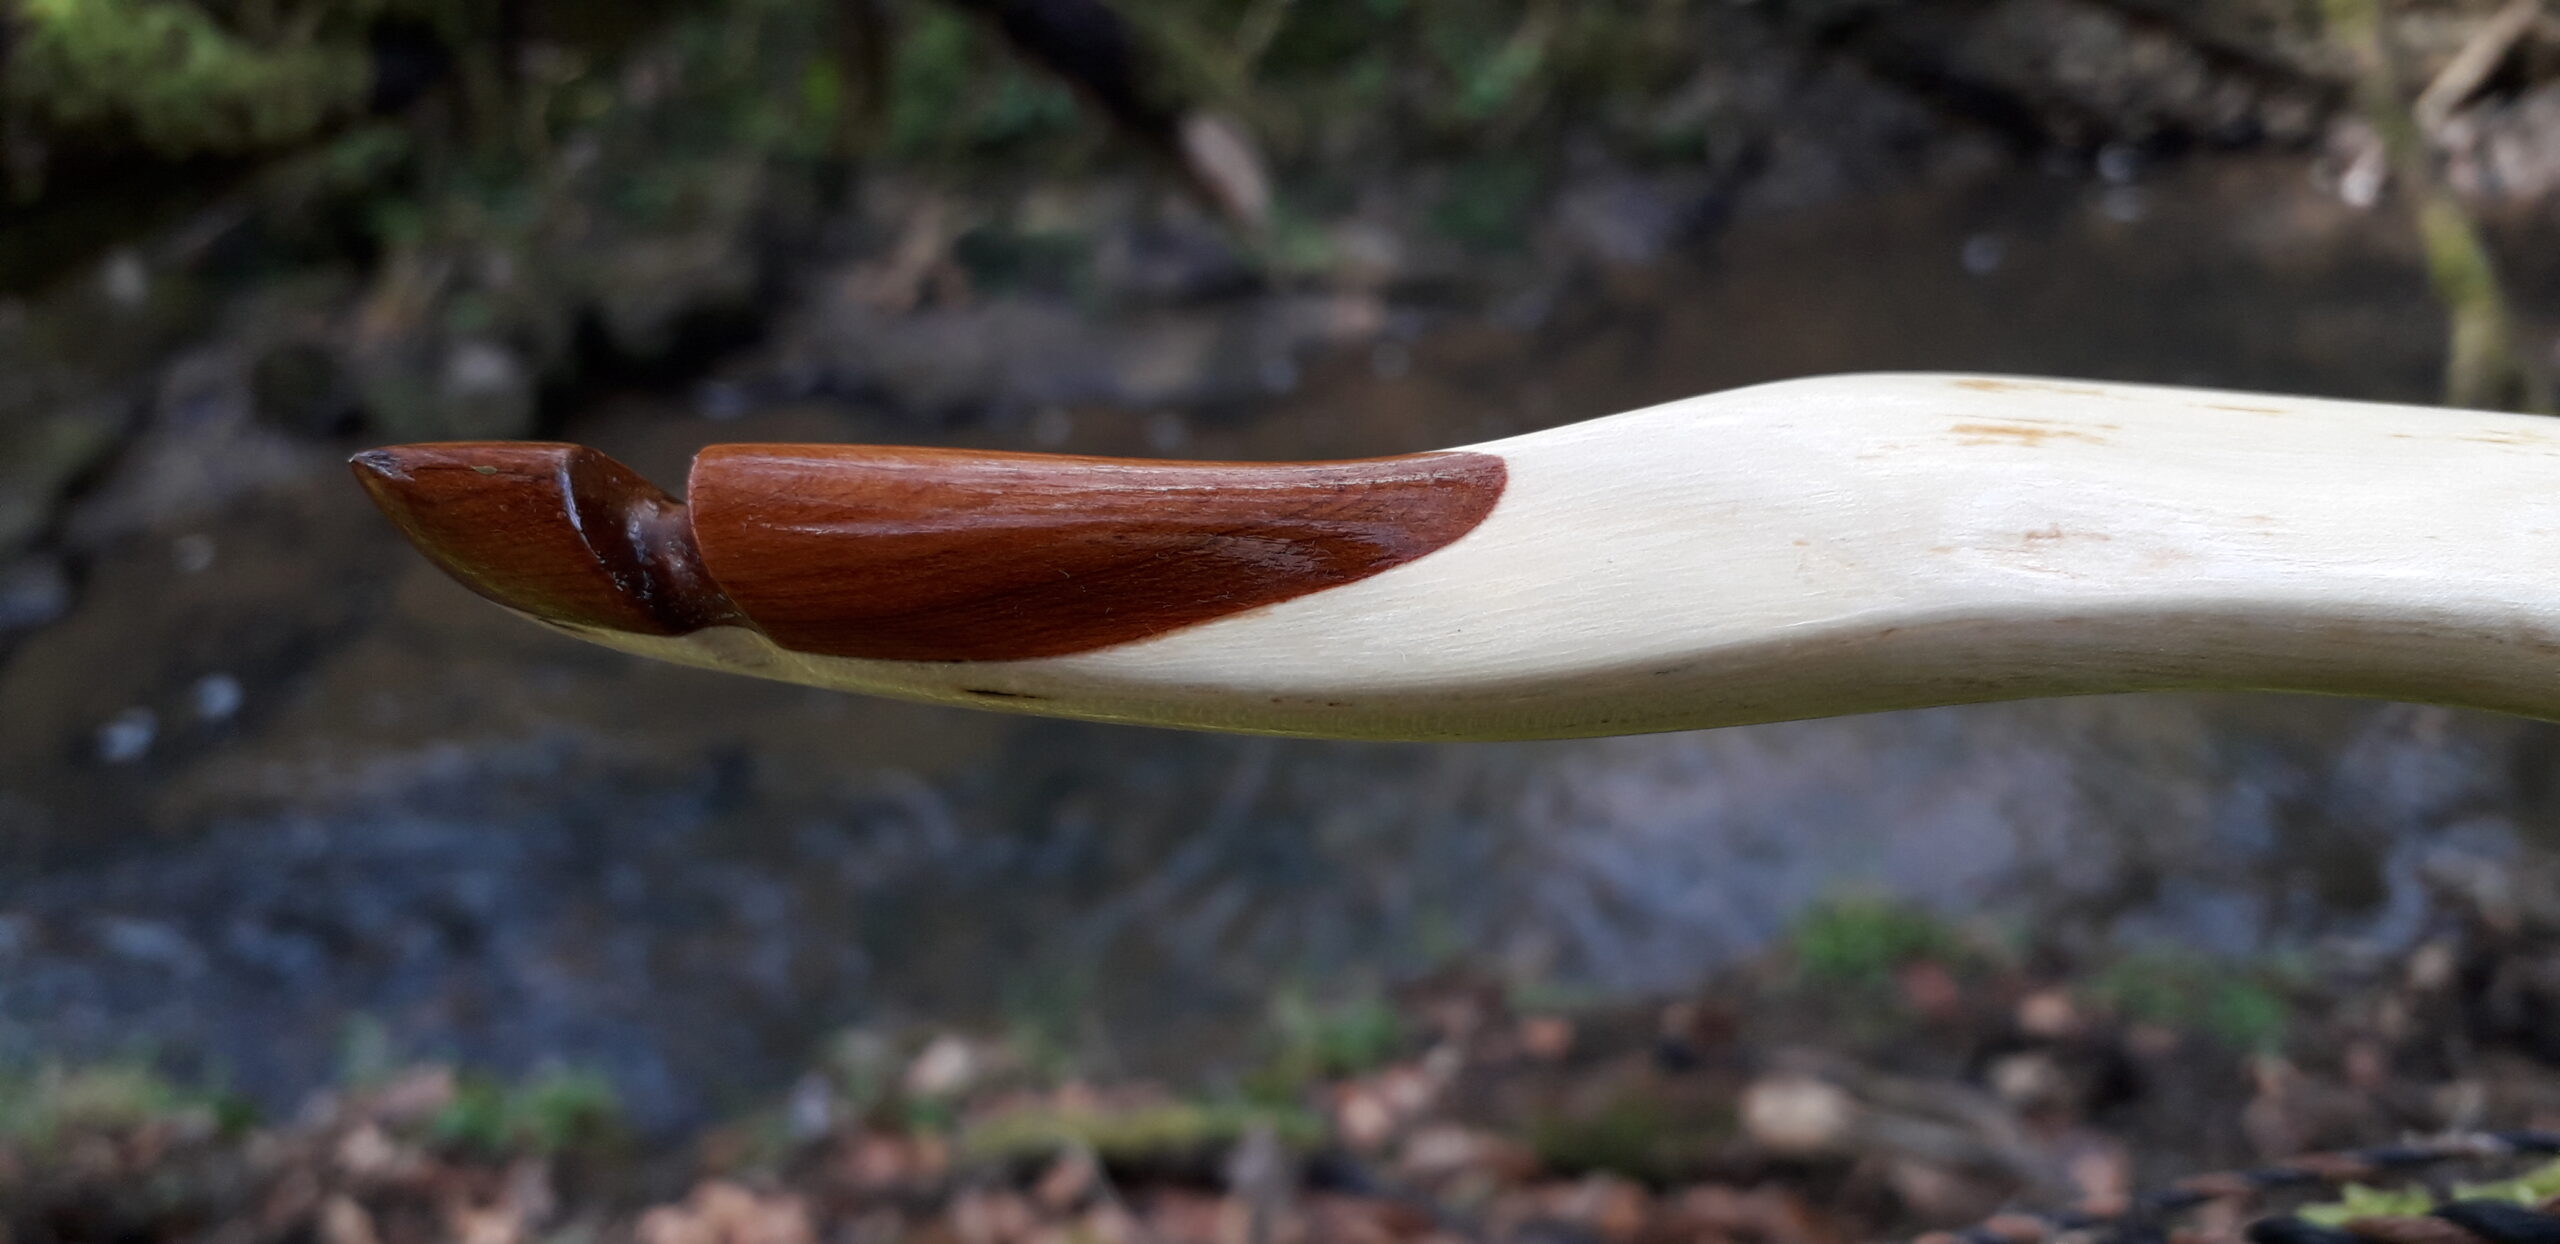
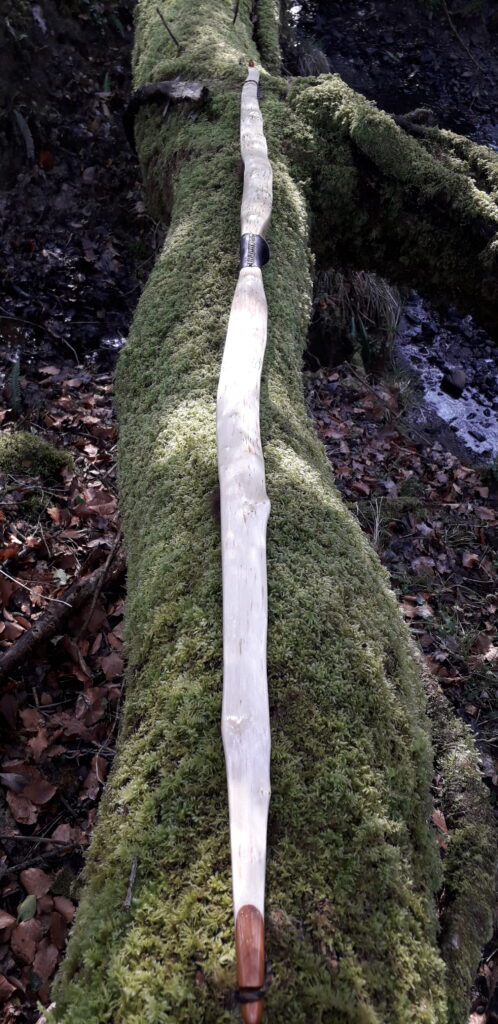
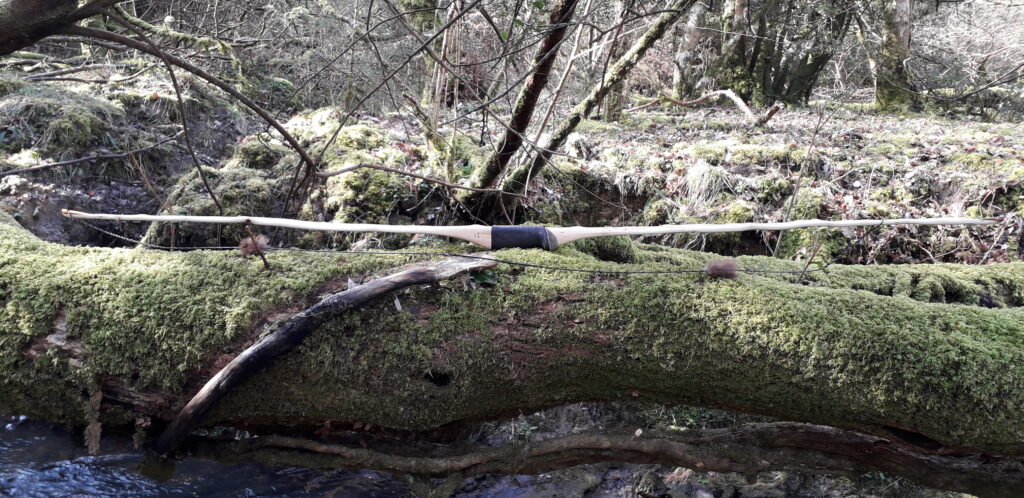
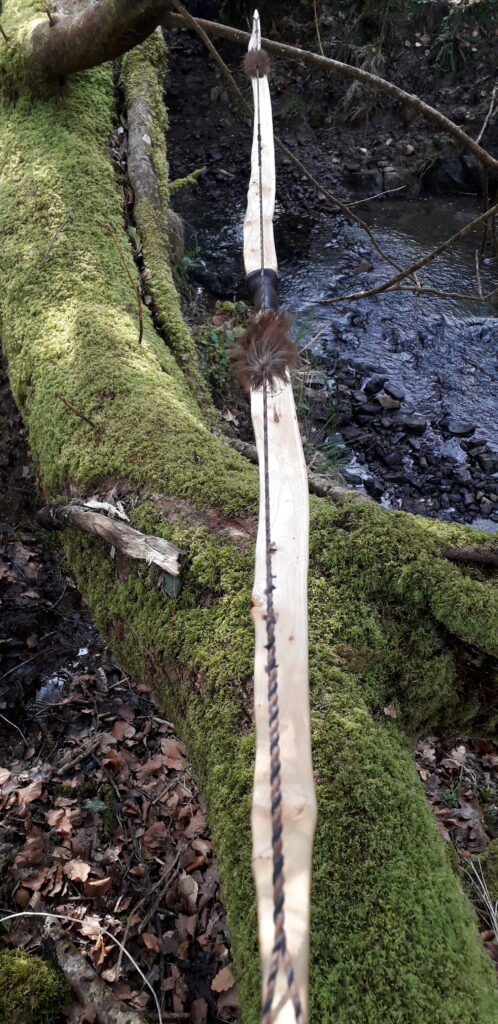
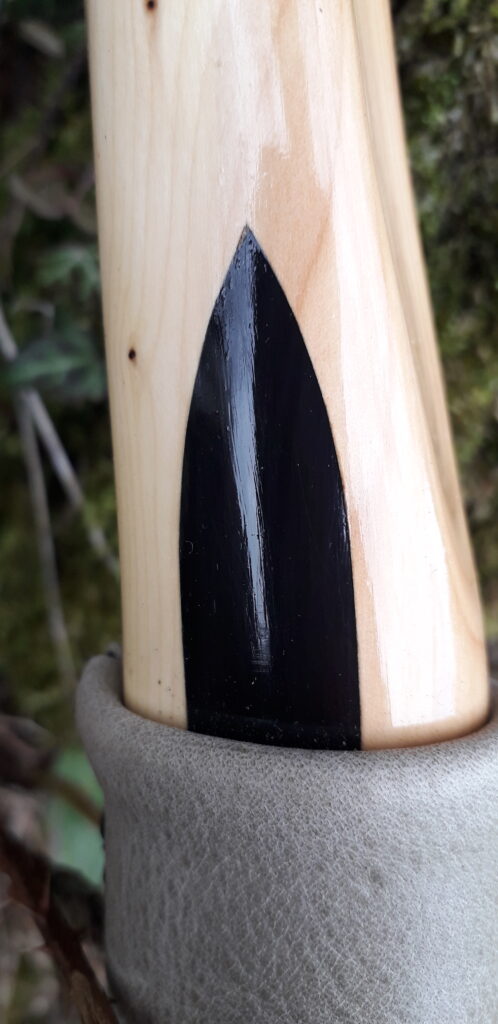
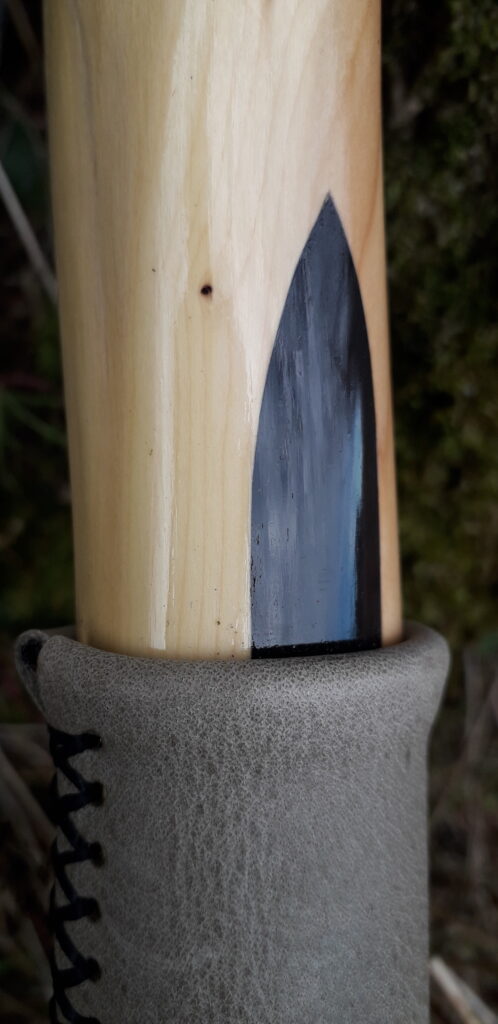
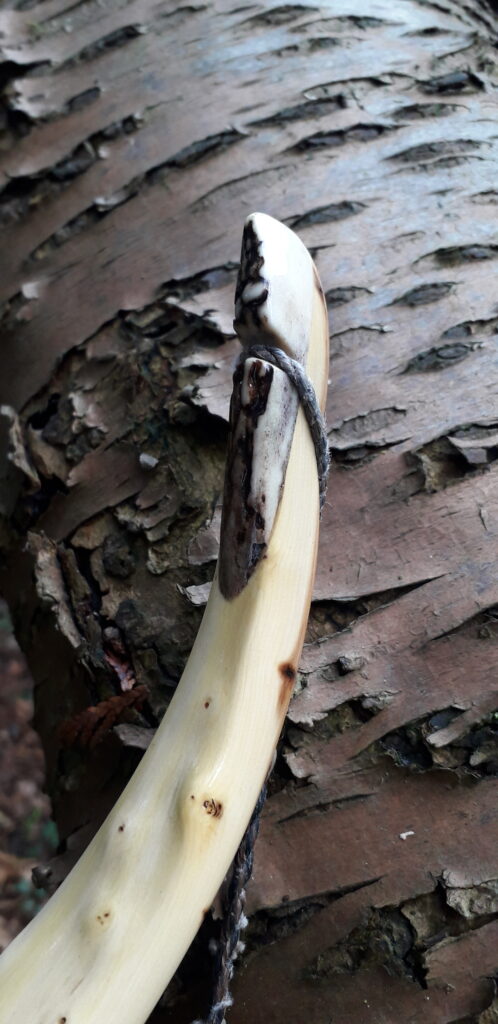
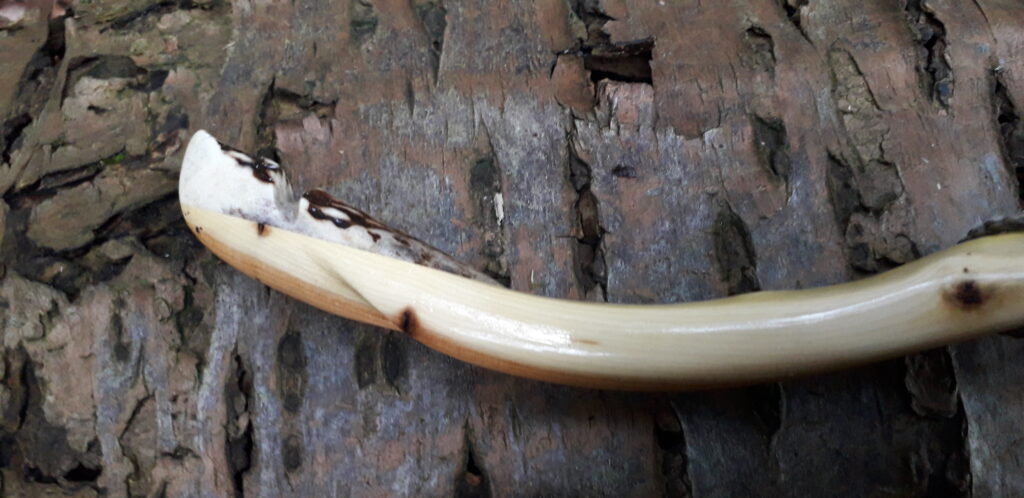
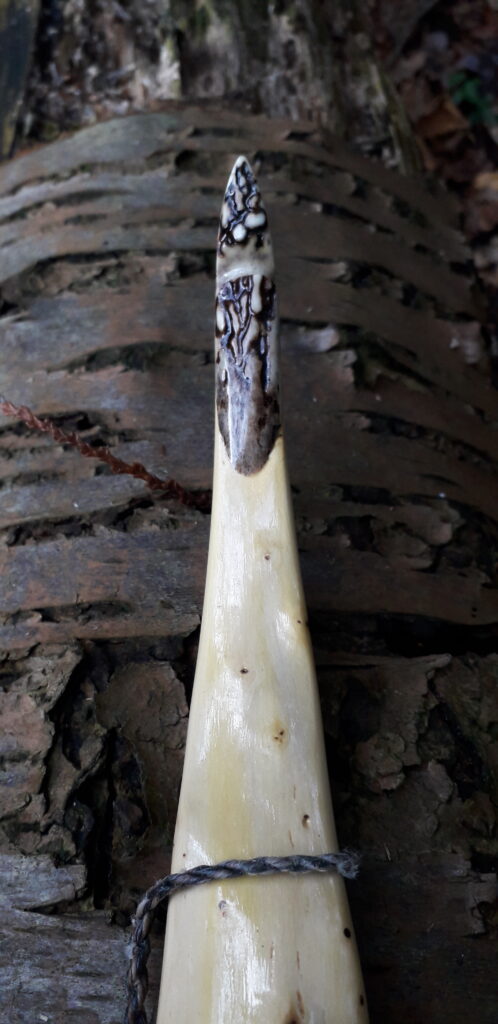
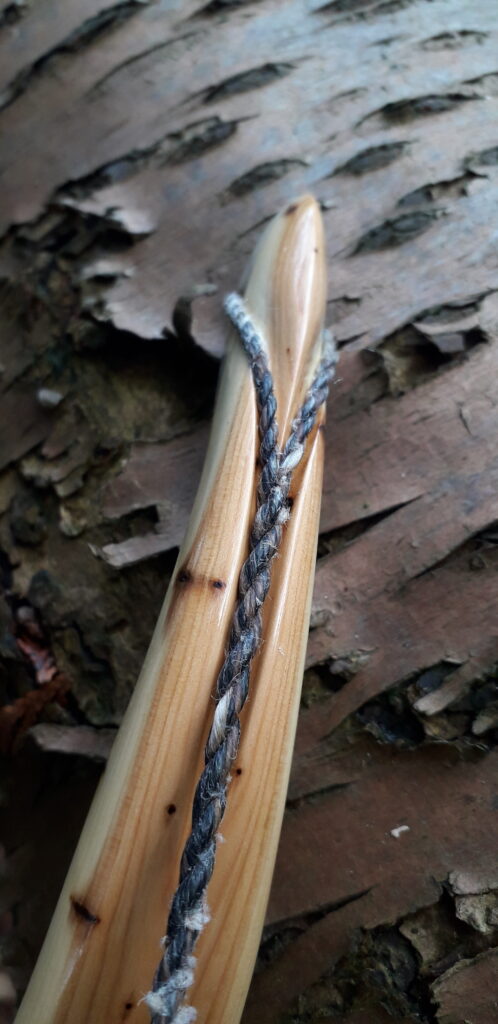
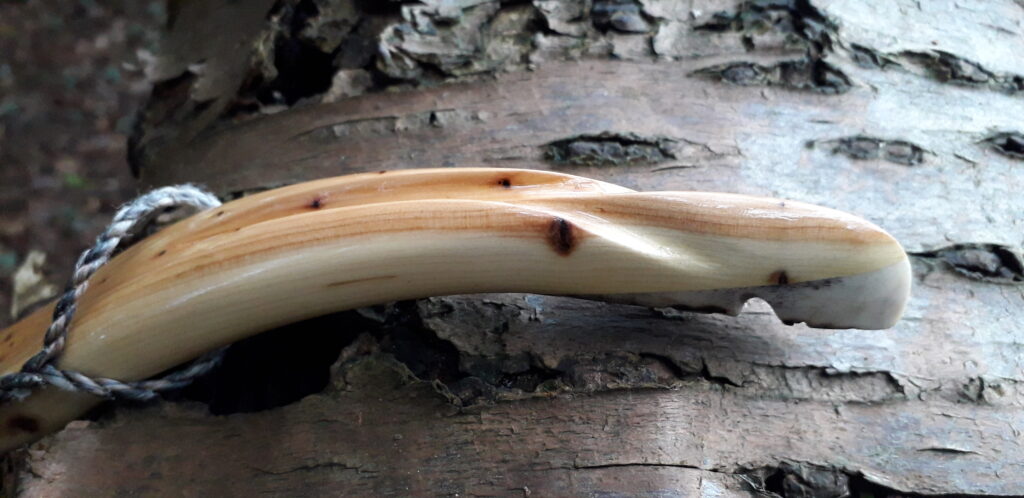
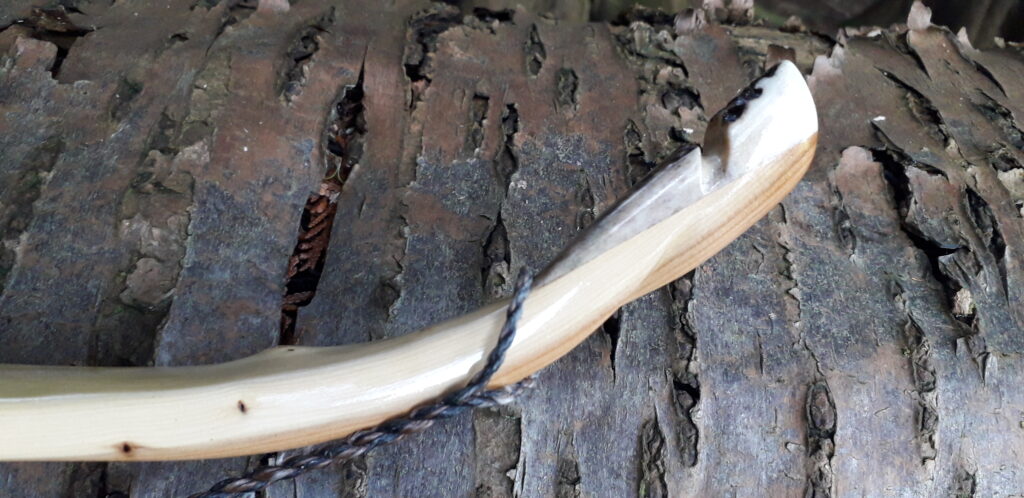
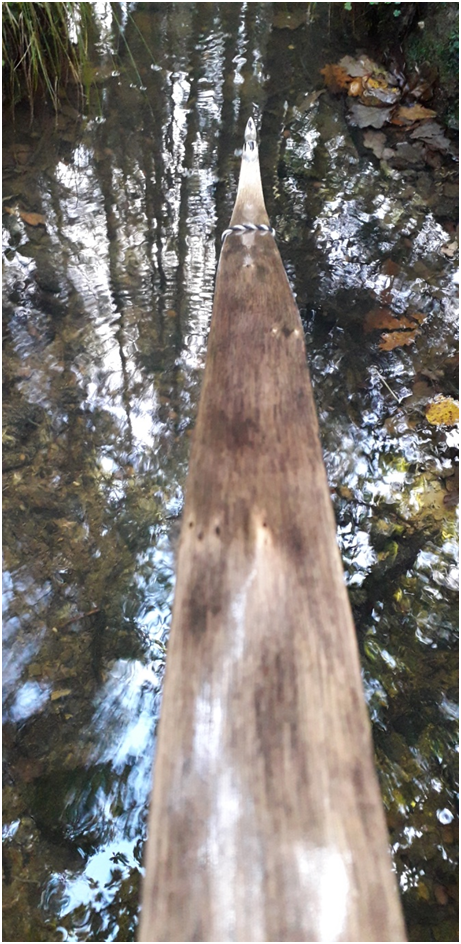
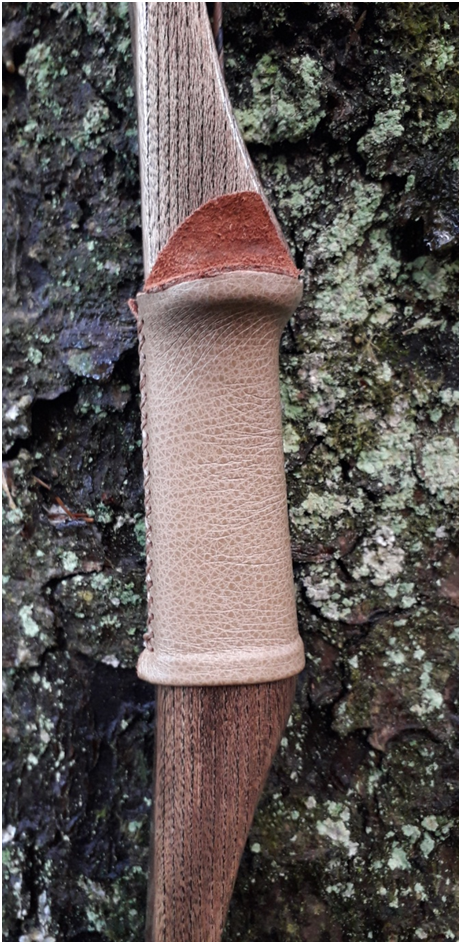
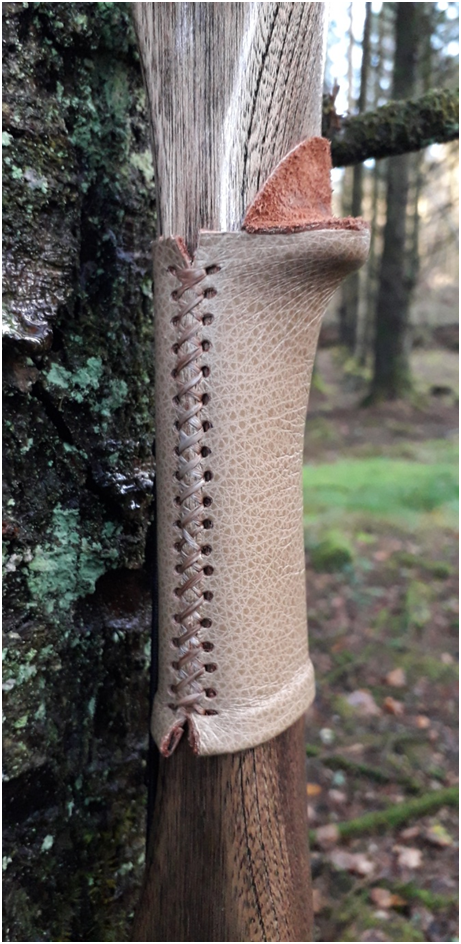
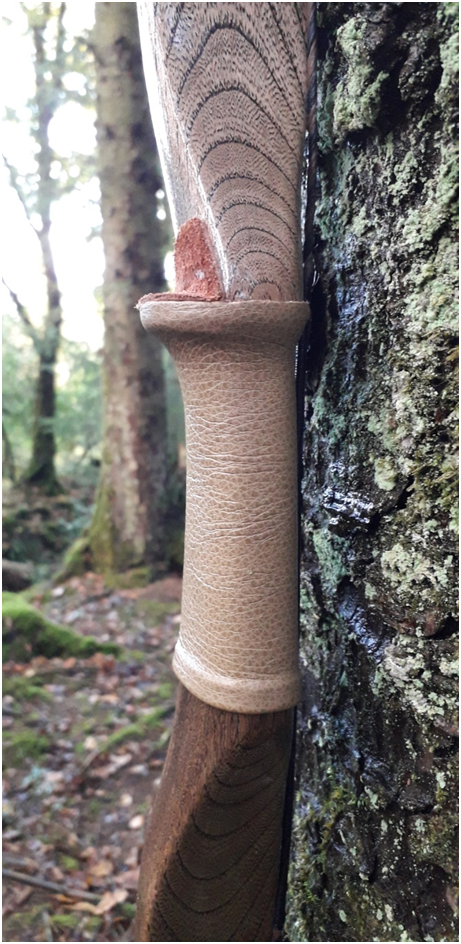
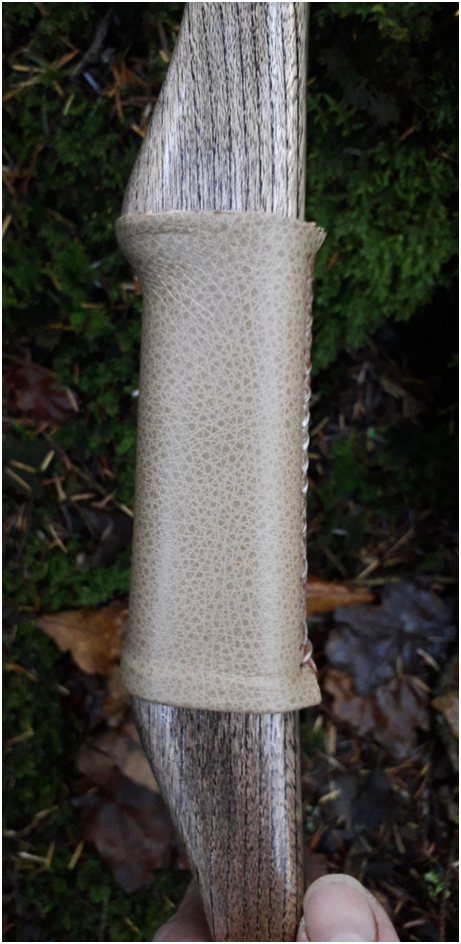
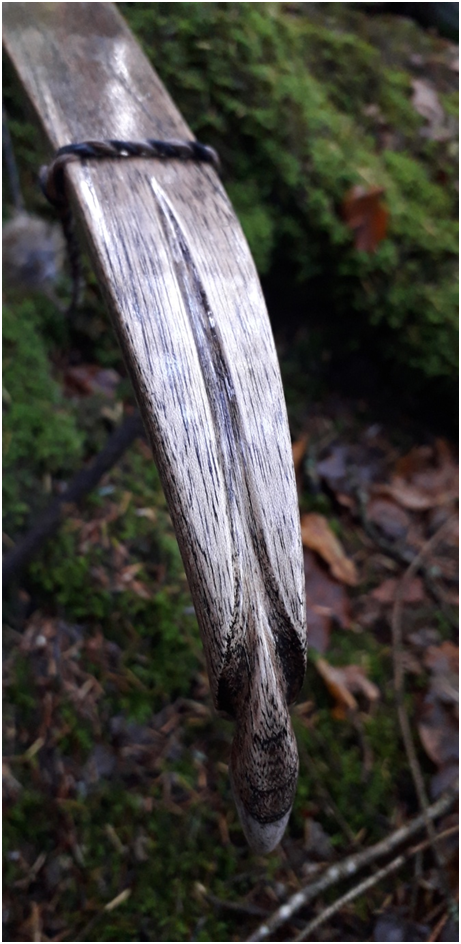
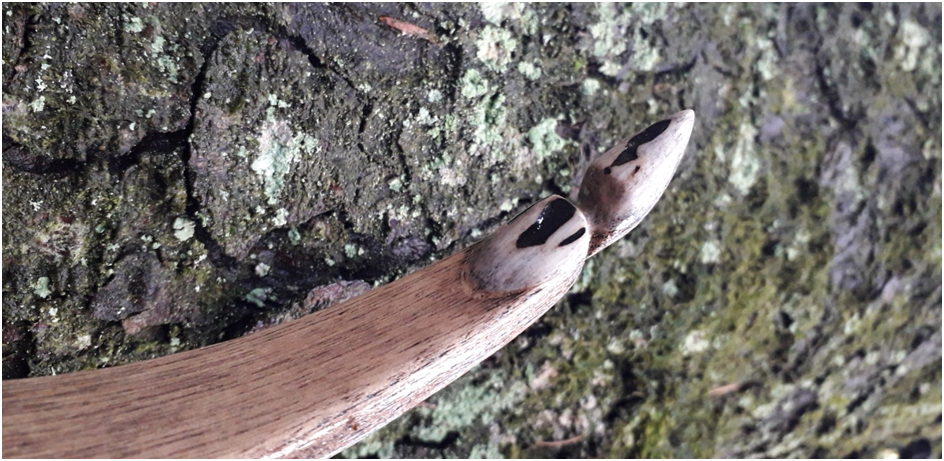
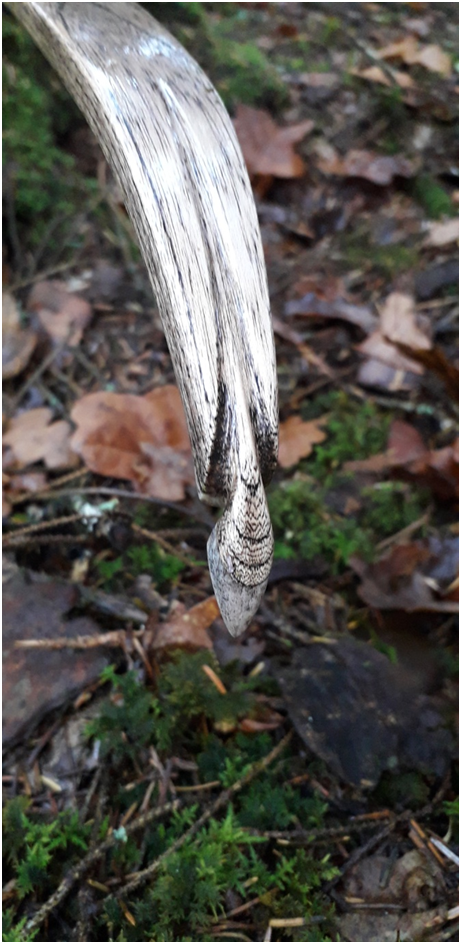
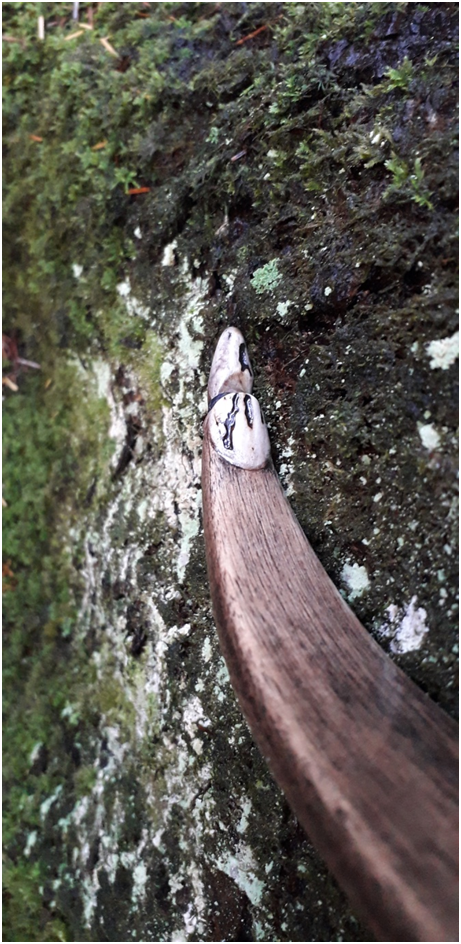
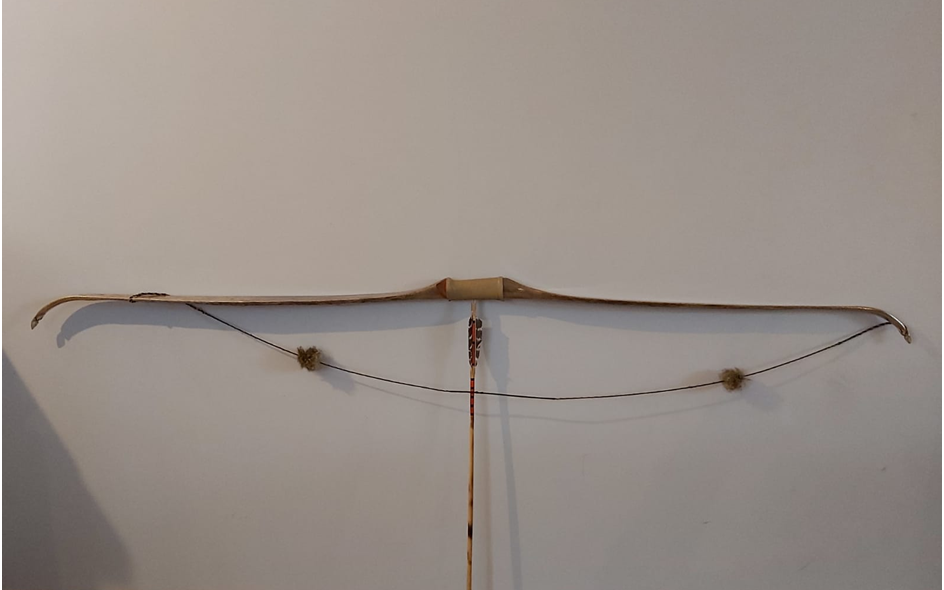
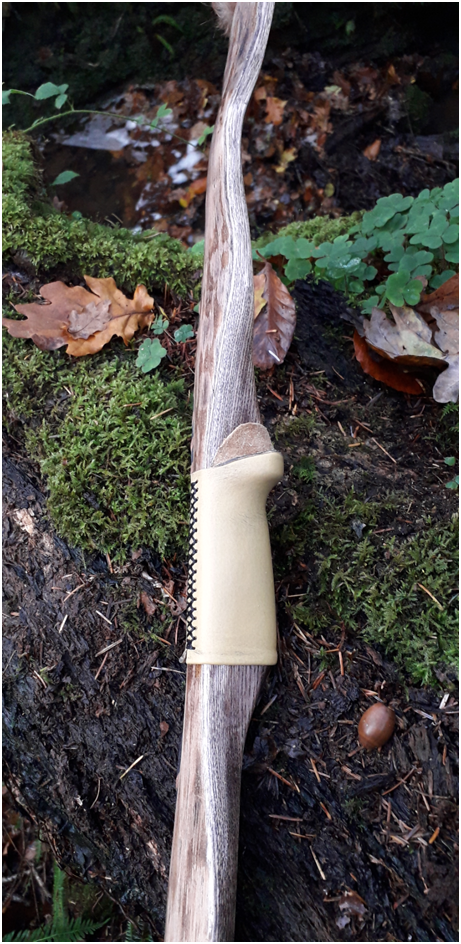
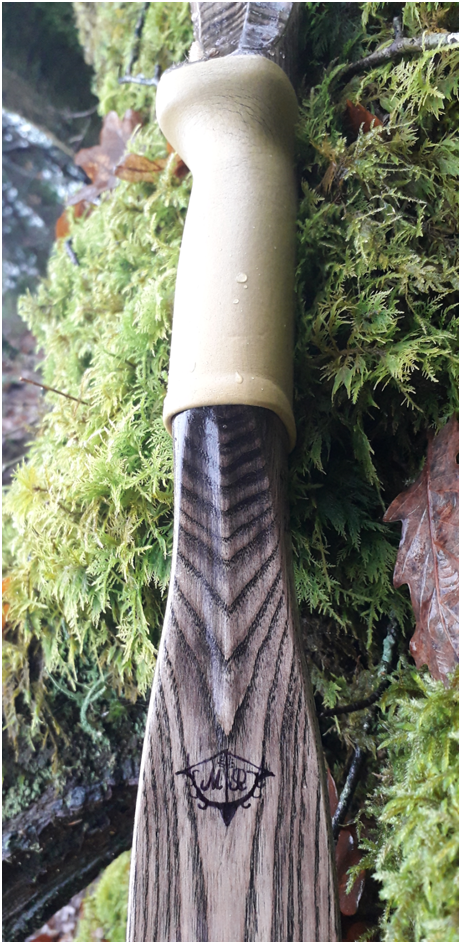
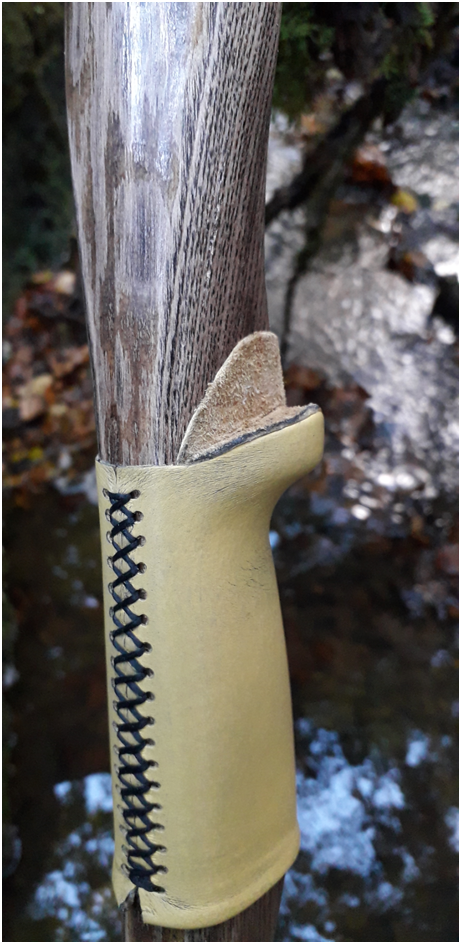
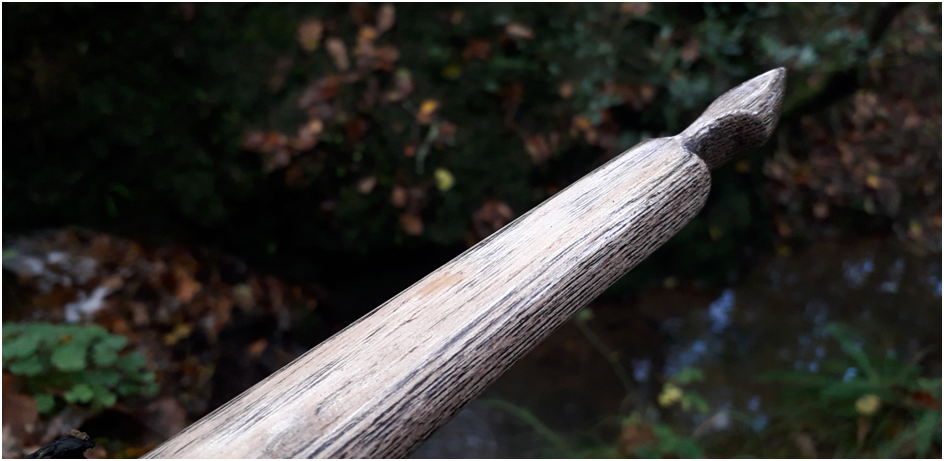
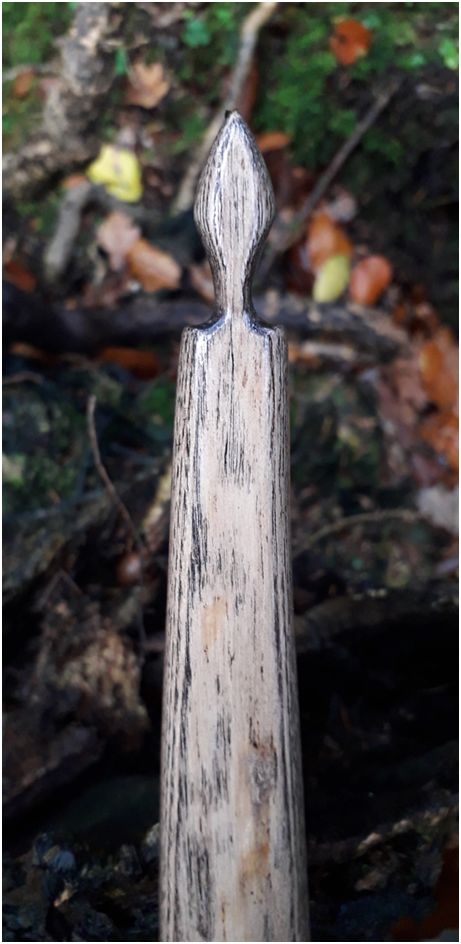
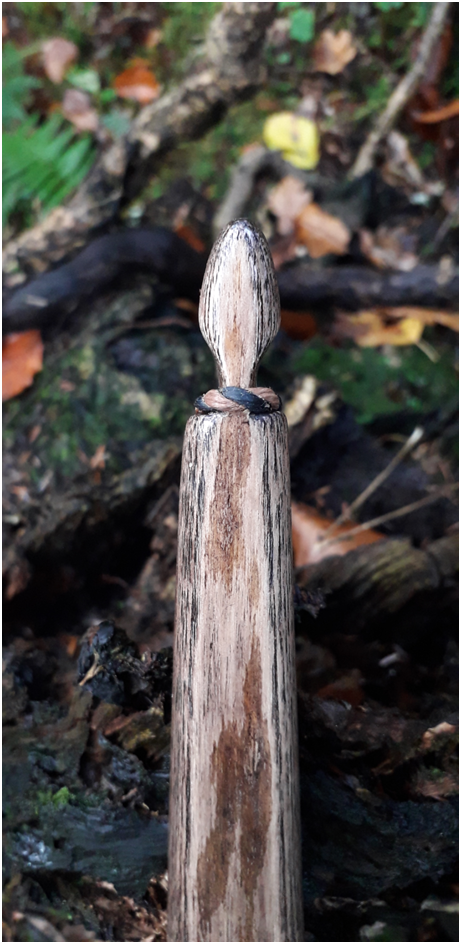
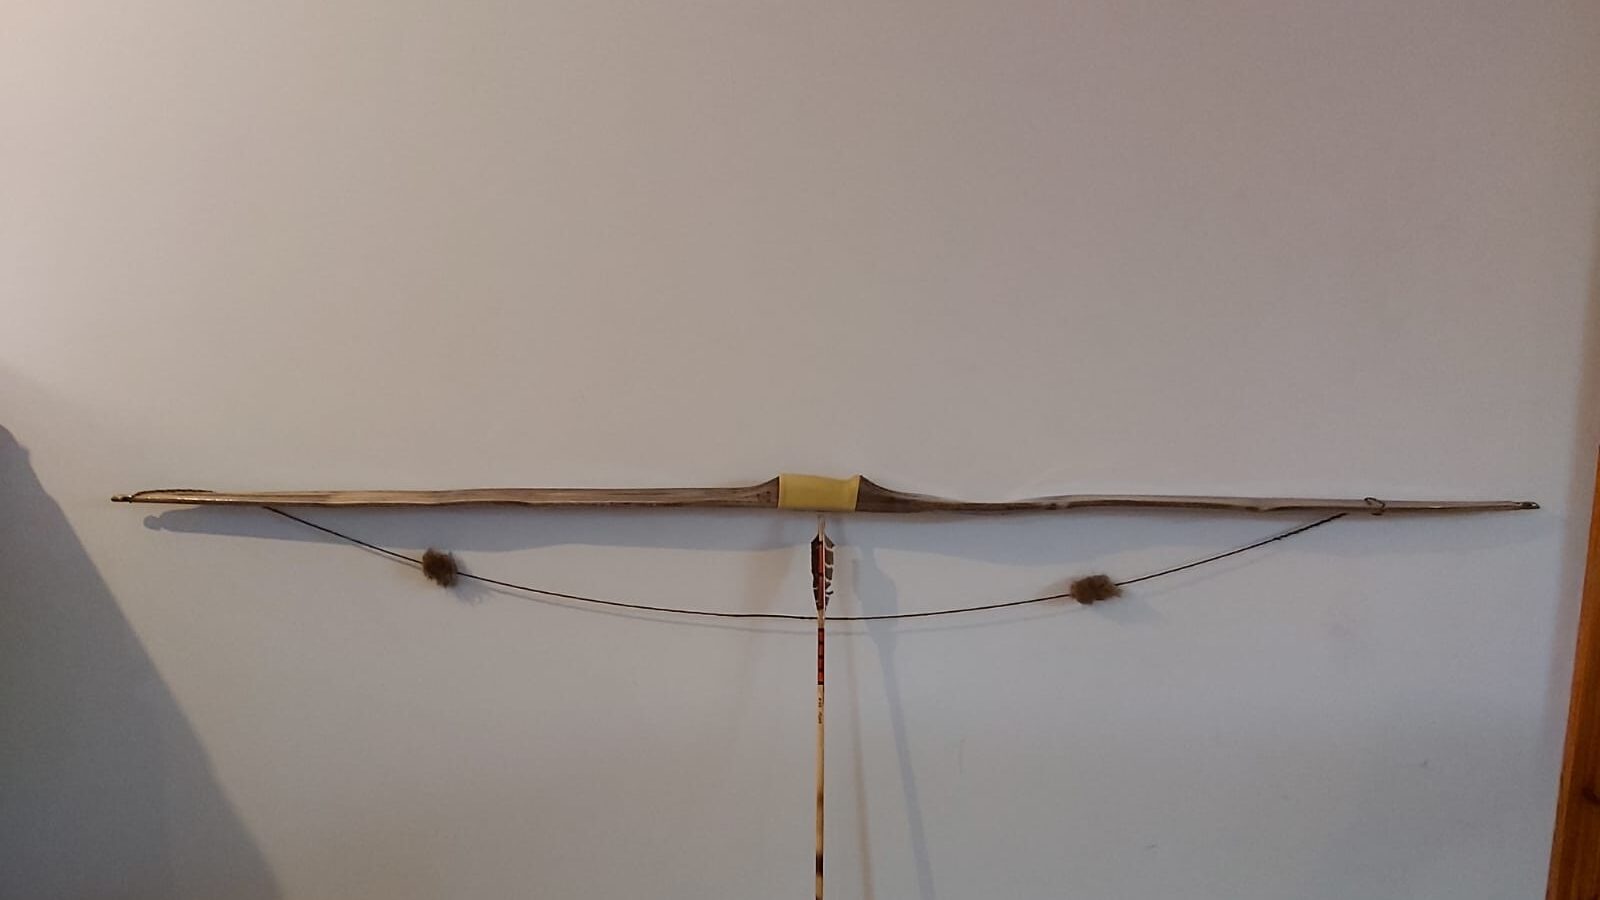
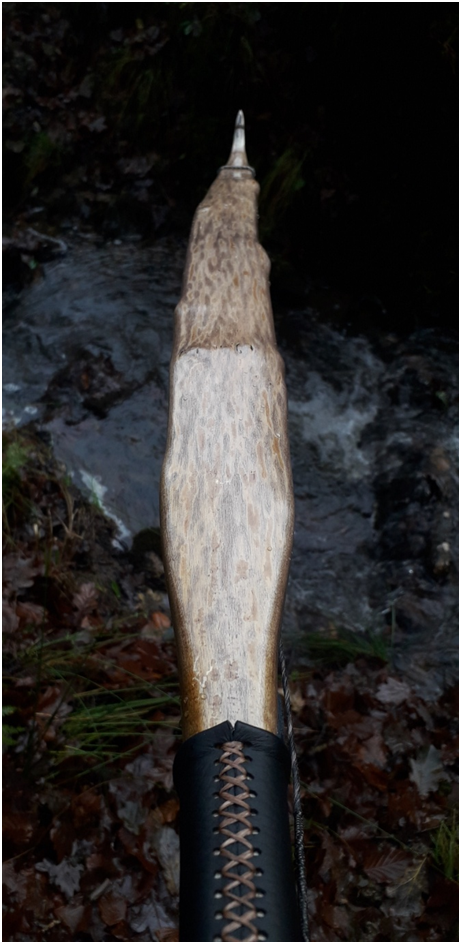
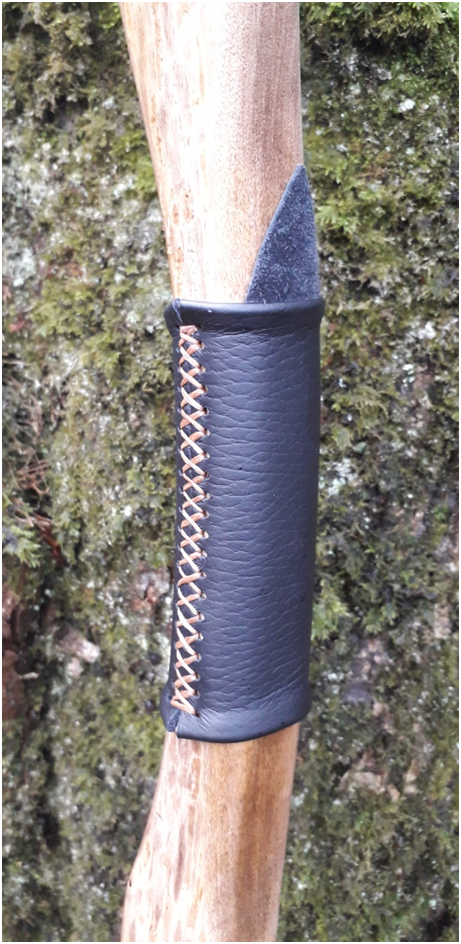
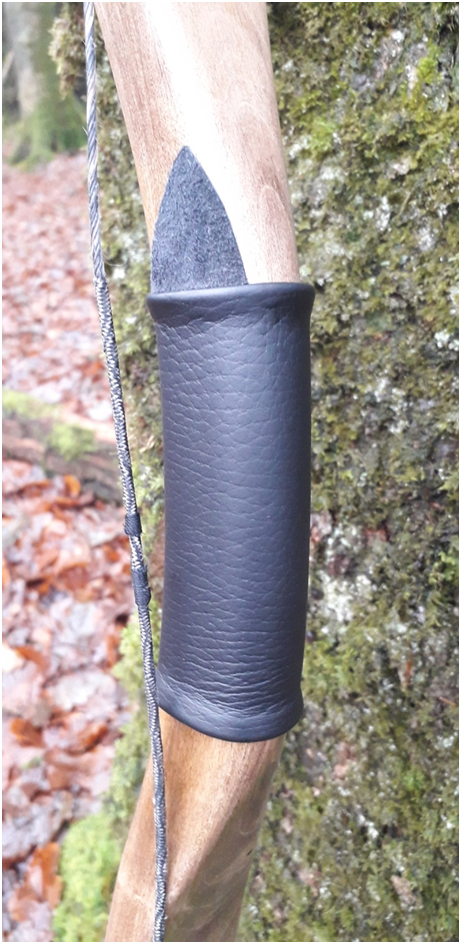
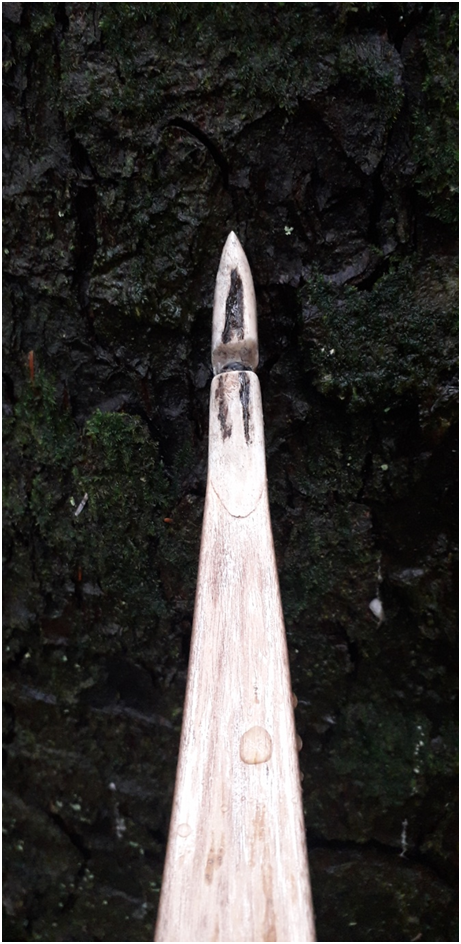
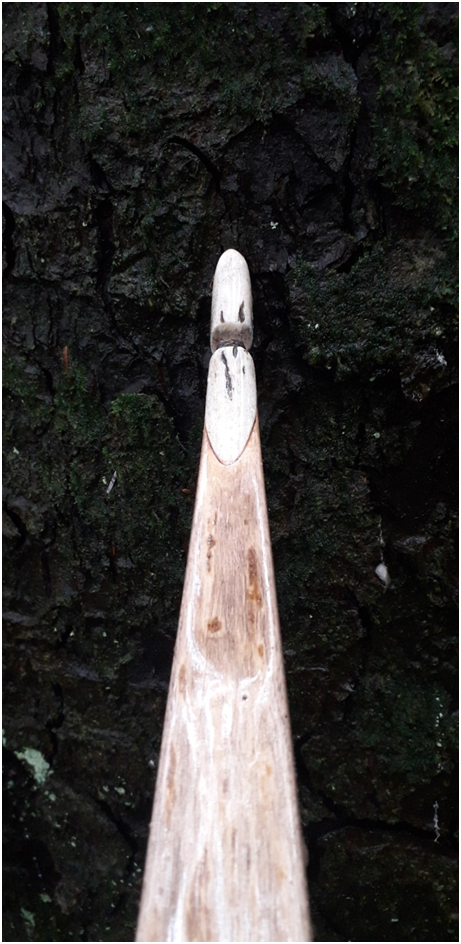
To finish her up I set about fitting her with a nice pair of wild English Red Deer antler tip overlays. The tips where shaped up nice and fine transitioning from flat to triangular. Antler was used as a an arrow pass inlay too. I wrapped the handle with a piece of my own traditional bark tanned deer hide and finished the whole bow with tung oil which really darkened the colour change brought about by the ammonia fuming. Wow! For a bow string I made a 12 stand Flemish twist from B55 which was fitted with beaver fur string silencers.

Now that the tips had been reduced in mass and the bow was completely finished I wanted to shoot her again to get a real feel for any hand shock. I also wanted to hear what she now sounded like with silences fitted to the string. And what a difference tip mass removal makes to the feel of a bow upon release! The little bit of hand shock which I’d earlier felt when shooting her in was gone. And the release was now whisper quiet too. I experience this change all the time and put it down to two things in the main.

First and foremost I believe that most hand shock and vibration in general is due to poorly timed limbs. This is why I favour a 3/16th – ¼” positive tiller on all of the bows which I make which are intended for split fingered shooting. 1/8” just isn’t quite enough to remain permanent in my opinion and can soon get pulled out to neutral, or worse still, negative! Shoot a negatively tillered bow split fingers and feel the vibration and hand shock and you’ll soon know what I’m talking about.

The mass of the tips is the next most important consideration to make when designing a bow to have minimal vibration/hand shock. By minimising the mass above the knocking points especially, as well as throughout the last 6” of the limbs tips, vibration upon release will be reduced significantly. Shout out to many of the incredibly talented bowyer at Primitive Archer forum for emphasising these points to me many years ago.

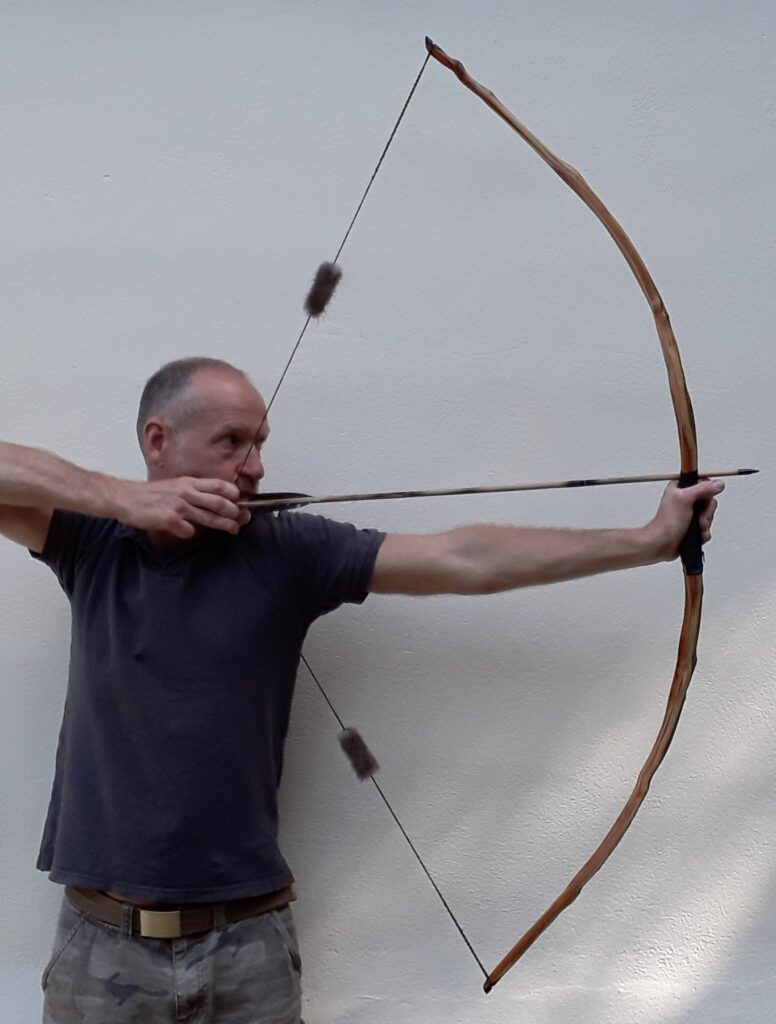
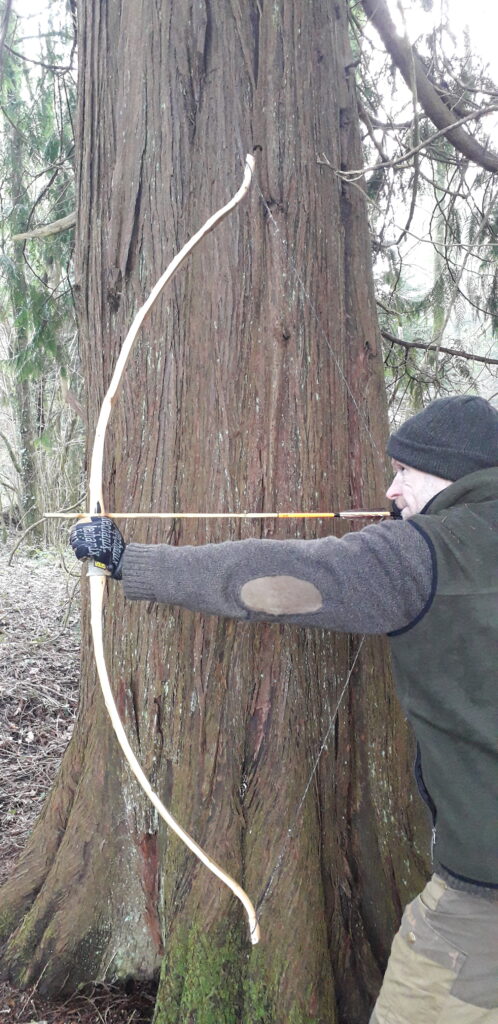
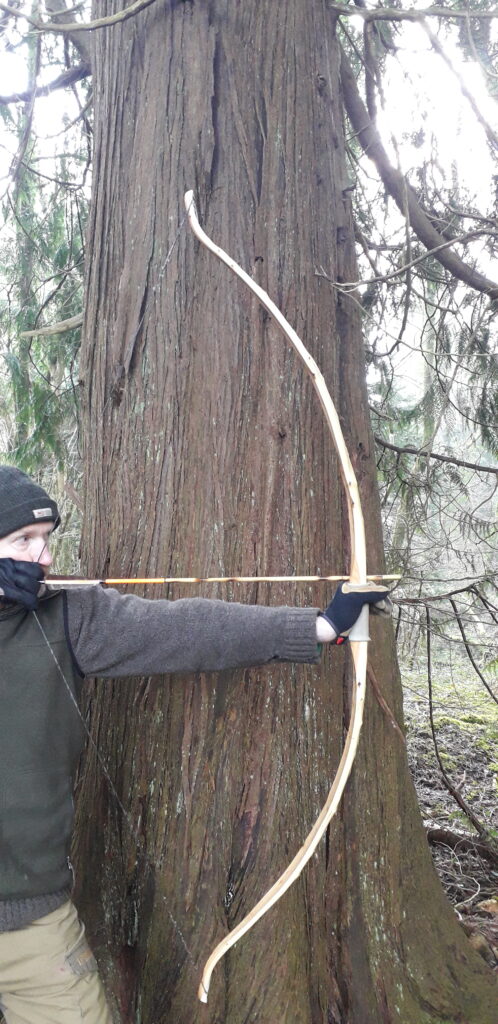
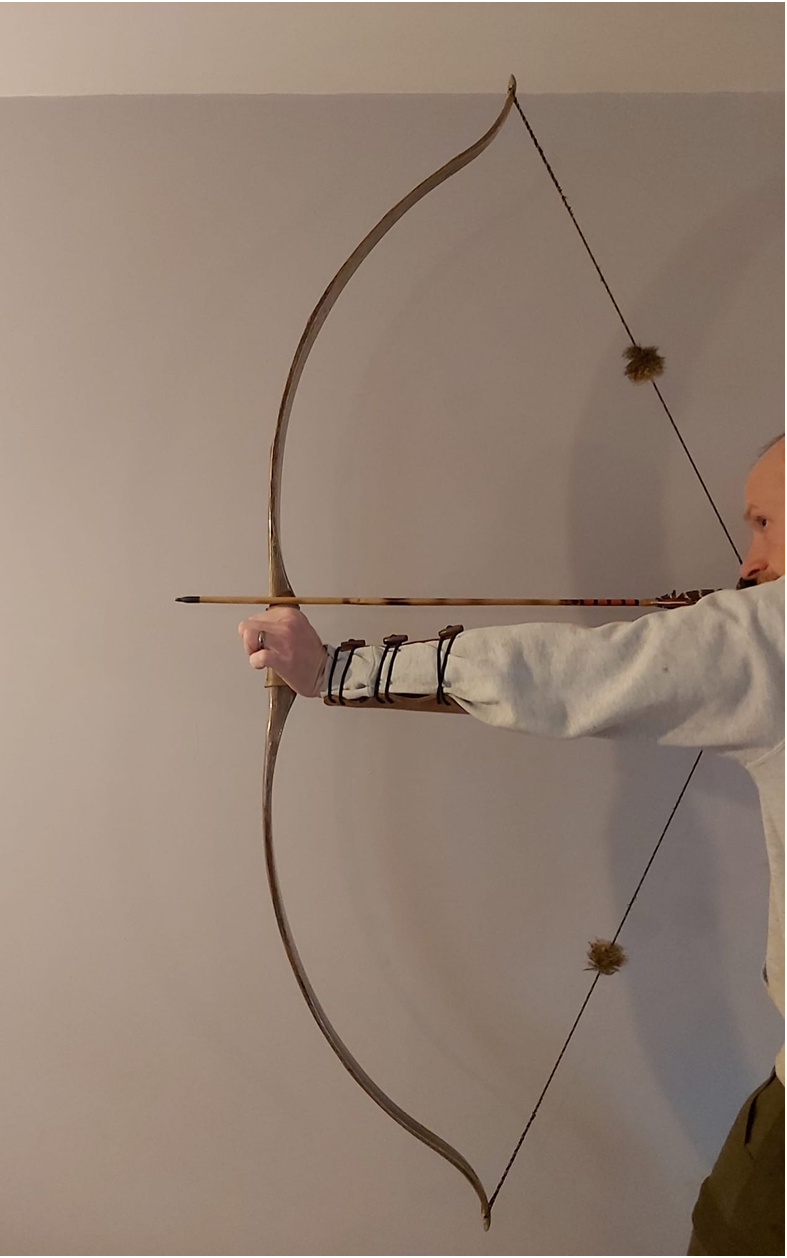
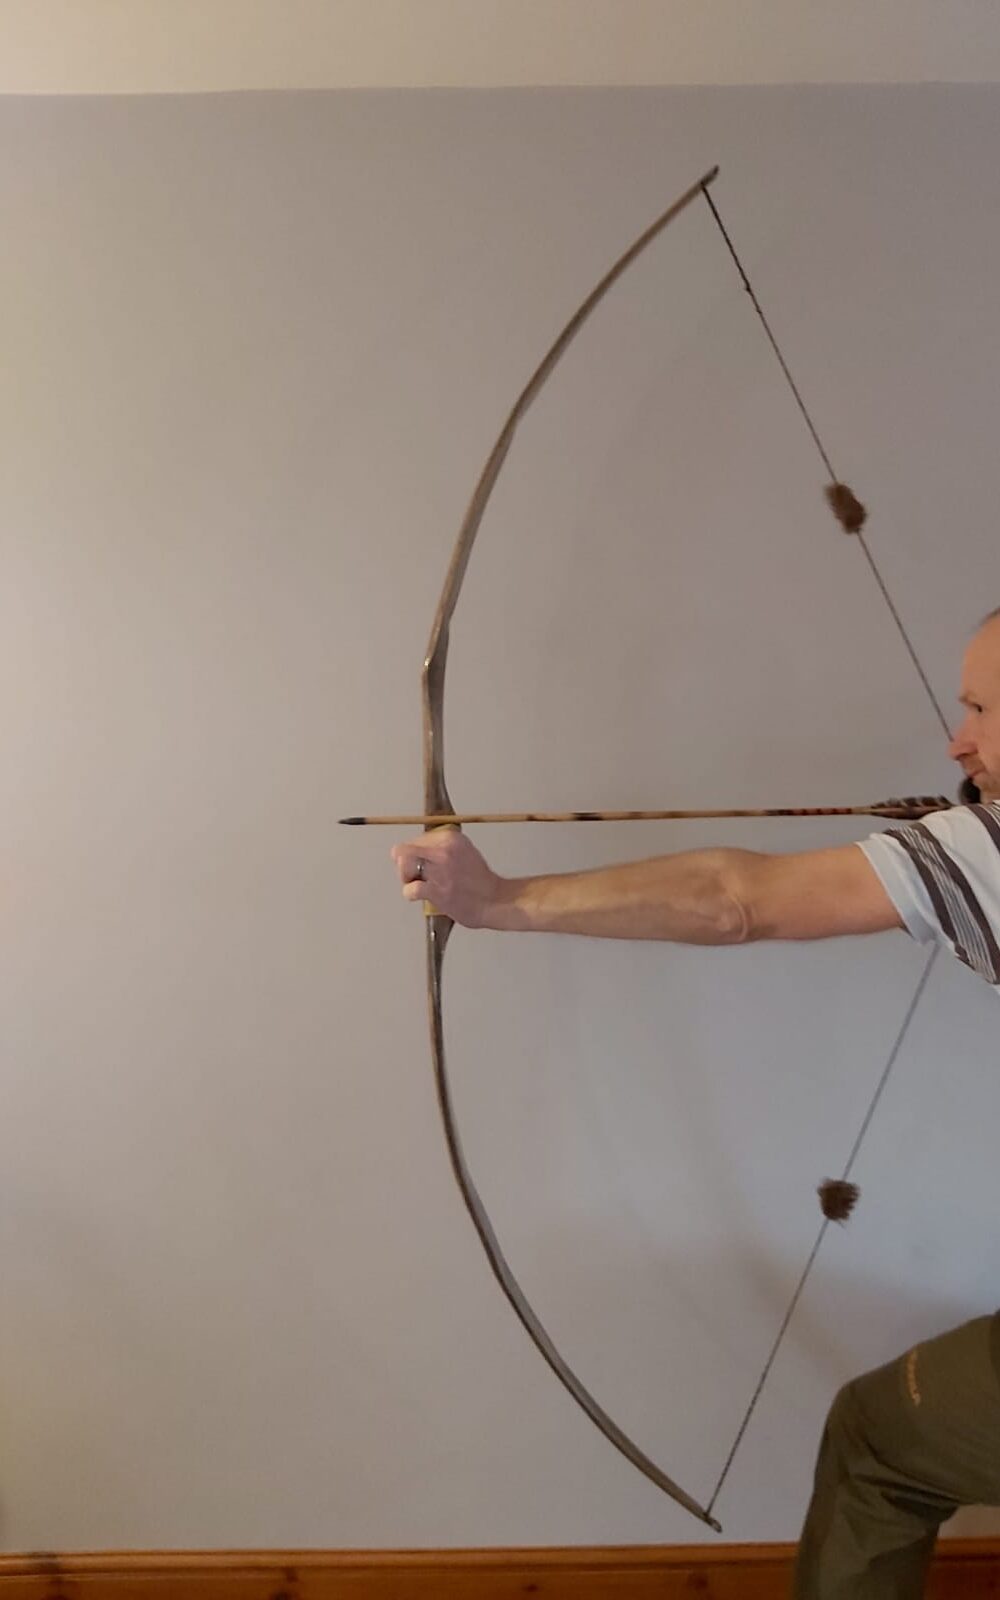
So to sum this bow up, she ended up being a smooth, quiet, hard shooting bow with no noticeable hand shock and minimal stack. Immediately after unstringing she holds about ½” of deflex which goes back to neutral after resting. She’s nice and light in the hand but packs a nice punch. She would make for a lovely hunting bow (if only!)

Anyway, I hope you enjoyed the story of her build and like the look of her. This bow is now listed for sale in my Etsy shop and is available for purchase here: Primitive Character Hawthorn Selfbow 5228 – Etsy UK

Mass: 732 grams

Length NTN: 65”

Width: 2 1/4” at widest

Tips: 6” semi static 3/8” wide at tips

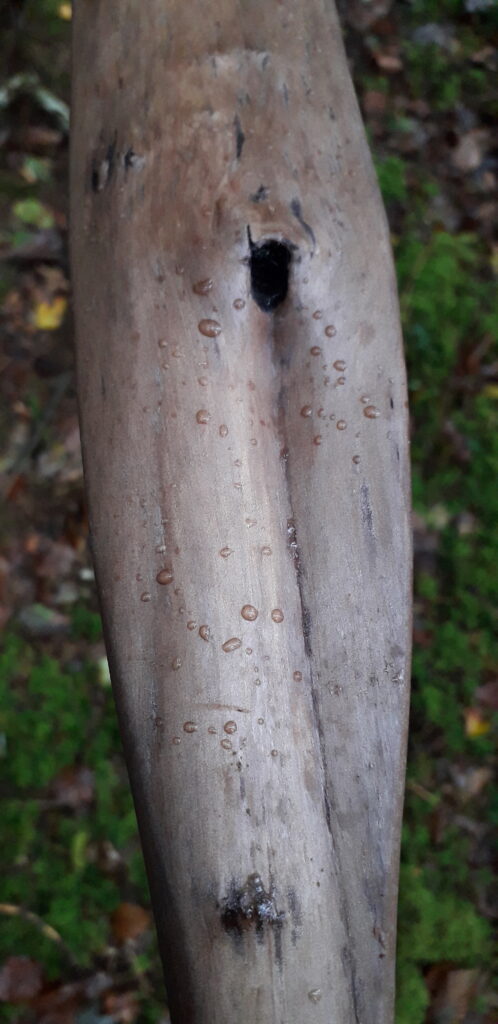
Back: Marginally crowned with undulations. Face profile pyramidal.

Belly Profile: Working limb sections undulating to mirror back, transitioning at the tips to D shaped then triangular cross sections.

Tiller: Elliptical 1/8” positive.

Brace Height 6″

Draw Weight: 52lbs at 28”

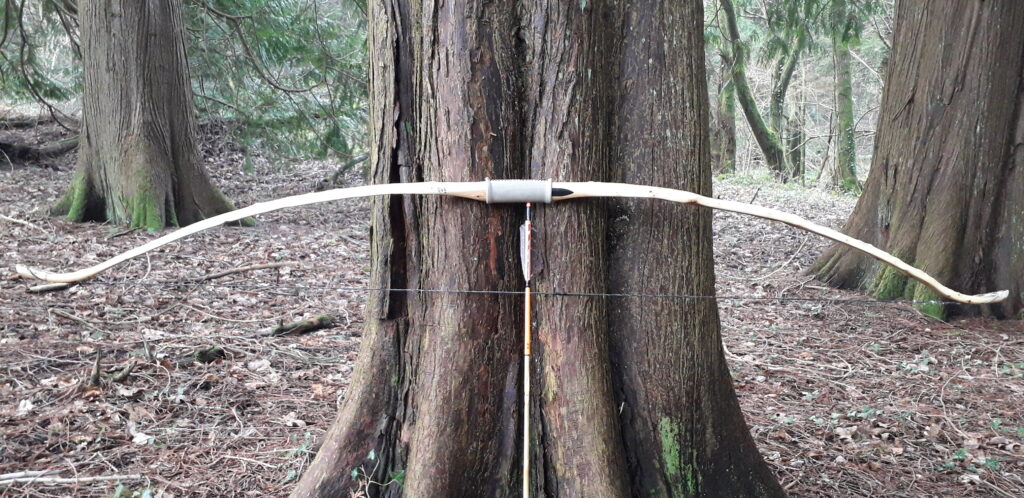
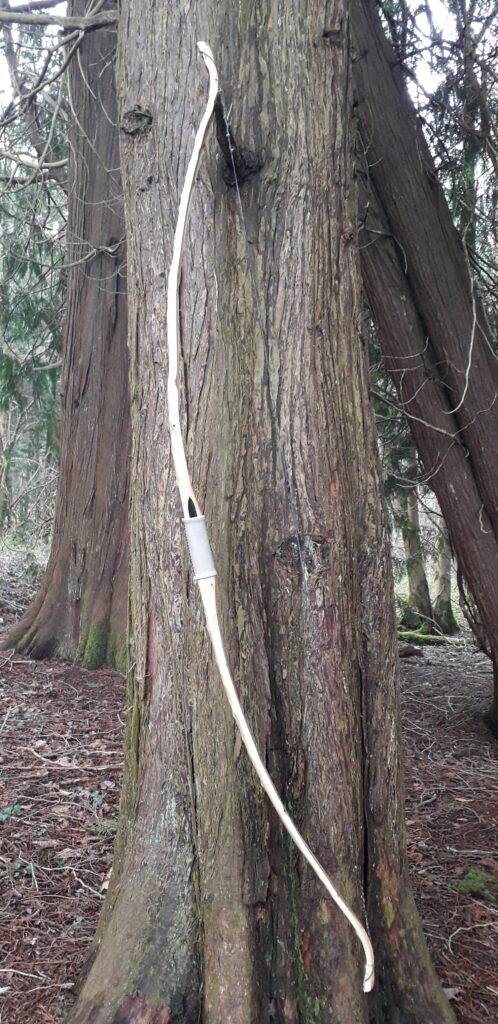
Primitive Character Yew Flat bow 52#@28” (Bow no. 14)

I wanted a yew branch stave to start thinking about beginning work on, so I set about rummaging through the pile of yew branch staves I have in storage. There I came across an interesting and character laden stave which was cut several years ago. I know this because I write the date that all of my staves were cut on one end after the end grain sealer has dried.

This particular branch stave caught my eye because it had a nice bit of wiggle and a few small knots which would add character without compromising strength. This stave was pretty long but one end kicked out massively and also held a dodgy looking bulge/knot. I decided to lop this 8” section off and just try and work with whatever length I was left.

Even with the end missing, I was still left with 63” ish to play with. So now that this stave had been significantly reduced in length, the shorter than ideal overall length would definitely influence the design of this bow, as bows this length and with this much character typically need a bit of thought in order to mitigate stress if intended to be drawn to 28” or more.

Before committing to a build though, I always like to give a stave a bit of axe time in order to get a bit of a feel for the stave, plus to try and identify any major problems I might encounter once work commences properly. 10 mins with the axe and I’d uncovered a potential problem. Hidden under the bark on the belly side of this stave was a drying check, and it looked like it might run deep.

Much of the bark on the face which I’d chosen as the back was very loose. I managed to pop a fair bit of this bark off by hand. I’d managed to uncover the section of sapwood under the crack, and fortunately, I could see no sign of the crack emerging on the surface of the back. Phew!

So I pushed on working down the belly, hoping that the crack would fall out at some point. And to some extent it did but the belly side of the handle section was never going to lose that crack completely, unless I reduced the handle thickness down to proportions which would make it bend slightly. And even then there was a good chance that some of the cracked pith wood would remain within the bow.

I wasn’t averse to this though, as the bow was going to end up fairly short by longbow standards, and a bendy handle would spread the work load by adding an extra 8” (4” handle + 4” fades) of bow to the total length of “working” bow.

After roughing out the belly a bit more to give me some feel for where the bow would best sit, I set about marking out the handle. The best spot for the handle given the crack and the other features was actually about 2″ away from dead centre between the limbs, so I decided to make this bow asymmetrical.

Next I wanted to rough out the face profile so that I could see what the sapwood/heartwood ratios were like, so after popping off as much bark from the limb sections as possible, I took the draw knife to the sides. This stave was only moderately crowned and was always destined to be a flatty, so I worked the edges down to a vague pyramidal profile to see if I could work around the major features without compromising strength.

There were four knots which were large enough to need to be kept away from the edges, two in each limb. Fortunately, all four of these knots could be kept off the edges without having to divert the natural flow of the lateral grain which could potentially compromise the integrity of the bow through excessive grain run out. I always like to follow the grain!

A few pin knots would present on the edges but none of these looked like they would cause me any trouble. The only other issue that the knottiness of this stave would create would be in preventing the application of significant heat bending. Recurving the tips was definitely out of the question as the top tip section was carrying enough knots to cause it to bust off if significant heat bending pressure was applied.

A lack of recurve was actually a good thing as I could now simply reflex the outer thirds slightly leaving both tips static for the last 4” therefore minimising stress to this fairly short stave. Since the handle section plus all but 4” of the tips would be working to some extent, there was now a real likelihood that this bow might even draw to 28”, despite being as short as it was plus having lots of potential weak points, AKA “character”!.

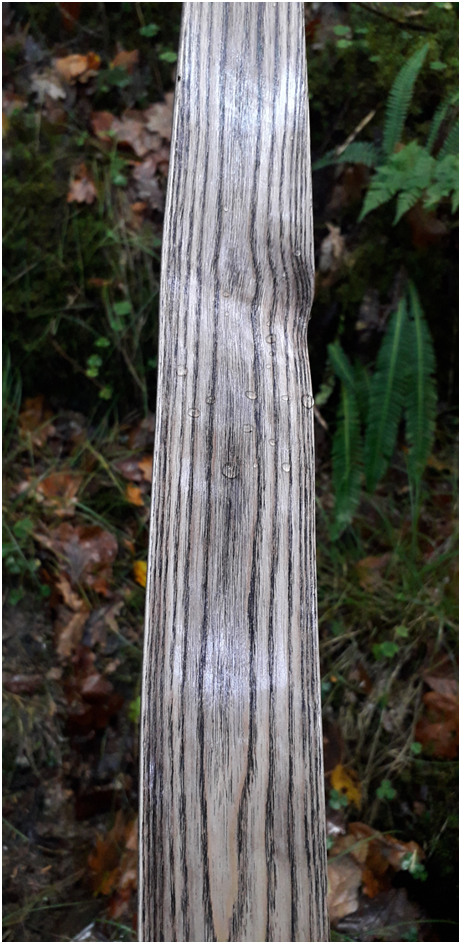
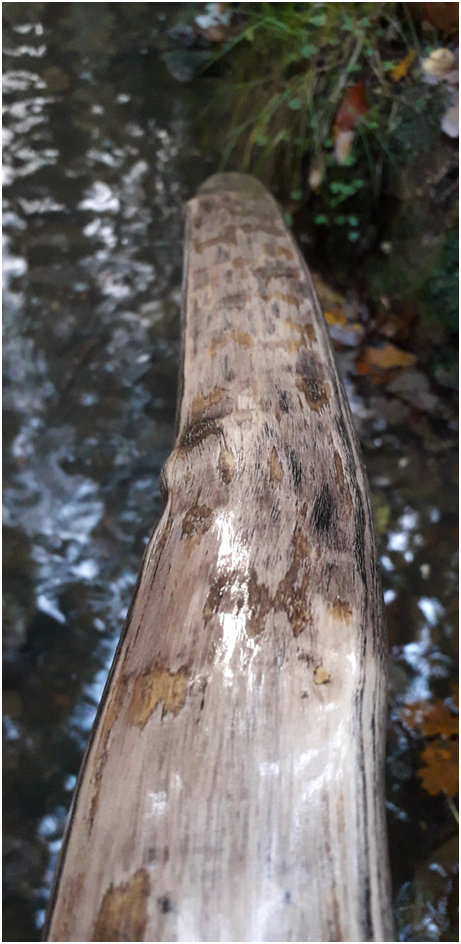
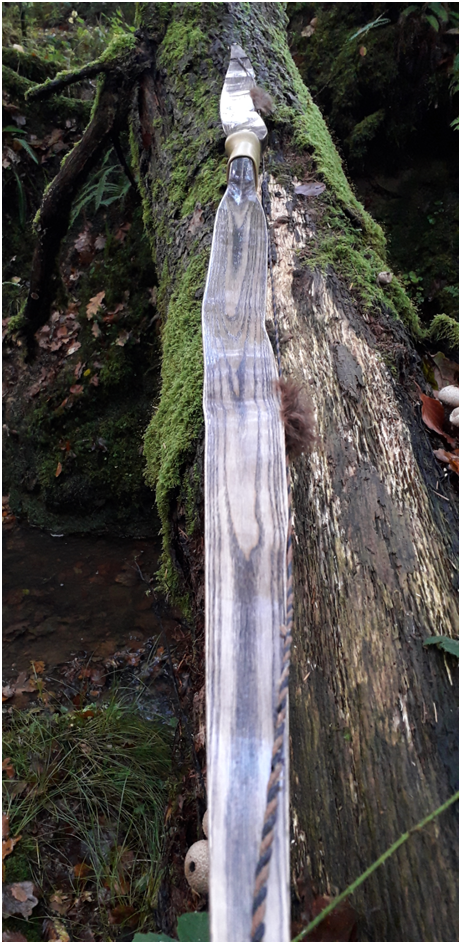
I should probably mention here that after getting all the bark off, I was struck by the beauty of the back of this bow. The sapwood was infected by that gorgeous bluey grey staining which yew sapwood often gets, This gave the back some wonderful colour variation which I know from past experience looks great when finished with a quality hardening oil such as Tung or linseed oil . In addition to the wonderful colour, the back of this stave had quite a bit of nice wiggle and undulation too, all of which was orientating around and over a multitude of pins and knots on both limbs. It reminded me of a piece of driftwood art, only with a tangerine belly!

The ratio of sapwood to heartwood was around 60/40 but there was absolutely no way I was going to attempt to reduce the sapwood on a stave like this one with such a striking and character laden back. So the ratios would have to remain. Not that this was going to be an issue anyway as the heartwood on this bow was that wonderful deep and dense orange stuff with the nice tight growth rings. Yummy!

Once the face profile was established and the handle and fades roughed out, I took a bit of time to study the small amount of twist in both limbs. This would come out easily with dry heat, as would much of the excessive deflex and reflex which was apparent at several points between the fades and the tips of both limbs.

So before going any further, I decided to spend a bit of time getting all the twist out, as well as easing off some of the unsightly deflex and reflex. A total of six sessions with the heat gun spread across a couple of day finally resulted in a stave which now looked completely free from twist and had a fairly even distribution of about 2” of overall reflex.

At this stage I’d left the limbs a bit on the thick side so that I could dig out the belly to mirror the crown and its generally undulating topography. There was no way this bow would have an even distribution of thickness (and therefore stress) unless I followed the back as a guide to dictate the profile of the belly.

So once the final thickness of the sides was established with the drawknife and the rasps, I began to dig out all the dips and valleys with the gouge and curved scraper. As is usually the case, this wasn’t a five minute job, but a job well worth doing all the same – in my opinion. And once I felt that I’d created an even thickness throughout, I set about floor tillering both limbs.

Once both limbs felt and looked like they were bending evenly on the floor, I cut in some tillering nocks and popped her up onto the tiller tree for a few first pulls with the long string. “Pretty good” was my first thought, although I was now made a little more aware of a bit of rather ugly looking deflex which was presenting itself in the top fade and also at a point about one third up the top limb. At this point I should probably say that I’d chosen the top limb to be the limb which had a rather nice wiggly tip section. I could imagine this tip looking great once refined and augmented with a nice elegant overlay.

This delfex in the fade just would not do however. It would not be possible to remove it completely but I felt confident that much of it could be reduced. I should also say that the top limb which contained this 4” deflexed fade was showing significantly weaker than the bottom limb on the tiller tree. So by straightening out as much of the deflex in this weaker top limb, I’d hopefully enhance the look of the top limb whilst simultaneously added some strength to it.

I couldn’t be bothered with trying and steam bend out the deflexed fade, so I simply clamped the deflexed fade over one of my reflex forms and gave it a good heating up with the heat gun. After a couple of attempts I was much happier with the small amount of deflex which remained. The heating process had also added significant strength to the top limb too and now had the bow presenting a ¼” positive tiller.

Conscious that some of the newly applied heat adjustment might pull out, I opted to reduce the bottom limb a tad in a couple of very slightly stiff spots. Brace height was achieved quickly thereafter and in no time I was pulling down to 22”.

A quick check with the scale showed around 40# at 22” which wasn’t too bad considering the amount of belly wood which had come off in order to lose the initial cracked section. I figured 28” would be pushing 50# by the time the tillering was finished so was quite happy with where she was at this point.

A few more tweaks with the scraper and 26” was reached quite quickly. Time to check tiller, string alignment (which was pretty good all along), and also check to see if any twist had returned. The tiller was holding firm at ¼” positive and the string alignment looked to be dead centre. A very small amount of twist had returned to the last 10” of the bottom limb tip. So a quick session with the heat gun took the twist out again and all was looking quite good.

The pith wood cracks in the handle section were not going to fall off this bow since I had already narrowed the handle thickness as much as I could. Any more wood removal from the handle and fades would see them start bending too much. In my experience, too much bend in the handle ends up robbing a bow of significant cast. I wasn’t going to take this risk just to lose a few pith wood cracks which were never going to compromise anything other than aesthetics.

So instead, I opted to pump all the handle/fade cracks and belly knots full of good old nice thin super glue, so that they would stay shut up forever and would sand nice and smooth for finishing. In no way would any of these features ever compromise the structural integrity of this bow.

The scale was reading around 49 ish# at 26” and everything was looking quite good so I called it done for now, opting as usual to shoot in the last 2“ of tiller. A couple of weeks of stump shooting with this bow was great fun and I was pleased to see that the tiller still felt very well balanced for split fingered shooting and had only reduced by a fraction.

After a lot of shooting she had settled into a tiller of 3/8” positive. Limbs felt and sounded like they were timing well which is likely why no hand shock was apparent when shooting this bow, even with the limb tips left wide for temporary tillering nocks.

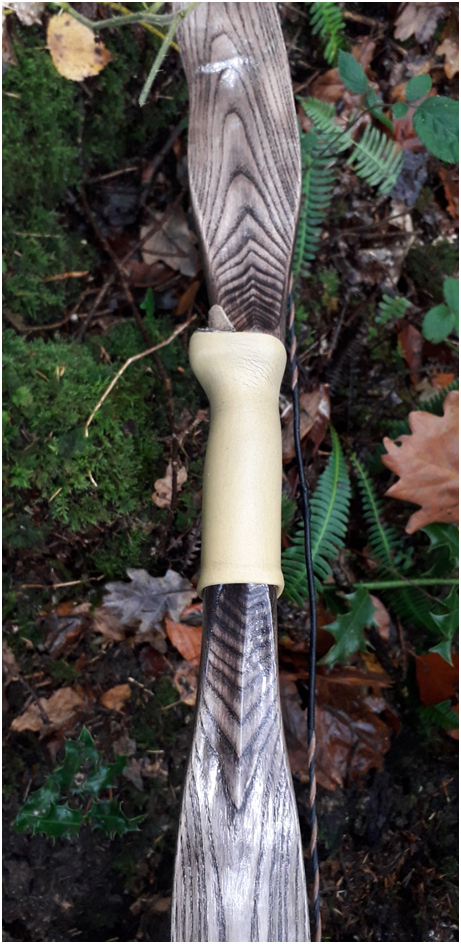
Happy with the tiller and having proven that the bow was a survivor, I cracked on with finishing her. I gave her a pair of buffalo horn tip overlays and a good sanding and polishing before sealing her up with a bunch of coats of oil. The handle was begging to be kept simple and since she was always destined to be shot off the knuckle, I opted to wrap the handle primitive style with a nice strip of deer rawhide which I stained black with an application of bark tannin solution followed up with some home made iron chloride. The black rawhide wrapping matched the buffolo horn tips which I thought was both fitting and functional.

With the bow finished I put another hundred or so arrows through her to see what she felt like now the handle was wrapped up and the tips had been refined. She was now more comfortable to hold and a fair bit quieter to shoot too. The beaver fur string silencers were helping in this regard but I always notice a reduction in vibration when a bow has mass reduced from the tips. And since the tips on this bow were reduced by quite a bit after the initial shooting in phase, I felt sure that the final fine tips not only quietened the bow significantly but they also sped her up a fair bit too. A final check on the scale was reading 52# at 28”. A good weight for most flatty fanatics (myself included). I really like this bow. I think she looks great and is a real character. She’s a pleasure to shoot being quiet, smooth to draw and pretty fast. She was sending 550 grain arrows whistling along to their destination with ease and I was quietly entertained by the noticeable slap that those stump heads were being delivered with.

Anyway, I hope you enjoyed the story of her build and like the look of her. This bow is now listed for sale in my Etsy shop and is available for purchase here: Primitive Character Yew Longbow 5228 – Etsy UK

Here are her stats and a bunch of pics. Enjoy!

Mass: 664 grams

Length NTN: 61.5”

Width: 2” at widest

Tips: 4” static 3/8” wide at tips

Back: Marginally crowned with undulations. Face profile pyramidal.

Belly Profile: Working limb sections undulating to mirror back, transitioning at the tips to D shaped then triangular cross sections.

Tiller: Elliptical 1/8” positive.

Brace Height 5 1/2″

Draw Weight: 52lbs at 28”
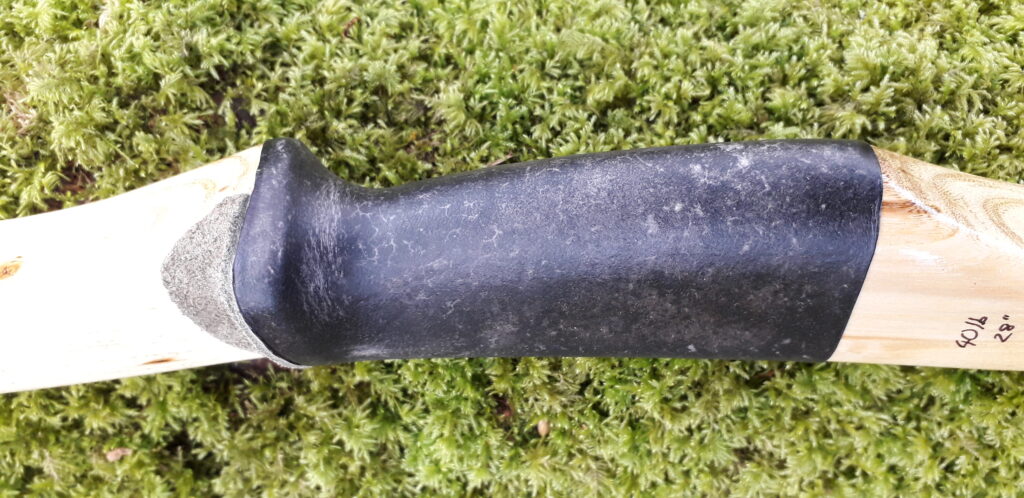
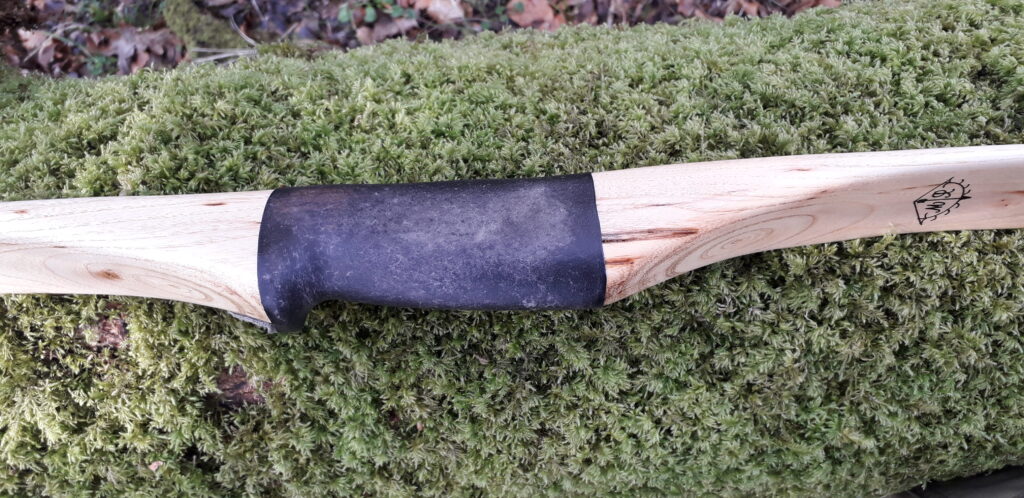
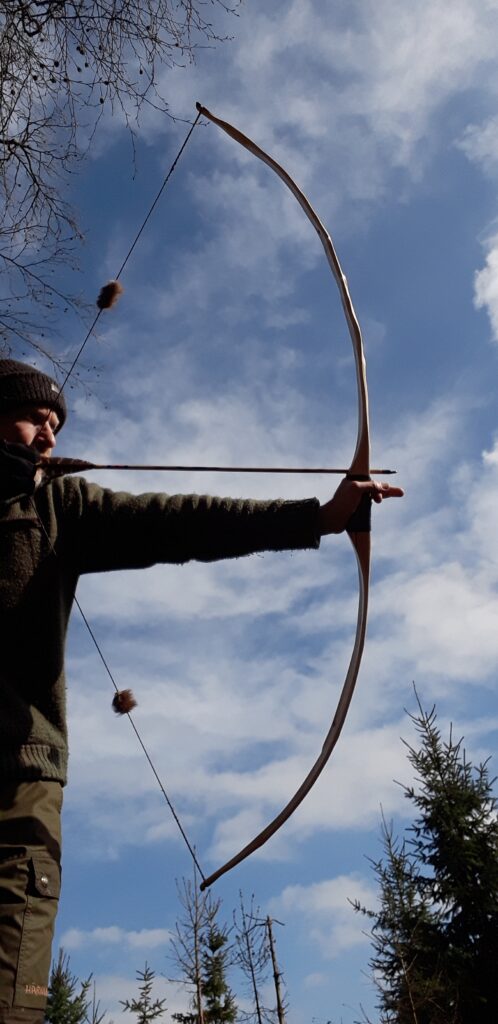
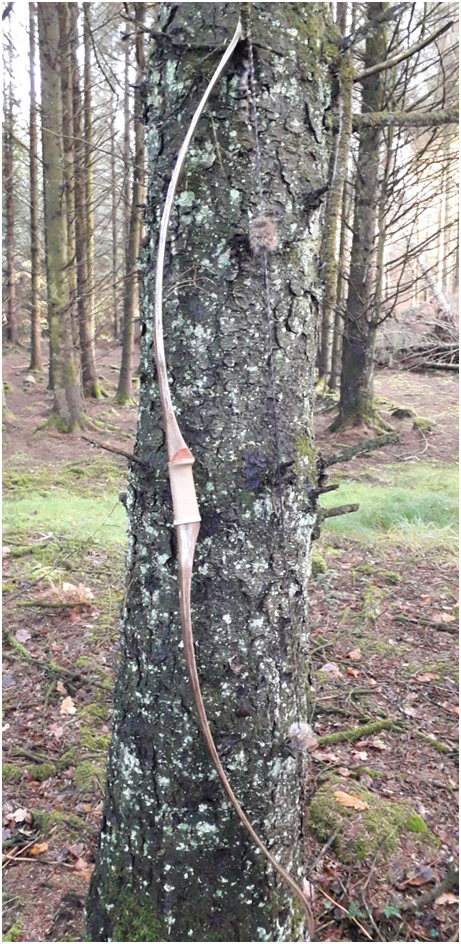
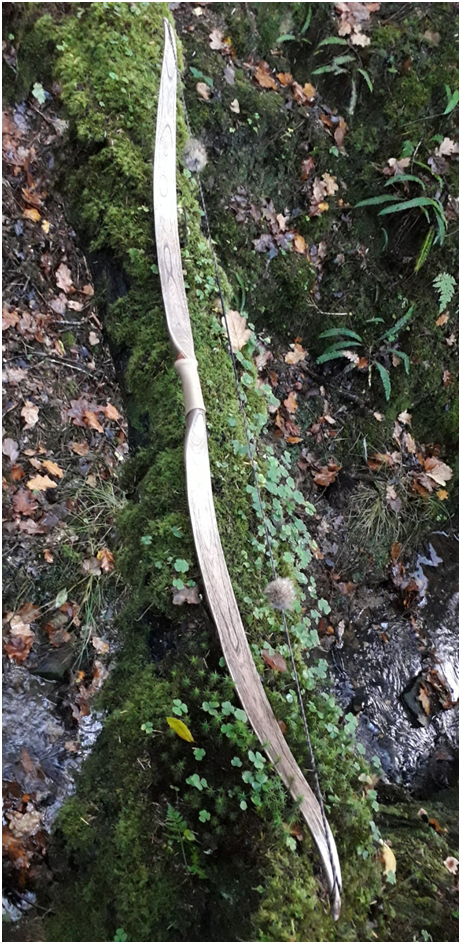
Holly Heat Treated Self Bow 40#@28″ (Bow No. 10)

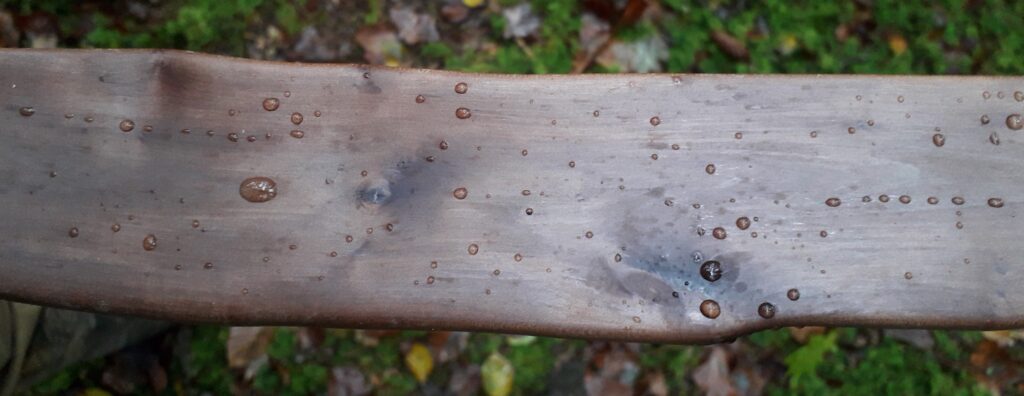
I’ve had the stave this bow came from hanging in the rafters for at least three years and to be honest, I can’t for the life of me remember where it came from. Every time I moved it out the way to get to a different stave it would catch my attention. I love making bows from holly as it is excellent bow wood (if you can find a clean straight bit that is!) But every time I inspected this particular stave I’d be reminded of the bloody great chainsaw cut which was three parts of the way through the belly of what would end up being one of the limbs outer 1/3 sections. (Bloody tree surgeons!) And that is why this particular stave kept getting put  back in the rafters!

There was little intact belly wood remaining usable at this cut point, which led me to believe that the likelihood of this stave making a bow over 20lbs was low. So with those thoughts in my head I decided to quickly chop down to the bottom of the saw cut to see exactly how much wood remained intact. If there wasn’t enough I’d just scrap the stave and make space in the rafters.

But after 10 mins with the axe I was able to see that there was actually a little bit more wood left behind than I first thought, although definitely not enough to make a hunting weight bow. Enthused by this discovery I roughed out a basic profile and limb thickness to see exactly what I was able to play with. About 8mm of wood was all of what remained just outside of where the static tip fade would end and the working part of the outer limb would start. Not Ideal!

After completing the roughing out of both limbs, I set to tillering the stave to brace height. At this point I could see that some fairly minor propeller twist and string alignment issues would need resolving before taking the tiller much further. At this point it was already apparent that the weight was going to end up pretty low so I thought I’d have a go at fixing all the bending and twisting issues whilst at the same time adding a few more pounds of draw weight through heat treating the belly of the stave. The heat treatment took place whilst the stave was clamped strategically into an optimal position on a form with a touch of reflex. And it worked out pretty well! After taking a blow torch to the entire belly for half an hour, nearly all of the propeller twist came out, and the string alignment was resolved to. And all whilst adding a good 5 or 6lbs of well received draw weight too! Bonus!!

After tillering down to 26” on the tree I was now getting about 40lbs ish on the scale. So with a slightly whippy positive tiller I decided to shoot in the last couple of inches rather than pulling her down to 28” on the tillering tree. I often find that I’m best doing this towards the end of the tillering process as lets face it, the way we pull on a bow when actually shooting it is really quite different to how the bow is stressed on a tillering tree.

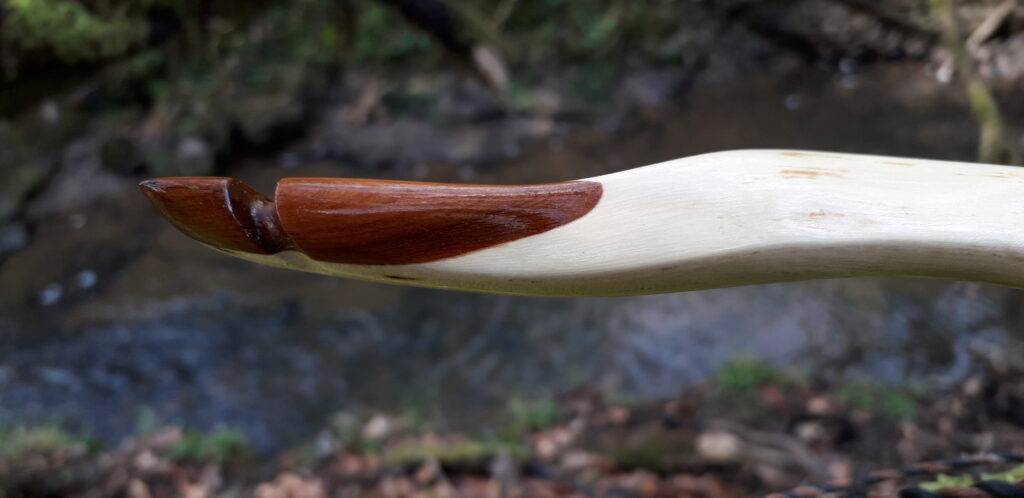
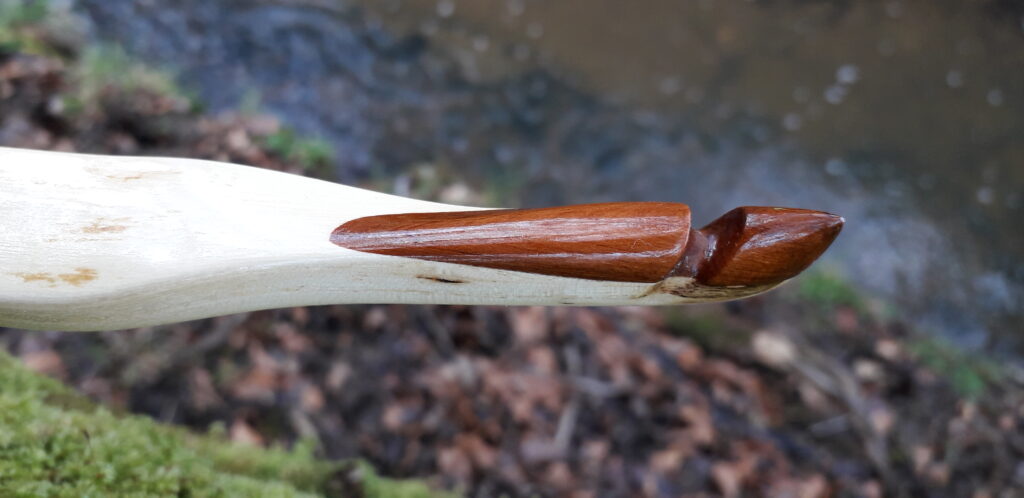
After a couple of hundred arrows I checked the tiller and all looked good so I finished sanding her down which knocked a pound or so off and left her pulling 40lbs at 28”. The positive tiller held good and I was pleased to have managed to pull off a sweet shooting light weight selfy, which actually looks quite good. I really like the contrast between the light and dark of the back and belly. Buffalow horn tip overlays also contrast sharply with the light wood of the back.

I finished the handle with some really nice thick wild red deer rawhide which I processed myself from a neck cape which came from a stag I shot back in the autumn. After re-wetting the rawhide and forming it around the contoured grip I let it dry for a couple of days. Once dry it got trimmed, punched, stained and glued/sewn back on. I dyed the rawhide dark tan with an impressive product which is new to me, Leather Dye WB – Furniture Clinic. I’ll certainly be using this product again as it works extremely well on rawhide. It’s a water based leather stain and soaks into both dry and wet rawhide amazingly. It penetrates really deep and dries quickly too and once dry it doesn’t rub off either unlike many other leather stains I’ve used before. And as it is a water based stain, you can oil over the stain to leave the whole thing totally water proof and looking like traditionally tanned leather. After a single coating of the leather stain I gave this particular handle covering along with the rest of the bow 6 coats of tung oil. Each coat being left a couple of days between coats to soak right in. I love the satin finish tung oil gives and I think that it sometimes suits certain bows better than the usual glossy Truoil type finishes. The handle covering is glued in situ with Titebond III.

The string is 12 strands of B55 and the silencers are Wild Beaver fur.

This bow would make a great ladies/tennagers primitive longbow and will be listed for sale on my ETSY Shop very soon. My Shop can be found here: https://www.etsy.com/uk/shop/Southmoorbows?ref=l2-about-shopname

Stats are as follows:

Mass: 554 grams

Length NTN: 62”

Width: 1 ¾” at widest part

Tips: 4” static 3/8” wide

Back: Moderately crowned with valleys. : Pyramidal face profile

Belly Profile: Undulating between flat and concaved to mirror the bows back.

Tiller: Lightly whipped. 1/8” positive

Brace height: 5 1/2″

Draw Weight: 40lbs at 28”
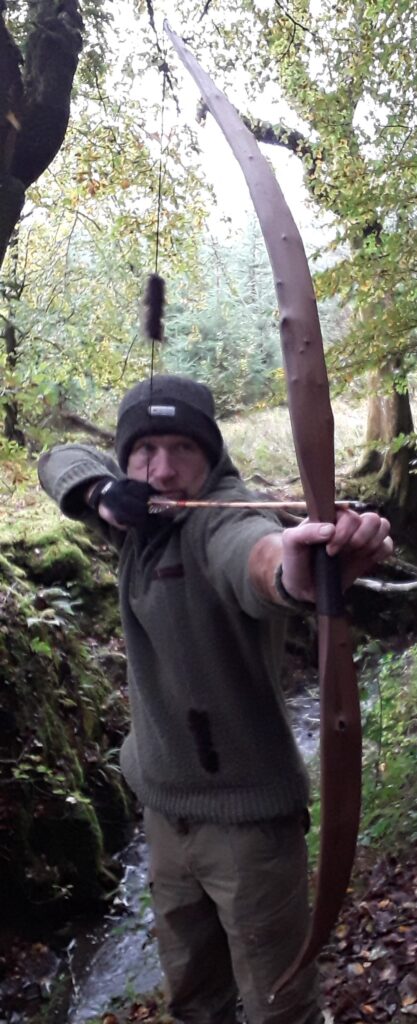
Here are the pics. Hope you like her!

Elm Sucker Character Flatbow 40lbs @ 28” (Bow no. 9)

I was given a 3” elm pole by a mate of mine who coppiced a butch of the stuff in one of his hedgerows last year. Many of the poles/logs were around the 3-5” mark so I asked him to save the better stems in his barn so I could pick through them at some point. Many of the stems had been attacked by the beetle and were unusable, which was a real shame because some of the stems would have been perfectly good bow staves had it not been for all the damage below the bark.

In this part of the world we are cursed with Dutch elm disease. It really is quite rare to find an elm stave which doesn’t have any damage at all. I have tried making character elm bows out of badly beetle damaged elm before, but have concluded that the weakness induced by the fungal pathogen will invariably lead to a broken bow at some point in the future.

One or two small spots of black rot tends to be ok though, so the stave which made this bow was given a chance to prove itself, as I really liked the slight wiggle and snake this stave reflected after roughing out. In addition to the tiny bit of beetle damage, I had to negotiate a few other features too, such as knots, drying checks and some propeller twist which came out pretty easily witha little dry heat.

Given the undulating back of this stave I decided to try and mimic the topography of the back on the belly, but in reverse of corse. This created a slightly hollow and varied contour to the bulk of the bows belly. I also opted for a slightly hollow belly in order to maximise the potential for removing some of the beetle damage which was apparent on the belly of the bottom limb.

In order to get the worst of the beetle damage out of the stave I ended up with quite thin limbs, both in terms of width and thickness. As a consequence I ended up with a bow which is a bit on the light side, finishing out at about 42lbs after the initial shooting in phase. Since sanding and finishing the bow, plus a lot more shooting in, she has now settled into about 40# @ 28”. Not too bad for a pretty gnarly elm stick!

I know a lot of trad archery folk hate arrow shelves but I’m not one of them. I like an arrow shelf simple because I can shoot arrows with feathers without having to wrap the fronts of the fletching in order to prevent a quill winding up embedded in my hand.

As much as I like shooting my own primitive arrows with feather fletchings wrapped with sinew, I do find that the raised sinew wrapping can sometimes cause a bit of deflection when it makes contact with the arrow pass or arrow shelf. I often see this deflexion manifest as a false nock left. Or if shooting of a shelf, a false nock high and left.

In addition to an arrow shelf I went to the effort of putting tip overlays on her. If you read my previous post you will have seen that I have recently come across a really nice and very old yew log which has been exposed to the elements in a dead state whilst still being attached to a huge and very old yew tree.

This exposure to the elements has resulted in the sap wood completely rotting off the log leaving pure yew heartwood behind. On closer inspection this heartwood was encapsulated in a 1/8th inch thick layer of dark, hard and perfectly preserved resin saturated timber. This resinous outer coating is hard like oak. It is impossible to mark it with a finger nail (unlike normal yew heart wood) so I decided to try making tip overlays with it, with a view to making sure that the overlay was situated so that this really hard and wear resistance outer layer would be the surface which the bow string would contact with. My idea worked very well and the overlays look lovely contrasting sharply against the light coloured elm sapwood. I’ll certainly use this petrified yew log to produce other overlays in the future.

The handle wound up being a deeply contoured grip style which would have made it quite difficult to wrap a piece of tanned leather around so I opted for a piece of roe deer raw hide which I made myself recently. (Article to come shortly.) I stained it with some leather stain since it was quite bland looking. It looks all right and almost kinda marbled. And despite it being paper thin, it feels really nice and durable. I expect it will outlive the bow by a mile!

This bow was finished with 8 coats of truoil and has stood up well to a fair bit of shooting. I’ve matched it up to a set of handmade 35# 400 grain bamboo arrows, fletched with turkey wing feathers and tipped with modified empty bullet cases for stump heads. These arrows shoot very well and over the chrono I got an average speed of 142ft/sec.

It never ceases to amaze me how tough bamboo arrows are. Despite being shot dozens of times at all sorts of stuff all three arrows are still going strong!! I intend to do a detailed arrow build at some point so keep an eye out for that article coming at some point this year. I’m also working on a pile of new bows which I hope to show off soon.

Anyways, here are the pics! Hope you like!!

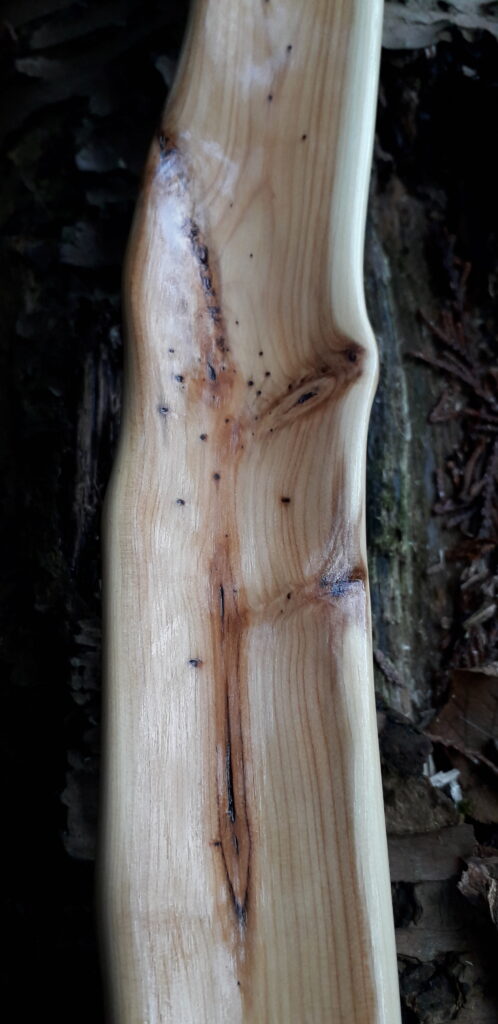
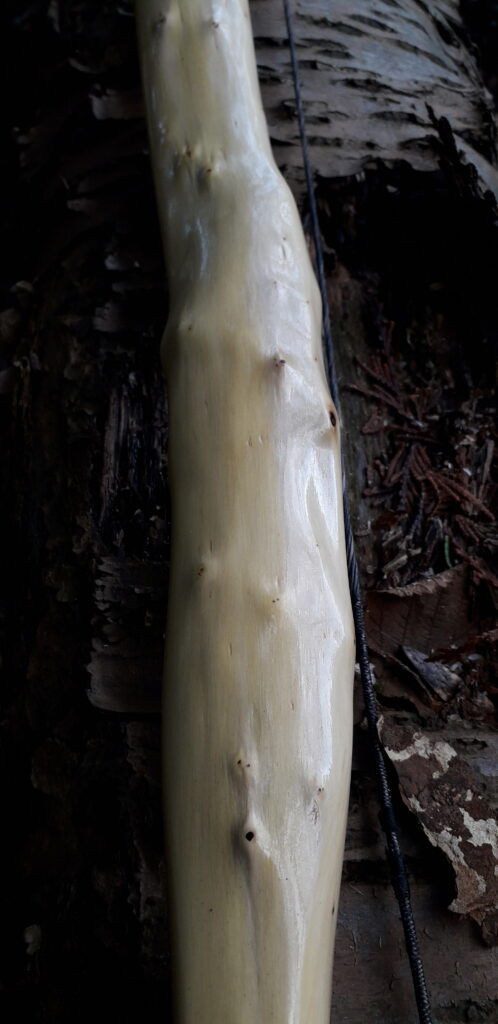
Yew HLD Recurve Character Branch Bow. 48# @ 27″ (Bow No. 7)

This bow started out life as a 2-3” branch which I harvested a couple of years ago. Given all the knots, kinks and wiggles, I knew it was going to be a challenge to turn this ugly little stick into a bow. Yew is one of those few bow woods which can be incredibly forgiving however, so I decided to give it a go!

The main challenge with this branch was going to be placing a bow back somewhere on it, and in a way which would keep the back from including any of the larger more fragile knots. One particular face was cleaner than the rest, but by choosing to use this face as the bows back, I would have to deal with a significantly deflexed 8” section which would have to fall somewhere between one of the limbs fades and the middle of that limb.

The branch measured only 68” long so I would have little opportunity to manipulate the handle location anywhere other than in the approximate centre. Given all the potential weak points on this branch, I did not dare to aim for a bow any shorter than 66” nock to nock.

I knew that I’d be able to steam out some of the unsightly deflex in what ended up being the top limb, but given all the knotty material in this deflexed section, I dared not try to straighten it out completely as the likely hood of one on the knots popping was very high.

After roughing out the basic limb thickness and face profile, I set about reducing the deflexed section with steam. After that was taken care of the small amount of string misalignment plus a little twist was corrected with some dry heat. At this point I also steamed in the gentle recurves. Now I had a more workable and predictable shape, I could then start to think about the final limb width and general profile/cross section.

The heartwood content of this bow was not great and the sapwood was about 8-10mm thick. The back was covered in small raised pins so chasing a ring was totally out of the question. And since the likely-hood of this branch ending up as firewood was high, there was no way I would consider investing time and effort to sinew back a risky bow like this, just to get away with violating the back in order to improve the ratio of sapwood to heart wood.

As with all branches, the pithy centre was biased towards the side which had the tighter growth rings (1-2mm) which happened to be on the same side of the branch which I’d chosen as the back. This meant that the pith was currently contained within both limbs and ran right through the handle.

Whilst I have no problem with the pith running through the handle section or even the thicker parts of the fades, I do not like leaving the pith in the working parts of the limbs. Experience has taught me to expect cracking, splitting and even fretting to occur when the pith runs close to the surface of the belly material.

Given that the crown on this branch was significant and the pith was currently buried inside the roughed out limbs I opted to hollow out both limbs to match the crown, whilst hopefully getting deep enough to remove the pith at the same time.

This worked fine but left me with very little heart wood. In fact the sapwood to heartwood ration was around 70/30%. Not ideal so I decided to take the sides in as the sides were entirely sapwood. This reduced the limb width down from about 1” 7/8ths to around 1” 5/8ths.

Now that the pith was out of the limbs and the heartwood sapwood ration had been improved, I didn’t have a great deal of bow left to play with, so I had to be realistic with the outlook. I guessed she would probably make for a finished bow around 35 40lbs at best. So I was really suprised when I actually managed 51lb at 27”!

I tillered the bow to 27” as my brother will likely get this bow. His draw length on a good day is about 27”. I took the tillered (albeit unsealed) bow stump shooting for a couple of weeks with only tillering nocks cut in and a leather strip wrapped around the handle to double as a grip and arrow pass. After a hundred plus arrows I checked her over for faults but found none.

I was expecting some of the steam correction to pull out in the deflex section but it didn’t. The finished bow looks like it has a very positive tiller but it is deceptive. The deflex section right out of the top fade is what gives this bow the look of excessive positive tiller.

In reality, this bow feels very well balance through the entire draw cycle and the limbs time together great when I shoot it with split fingers. I’ve shot enough bows over the year to be able to feel when a limb is weaker than the other. Despite the appearance, this bow is very well balanced.

After double checking the bows tiller by feel and then by tiller tree, I confirmed that the top limb is only slightly weaker than the bottom limb which is perfect for both my use, and my brothers use, since we both shoot split fingers.

It never ceases to amaze me how you can take a bow which looks to be tillered very well, only to draw it back and feel that torque on the wrist that you get when one limb is significantly stronger than the other. Nowadays, when it comes to final tiller, I place more emphasis on feel than I do on appearances. Where wooden bows are concerned (especially character bow) appearances are incredibly deceiving!

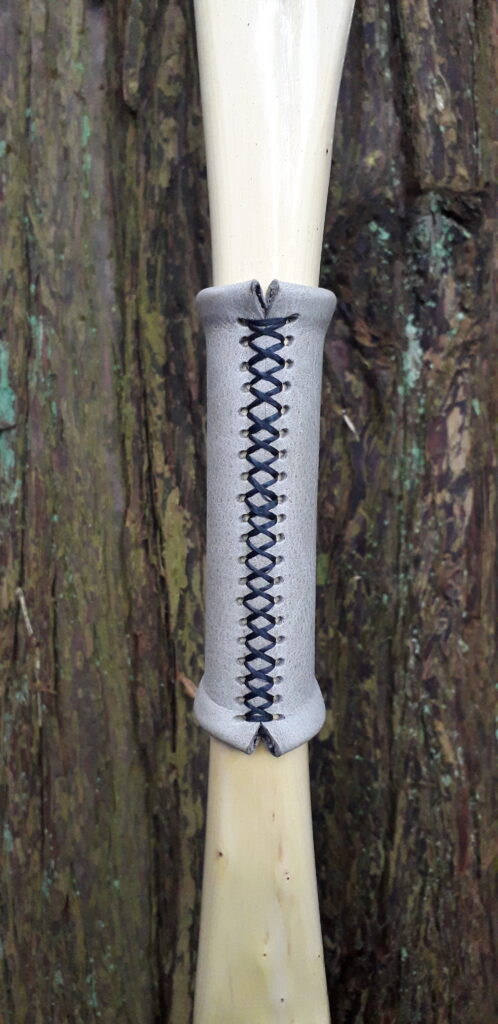
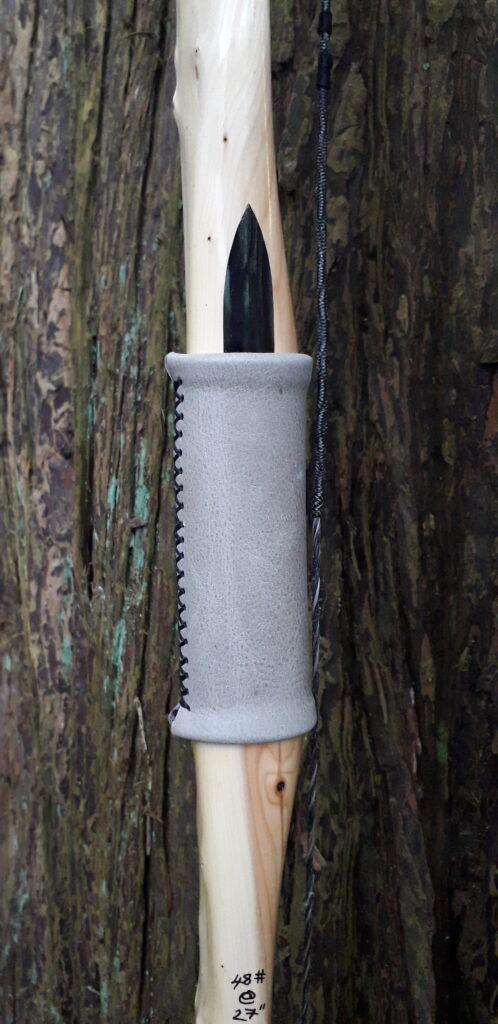
After shooting and sanding, I weighed her again and she was settled in at 48lbs at 27”. Happy with that I fitted her static recurved tips with a pair of Red Deer antler tip overlays, and I inlayed the arrow pass with a patch of buffalo horn. For the handle I chose a simple leather grip fitted after sealing the finished bow with 8 coats of Tru-Oil.

This bow put a smile on my face. I could well have imagined this bow breaking mid tiller. Not only was I impressed that she held together, but she actually ended up a being a proper little looker too. So much character and more than satisfactory performance has made this little bow one of my favourite character bows so far this year. (I have others to show off soon!)

In terms of performance, with a 12 strand B50 string on she sent a bunch of 450 grain arrows over the chronograph at an average speed of 143ft/sec. Not bad for a knarly old branch bow! Mass is 560 grams and she carries about ¾” of set immediately after unstringing which returns back to almost straight after resting.

Here she is. Enjoy!

Top nock
Top nock
Top nock
Top nock
Top nock
Bottom nock

Bottom nock
Bottom nock
Drawn to 26″
Drawn to 26″
About 3/4″ of set immediately after unstringing. Returns to almost straight after resting.

Thanks for looking!

Bow No. 3 – Elm Deflex Reflex Selfbow Flatbow 48#@26”

I built this bow from a totally green 4” diameter English Elm log which came my way back in the spring of 2022. The bark slipped off perfectly which was good in that it was easy to remove, but meant that the bow finished out lacking the wonderful cambium camo effect which I absolutely love to see on white wood selfbows.

As with most Elm logs above 3” in diameter, this log had some beetle damage which resulted in this log only producing one stave in the end. This was a shame as the log was clean, straight and carrying little twist. If it wasn’t for the beetle damage then I’d have got two nice staves from this log.

The damage free stave was slightly reflexed in the handle area but had a nice straight face profile with tips almost in alignment with the handle centre. After recurving I chose the top limb so that the string would favour the left side of the riser section since I’m a righty. I laid out the staves with symmetrical limbs and a handle section which would accommodate a 4” grip with 3” fades.

Both limb sections had a tiny amount of deflex mid limb so I could see the potential for a deflex reflex riser/limb profile. Since the stave was 66”, long I laid out the bow to finish 64” nock to nock. This is ample length to safely accommodate light recurves on a nice and wide limbed Elm flatbow.

 I planned to finish with a solid and safe selfbow around 50lb at 26”. Flicking the tips on a bow this length shouldn’t stress the limbs, but as a back up against chrysling the belly, I kept the limbs around 1” 7/8ths wide for the first 2 thirds tapering rapidly down to ½” wide static flicked tips in the final thirds of the limb.

This staves back had some crowning to it but not really enough to warrant hollowing out the belly although in hind sight I probably should have. That said the flat belly/low crown cross section profile appears to have retained adequate compression strength and has withstood any fretting, even after much shooting with a held anchor. The deflex/reflex profile probably helped here too and certainly made the tillering process easy. The draw of this bow is also very smooth with very little stack.

This stave was simple and quick to tiller given the very even natural profile and in no time I was left with a snappy, low volume, low mass flatbow (570 grams) which is very pointable and is an absolute pleasure to shoot. Brace height is 5 1/2” and the tiller is 1/8” positive. This is one of those bows which when braced plays a note with one of those wonderful high frequency resonances when the string is plucked. Dinnnnnnnnnng!
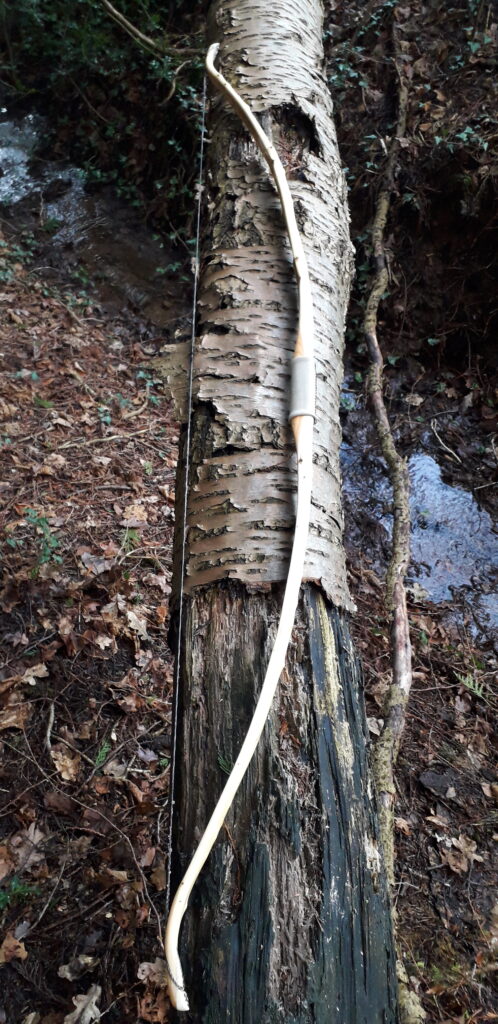
I could have produced a heavier draw weight from this stave but I like bows around the 50lb mark at my draw length of 26” so I aimed for that and got it. There is no hand shock since the tips are low in mass and the grip is very comfortable to hold with a loose grip. The bow shoots hard at 26” and shooting a 9gn/lb arrow (450gn) over the chronograph produced average speeds around 156ft/sec.
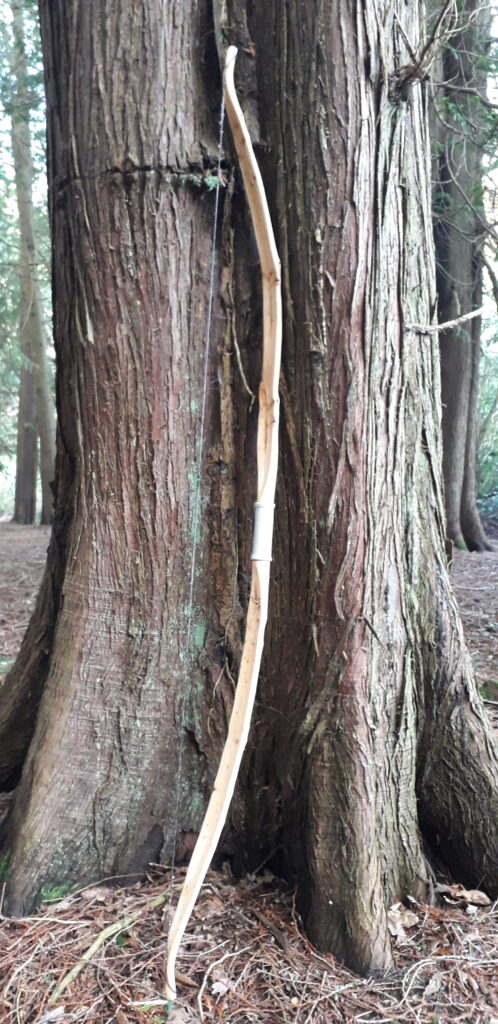
The stave was fairly plain with no wiggle to speak of. Nor were there many significant quirks like knots etc so I decided to stain the bow so as to draw out the main feature which was the beautiful grain on the belly. A contoured grip and arrow shelf made a bit more of a feature out of the handle section and antler tip overlays helped to pimp up the limb tips a bit.

The arrow rest is not cut to centre but the paradox isn’t a problem anyway. An arrow in the 45-50lb spine range shoots well in this bow.

The handle received a light tan leather covering which was also used in reverse to serve the arrow pass. The stain is an oil based Dark Oak colour finished with many coats of truoil.

Here are the Pics. Enjoy!:

Drawn to 26″
Immediately after Unstringing.

Bow No.2 – Character Primitive Ash Selfbow 48#@27”

The stave for this bow came from a 4” diameter Ash tree which produced two staves. One stave was pretty straight and featureless and I used that stave to make a plain but functional rawhide backed recurved flatbow for a friend of mine. The other stave had a nice bit of wiggle in one half and a few other little features so I decided to use it to make this unbacked character flatbow.

The tree was felled back in the late summer of 2022 so it had a bit of cambium left on after taking the bark off. I roughed the stave out whilst totally green and force dried it on a slightly reflexed form in order to fix some slight tip/handle misalignment. The form also evened out some slight but uneven and mixed deflex/reflex in both limbs and corrected the very small amount of limb twist which was apparent in the bottom limb.

After a month of drying whilst clamped to the form positioned indoors on my sun baked windowsill, I was left with a nicely aligned stave with an inch of evenly distributed reflex and just the right amount of wiggle left to make this flatbow worthy of the title “character bow”.

The small to moderate crown on this stave was worth considering. I find that a higher than average crown on tension strong woods like ash can sometimes be advantageous. As I’m sure many bowyers will attest to, Ash wood bows are quite susceptible to compression fractures on the belly. This is because Ash is far stronger in tension than in compression.

The small to moderate crown on this stave could allow most of the back of this bow to work in tension. Too much tension could chrysal the belly if not considered carefully in the design process. A high crown would allow less of the backs width to work in tension therefore reducing the crushing force imposed on the fairly flat belly.

Bearing in mind that the growth rings on this stave were a bit on the thin side, and that the early wood in the growth rings made up a reasonable amount of the bows volume, I decided to round the corners on the back quite heavily in order to create an artificial high crown and reduce the tension strength of the bows back.

I’ve used this little trick many times before to help protect the bellies of bows made from compression weak woods such as Ash, Hazel and Elm which are all very strong in tension. The result is a D shaped limb cross section with the curved portion of the D representing the bows back and the flat portion of the D representing the bows belly. The complete opposite to a classic English Longbow design which works very well with high quality Yew.

The down side to this approach is that much of the edge wood is taken out of commission. The up side however is that the full width of the flat belly is still able to function by providing compression resistance which will oppose the crushing forces of the tension strong back as the belly relates to the now tension weakened artificial high crown.

The artificial high crown imposed in the design of this bow worked well at preventing fretting on the belly, as did additional mitigation measures such as forgoing recurves, minimising the length of the stiff handle section, and maintaining adequate limb length and width. For this reason the bow was kept long at 66” nock to nock and has 1″ 15/16 wide limbs for the first two thirds of the working sections. The riser section is approx 10” long including 3″ fades and is stiff.

Previous experience of Ash staves from this particular area have reinforced the idea that extra precautions need to be taken to avoid excessive tension forces on staves like these which clearly have limited compression strength. For this reason I opted to keep the weight down to 50lb at 26″ or less which is around my favourite draw weight anyway. Much heavier than this and fretting might occur without increasing limb width or length, which I couldn’t really do with this stave anyway given the dimensions I had to work with.

The bow was very easy to tiller, even with the wiggle in the first third of the top limb. The tiller is elliptical ¼” positive and shoots well with split fingers with both limbs timing together very well. When unstrung after shooting a few rounds this bow shows about half an inch of sett which quickly returns to dead straight after resting.

Since the bow was for me to use I opted for simple but small self nocks. If I’d built it for someone else then I’d probably have put overlays on it. The arrow shelf was a last minute addition whilst contemplating the final handle design.

I like to shoot of the knuckle personally but figured my wife might shoot it so I used the significant width of the staves handle section to produce an arrow shelf which is certainly not cut to centre, but is not far from being in perfect alignment with the string which clearly favours the left side of the riser. This bow isn’t very arrow fussy but definitely favours an arrow in the 45-55# range.

The lightly fluted 3” fades were an afterthought and were an attempt to create a little more feature to the otherwise plain bottom limb. In hind sight this was a risky manoeuvre on a timber like Ash which is very prone to delaminating between the growth rings at the fades. That said, so far so good. No sign of any splitting yet and I’ve been shooting this bow quite a lot.

The finish on this bow is an oil based dark oak stain followed by many coats of Trueoil. The small amount of cambium left on the back picked up the stain differently to the exposed wood on the back which created a nice camo effect. This particular stain really grabs hold of the grain on Ash and produces a beautiful high definition wood grain on the belly.

The handle is contoured to my favourite grip pattern and is covered with a scrap of leather from an old jacket which I rubbed some earth pigments into in order to produce a more mat/antique appearance. The arrow pass is covered in the same leather only rough side up.

This bow shoots well. Not the fastest longbow by any stretch (450gn arrow at 27” 148ft/sec) but nice and comfortable to hold back at full draw without stacking much if at all. No hand shock due to the balanced tiller, comfortable grip and moderate tip mass.

I really like this bow and it has been my favourite stump shooting bow throughout the autumn of 2022. That said I have loads more just like it and might have to find a new home for it since I’m fast running out of space for more bows. Well, at least that’s what the wife keeps telling me! If you like the look of this bow then keep an eye out on Ebay as it might end up being listed there some time after Christmas. If I do list it then I’ll edit in a link to the listing at the top of this post.

Here are the pics:

Drawn to 26″
Immediately after unstringing. About half an inch of set which recovers back to straight after 10 mins.

Bow No.1 – Character Field Maple Deflex Reflex Selfbow 50# @26″

This little project was initially just intended to explore how much twist and malformation could be corrected through drying a badly mishappen green field ma[le stave whilst clamped to a form. The stave came out so well that I decided to persevere with it and the project ended up turning into a full bow build. The end result is a nice sweet shooting deflex reflex selfbow. The full build can be seen here: https://southmoorbows.com/build-along-field-maple-deflex-reflex-character-longbow/

As is typical of Field Maple, this stave lacked much in the way of colour or grain so I decided to stain it. Antler tip overlays and a simple black leather handle/arrow pass compliment the natural character of the bow. The limb cross section ranges from crowned/convexed to almost rectangular with some mild valleys, troughs and hills around the few small knots and naturally wavy grain.

Measurements are as follows:

Length Nock to nock: 66″

Limb width at widest point – Top: 2 1/8″ Bottom:2 1/8″

Mass: 655 grams

Draw Weight: 50lb at 26”

Arrow speed at 9gn/lb = (450gn arrow) = 158ft/sec

Brace Height: 6”

Tiller: 1/8” positive