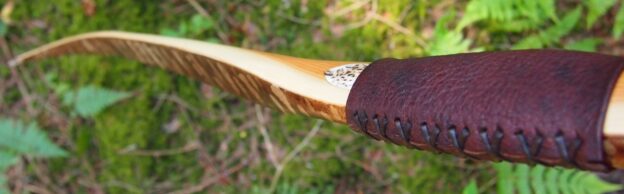
This bow came from the other half of the log which produced the stave I used to build the “Deadpool” – bow No: 29 which featured in this recent blog post here.
This half of the log was actually the better of the two staves from the point of view of ease of build. This stave had far fewer issues to deal with, and was also reasonably straight in terms of side profile.
Unlike its sister stave, this stave was also without any obvious problem spots in the working limb sections either. So even though this stave was still pretty thin, I could still envisaged getting a slightly higher poundage bow out of this piece of yew, even if I chose not to sinew back it.
After roughing out I could just tell that this stave was a lovely snappy springy piece of wood by itself without a backing. And it was nice and light in mass too, which was a stark contrast to some of the dense heavy staves I’ve been working on lately.
I couldn’t bare the thought of loosing the speed and cast which these rare, light and springy pieces of yew are capable of producing. So I opted out of sinew backing this one, as a bow built from a light and springy stave like this one would likely lose more speed through weight addition, than it could ever gain through the added elasticity of a sinew backing.
So after roughing the stave out very close to final dimensions, drying it out indoors and dry heat shaping onto one of my R&D formers, I decided to protect the back of this stave with a couple of pieces of my home produced wild red deer rawhide, which came from a red deer hind which I’d shot and processed last winter. My goodness the sirloins of that animal were incredible. And I’m still working my way through the 50lbs or more of mince which came off the shoulders plus all the trim. Venison rague makes for the very best Bolognese!
Red deer rawhide is the perfect length and thickness for bow backing strips. And Red deer rawhide is incredibly strong and wear resistant, so it will add tremendous strength and durability to the back of a bow without adding undesirable weight.
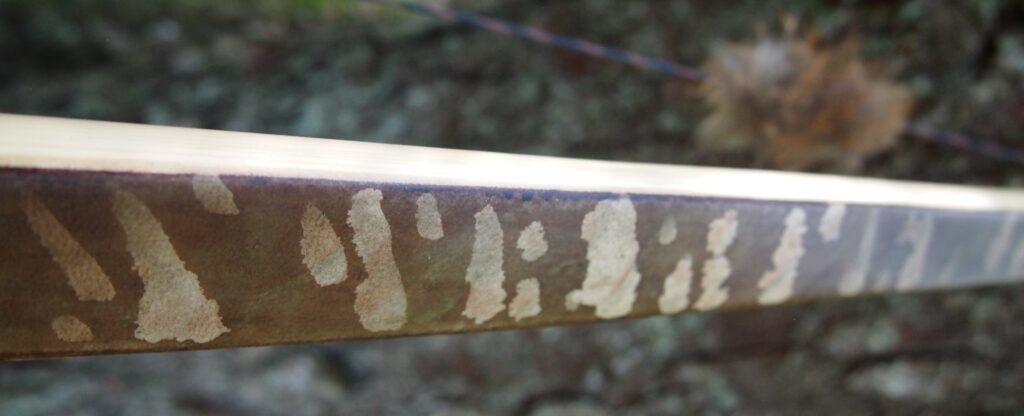
The deer hide I used to make the rawhide backing strips used in this build was lovely and clean, so I decorated it the same way I decorated the sinew backing on the bow I blogged about here.
I use my own produced deer raw hide alot to back my primitive bows, so now is perhaps a good time to discuss the process I follow to make my rawhides, and how I apply them. The process is fairly simple but does require certain steps to be taken in order to do the job properly. And if you follow this same process yourself you stand a high chance of producing a very durable and aesthetically pleasing bow.
All my rawhides are processed the exact same traditional way using only fresh wild deer hides. After fleshing my hides the traditional way using a fleshing knife and a wooden beam, I soak my hides in a lye solution which I make myself from hardwood ash mixed with rain water.
After ample time soaking in the very caustic lye solution, the deer hair on the hides starts to slip out from the follicles. With a fleshing knife and wooden beam I’m then able to push all the hair and follicle contents out of the hide. This produces a wonderful full grain rawhide free from all the weight carrying fat and protein which adds no strength to the hide, just unwanted mass.
Once the initial hair slip is performed, I then repeatedly work my hides over the wooden beam after repeated soaking in fresh water. This is to make sure that all the alkaline lye solution is removed from the hide so that it can return back to a neutral PH.
Once my hides are thoroughly cleaned of all flesh, fat, hair and lye, I dry my rinsed hides outside in the wind and sun on drying racks which allow my hides to stretch nice and flat. Flat hides are much easier to cut into strips once fully dried.
Once dry, I cut the whole raw hides up into 2″ wide strips running from neck end to the haunches. This usually gives me strips which are around 40″ + long which are ideal for bow backings as they can be spliced at the handle with plenty of excess to play with.
Nowadays I don’t mess about with hide glues for backing adhesives. In my opinion, hide glue is not ideal for bow building as it is very susceptible to temperature and humidity fluctuations and can actually fail completely under hot and humid conditions, never mind the kind of wet and warm conditions we frequently get here in the UK.
So my default glue for both sinew and rawhide backing is Titebond 3, which in my opinion is far superior to hide glue as it is both waterproof and creates a very tight and strong bond to wood, as long as the gluing surfaces have been properly prepared prior to gluing up.
So for this build, the back of the bow was both roughed up properly with the shinto rasp, and thoroughly degreased with acetone before the backing strips were added. And the backing strips themselves were taken to my linisher whilst still dry and flat, so that I could thoroughly sand the flesh side of the rawhide to make double sure all traces of membrane were gone, and the gluing surface was suitably roughed up and made porous for the purposes of enhancing glue absorption.
This sanding step could of course be done by hand with 60 grit sandpaper, but my linisher does the job in 5 minutes, were as by hand it’s a half hour job to do properly. Either way, it’s a really important step in the rawhide glue up process, as any traces of remaining tissue, membrane or fat on the rawhide will impair the ability of the Titebond 3 to penetrate into the rawhide when it is later glued up and applied to the back of the bow.
After the rawhide is properly sanded on the flesh side, the next step is to soak it in warm water mixed with dish soap for at least 12, but ideally 24 hours. This step further reduces the grease content of the rawhides gluing surface, whilst simultaneously helping the rawhide take up the water to its core making sure it is fully re-hydrated prior to the glue up. Don’t stretch or pull your strips out of shape though in an attempt to better facilitate the uptake of water though, as you may find that when you come to applying your glued up strips, the strips are now not wide enough to span the entire back of your bow.
After the rawhide has been removed from the water and towel dried, a generous application of glue is spread out evenly over the flesh side of the strips. Properly rehydrates, but not dripping wet rawhide, will be able to soak up the glue as deep into the rawhide as possible. This will create a good strong bond between the wood and the hide.
Regardless of whether I’m sinew backing a bow or using a rawhide backing, I always apply two sizing coats of TB3 to the backs of my bows once the wood has been roughed up and degreased. The first sizing coat is watered down a little to help it sink in to the wood as deep as possible. Then, just before the first coat is properly dry, the second coat of TBIII is added at full strength.
This sizing step is also very important. If this step is missed then the dry wood can simply suck up all the glue, leaving nothing significant behind to bond with the rawhide. The result could be a weak spot under the backing or even a delamination at some point in the future.
Once the back of the bow has been sized properly, and the soaked, fully re-hydrated rawhide is patted dry with a towel, I then add a liberal coating of TB3 to the flesh side of the rawhide only, and then immediately place the glued up rawhide strip, glue side down on the limb I’ve chosen to back first. Don’t let the glue dry, not even partially on the rawhide before placing it on the back of the bow ready to be secured into position.
After sizing, there is no need to add more glue to the back of the bow before adding the rawhide. Adding glue to both surfaces at this stage can end up creating a mess at best, or a glue pocket forming under the rawhide from all the excess glue. This can look unsightly once the glue and rawhide is dry, and it can also create a void under the rawhide which will not have as strong a bond between the wood and rawhide as can be achieved with one good layer of glue adequately compressed between the gluing surfaces by the next step.
Once the rawhide strip is positioned on to the bows back, it is important to press out all the air bubbles and make sure everything is properly aligned. Then I lightly wrap the rawhide with ace bandages taking care not to apply so much pressure that lines from the bandages are left in the rawhide.
after about half an hour or so I then take the bandages off and inspect the backings for bubbles or misalignment. If it all looks good I then let the rawhide dry out completely without bandages on. I find that this produces a better cleaner finish devoid of unsightly diagonal lines which can easily be created by leaving the bandages on during the whole drying period.
And thats about all there is to rawhide backing. I clean the edges up once fully dried with my shinto rasp and the scraper/sandpaper to leave a slick clean edge. And since rawhide is porous it can be decorated in a multitude of differet ways.
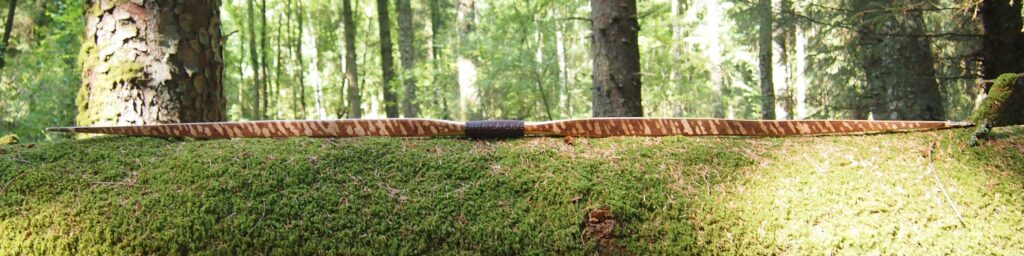
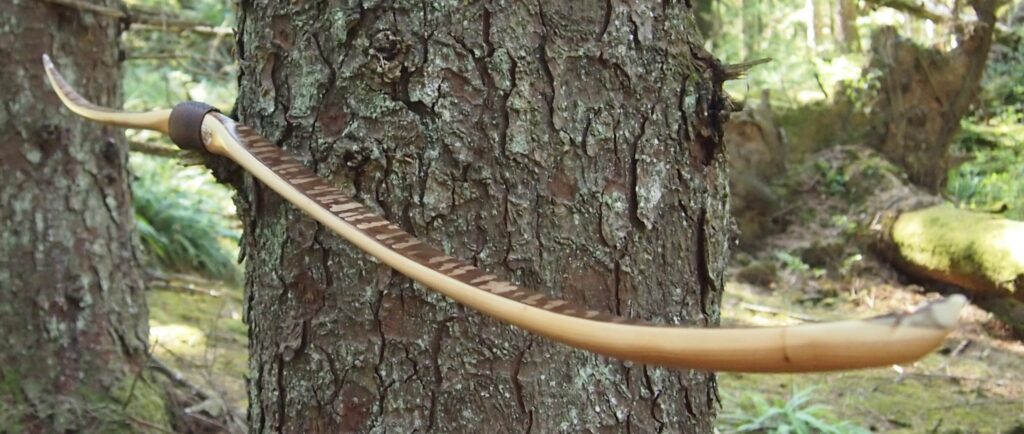
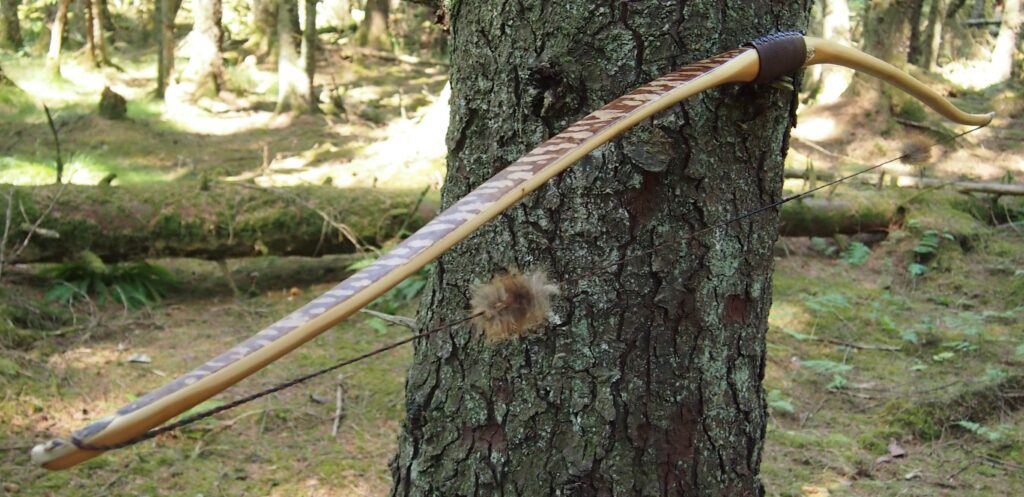
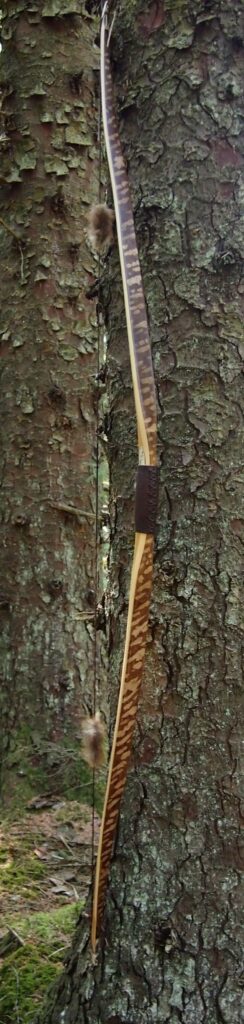
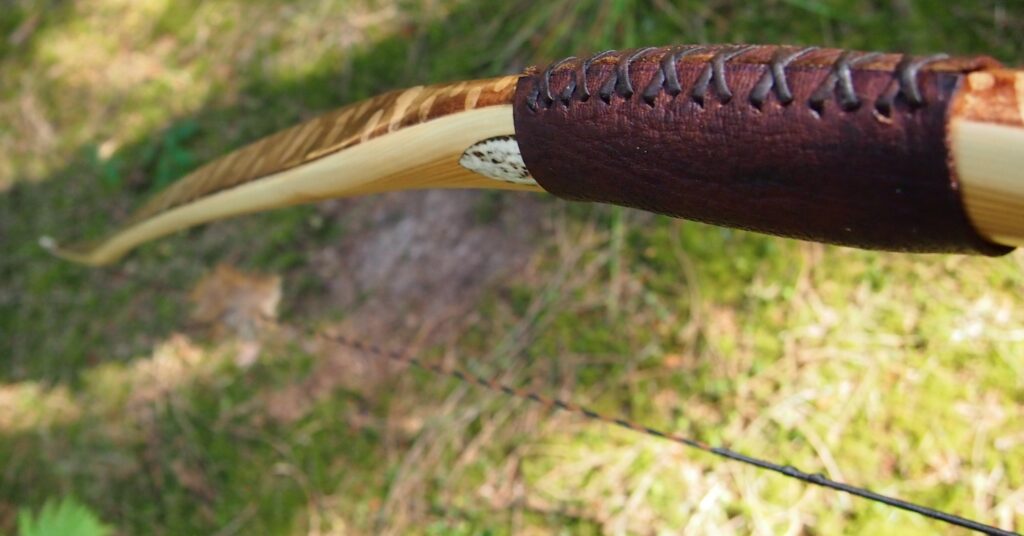
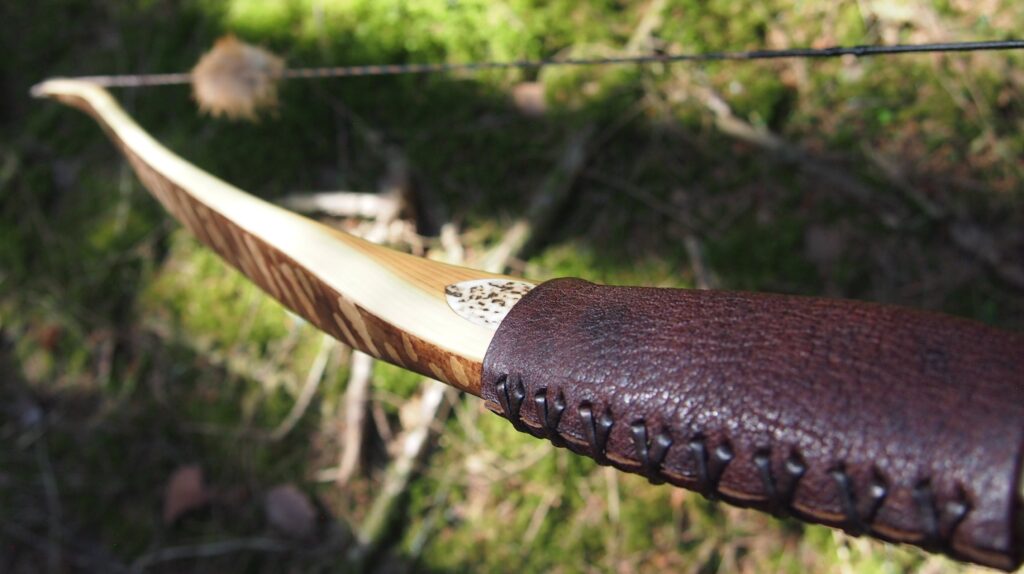
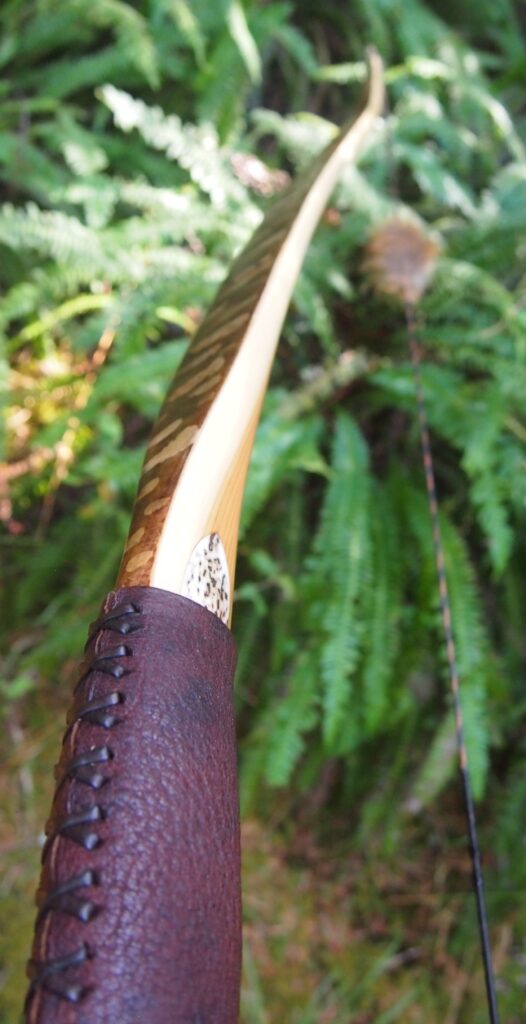
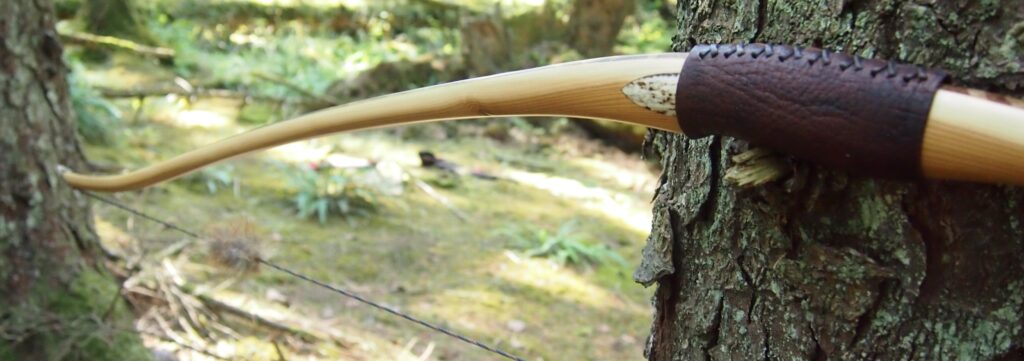
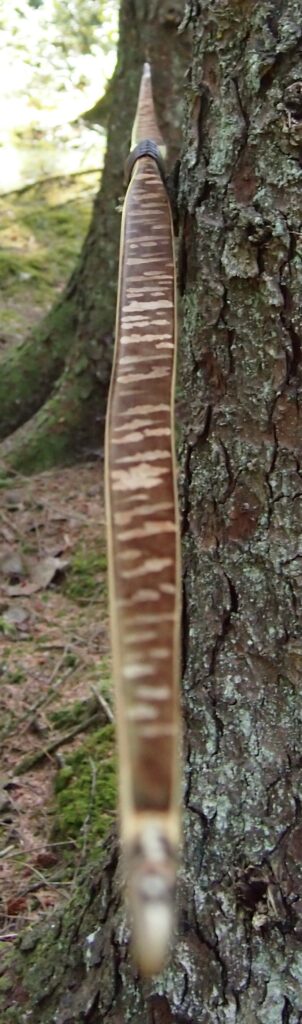
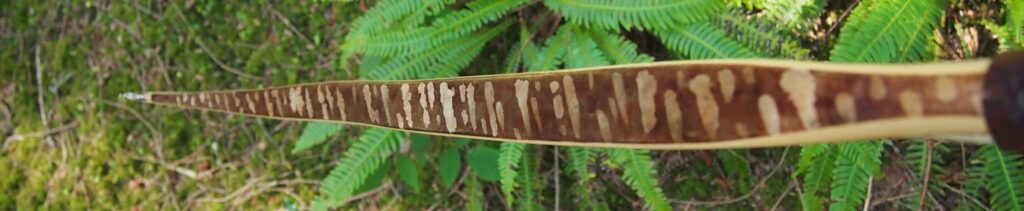
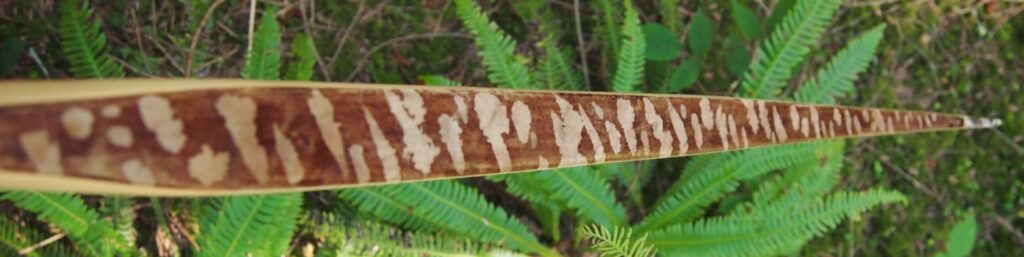
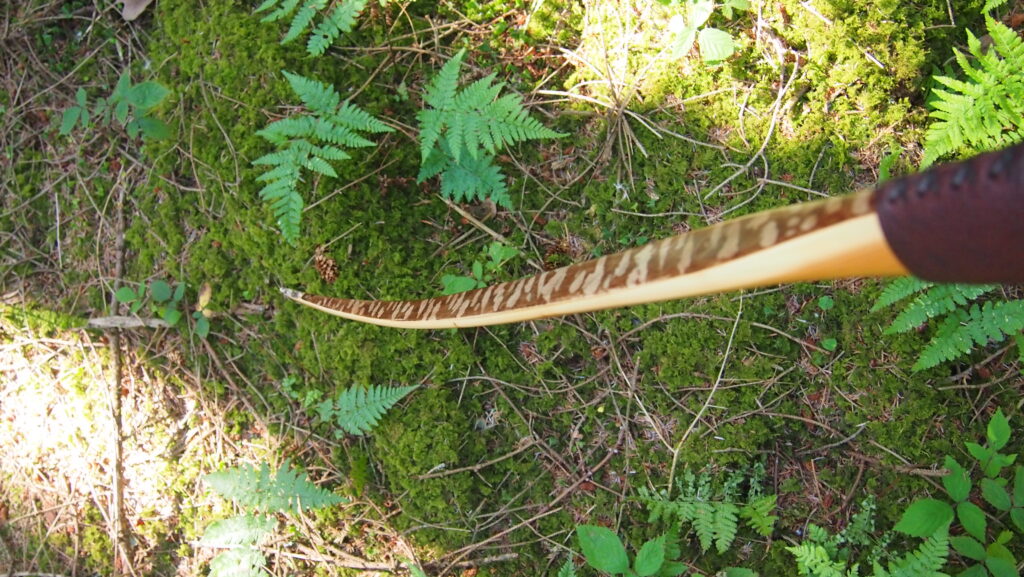
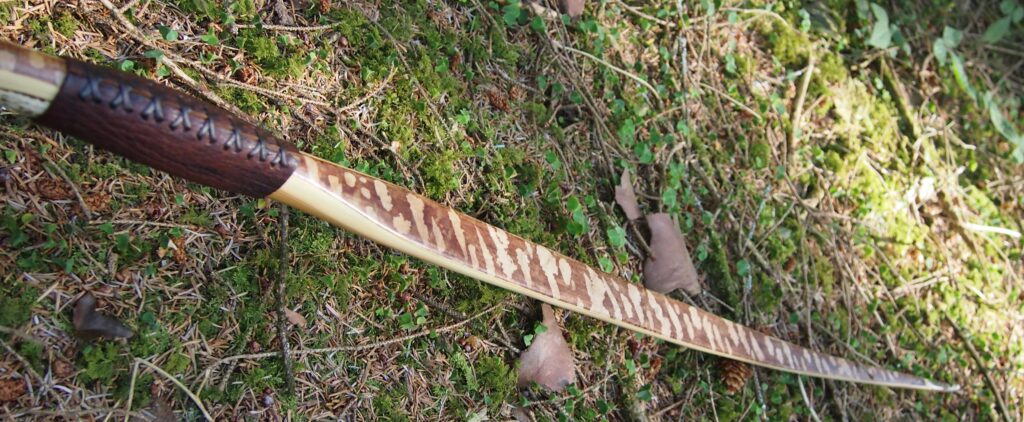
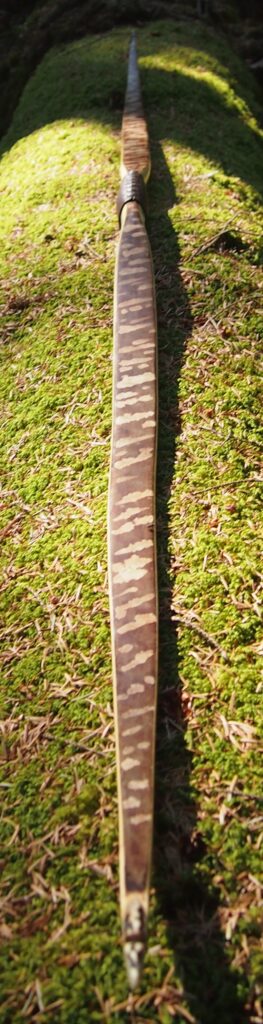
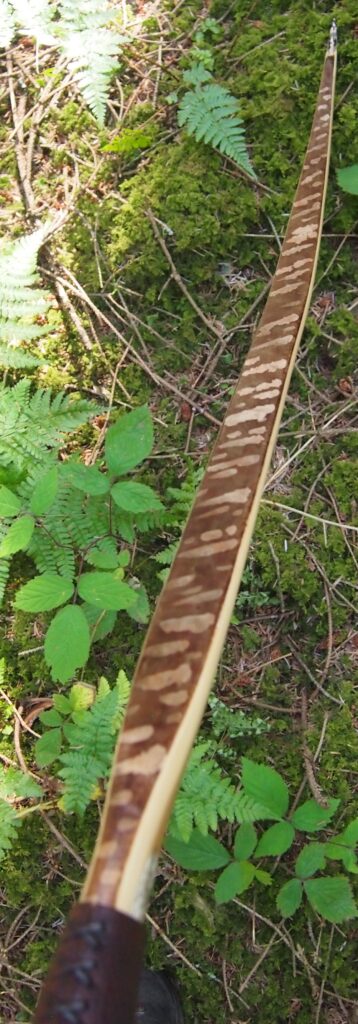
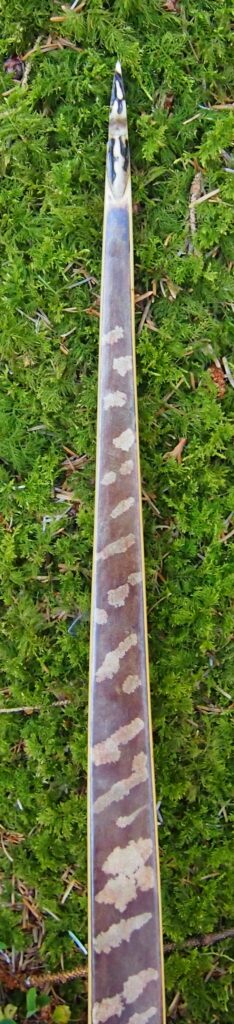
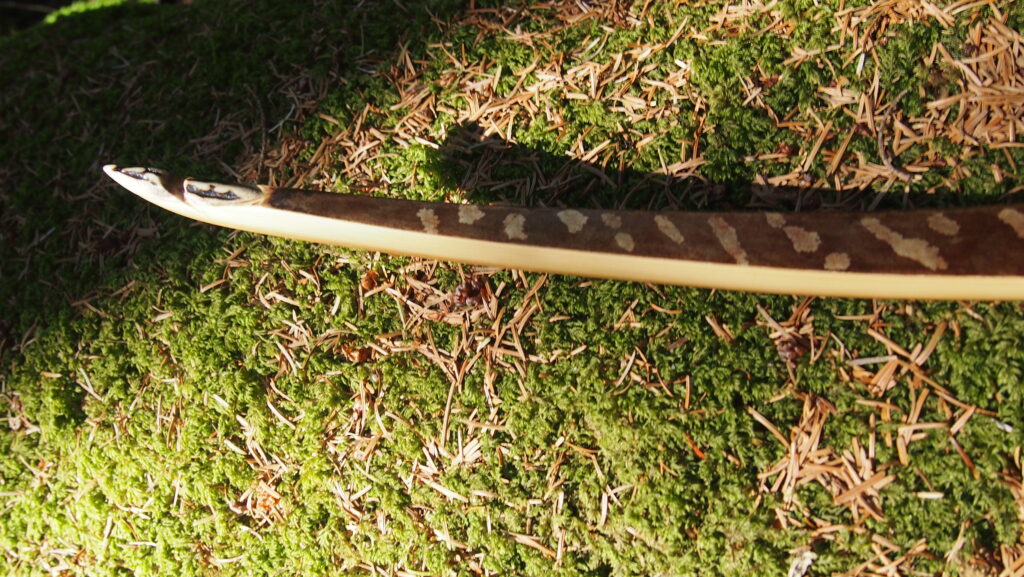
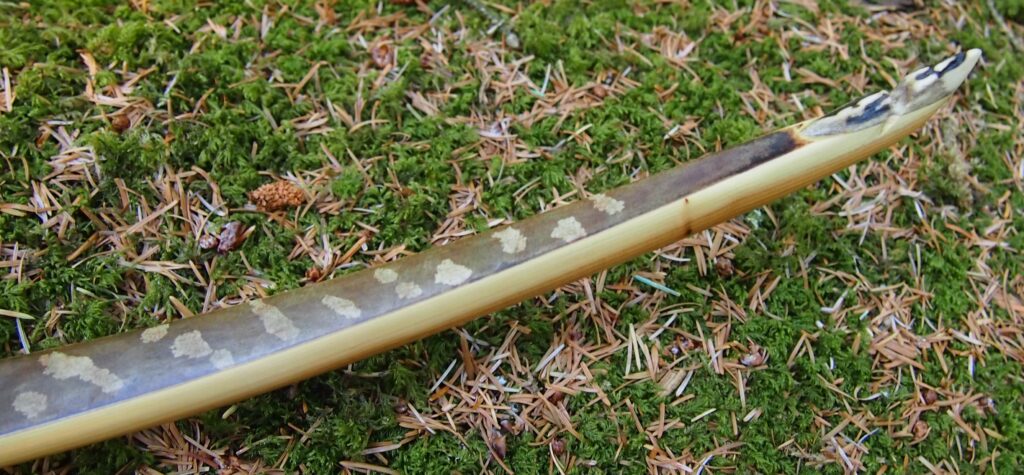
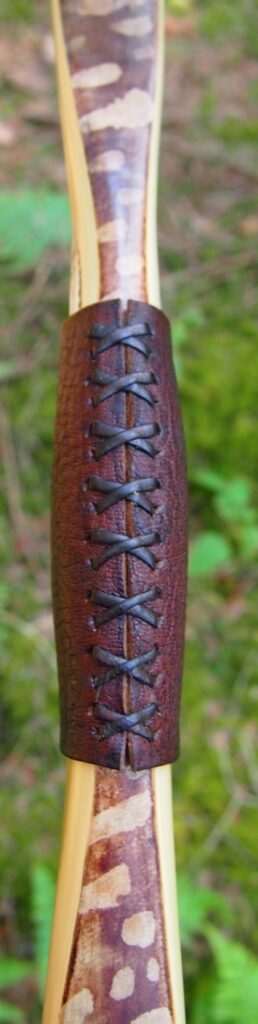
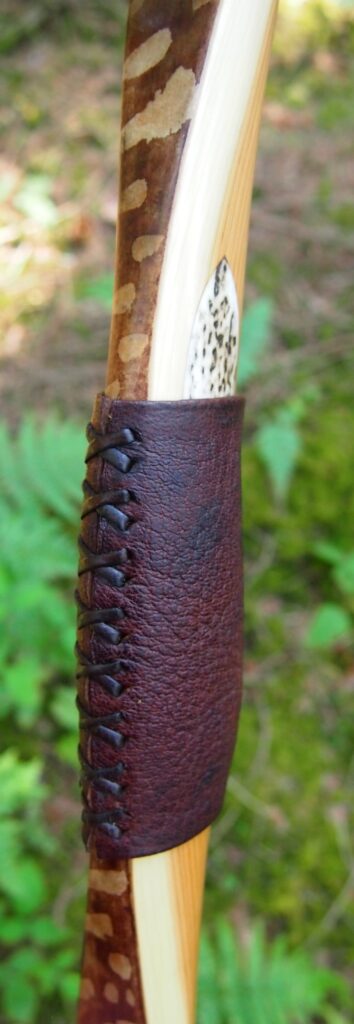
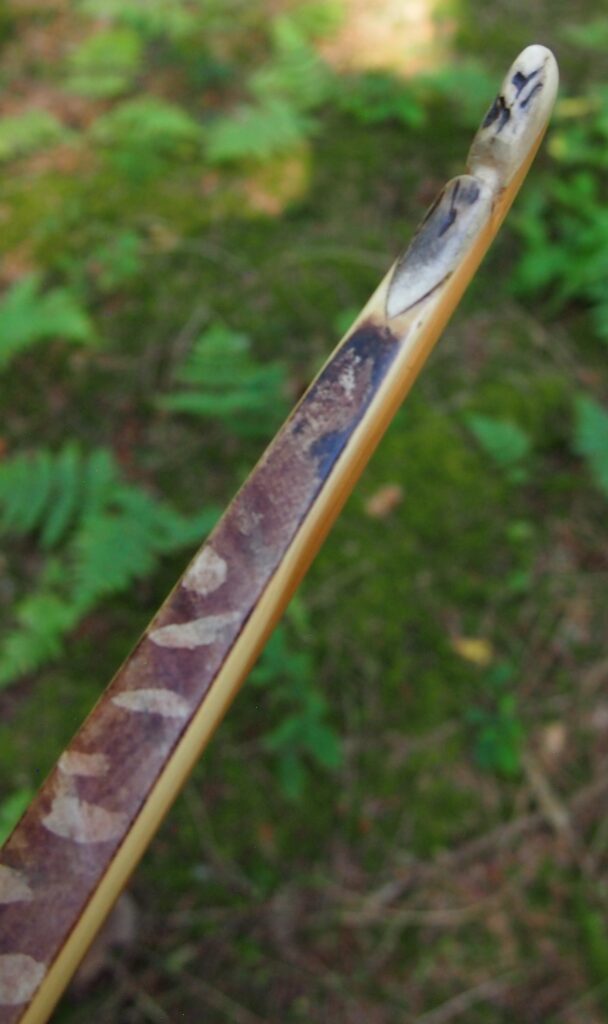
This bow was decorated with a tanning solution I made from sitka spruce bark boiled in water, reduced down to make a dark concentrated dye solution. The lighter patches were protected from the dye application by shelac which allows the natural colour and tones of the rawhide to come through creating the camo effect.
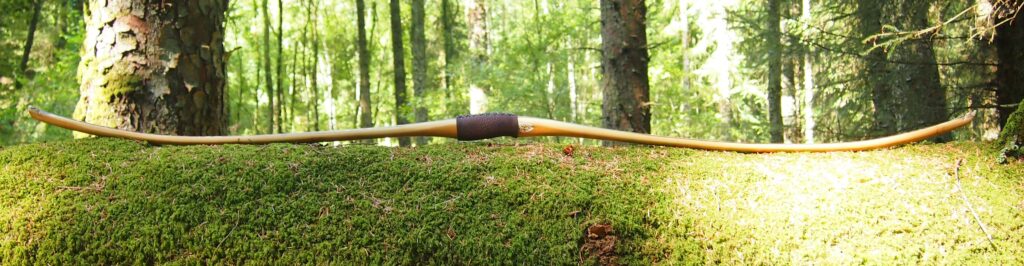
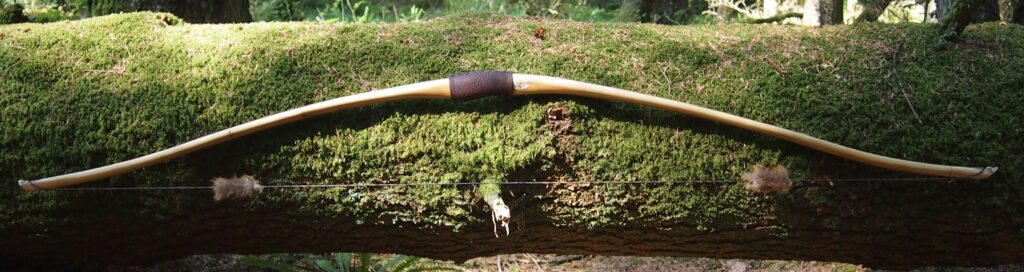
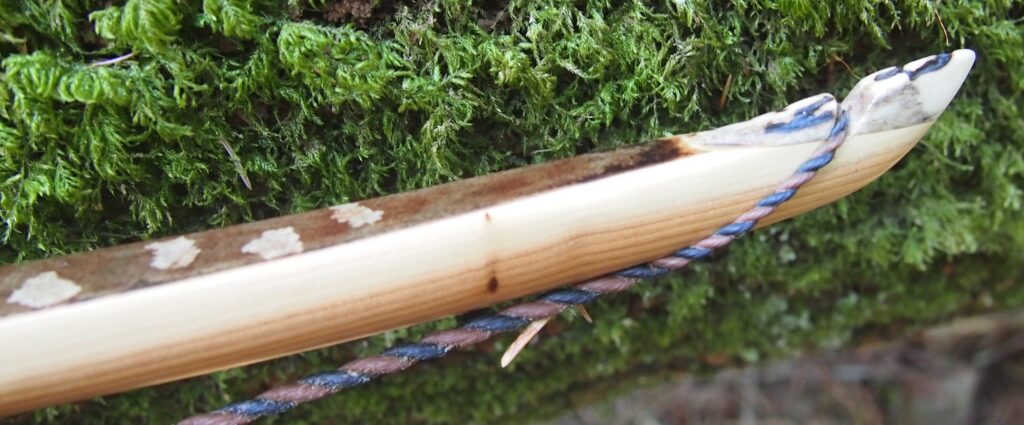
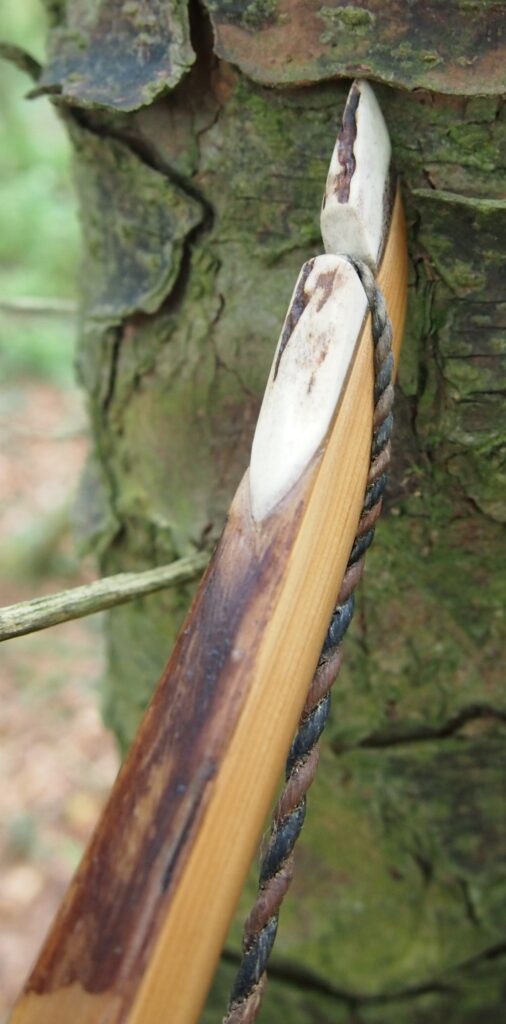
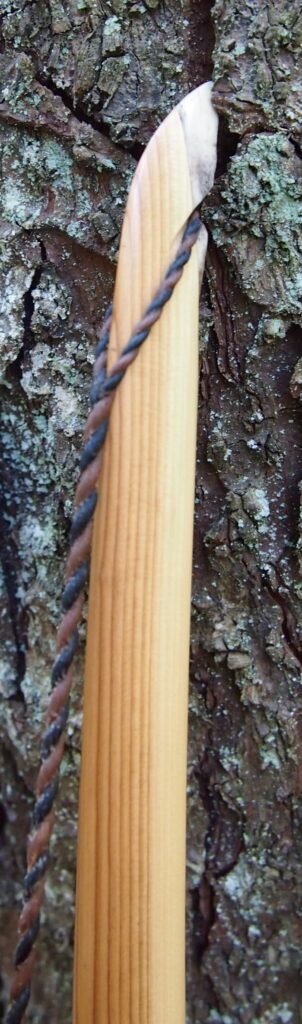
Tip overlays and arrow pass inlays are all wild English Red Deer antler. The handle is covered and laced with a really nice piece of my home bark tanned red deer leather. The string is a custom built B55 flemish twist, fitted with two wild fox silencers.
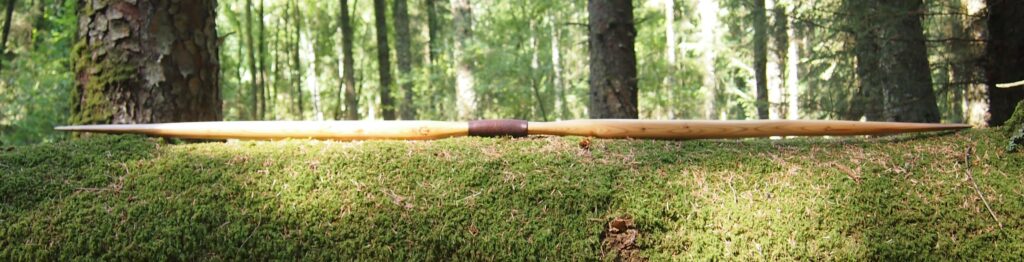
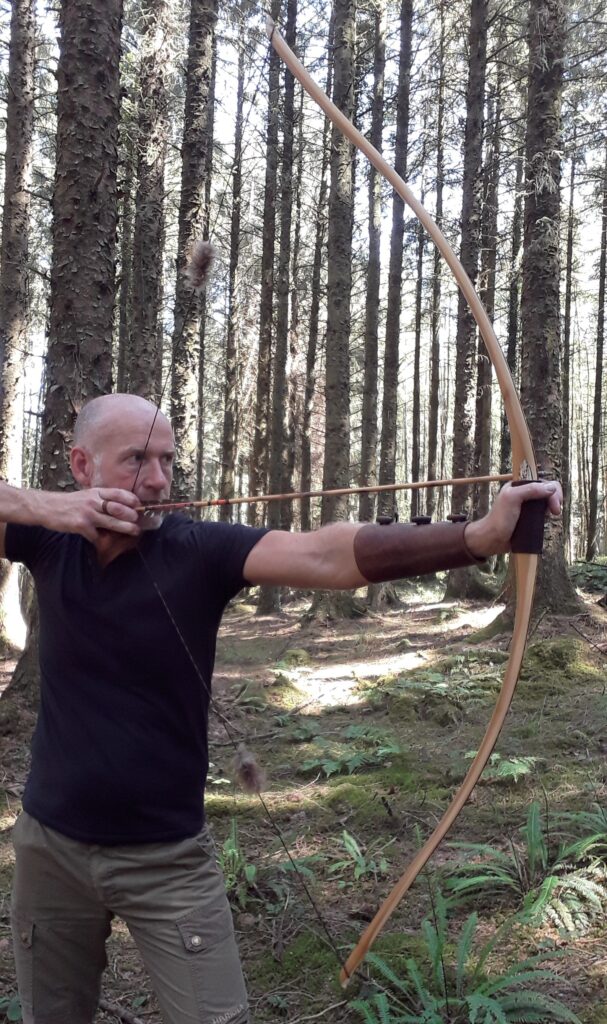
This bow is an absolute dream to shoot. She is fast and whisper quiet with no noticeable kick due to the low mass in both the limbs and especially the tips. Over the chrono she was consistently sending my 450gn carbons at 148ft/sec which is a great speed for a 45lb primitive longbow.
Here are her stats:
Stats are as follows:
Draw Weight: 45lbs at 28”
Mass: 595 grams
Length NTN: 66.5” (asymmetrical limb layout)
Width: 1 7/16” at widest part
Tips: last 6” semi static reflexed, 3/8” wide
Back: Crowned with undulations. : Pyramidal face profile
Belly Profile: Working limb sections rounded D shaped, transitioning at the tips to a ridged cross section.
Tiller: Eliptical. 3/16” positive
Brace height: 5″
This bow is now available for sale and can be purchased in our Etsy Shop Here
Hope you found this blog interesting. Here are a bunch of photos and a video of me shooting her.


Thanks for looking!