Category Archives: Arrow Pass

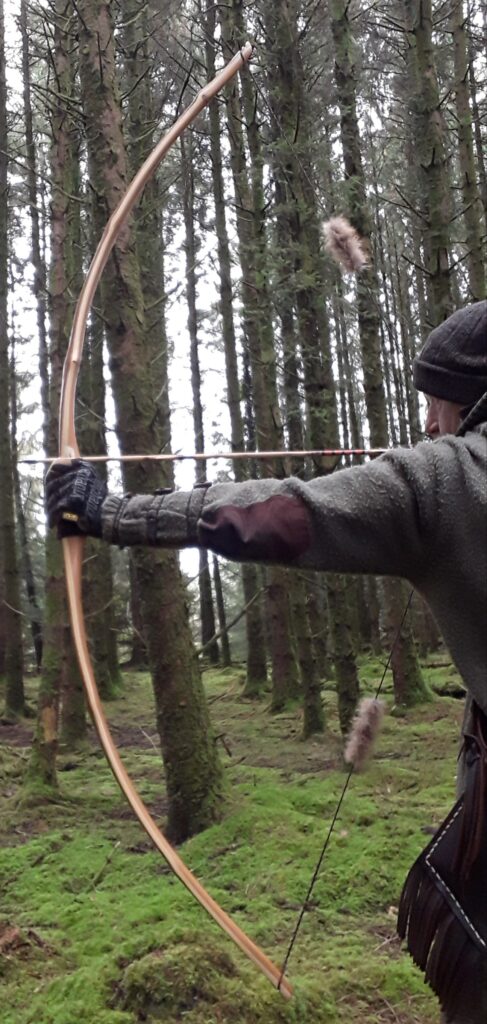
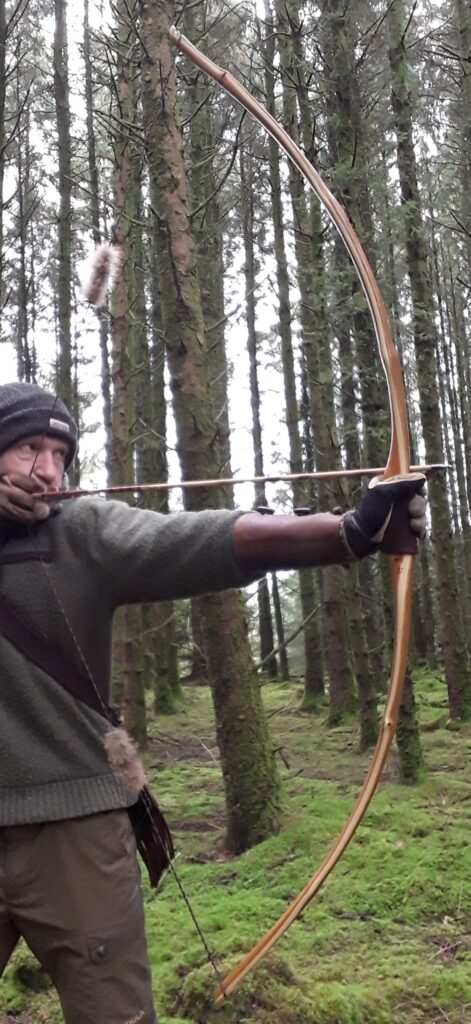
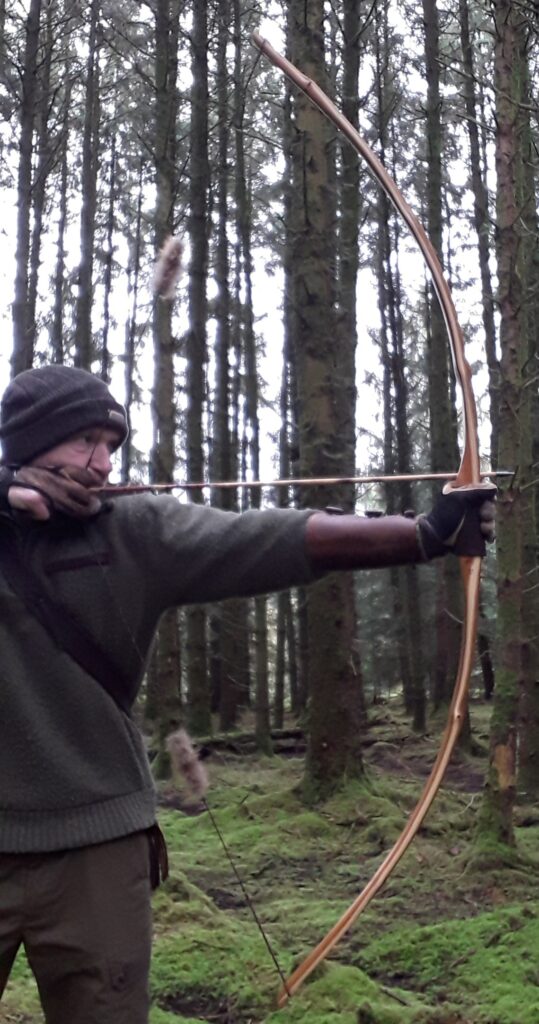
Sinew Backed Yew Primitive 46# @ 27″ (bow no: 19)

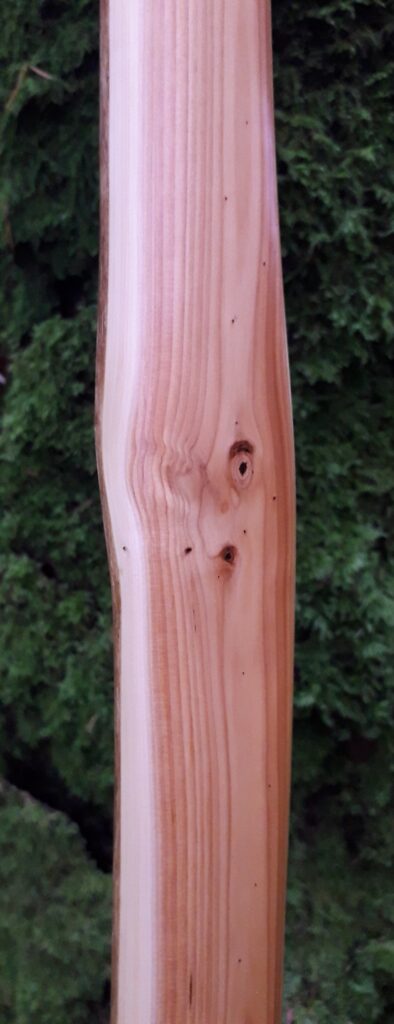
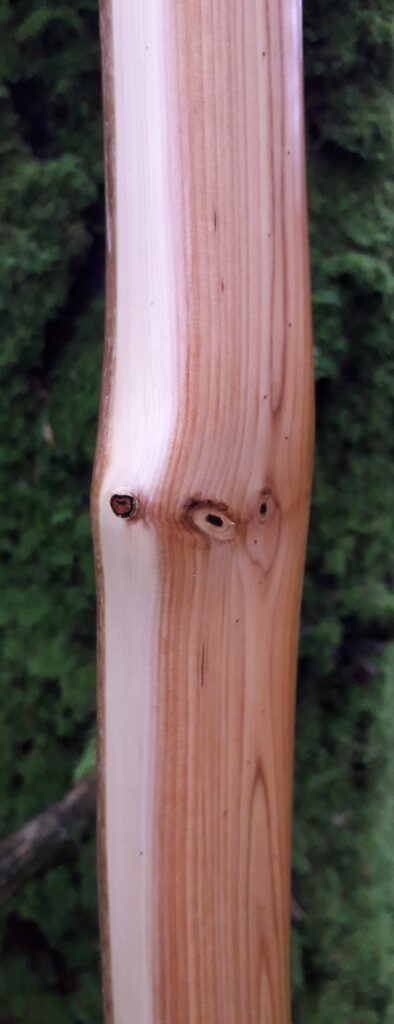
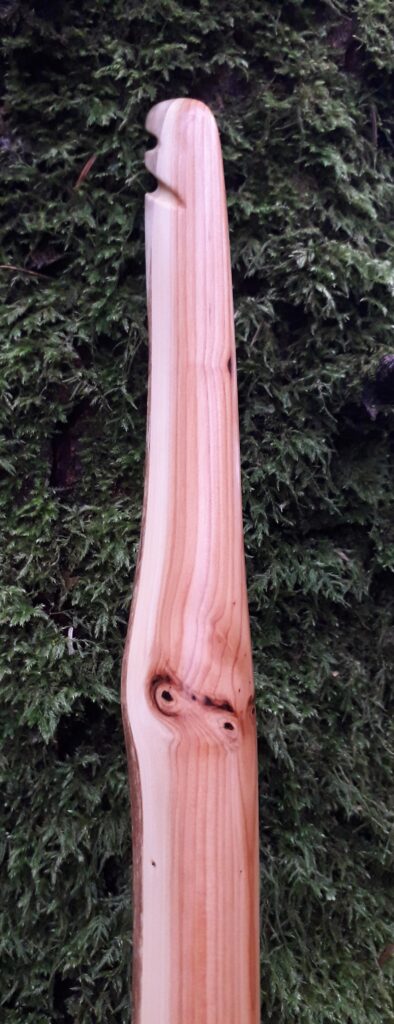
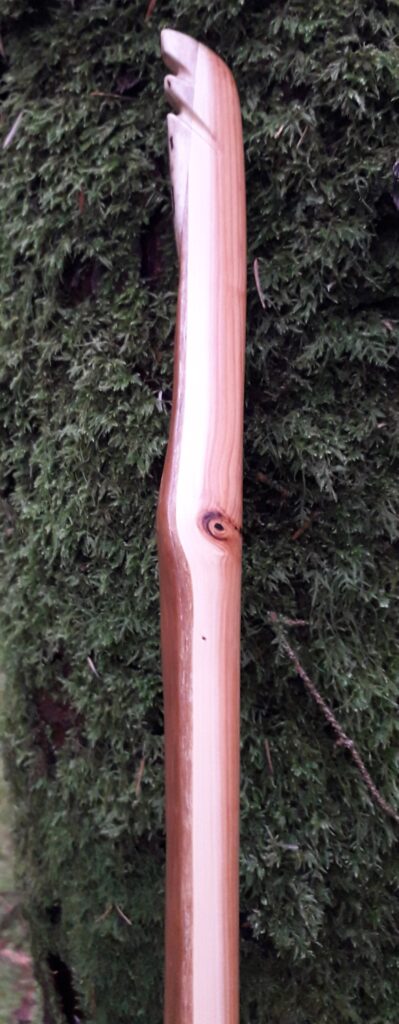
Since gaining a bit of a reputation locally for being the guy who makes “Character bows”, I’ve been “gifted” rather a lot of “character staves”! And not wanting to appear ungrateful, I’ve become prone to accepting these staves, rather than politely declining the “generous” offer of yet more firewood!

Actually, once in a while, some of these typically low diameter branch staves don’t look too bad, (at least upon initial inspection) and the bow featured in this post was built from one such branch stave which was donated to me in 2022.

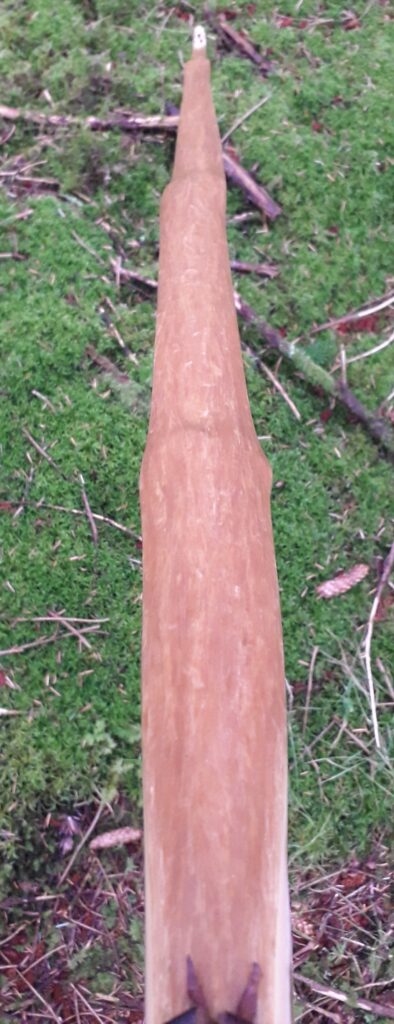
Despite the low diameter and general knottiness of this particular branch stave, there was one face which looked quite nice and could make for a sound back. So other than a couple of branch whirls to deal with on the belly side, I could easily envisage making a simple but effective primitive bow from this stave. So in the spring of 2024 I set to work on it.

Roughing out was straight forward enough and I was pleased to get past all the pith without running low on heart wood material. I decided to keep the face profile fairly narrow so as to minimise the amount of sapwood which was curling around the edges towards the belly due to the low diameter and high crown on the back.

The stave was fairly straight other than a tiny amount of deflex right in the middle where I’d lay out a stiff handle with fades. I decided to leave this deflex alone since I only had 62″ of overall length to work with, and really hoped to get 27″ of draw length out of this bow. I figured that lightly flicked tips could possibly work since the deflex in the handle would help cushion the extra strain that any reflex might place on the relatively short working sections of the limbs. Flicking the tips would help reduce any stack experienced which might result from the short length.

A stiff 4″ handle with 3″ fades, and 5″ stiff tips would reduce the overall working sections of both limbs down to around 20″, which isn’t a great deal to support the load that a 27″ draw would place on a bow as short as this one. So after roughing out and steaming the tips into a light reflex, I decided to sinew back this stave and leave her to cure out over the summer of 2024.

By early autumn the sinew backing appeared to be thoroughly cured and a little bit of overall reflex had been drawn into the stave as the sinew had shrunk down tight. This often happens when enough sinew is used, which is why I typically apply my sinew backings by weight to ensure enough (but not too much) sinew is applied.

I find that a total of 3 ounces of sinew (an ounce and a half of dry processed sinew per limb) is the perfect amount for a bow in the 58 – 64″ range. 3 oz is plenty enough sinew to add significant extra power and resistance to set, but not so much sinew that the added weight of the sinew starts to add power robbing mass to the limbs.

I find that more than 3oz of sinew on a bow this length crosses the point of diminishing returns, and the extra weight the additional sinew gives to the limbs can actually start to decrease arrow speed and create a fair bit of limb vibration too. This vibration post string release is typically felt as an uncomfortable form of hand shock. So when it comes to sinew backing a bow, more is not necessarily better!

So 3oz of dry sinew is about perfect, so long as the bulk of its distribution is along the working sections of the limbs, as opposed to the handle section or the last 6″ of the tips, which will not be improved one bit by the added weight of a full thickness layer of sinew. In fact the tips really only want as thin a layer of sinew as is possible. Just enough to cover the visible surface of the back. Enough to add structural integrity but not weight.

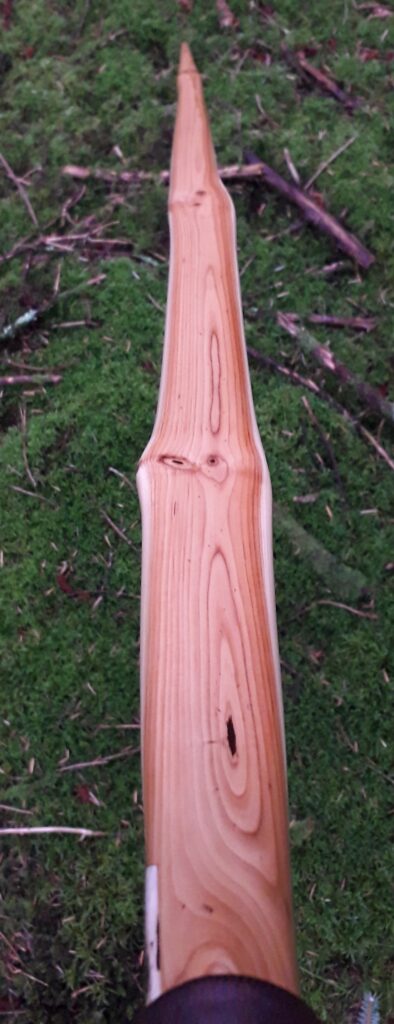
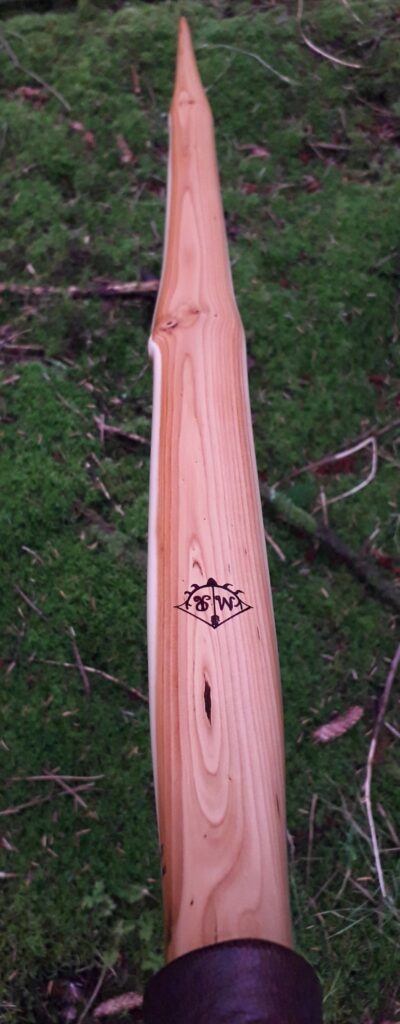
The stave was brought into shape and a rounded D shaped belly was chosen so as to get as much sap wood off the belly corners as possible. This allowed for the retention of as much heart wood as possible and resulted in an overall ratio of around 50/50 sapwood/heartwood. Which was pretty good for a low diameter branch stave.

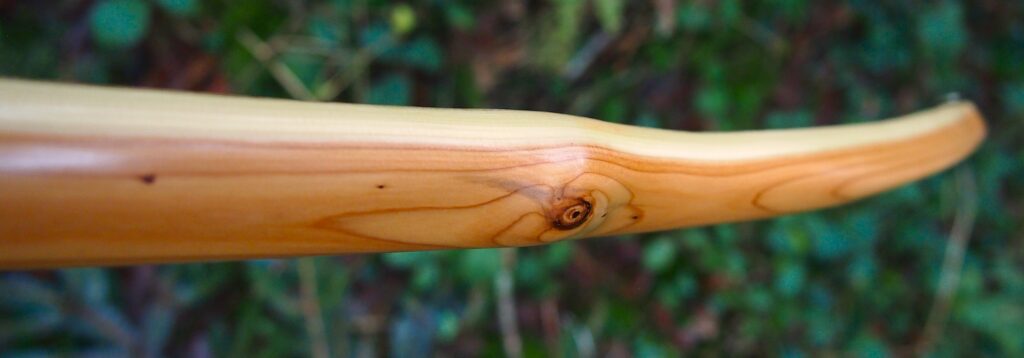
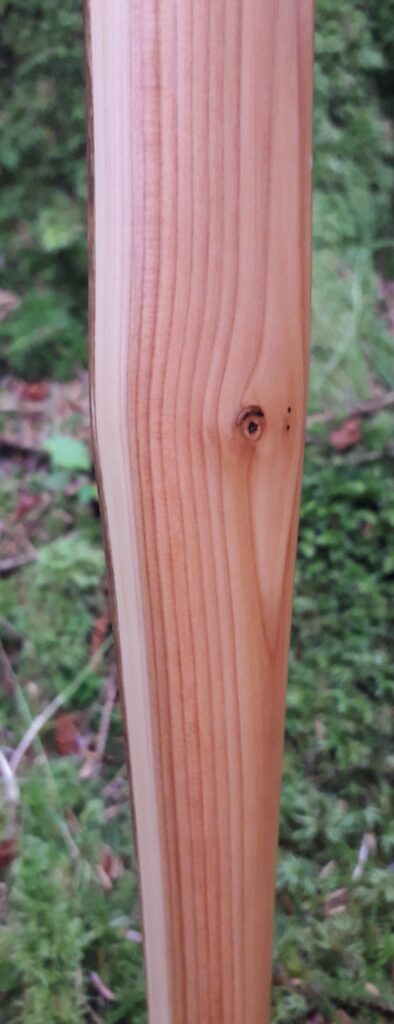
Three of the small knots presenting on the belly were a bit weak looking so I opted to dig them out and fill them with a mixture of epoxy and yew dust so as to add back some strength whilst retaining as best a natural look as possible.

Before putting the long string on for the first few pulls the stave held about 2″ of overall reflex, but I new that a fair bit of that overall reflex would disappear once the tillering got well underway. And as expected, by the time 26″ had been reached the overall reflex had reduced to about an inch. My expectation was for it to drop another inch by the time full draw was reached and the bow had been properly shot in, and my expectation was spot on.

So after a thorough shooting in period, the overall reflex/deflex reduce to about neutral, which was ideal for a bow which was going to end up only 60″ nock to nock. The light reflex in the tips had held it’s shape, even with their relatively low diameter, and the 1/4″ positive tiller had stayed true throughout the shooting in period.

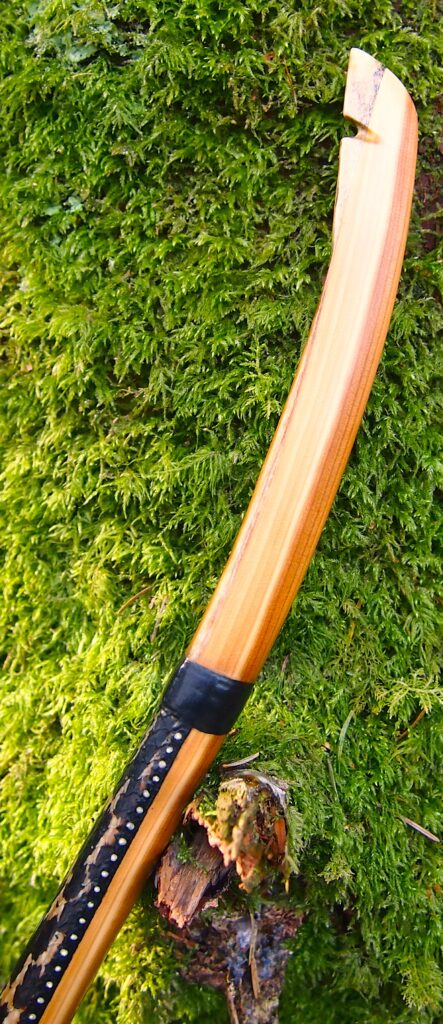
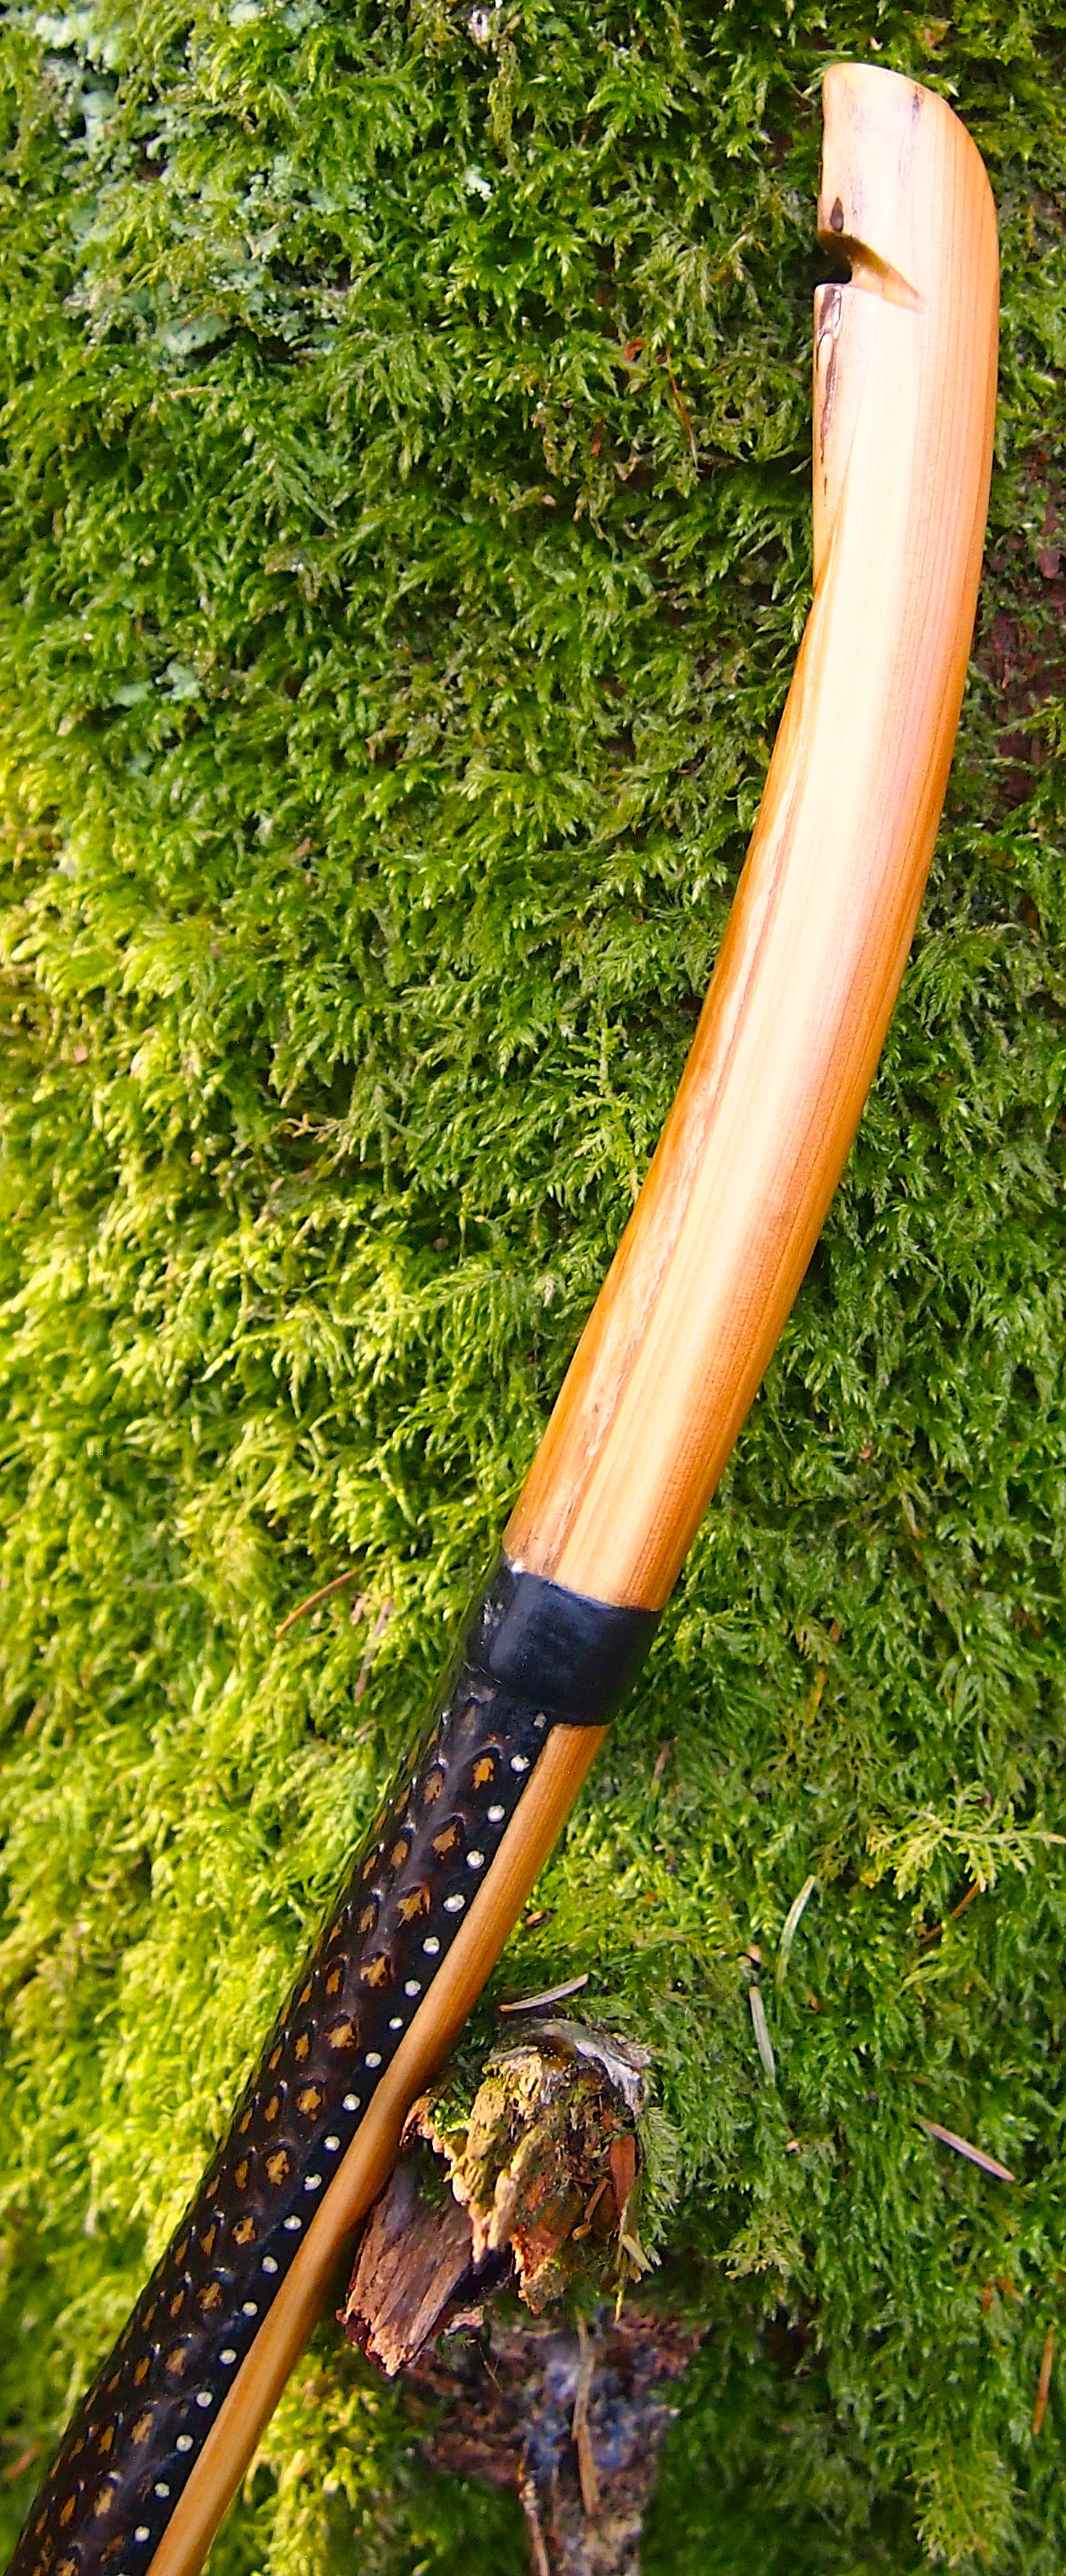
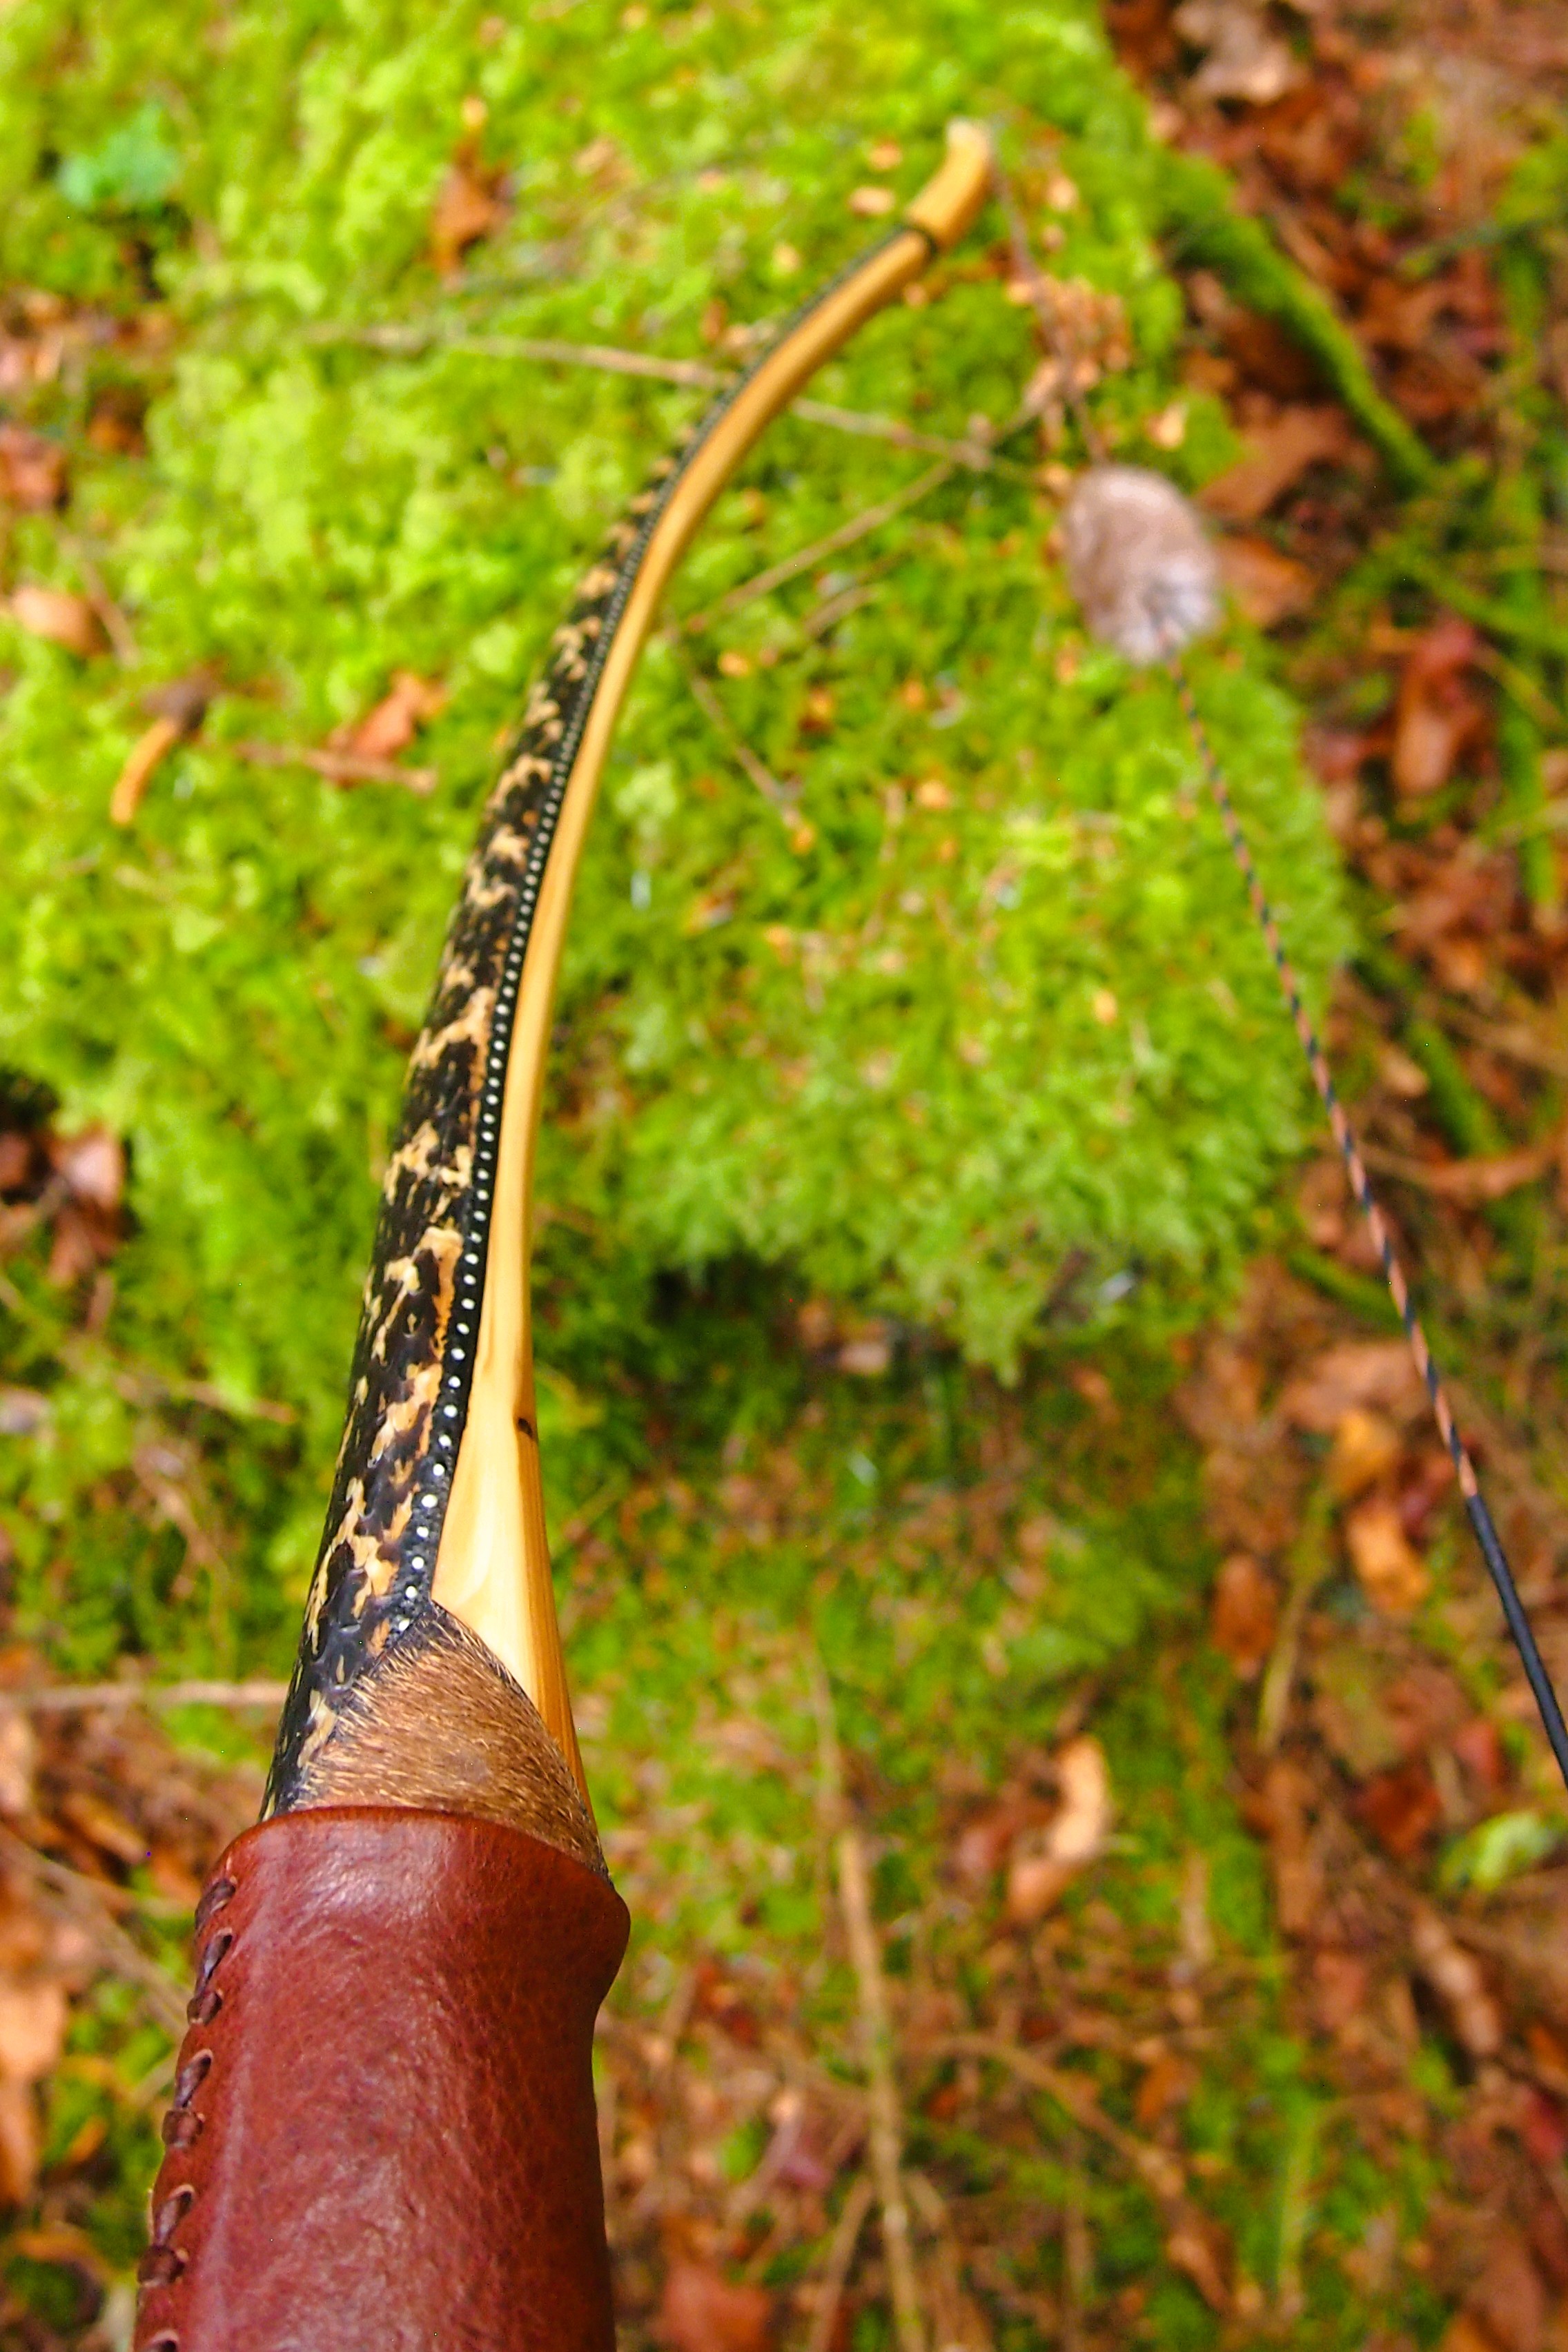
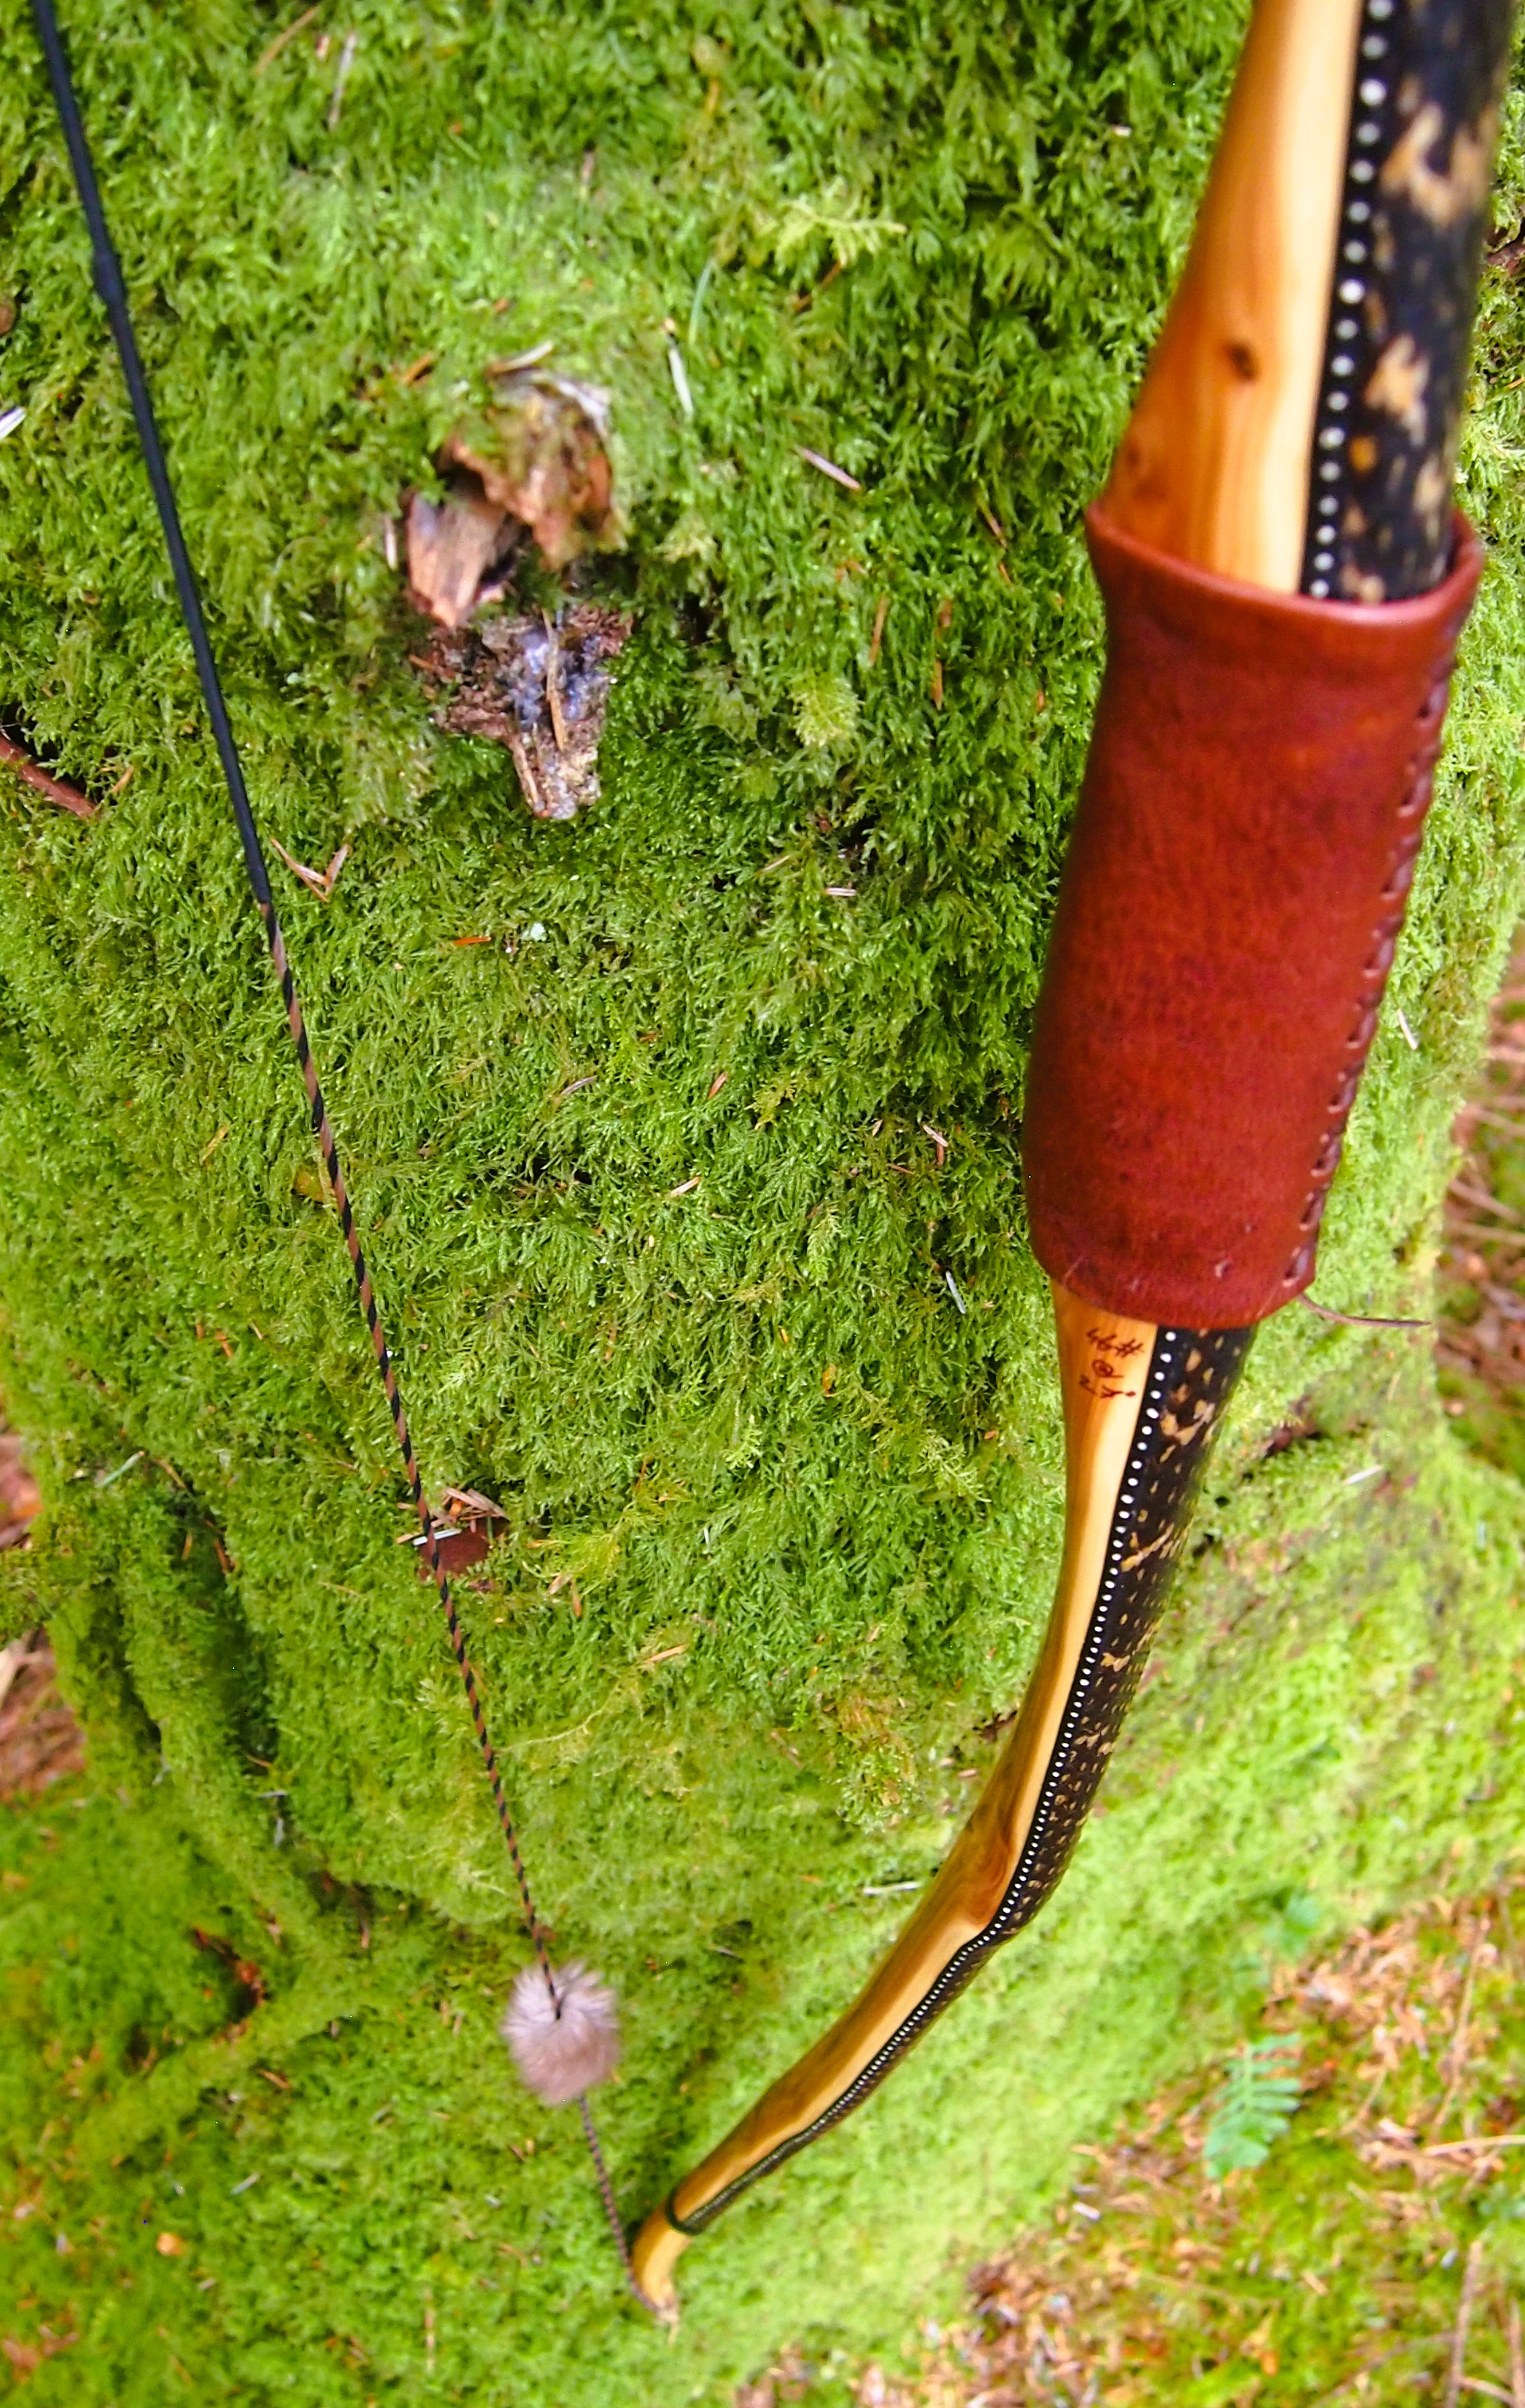
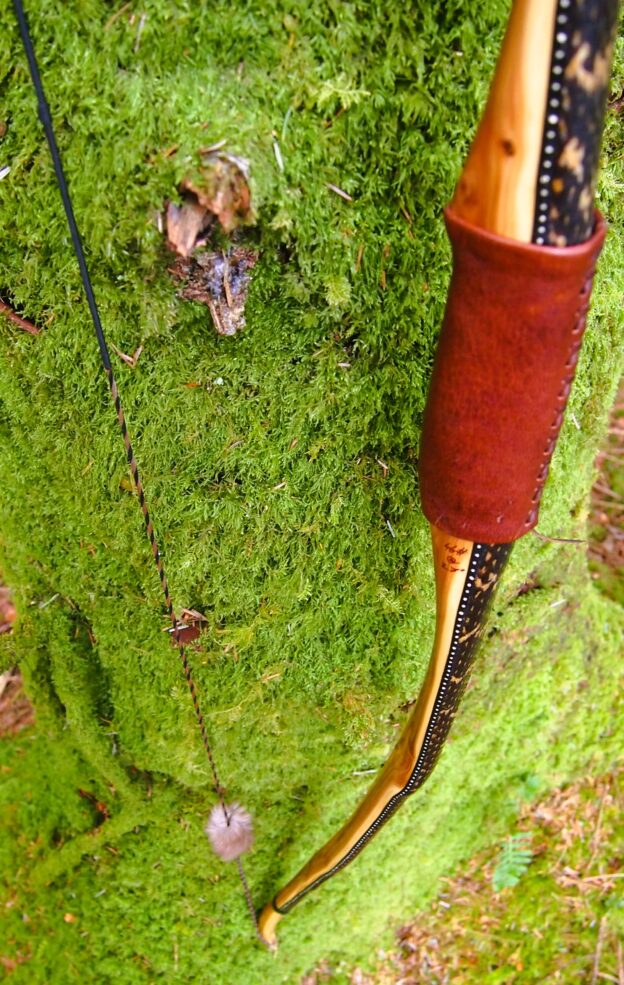
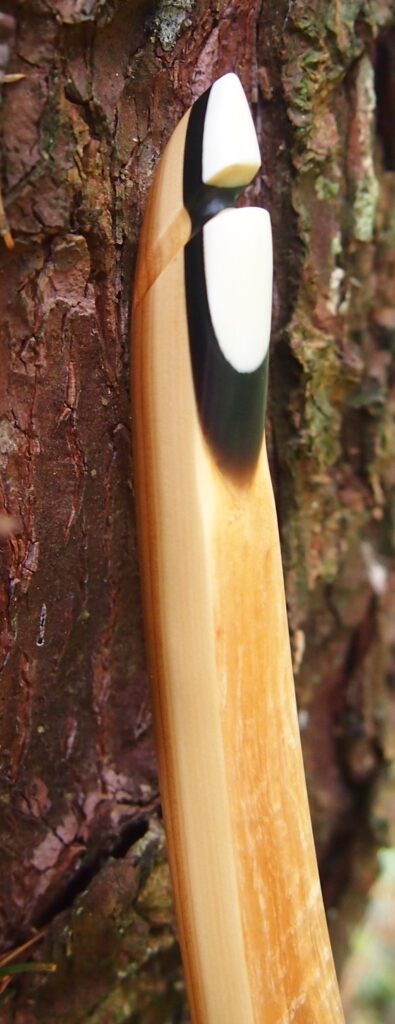
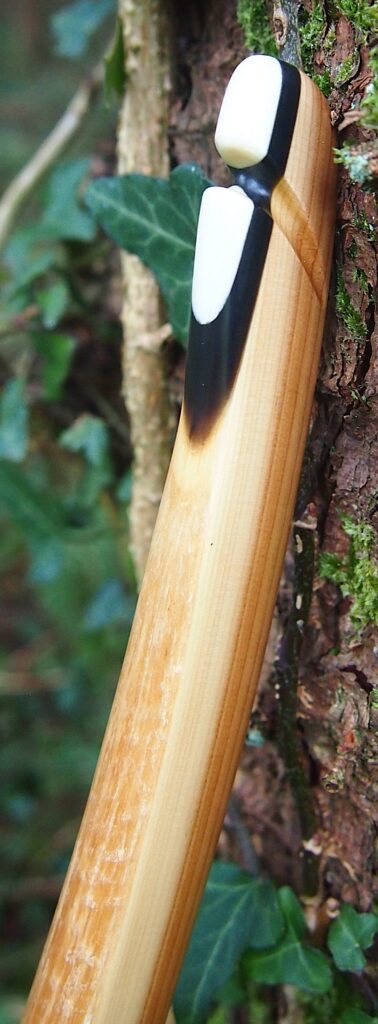
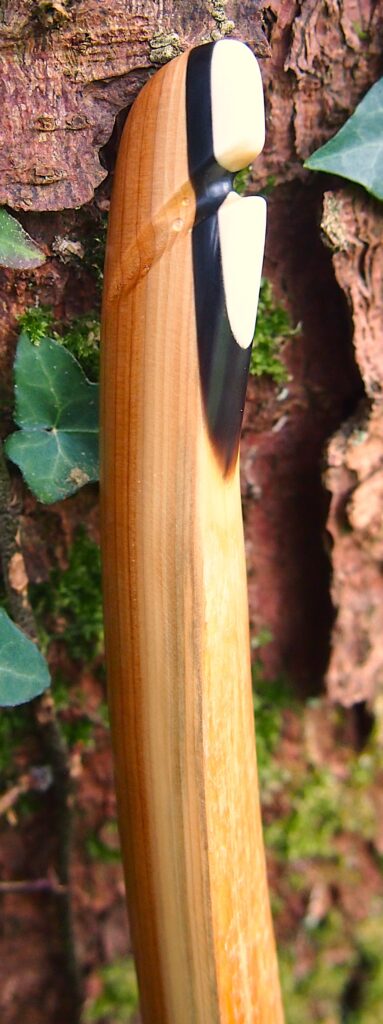
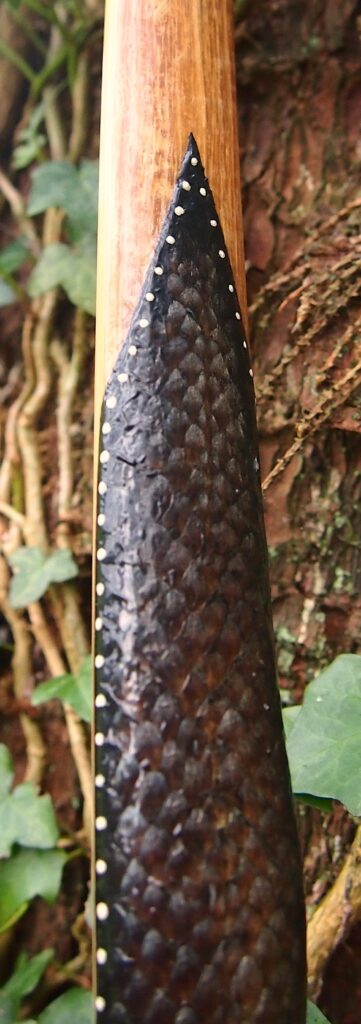
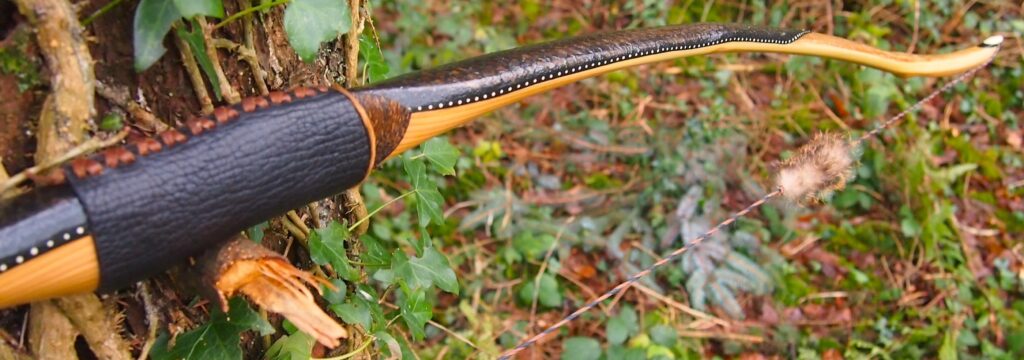
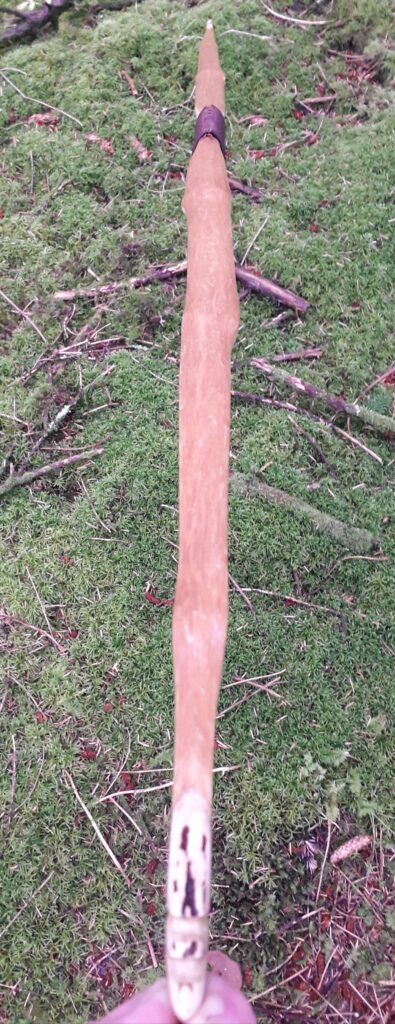
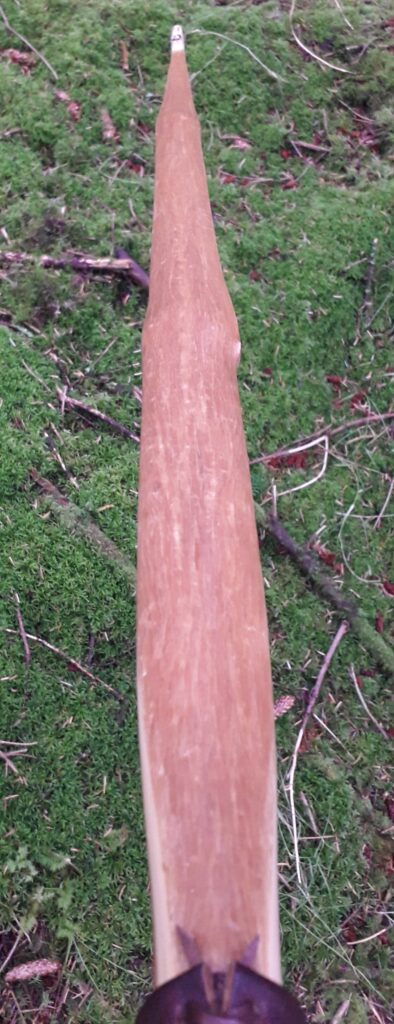
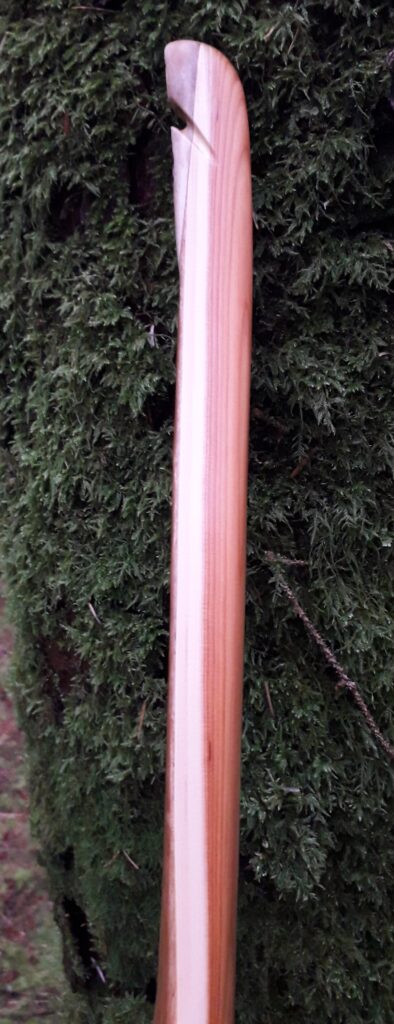
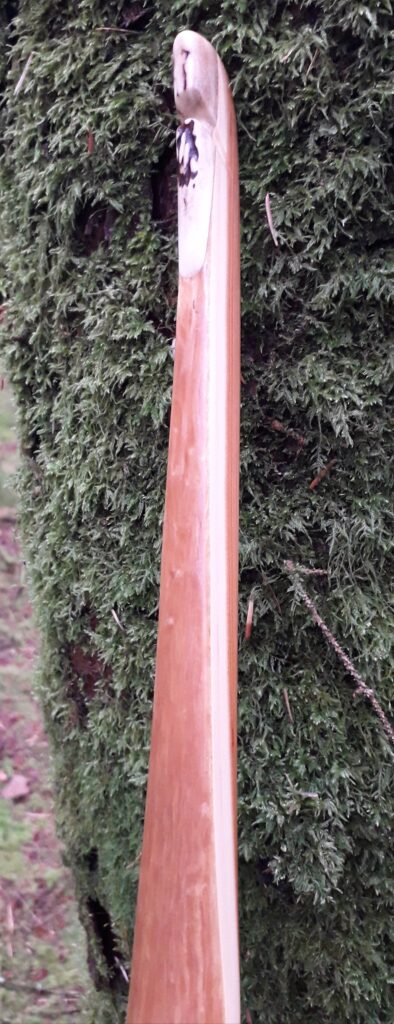
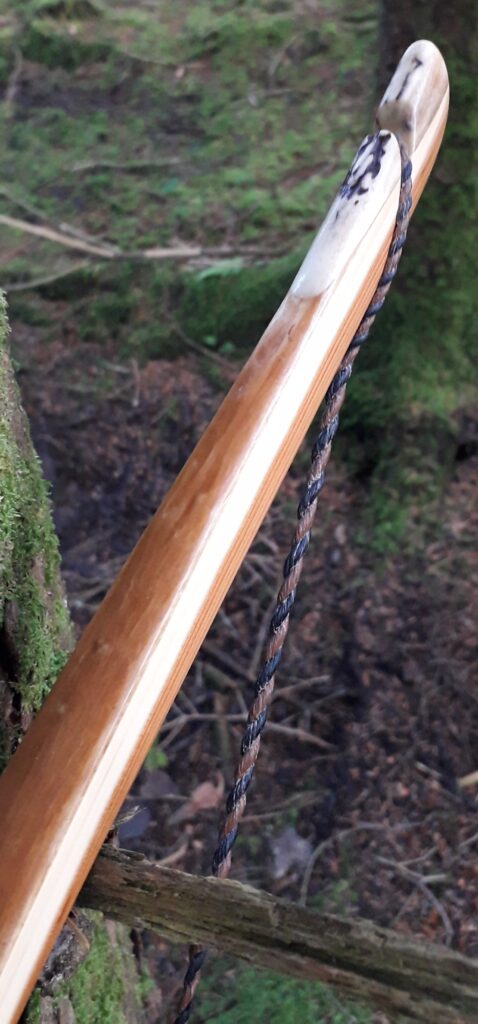
46# at 27″ was about right for a stave of this nature and she was pleasant to shoot too. So to finish her up I fitted her up with a pair of red deer antler tip overlays. To decorate the back I fitted a nice King Rat snake skin which I had squirreled away. As well as looking quite cool, I also like that snake skins are pretty water resistant and afford a sinew backing quite a bit of extra protection from water/humidity ingress, which is always a bonus in a humid country like ours!

This snake skin wasn’t long enough to run tip to tip so I left the tips bare to show off the sinew backing. The transition from the snake skin to the sinew at the tips was wrapped with deer back strap sinew to tidy up the termination of the snake skin. The snake skin and the sinew wrappings were then edged with a black paint made from my local black earth pigment (Bideblack) mixed with hide glue. And the cream coloured dots added to the black painted boarder were made from mixing hide glue with deer bone dust.

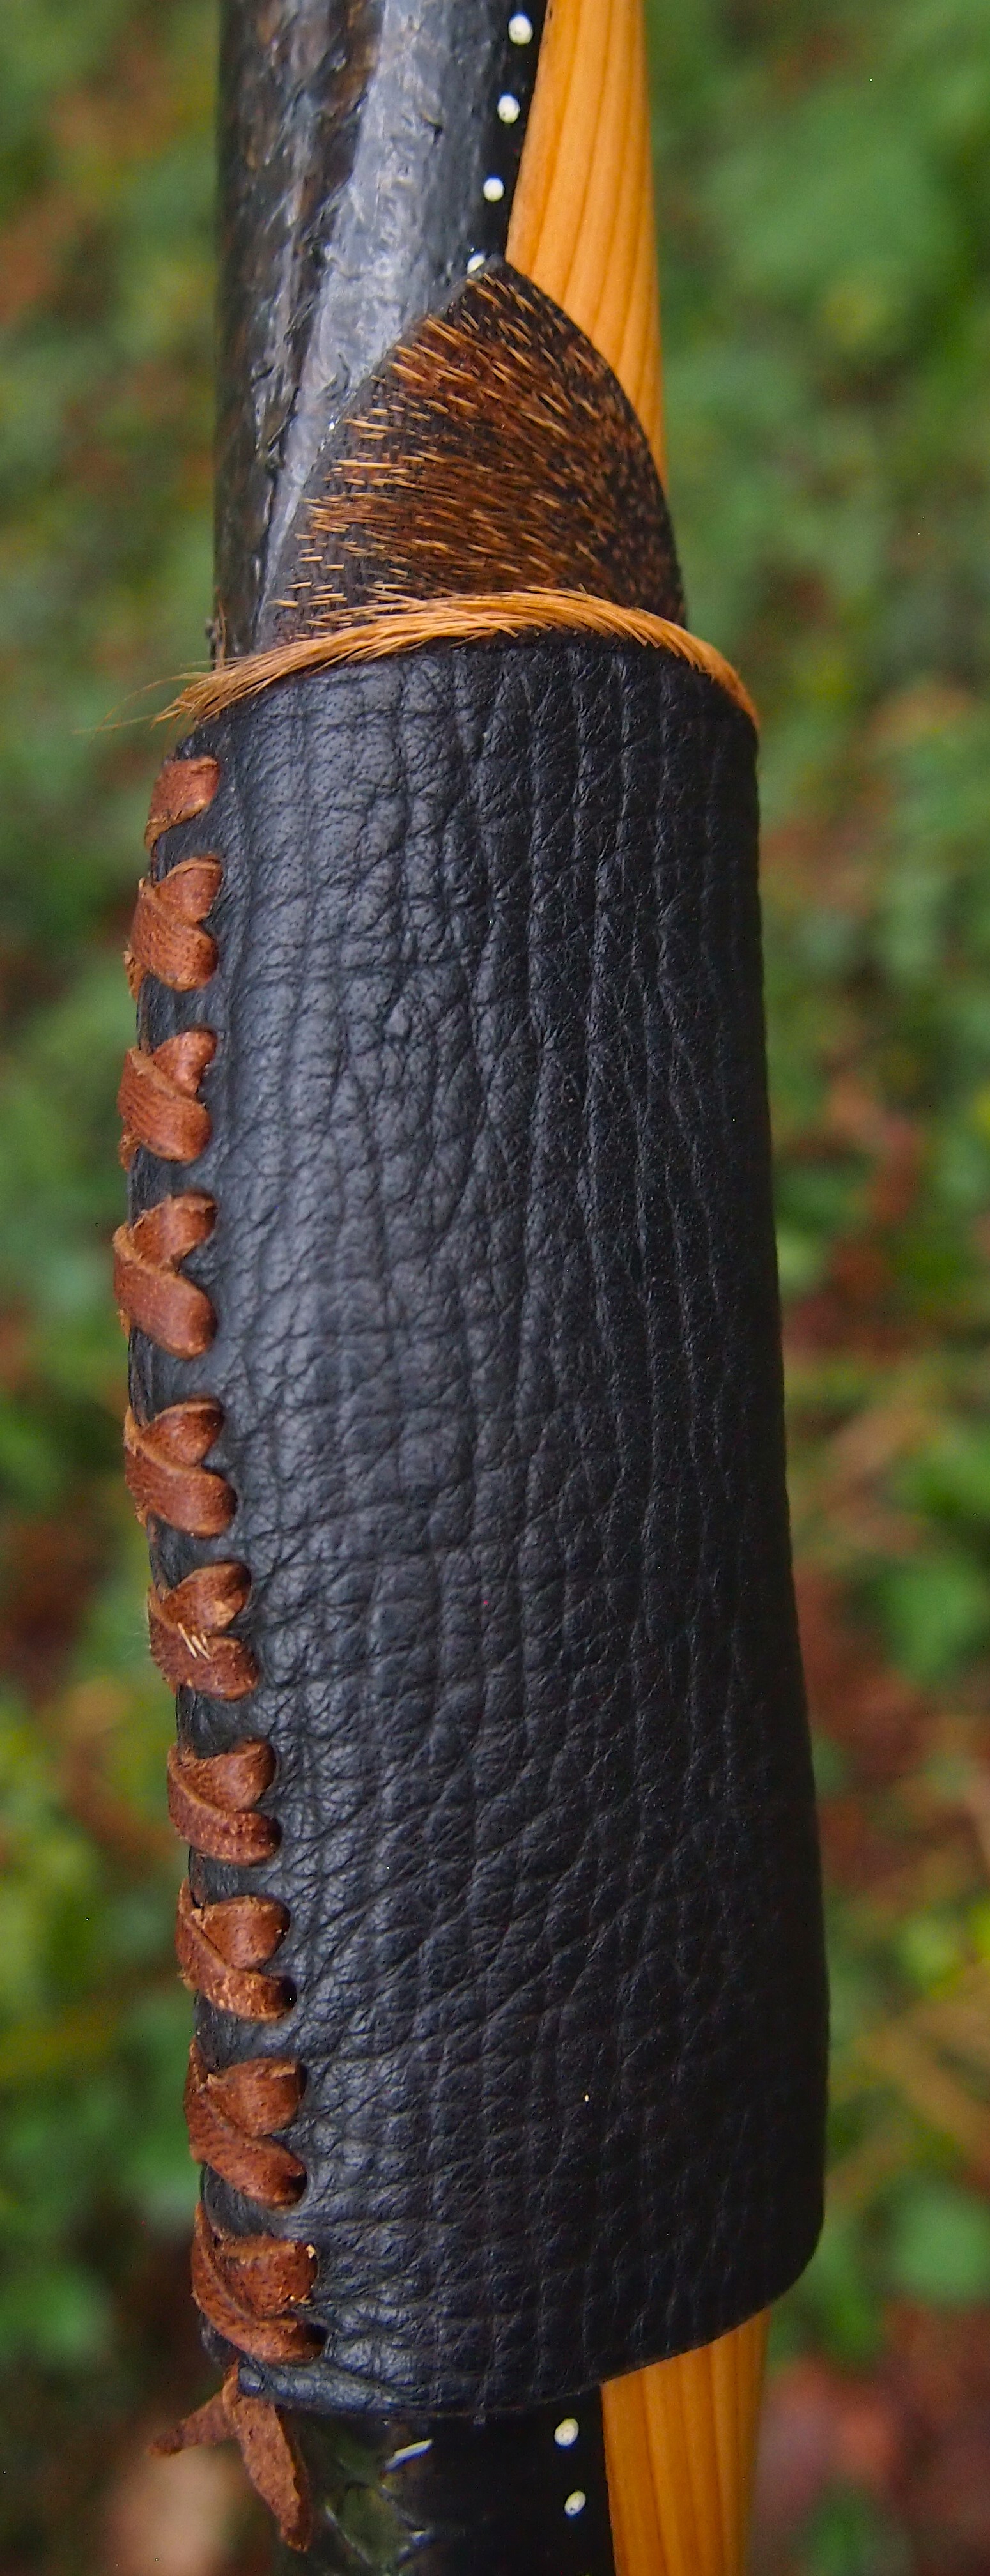
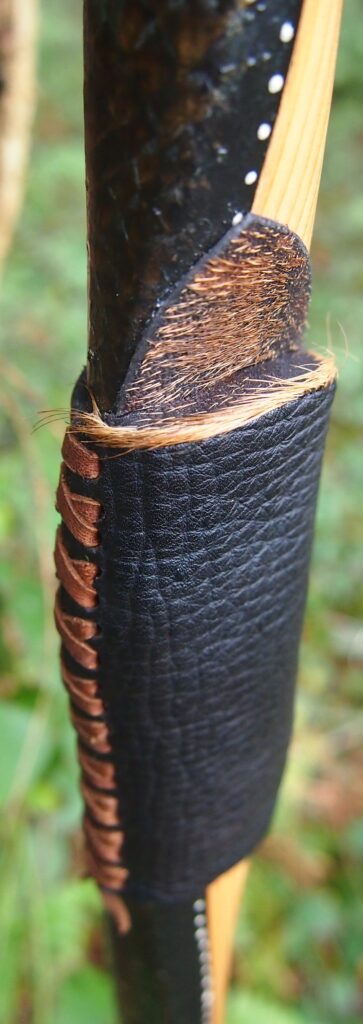
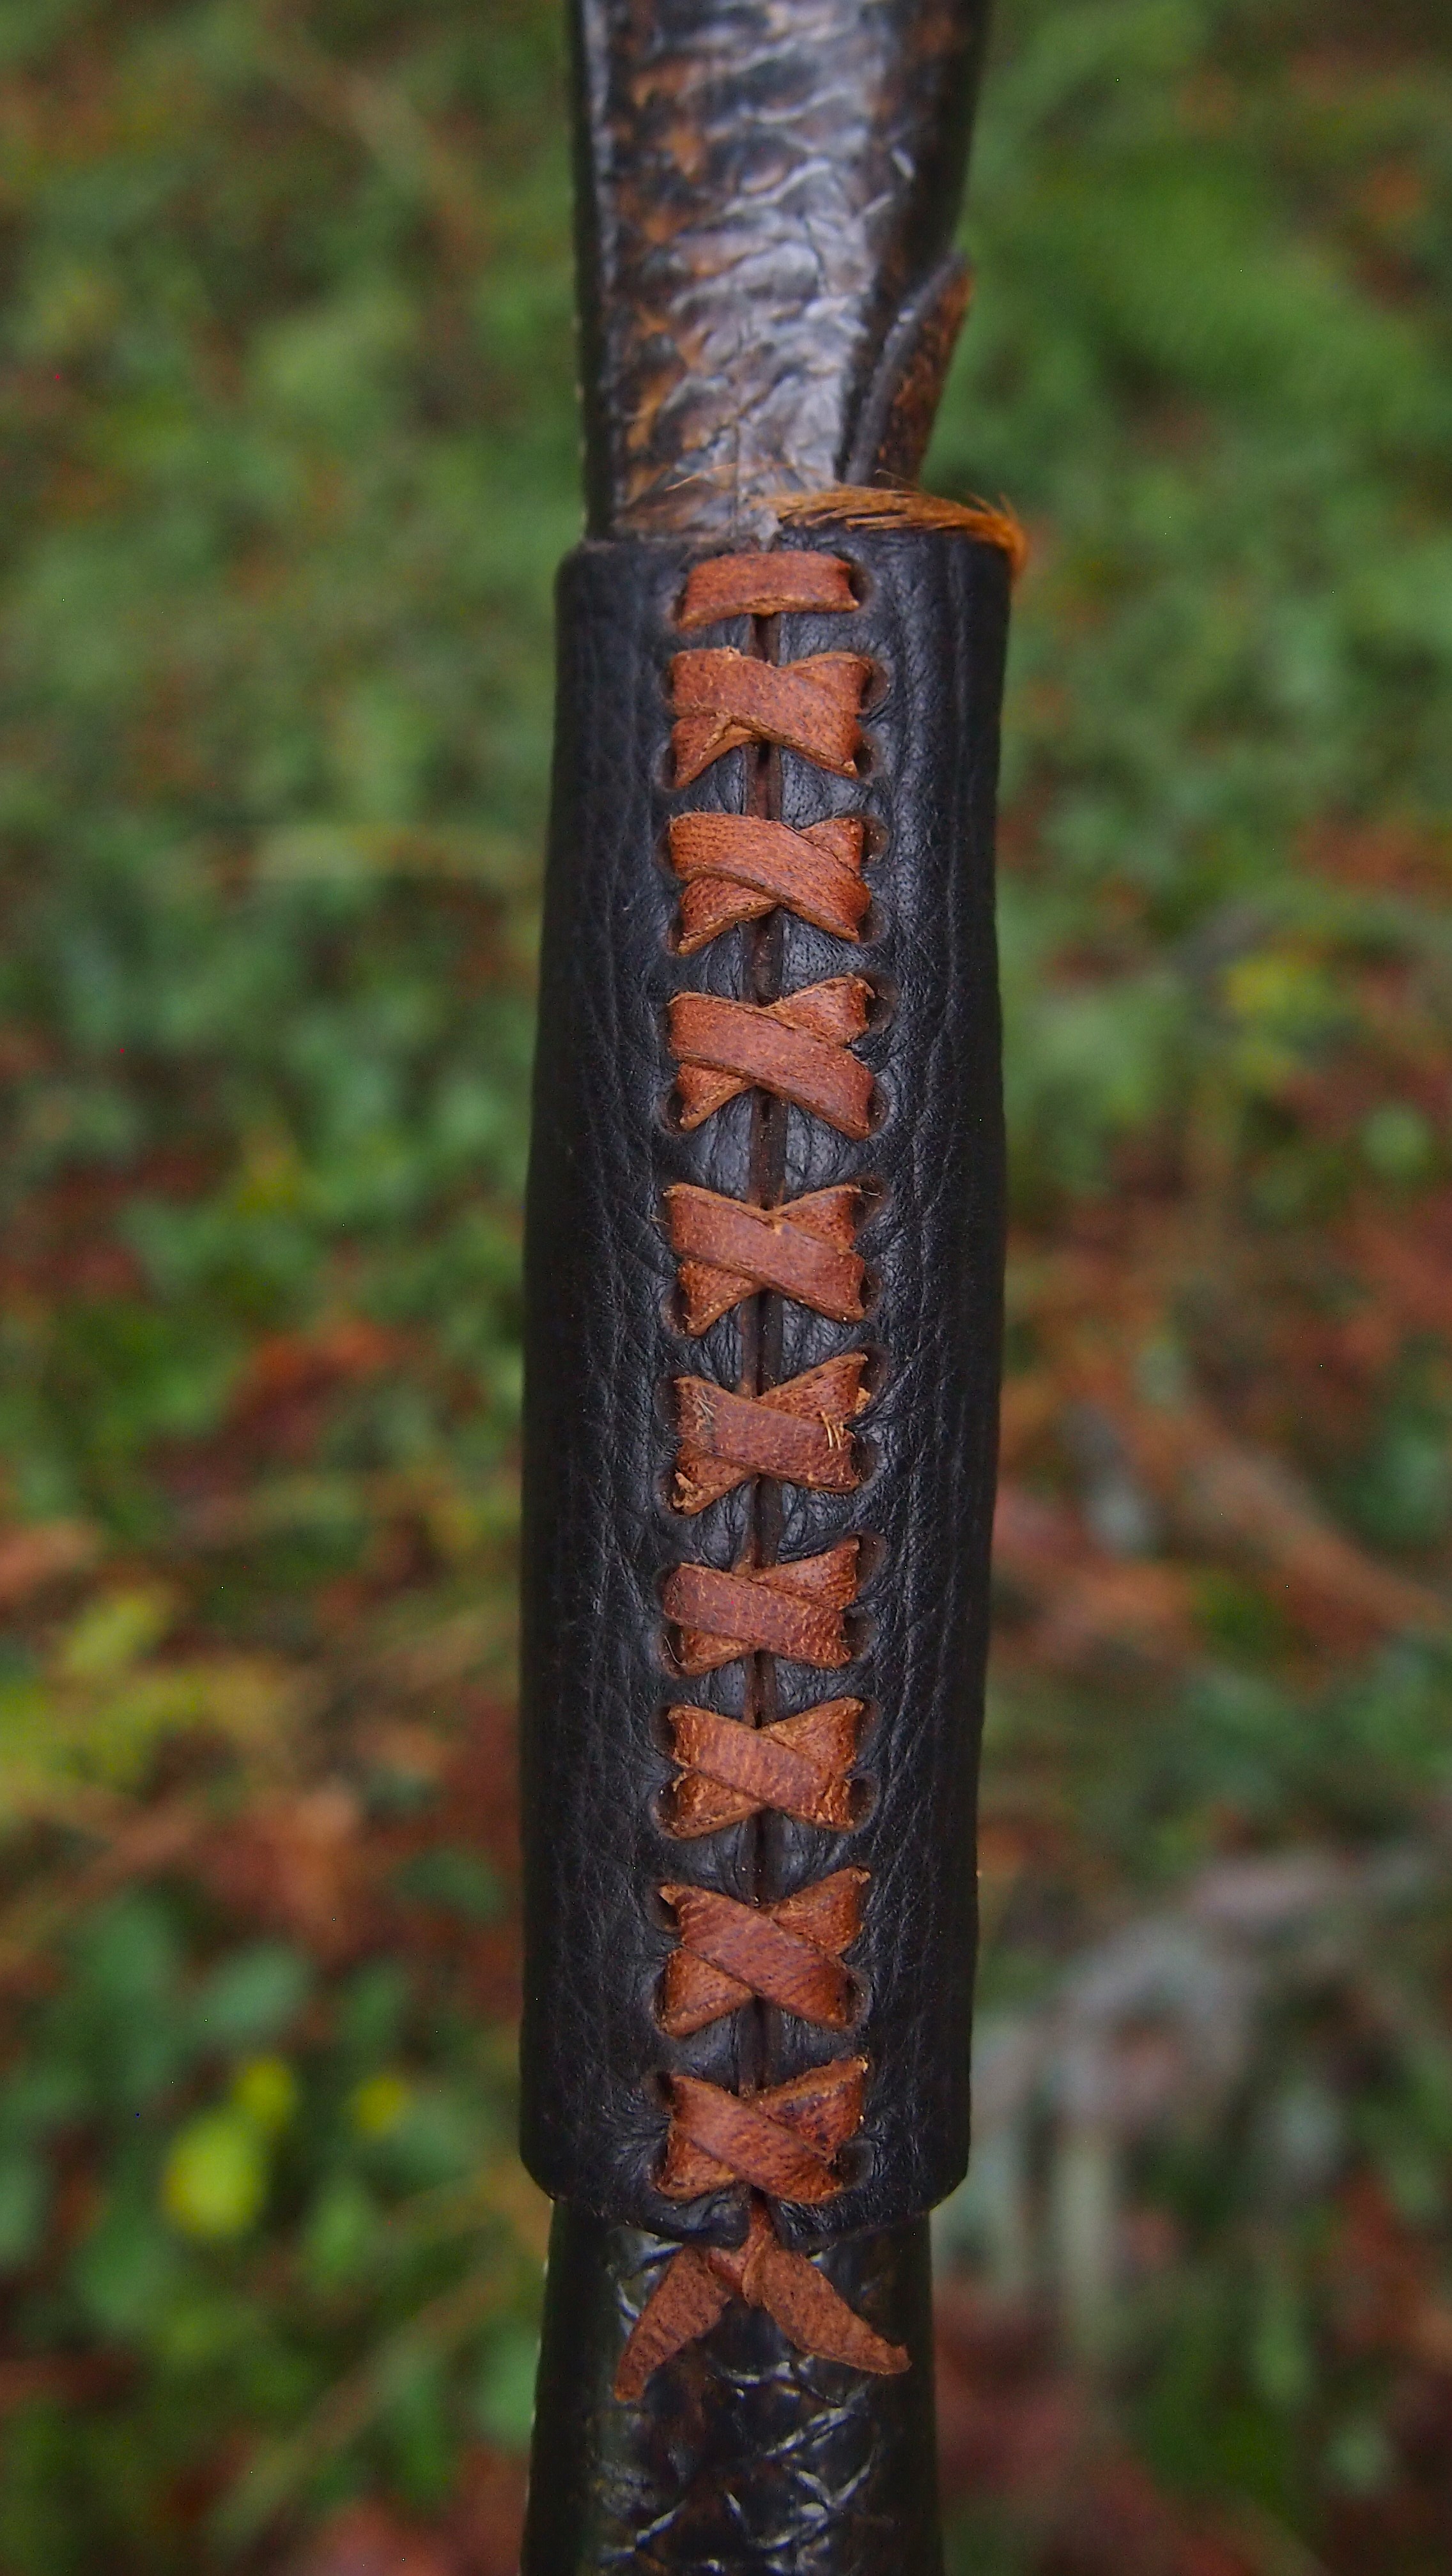
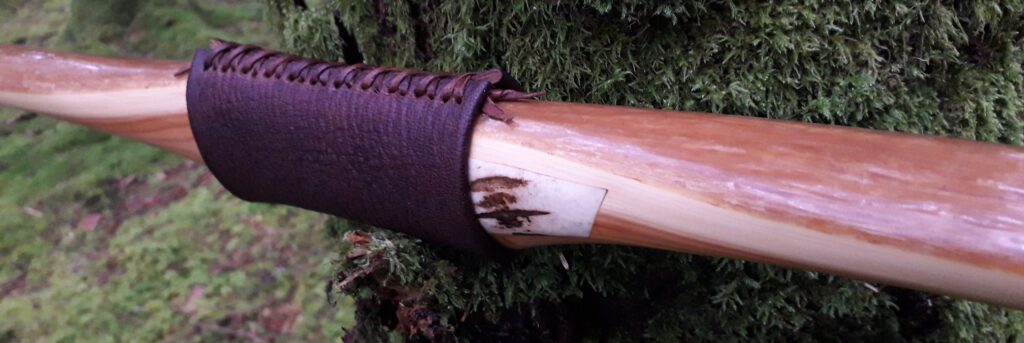
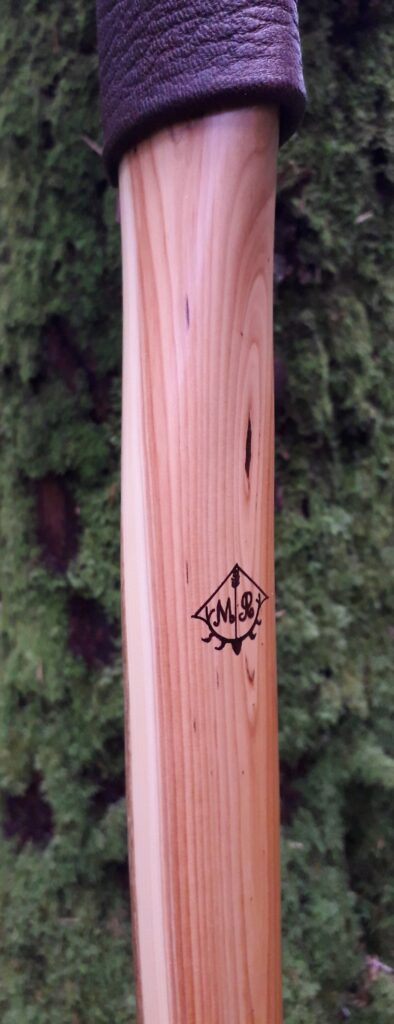
The bow was finish and sealed thoroughly with 8 coats of danish oil made satin in appearance through a final pumice polish buffed down with wax paste. I opted to cover the slightly contoured handle with a nice piece of my home bark tanned red deer leather in a nice natural red tan colour, laced up with some leather lace cut from a roe deer hide I bark tanned last year.

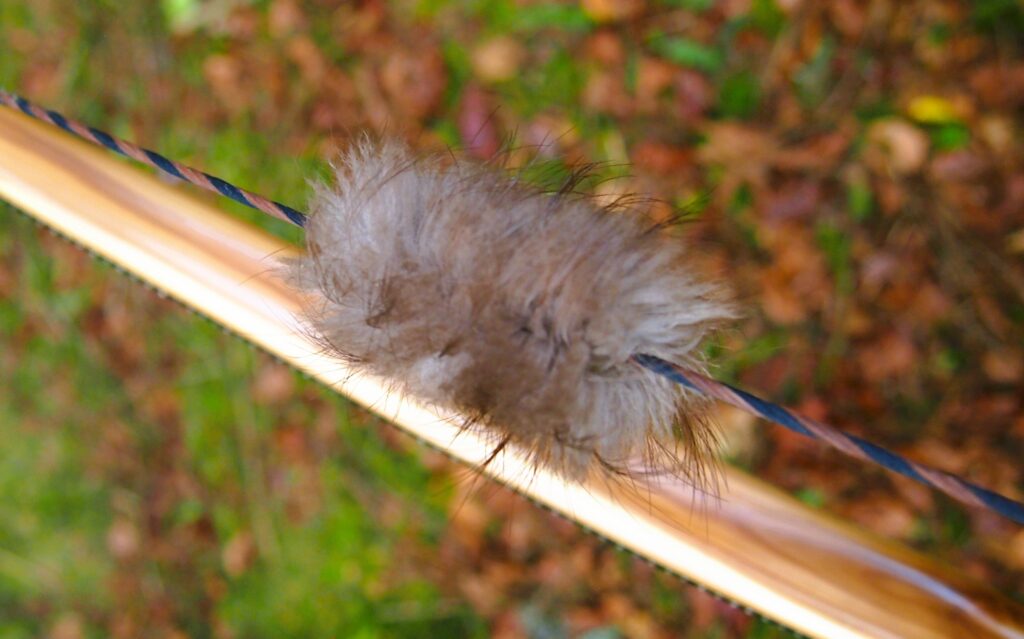
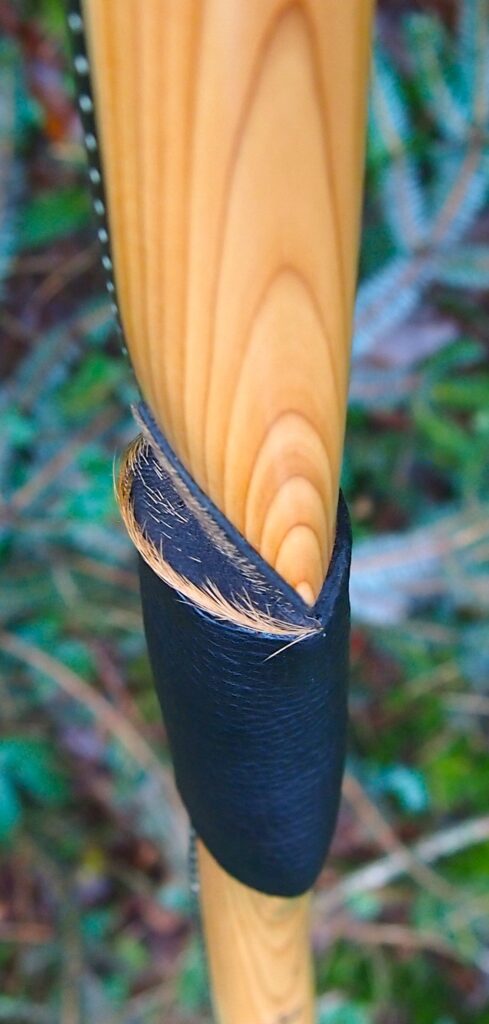
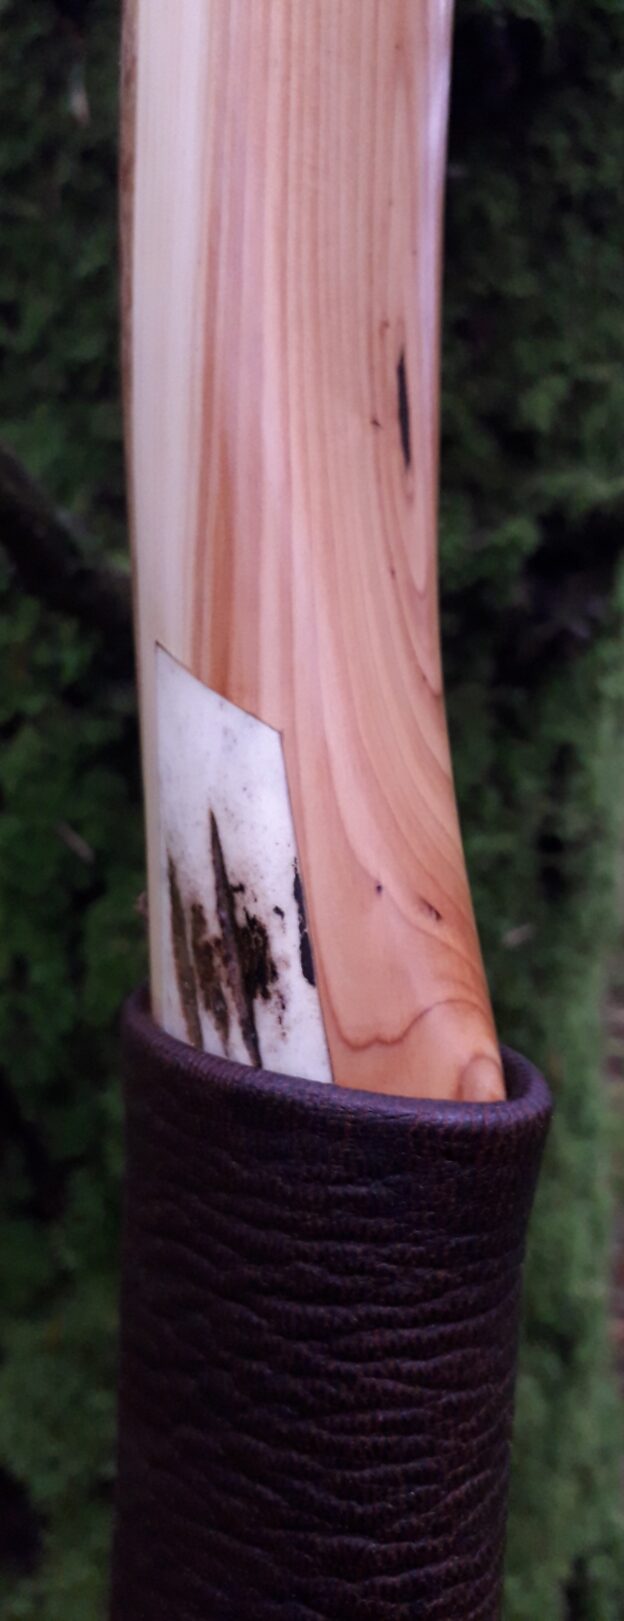
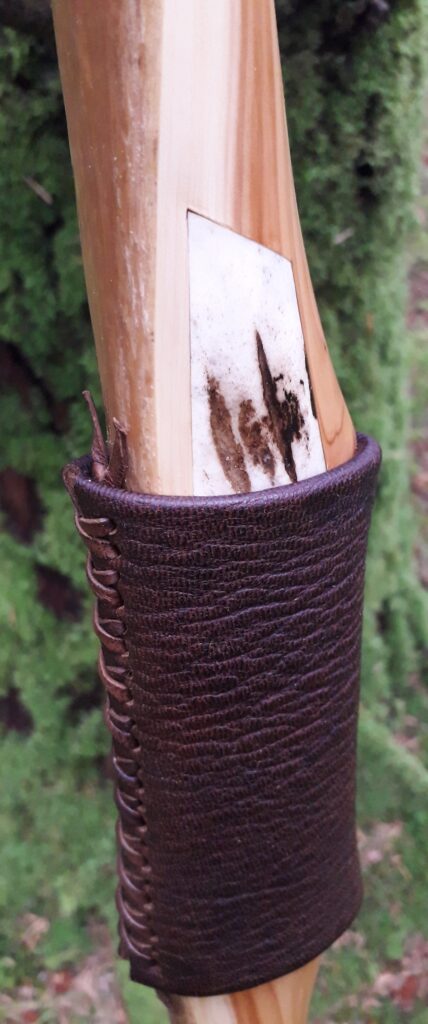
The arrow pass is a piece of red deer shin leather which I tanned with some of the hair still on. It’s a bit like a rustic primitive version of the calves hair leather pieces you can buy from archery shops, only cooler!

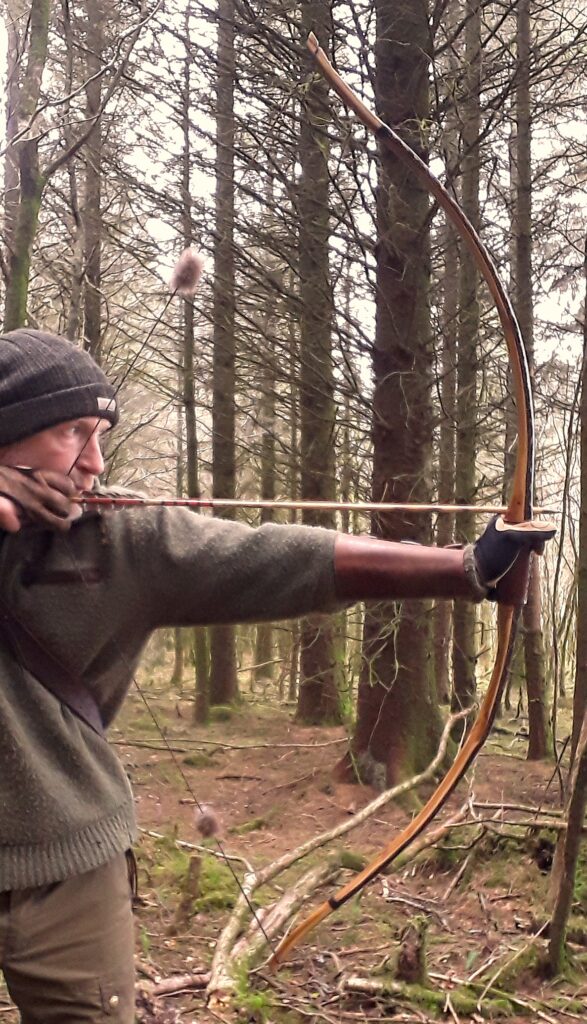
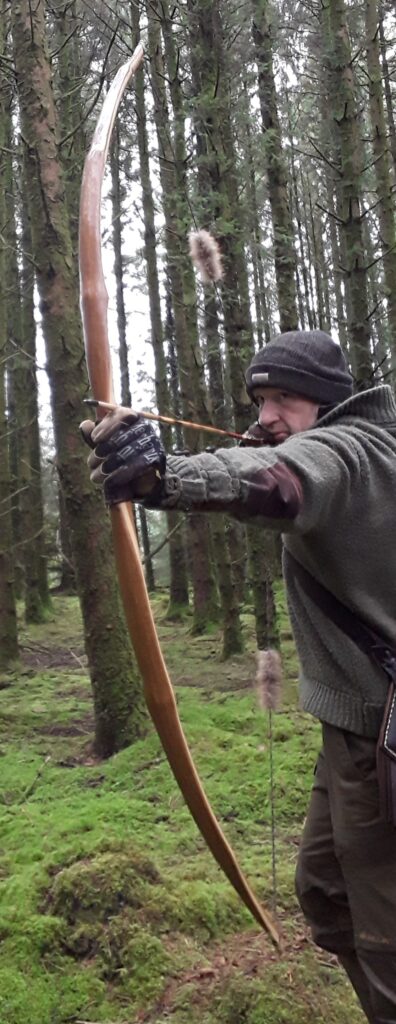
I really enjoyed building this bow and found her to be really pleasurable to shoot. The chrono consistently recorded speeds of around 150ft/sec from a 400 grain arrow which is quite reasonable for a character branch stave.

The balanced tiller and flicked low mass tips helped mitigate any hand shock and the slightly contoured handle made for a nice comfortable grip. I can imagine this bow giving someone many years of enjoyable and reliable shooting so will be offering this bow for sale in my Southmoor Bows Etsy shop, the listing can be found here:
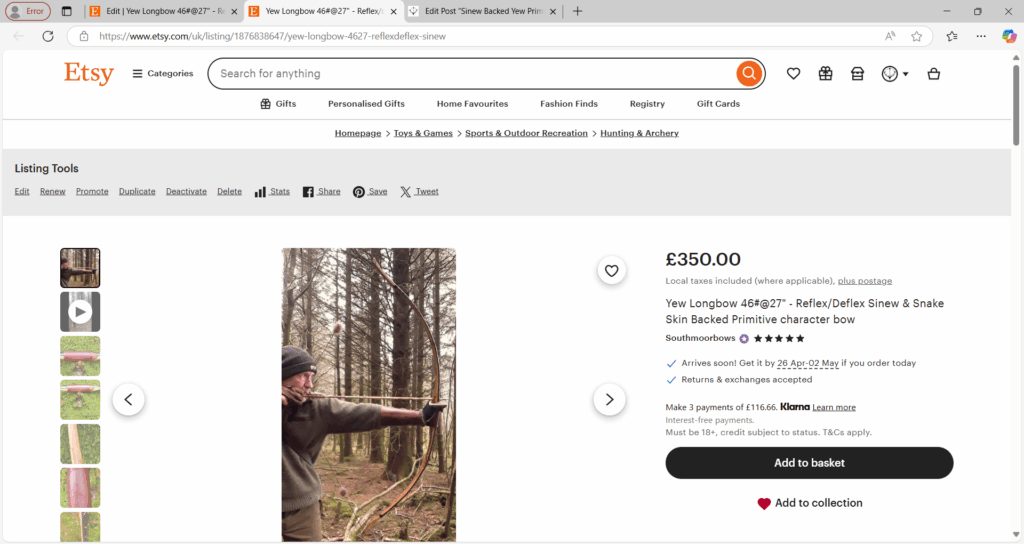
Specifics are as follows:
Draw Weight: 46lbs at 27”
Mass: 725 grams
Length NTN: 60”
Width: 1 3/8” at widest part
Tips: 5” working 3/8” wide at the nocks.
Back: Moderately crowned with undulations with a pyramidal face profile.
Belly Profile: Working limb sections D shaped, transitioning at the tips to ridged shaped cross section.
Tiller: Elliptical. 1/8” positive
Brace height: 5 1/2″

Here she is, hope you enjoy!

Sinew Backed Ladies R&D Yew Primitive (38#@26″) Bow no. 18

This bow was built from a short, thin but nice straight English yew stave which had been propped up in the corner of the barn for at least three years. It was too short to make a bow fit for a 28″ draw, and it was also a bit too narrow to produce a draw weight much above 30lbs.

After a bit of thought I decided to see if I could turn it into a short ladies or teens bow. The stave was pretty straight and without much wiggle. The sapwood was about 10mm thick so I reduced it down to about 6mm. The growth rings were a couple of mm thick so staying true to one growth ring on the back was quite easy.

Since the stave was so short, I wanted to reflex the outer thirds of both limbs in order to reduce any stack experienced at full draw. In an attempt to avoid over stressing the bow with too much overall reflex, I also wanted to deflex the handle as a means to minimise the risk of the limbs taking on excessive set. This was a fairly short stave after all.

After roughing out, the R&D shape was achieved by using a mixture of both steam and the heat gun to persuade the stave to conform to the shape of one of my wooden R&D forms. After the desired shape was achieved, the stave was sinew backed using wild Red Deer leg sinew and hide glue.

After being put away to cure out for 6 months, I finally got around to digging the stave back out for tillering. As is often the case with pre shaped staves, this one tillered out very quick and came off the tillering tree roughed out at around 42# at 26″.

After a good bit of shooting in, and a quick retiller to let off the top limb a bit more, she was finally pulling around 38# at full draw. And after a bit more shooting in and with the tiller now holding fast, I was ready to think about decorations, overlays and general finishing.

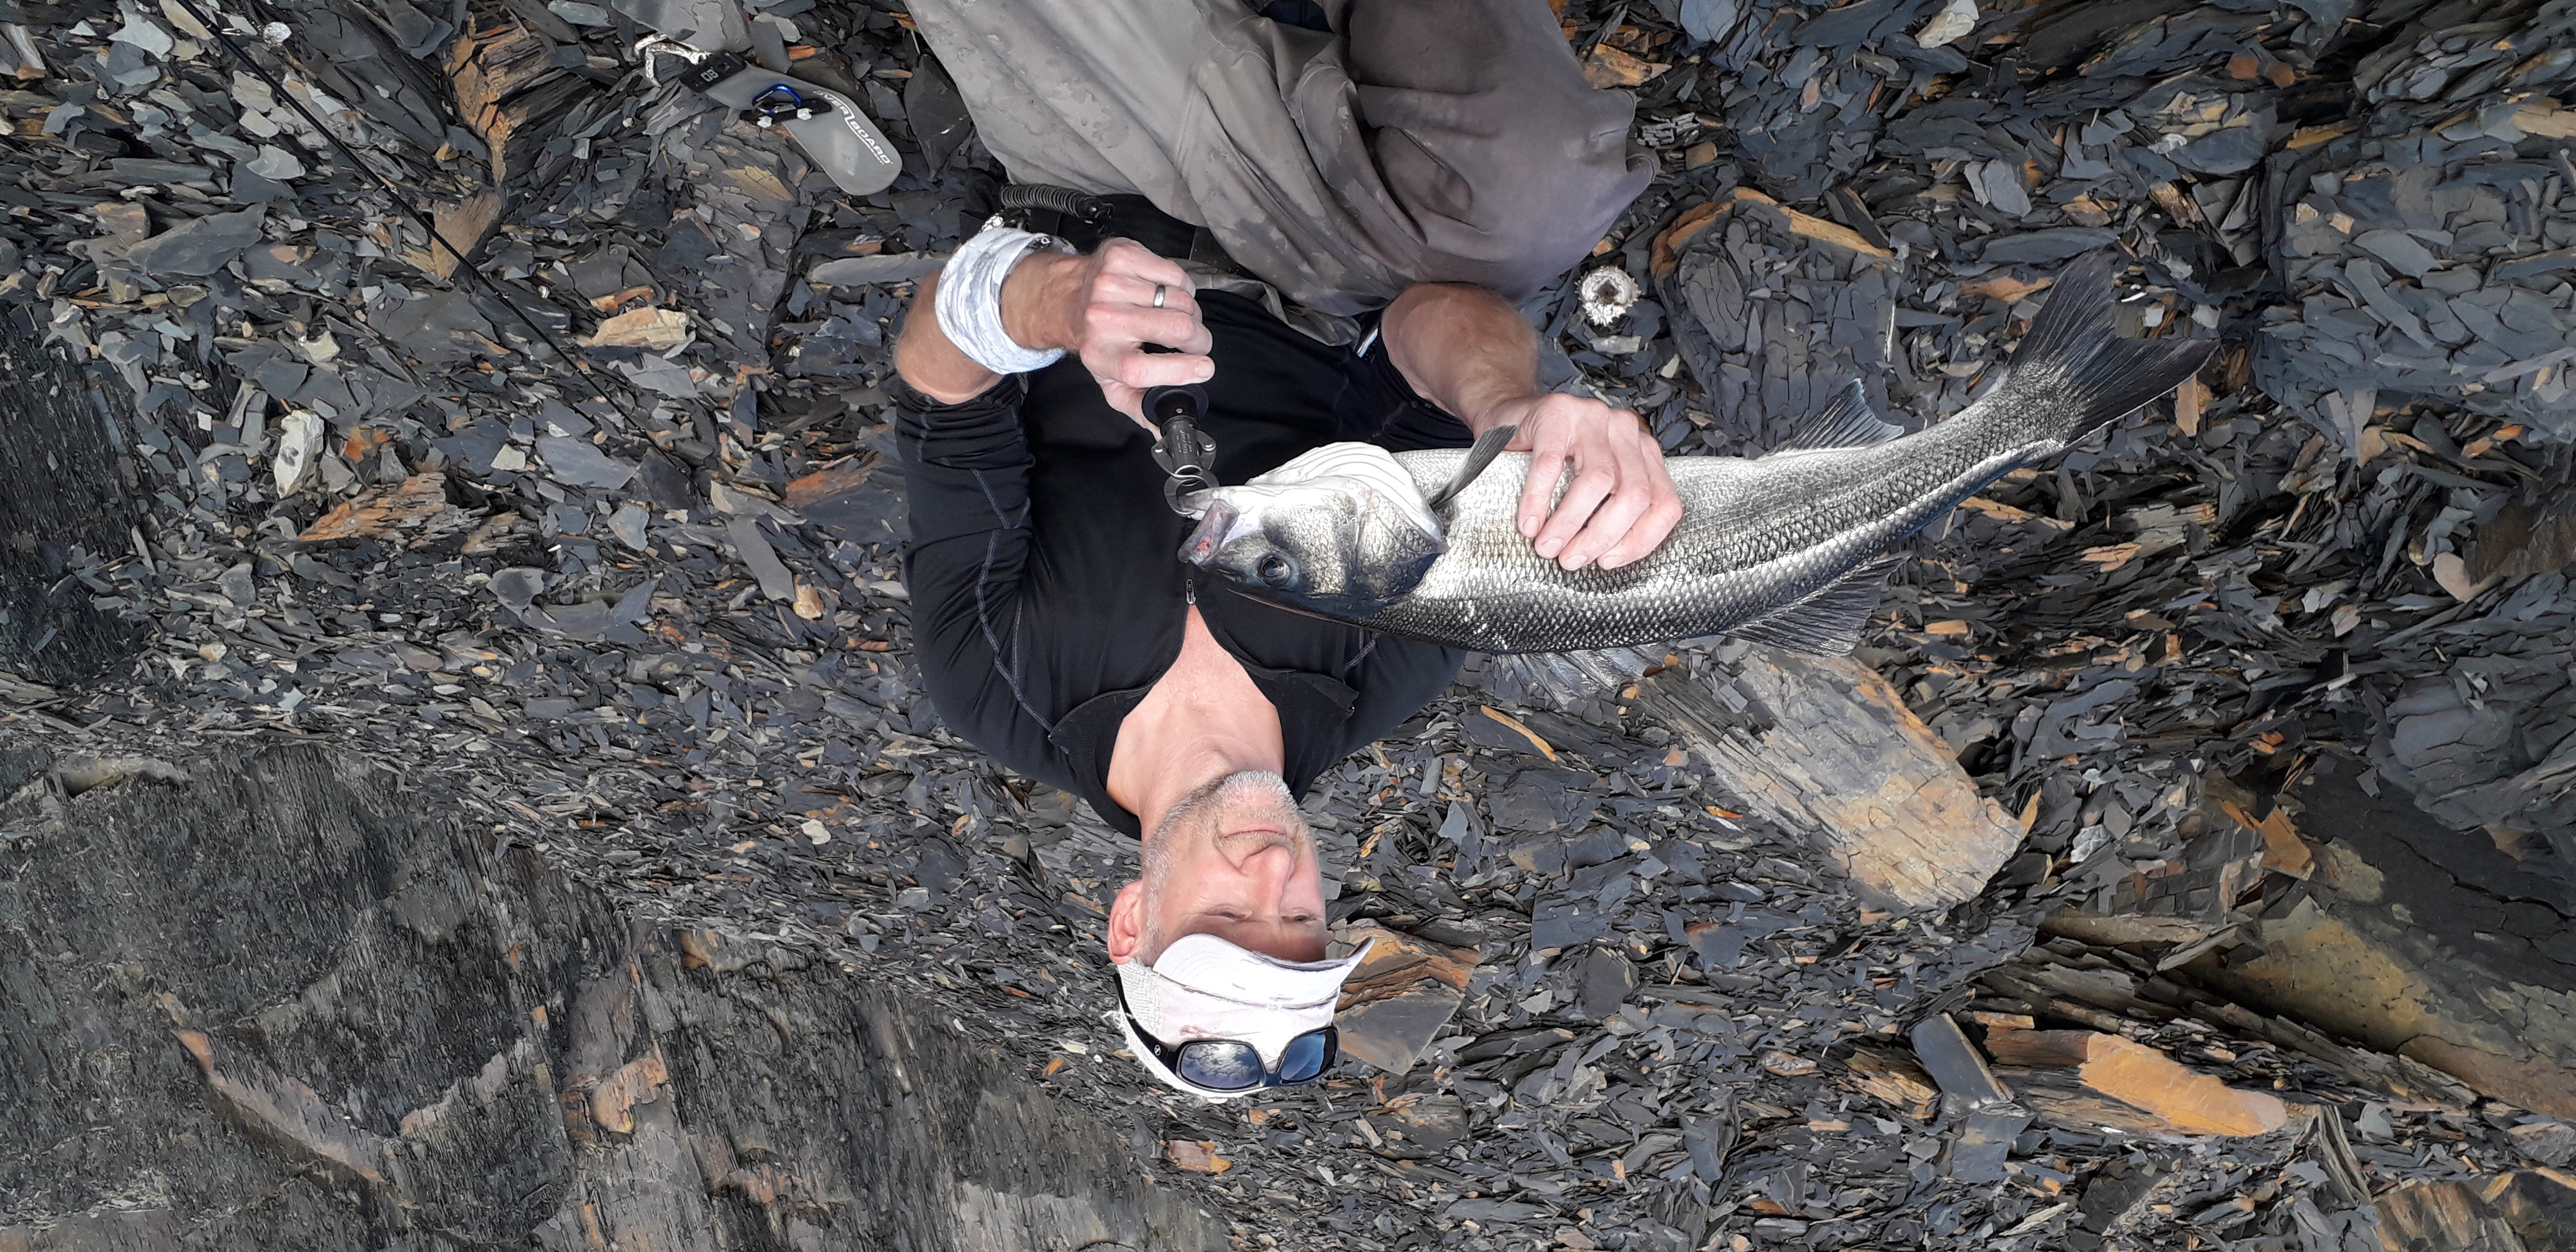
For tip overlays I laminated a couple of pieces of deer leg bone onto some buffalo horn. As a decorative backing, I chose to use a couple of nice wild sea bass skins which came from a cracking lure caught open reef fish which I’d been very fortunate to catch on the north Devon coast last summer (photo of the fish at the bottom). The reef bass often take on a nice dark colour around this part of the world and I’d been itching to use some as bow backing material for ages, so was keen to make this my first attempt.

The skins were fitted with TBiii and were edged with a black paint made from a mixture of hide glue and a locally produced earth pigment called “Bideblack”, which I’d collected from the cliffs directly behind the reef beach where the bass was caught. The white dots where made from mixing deer bone dust with hide glue and were applied with a pointed stick.

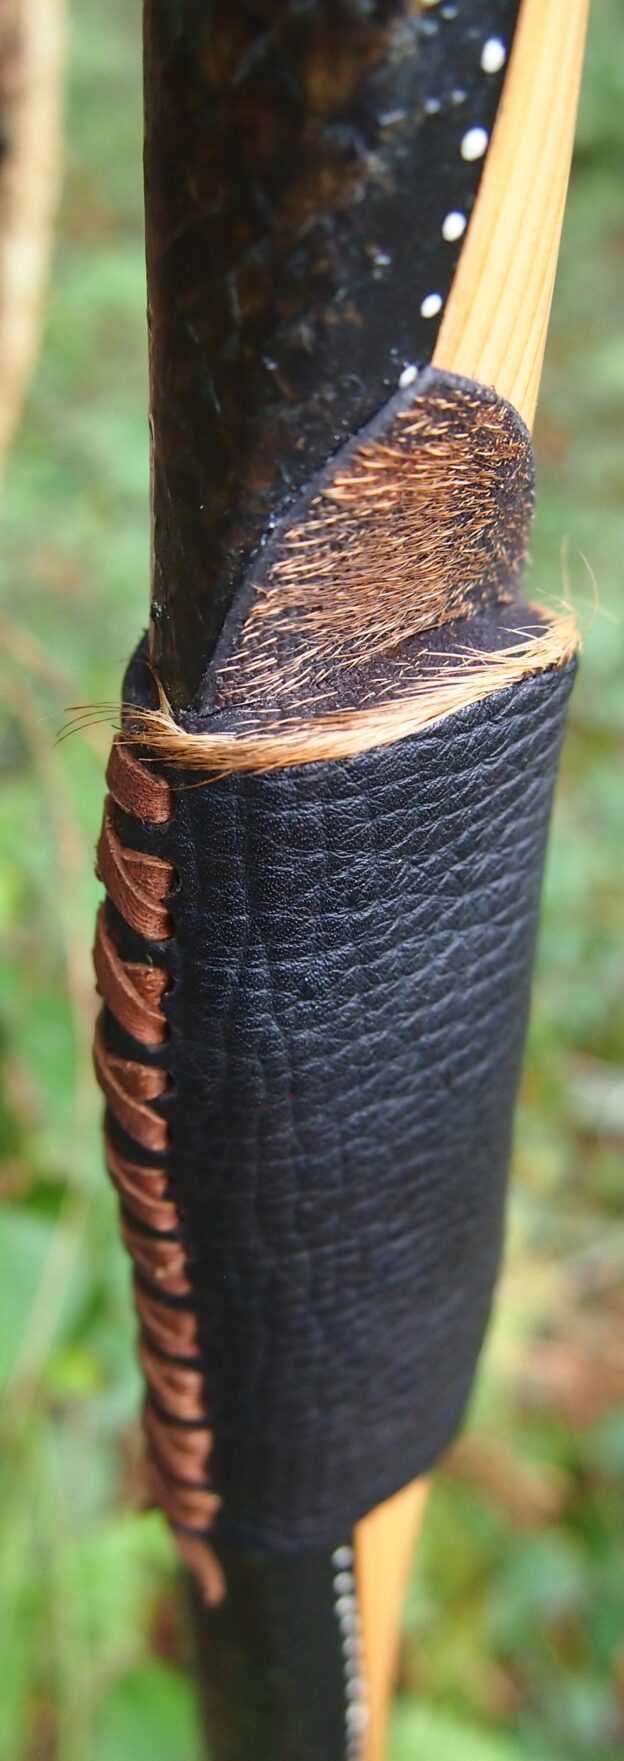
The handle cover is my own home made spruce bark tanned wild red deer leather, died with some Iron Chloride which I’d earlier made from wire wool mixed with vinegar. The Iron chloride reacts with the tannins bound within bark tanned leather, turning the leather dark black.

The lacing is done with my own bark tanned roe deer hide, and the arrow shelf/pass is bark tanned red deer shin leather cut from an edge piece which still had some hair on it. After staining the leather black I thought the natural golden brown colour of the hair stood out great, giving a pretty cool unique look. Deer shin leather makes for great arrow pass/shelf material as it is very dense. This makes it super tough and durable whilst still being nice and thin.

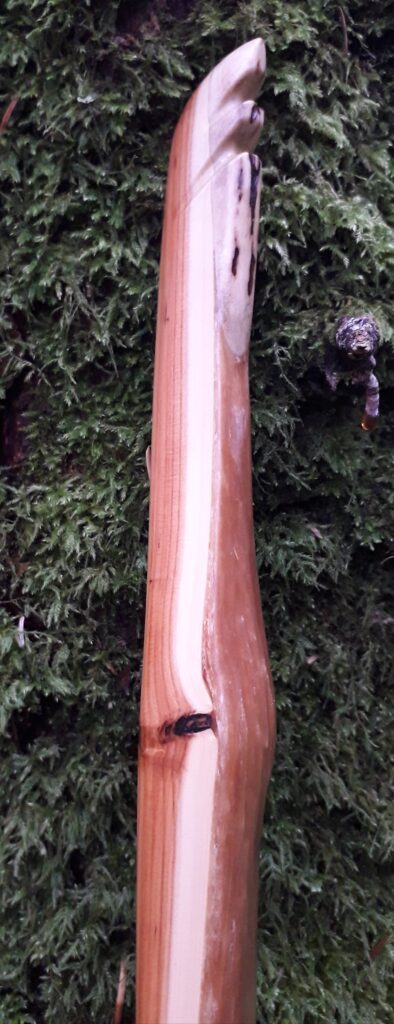
As you’ll see from the photos, there were three knots in this stave, I wanted to incorporate all three knots into the bow’s character so I deliberately left them nice and thick and wide to avoid any likelihood of them producing a weakness, or an unsightly pinch.

Two of the knots were unsound and needed to be dug out and refilled, so rather than dowel them like most do, I decided to improve their aesthetic appeal by filling them both full of with a mixture or epoxy and natural/stained yew dust. This gave both knots significant extra strength, as well as a much more natural knot like appearance. I think they look far better that the customary heartwood dowel and glue approach which most bowyers use to fill knot voids.

After sanding buffing and burnishing she was treated to 8 coats of danish oil and a buffing down with fine pumice and oil. Then a final application of paste wax to leave a nice satin finish.

I was really pleased with how this one turned out. She’s a smooth drawing, whisper quite little thing and the sinew helps send a 380 grain arrow out there at an impressive 145ft/sec. Not bad for a R&D primitive with only a 26″ draw!
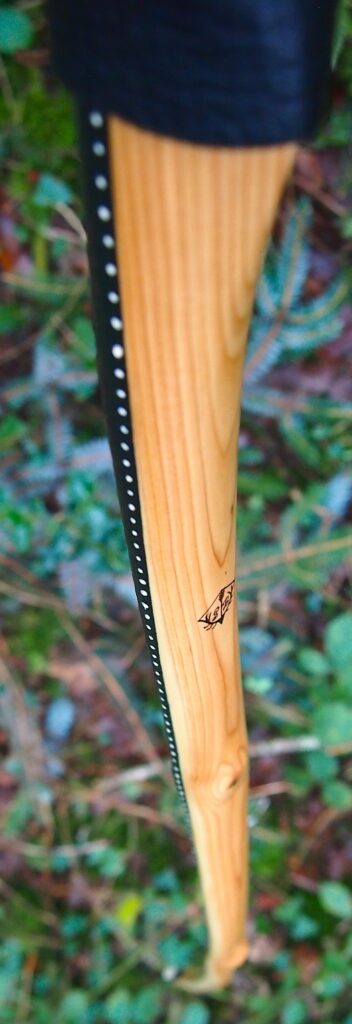
This bow is currently available to purchase and can be found in the Southmoor Bows Etsy shop listed here: https://www.etsy.com/uk/listing/4314834182/yew-longbow-3826-sinew-backed-primitive

Specifics are as follows:
Draw Weight: 38lbs at 26”
Mass: 532 grams
Length NTN: 55”
Width: 1 1/4” at widest part
Tips: 5” static 3/8” wide at the nocks.
Back: Moderately crowned with undulations with a pyramidal face profile.
Belly Profile: Working limb sections D shaped, transitioning at the tips to ridged shaped cross section.
Tiller: Eliptical. 1/8” positive
Brace height: 5″

Hope you like her!
OLYMPUS DIGITAL CAMERA
This was the Bass from which I used the skins in the build. The black sooty looking pigment on the shale rocks behind is what I used mixed with hide glue to make the black paint which edged the skins.

Sinew Backed Yew Holmegaard 70#@28″ (bow no. 17)

Back in the spring I was contacted by Ross, a friend of Matt who had purchased the character yew flatty I blogged about here: Primitive Character Yew Flat bow 52#@28” (Bow no. 14) – Southmoor Bows which Matt had bought through the Southmoor Bows ETSY shop. Ross really liked Matt’s bow, so he got in touch with me to ask if I could build him something with a primitive vibe, but a bit heavier. Ross came from a ELB background and was accustomed to shooting bows in the 65lb plus bracket.

After a bit of discussion we settled on a plan. I had in my possession a rather nice and character laden Yew branch sucker stave, which I could easily envisage being turned into a Holmegaard type longbow. This stave measured 71″ so was both long/wide and clean enough to produce a heavier draw weight bow built in a classic Holmegaard/pyramidal/flatbow type design, as opposed to something more like an ELB, which is a widely accepted design, recognised as being well suited to bows intended for higher draw weights.

Ross and I had settled on a target draw weight of somewhere around the 65-75lb mark, so I had to now figure out how I could optimise the bows design and features to encompass the heavier than average draw weight, as well as all the wonderful characteristics of this particular stave.

Rather than go full on Holmegaard and get all anal about precise authentic dimensions, I decided to let the stave dictate the overal profile. And to ensure long term durability I opted to incorporate a robust application of sinew backing to minimise both potential set, and vulnerability to wear and tear over time.

So my plan was to build a straight limbed pyramidal profiled long bow with semi lever like needles for tips, and a completely static handle section. The bow would end up 70″ nock to nock and have 8″ static tips. These none bending tips, combined with a 4.5″ stiff handle with 3″ long flowing fades, would leave me with just about 43.5″ of working limbs. Since this wasn’t a massive amount of moving wood, I decided to lay the bow out asymmetrically so as to give the bottom limb a bit more support over the long term.

The intention was to maintain the original crowned shape of the back, whilst adopting a rounded D shaped belly cross section throughout the fades and working sections of the limbs. The tips would transition in cross section from D shaped to ridged to reduce mass whilst remaining static. The handle would remain deep and relatively straight with no shelf as the chap who asked me to build this bow was a fan of shooting off the knuckle.

The stave had no overall natural reflex or deflex, but the 6 sets of branch whirls which were evenly distributed between both limbs did have some contour, thus giving the false impression of deflex where the grain flowed around the knot whirls. These flowing lines would need to be incorporated into the final profile of the bow as my intension was not to interfere with the natural shape of the staves side profile. Fortunately, this particular stave was completely absent of any twist or snake, so other than working around the knotty branch whirls, laying out the intended profile was, for once, a doddle!

The Heartwood/sapwood ration was about right too, with this stave having no more than 1/4″ of sapwood under the bark. Subsequently, I only had to get the bark off in order to expose what would end up being the back of the bow directly below the sinew. This meant that the final composition of heartwood/sapwood would end up being around a 70/30 ratio. Perfect!

So after roughing out the face profile and reducing the belly to facilitate better drying, I set about the arduous process of applying 3.5 oz of wild red deer leg sinew, applied to the back of the stave with my own home made sinew glue cooked up from a bunch of sinew scraps and tendon sheathing material. After applying all the sinew and given the glue plenty of time to set up, I wrapped her in gauze and left her to dry and cure out completely for 6 months. And what a long wait that was!!

The sinew backing came out great, so after what felt like an eternity, I fitted a pair of stag horn tip overlays and got a long string on her for a few short pulls. All looked good and after a bit of tweaking here and there, she was soon at brace and being pulled to 26″

As usual, I like to spend a fair bit of time shooting in a bow before attempting to get the last couple of inches of tiller finalised. So I spent a week putting her through her paces so that she could settle in and reveal any tiller correction that might be necessary before calling the job done. For once this bow didn’t budge off tiller, and had settled in to a nice 1/4″ positive tiller, which felt very well ballanced at full draw.

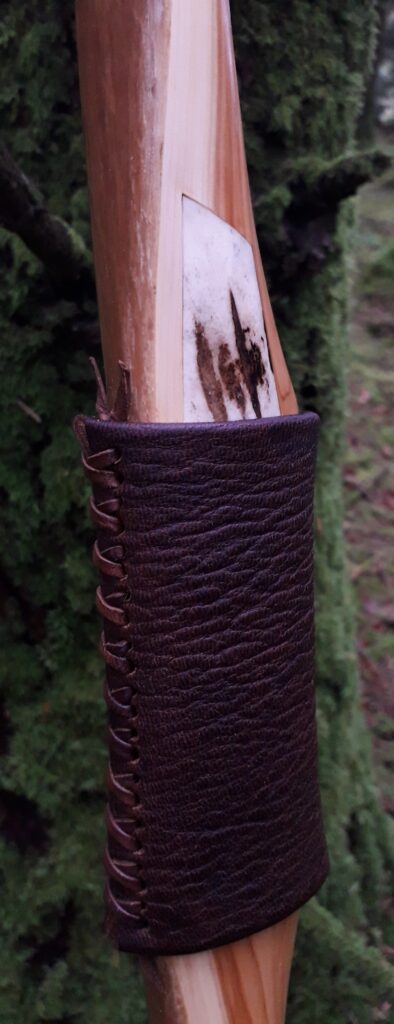
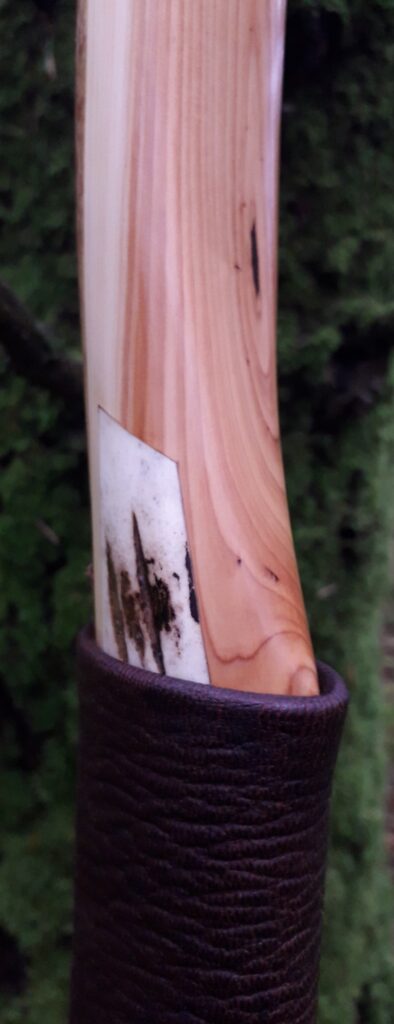
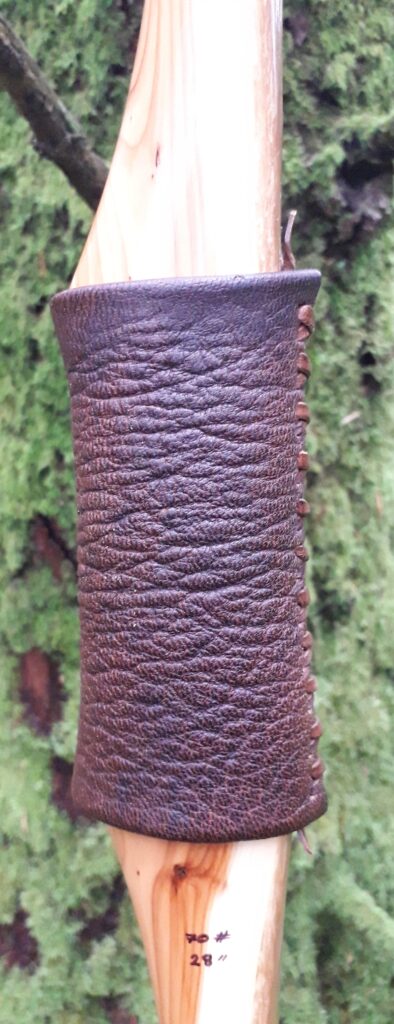
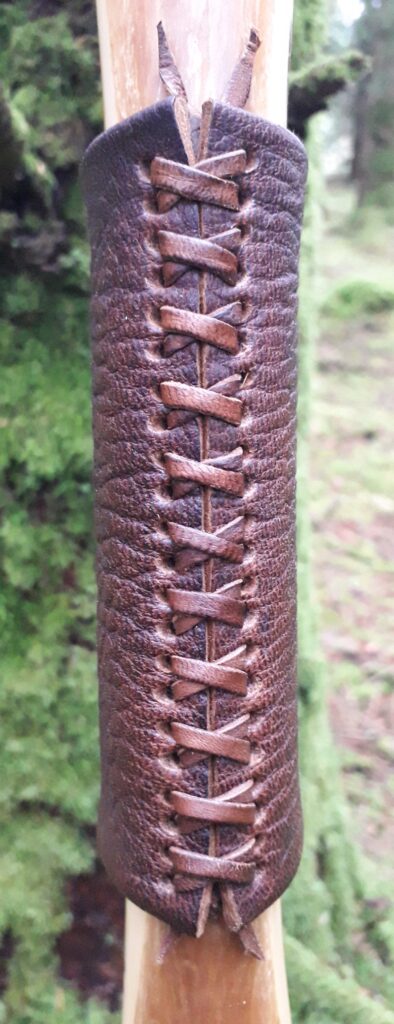
Final touches included a stag horn inlay for an arrow pass, and a gorgeous piece of my home produced bark tanned red deer leather as a handle cover, all sewn up with lace cut from some flank leather from the same hide. To seal her up I saturated the gorgeous grain of the wood with several applications of raw tung oil, caped off with half a dozen coats of Danish oil to fully protect her from dirt and moisture. Last but not least, the glossy Danish oil finish was sanded smooth and polished with fine pumice powder to leave her with a beautiful satin finish which sheds water and really shows off the grain.

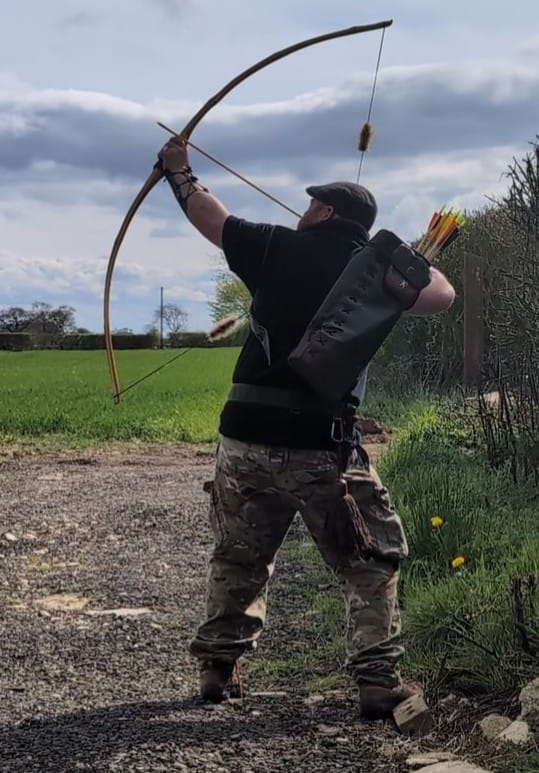
I really enjoyed building this bow and will definitely build another “Holmegaard” like this one just as soon as I get my hands on another suitable stave. She’s a little on the heavy side for me personally, but I did enjoy the speed and power that was greater than what I’m used to. The loud whack she delivered when sending my stumping arrows on their way never got boring! She turned out to be quite nippy across the chrono too by consistently sending 550 grain arrows over the sensors at between165-175Fps, which, I’m sure you’ll agree, isn’t too shabby for a simple English yew branch stave!

Specifics are as follows:
Draw Weight: 70lbs at 28”
Mass: 850 grams
Length NTN: 70”
Width: 1 7/8″ at widest part
Tips: 8” static 1/2” wide
Back: Crowned with undulations. : Pyramidal face profile
Belly Profile: Working limb sections D shaped, transitioning at the tips from semi circular, into ridge shaped cross section.
Tiller: Eliptical. 1/4” positive
Brace height: 6″

Anyway, here she is. Hope you like her!

Spring 2025 Edit: Ross has kindly sent me a couple of video clips of him shooting his bow which I’ve added at the end. So far he’s been sending his roving arrows out to 200yards! Phew!!