Tag Archives: Longbow

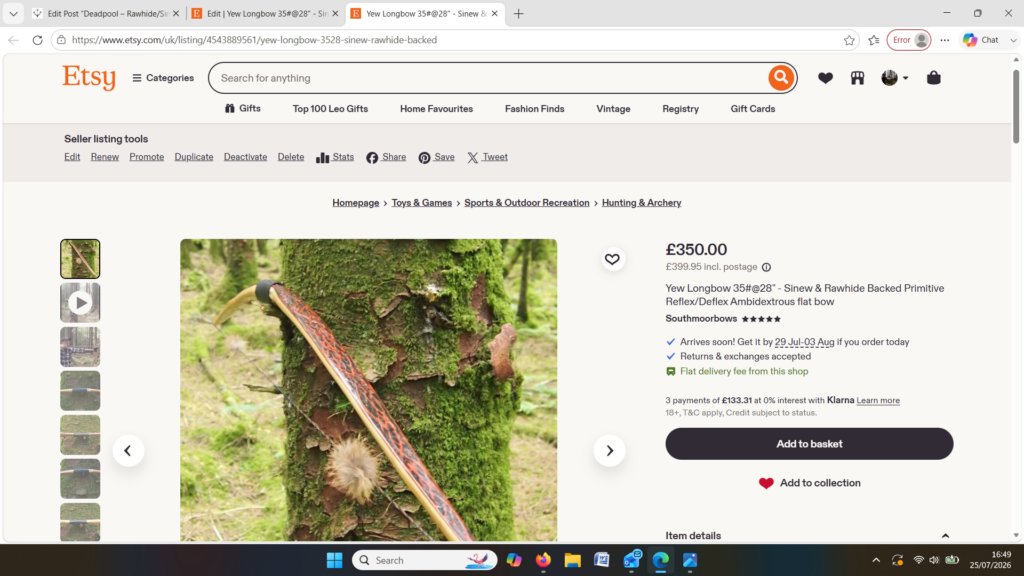
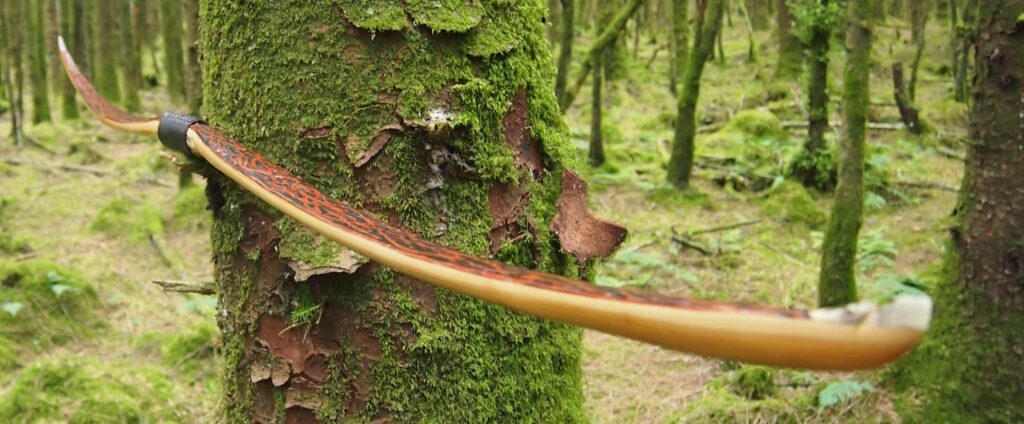
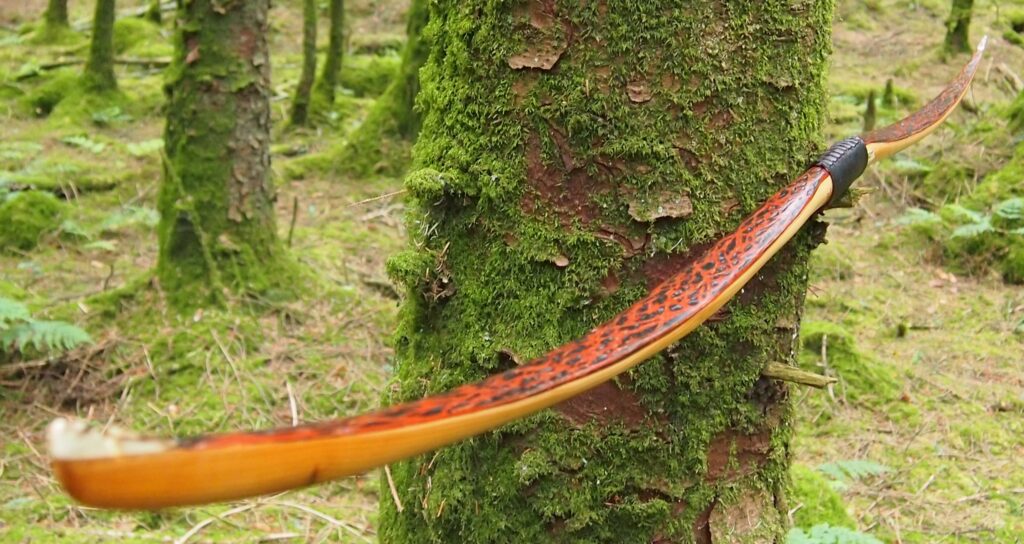
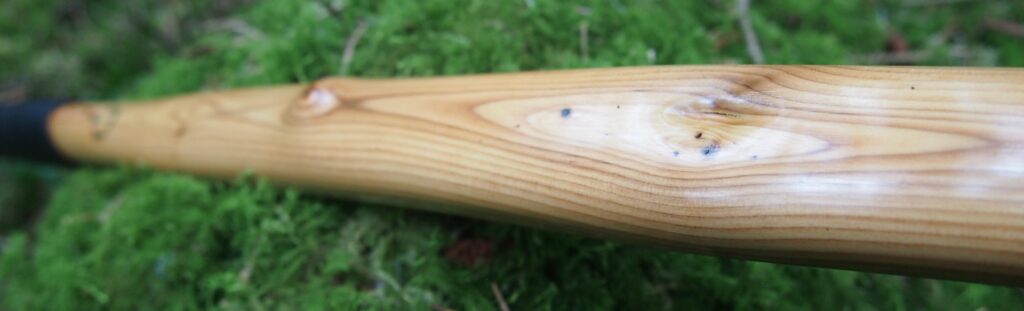
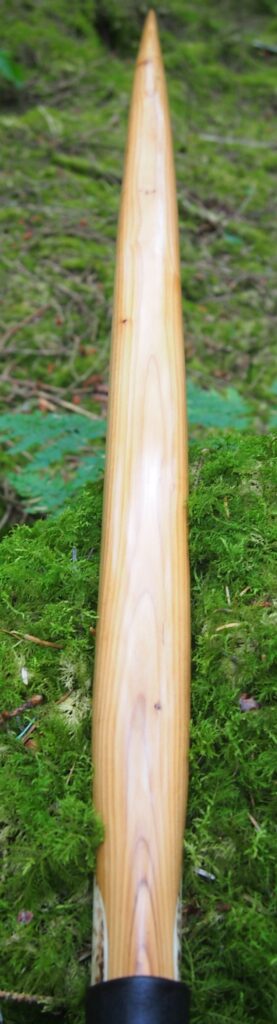
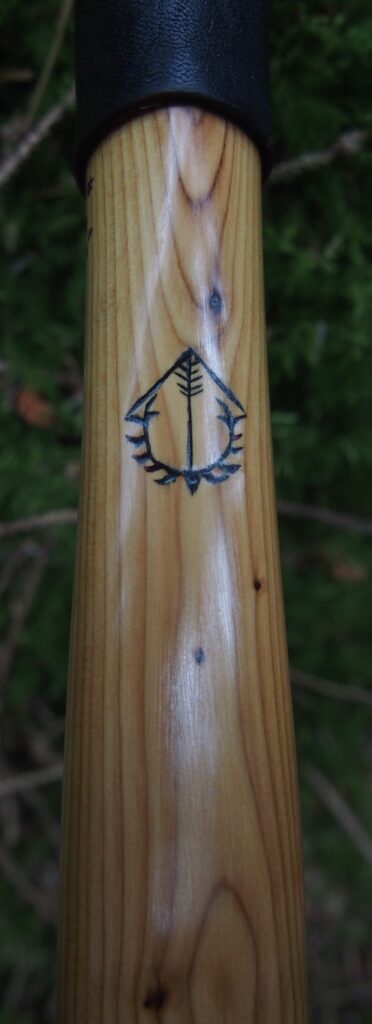
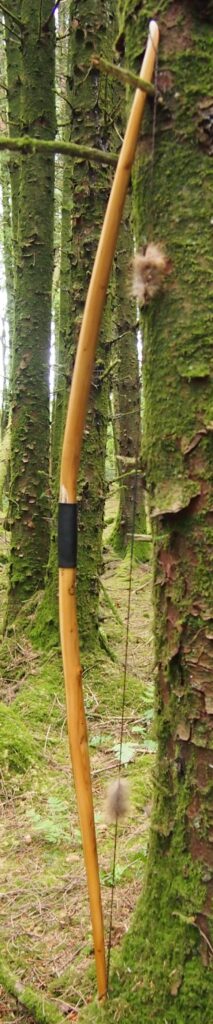
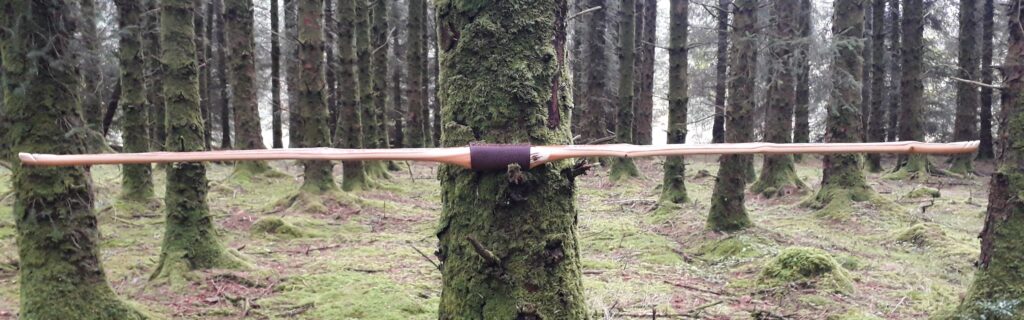
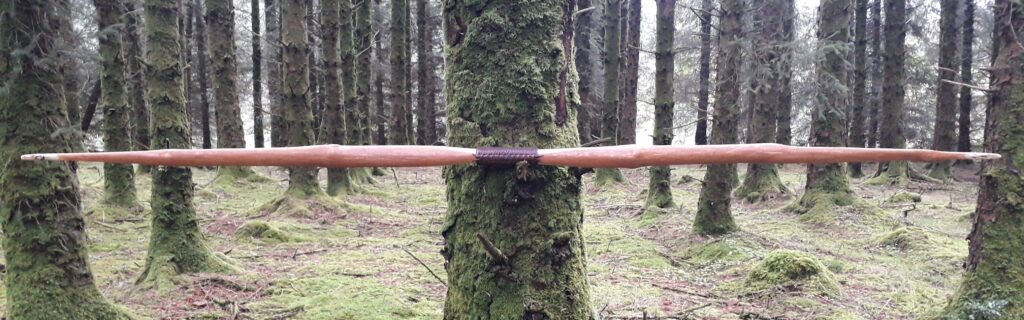
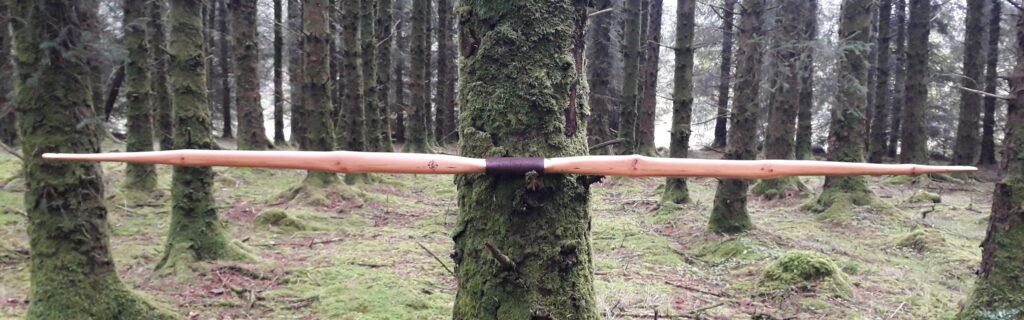
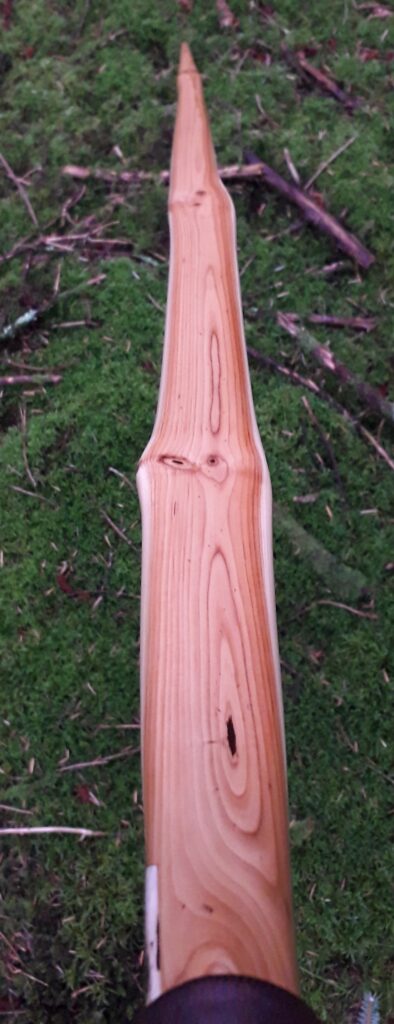
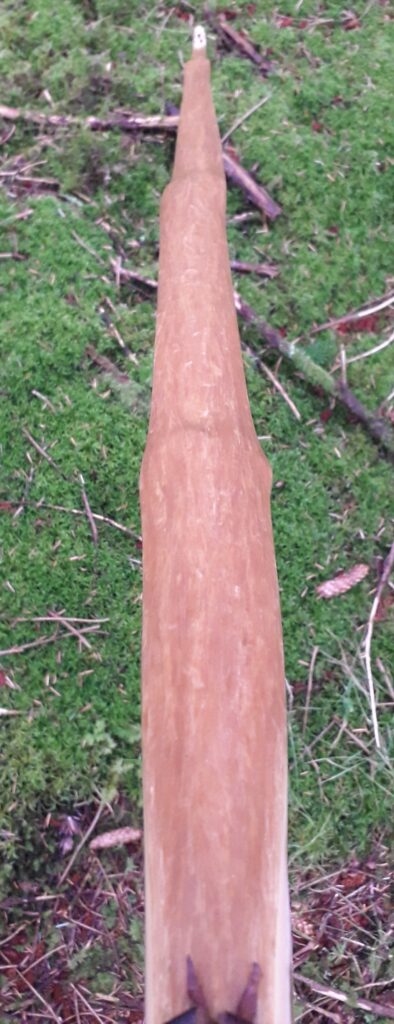
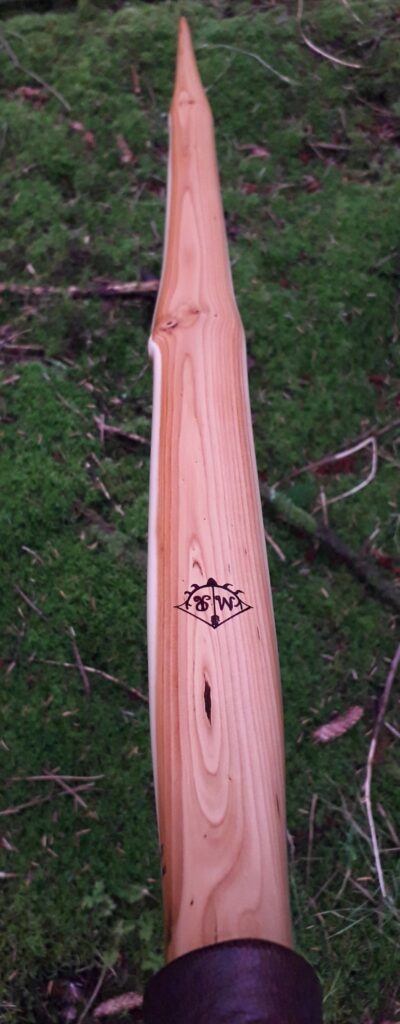
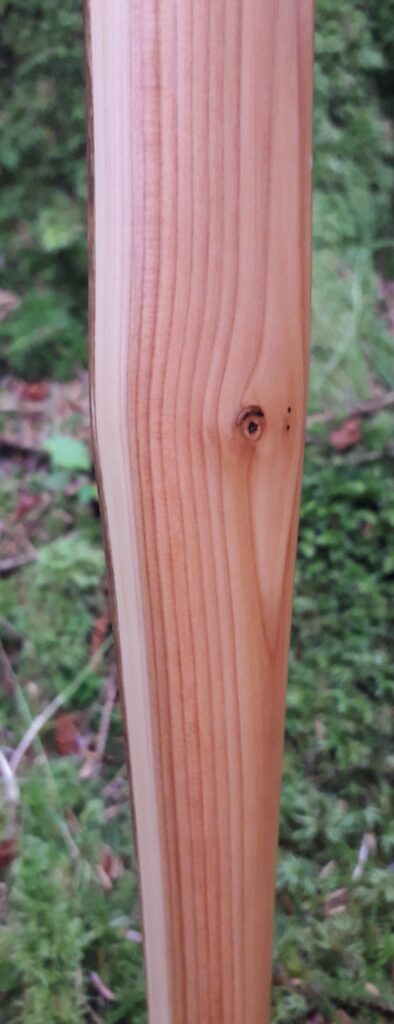
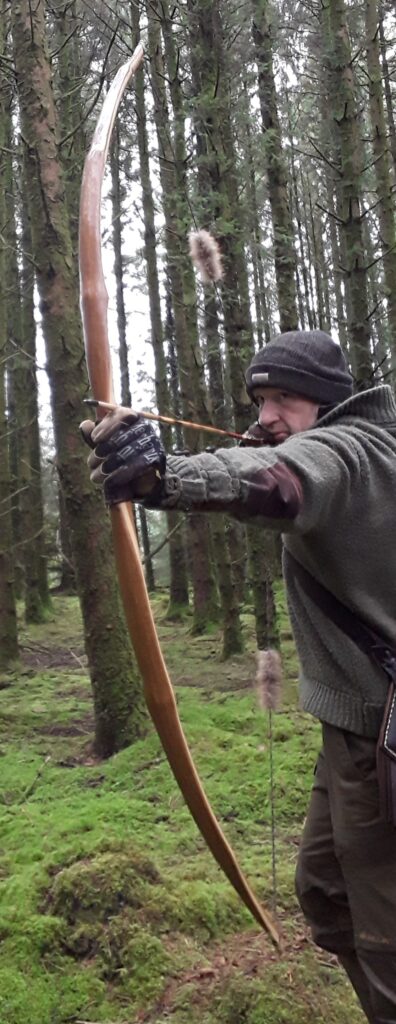
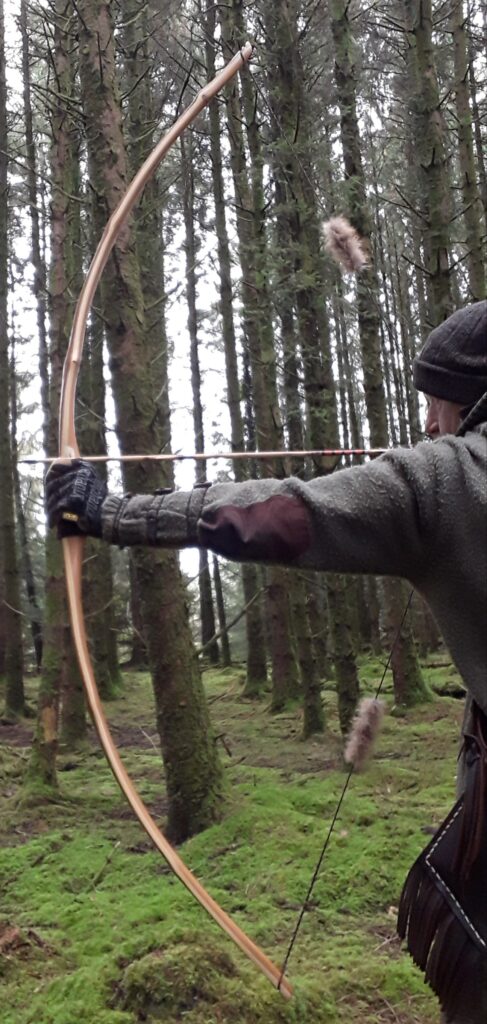
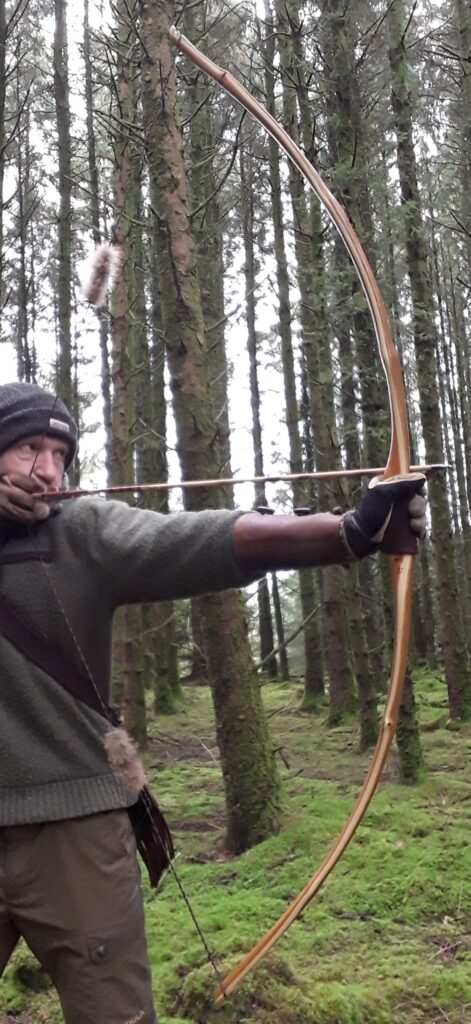
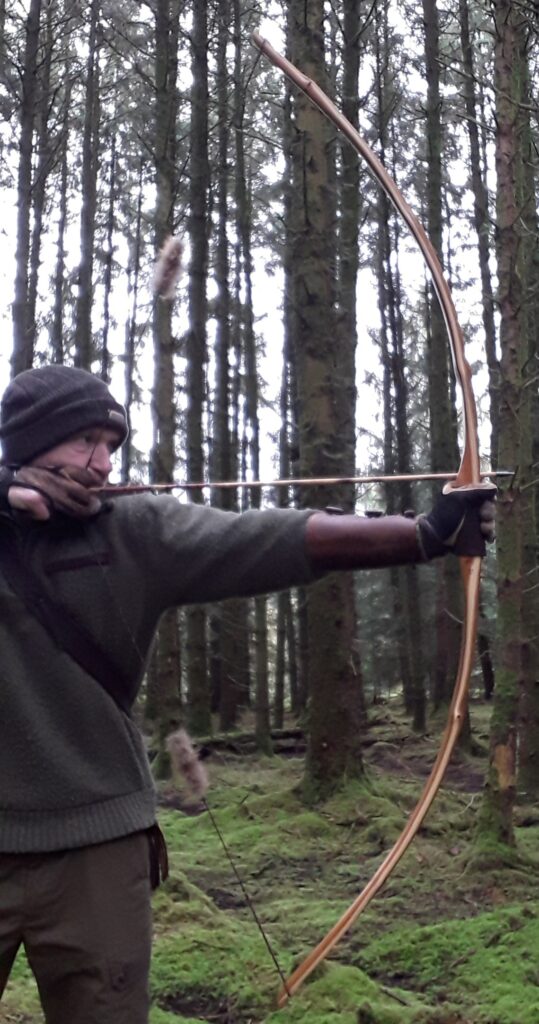
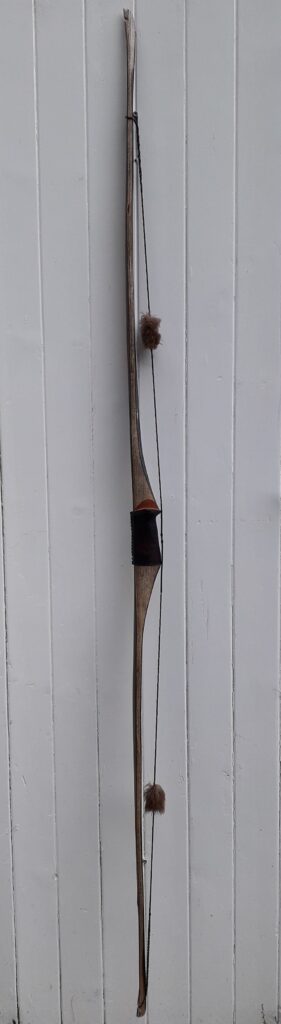
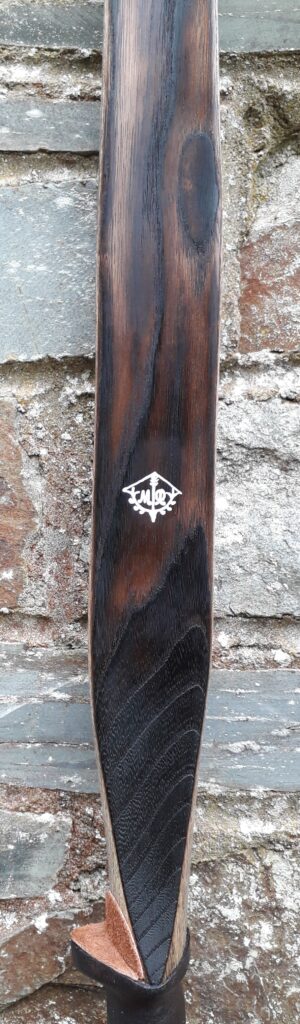
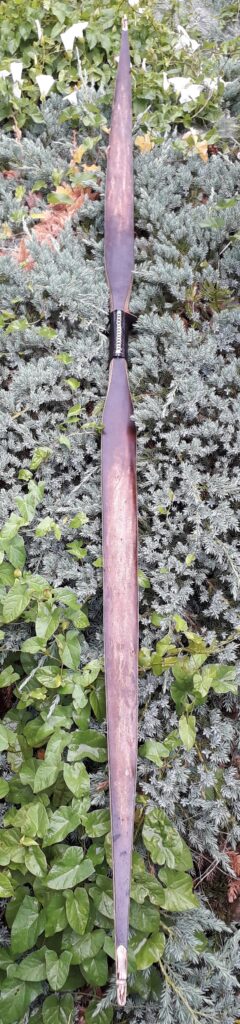
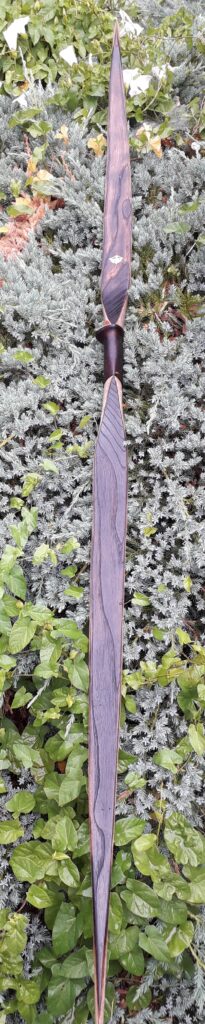
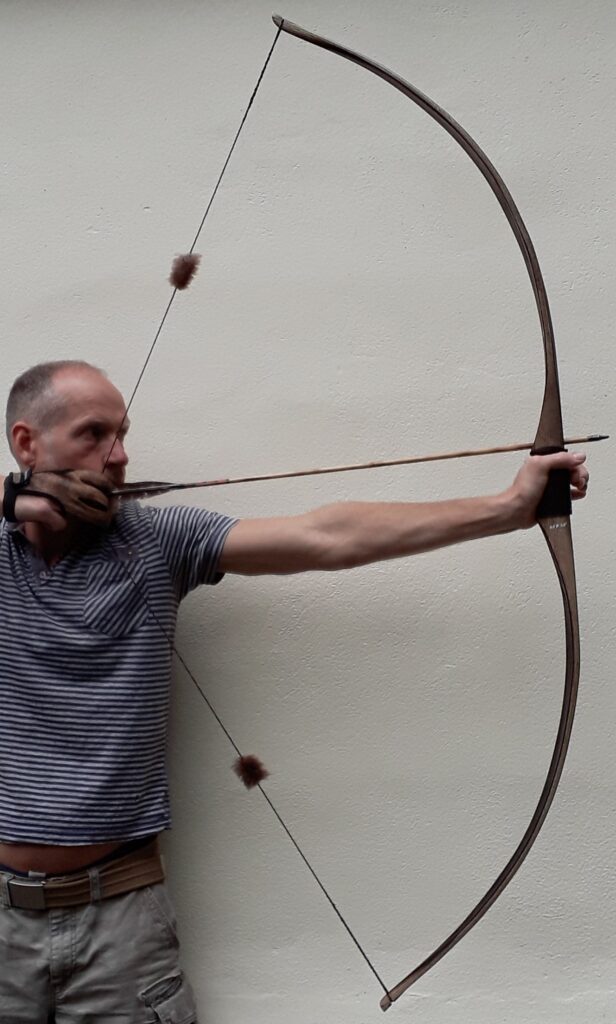
Deadpool – Rawhide/Sinew Backed R&D Yew longbow 35#@28″ (Bow No: 29)

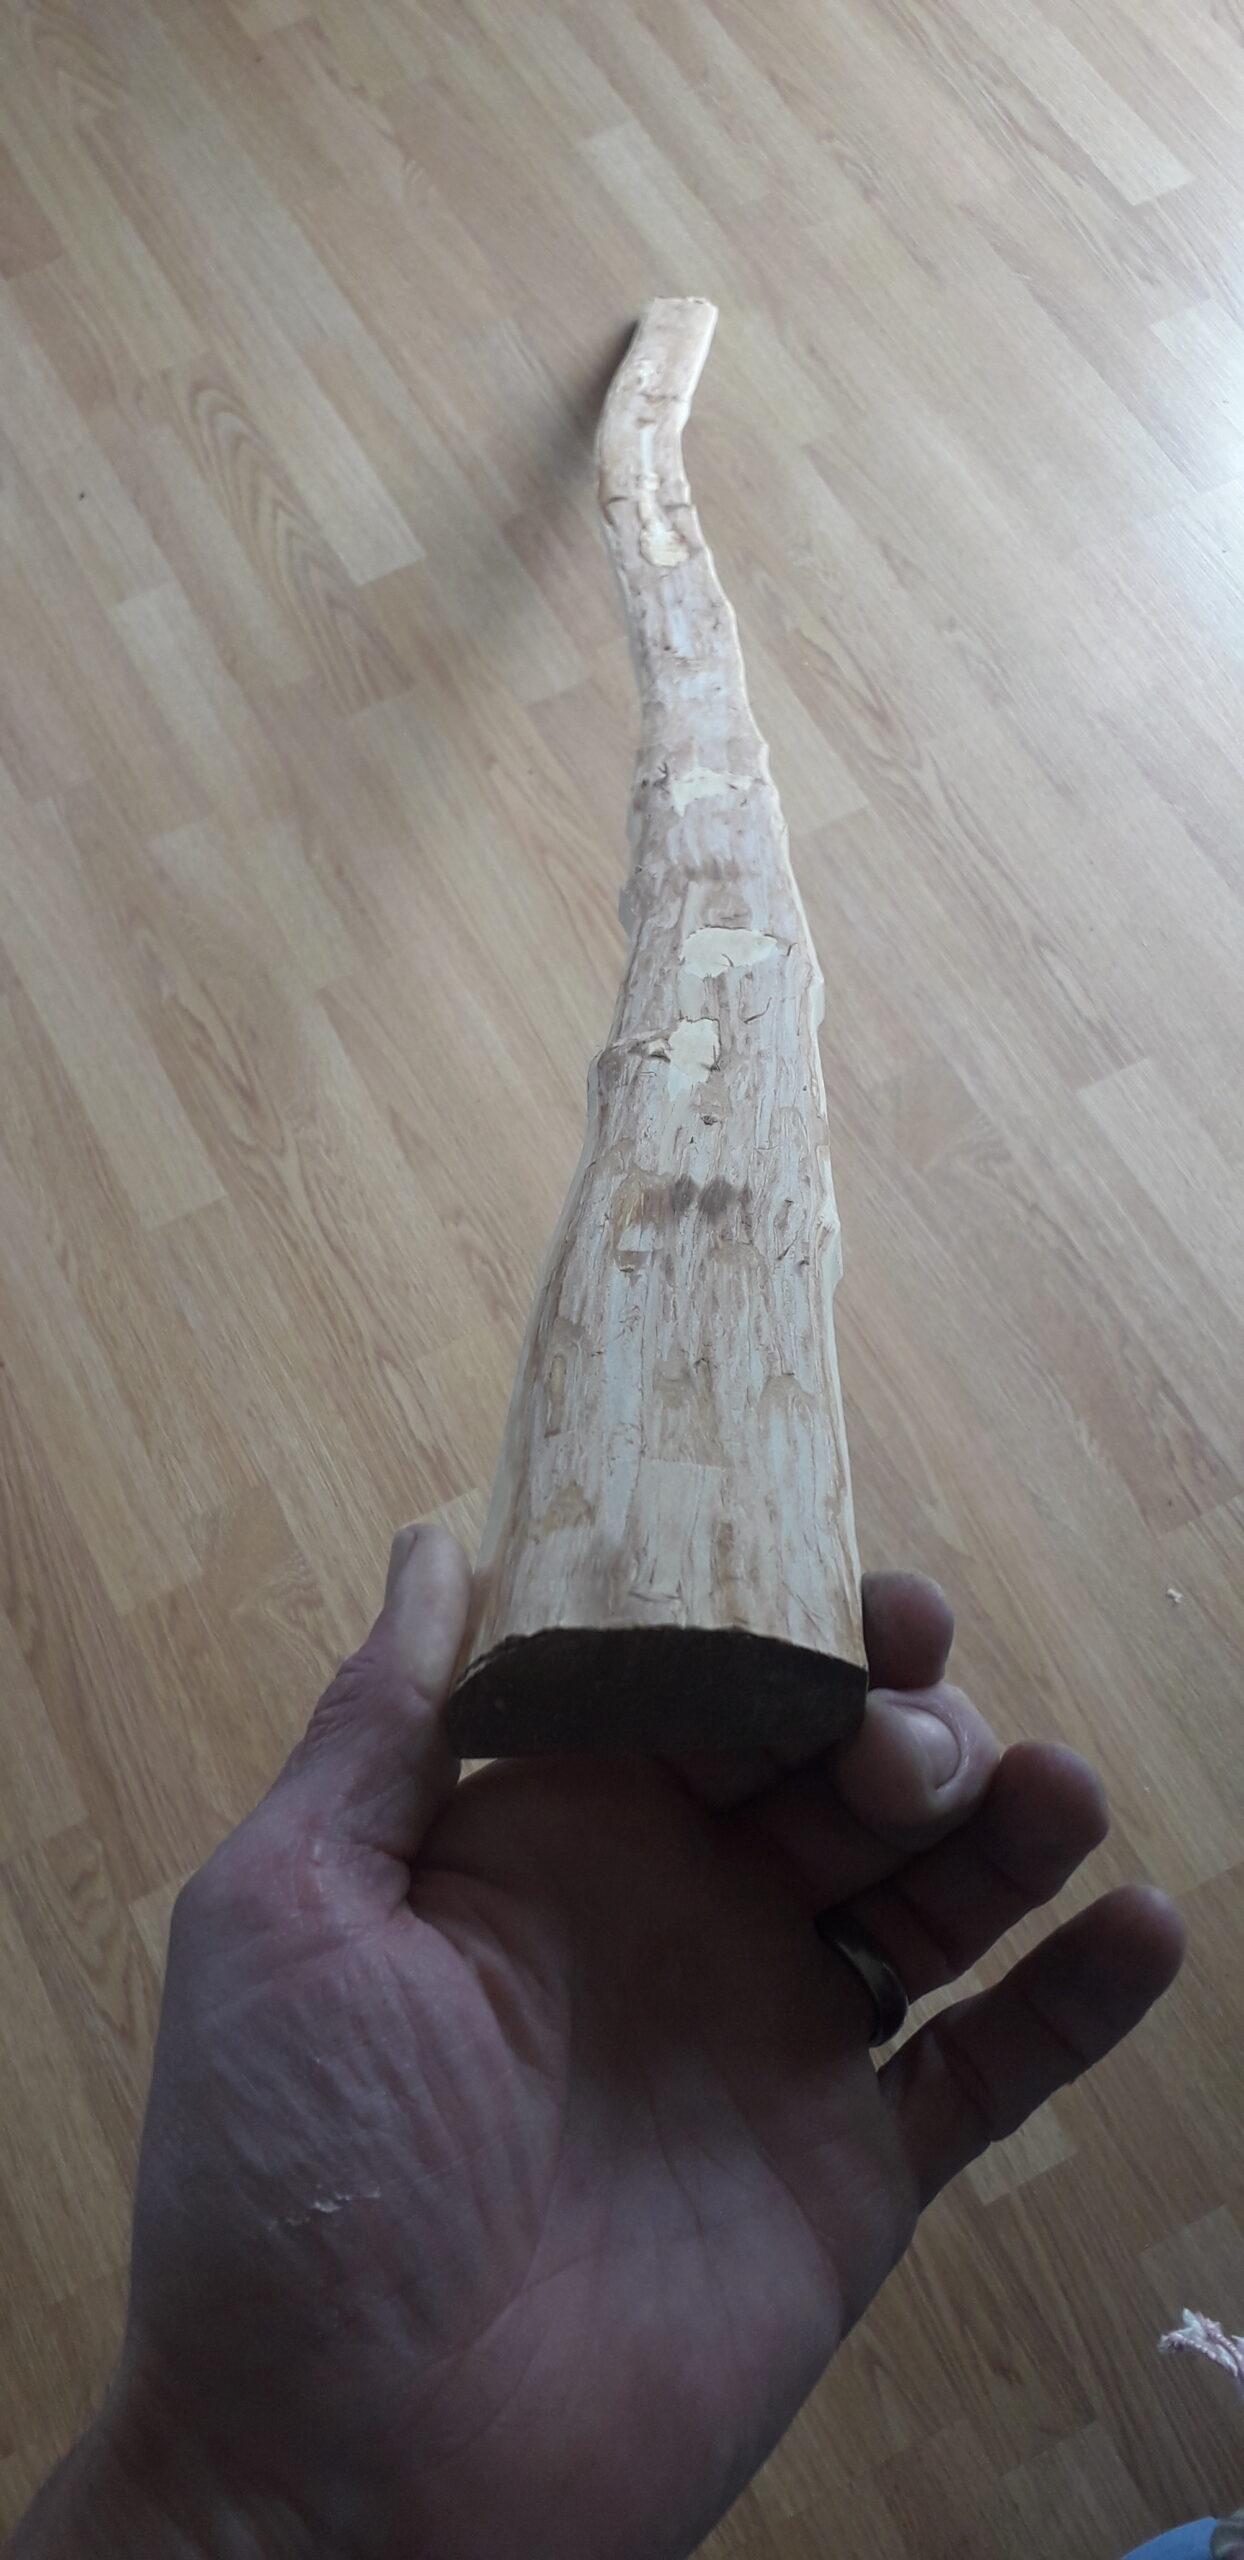
It’s not often I get my hands on a yew log which grew vertically, but the log which produced the stave which this bow was built from came from one of those light seeking leader type limbs you sometimes find on older hedgerow yew trees that have been forced to fight for the light as they have been denied access to the sun by the surrounding trees. Especially if these other surrounding trees are larger conifers.

Since it was a nice looking log and already seasoned, I didn’t mind paying the £80 asking price for it, especially as I felt quite confident in getting two nice staves out of it. So I bought it, plus another log, in the hope that I could make at least a couple of nice lightweight bows.

Back at the workshop I checked the log over more thoroughly, trying to find the best face to work with. To be honest though, the whole log was fairly clean except for a few small knots and a handfull of pins which would likely miss the layout altogether.

Growth rings were around 1.5mm thick and were evenly distributed from one side of the log to the other, so the pith was right down the middle of the entire log. This meant that I should be able to simply part this log straight down the middle and hopefully end up with two decent similar sized staves around 68″ long.

Now as tempting as it was to try and split this log in two with an axe and wedges, I’ve learnt over the years that thing can easily go very wrong with this method when applied to yew. The nature of yew grain makes it very hard to split accurately, and I don’t mind admitting that I lost an awful lot of good yew wood when I first started making bows many years ago. Splitting yew with wedges is a bit like trying to split seasoned elm. Another species of good bow wood which binds itself together with interlocking grain.

Having learnt my lessons previously, rather than trying to split this log, I opted to use my band saw to rip the log in two. And with a nice new sharp 3PTI band saw blade fitted, I had the log ripped down the middle in no time.

Even thought this log was seasoned for a couple of years, I could tell that it was still holding a fair bit of damp in its core. So after trimming the ends off both staves and re-sealing them up with shellac, I placed both halves of the log up in the barn rafters to air out for a few more months.

By December last year they were both good, stable and feeling a fair bit lighter, so I set to work first on the stave which looked like it needed to most straightening. This stave had a bit of side bend in what was going to be the bottom limb. This limb also had a fair bit of reflex in its inner third.

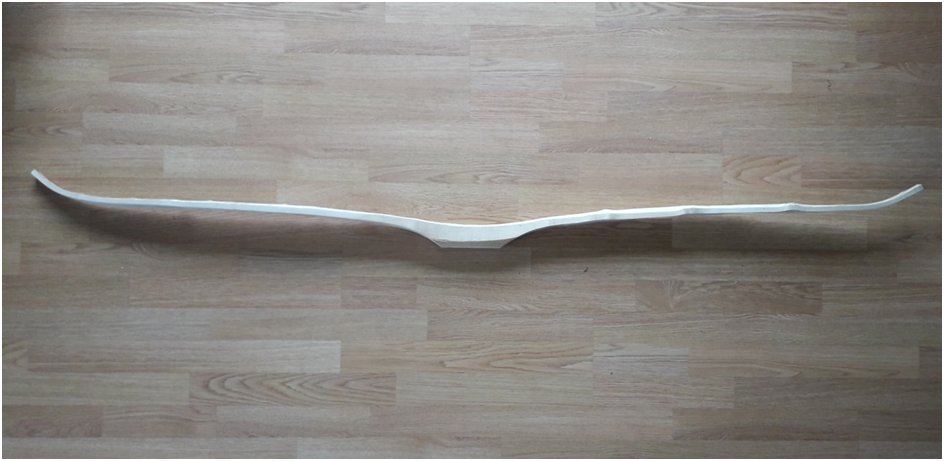
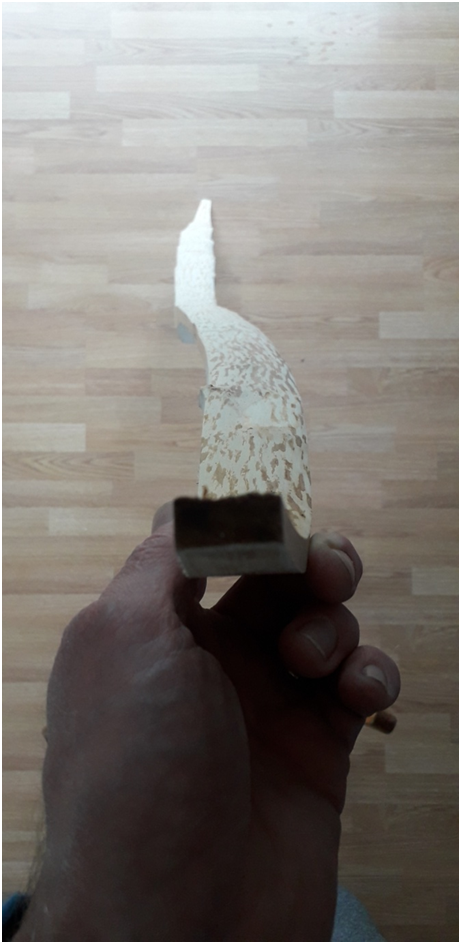
I wanted this bow to have a more classic reflex deflex side profile with a more V shaped appearance at brace like you see the laminate bowyers build from materials like Bamboo and Ipe. The reason being was that I’m slowly starting to get into building laminated wooden bows and have been building some R&D forms lately which are intended for use when building my own bamboo R&D bows in the future. I just fancied trying out the profile on a stave bow first.

Now a note on using heat to bend woods like yew. Firstly, some woods are more prone to cracking when heated with dry heat. Other woods seem not to crack that often. Green or seasoned ash for example hardly ever cracks unless badly scorched by dry heat. Yew however is prone to cracking, especially around the thicker parts of a stave like the handle section. A lot of fruit tree woods and thorn species are prone to cracking and splitting too.

With steam bending, even a wet stave will often conform to an intended shape without too much risk of cracking. But I’ve often found that steam bending a wet stave just produces a bend which doesn’t hold once the clamps are removed, unless other measures are applied afterwards.

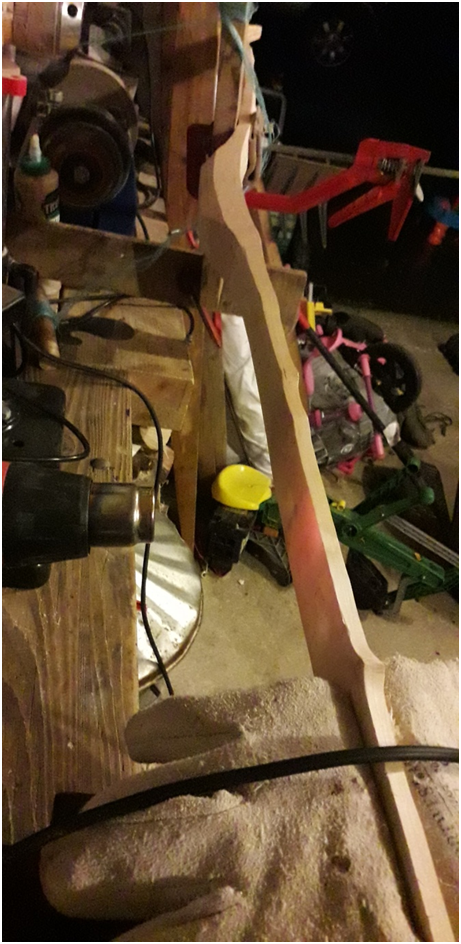
So I still like to get my staves nice and dry, even before steam bending, as I find that steam bends/corrections are much more likely to hold once allowed to cool, dry out for a few days, before being set in place with the heat gun. And if you try and set a wet steamed stave with a heat gun immediately after steaming, your are back in the territory of wet wood with all the potential for cracking.

I’ve learned a few tricks in order to mitigate the risk of cracking/splitting timber when heating and hopefully the following advice will help you avoid problems when working on your own builds.

Firstly, get your wood as dry as possible before you attempt to heat straighten a stave of a timber prone to checking. But dry your wood slowly, unless it is a timber like ash which is safe to speed dry.

Many white woods will take a heat gun treatment when still green and still not check, but try that with yew or thorn/apple etc and you’ll end up with deep ugly splitting in all the worst of places.

What I do nowadays is season all my split or saw yew staves for a minimum of a year in the barn rafters. But before I tuck them away, I always seal the stave ends with shellac. If it’s osage, then I seal the back of the stave too. Especially if I’ve chased the stave’s back down to heartwood before putting it away for seasoning.

After at least a year in the rafters, once I’m ready to use a stave, I then rough out my staves as close to final dimensions as I dare. I then let the stave sit again in the barn rafters for another month. Before doing this though I weigh the roughed out stave and write the weight in grams on the handle section. You’ll be surprised how much water weight comes off a “seasoned” stave when you do this.

After a month roughed out in the rafters, I then bring the stave indoors and leave it in the spare room for a couple of weeks. My spare room has no heating on and is cool but not damp. Again I weigh it and note the weight in grams. A couple of week in my spare room will see another bunch of weight fall off.

Finally, I put the stave into my drying room where I have a dehumidifier running permanently maintaining a humidity of below 40% and a temp of 22 degrees Celsius. This is where the magic happens.

The purpose of the staggered and gradual drying is to allow the moisture to leave the stave slow enough to avoid cracking and splitting. Any quicker than this and I find that the handle section will often crack either in the fades or down the narrowest parts of the deepest section of the handle. Especially if the pith is left in the handle section.

The tips can sometimes crack too as a result of too much moisture leaving the stave through the ends too quickly, especially if the previously sealed end surfaces were trimmed off during the roughing out phase. Always reseal the tips of a yew stave. A couple of applications of thin shellac stops splitting in most cases.

I’ll usually leave a stave in my drying room for at least a month. Or I keep weighing it every week until the weight stops falling. Once the weight loss has plateaued, then I feel confident I can get heat directly onto the stave without much risk of cracking it.

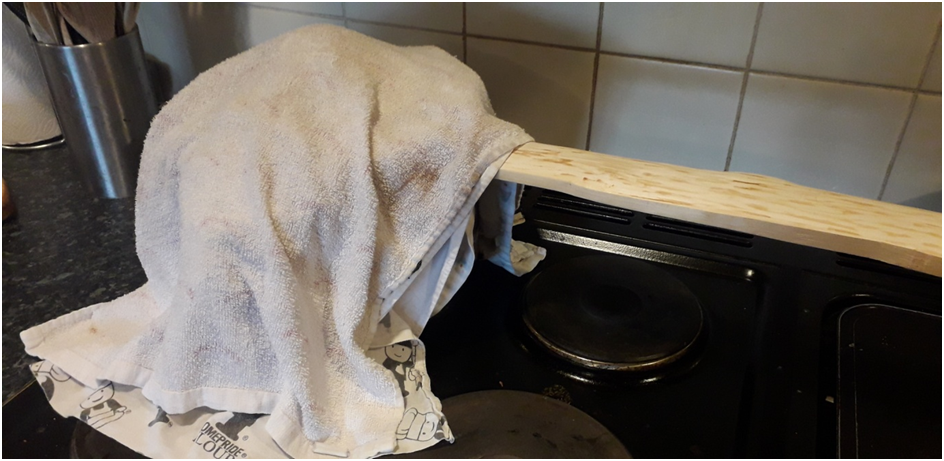
This is also a good time to take a stave to the steam pipe to perform significant steam bends or whole stave corrections if full profile forms are being used. Just remember that steam bending puts a lot of moisture back into a stave, so once your stave is steamed and clamped to the shaping form, it will need to stay clamped to your form until it has fully dried again

To get your steamed stave dry again it will need to be returned to the last two stages of drying process previously described above. Only then, once you’re confident the steamed stave is now dry again, should you set the steamed shape in place with the heat gun. After fully drying, heating, then allowing a stave to cool completely, can we now remove the clamps to see what we’ve achieved.

It’s not uncommon to see as much as 100 plus grams of moisture weight being lost between roughing out and the point at which the staves weight stops dropping. And this stave was certainly much lighter after going through the same process just described. So once the weight had stopped falling, I pushed on with the build.

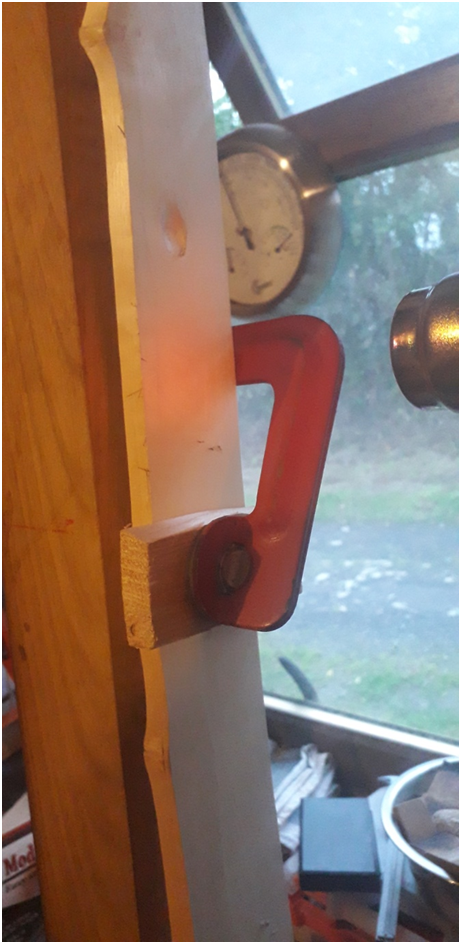
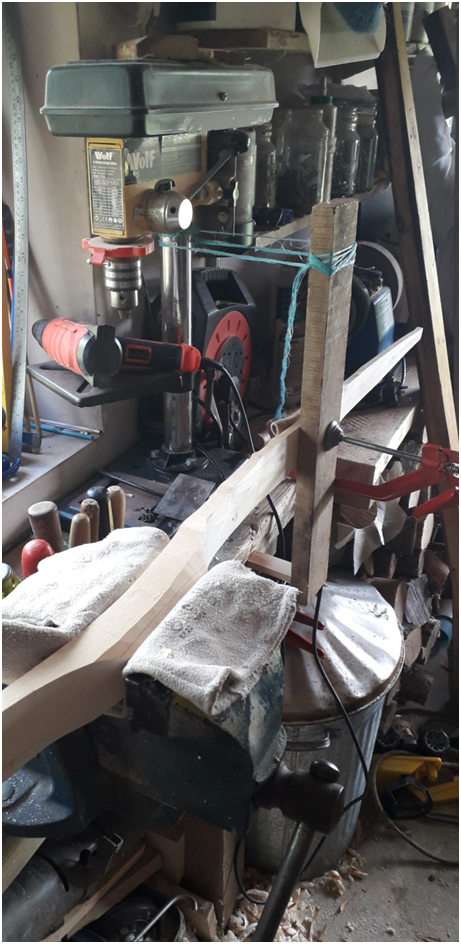
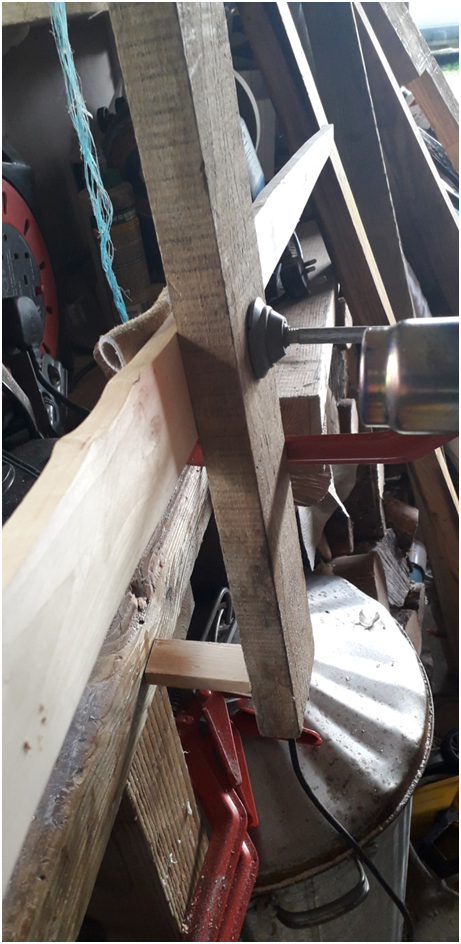
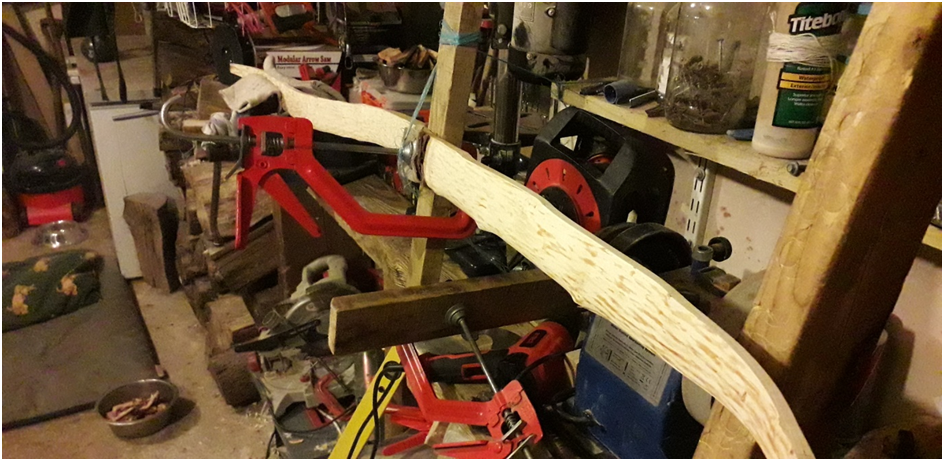
The new R&D form worked well and I used this form combined with my steam tube and a bunch of clamps to get this stave conforming to the desired shape. After putting the stave back into the drying process whilst still on the R&D form, I was confident that the stave was dry again, so I set the shape with the heat gun.

The advantage of using a form is that I can apply side bending at the same time as putting in whatever curves I need, all at the same time. This significantly reduces the amount of heat treating needed in order to get my staves aligned and shaped as balanced as possible prior to tillering.

This stave took the classic R&D shape very well and after a period of a few days settling in back in the drying room, I began the tillering process, which was made simple by the fact that the string alignment was now sorted, and a lot of balance was now installed through the heat shaping process.

I aimed to make a lighter draw weight bow from this stave for two reasons. Firstly I often get asked for bows in the 35# range. But since most primitive or traditional archers tend to prefer draw weights closer to 50#, this higher draw weight is what I usually plan for when roughing out a stave. So for this stave I was planning for a lighter bow from the outset.

Secondly, whilst roughing this stave out, I’d discovered a small hidden pocket of rotten, delaminated material, smack in the middle of the lower limb. And by the time I’d excavated the undesired material and surrounding muck, I wasn’t left with a huge amount of material to provide the kind of limb thickness that would be required for a bow over 40#. So circumstances were telling me to use this situation as a good reason to finally make the sub 40# bow which I keep getting asked to build.

Tillering was so much easier with the limbs starting out with the exact same amount of bend. And whilst the classic V shape of this bow when strung is still growing on me, I have to say that the draw felt lovely and smooth and without any stack. These R&D bows are super easy to string too, which is always a bonus.

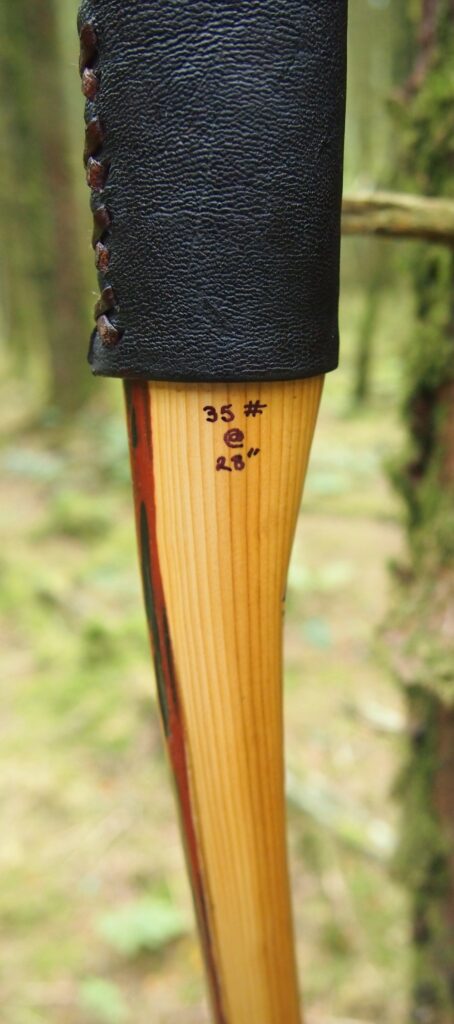
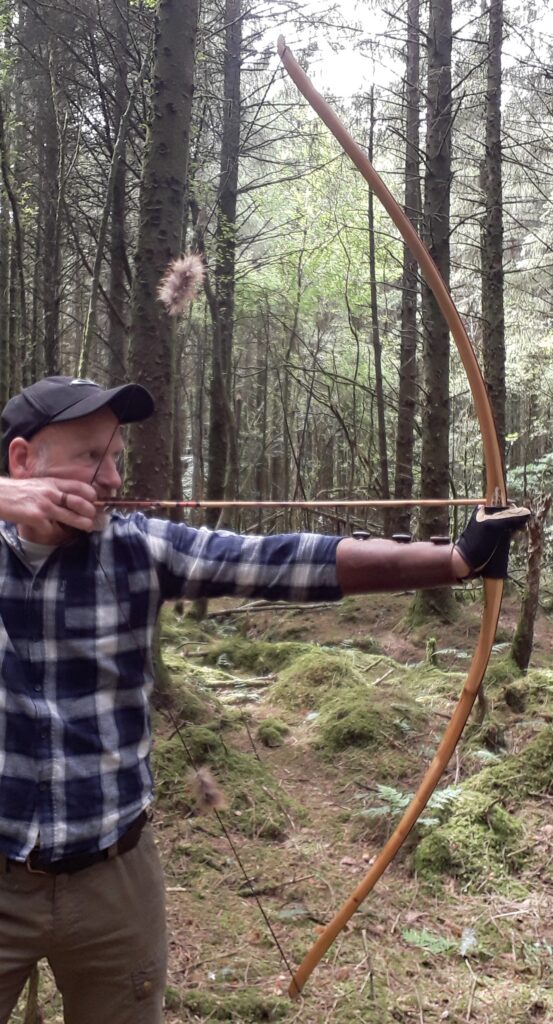
So with the scales reading 35# at 28″, shooting her in was actually a great bit of relaxing fun. And my right shoulder which has been giving me some trouble lately was really appreciative of a rest away from the normal 50-60 pounds of draw weight which I routinely shoot.

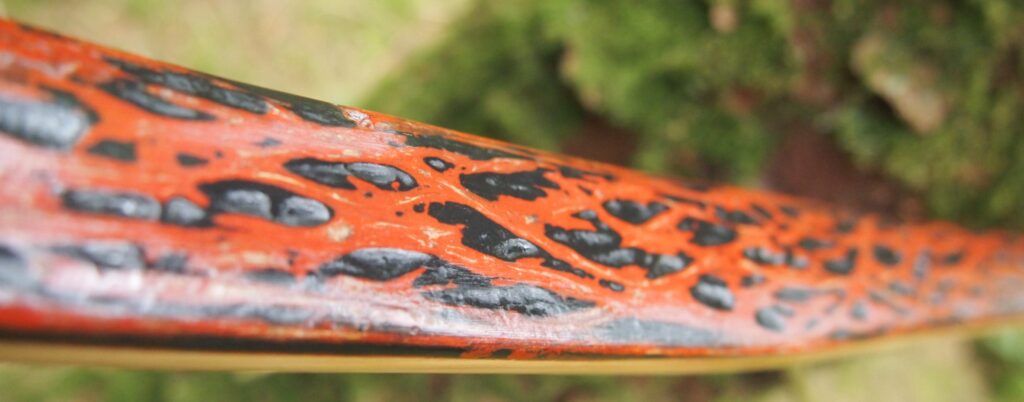
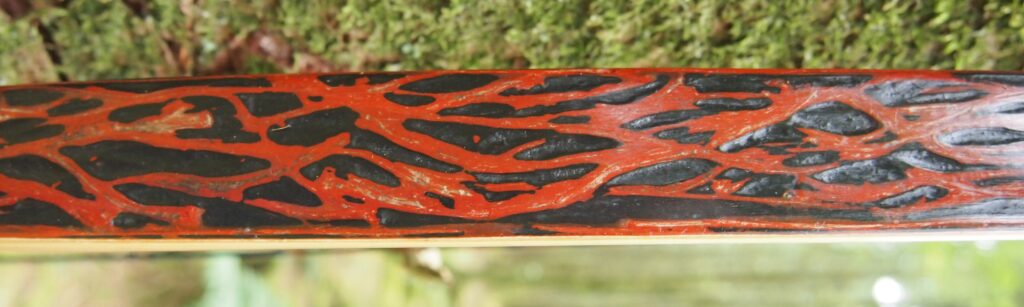
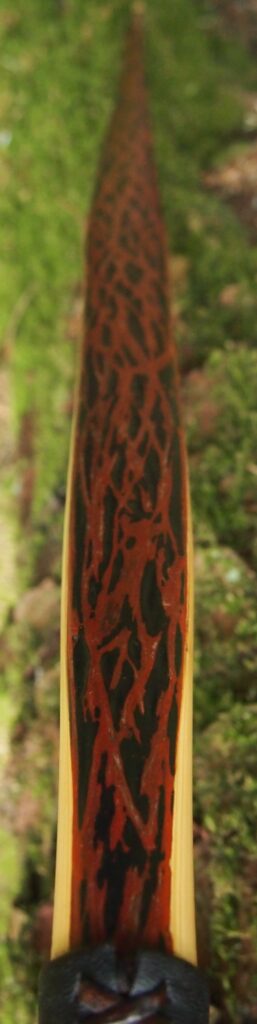
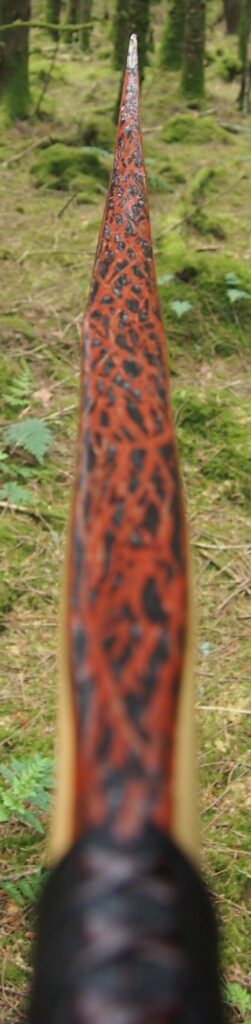
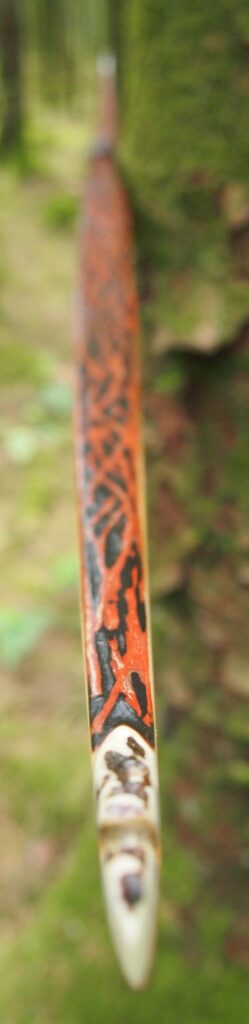
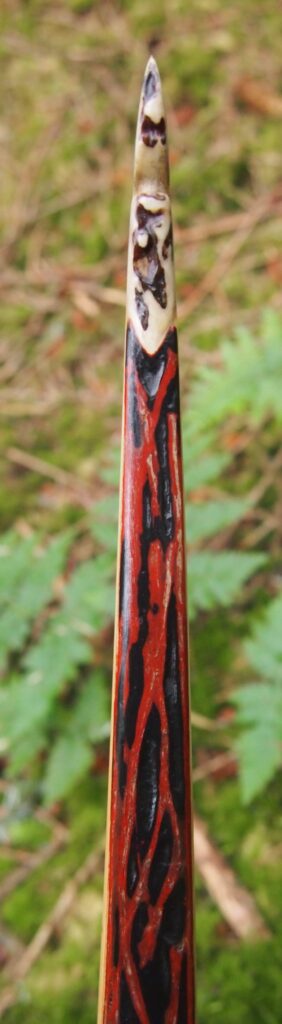
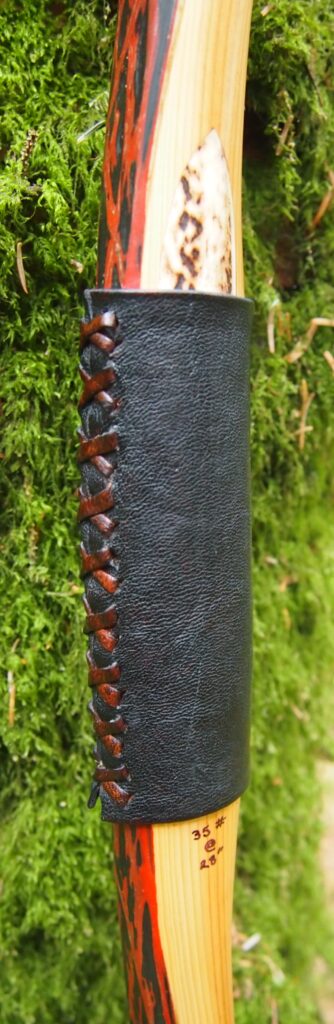
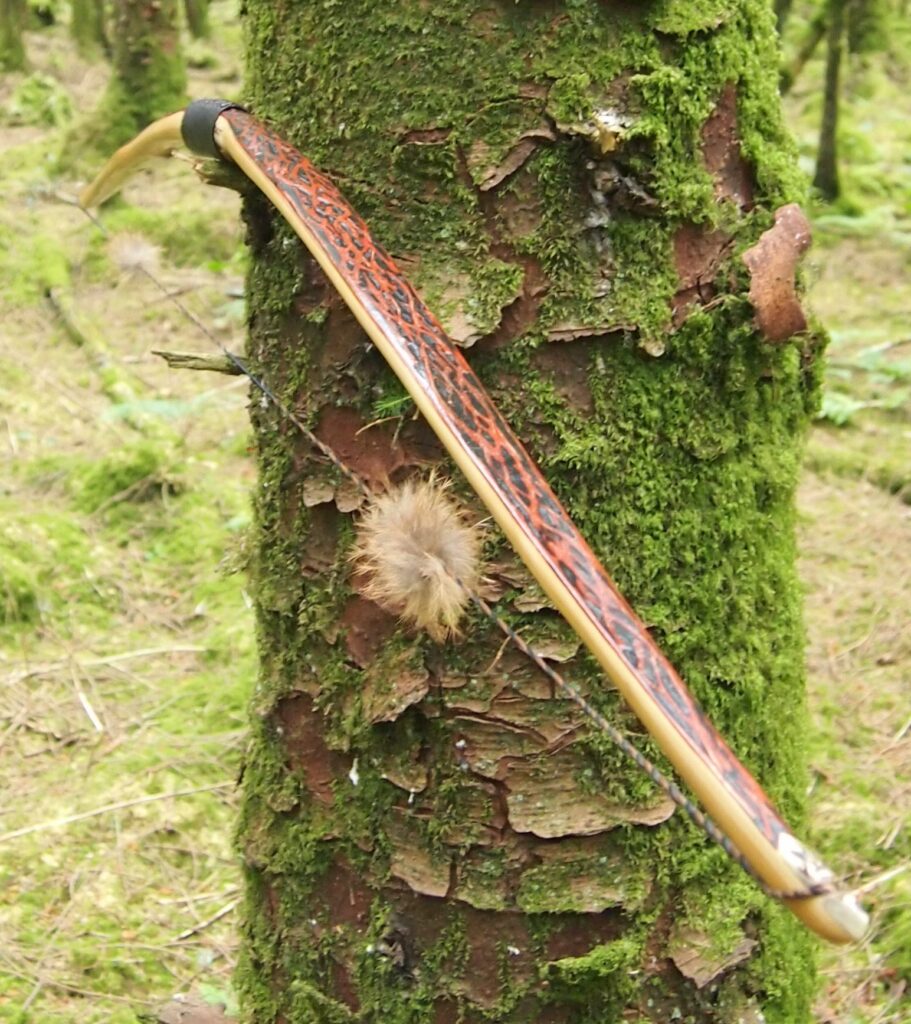
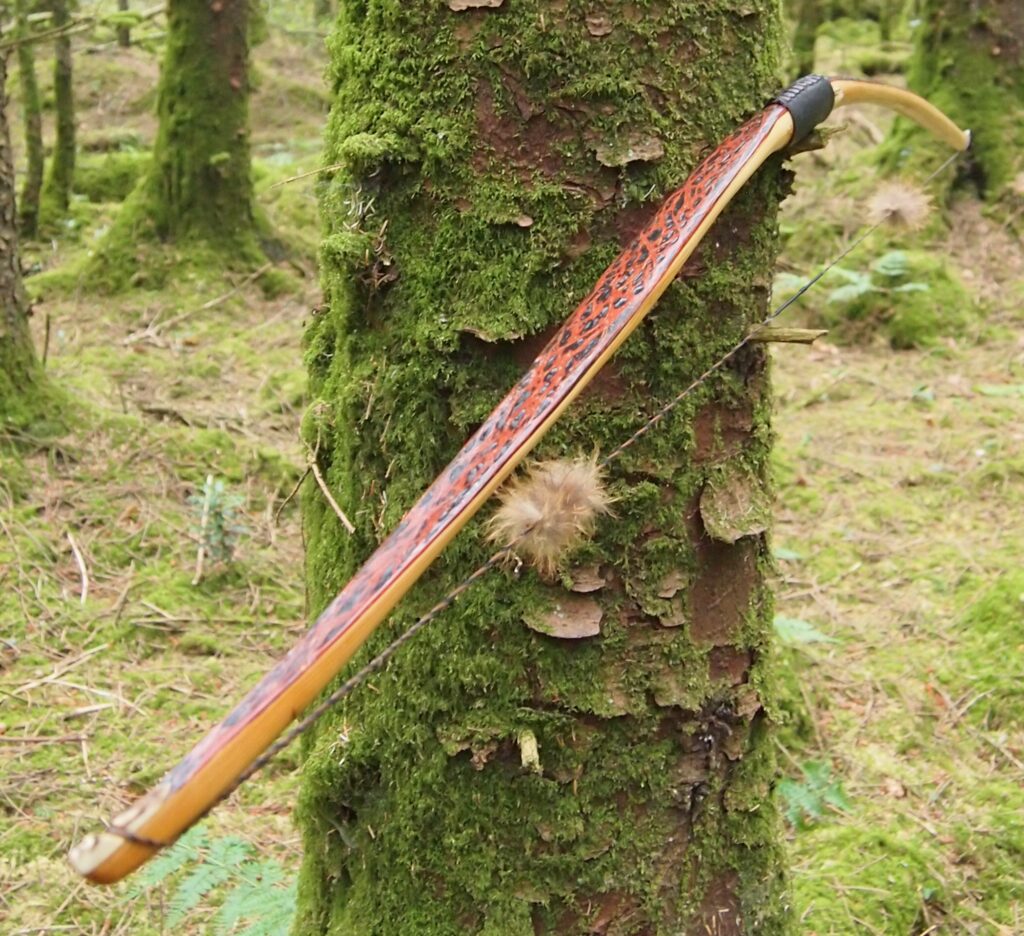
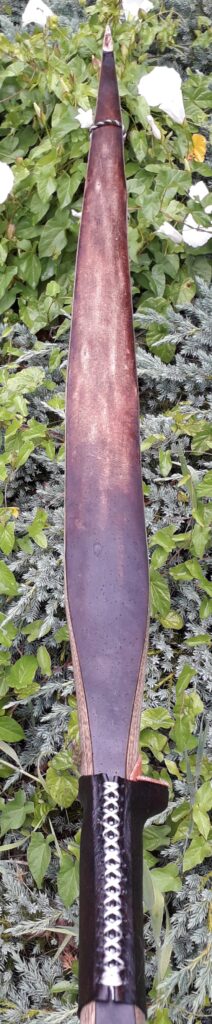
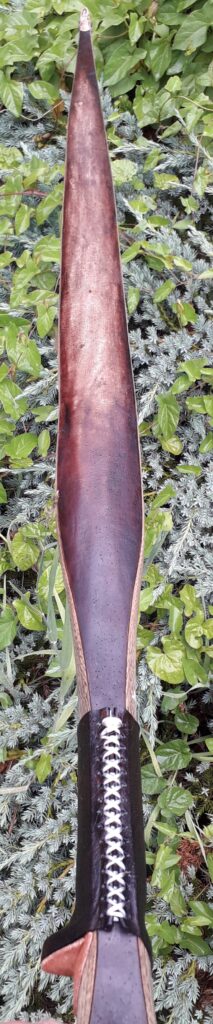
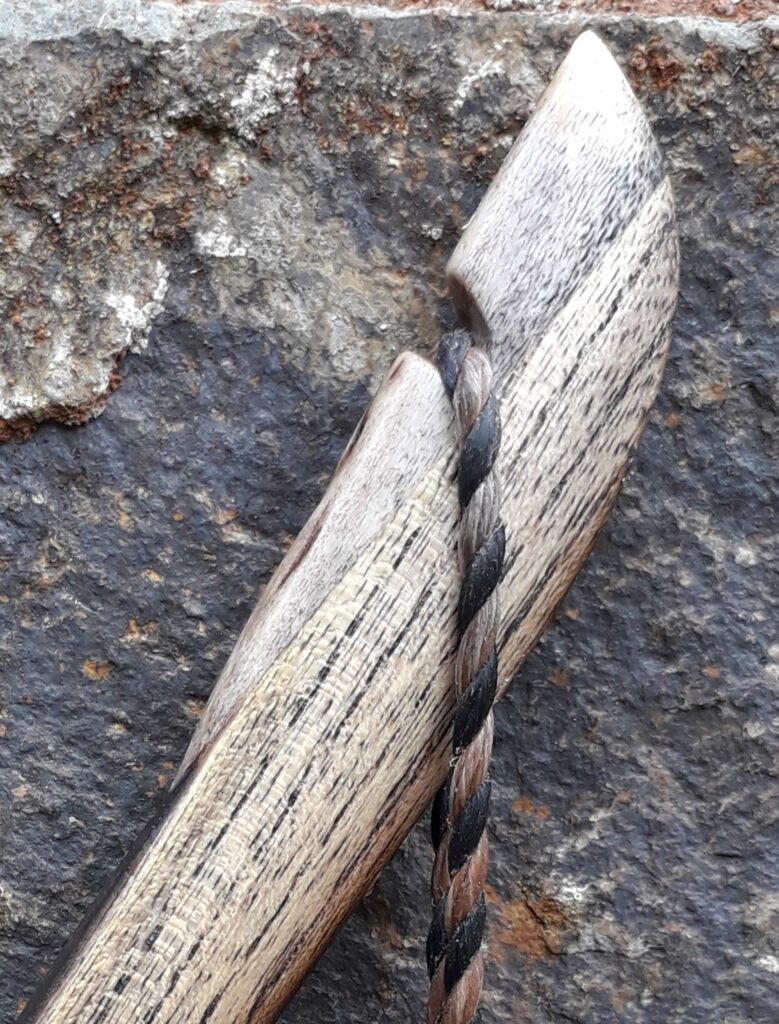
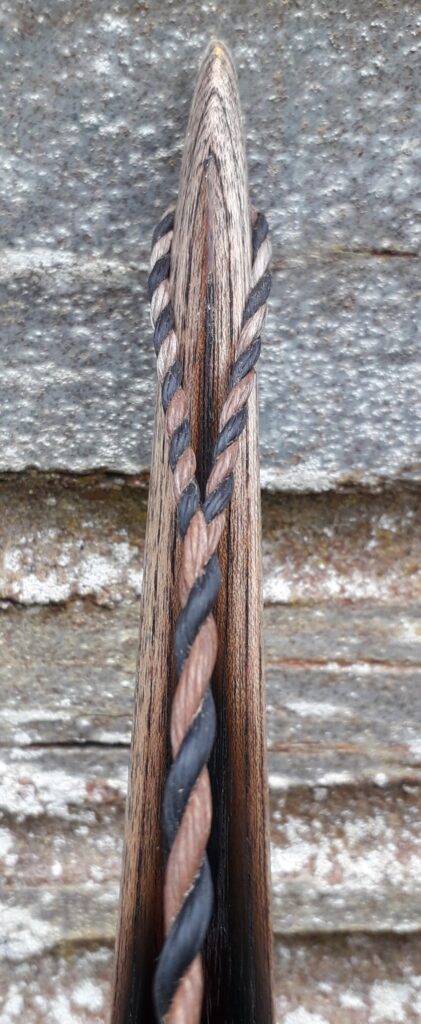
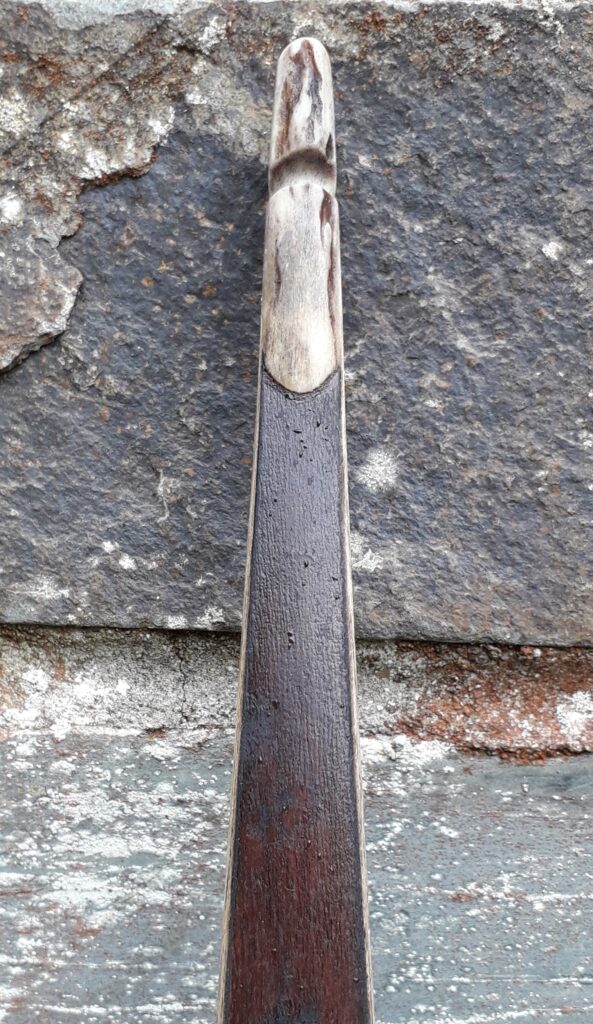
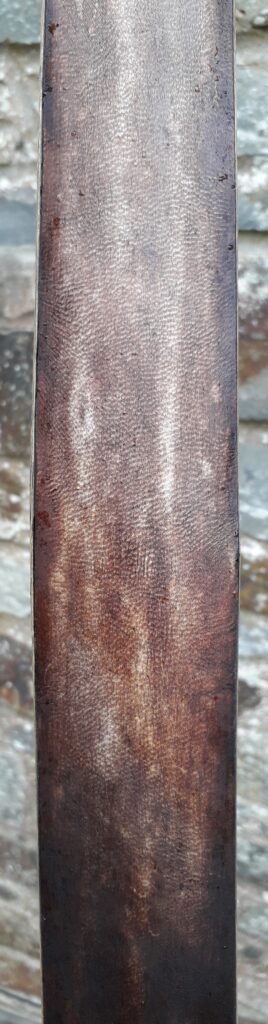
I decided to rawhide back this bow and decorate it with just an once of red deer leg sinew, more for safety, durability and aesthetics than anything else.

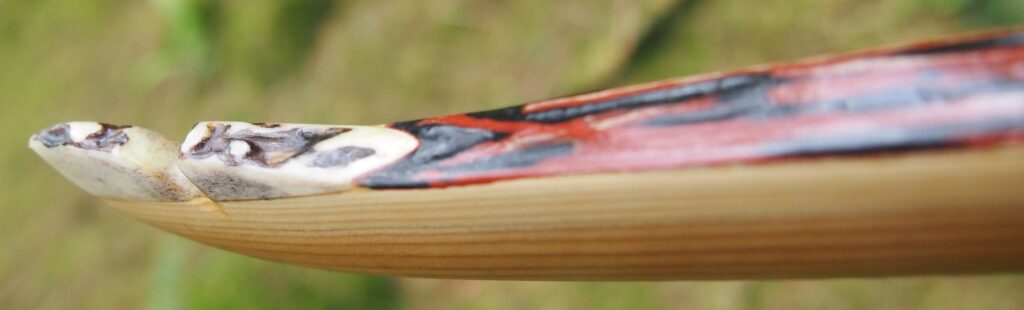
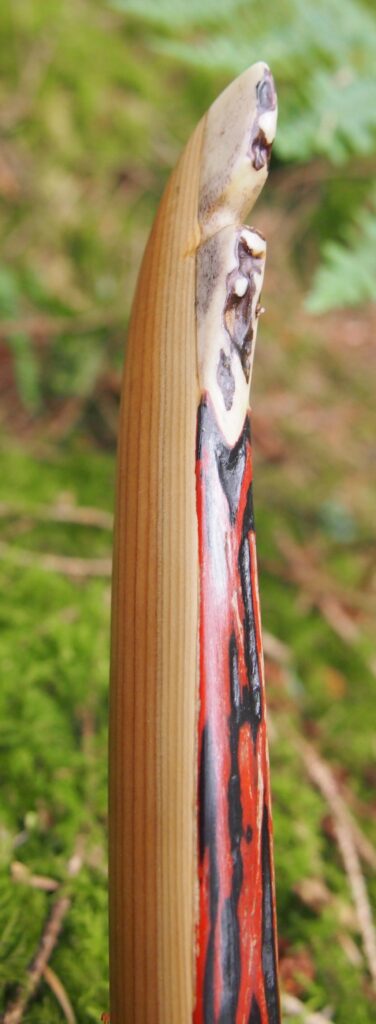
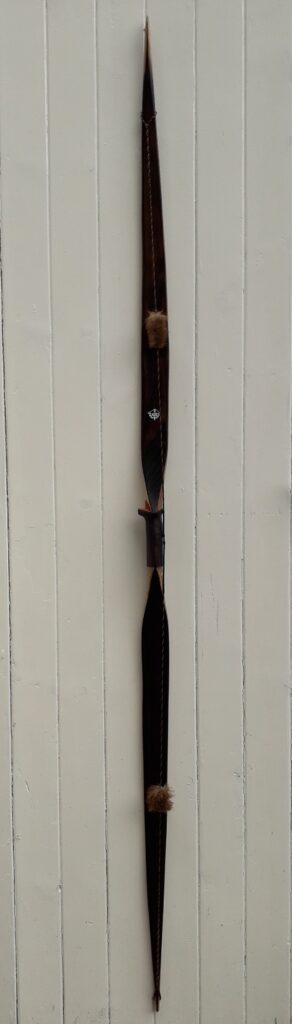
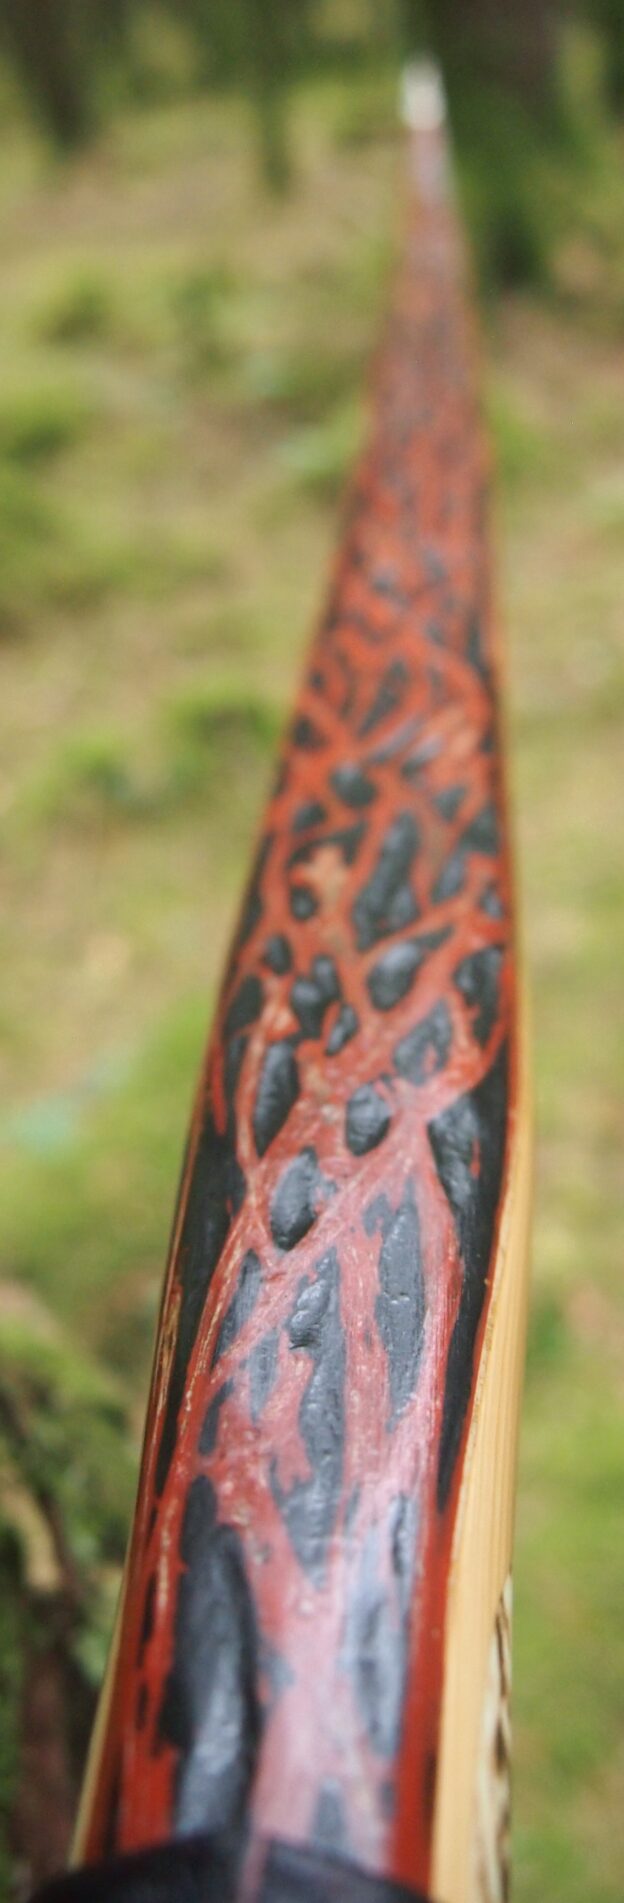
To create the textured coloured sinew backing effect, I rehydrated the sinew strands by dipped them into TBIII mixed with red ochre earth pigment to give it the nice red colour. And the black applied over the top is Bideblack earth pigment again mixed with TBIII painted over the top to ensure the sinew is waterproof. I then scraped and sanded through the black to reveal the red beneath.

The dirty red/black combo looks great and my lad commented that it looks a bit like the colour scheme worn by Marvel’s “Deadpool” character. And whilst I’m not usually one for naming bows, I couldn’t resist calling this one “Deadpool”.

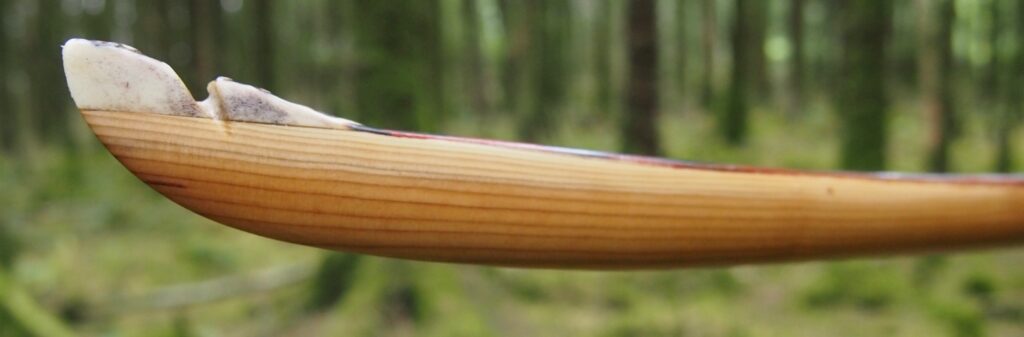
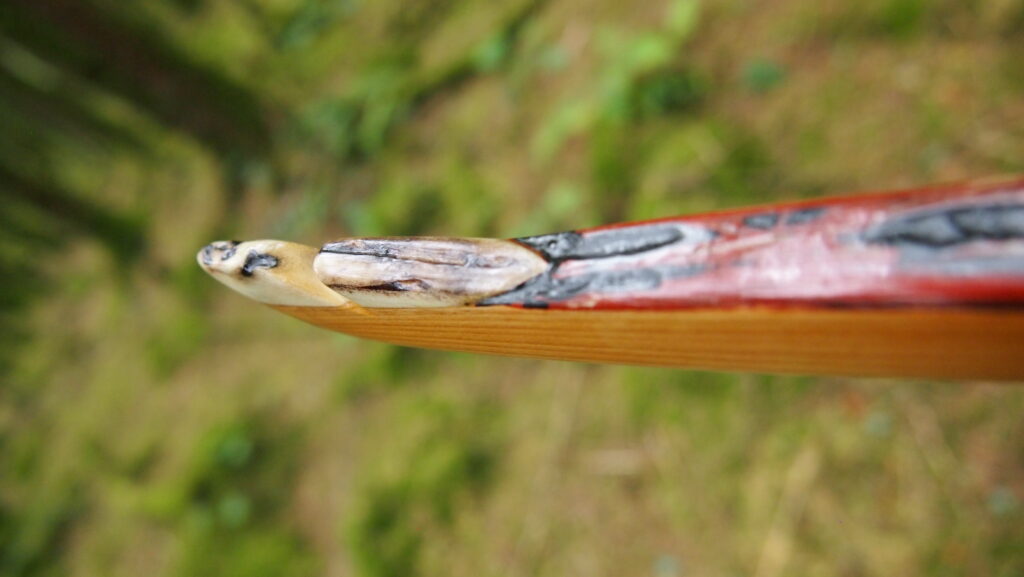
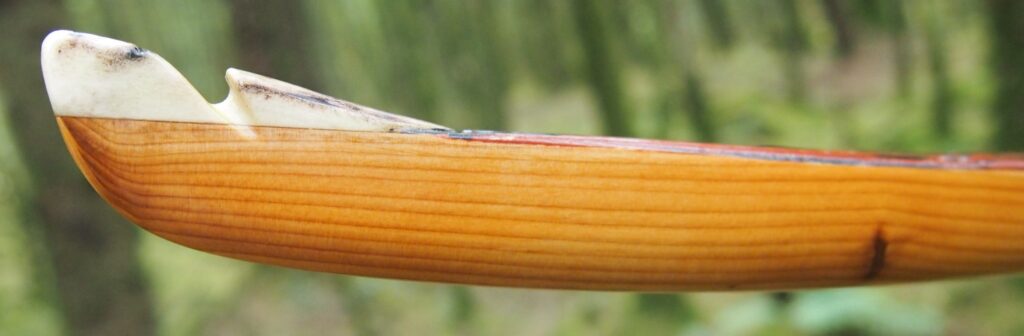
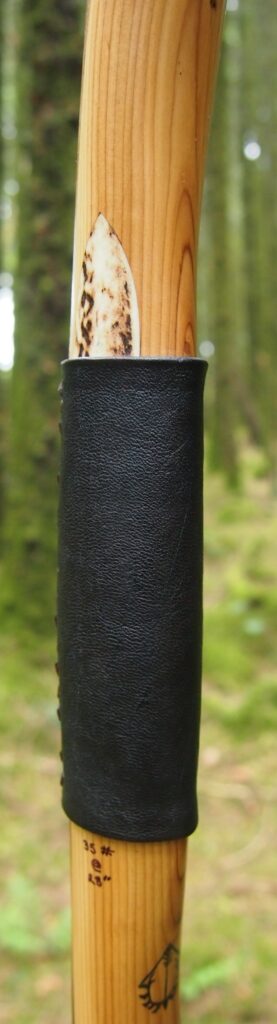
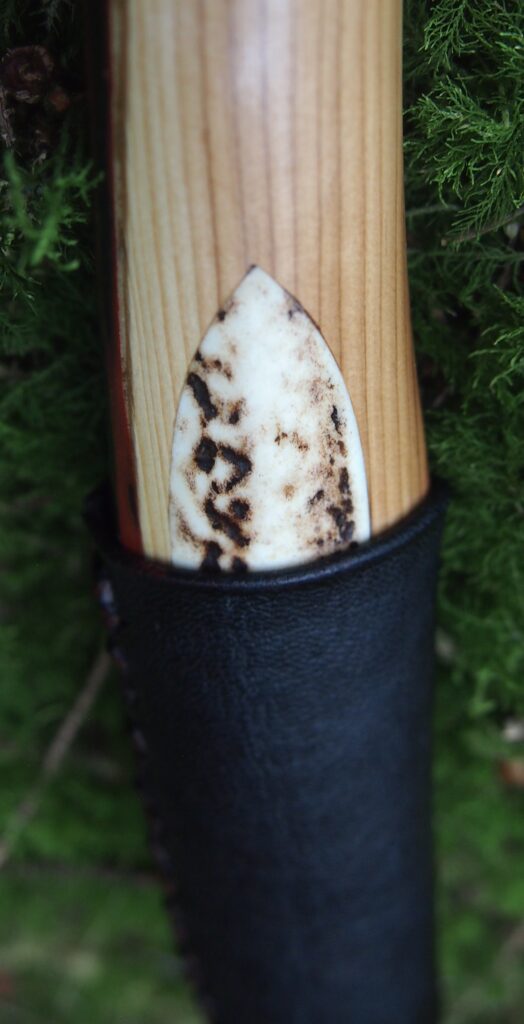
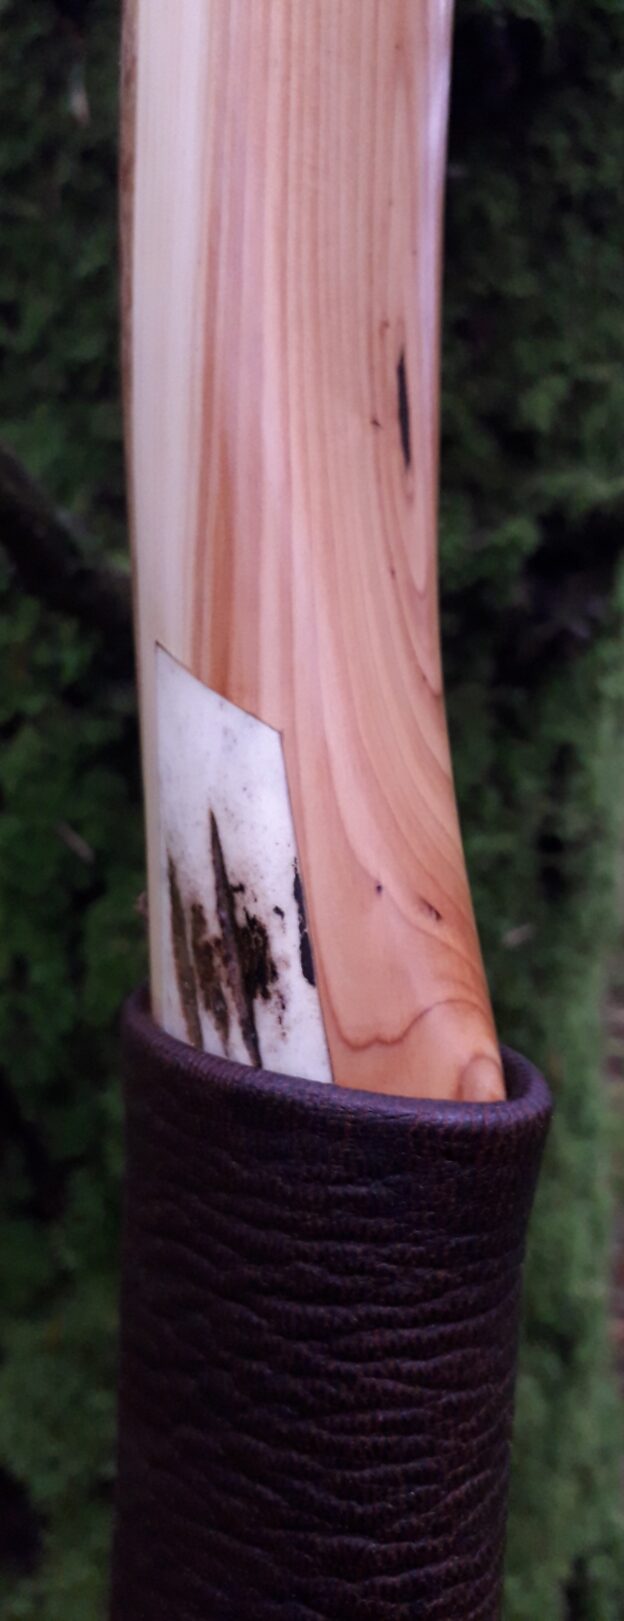
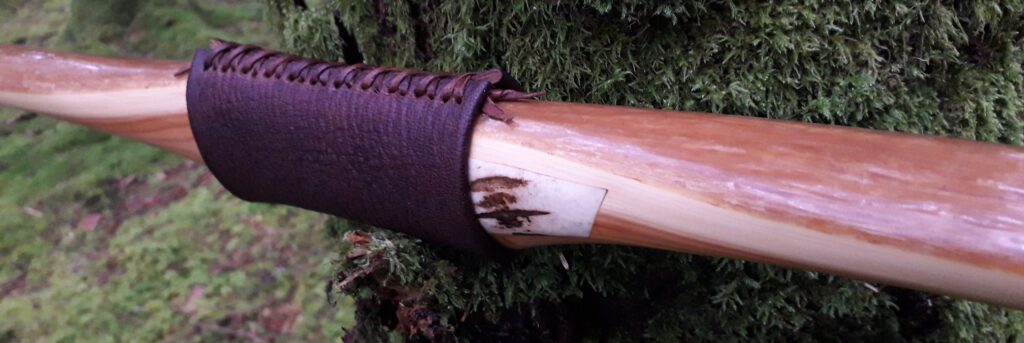
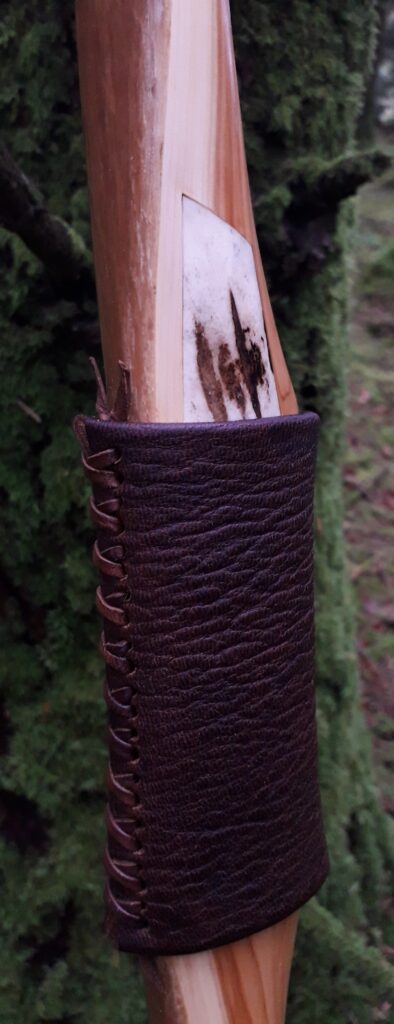
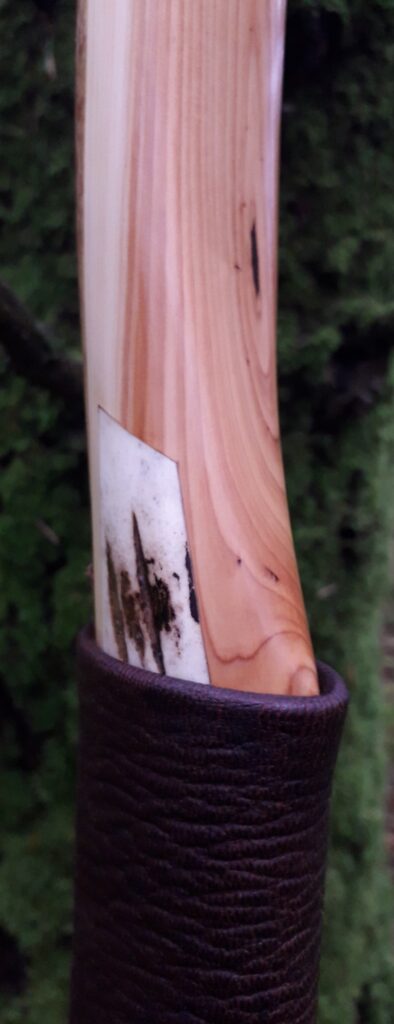
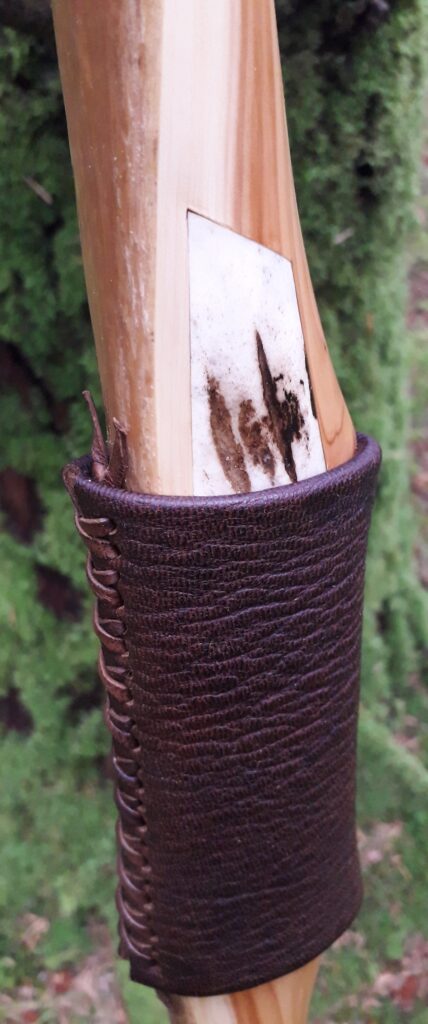
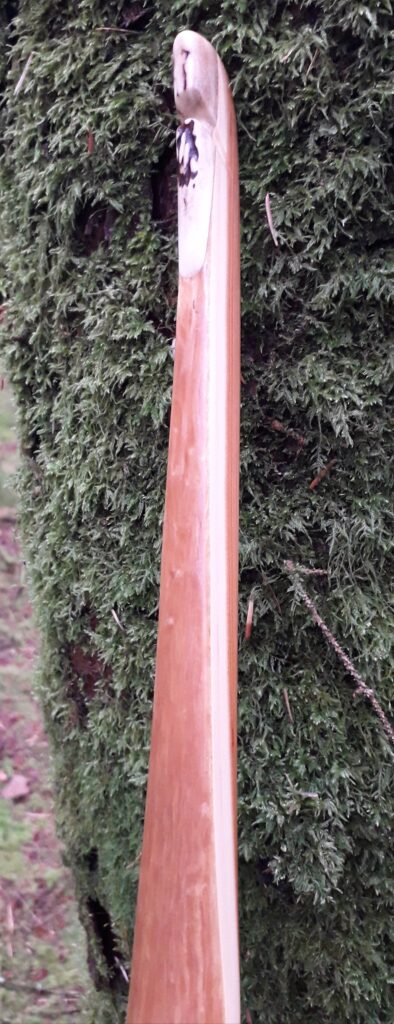
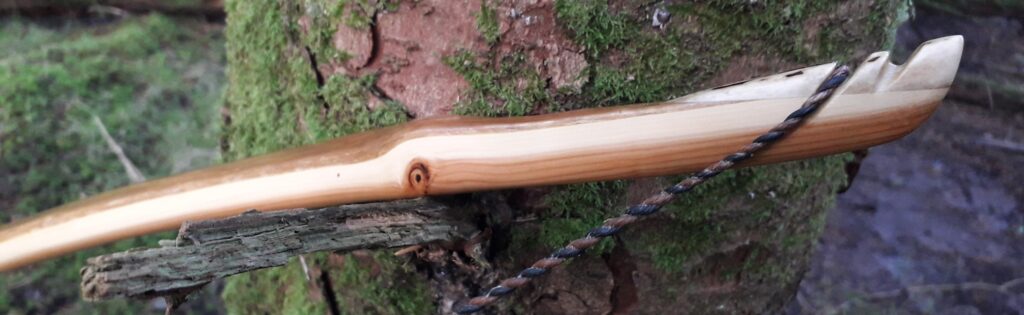
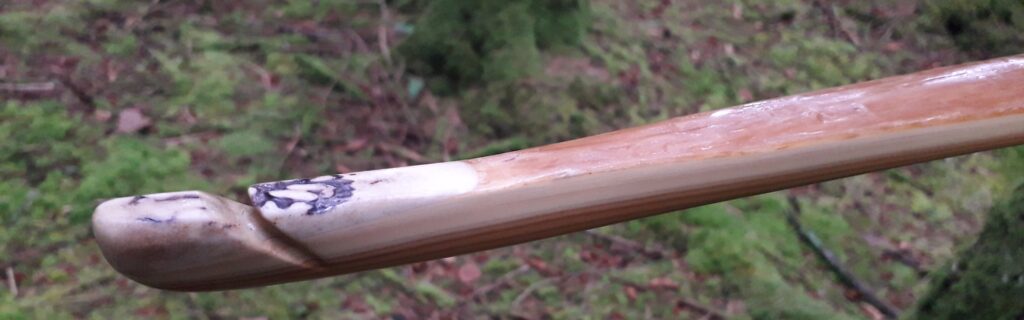
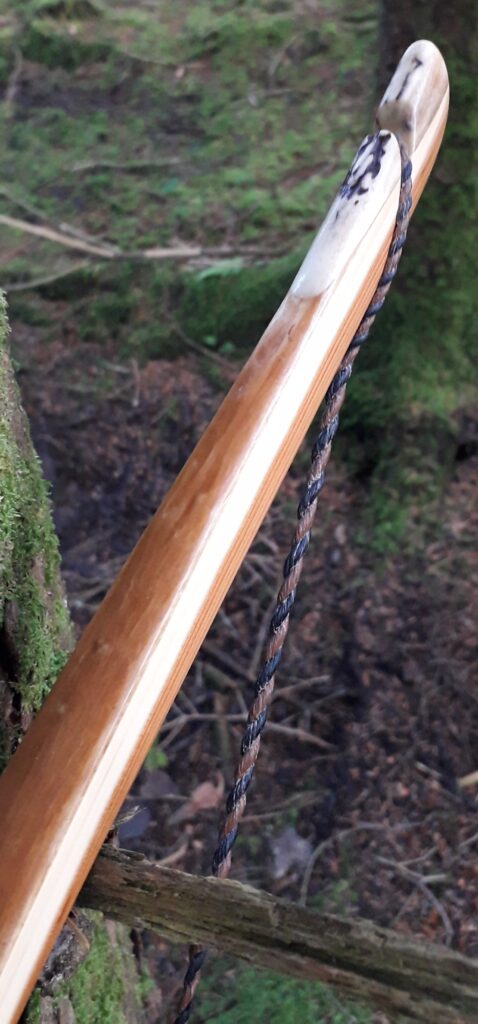
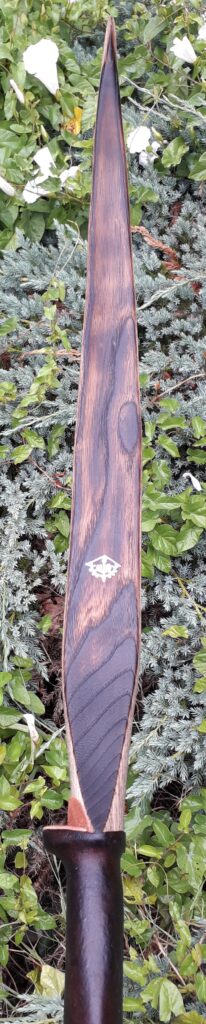
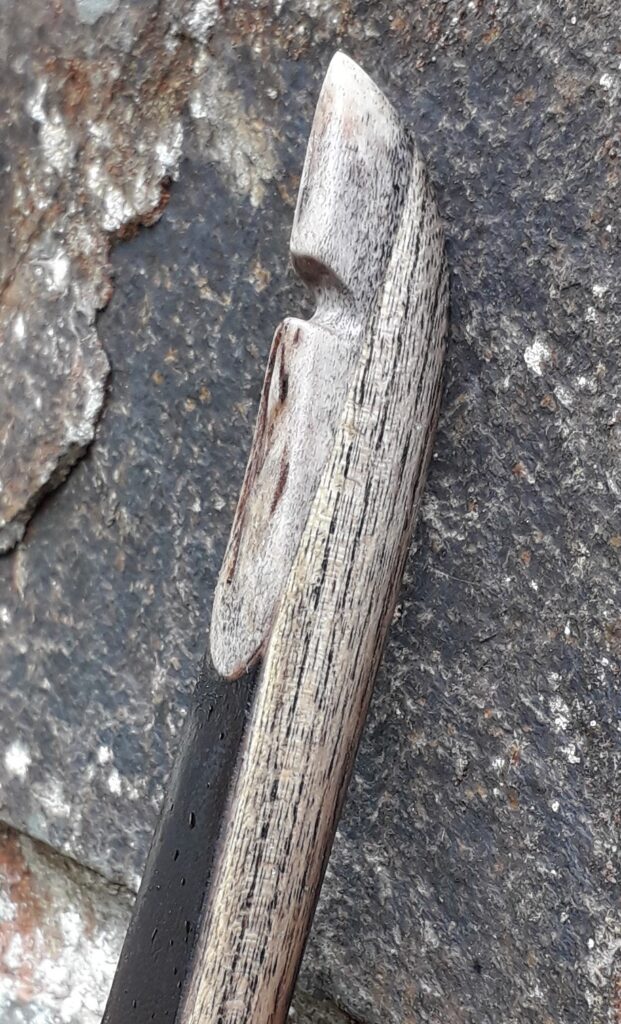
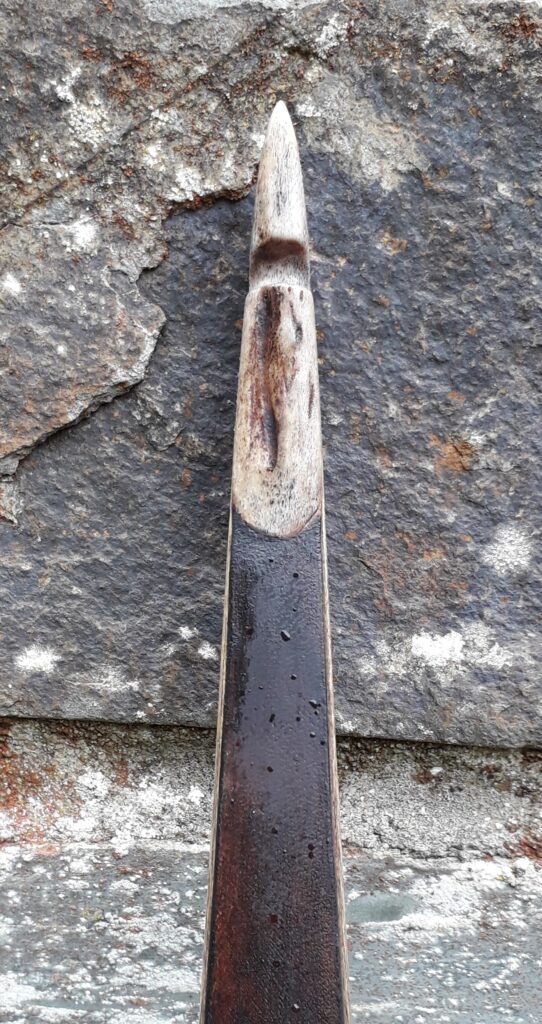
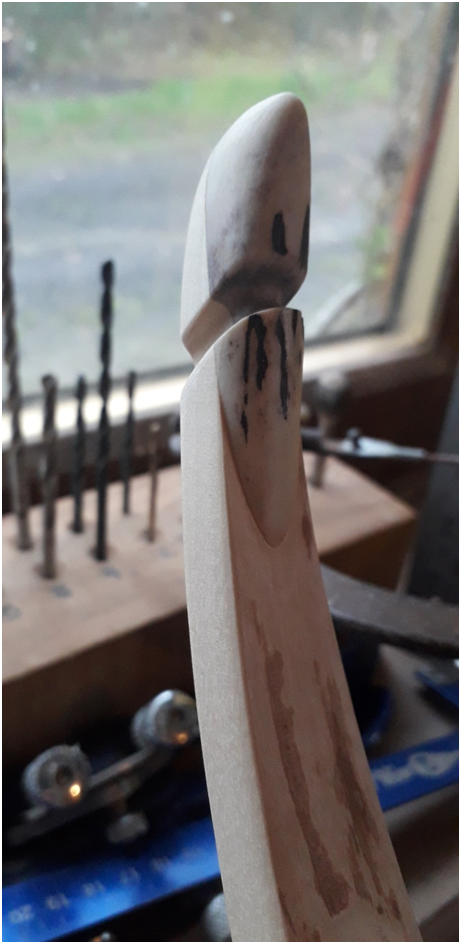
Overlays and arrow passes are both red deer antler. In addition to being asked to build some lighter bows, I also keep getting asked to build left handed bows. And since this bow was intended to be without an arrow shelf, and also had a string alignment right through the centre of the handle, I decided to inlay arrow passes on both sides so that it could be shot ambidextrously.

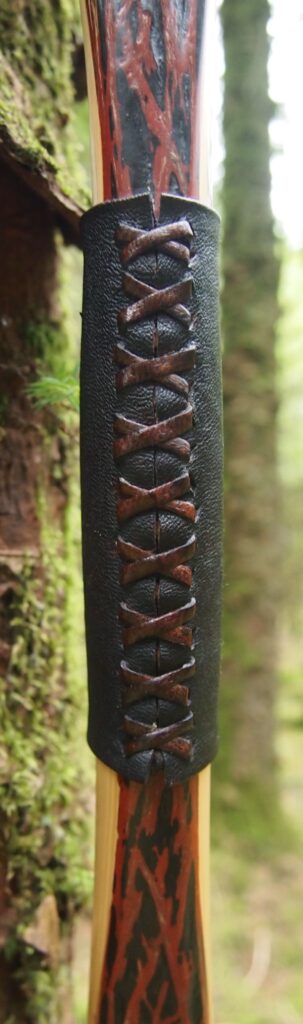
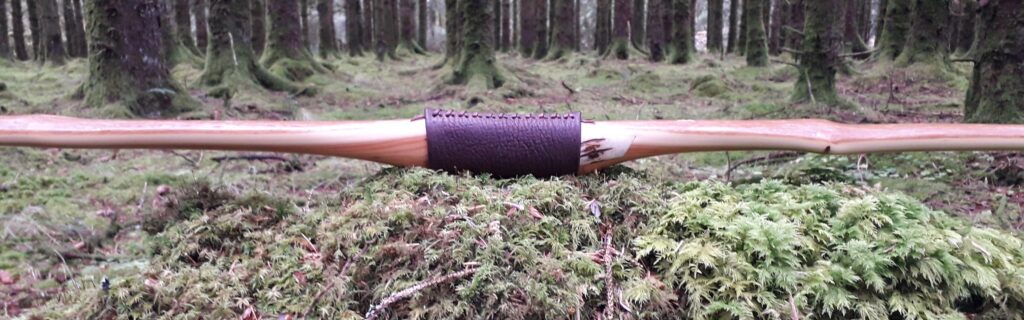
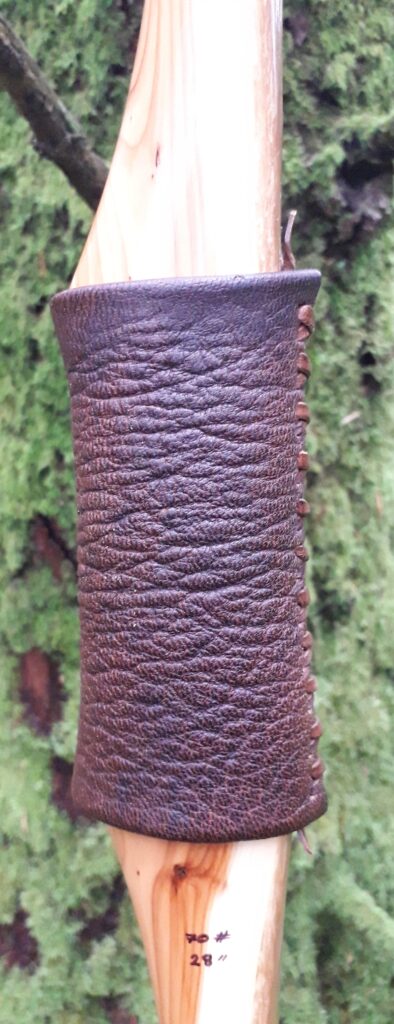
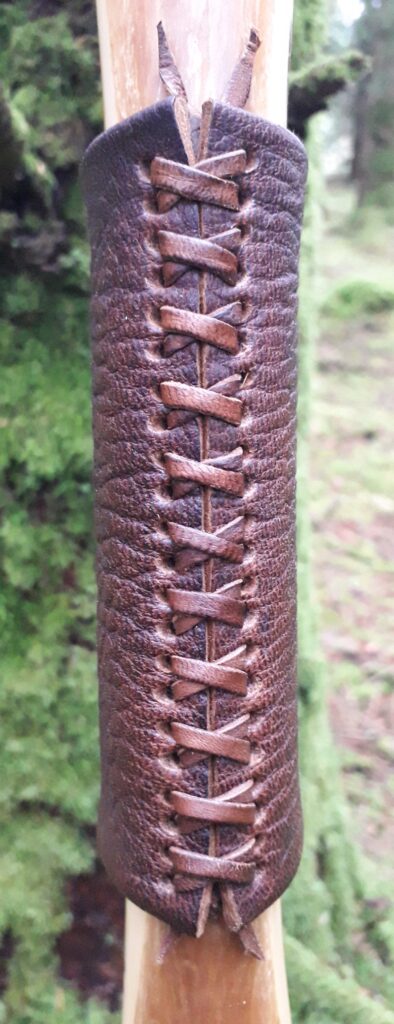
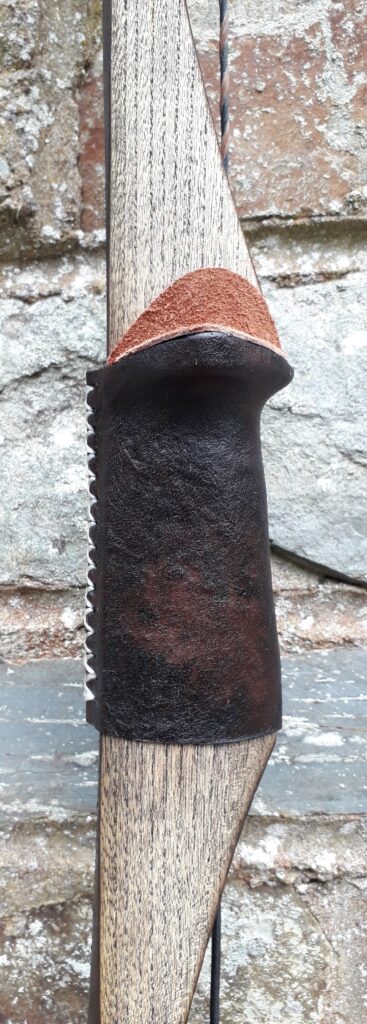
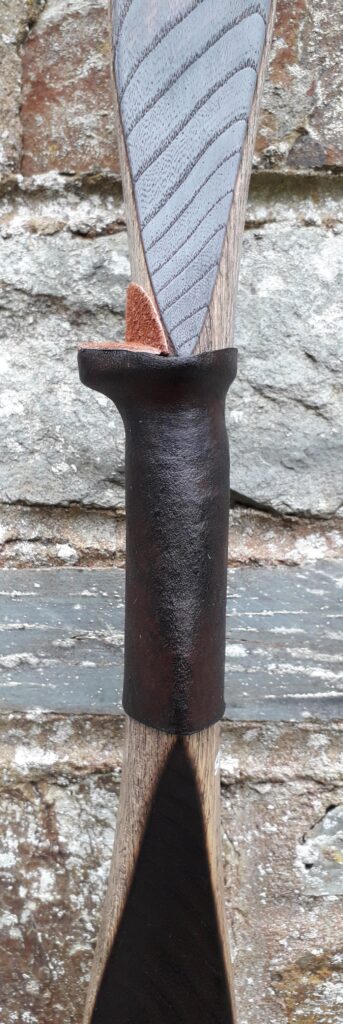
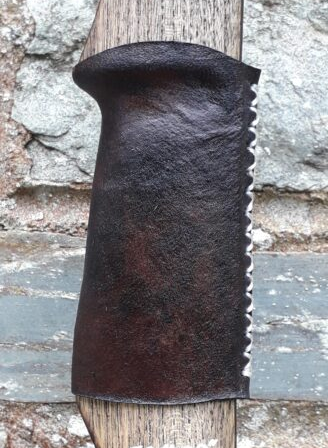
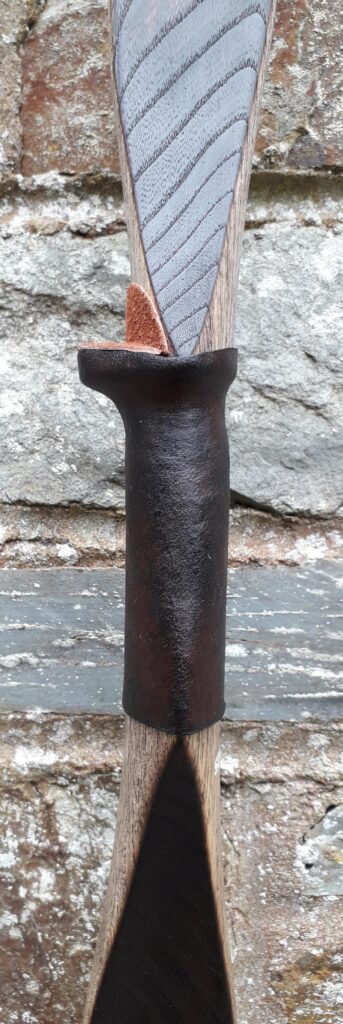
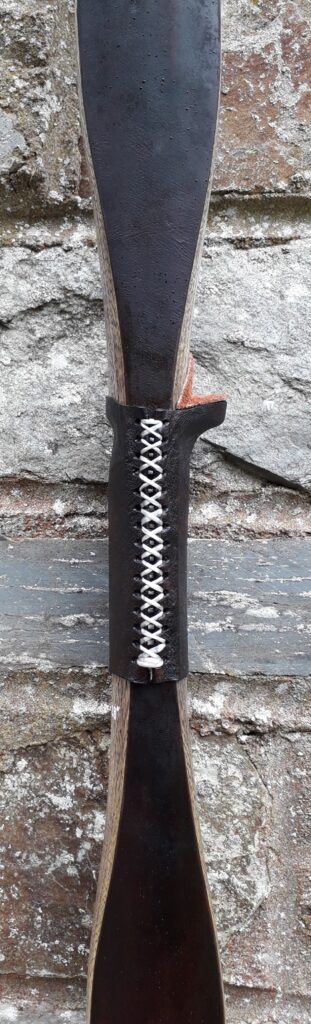
The handle wrap is my home bark tanned roe deer leather stained dark with home made vinegar stain and stitch up with the same leather thong but natural coloured. The really dark almost black handle compliments the black pigment used on the rawhide backing decoration nicely

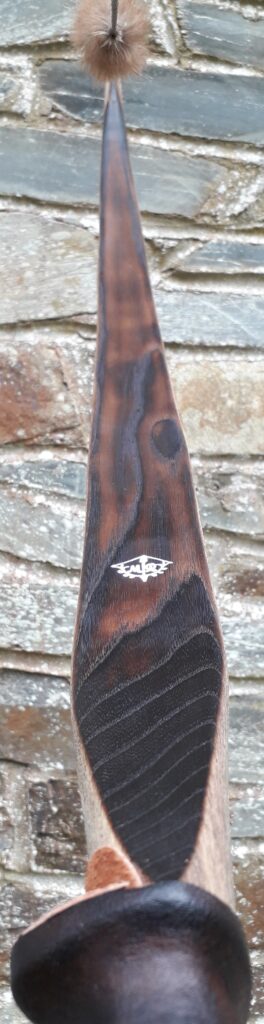
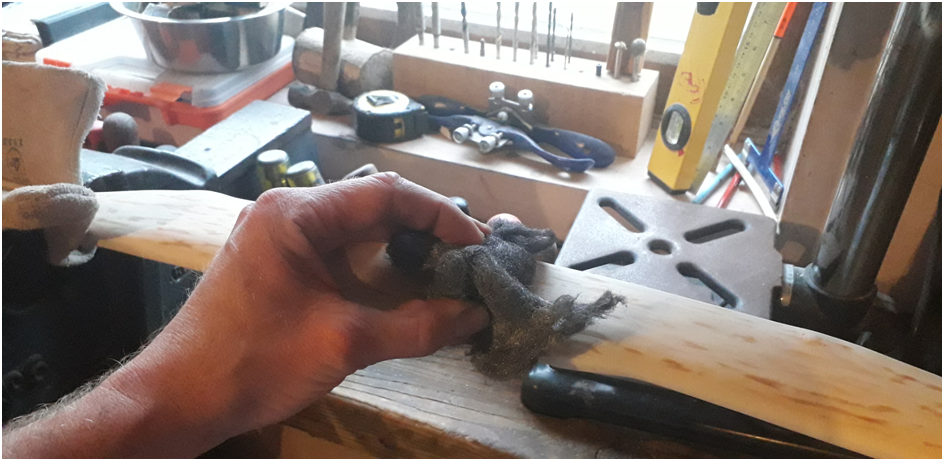
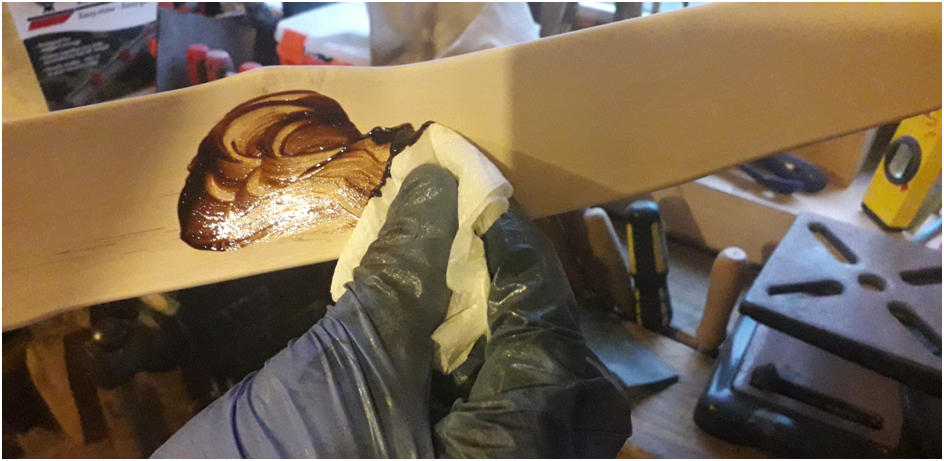
I’ve decided to start finishing my bows a bit differently lately as the usual Danish oil finish is so time consuming and laborious. So now I’m sanding my bows down to 0000 wire wool before sealing them up with a half pound cut of shellac to act as a base layer primer. The shellac also really makes the grain and natural colour of the wood pop. Then, instead of finishing a bow with many long winded coats of Danish oil as I have done in the past, I’m now using a few good clear coat spray lacquer applications to completely seal and waterproof my bows.

I really like this new finishing method as I can complete the process in just a couple of days, as opposed to a couple of weeks, which was the norm for the Danish oil finish. The spray clear coat is also harder and therefore less prone to wear and tear, and since it is heat resistant too, in the event of a bow warping out of alignment, I can reheat and realign a limb if ever the need arises without running the risk of ruining the finish. Danish oil will not tolerate direct heat and will blister terribly even if you hit it with a hair drier!

So what I do now is give my bows three good coats with the spray lacquer clear coat with 12-24 hours between each coat. Once fully dried and cured out, I then polish the surface with fine pumice to create a nice glassy smooth finish which can be treated with a simple wipe on beeswax paste finish to bring out the colours below and create a wonderful satin finish.

For a lighter draw weight bow, I was happy with the performance of this bow. I had a great time shooting her in over a period of a couple of weeks stump shooting. She is quiet and well balanced. This balance combined with the low mass tips creates a shot which feels crisp and free from hand shock. Over the chrono she was sending my lads 350 grain arrows at 148ft/sec so whilst nothing spectacular, perfectly good for most archers purposes.

I really enjoyed building this one and have since build another sister bow from the other half of the log. That bow will be here on the blog soon so stay tuned for that one next week.

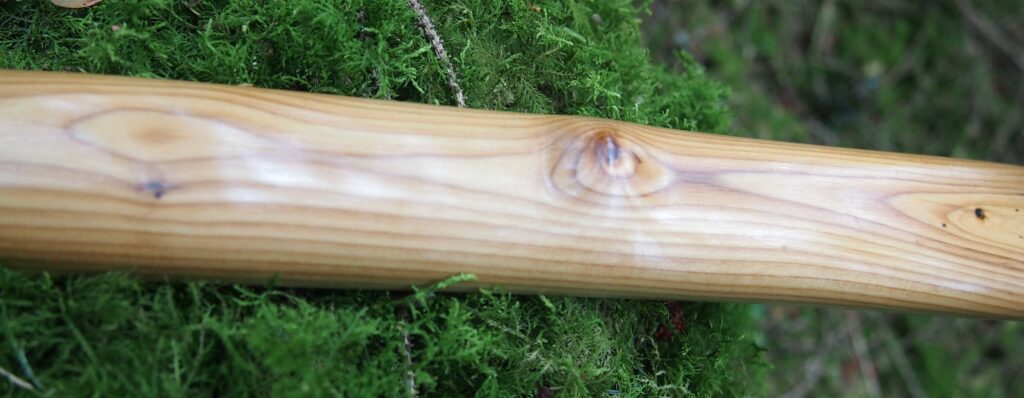
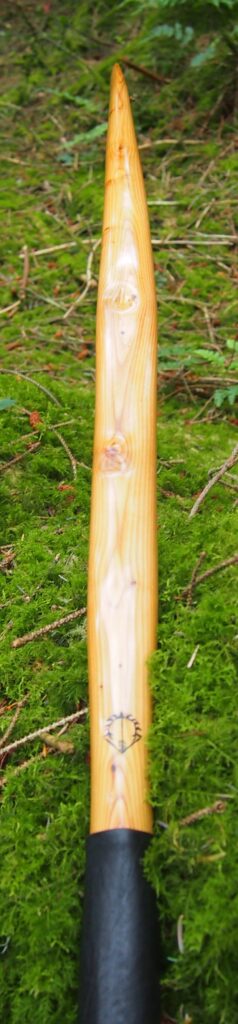
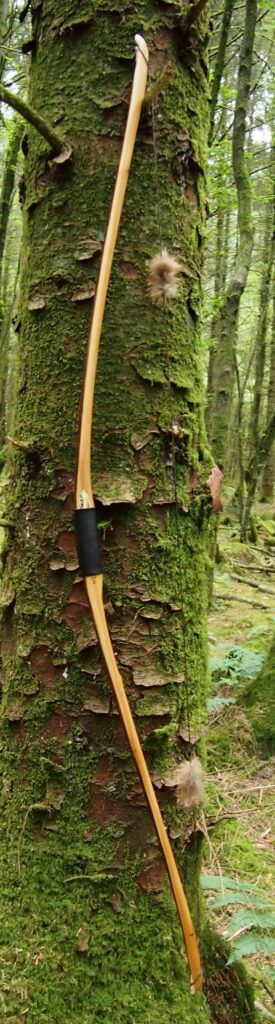
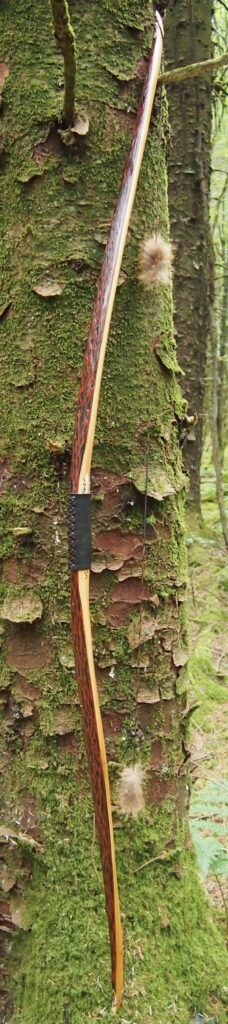
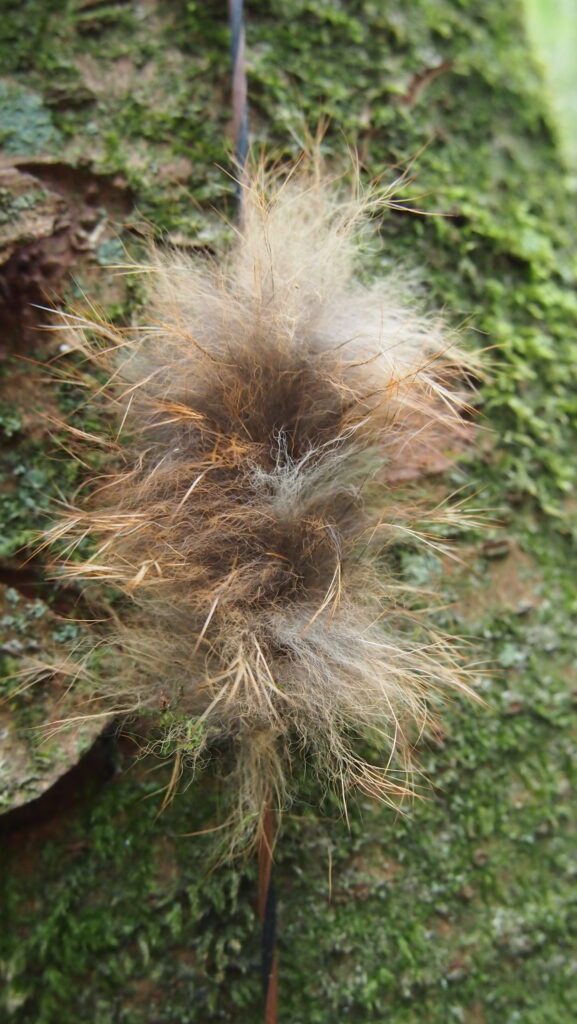
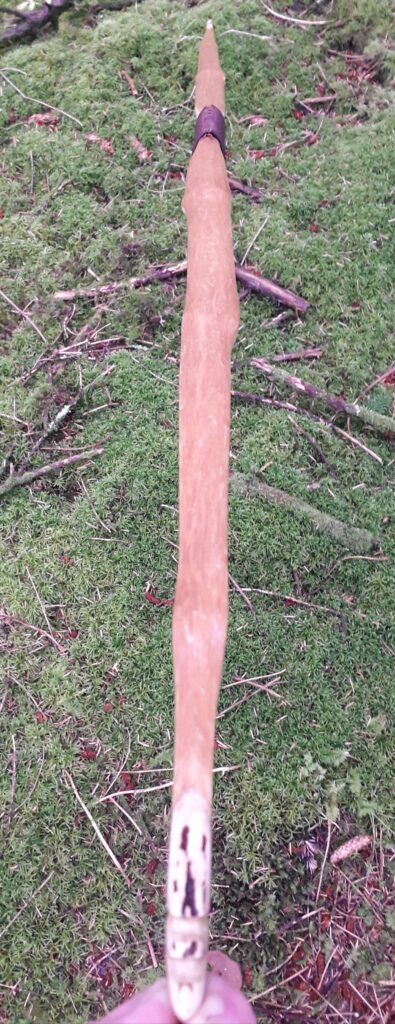
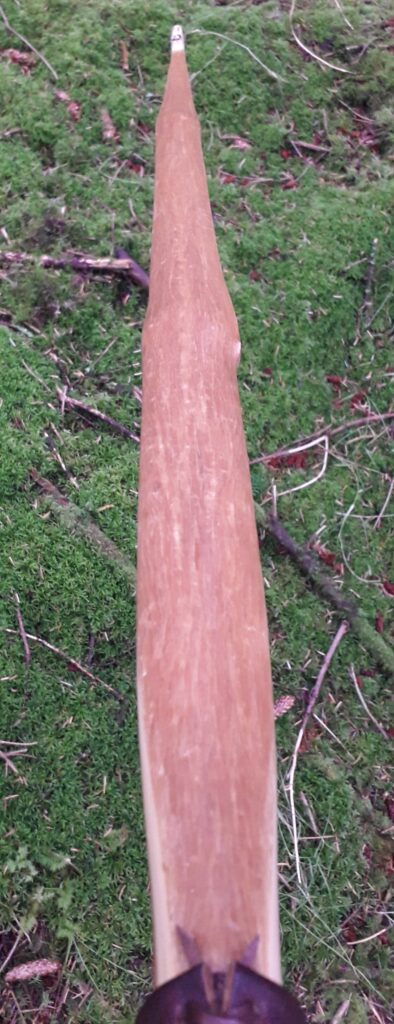
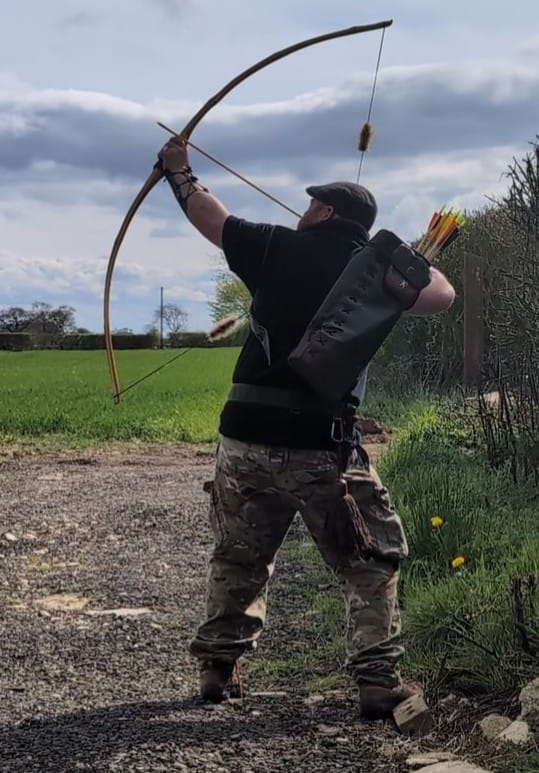
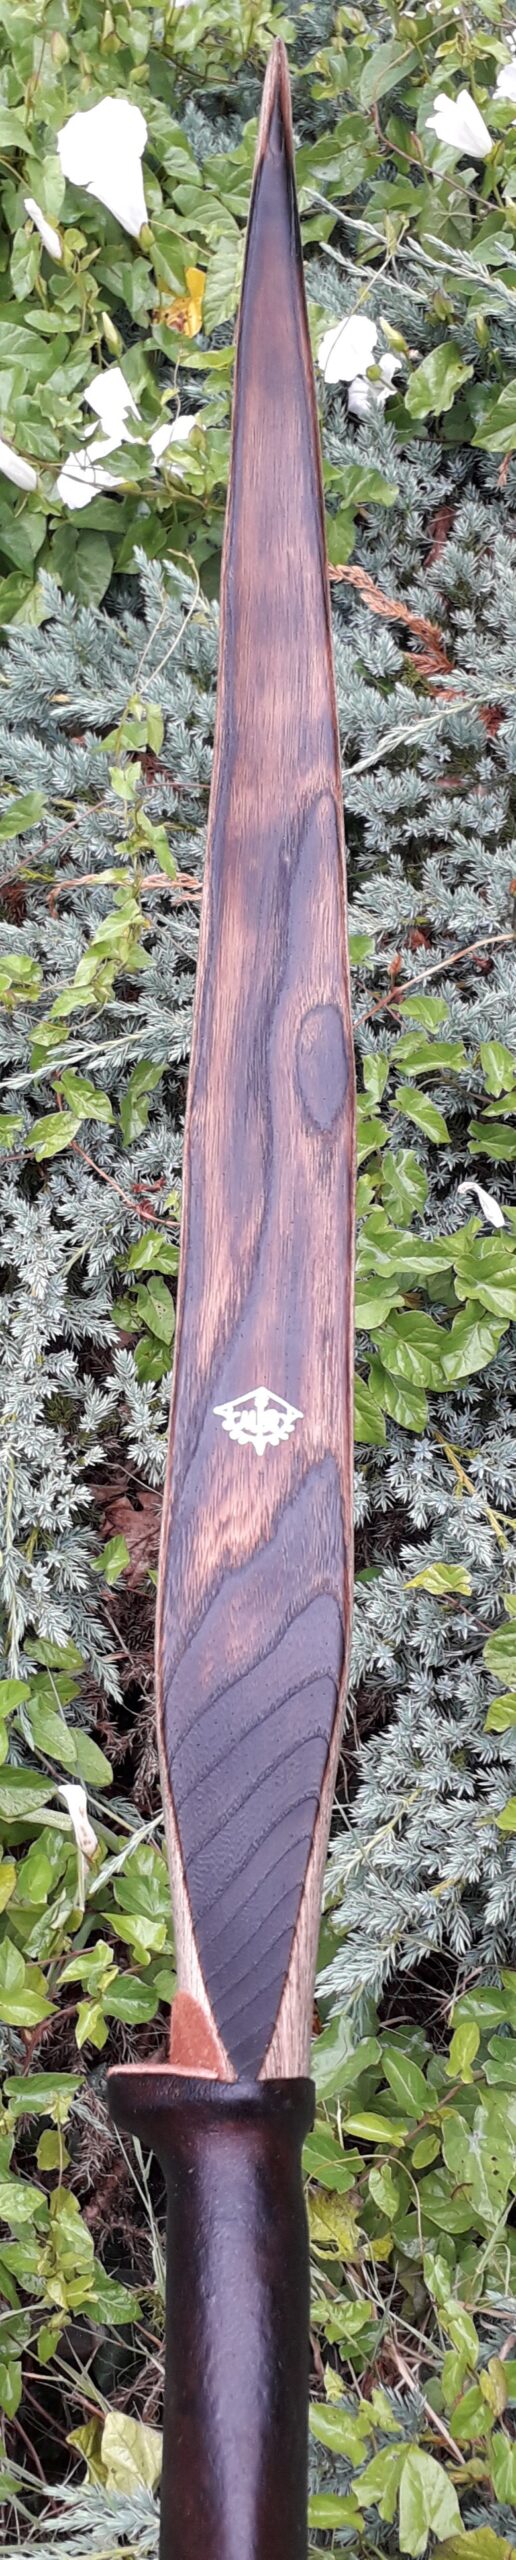
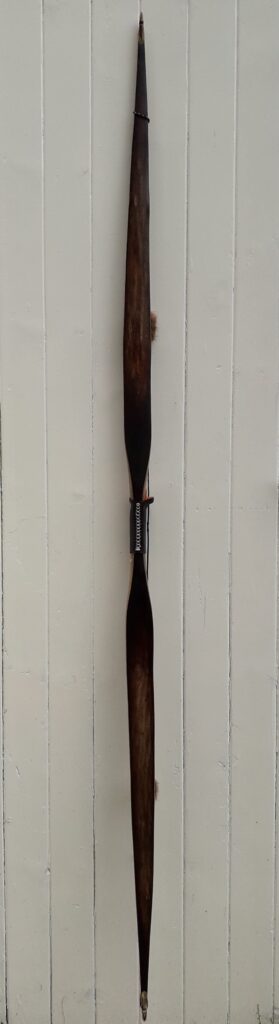
Until then, Hope you like the pics and video. Here’s “Deadpool”:

Draw Weight: 35lbs at 28”
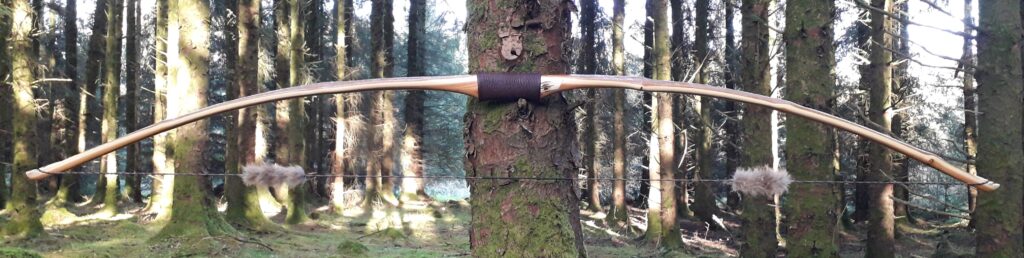
Mass: 718 grams
Length NTN: 66.5” (asymmetrical limb layout)
Width: 1 7/16″” at widest part
Tips: last 8” semi static reflexed, 3/8” wide
Back: Crowned. : Pyramidal face profile
Belly Profile: Working limb sections rounded D shaped, transitioning at the tips to a ridged cross section.
Tiller: Eliptical. 1/4” positive
Brace height: 5.5″

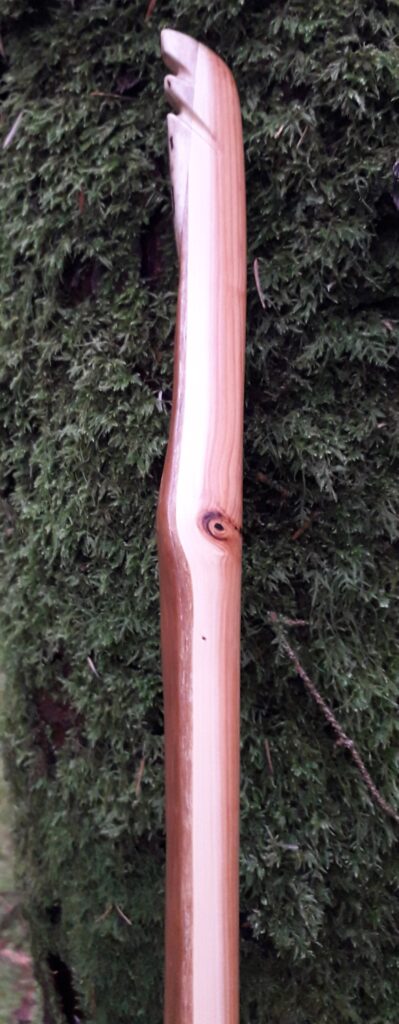
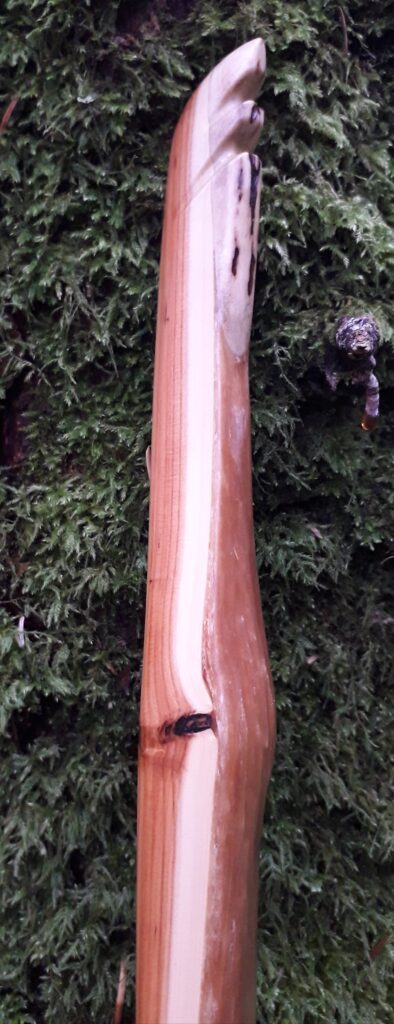
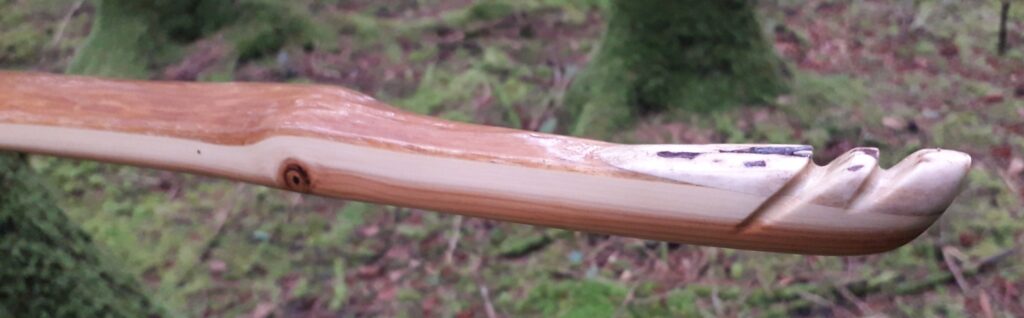
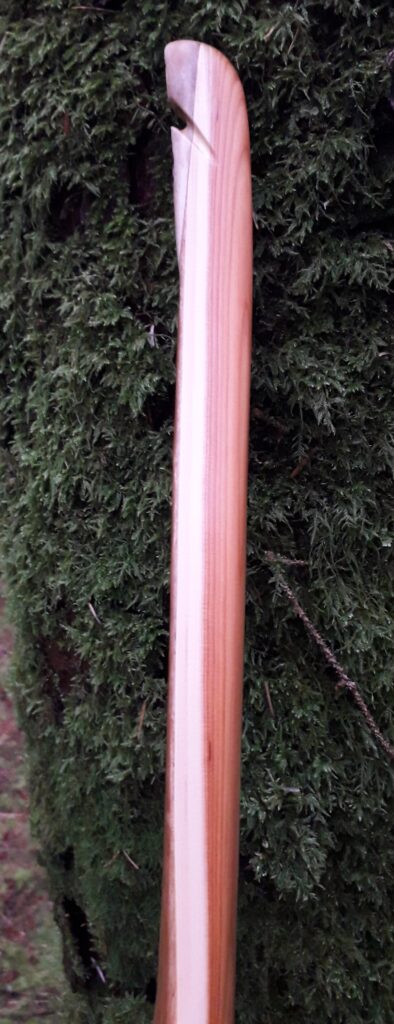
Top Overlay
Bottom Overlay

Sinew Backed Yew Holmegaard 70#@28″ (bow no. 17)

Back in the spring I was contacted by Ross, a friend of Matt who had purchased the character yew flatty I blogged about here: Primitive Character Yew Flat bow 52#@28” (Bow no. 14) – Southmoor Bows which Matt had bought through the Southmoor Bows ETSY shop. Ross really liked Matt’s bow, so he got in touch with me to ask if I could build him something with a primitive vibe, but a bit heavier. Ross came from a ELB background and was accustomed to shooting bows in the 65lb plus bracket.

After a bit of discussion we settled on a plan. I had in my possession a rather nice and character laden Yew branch sucker stave, which I could easily envisage being turned into a Holmegaard type longbow. This stave measured 71″ so was both long/wide and clean enough to produce a heavier draw weight bow built in a classic Holmegaard/pyramidal/flatbow type design, as opposed to something more like an ELB, which is a widely accepted design, recognised as being well suited to bows intended for higher draw weights.

Ross and I had settled on a target draw weight of somewhere around the 65-75lb mark, so I had to now figure out how I could optimise the bows design and features to encompass the heavier than average draw weight, as well as all the wonderful characteristics of this particular stave.

Rather than go full on Holmegaard and get all anal about precise authentic dimensions, I decided to let the stave dictate the overal profile. And to ensure long term durability I opted to incorporate a robust application of sinew backing to minimise both potential set, and vulnerability to wear and tear over time.

So my plan was to build a straight limbed pyramidal profiled long bow with semi lever like needles for tips, and a completely static handle section. The bow would end up 70″ nock to nock and have 8″ static tips. These none bending tips, combined with a 4.5″ stiff handle with 3″ long flowing fades, would leave me with just about 43.5″ of working limbs. Since this wasn’t a massive amount of moving wood, I decided to lay the bow out asymmetrically so as to give the bottom limb a bit more support over the long term.

The intention was to maintain the original crowned shape of the back, whilst adopting a rounded D shaped belly cross section throughout the fades and working sections of the limbs. The tips would transition in cross section from D shaped to ridged to reduce mass whilst remaining static. The handle would remain deep and relatively straight with no shelf as the chap who asked me to build this bow was a fan of shooting off the knuckle.

The stave had no overall natural reflex or deflex, but the 6 sets of branch whirls which were evenly distributed between both limbs did have some contour, thus giving the false impression of deflex where the grain flowed around the knot whirls. These flowing lines would need to be incorporated into the final profile of the bow as my intension was not to interfere with the natural shape of the staves side profile. Fortunately, this particular stave was completely absent of any twist or snake, so other than working around the knotty branch whirls, laying out the intended profile was, for once, a doddle!

The Heartwood/sapwood ration was about right too, with this stave having no more than 1/4″ of sapwood under the bark. Subsequently, I only had to get the bark off in order to expose what would end up being the back of the bow directly below the sinew. This meant that the final composition of heartwood/sapwood would end up being around a 70/30 ratio. Perfect!

So after roughing out the face profile and reducing the belly to facilitate better drying, I set about the arduous process of applying 3.5 oz of wild red deer leg sinew, applied to the back of the stave with my own home made sinew glue cooked up from a bunch of sinew scraps and tendon sheathing material. After applying all the sinew and given the glue plenty of time to set up, I wrapped her in gauze and left her to dry and cure out completely for 6 months. And what a long wait that was!!

The sinew backing came out great, so after what felt like an eternity, I fitted a pair of stag horn tip overlays and got a long string on her for a few short pulls. All looked good and after a bit of tweaking here and there, she was soon at brace and being pulled to 26″

As usual, I like to spend a fair bit of time shooting in a bow before attempting to get the last couple of inches of tiller finalised. So I spent a week putting her through her paces so that she could settle in and reveal any tiller correction that might be necessary before calling the job done. For once this bow didn’t budge off tiller, and had settled in to a nice 1/4″ positive tiller, which felt very well ballanced at full draw.

Final touches included a stag horn inlay for an arrow pass, and a gorgeous piece of my home produced bark tanned red deer leather as a handle cover, all sewn up with lace cut from some flank leather from the same hide. To seal her up I saturated the gorgeous grain of the wood with several applications of raw tung oil, caped off with half a dozen coats of Danish oil to fully protect her from dirt and moisture. Last but not least, the glossy Danish oil finish was sanded smooth and polished with fine pumice powder to leave her with a beautiful satin finish which sheds water and really shows off the grain.

I really enjoyed building this bow and will definitely build another “Holmegaard” like this one just as soon as I get my hands on another suitable stave. She’s a little on the heavy side for me personally, but I did enjoy the speed and power that was greater than what I’m used to. The loud whack she delivered when sending my stumping arrows on their way never got boring! She turned out to be quite nippy across the chrono too by consistently sending 550 grain arrows over the sensors at between165-175Fps, which, I’m sure you’ll agree, isn’t too shabby for a simple English yew branch stave!

Specifics are as follows:
Draw Weight: 70lbs at 28”
Mass: 850 grams
Length NTN: 70”
Width: 1 7/8″ at widest part
Tips: 8” static 1/2” wide
Back: Crowned with undulations. : Pyramidal face profile
Belly Profile: Working limb sections D shaped, transitioning at the tips from semi circular, into ridge shaped cross section.
Tiller: Eliptical. 1/4” positive
Brace height: 6″

Anyway, here she is. Hope you like her!

Spring 2025 Edit: Ross has kindly sent me a couple of video clips of him shooting his bow which I’ve added at the end. So far he’s been sending his roving arrows out to 200yards! Phew!!

Elm HLD Heat Treated Rawhide Backed Longbow 58#@28″ (Bow No. 11)

This bow came from a nice clean, straight, undamaged English Elm stave which I cut back in the winter. I roughed it out green and clamped it to a slightly reflexed form to force dry it over the wood burner for a week. I then took the roughed out stave off the form and left it hanging up in the ceiling above the wood burner for a month to dry to the point of no further weight loss.

Once the stave was good and dry I chose a shape and profile (HLD pyramidal longbow with static tips) which suited the length and width of the stave (6ft X 3”). I then cleaned it up close to final dimensions and then floor tillered it. The shape looked good so I continued to tiller to brace then carried on down to 22”. I was gunning for a nice positive elliptical tiller and a final draw weight in the upper 50s as this bow was for someone who wanted a nice clean, simple, hunting weight primitive longbow.

All looked good except for a little bit of propeller twist which was making its presence known, so I opted to straighten that out whilst heat treating the slightly dug out belly. So after fixing the stave to the form again and using clamps to pull out the propeller twist I set to cooking the belly.

Half an hour with the blow torch got the belly nice and dark but without any cracks. I’ve learned over the years that properly dried whitewood staves wont check as easily when heat treated as those which are still holding 10% or more moisture. This stave was down to about 6% moisture content so I could get away with using the heavy heat application which comes with using a blow torch to heat treat the belly of a bow. Give it a try and you’ll see what I mean.

After a day to cool and reacclimatise, I checked the tiller again. The heat treating had banged on some weight and gotten rid of the propeller twist nicely. The stave was now holding about an inch and a half of reflex too. After tillering down to 26” I was getting 63ish lbs so I decided to shoot in the last 2 inches and see if the positive tiller would stick.

A few days slinging stump heads in the woods gave me chance to really shoot her in. All looked good however the tiller was now looking a bit too neutral and since this bow is symmetrical and the guy this bow is going to shoots split fingers, I opted to take some more wood off the top limb to regain that positive tiller.

With everything looking nice, I set about rawhide backing this bow to add some extra durability. As much as I love self bows, the simple reality is that one ding in the wrong place, (especially on the back and sides, or worse still back corners) and a bow could easily be compromised. I like the protection that properly made and fitted deer rawhide gives to the back of a stave bow.

I back many of the bows which are going to end up in the hands of other people as I know how rough others can be with bows.  On this particular bow I opted to use some really nice thin wild red deer rawhide which I produce from deer that I’ve hunted over the winter. I process this rawhide the traditional way which ensures that it remains good and thin but incredibly strong. I sell this rawhide for a very reasonable price in my ETSY shop: Southmoorbows – Etsy UK. You can buy it here: One Matching Pair of Wild Deer Rawhide Strips – Etsy UK

After a couple of days for the titebond III  and rawhide to dry thoroughly, I set about trimming the rawhide and fitting some really nice Red Deer antler tip overlay (which you can buy here: Wild English Red Deer Antler Whole Coronets 3.5 Long – Etsy UK)

After sanding the whole bow down and polishing her up with wire wool, I stained the wood with an alcohol based black wood stain. The rawhide got treated to a coat of leather dye which once dry was wire wool scrubbed in the mid limb section to give it an aged and worn appearance.

 All the final scrapping and sanding to finish brought the weigh down to 59lbs at 28”. A further few shooting in sessions saw the weight settle in to 58lb at 28”. This was about perfect.

On went a piece of my own home produced, lovely, thick wild red deer neck rawhide for a handle covering (which you can buy here: 5 X 6 Wild Red Deer Rawhide Piece 0.4 1mm Thick – Etsy UK). This rawhide handle covering got a coat of leather stain too. The handle and the bow itself were then both treated to half a dozen coats of tung oil over the next couple of weeks to seal her up good and tight.

Whilst this bow is a bit on the heavy side for me personally, the guy who received this bow loved it. It is indeed a punchy bow with no noticeable hand shock, and very quiet too. It would make a really great hunting bow.

Here are the stats and pics. Hope you like!

Mass: 678 grams

Length NTN: 67”

Width: 1 7/8” at widest

Tips: 5” static 3/8” wide

Back: Marginally crowned with minimal undulation. Face profile pyramidal.

Belly Profile: Working limb sections concaved to mirror back, transitioning at the tips to triangular cross section.

Tiller: Elliptical 1/8” positive.

Draw Weight: 58lbs at 28”

Build Along Field Maple Deflex Reflex character Longbow.

This project started out as a simple short term experiment. I’d had my eye on a clean but crooked and twisted Field Maple limb for quite a while. Trying to envisage where within the limb I could salvage a stave from was difficult. The limb was about 4.5” thick and had a section about 80” long which was relatively clean. In general the limb was sound and free from large knots, pins and other major imperfections.

The 80” section that showed most potential for making a bow stave did have other issues to consider however. This most usable section was badly twisted and had a significant sideways bend in one half of the stave. There was also a very large amount of natural reflex in what would be the middle/handle section.

To start with, I just wondered if it would be possible to improve the shape, twist and alignment of such a misshapen stave whilst it was still green. I’ve performed many shape corrections on green staves before, using forms and clamps, but I’d never before tried to correct asymmetries in a stave which were as server as this without using fully seasoned staves manipulated with steam bending.

I’ve worked with clean Field Maple on many occasions before so understand the potential this wood has for making a very good white wood bow. In the past I’ve used dry heat to correct minor twist and alignment issues on fully seasoned Field Maple staves. I’ve also used steam heat bending on Field Maple staves for more significant bending such as recurving tips or bending handles for alignment issues etc.

The amount of twist and reflex in this Field Maple stave however was way more than I’ve dealt with before. My expectations for this stave were not great. I envisaged the stave resisting the significant forces necessary to bend and twist this green stave into a better shape.

I also expected cracking or delamination to occur in the mid section due to the shear amount of force than would be necessary to pull the twist out using clamps and a drying form. But my expectations were proven wrong!

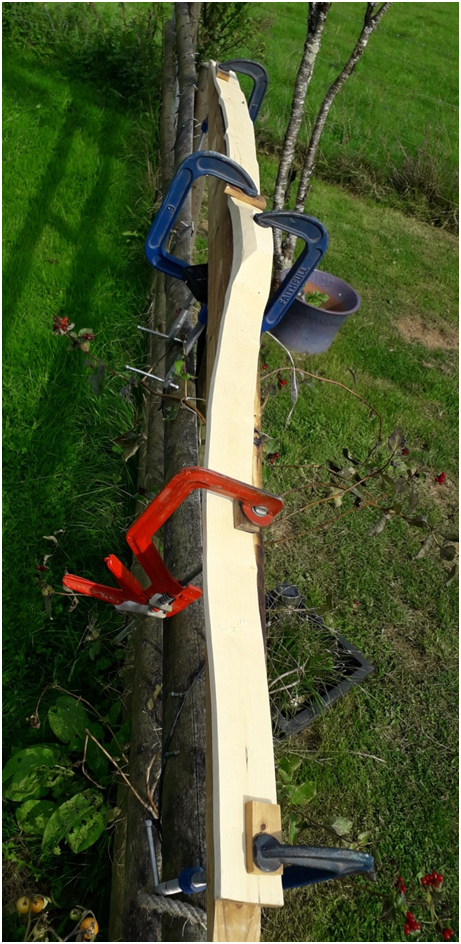
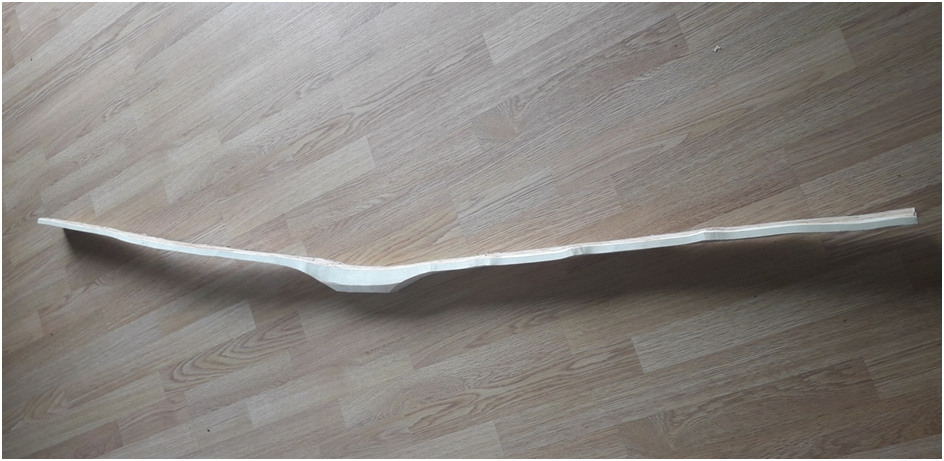
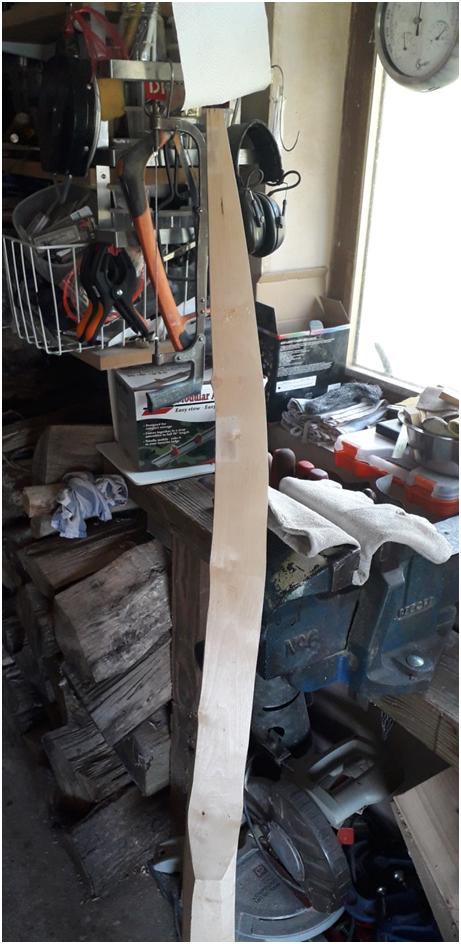
The green Field Maple stave roughed out and clamped to a reflexed form to try and produce a more workable shape. Note how the tips have been left full width for extra sideways leverage from the clamps. this really helps to pull twist out.
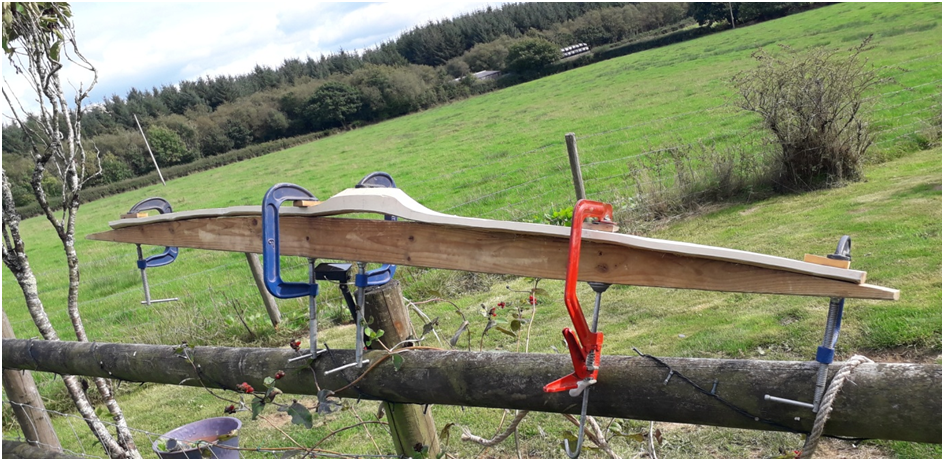
Side view of the green stave being force dried in the mid day sun on an especially hot late summer day. Note the remaining reflex in the handle section.

The reflex in the handle section was going to remain no matter what I did but this was fine as I could imagine this stave potentially turning into a reflex/deflex longbow. By leaving the limbs full width out to the tips I was able to get significant leverage from the clamps positioned on the edges of limbs. This leverage enabled me to crush down on the side of the limb that was pulling away from the form due to the limb twist. This worked really well and the twist between the fades and the limb tips came out beautifully. 

The overall shape was made much more even by using the reflexed form too. By forcing the tips to line up with the handle centre I was also able to correct most of the significant string misalignment. Throughout the end of August I left the clamped stave outside in the sun on hot days.

The stave came indoors for a week once the temps dropped and was left on one of my window sills which catches all of the mid day sun. This window sill is like a green house and serves to quickly force dry staves very well. After the stave had been allowed to dry on the form for about a month I removed the clamps to inspect the results.

Plenty of character left but a much more workable shape overall
side view immediately after removing the clamps and form.

The overall twist was reduced from nearly 70 degrees to about 5 degrees. The massive reflex was tamed to something much more manageable and the string alignment was now only a little off to one side. The stave now actually looked perfectly workable with plenty of character remaining, so instead of calling the project done I decided to see what I could do to turn this stave into an actual finished bow.

My next job was to get this stave down to some realistic dimensions. It would be unlikely that this stave was totally dry so by getting close to final dimensions I’d soon get this stave fully dried and ready for tillering.

Marking out the limb tips. I’d decided to plan for fine antler tip overlays on this bow so initially I laid the rough tip design out to 20mm tapering out to full width at mid limb.
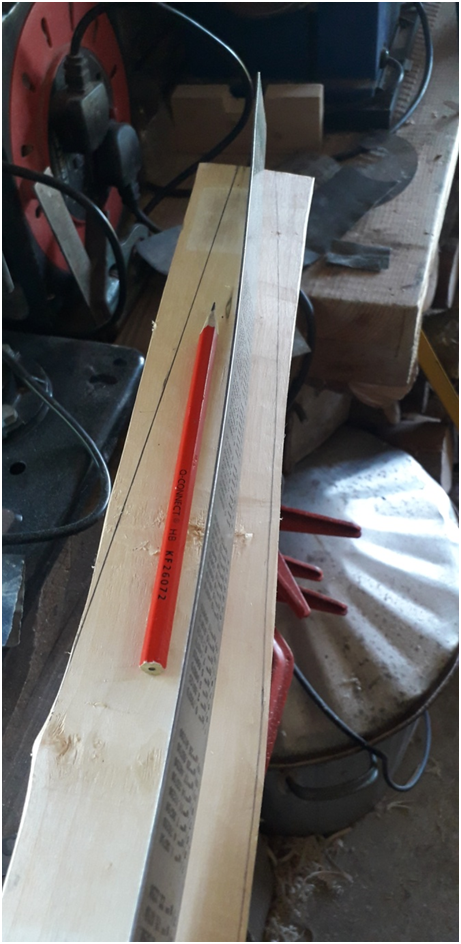
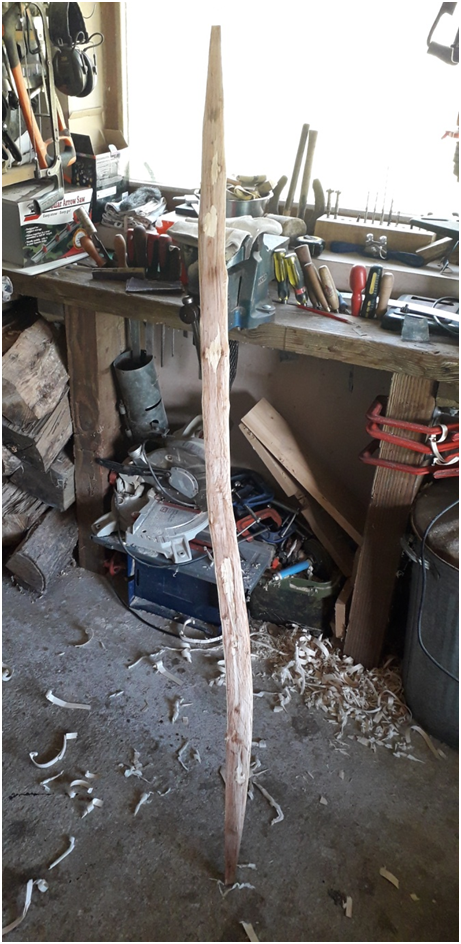
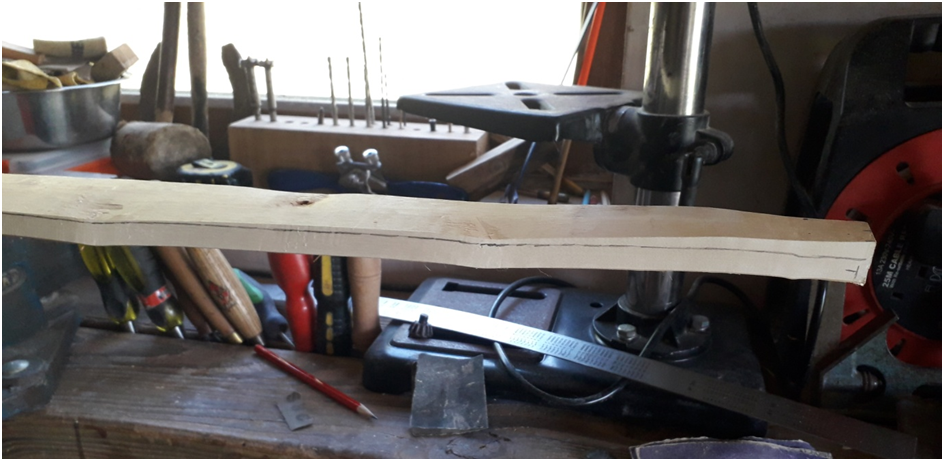
Marking out the rough outer limb shape using my steel ruler to follow the natural curves of this stave. The final shape however will be dictated by the grain itself rather than by lines.
Working down to my lines with the draw knife. Field Maple is a wonderful wood to use cutting tools on.
The approximate shape of the bottom limb. I decided to go for a classic willow leaf shape and carry the tapper from mid limb out to the tips. This stave was initially roughed out to 2 ¼” wide which is what the stave measures in this picture. I may reduce this width to 2” before tillering though.
Top limb roughed out to the same approximate dimensions as the bottom limb. The top limb will be the straighter of the two limbs.
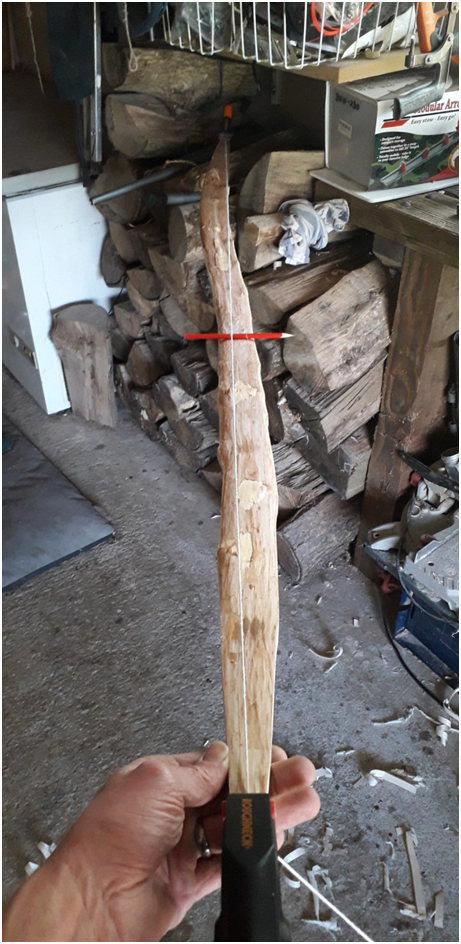
The string alignment appears to be favouring the left side of this picture which suits the decision to make the nearest limb the top limb. This will result in the arrow favouring the left hand side of the bow which suits me as a right handed archer.
Now to reduce the limb thickness to something more like ready for tillering.

Field Maple is a dense wood so these 14+mm thick limbs will need quite a bit of reducing in order to get them to a point where the tillering process can begin. I’m going to aim for 14mm fade end thickness tapering down to 10mm side thickness at the tips. I want the tips to do a very small amount of work on this bow so I will reduce them down to 10 mm but keep away from them when tillering. This should Keep the last 6” of the tips stiffer than the working section of the limb, but without leaving the tips carrying unnecessary mass which would be the consequence of keeping the tips thick enough to ensure that they are completely static.

Working down to my lines with the draw knife.
One edge worked down to the line.
Same on the other side.
Bringing both sides together to make the limb initially flat on the belly.
There are only a couple of knots on this stave which look like they will fall of the bow as more material gets removed.
This limb is now approximately 14mm thick as it leaves the fades tappering down to 10mm thick at the tips.
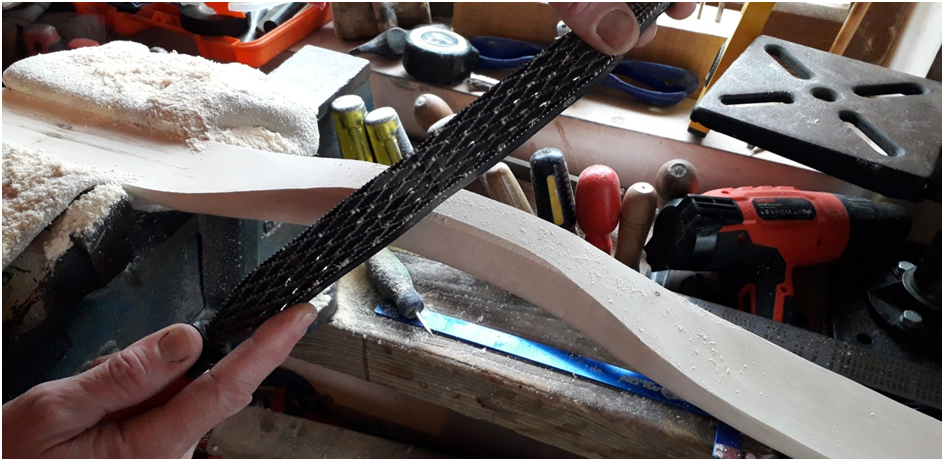
5 minutes with the Shinto rasp makes sure everything is nice and flat with an even thickness taper. I like the Shinto rasp for this job because it is easy to keep flat. Whilst it’s great for working down flat sections, it won’t get into dips etc very well.
Following the dips and humps on the belly to make sure the edge thickness is even. The half round rasp comes in handy here.
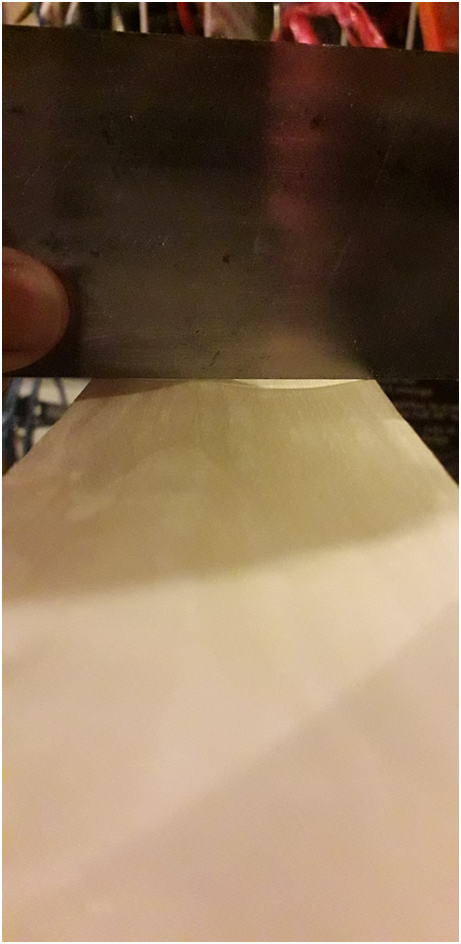
A quick scrap with the card scrapper and the basic limb thickness is ready for finer scrutiny.
A nice bit of wiggle to work with.

When I work the face down to rough dimensions on any bow, I always let the grain dictate the limb shape. This avoids creating grain run out which in my experience is a fast way to limb failure.

Next I needed to get the cambium off the back of the stave.

Until the cambium has been thinned right down I can’t get a true handle on the real thickness of all parts of the limb. I tend to leave quite a lot of cambium on a stave right through to the limb thickness reduction phase as the cambium layer acts as a good layer of protection to the back of the bow. A cushion against scrapes and scratches is a good idea whenever the back of a bow will be seen on the finished bow. Since this bow will not be backed the natural appearance of the first layer of wood below the cambium will be displayed on the finished bow so taking care to protect the back of this stave is important.

The valleys and troughs on the back require the use of a gouge to get down through the cambium to wood.
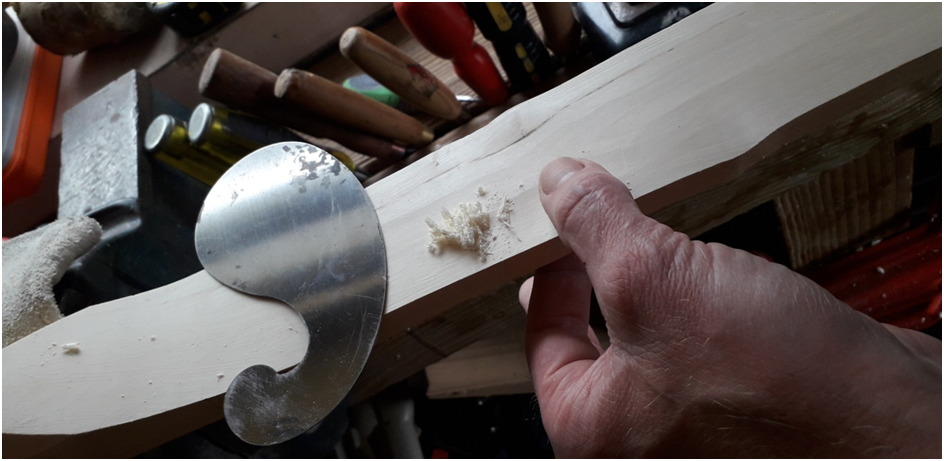
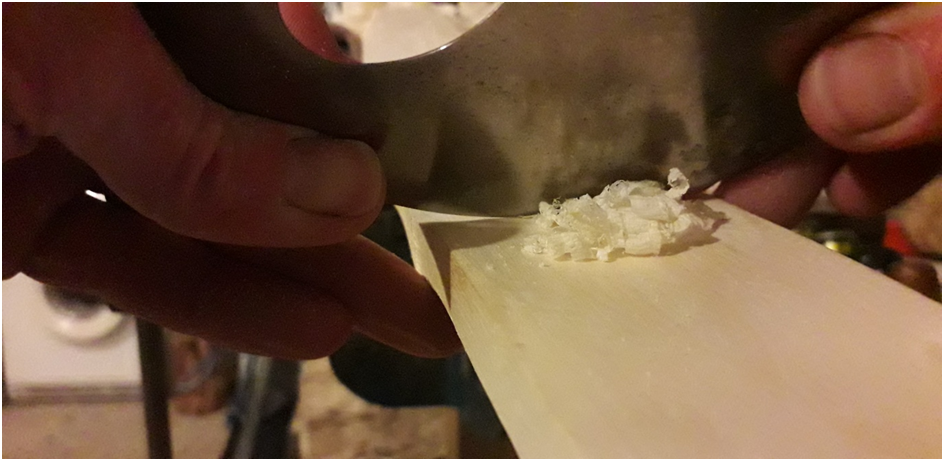
The curved scrapper is used to expose the first layer of wood.

Personally I like the appearance of self bows which have a little bit of cambium left on the back of the bow. This little bit of cambium adds to the beauty of the finished bow and confirms to the observer that the back of the bow is in actual fact the very wood which once grew directly beneath the bark. No ring chasing necessary. This remaining cambium also creates a beautiful camouflaged effect on the back of the bow.

The curved scrapper can get into most of the valleys and troughs and can be useful for working around raised spots like knots too.

As tempting as it often is to hog at the cambium with a draw knife it is too easy to nick the underlying wood and compromise the back of the bow so I always proceed with caution using a scraper for raised spots in particular.

A small gouge comes in handy at times.

The back of this stave has an undulating topography which presents as hills, valleys and troughs. If I were to leave the belly completely flat in cross section then the hills on the back would act as stiff points and the valleys and troughs would act as weak spots. To counter this potential problem I contour the bellies on my wide limb bows so that the belly topography matches that of the back but in reverse. To achieve this I use a mixture of gouges and curved scrapers to remove material from the belly directly opposite the hilly thicker spots on the back. This enables me to leave material behind over the thinner valley and trough areas of the back. This affords them extra protection and creates a truly even thickness across the entire width of the limb.

Here is an example of where there is a hill on the back creating a thick spot. I’ll counter for this by scraping away material on the belly which is directly opposite the high point on the back.

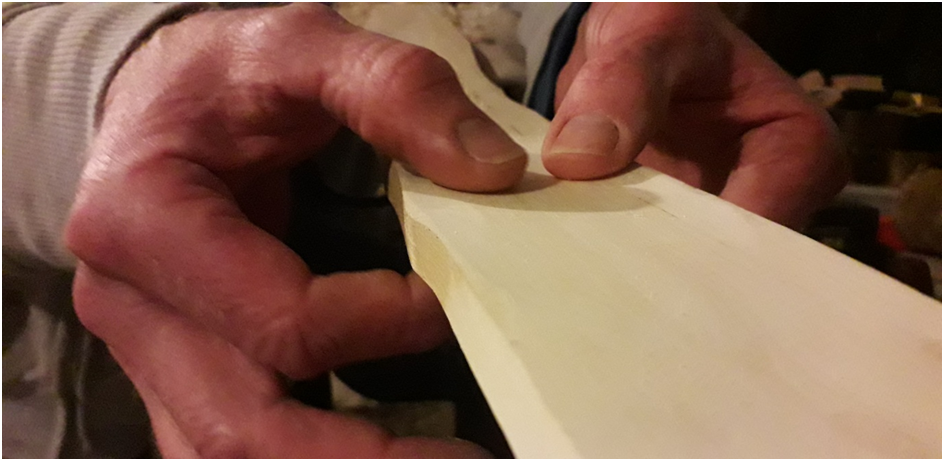
I use my fingers to feel the thickness across the whole limb. If I find a thick spot I’ll remove material from the belly until the thickness is the same as everywhere else nearby. I’m aiming to end up with limbs which are an even taper of 14mm – 10mm thick along the entire length and width of the bow. This means that areas of the back which present as high crowned will have a corresponding belly section which is effectively hollowed out to counter for the crowned back. This stave has a mixture of high crown plus flatter sections with hills, valleys and troughs so the belly will end up being far from flat.

I use my fingers and thumbs to feel for differences in thickness. Once I’ve found a thick spot then the curved scraper gets called into action.
Constantly checking for even thickness.
Trying to mirror the back on the belly.
Here you can see than I’ve dug out a trough on one side of the limbs belly to replicate what is happening to the surface wood directly opposite on the back of the stave.
Here the limb has a notable crown so the whole width of the belly is hollowed out to compensate.
This limb has a 12” section which has a high crown so the belly here will have a correspondingly hollow profile. Maple is a wonderful wood to work with a scrapper.
Countering the excessive reflex in the handle with some deflex in the limbs.

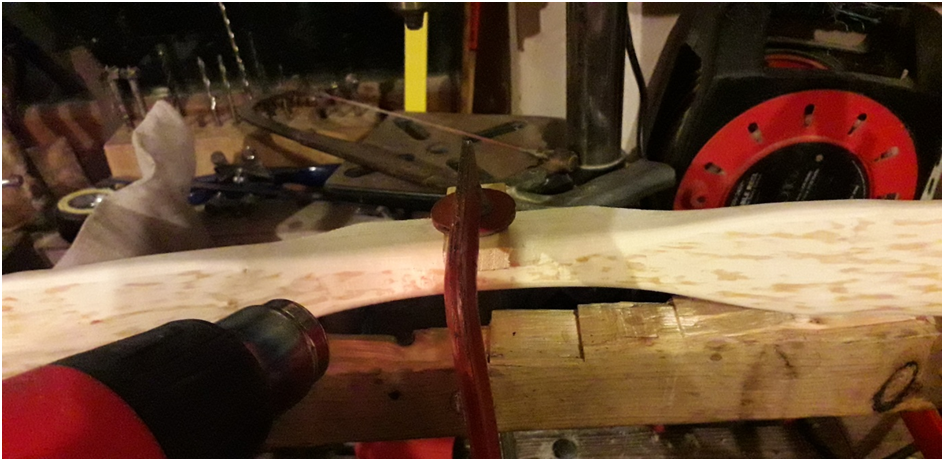
The next job was to put some deflex into the limbs to counter for the reflex in the handle section. I do this with the flat back of a form and some padded blocks and a clamp to create the right shape. I’m aiming to create most of the deflex around the first third of the limb about 6 – 12” out from the ends of the fades.

Here I’m using a heat gun to gently heat up the belly. I make sure I heat both sides of the clamp to make sure the deflex is evenly distributed throughout the first two thirds of the limb.
After about 10 minutes of heating the belly and the sides I then leave it to cool for an hour.
After both limbs have totally cooled I check both limbs for twist. Both limbs could do with a little bit of a correction so I fit a scrap piece of wood to each limb so that I can lever the limbs into a better position.
Once again the heat gun is used to heat the sections of the limbs which I want to correct

I’m carful where I choose to heat as I want to flick the tips on this stave and realise that if I make an early heat correction to a limb near the tips then the steaming of the tips which takes place later will pull the previous heat correction back out when the heat from the steaming travels down to where the twist correction was made.

Now that the limb twist has been dealt with I steam the tips for half an hour so than I can put a small amount of reflex into them.

I’m a fan of longbows but enjoy the lack of stack which a recurve benefits from. Whilst not wanting to go for a full recurve design on this bow I did like the idea of balancing the deflex and reducing stack a little by flicking the tips on what is aimed at finishing up a longbow.

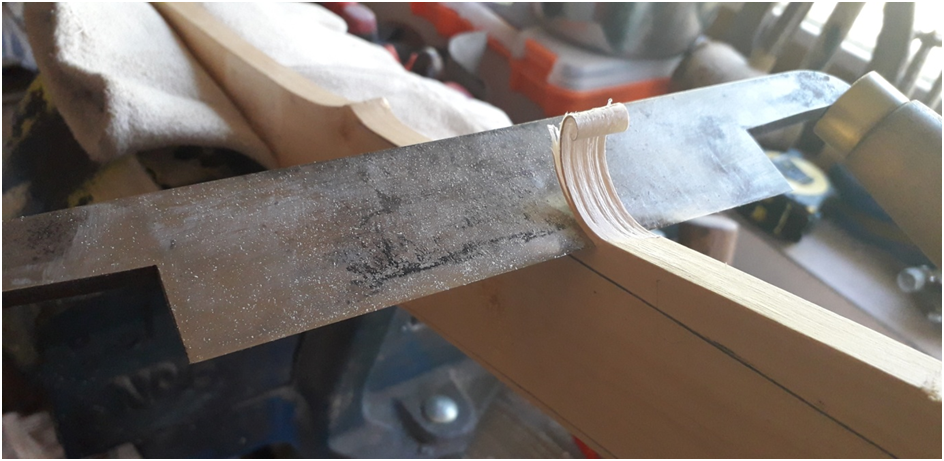
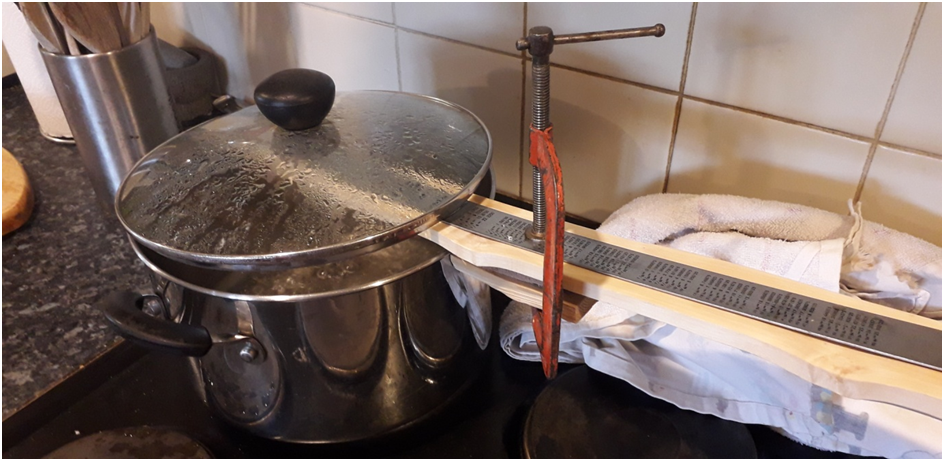
After half an hour over the pan I fit my steel ruler to the belly of the stave using a small G clamp and a packing block to protect the back from clamping pressure. I frequently do this as it really helps prevent the belly tips from delaminating when being bent over the recurve form. The extra support of the flexible steel ruler simply stops a splinter lifting on the belly which is the kiss of death to many would be bows. This trick is especially important if your stave tip belly is not presenting as one growth ring, which is the case here. On this particular stave, both tips span two growth rings so delamination is a high probability without the ruler acting as a brace.

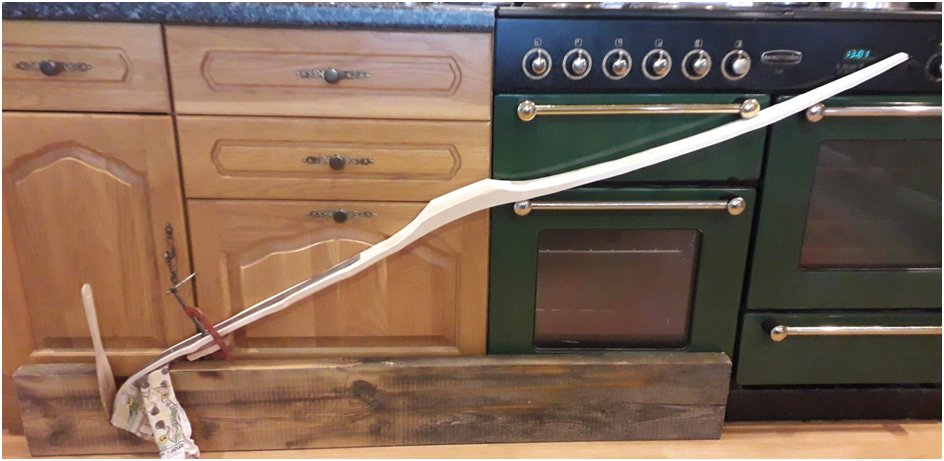
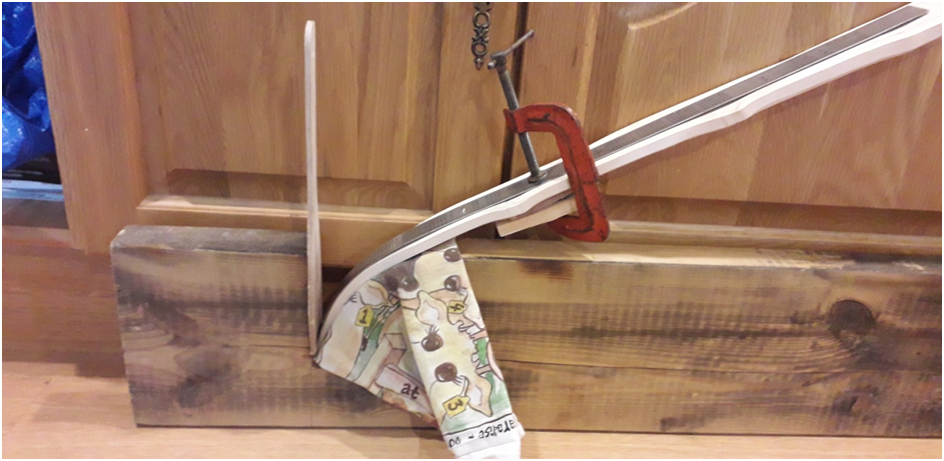
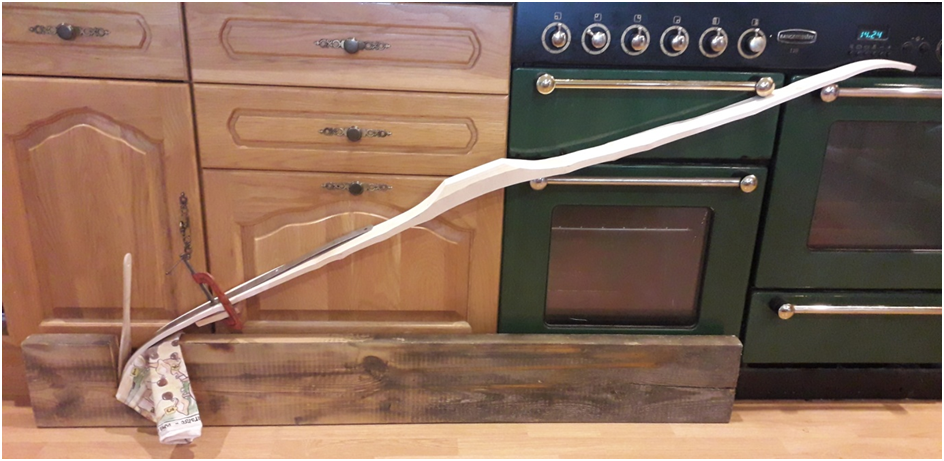
Into the recurve form she goes. My oven door handles act as the perfect brace to hold the stave in position whilst left to cool for half an hour.
The flat wooden spatula which you can see stuffed into the tip acts as a wedge to hold both the limb tip and the steel ruler in place. The old tea towel just prevents the back of the limb tip getting marked by the form. This is how I do most of my recurves/flicked tips.
Both tips flicked.
After a rest overnight to cool and re aclimatise the stave is now looking quite nice and even from the side profile.
The tips are both kicking out in opposite directions which will call for a little more heat twisting in order to get them lined up.
I’m keeping any further adjustments away from the tips so as not to cause the recurves to fall out. I will give both limbs a bit of a twist with the heat gun then recheck for tip alignment and string alignment overall.
By griping the upper third of the limb in the padded jaws of my vice and fitting the other limb with a wooden paddle I can lever a significant amount of counter twist into the mid limb section.

I have to be careful at this point to make sure that the deflex that has already been put in is not lost. I make sure to protect the deflex by setting up the paddle so that the leverage is the direction that promotes flexion to the limb rather than extension. This trick will ensure that the deflex is preserved.

Now would be a good time to roughly shape the handle.

I thought about including an arrow shelf on this bow and certainly had plenty of wood left with which to do that, but I fancied going old school and figured a simple handle for off the knuckle shooting would complement the natural lines of this stave best.

Working down to my lines with the draw knife first.
Hitting my lines accurately and achieving handle symmetry with the Shinto rasp.
Three inch fades rounded into a classic willow leaf shape.
Rounding the corners on the back. I sometimes like a spokeshave for this job.
Cleaning up the corners and the sides and making sure the face profile is finalised before tillering starts. Next job – tip overlays!

For a detailed description of how I added deer antler tip overlays to this stave see this separate article Here: https://southmoorbows.com/4-secrets-to-making-your-best-antler-bow-tip-overlays/

Bottom nock with string groove cut. Both overlays are left wide for now and will be thinned down quite a bit before the bow is finished. I like quite fine tips on willow leaf shaped limbs.
I’m heat treating both flicked tips here in order to prevent the bend pulling out once tillering begins. I also quite like the dark coloured tips which results from only targeting the last 6” of the limb. The dark colour contrasts nicely with the lighter untreated belly wood.
Now that the overlays are functional I can eyeball the tips and handle for alignment. The string biased towards the left side of the bow appears a little too strong so I decide to heat the handle area for a correction.
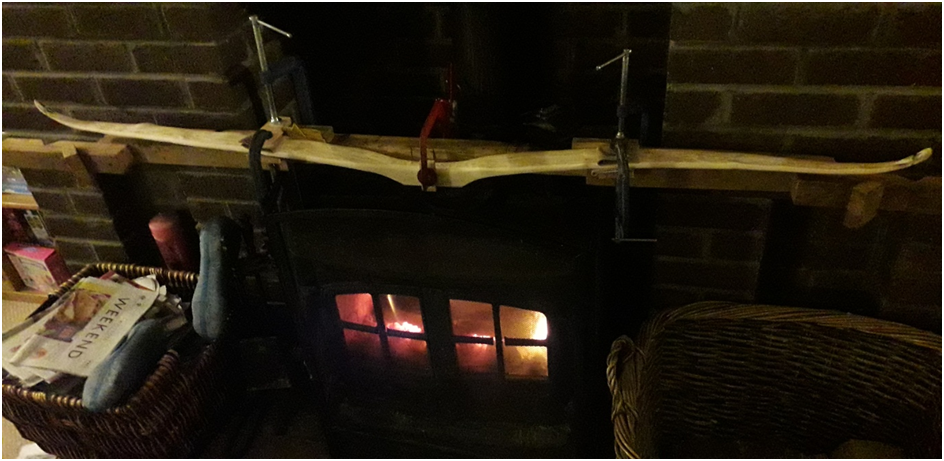
The handle is quite thick so I opt for setting the stave over the wood burner top whilst fitted to a bending jig.

The depth of heat penetration that you get with this method is significantly greater than can be achieved with a heat gun. After 45 minutes the handle section is scolding hot so the stave is manipulated into alignments and then comes off the heat and is allowed to cool for an hour. After the jig comes off I check for alignment and am happy to see that the correction has brought string alignment back to just favouring the left side which is perfect for a right handed archer such as me.

Roughly shaping the handle before starting the tillering process.
Deflex reflex staves are always easier to tiller as the even shape has already been achieved through the various heat bending processes.

This stave is heavy but almost braceable right out the gate. After about 15 mins of long string tillering on the tiller tree the bow can be strung at a 6” brace height.

The left limb in the picture above is the bottom limb and is slightly weaker than the right limb which the top limb. I shoot split fingers so want this bow to finish out with an 1/8″ – 1/4 ” positive tiller. This was opposite to what the bow was doing at brace so I needed to reduce to top limb to swing the balance the other way. This is fine though as at this point, the bow is still quite heavy. I’m a short drawer so I’m aiming for 50lbs at 26”. At the minute I’m still getting 50lb at 22” so I spend an hour carefully reducing the weight of the top limb and tickling away at any stiff spots overall.

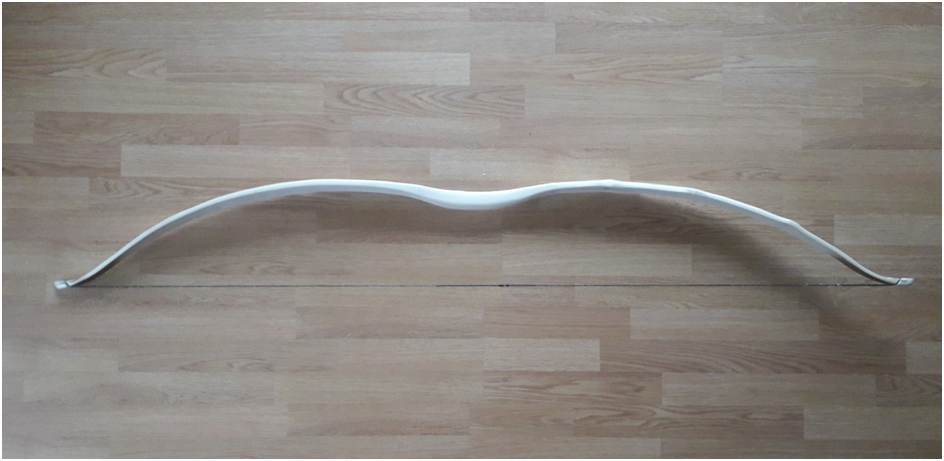
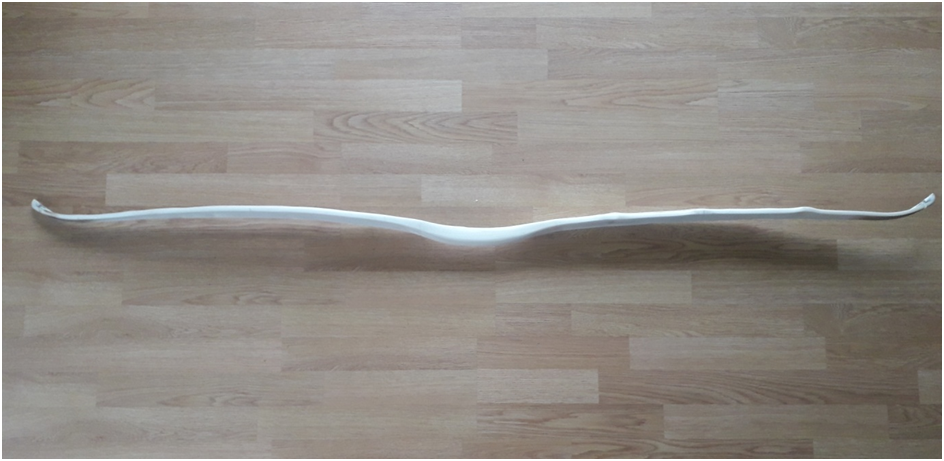
Bow unstrung after tillering to 53lb @ 26″

I’ve now got the stave down to 53lb at 26″ on the tillering tree. The extra 3lbs will likely come off as the bow is fine tillered and sanded after being shot in. both strung and unstrung I’ve got a really nice even balance of reflex in the handle and tips combined with a nice bit of mid limb deflex. The flicked tips haven’t pulled out and the string alignment is still just slightly biased towards the left side of the bow which for me as a right handed shooter is perfect. No signs of chrysaling anywhere on the belly and no splinters to be seen on the back. Time to get a handle wrap on and shoot her in.

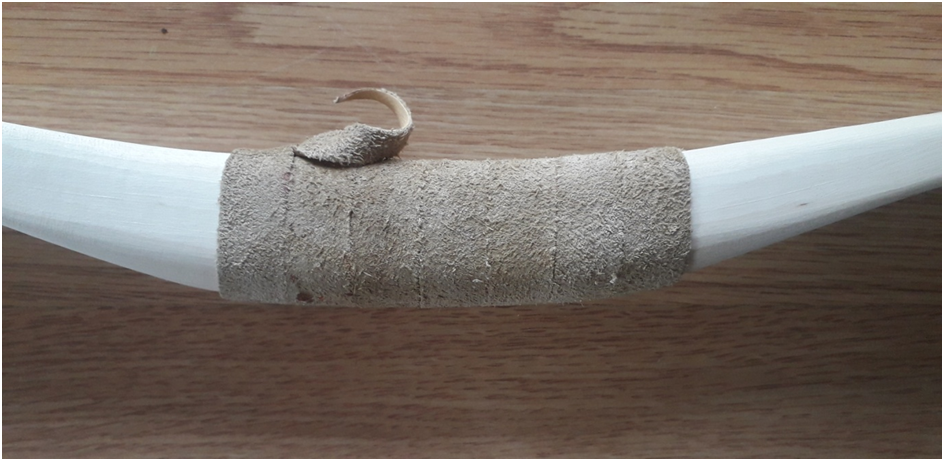
A scrap piece of buckskin leather will do for now.

I always shoot a couple of hundred arrows through all of my unfinished bows before sanding and finishing. I’ve learnt that a bow which has been meticulously tillered on the tillering tree will move considerably through actual shooting. After two hundred shot you know what you have. I then recheck my tiller and adjust accordingly.

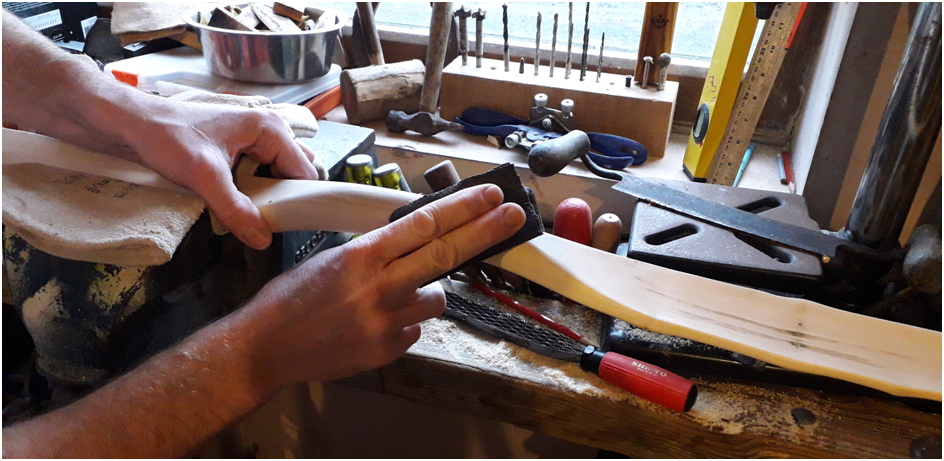
Happy with the final tiller it’s time to finish this bow. I start with 120 grit followed by 200 grit followed by 000 wire wool.
Next I wet the whole bow down with plain water to raise the grain.
After a day to dry thoroughly the grain gets hit back down with 000 wire wool.
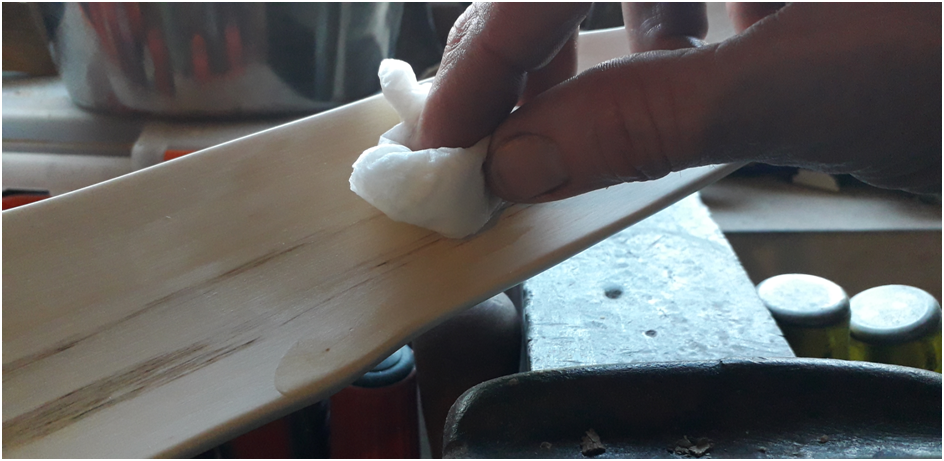
Then its on with an oil based stain and many coats of Truoil to finish.
 

The finished bow can be seen here: https://southmoorbows.com/character-field-maple-deflex-reflex-selfbow-50-26/
 
Until next time!