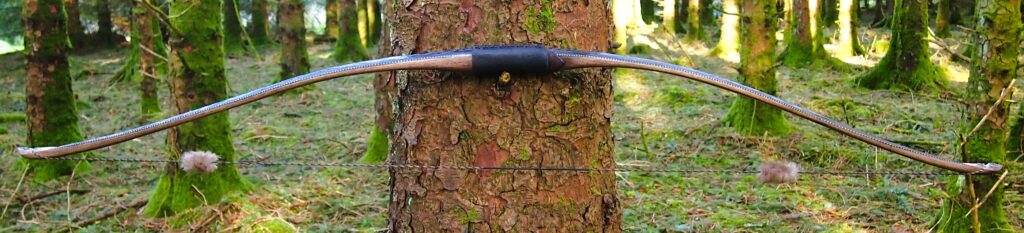
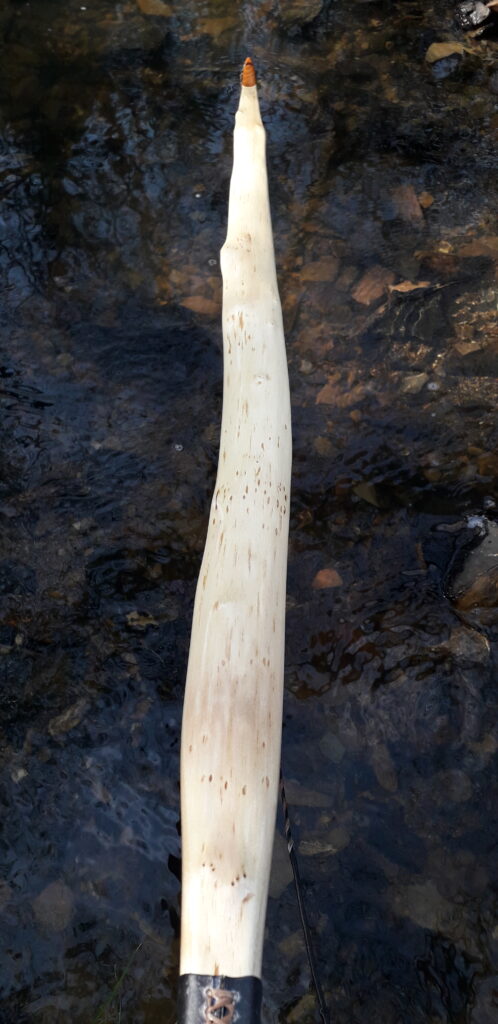
It’s been ages since I made myself a bow. So when I uncovered a forgotten Elm stave which I’d had up in the barn rafters for a couple of years, I rather fancied turning it into my next favourite stumping primitive.
Whilst the stave was fairly clean, it did have a knarly looking end section which looked more trouble than worth the effort to work around. So I opted to cut this end off. This only left me with 61″ to play with. That’s not much for a white wood bow.
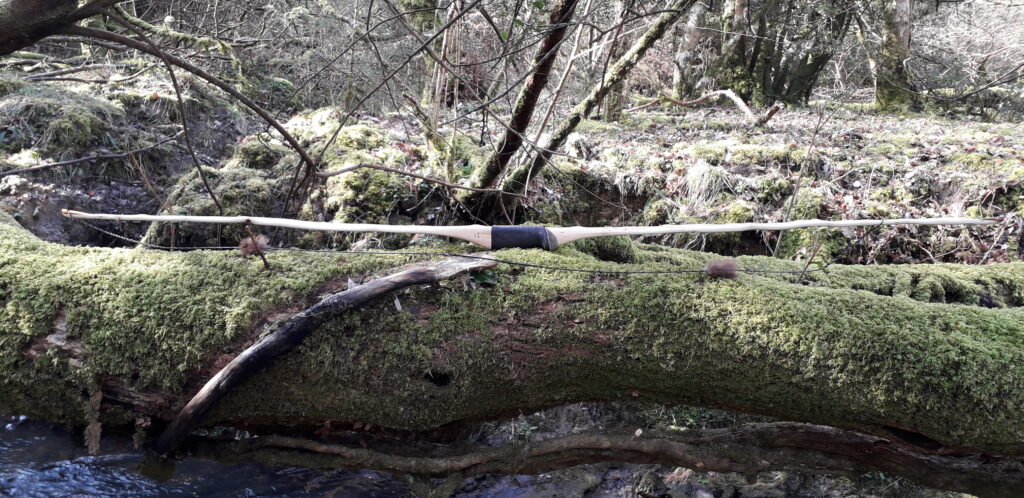
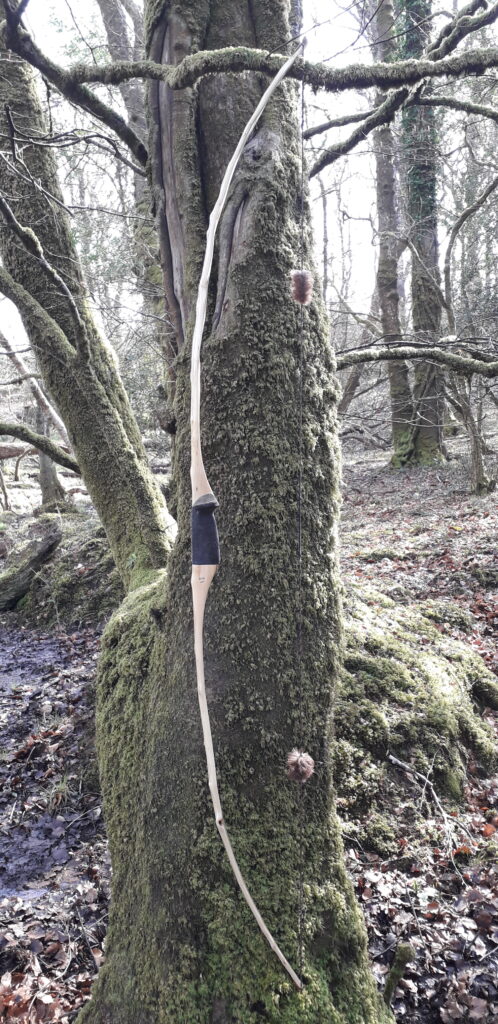
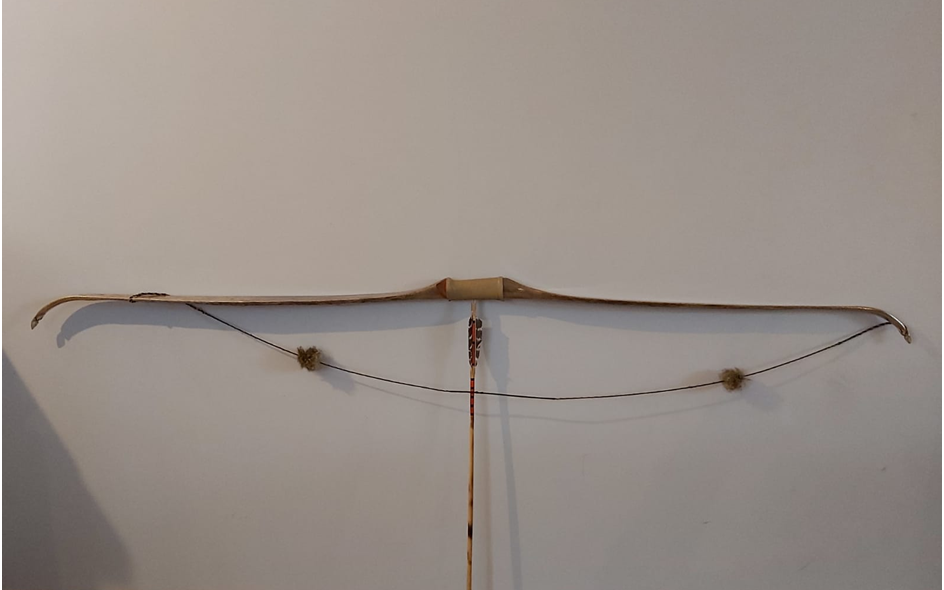
A white wood bow this short, intended to be drawn back to my 26″ draw length, would stack unless the tips were flicked. But flicking the tips on an otherwise short and straight stave would probably overstress the limbs.
As the added reflex was only to reduce stack, not add speed, I opted to deflex the handle section/fades so that it would cancel out the added stress from the recurve induced throughout both outer thirds. This is something that I tend to do routinely now, as even just a whisper of R&D makes for a much smoother, less stacky draw.
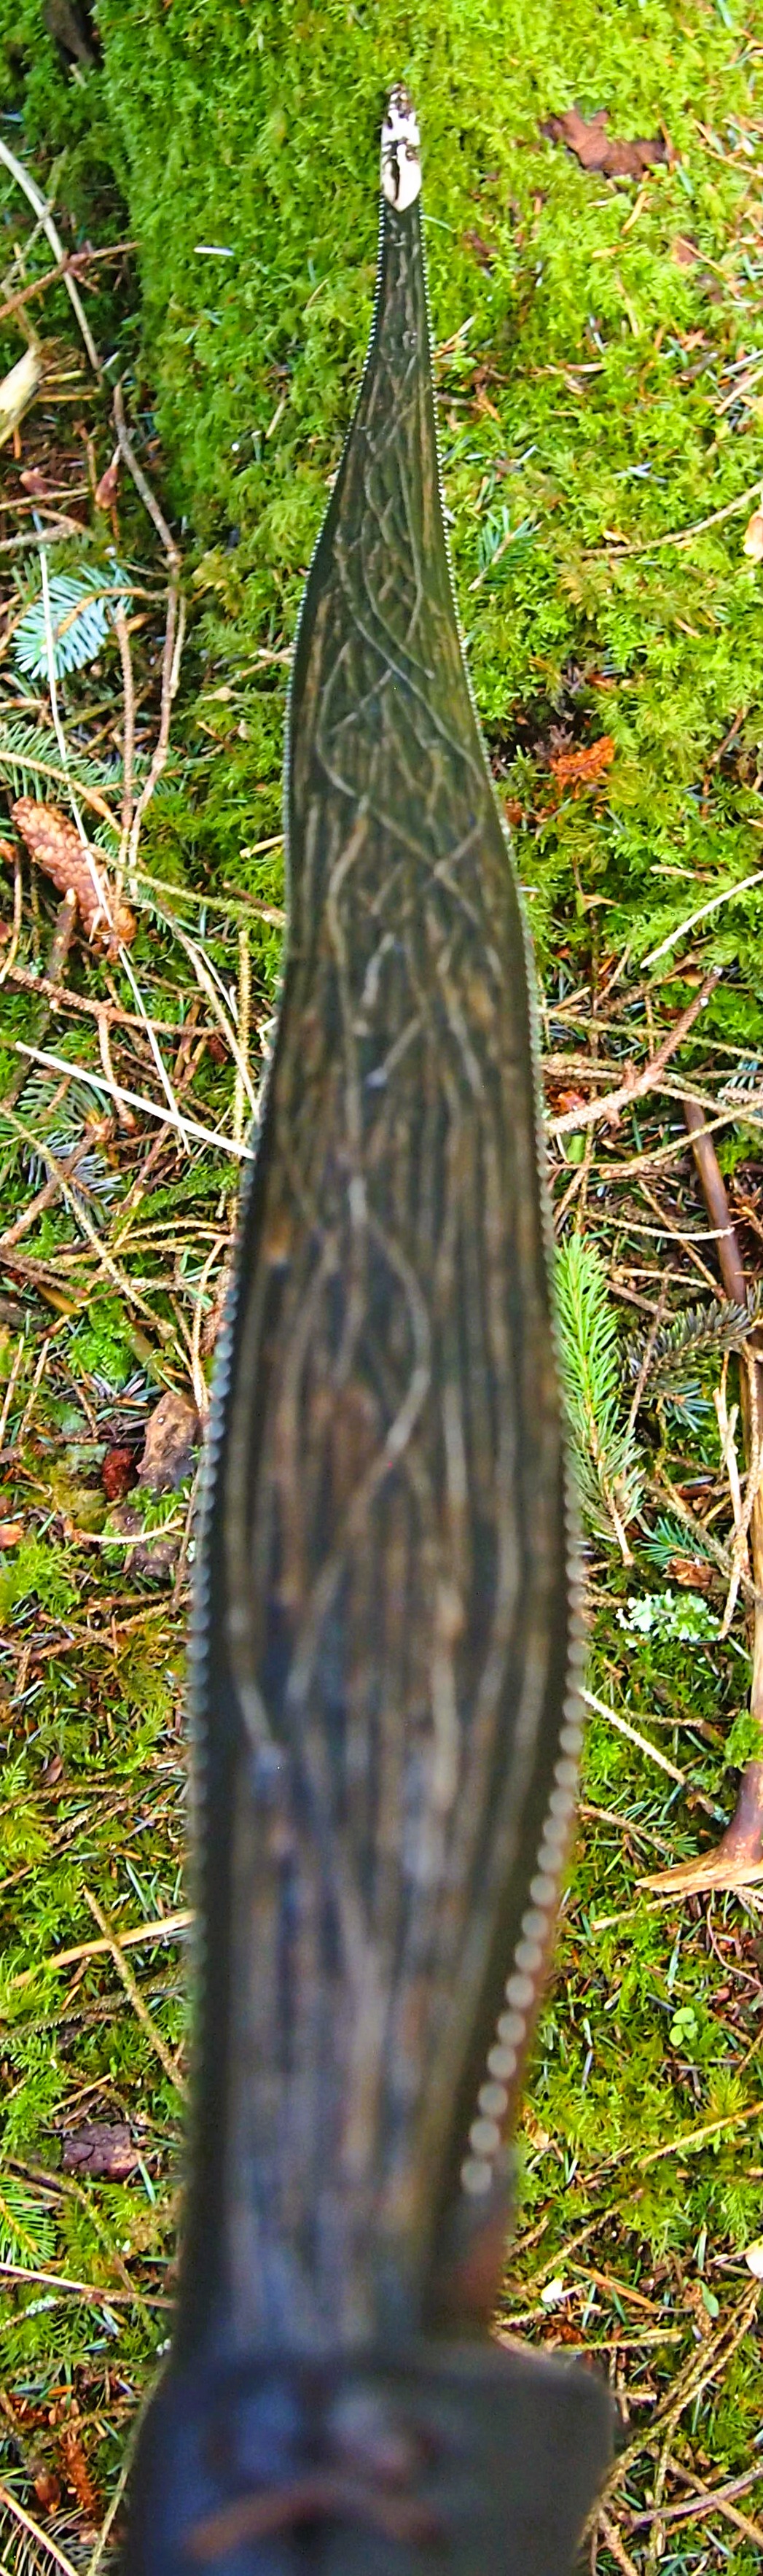
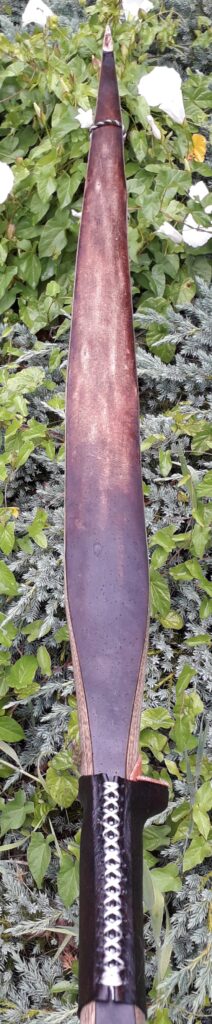
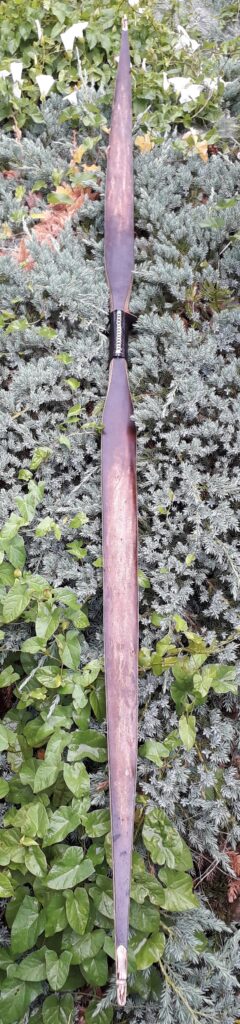
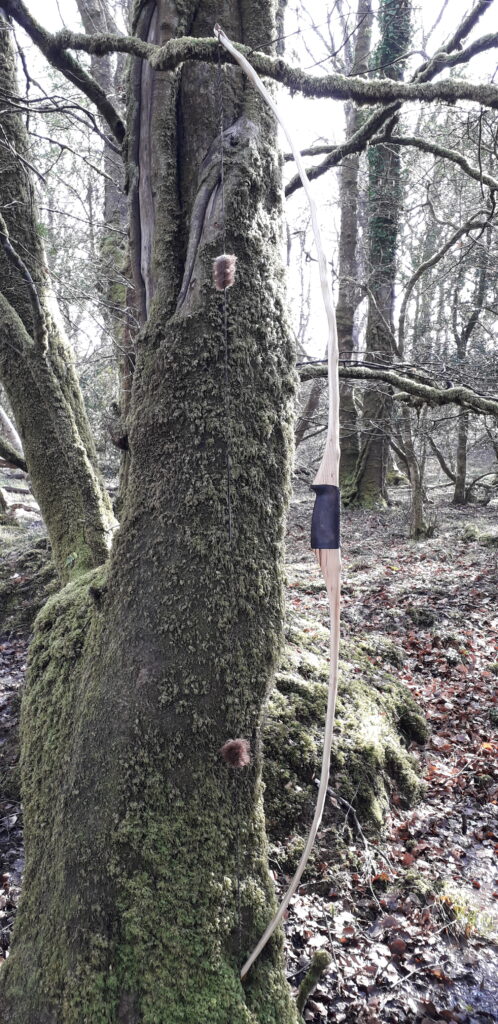
And as this white wood bow was always going to be a tad on the short side of ideal, to make sure that there would be no risk of his bow blowing up on me in a few years time, I decided to sinew back it with 3oz of Red Deer leg tendon sinew. Whilst it’s always a hassle and a massive faff to sinew back a bow, in addition to the extra durability sinew backing brings, it don’t half add some resistance to set, not to mention a fair bit of extra zip!
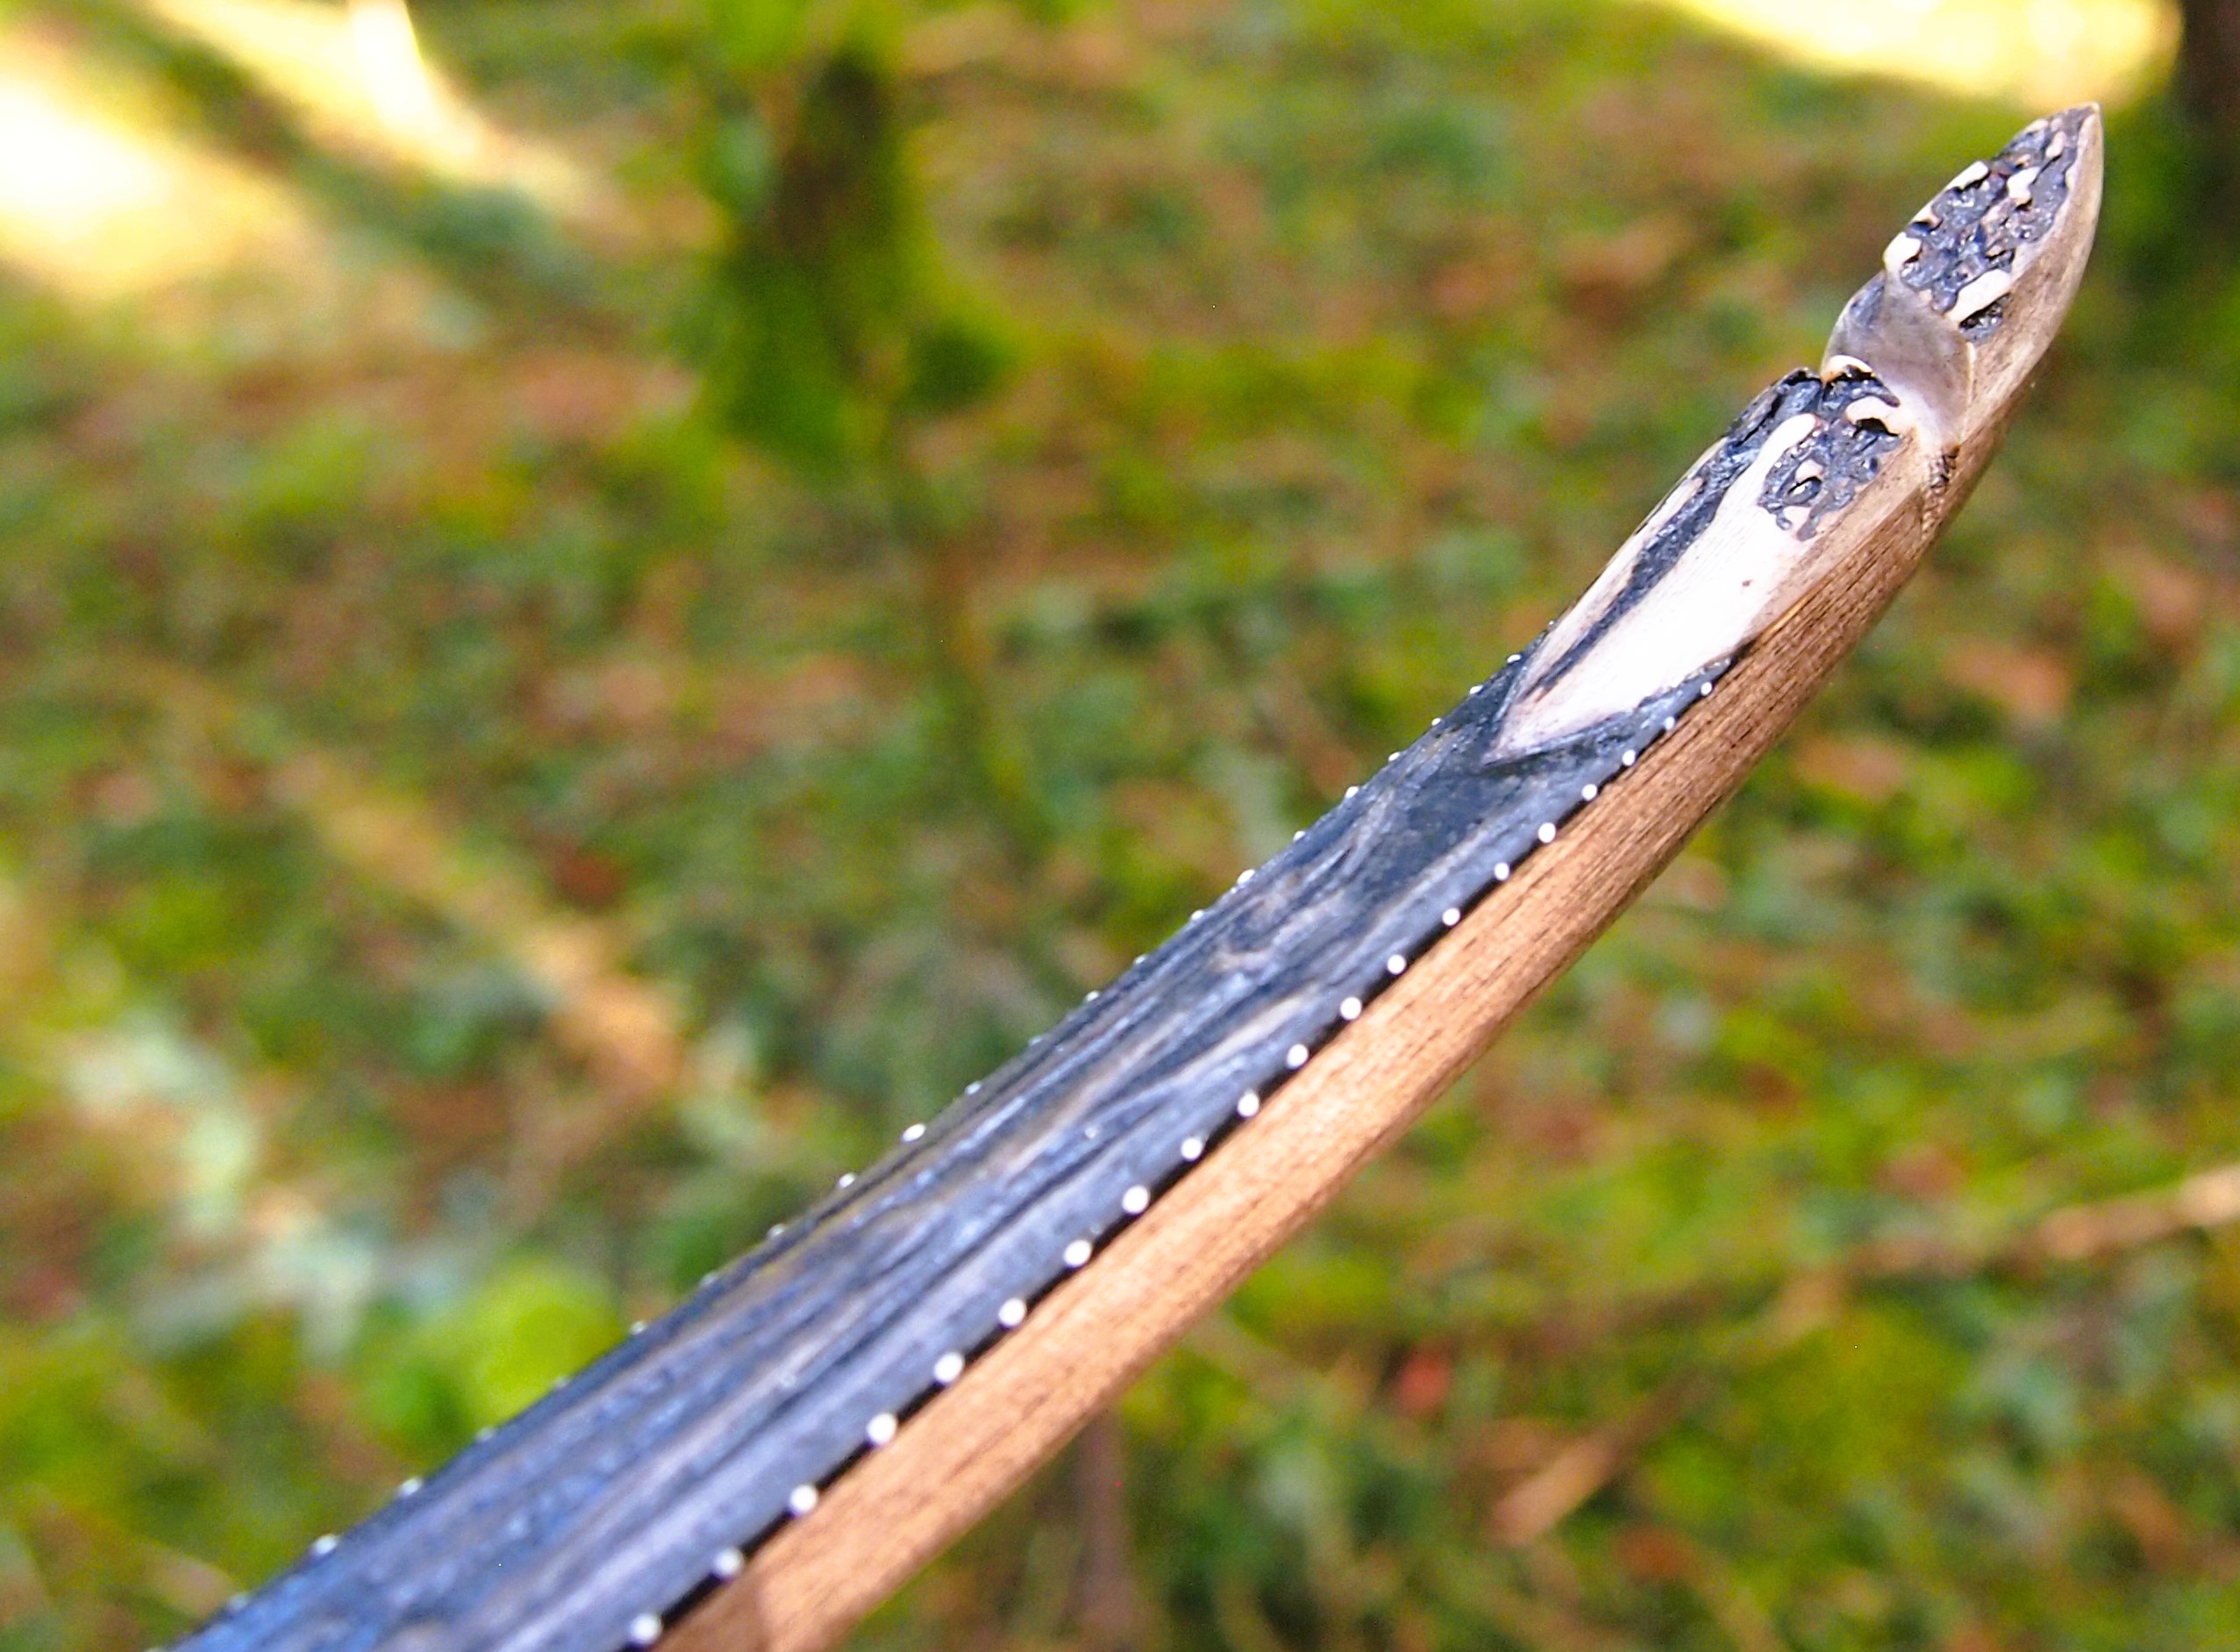
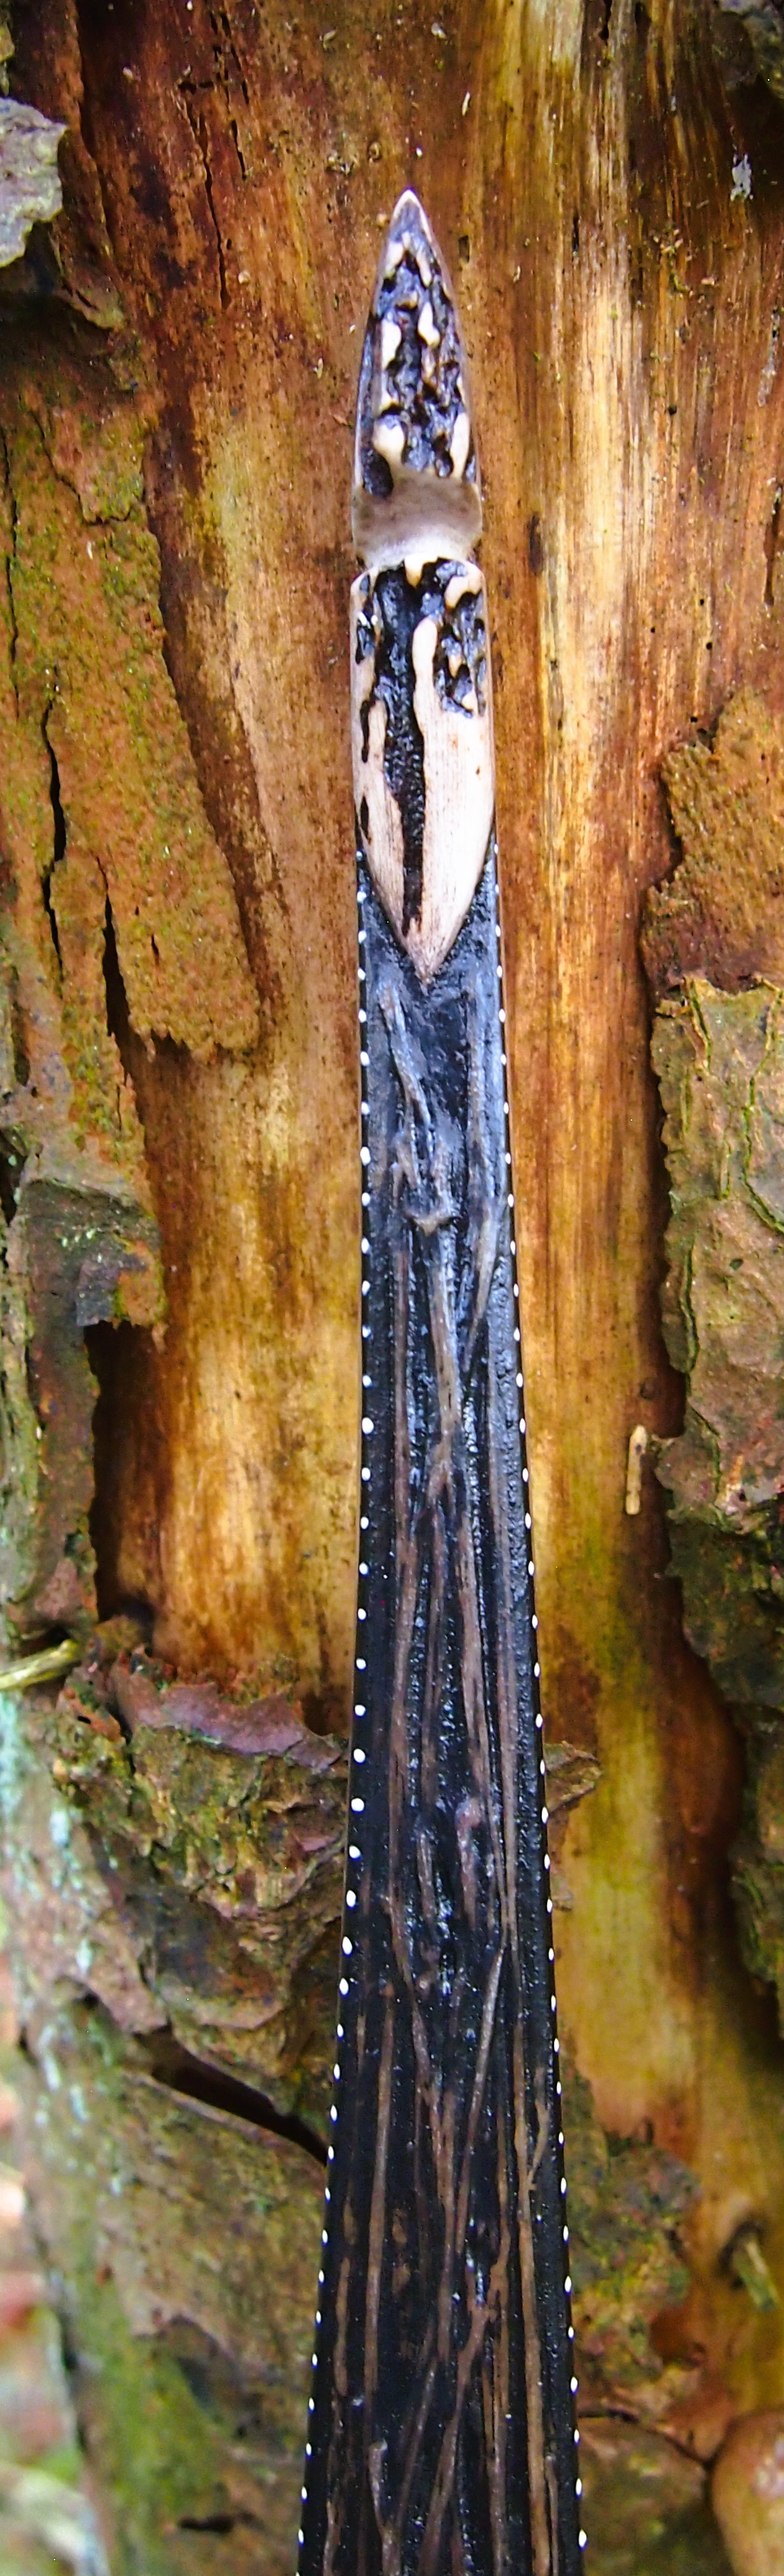
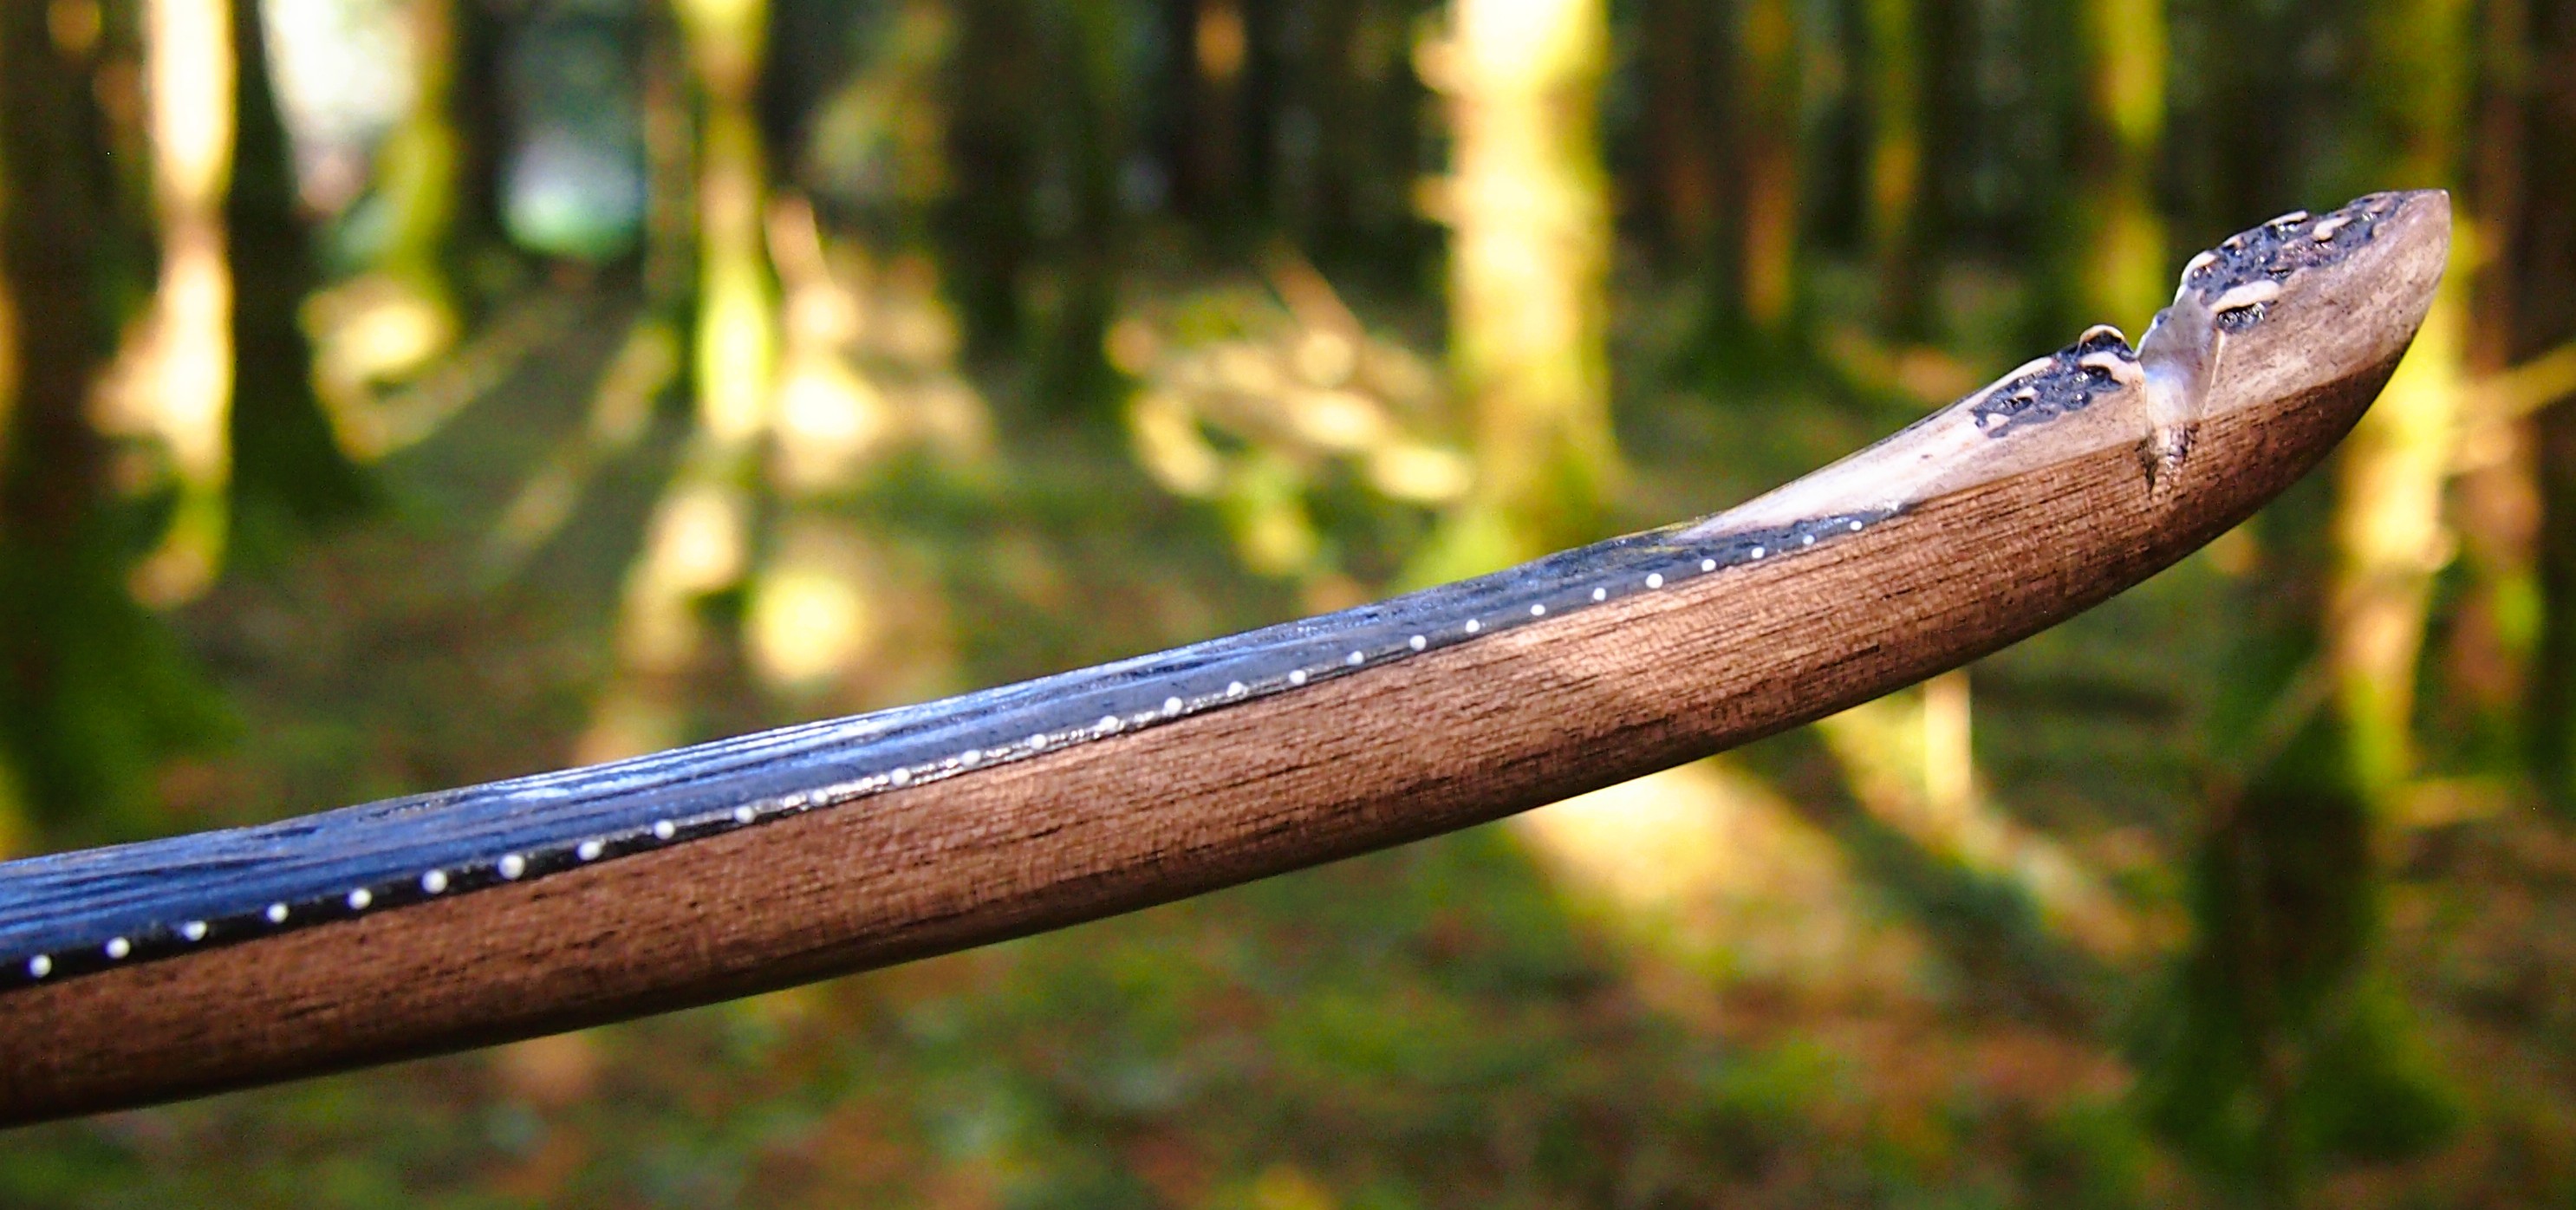
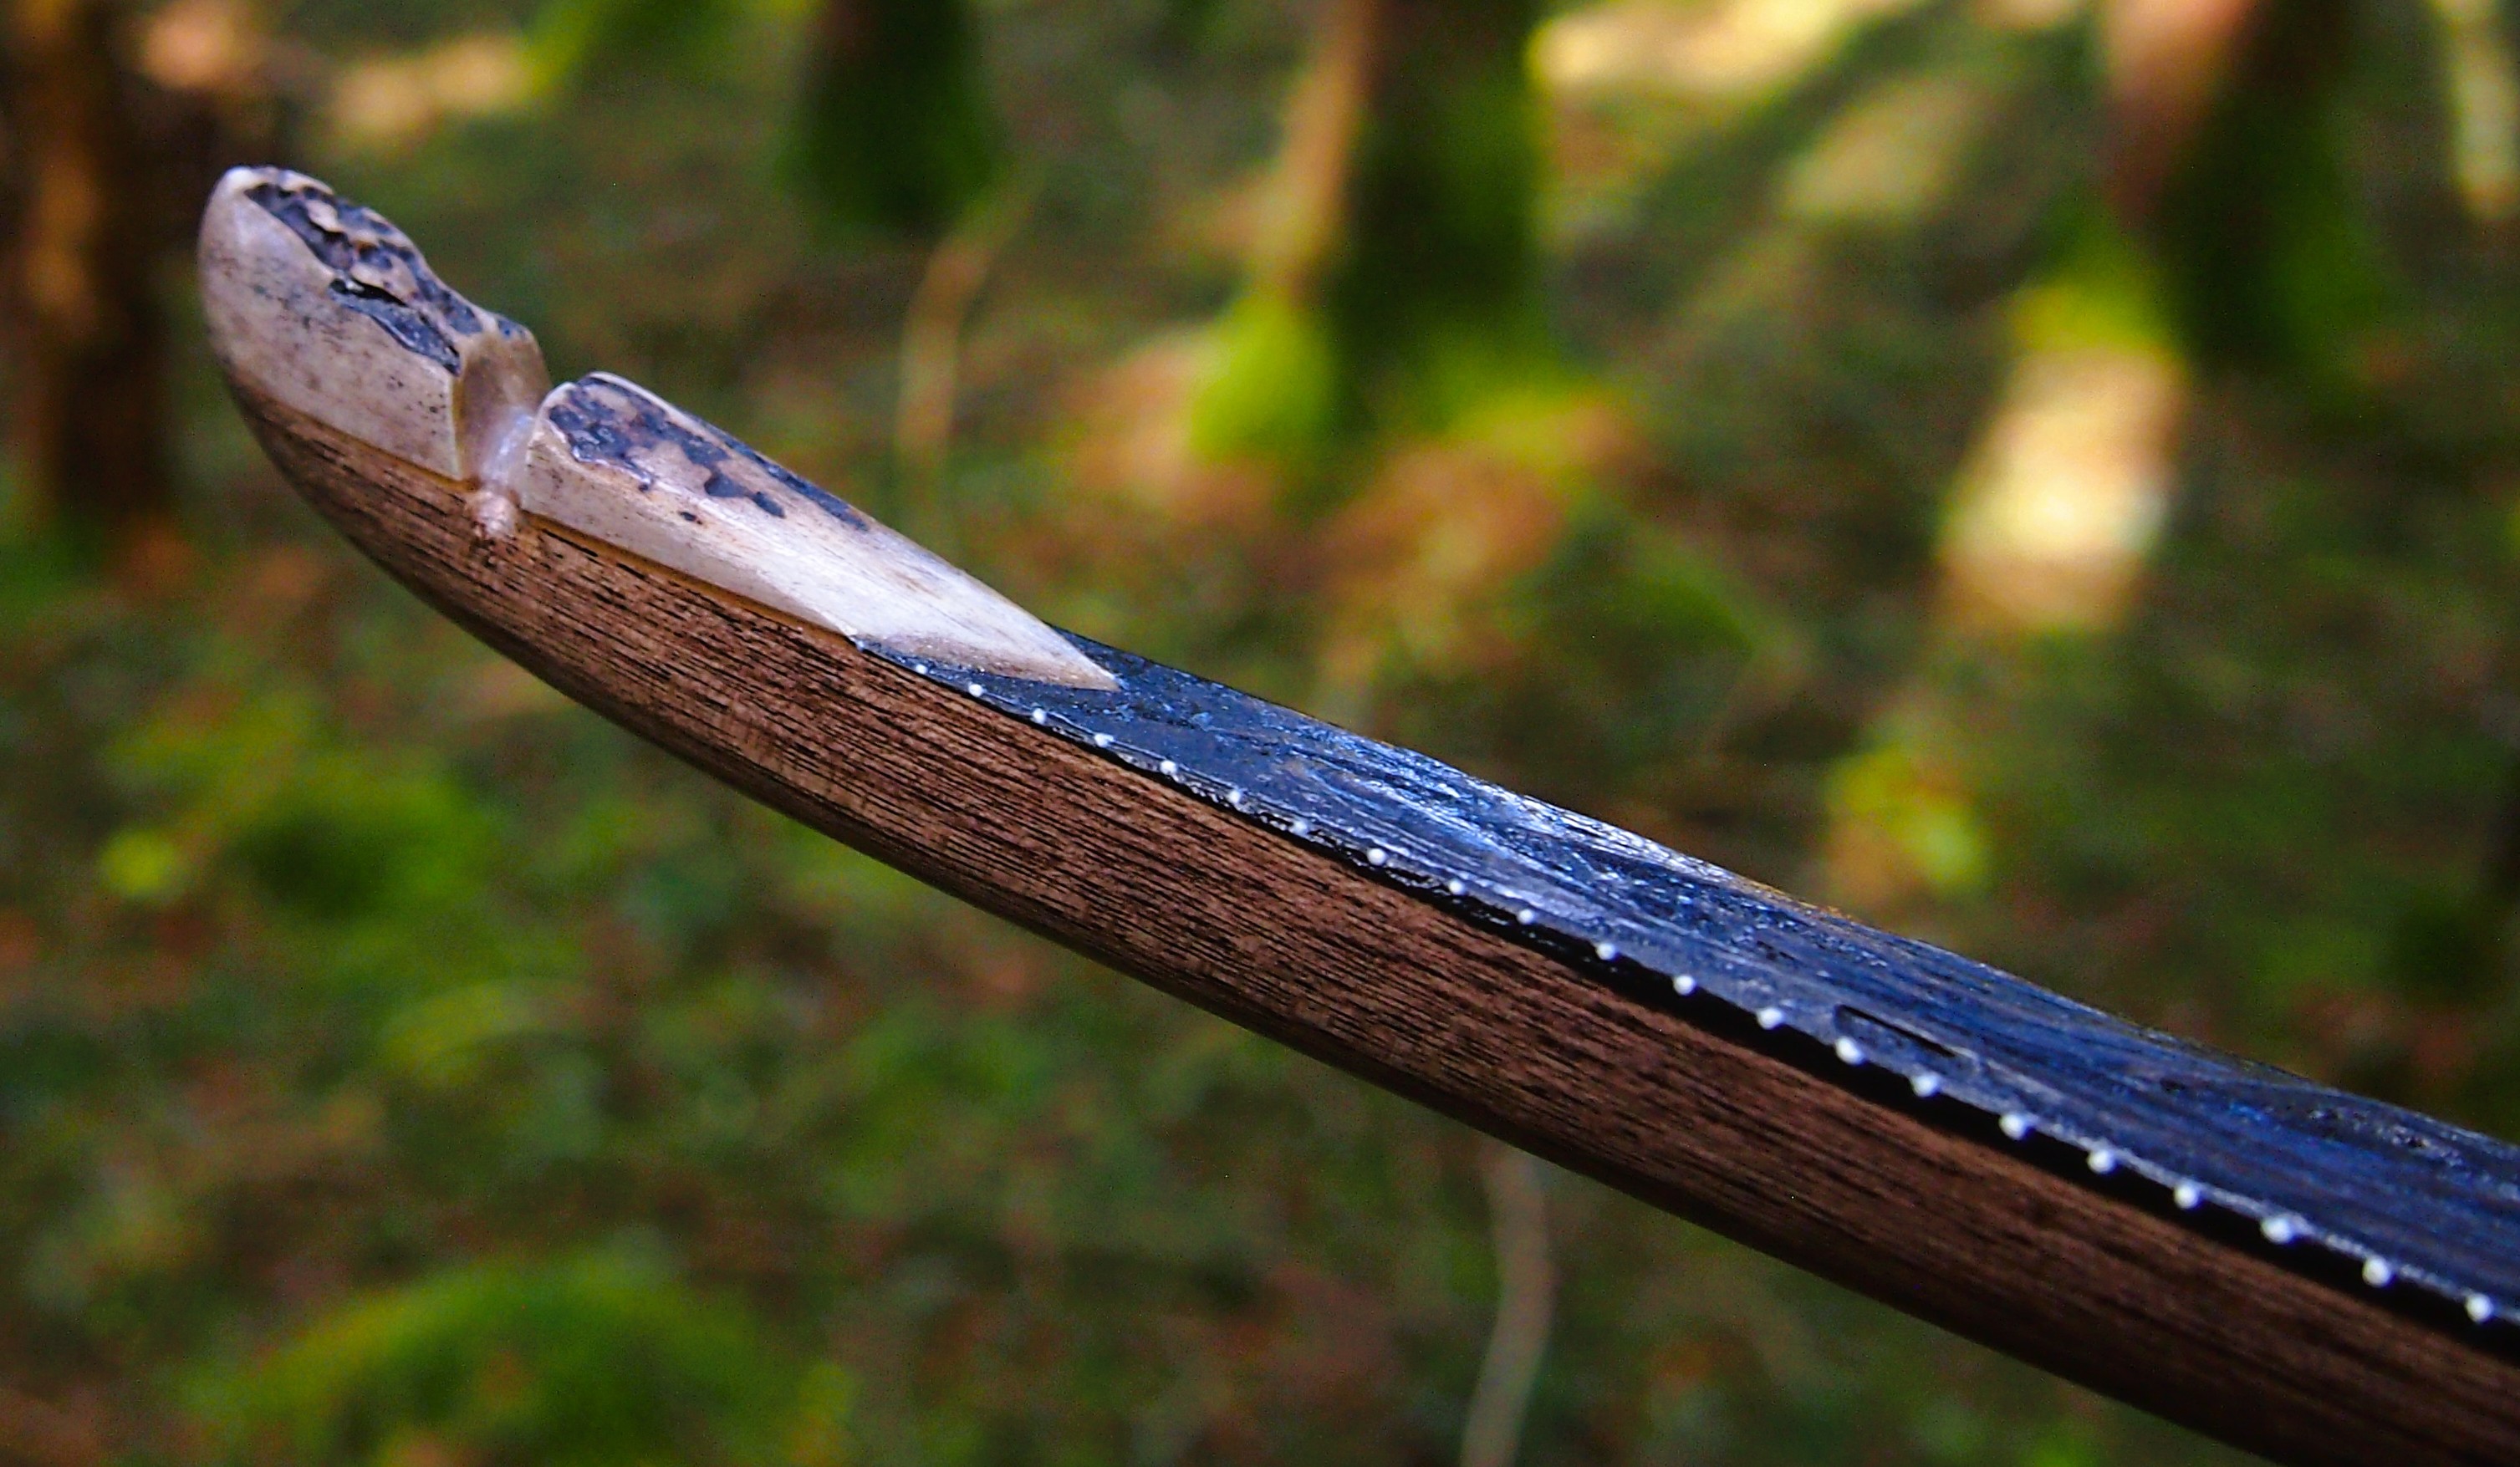
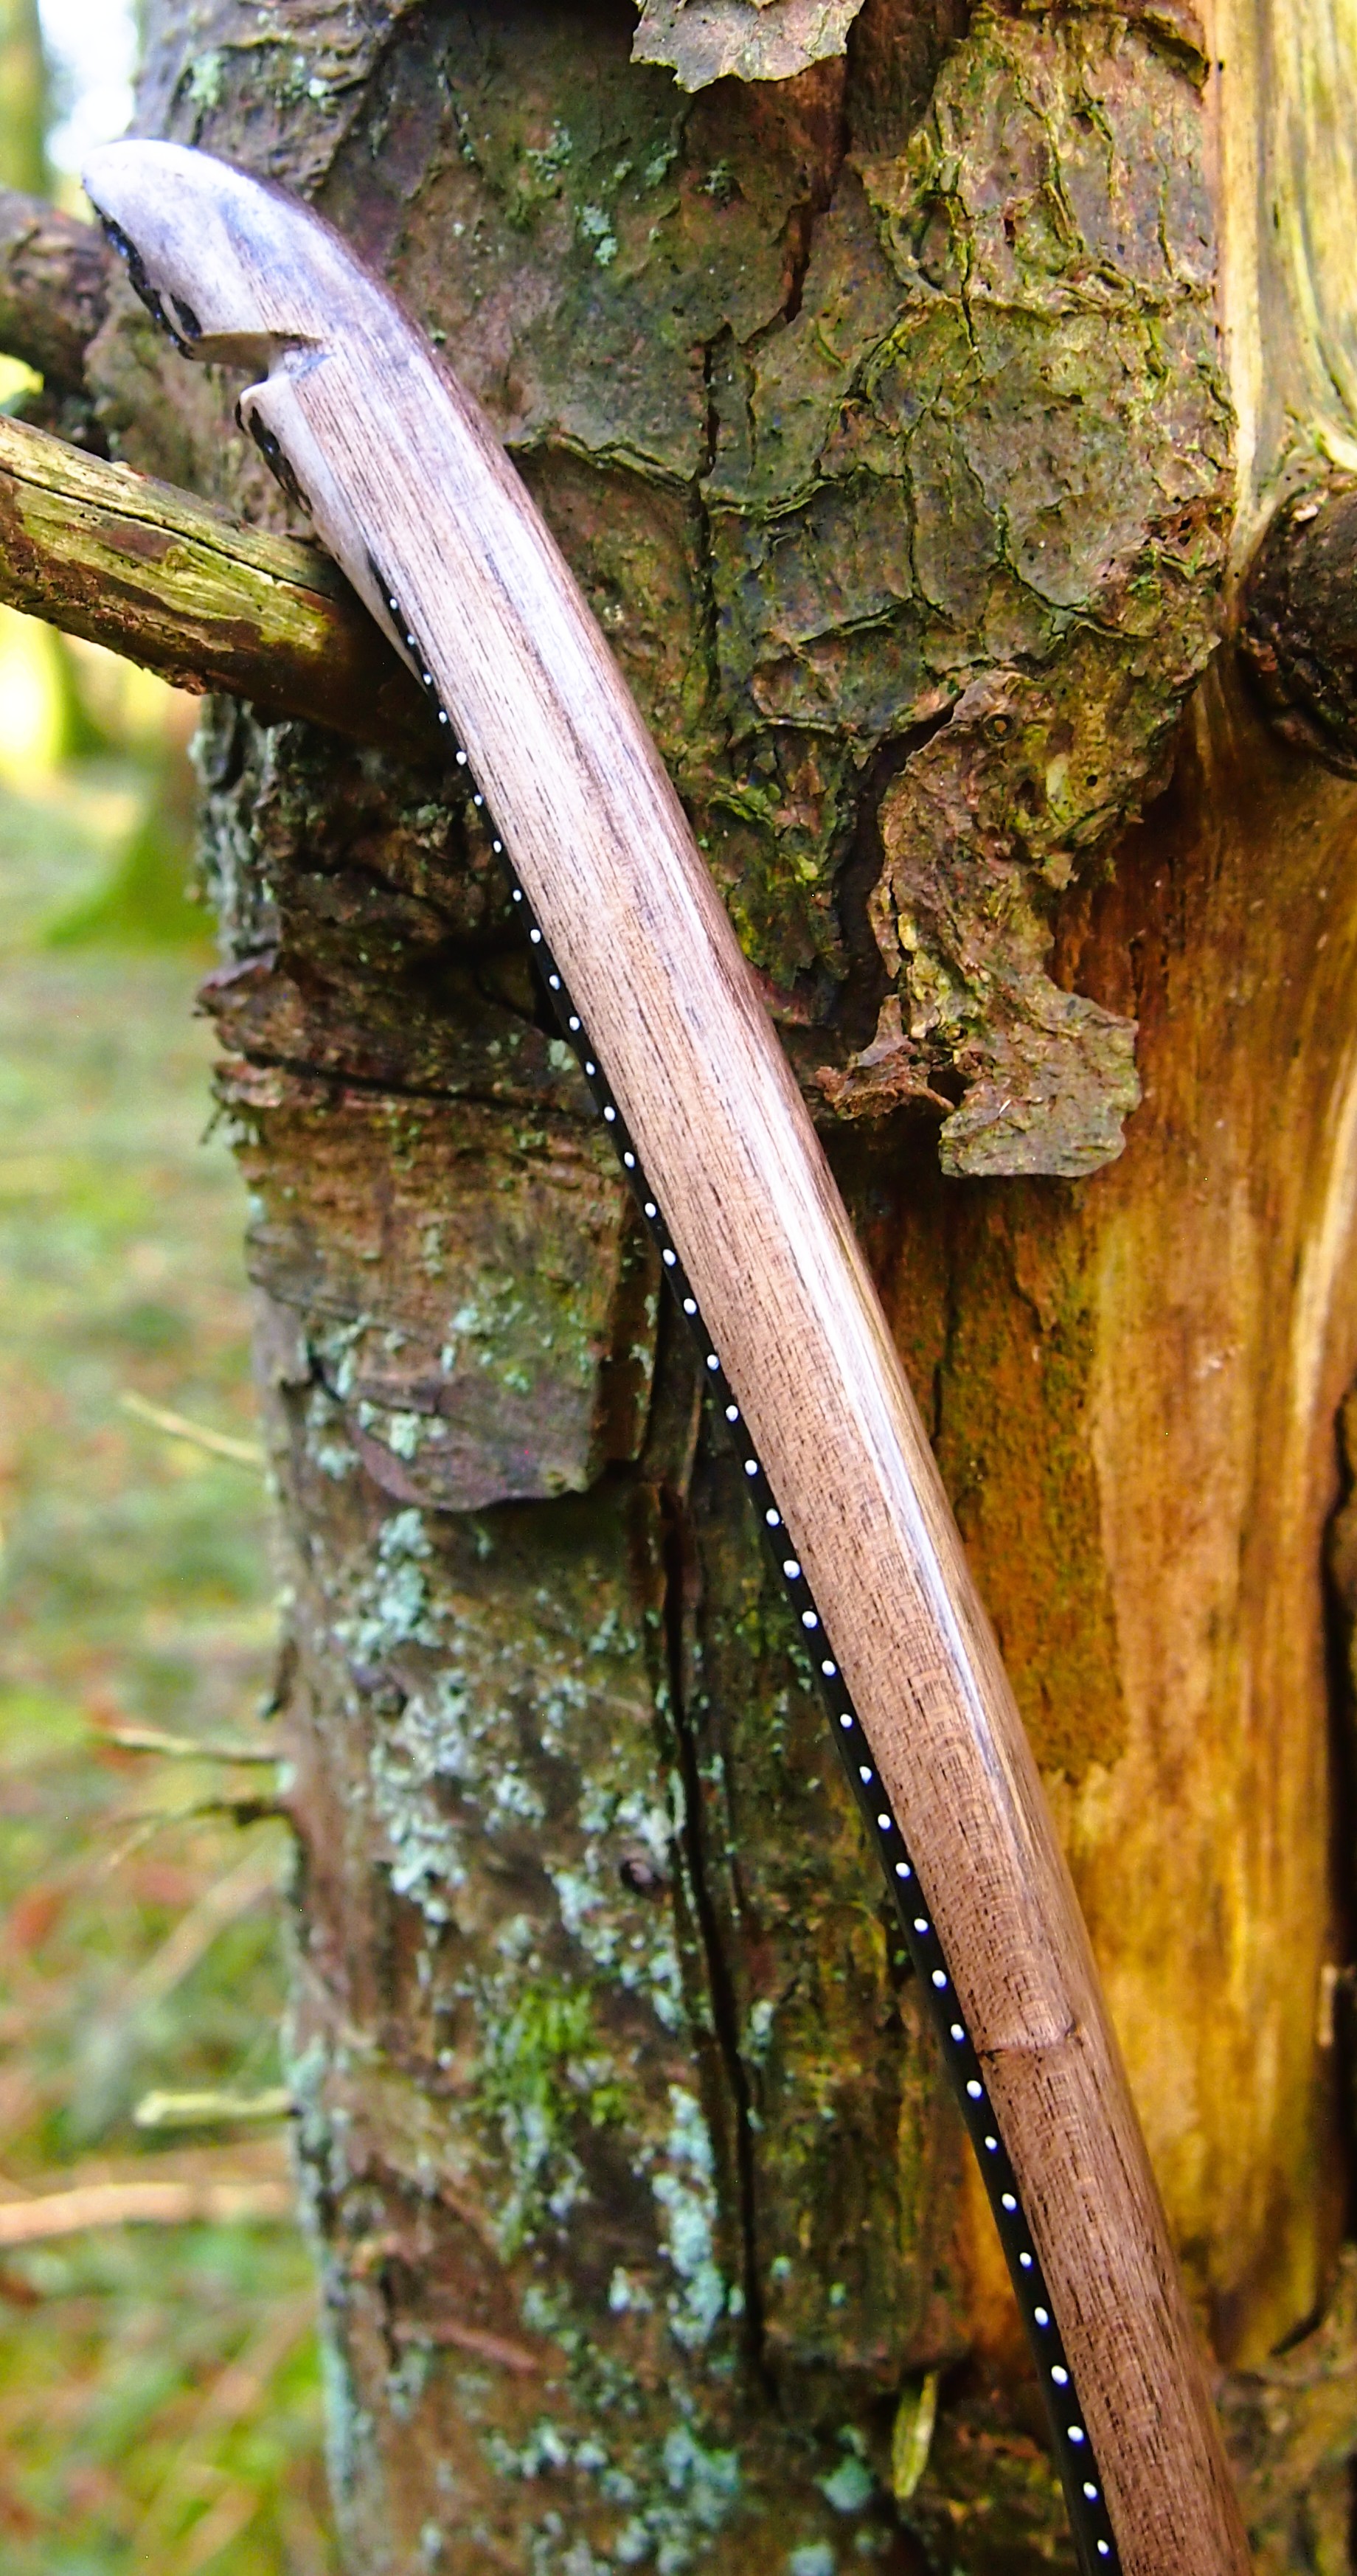
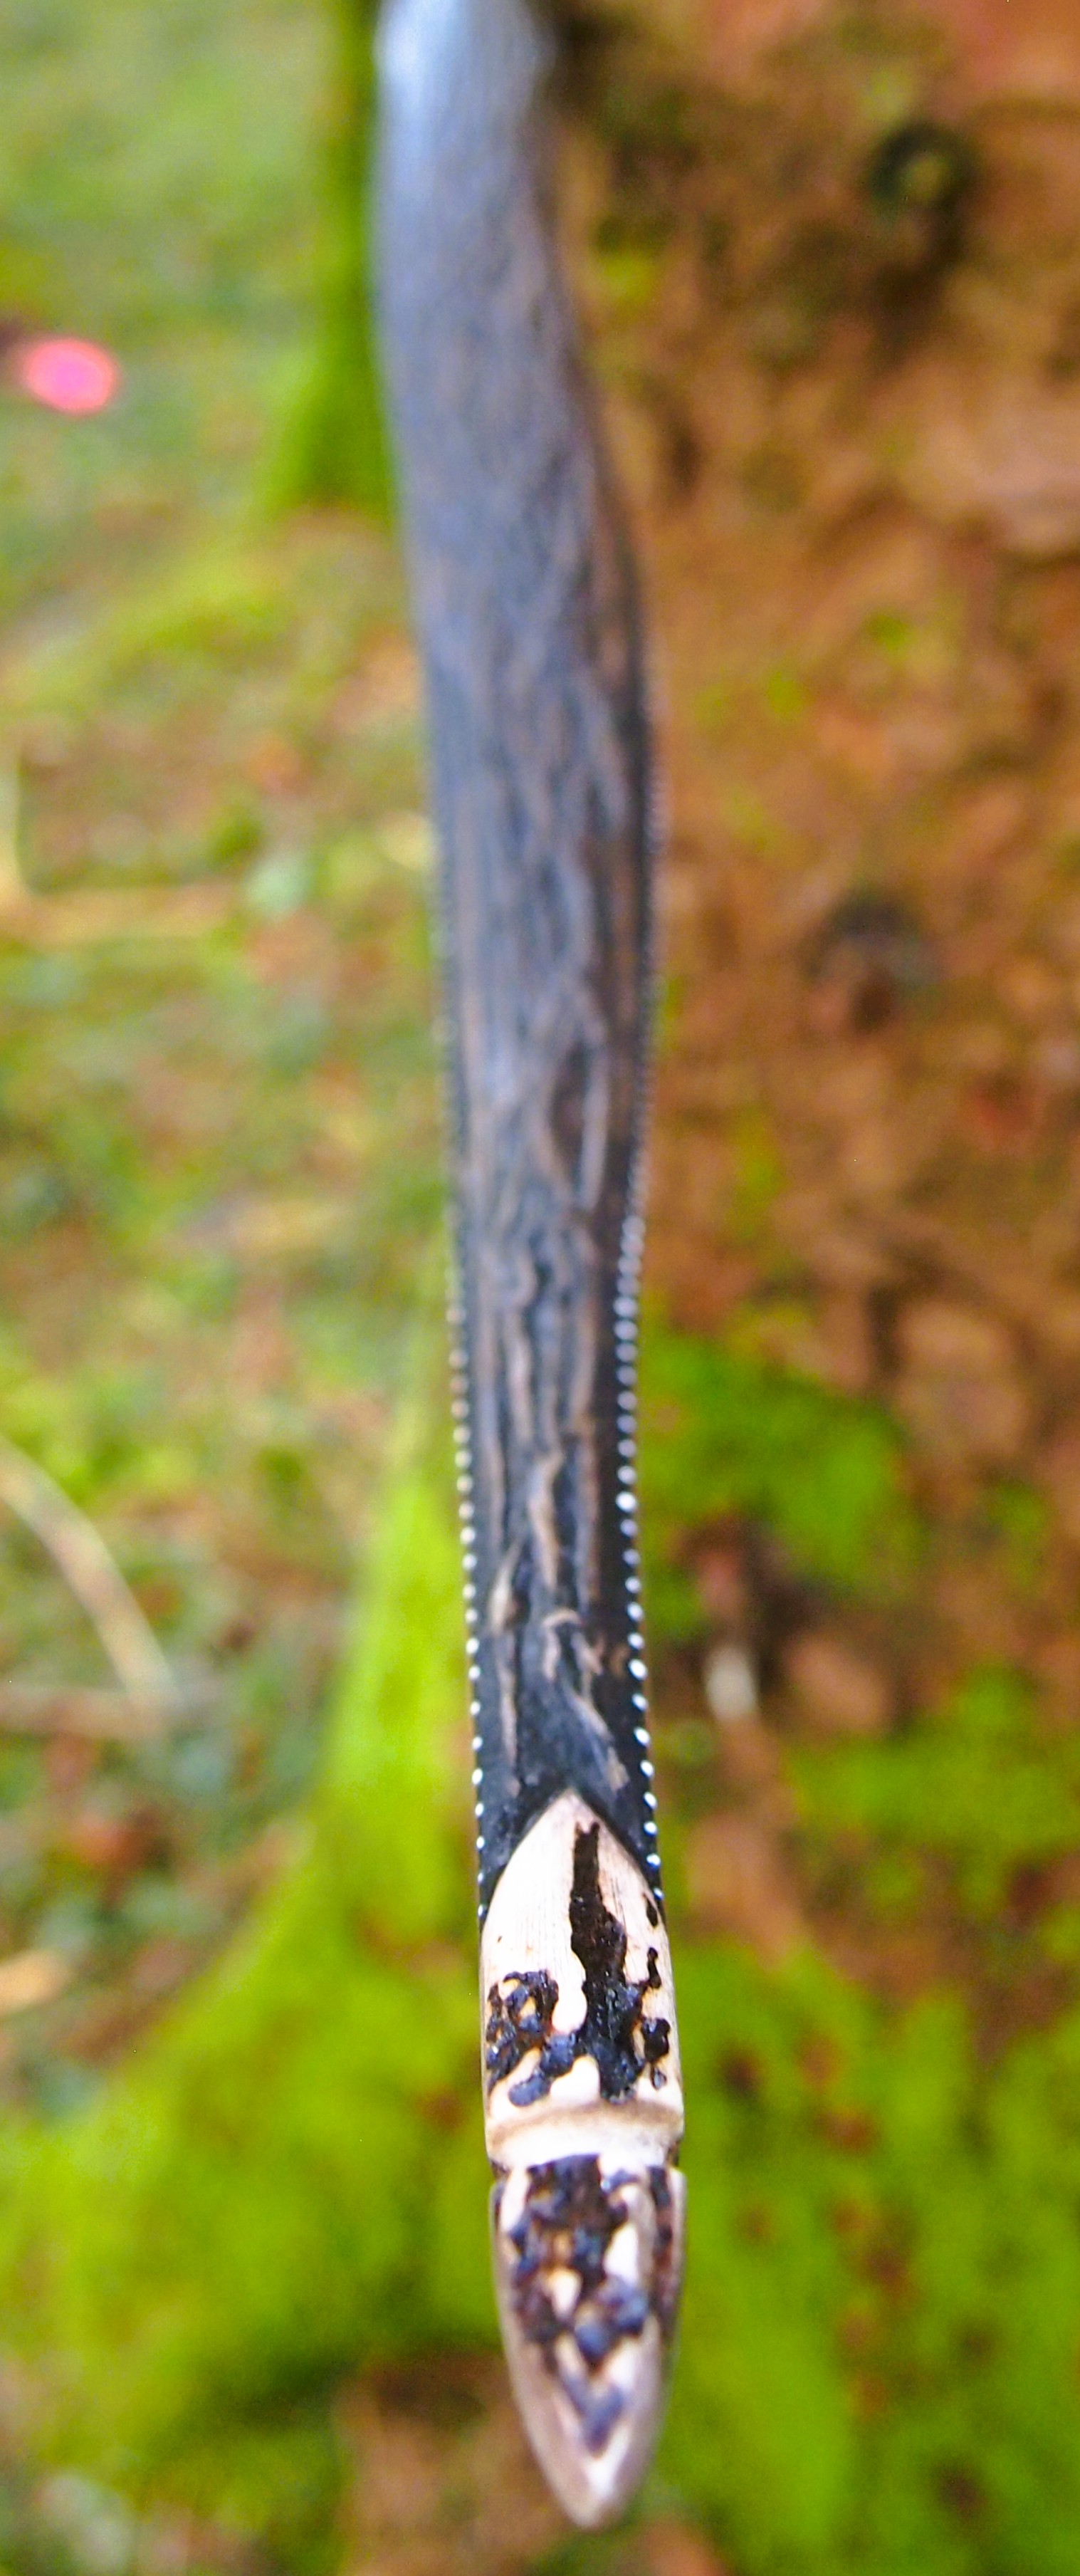
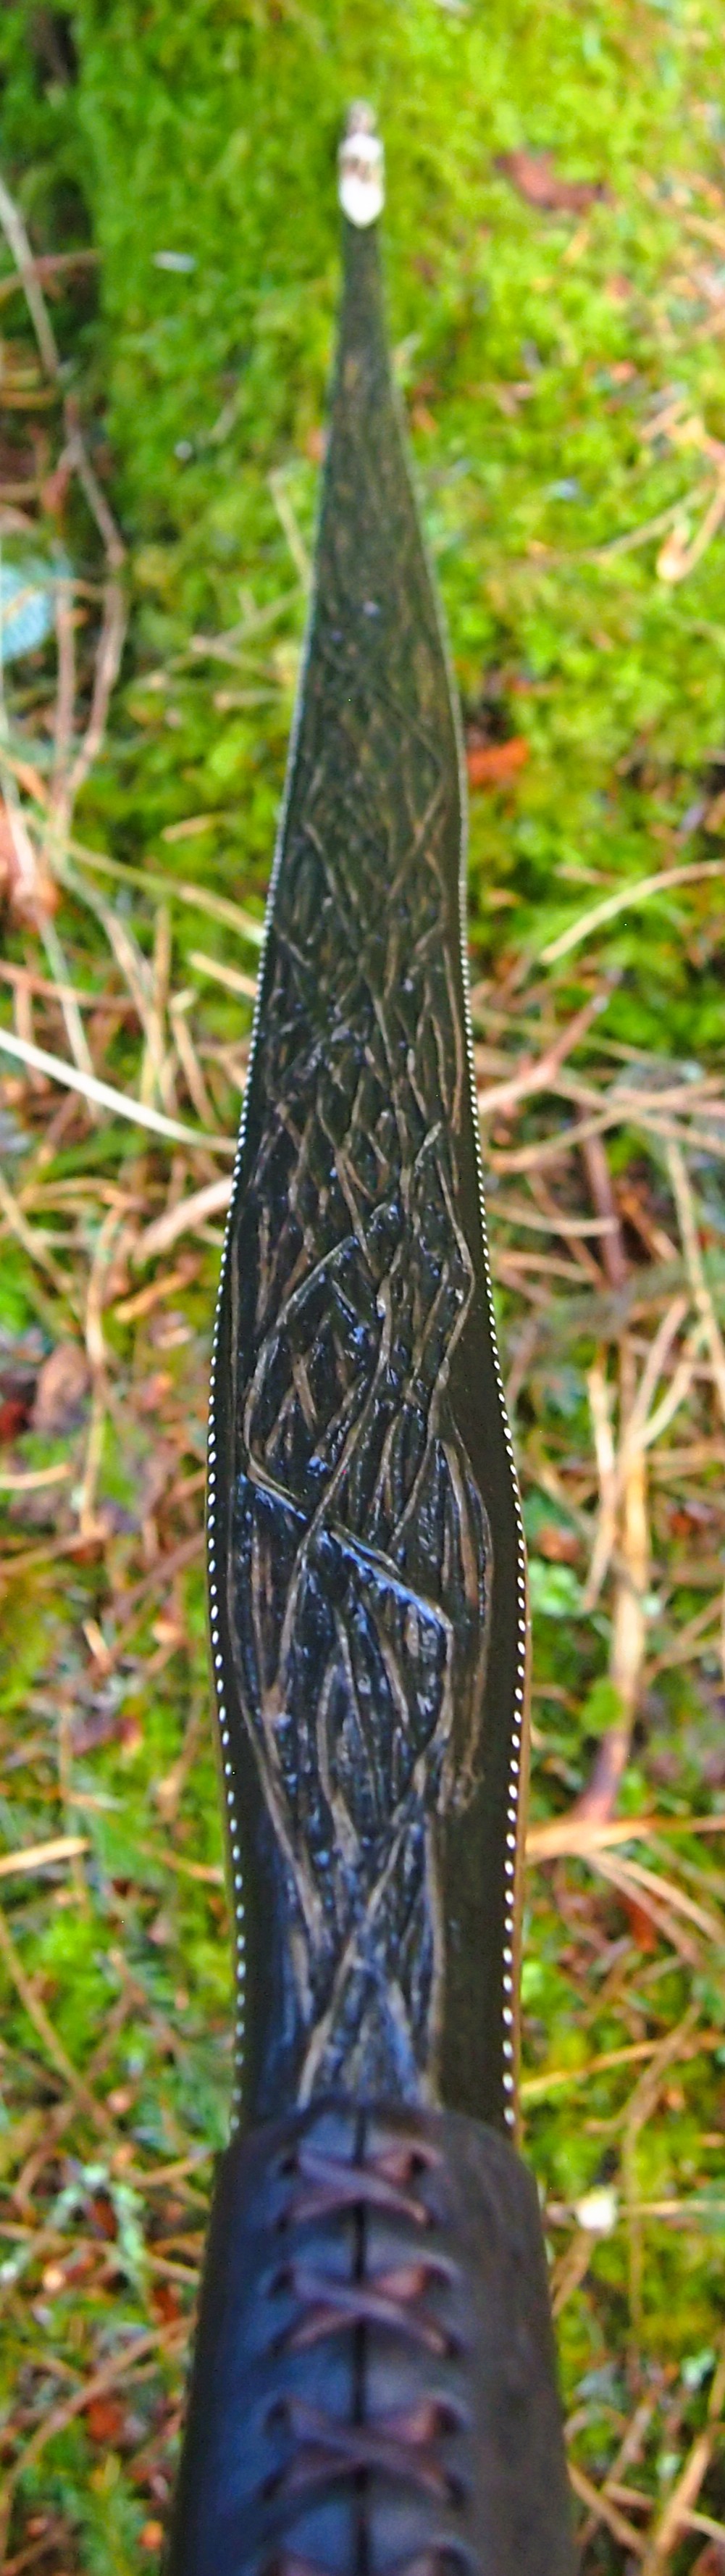
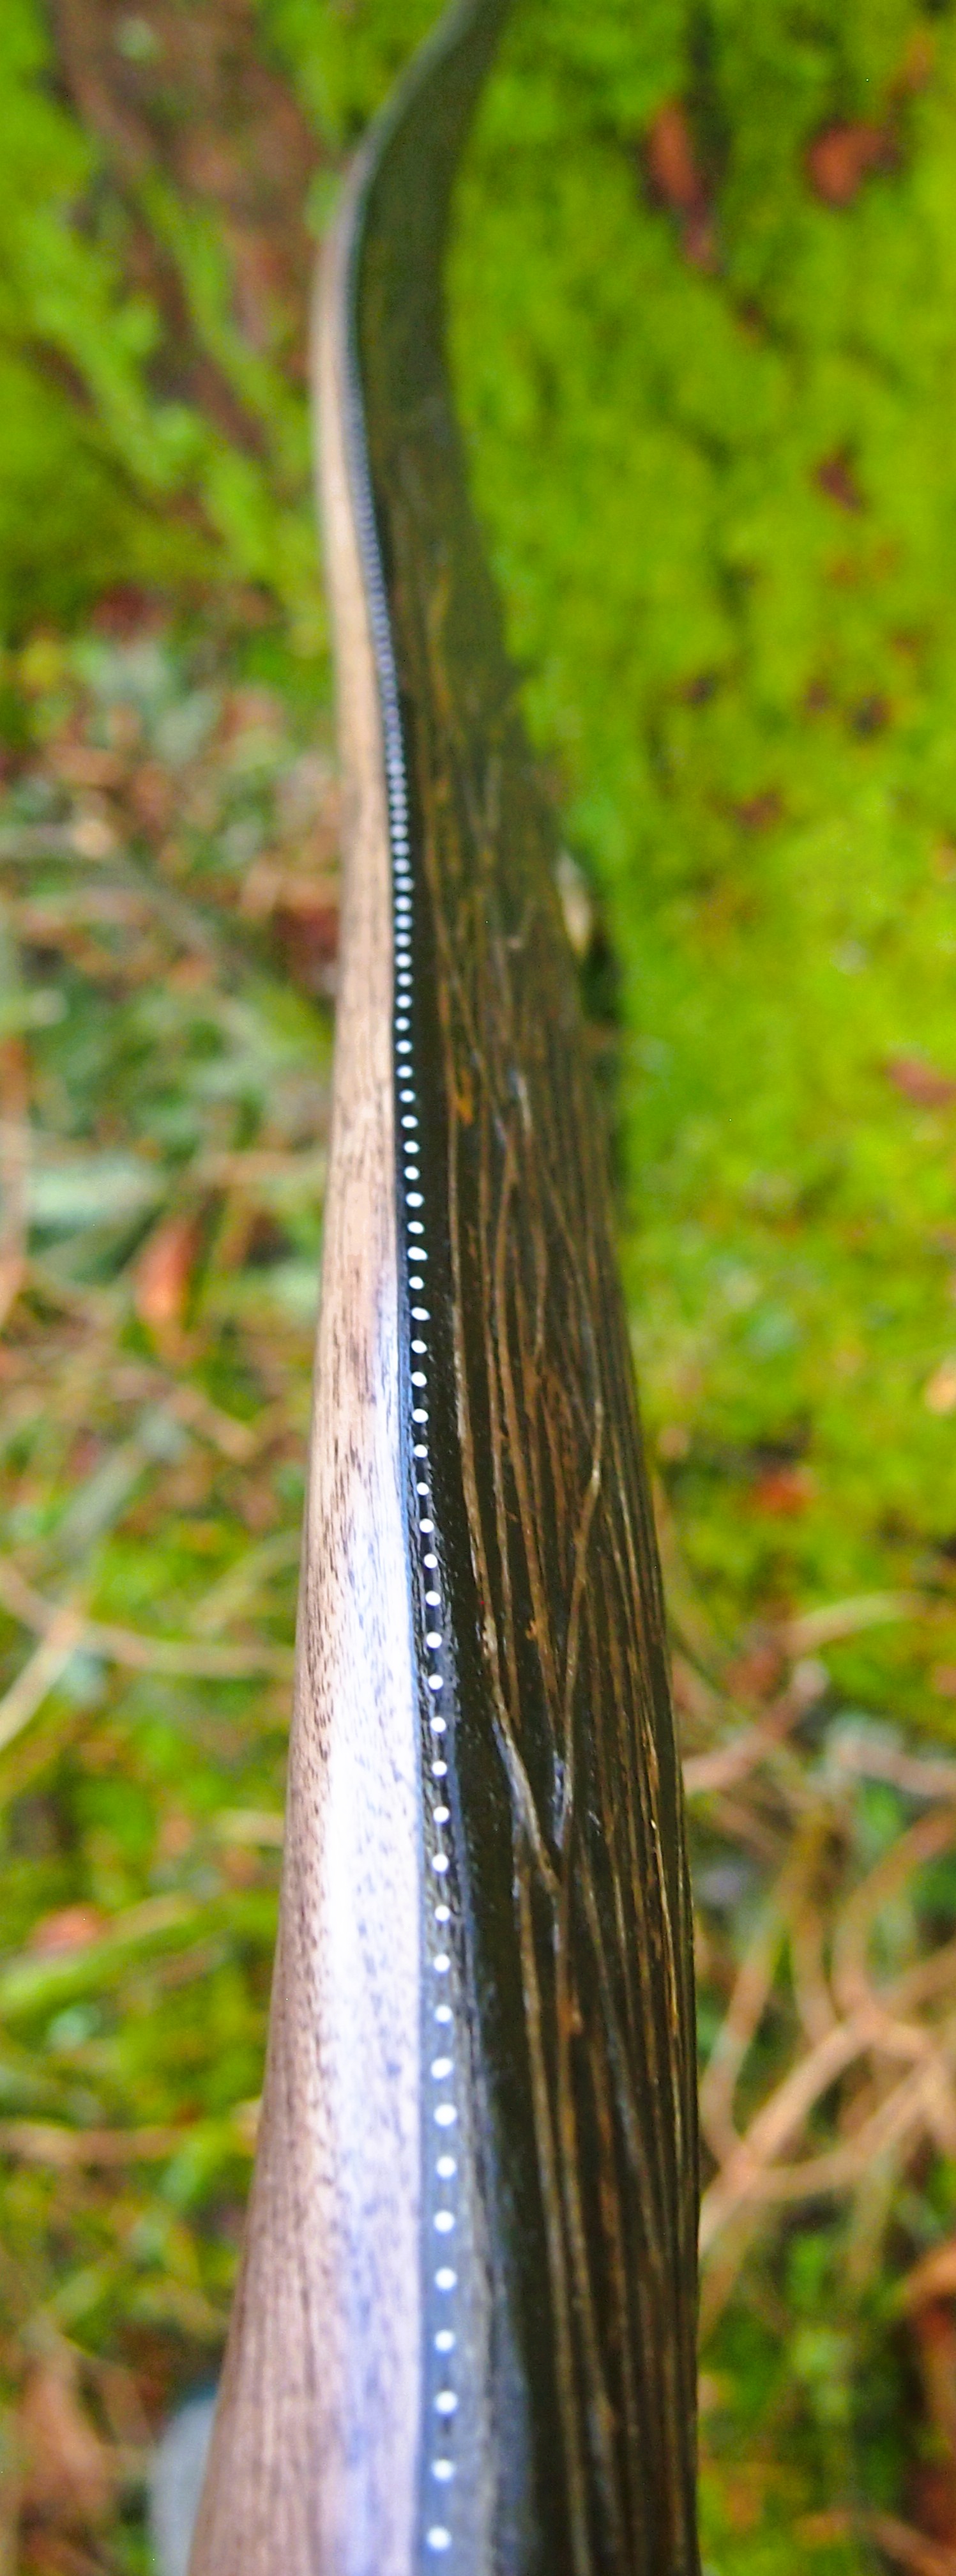
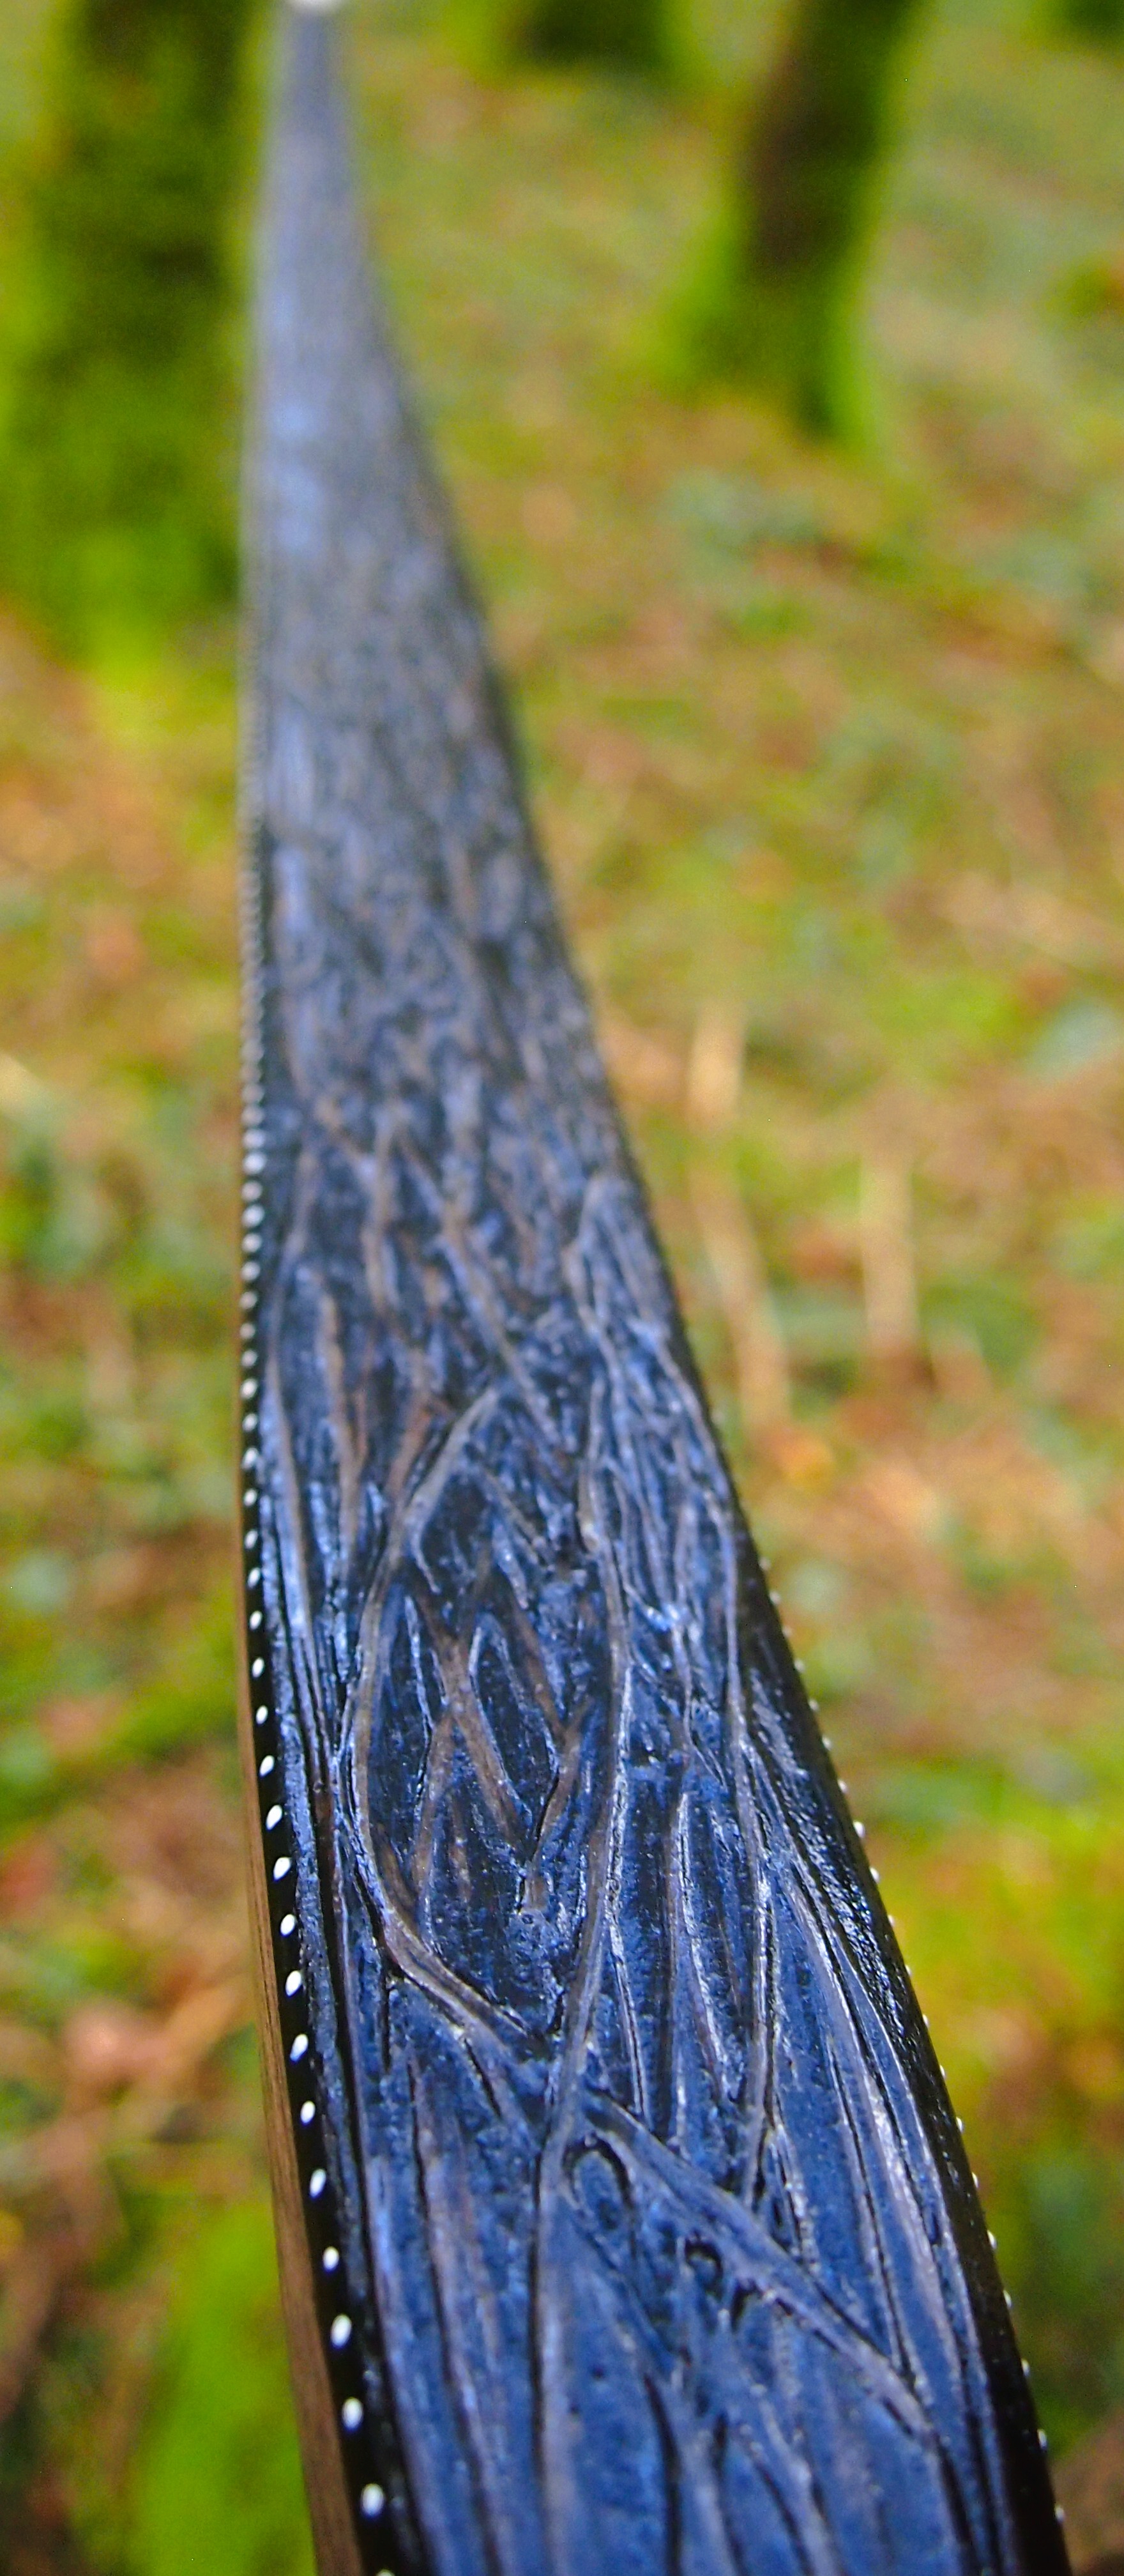
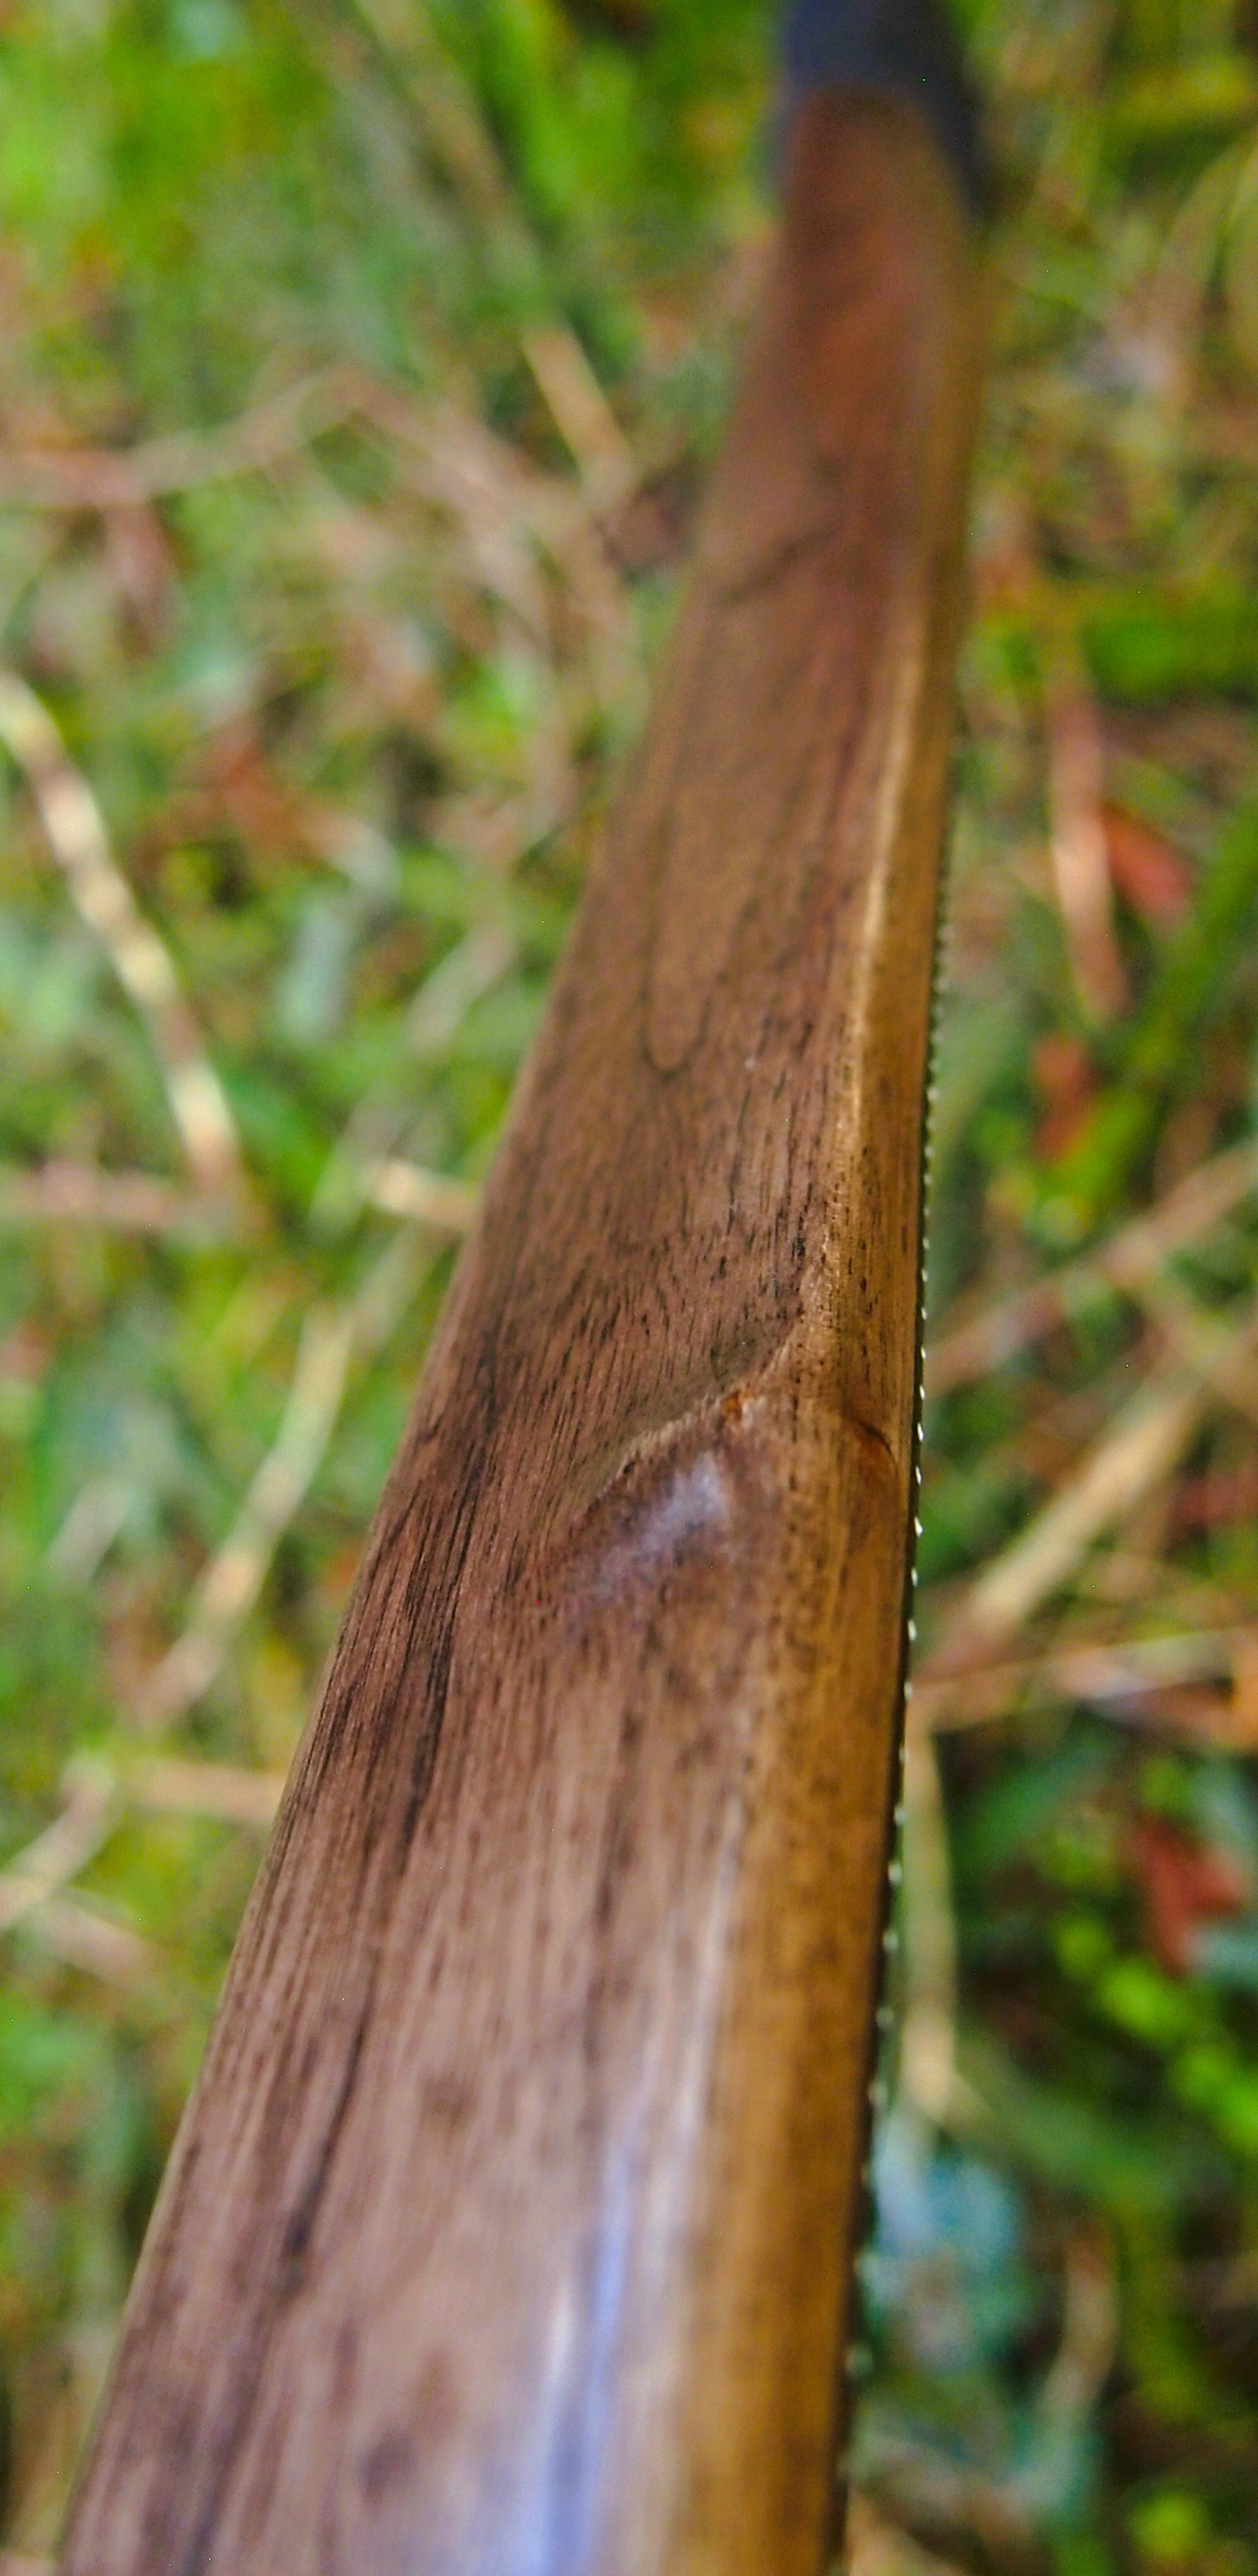
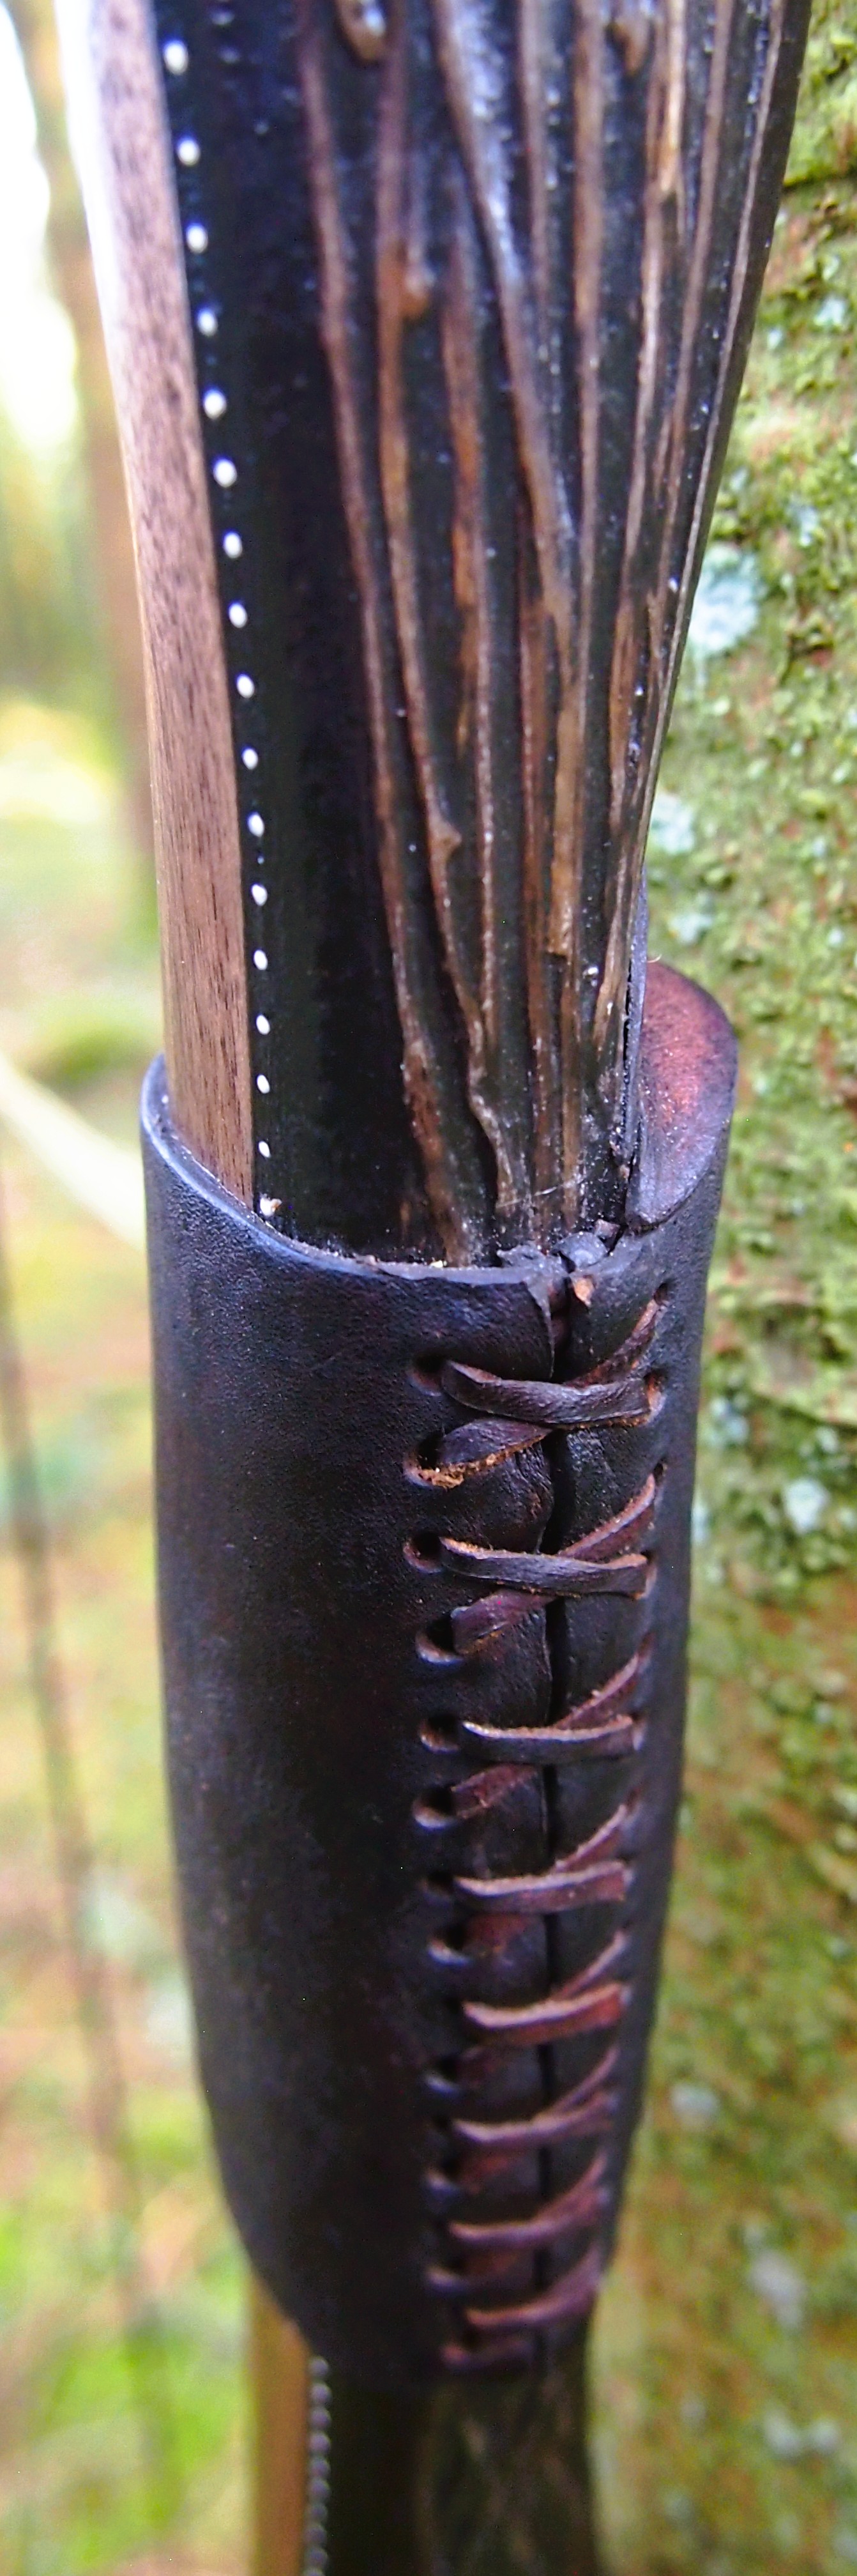
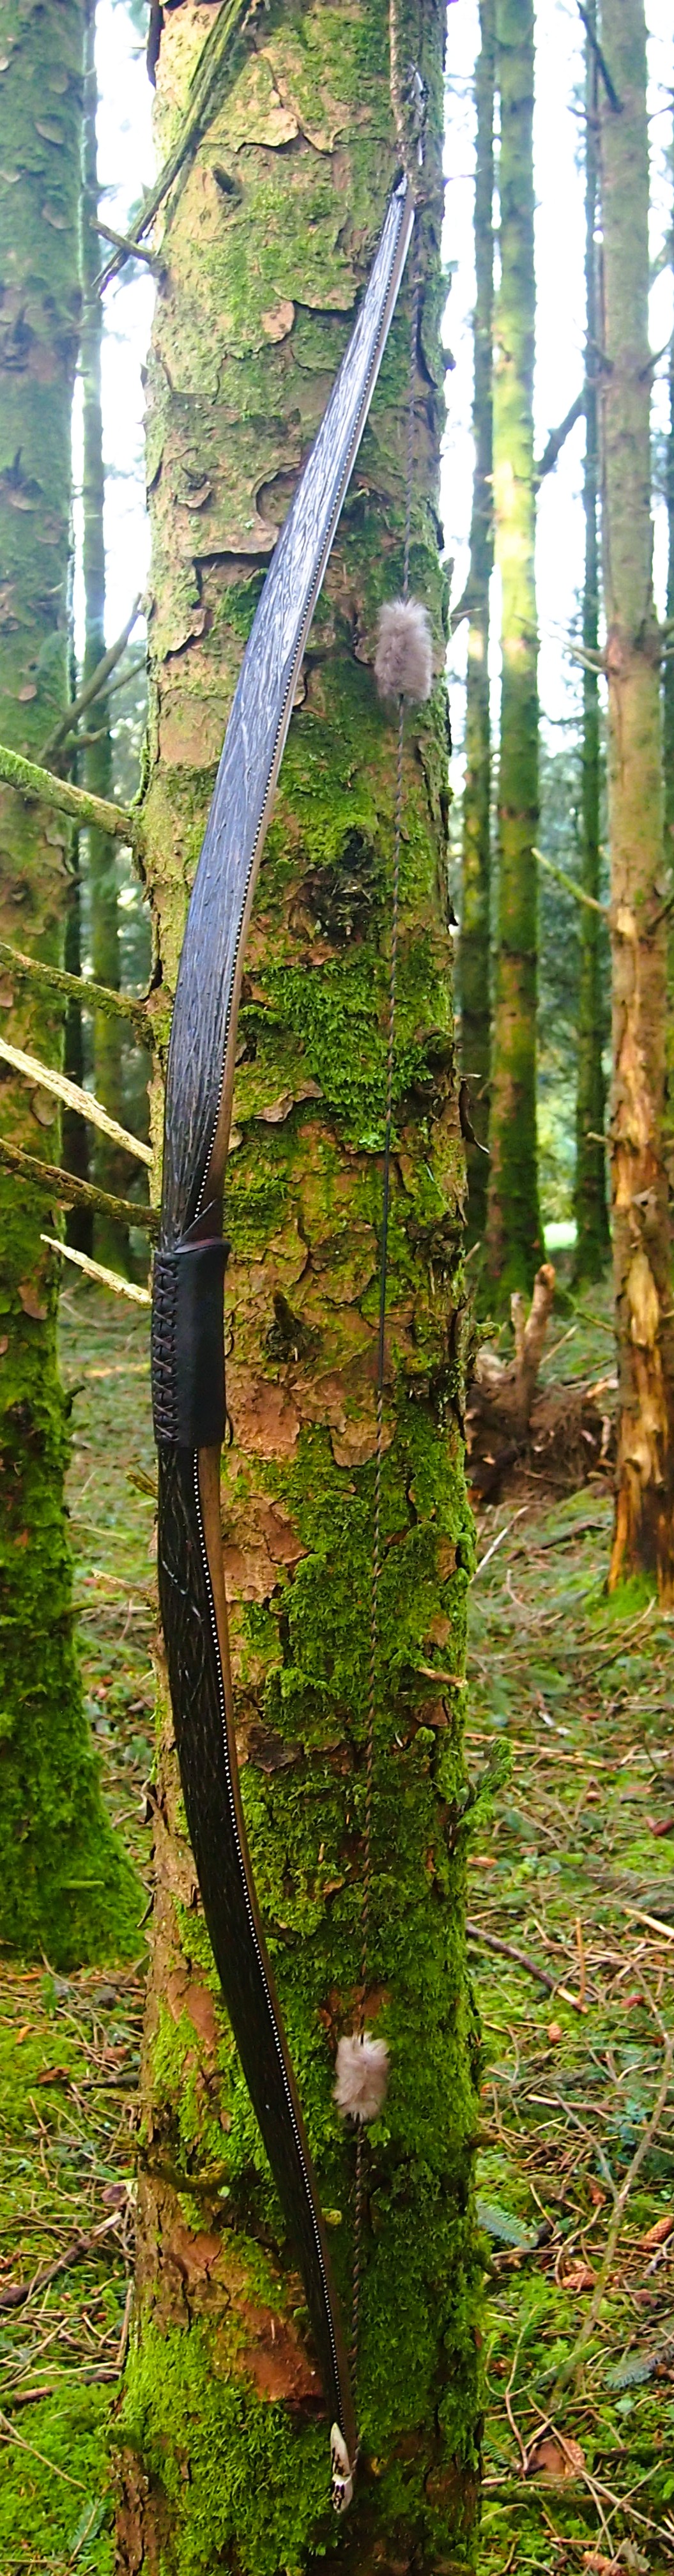
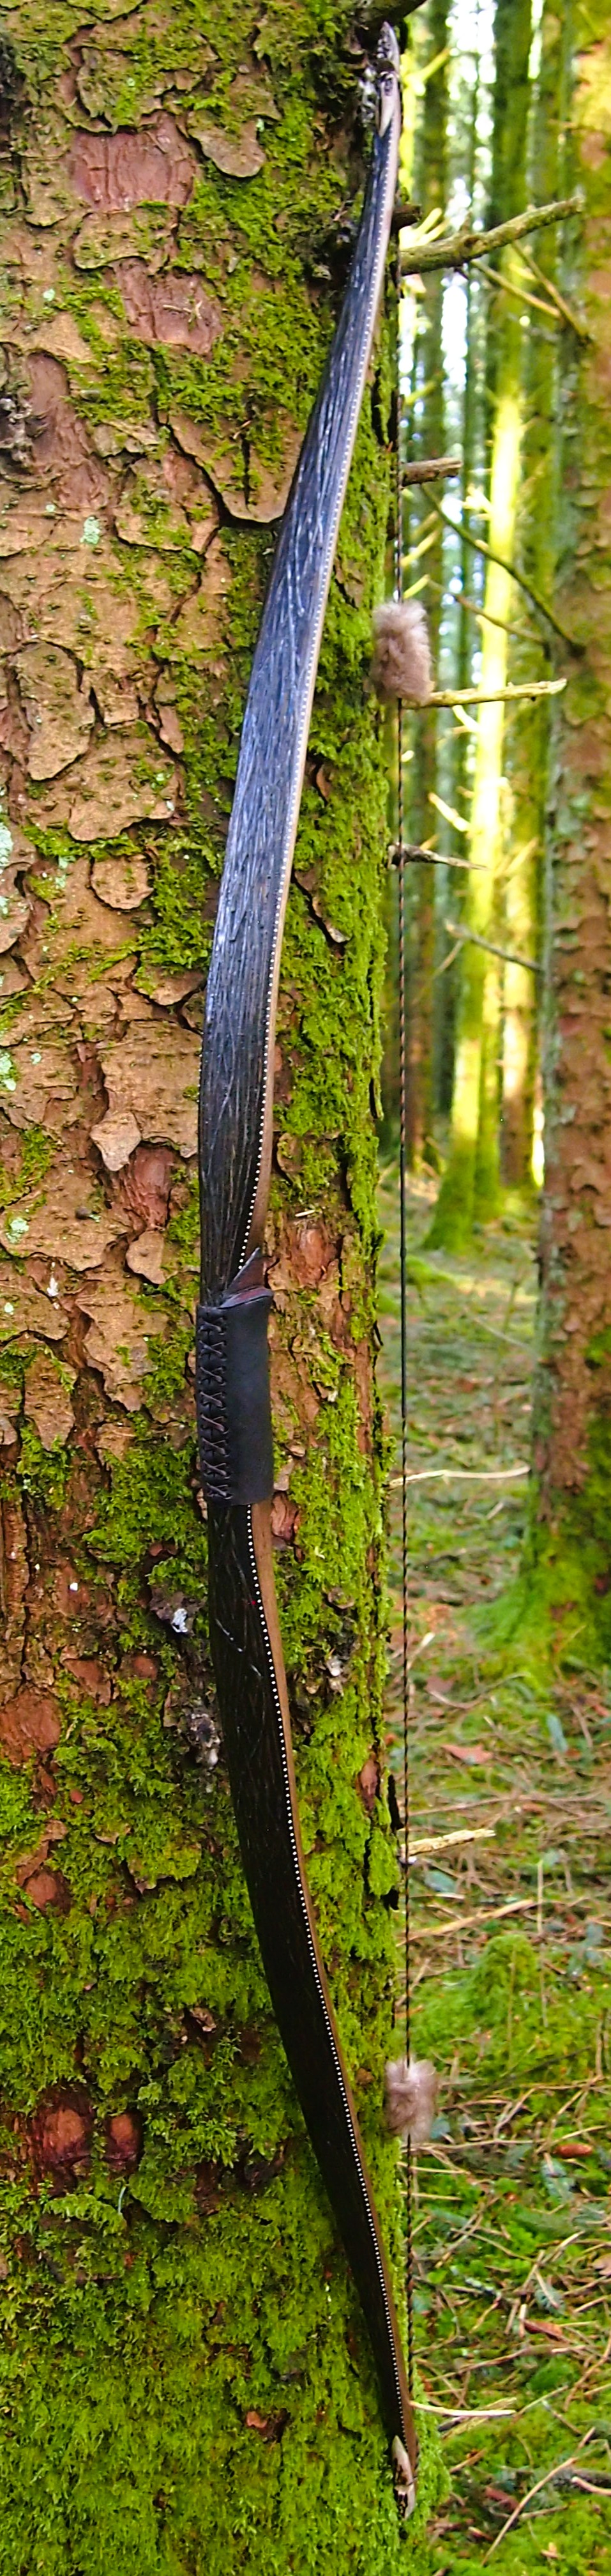
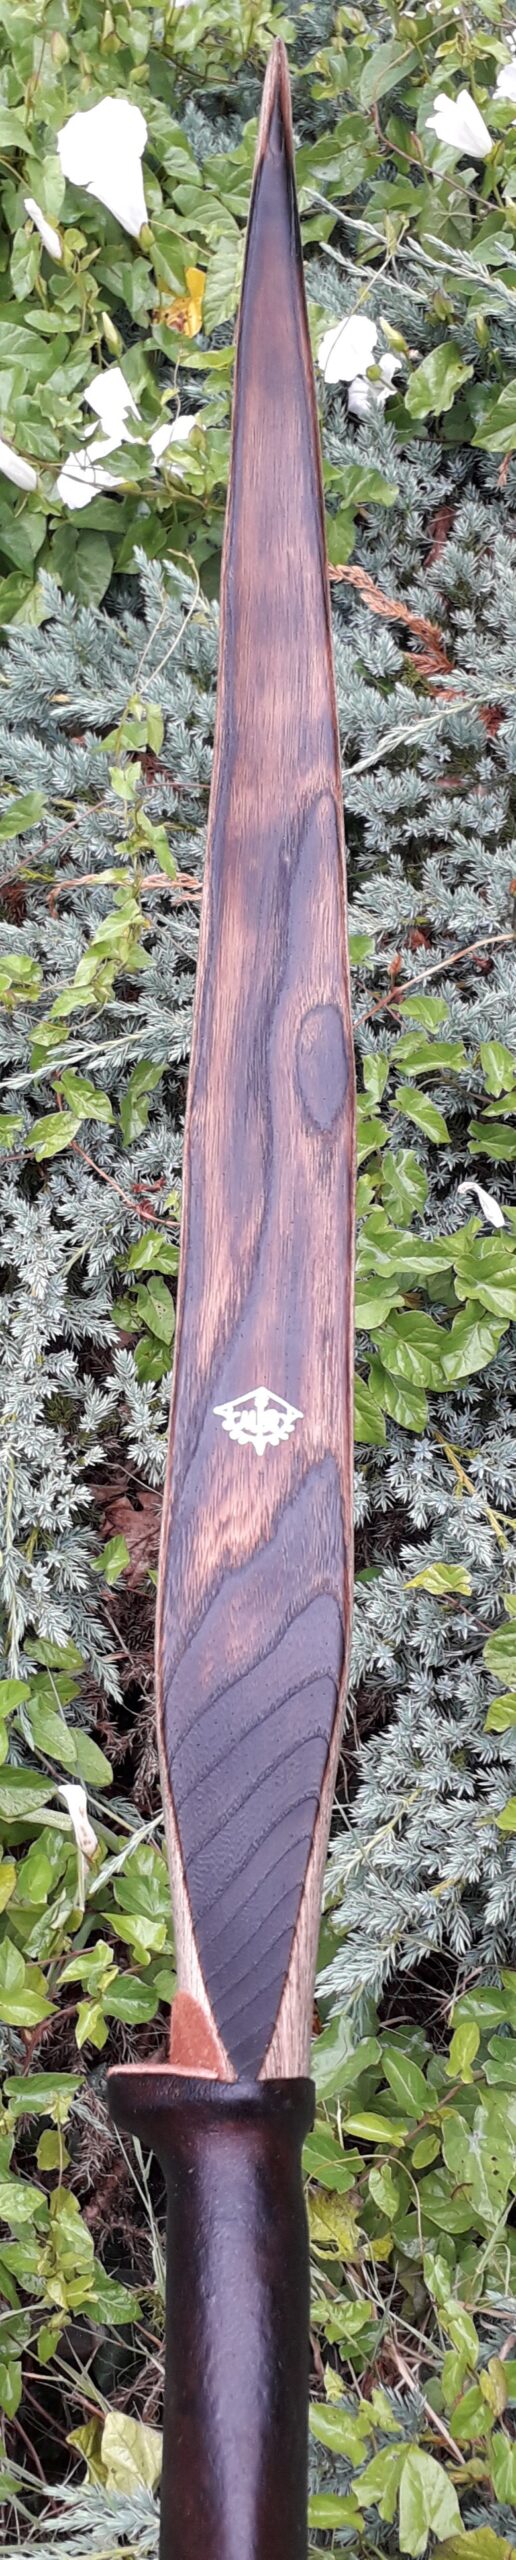
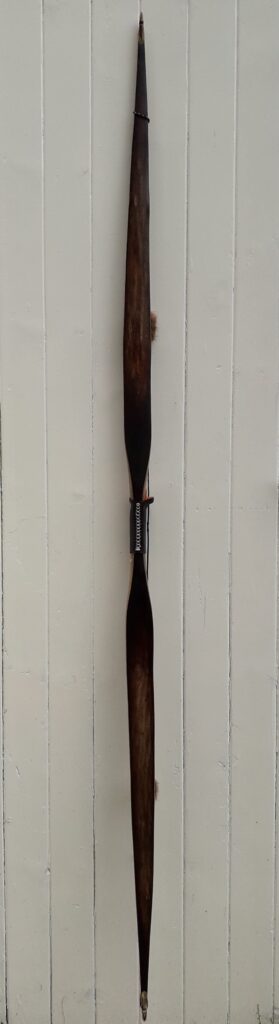
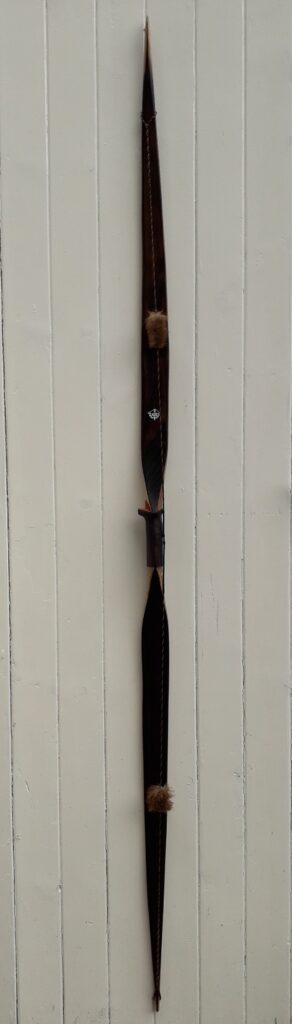
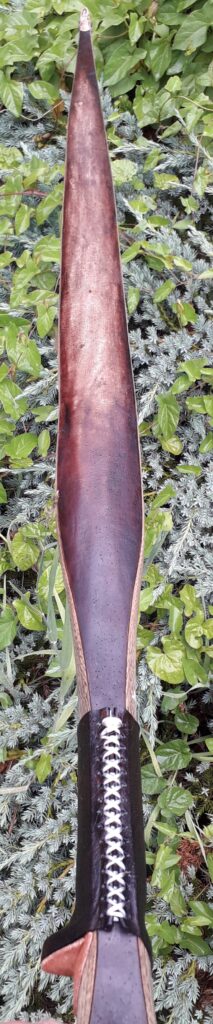
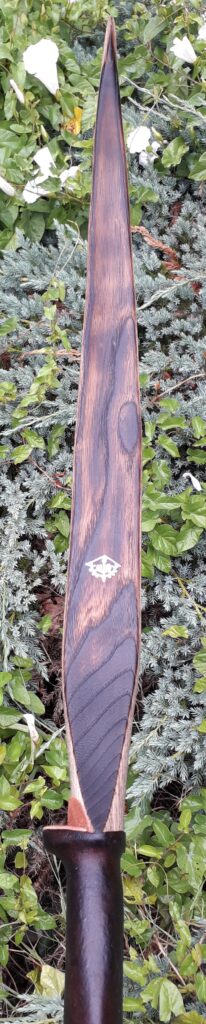
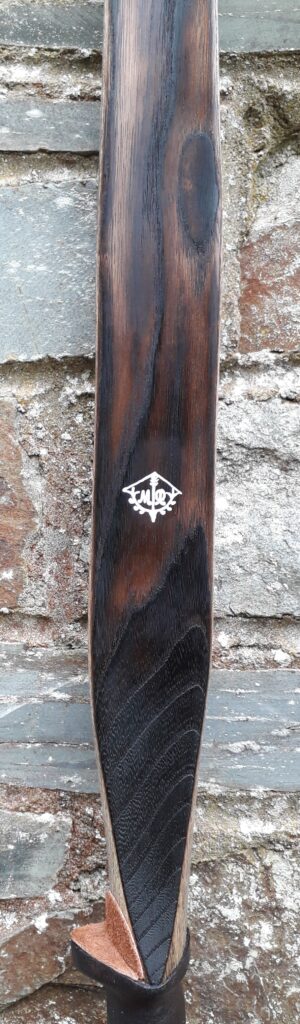
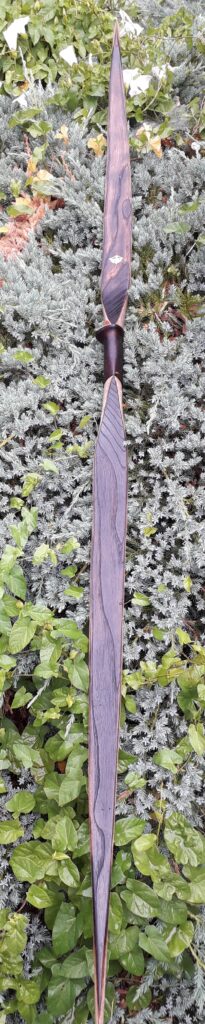
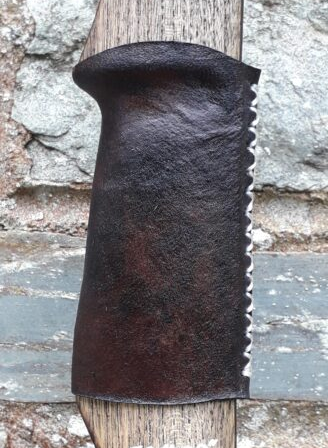
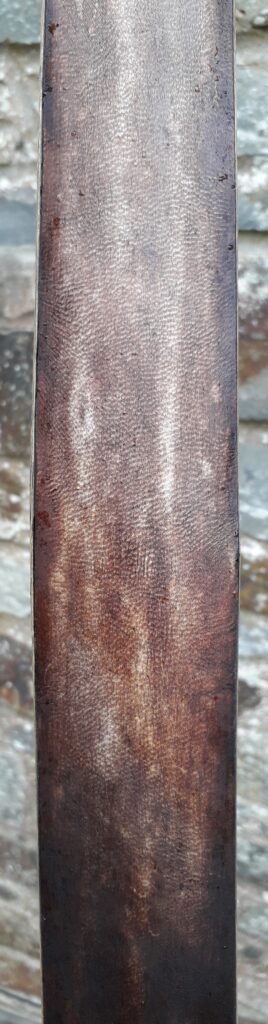
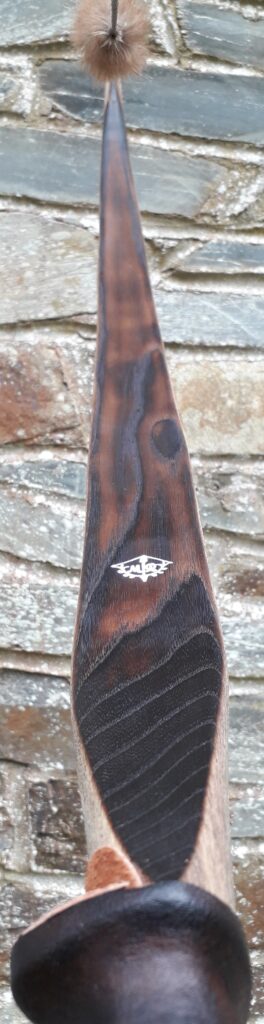
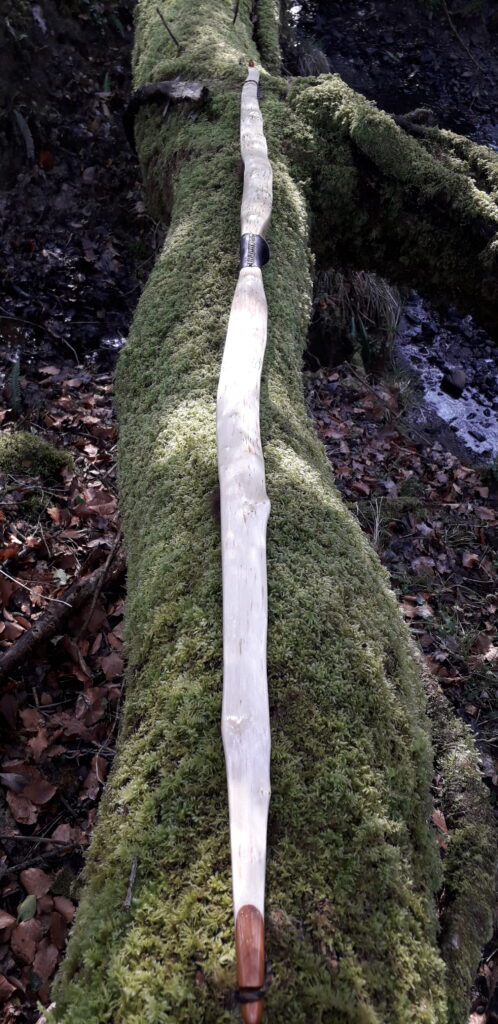
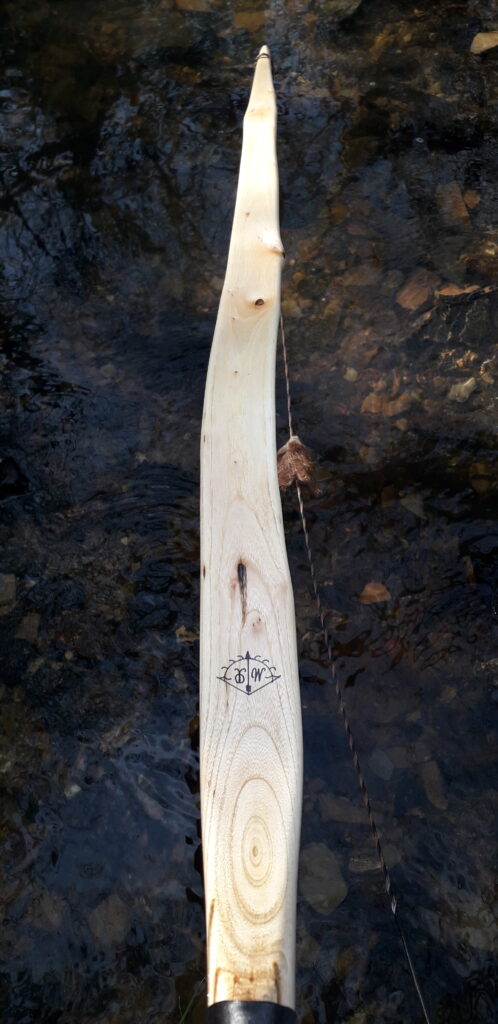
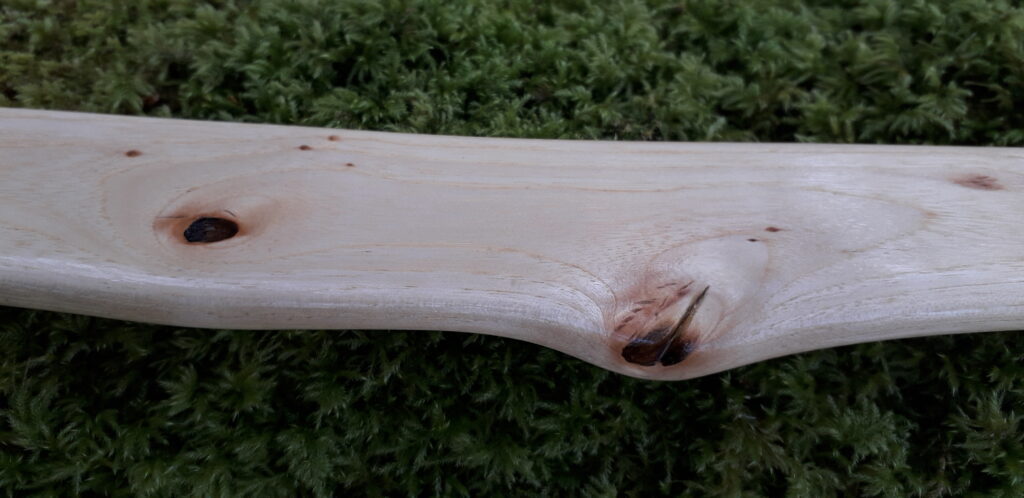
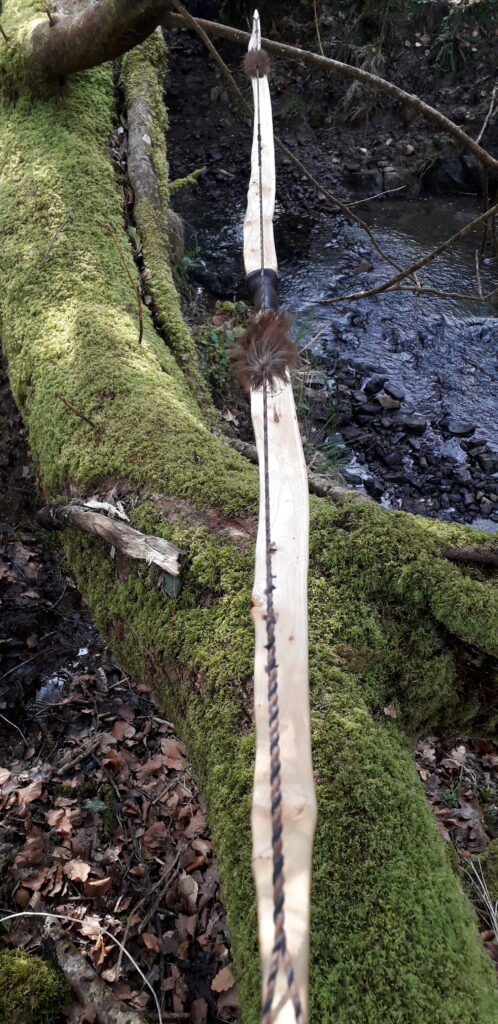
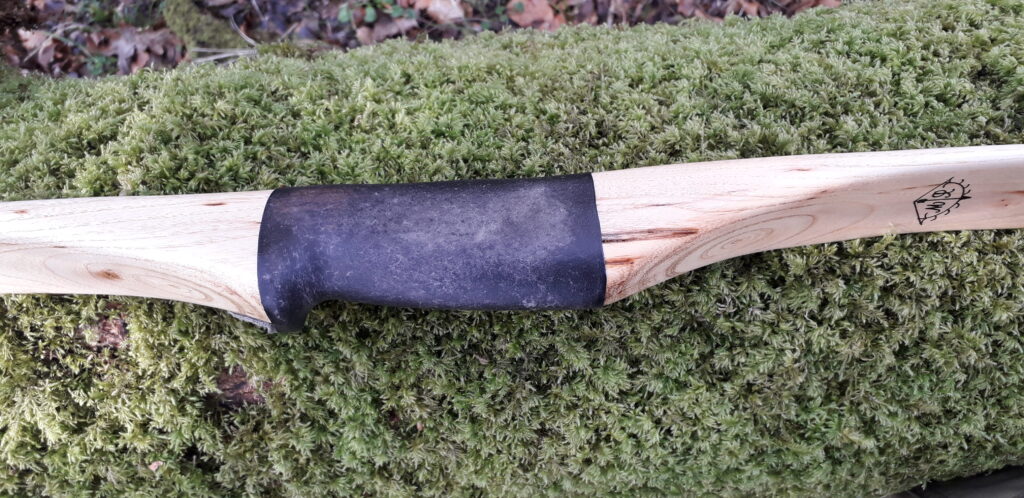
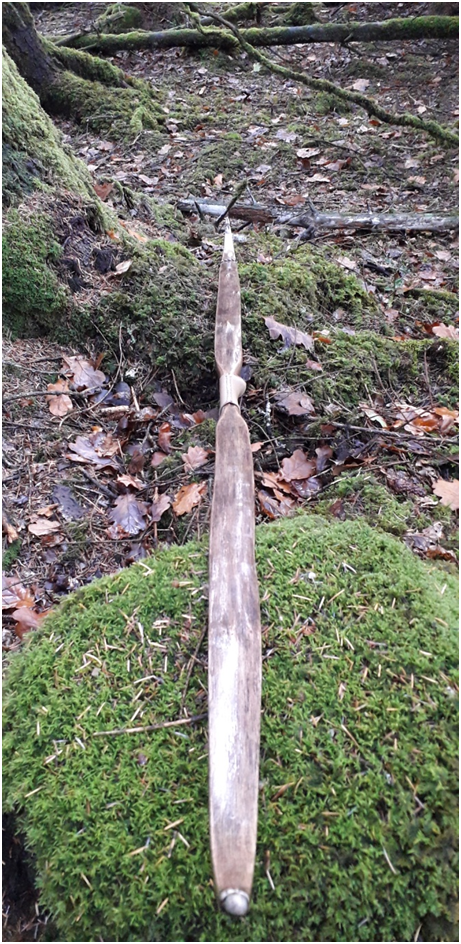
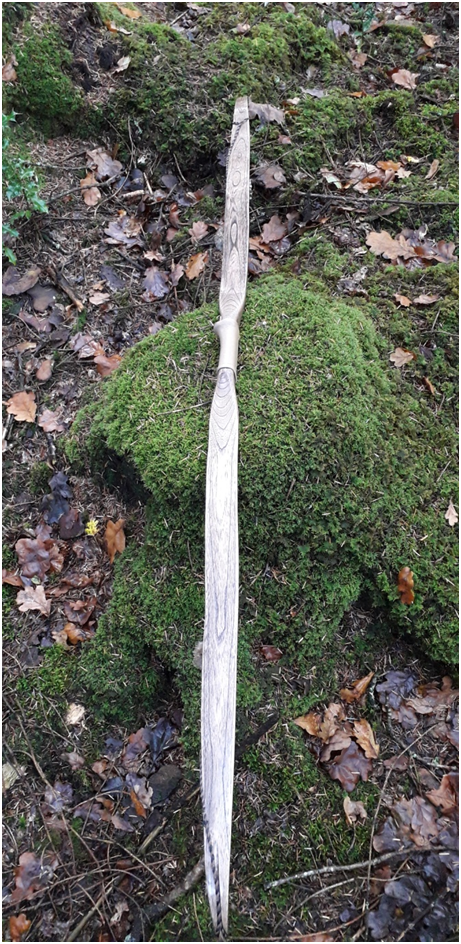
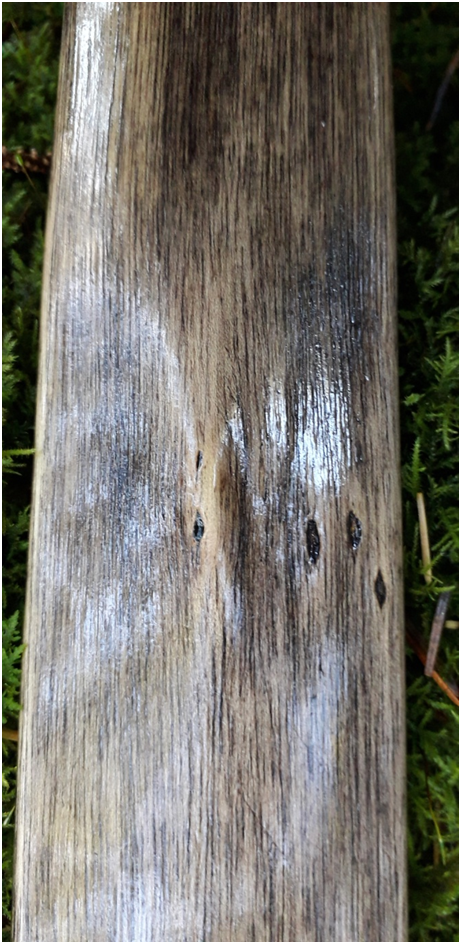
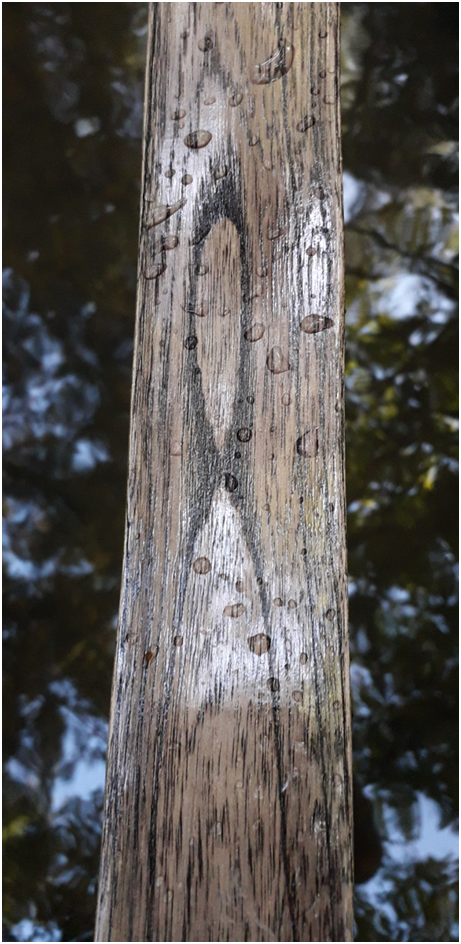
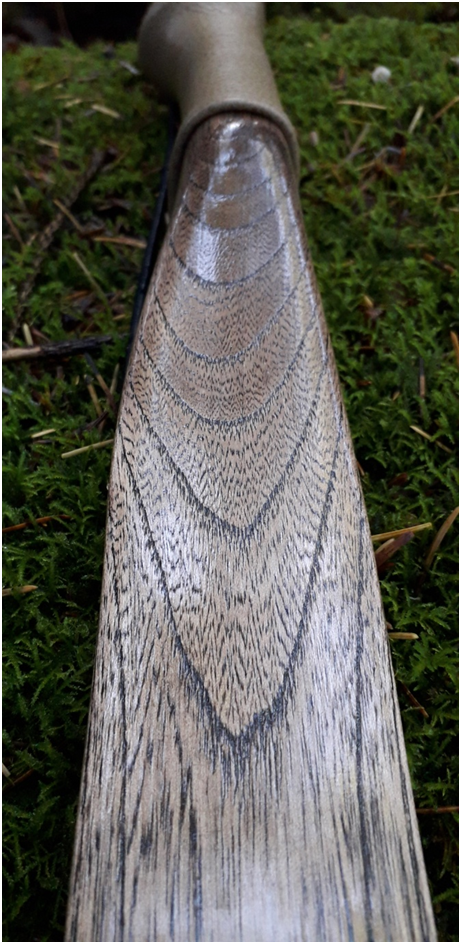
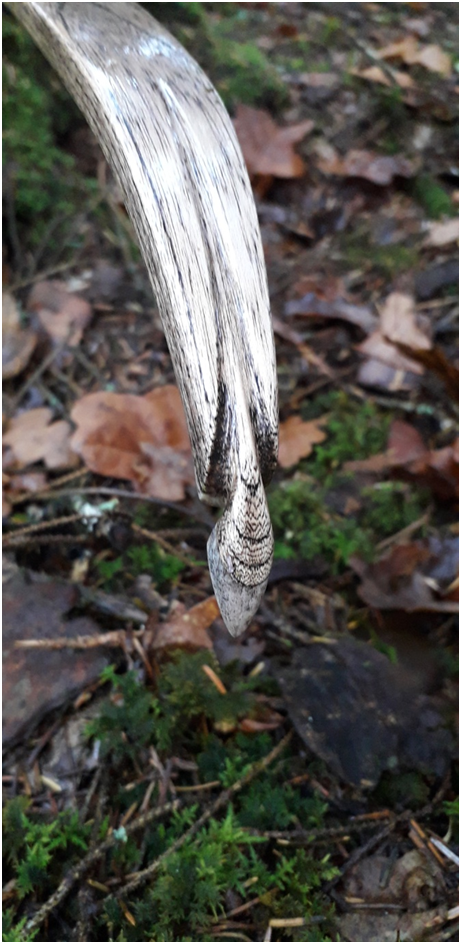
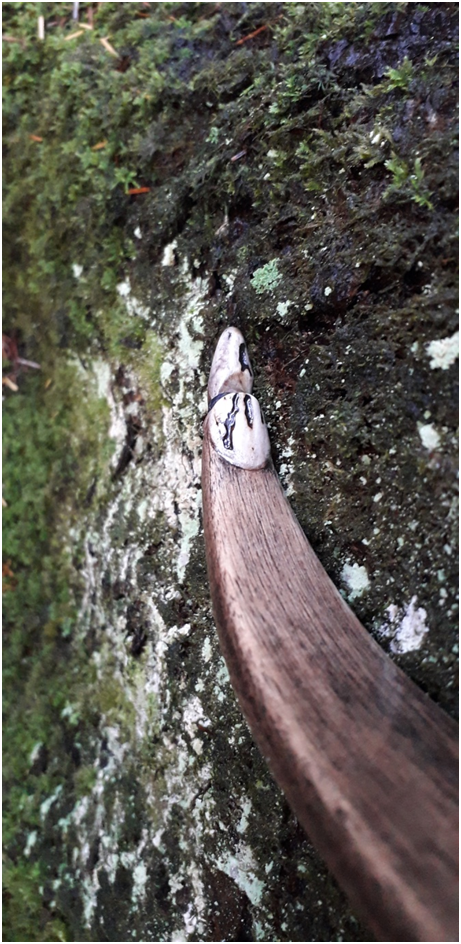
The stain on the wood is iron chloride, and the light dark effect on the sinew was achieved by painting the rough sinew backing jet black using my local “bideblack” earth pigment mixed with TBIII, which was then sanded along all the high spots to reveal the underlying natural sinew colour standing proud above the black sinew valley bottoms.
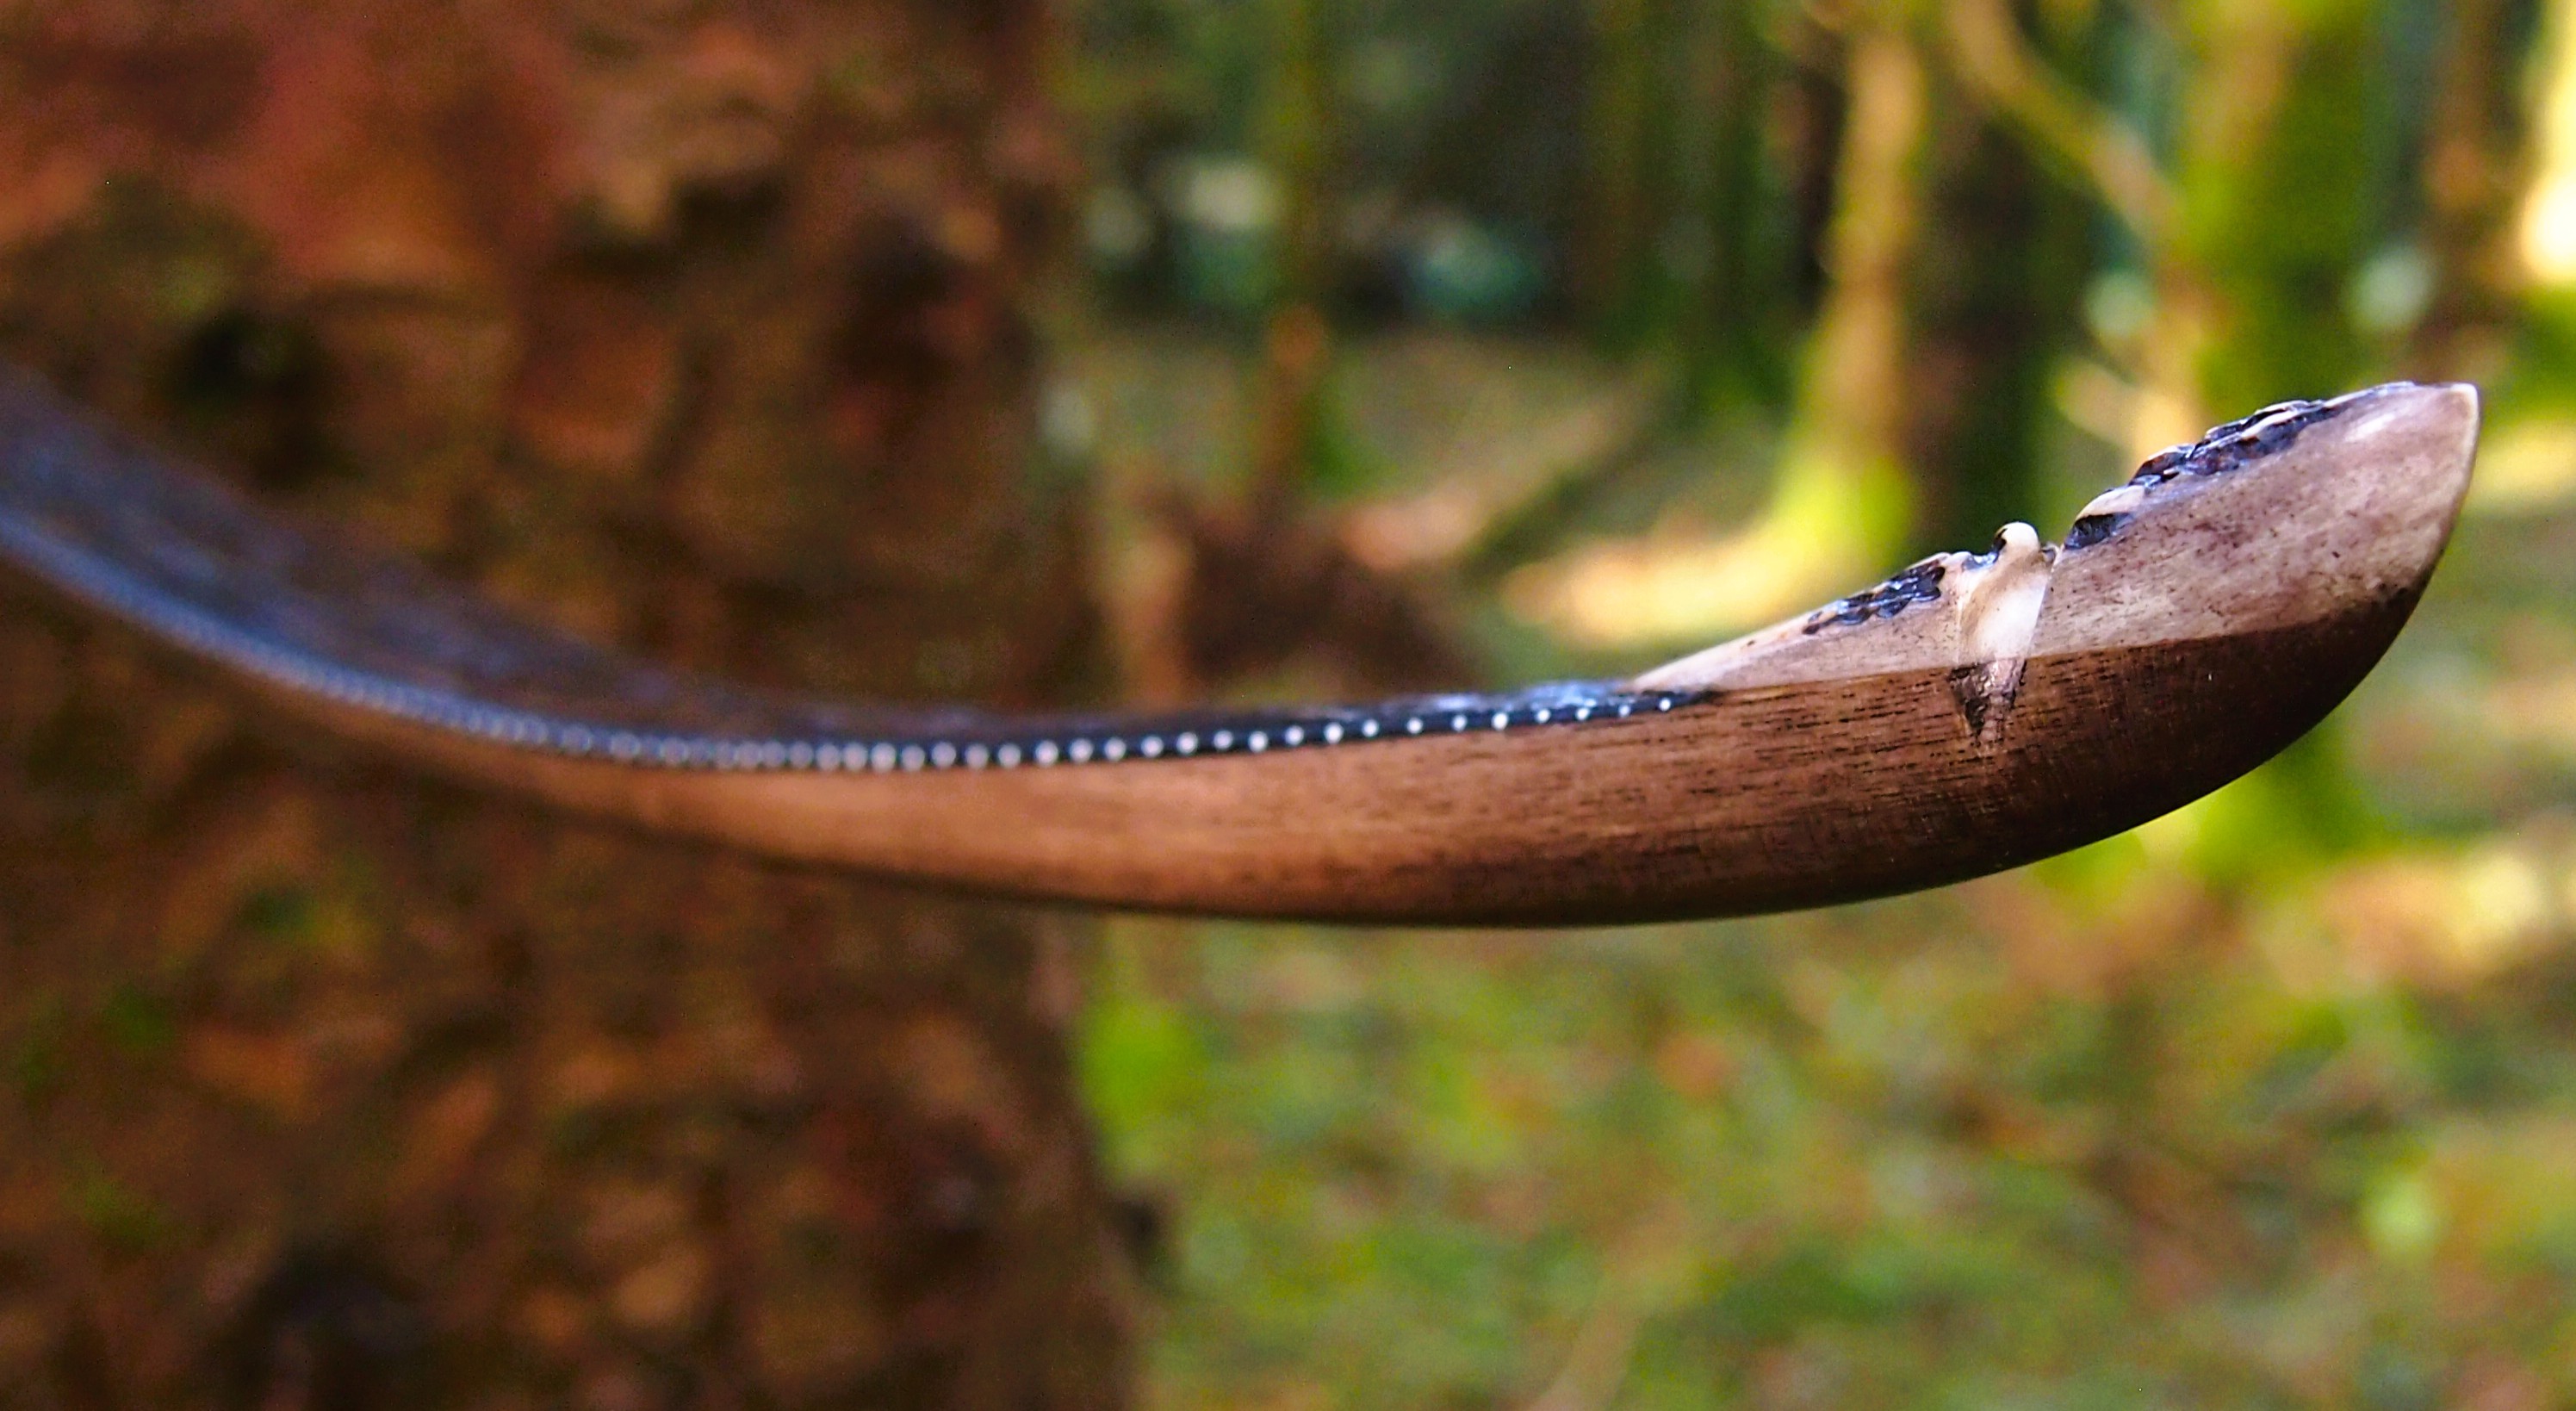
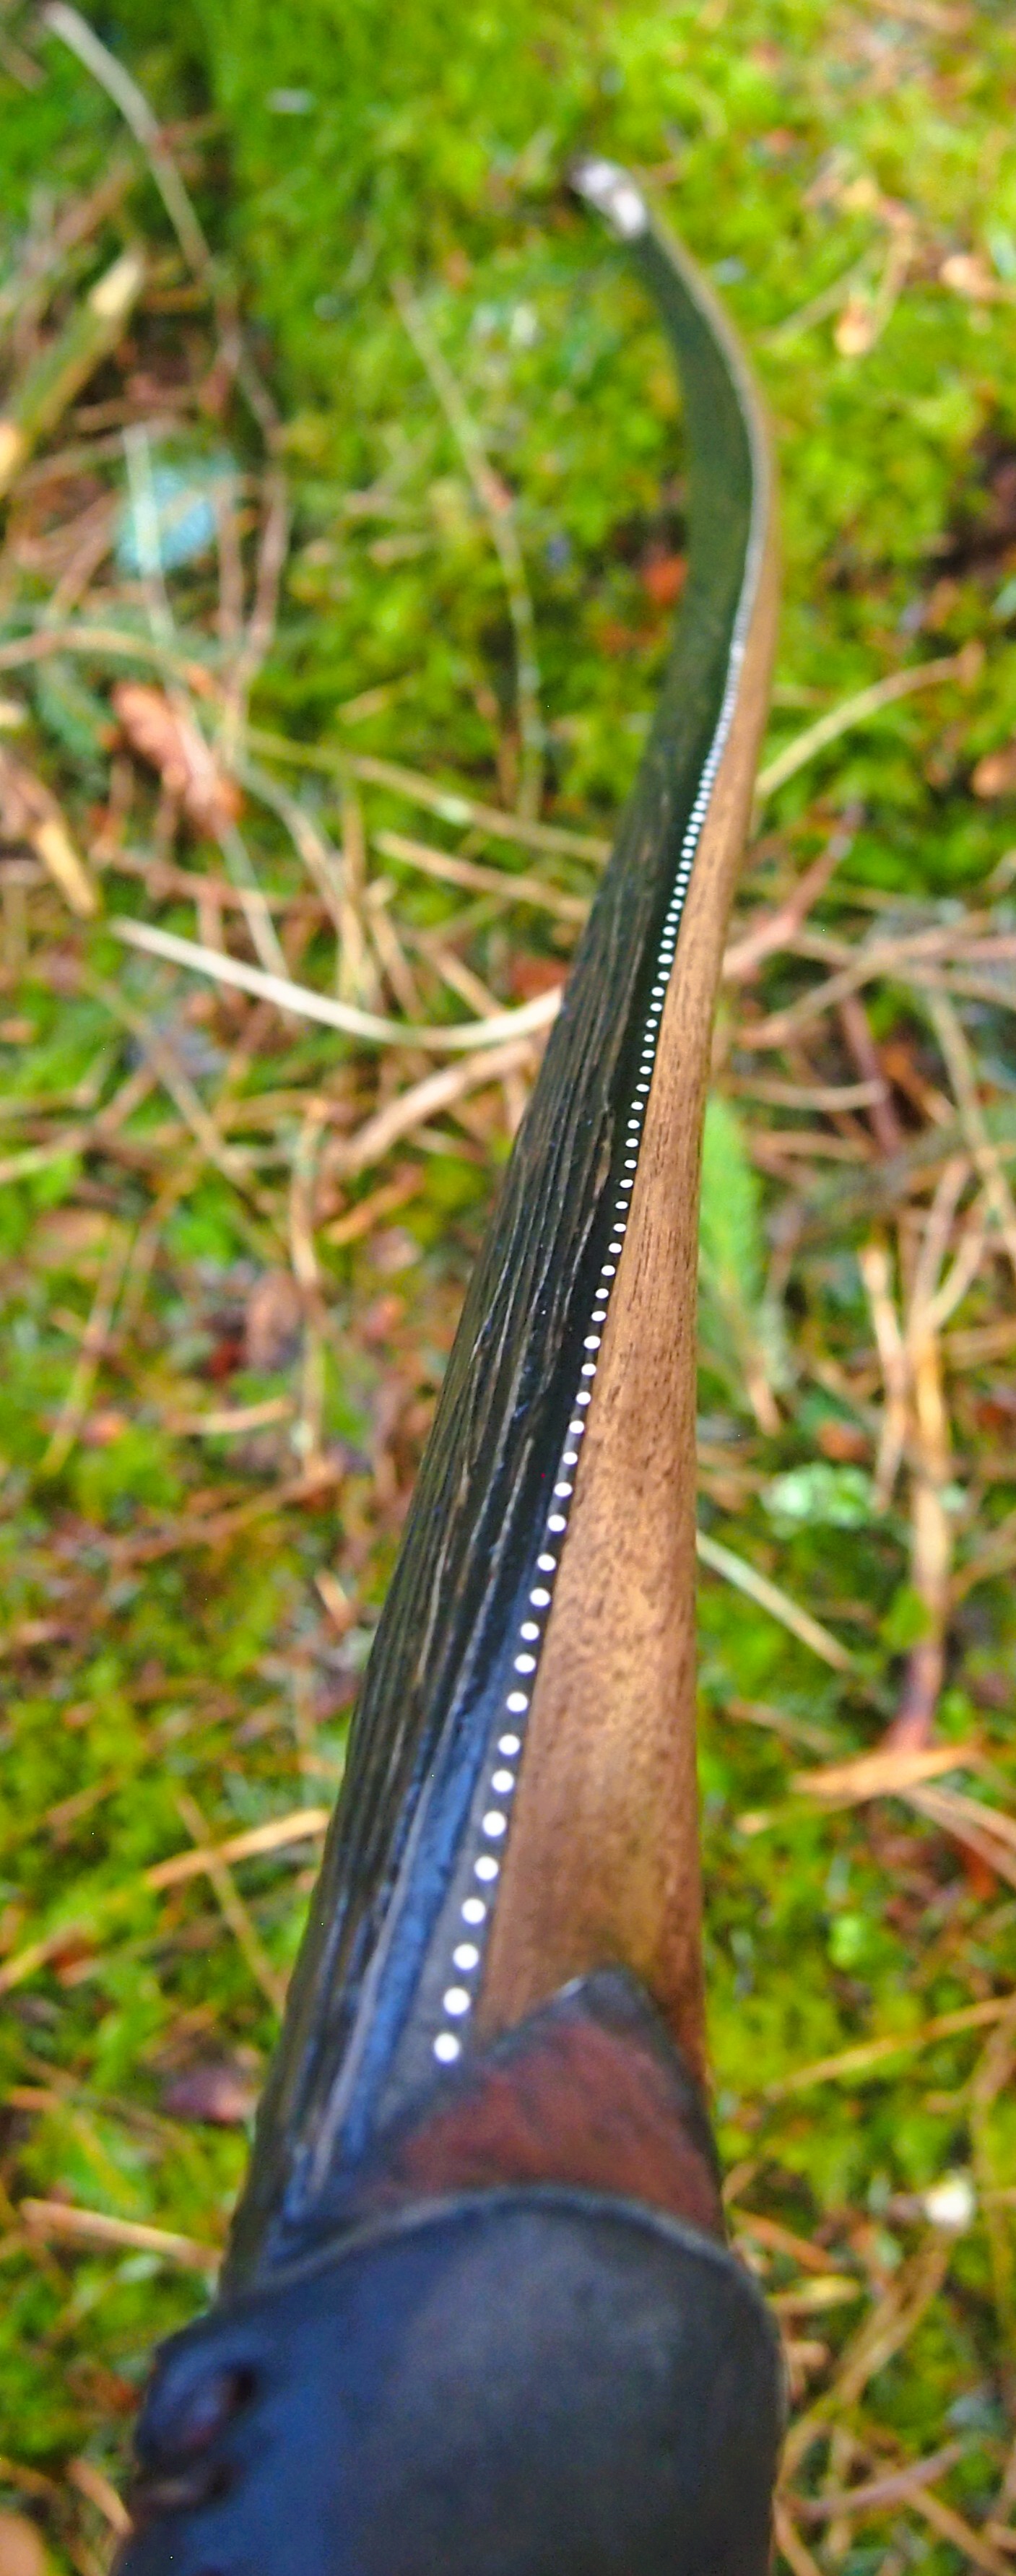
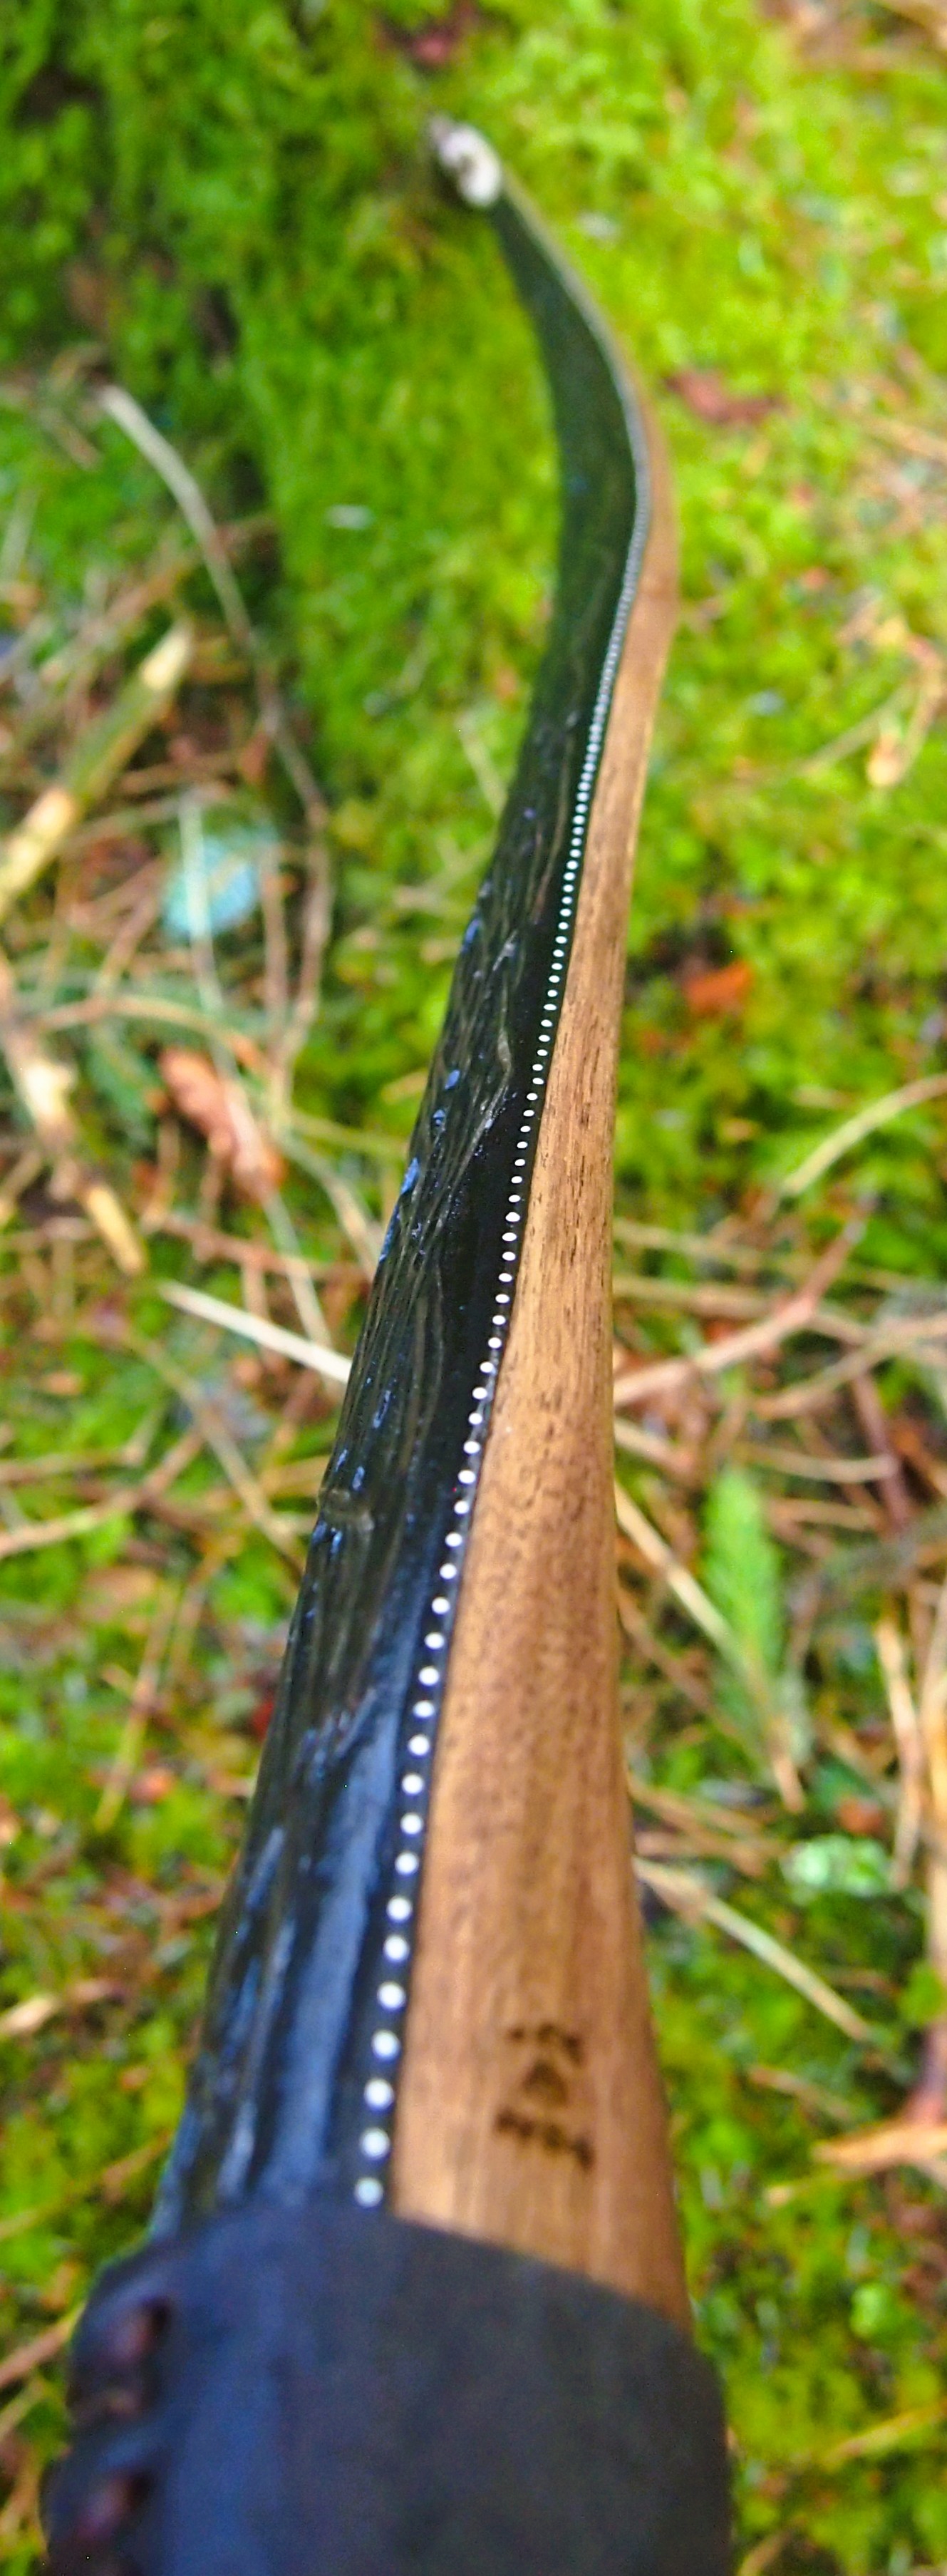
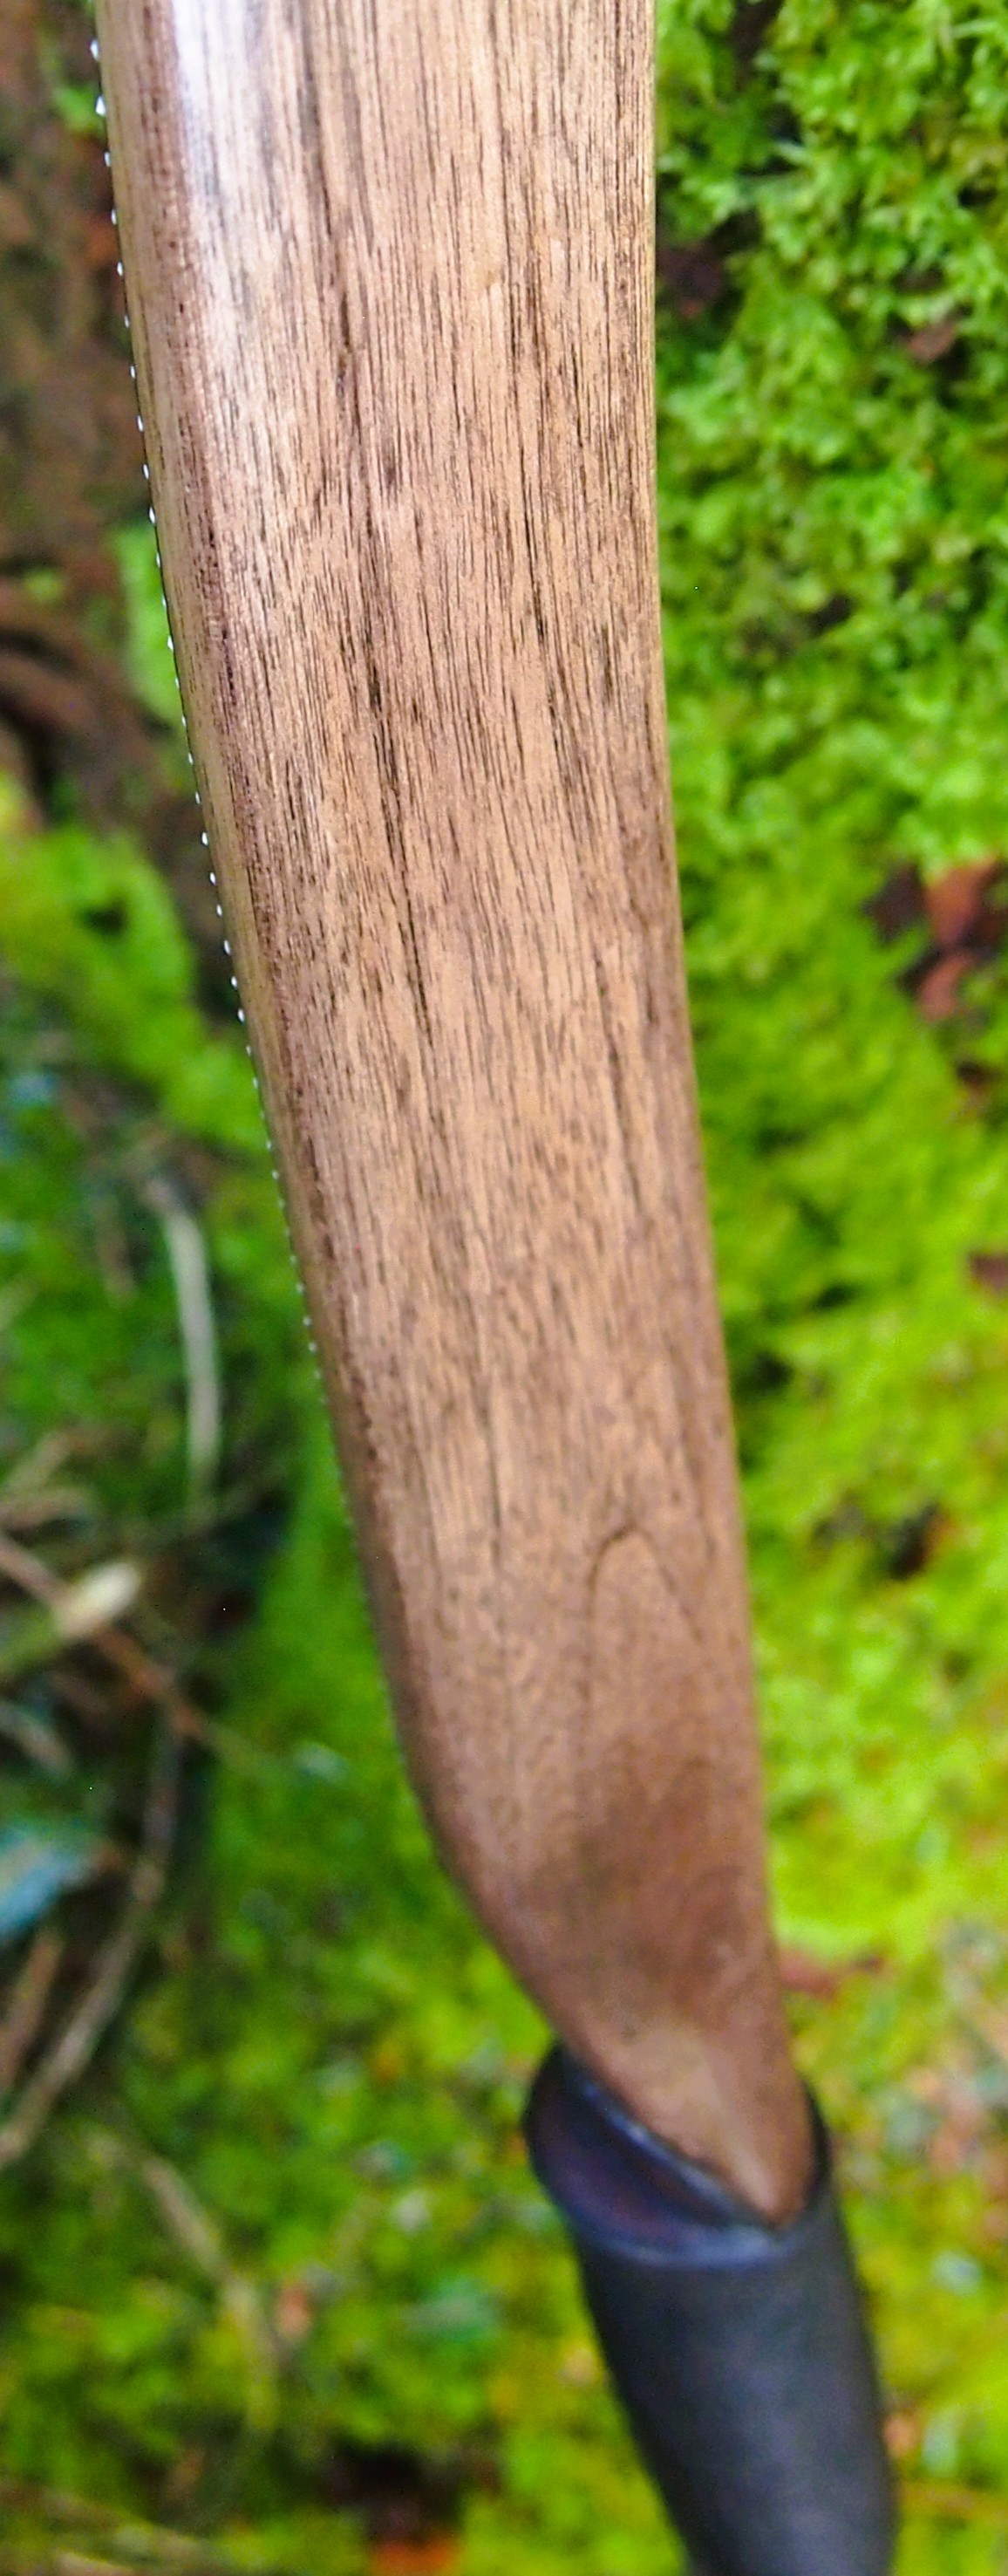
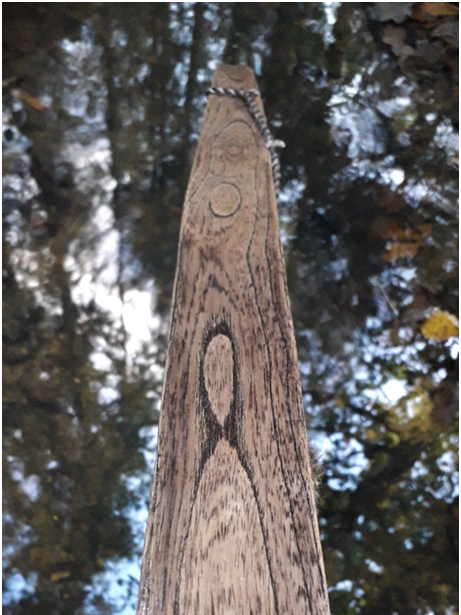
Edge work was done with the same black paint and the white dots are deer leg bone dust mixed with glue. I personally really like this kind of edging as it really makes the face profile pop.
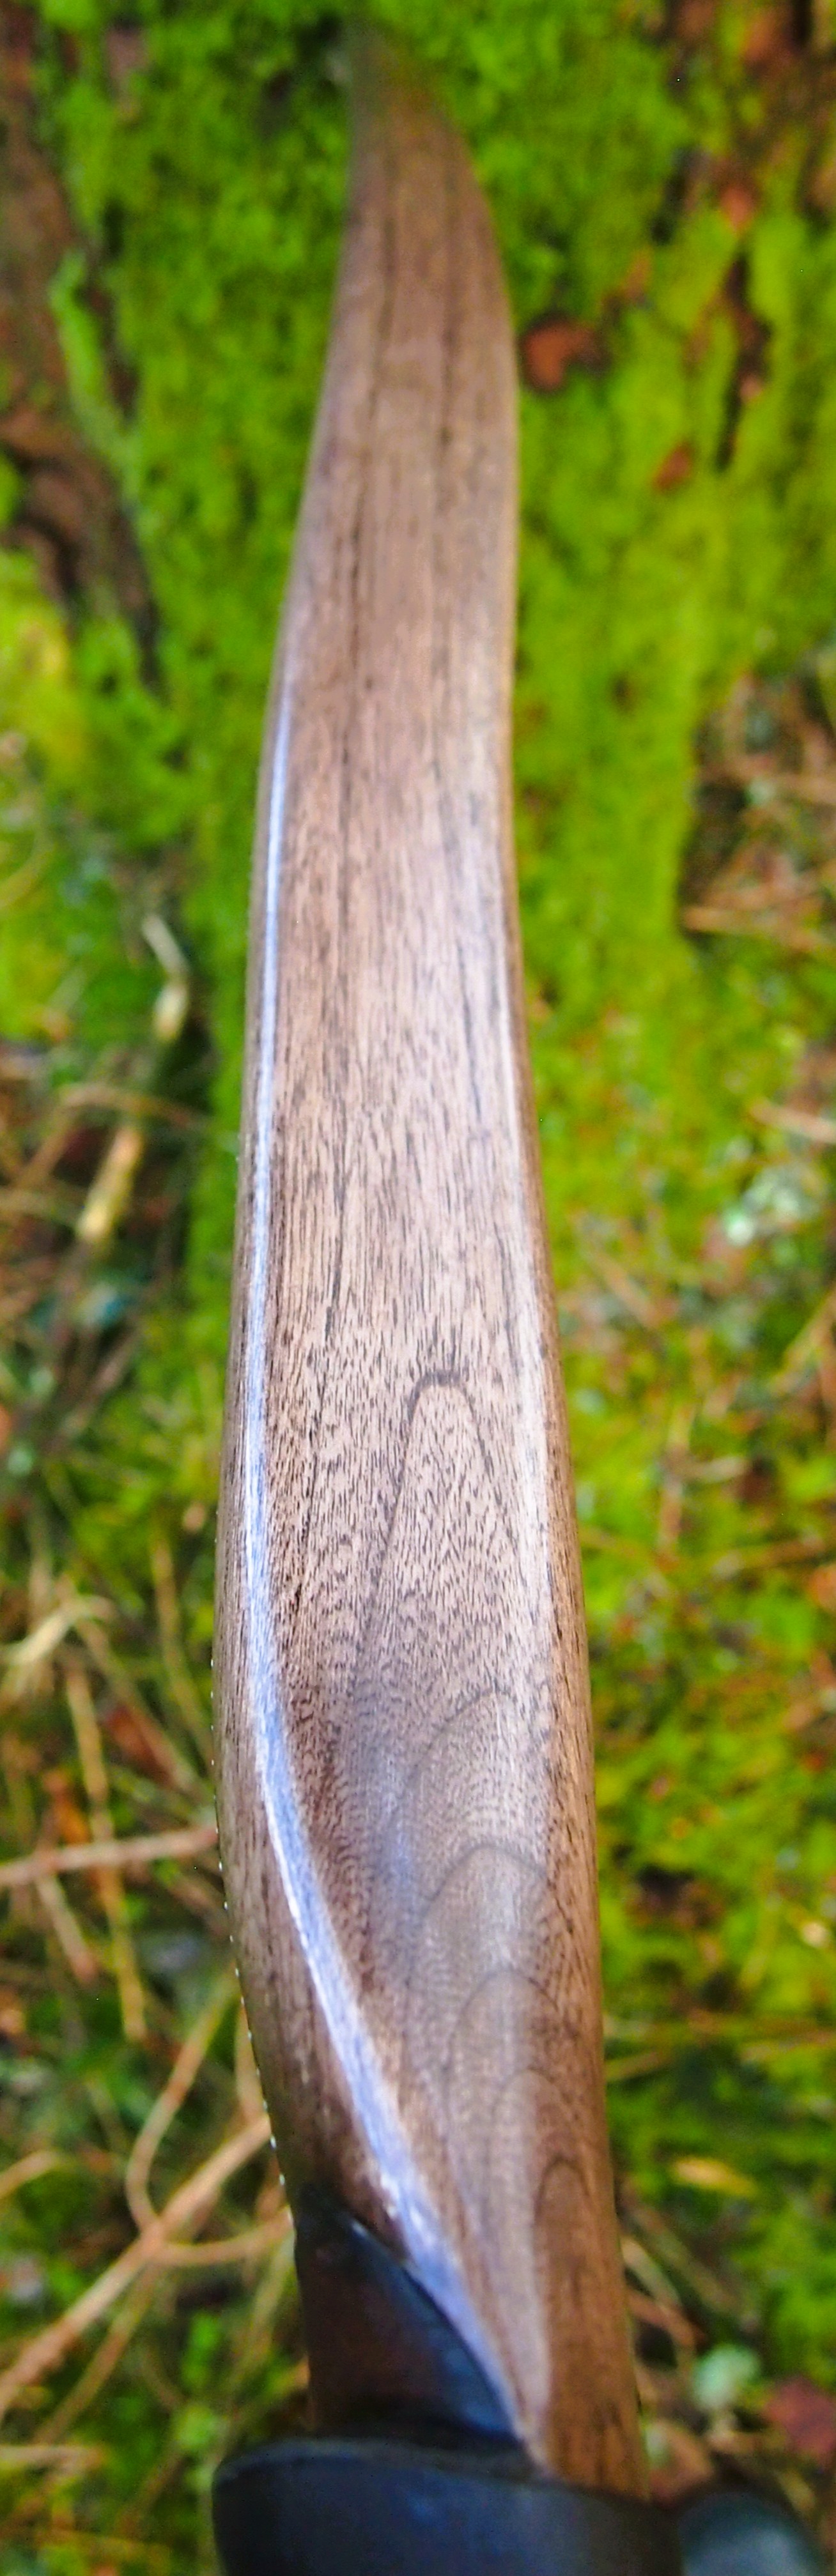
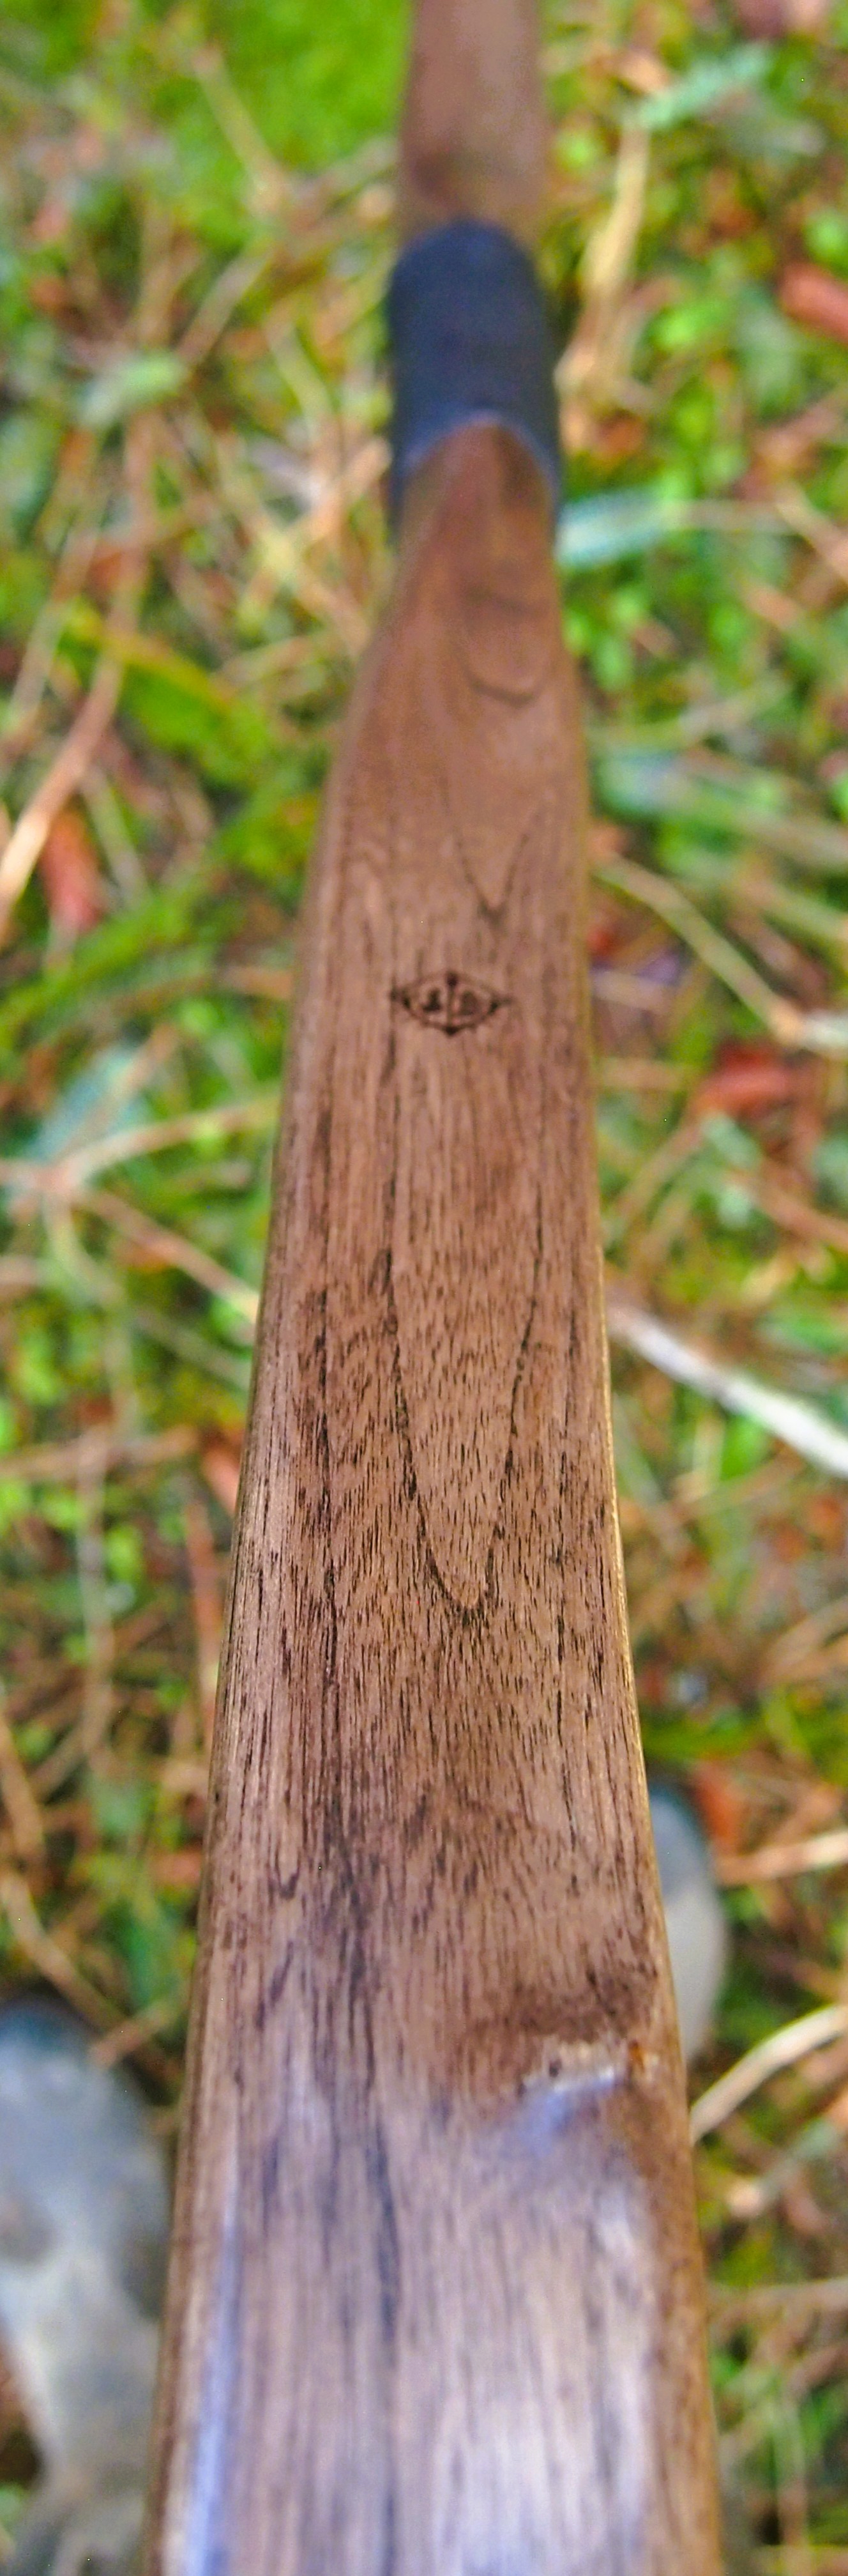
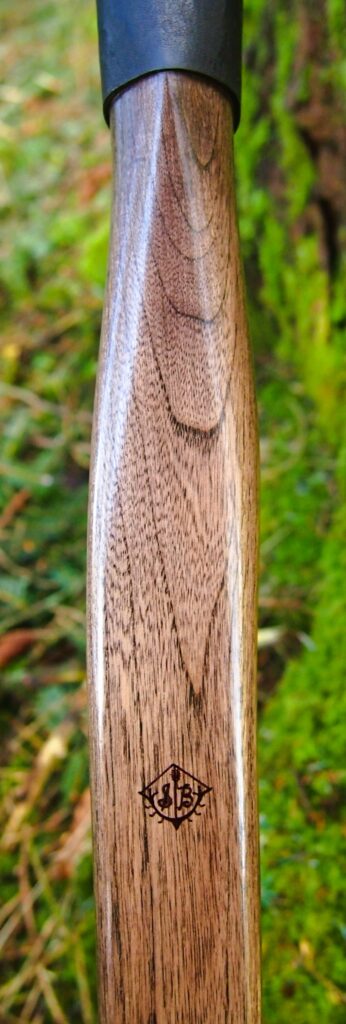
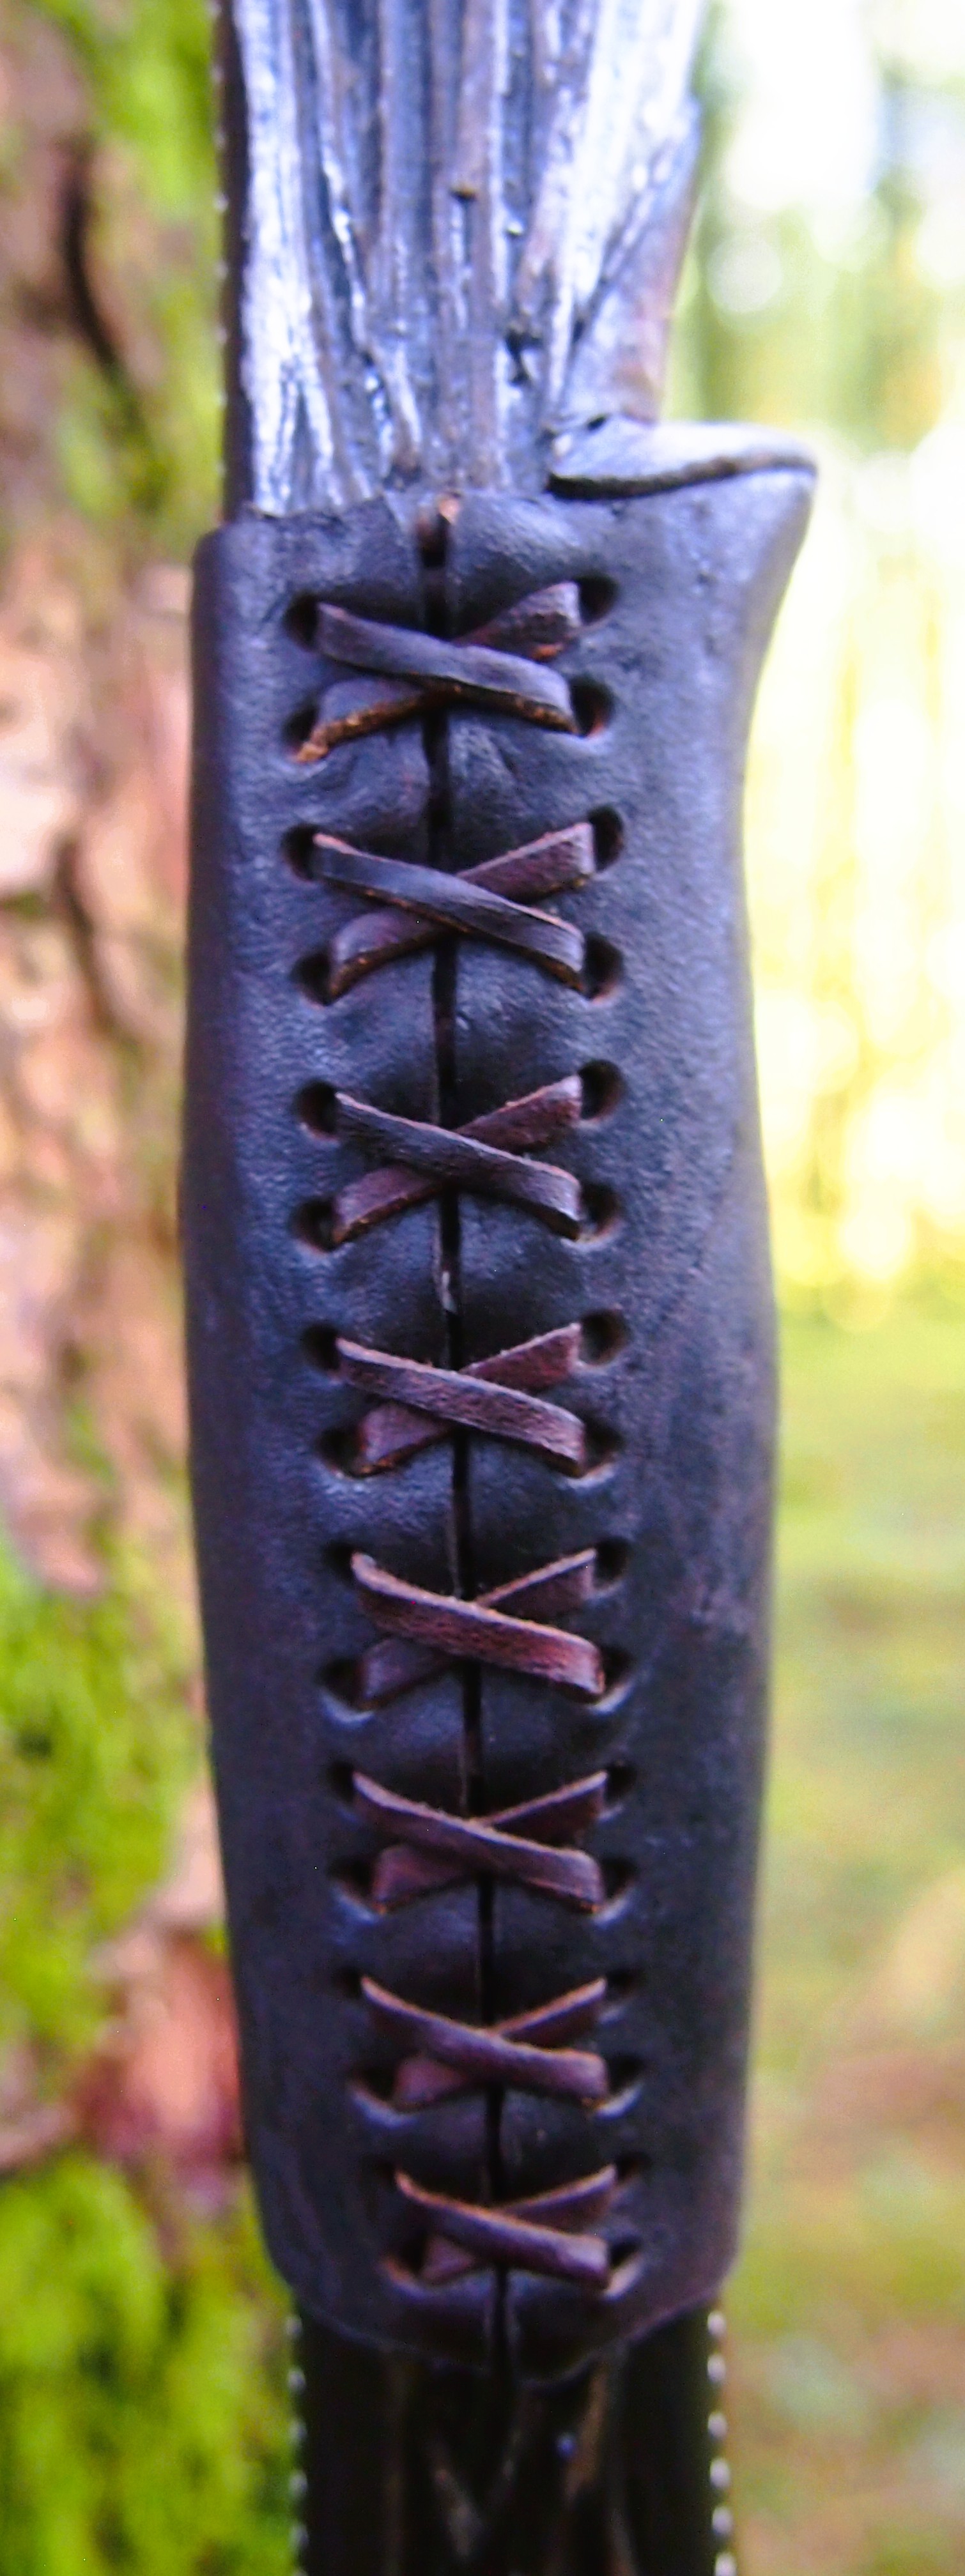
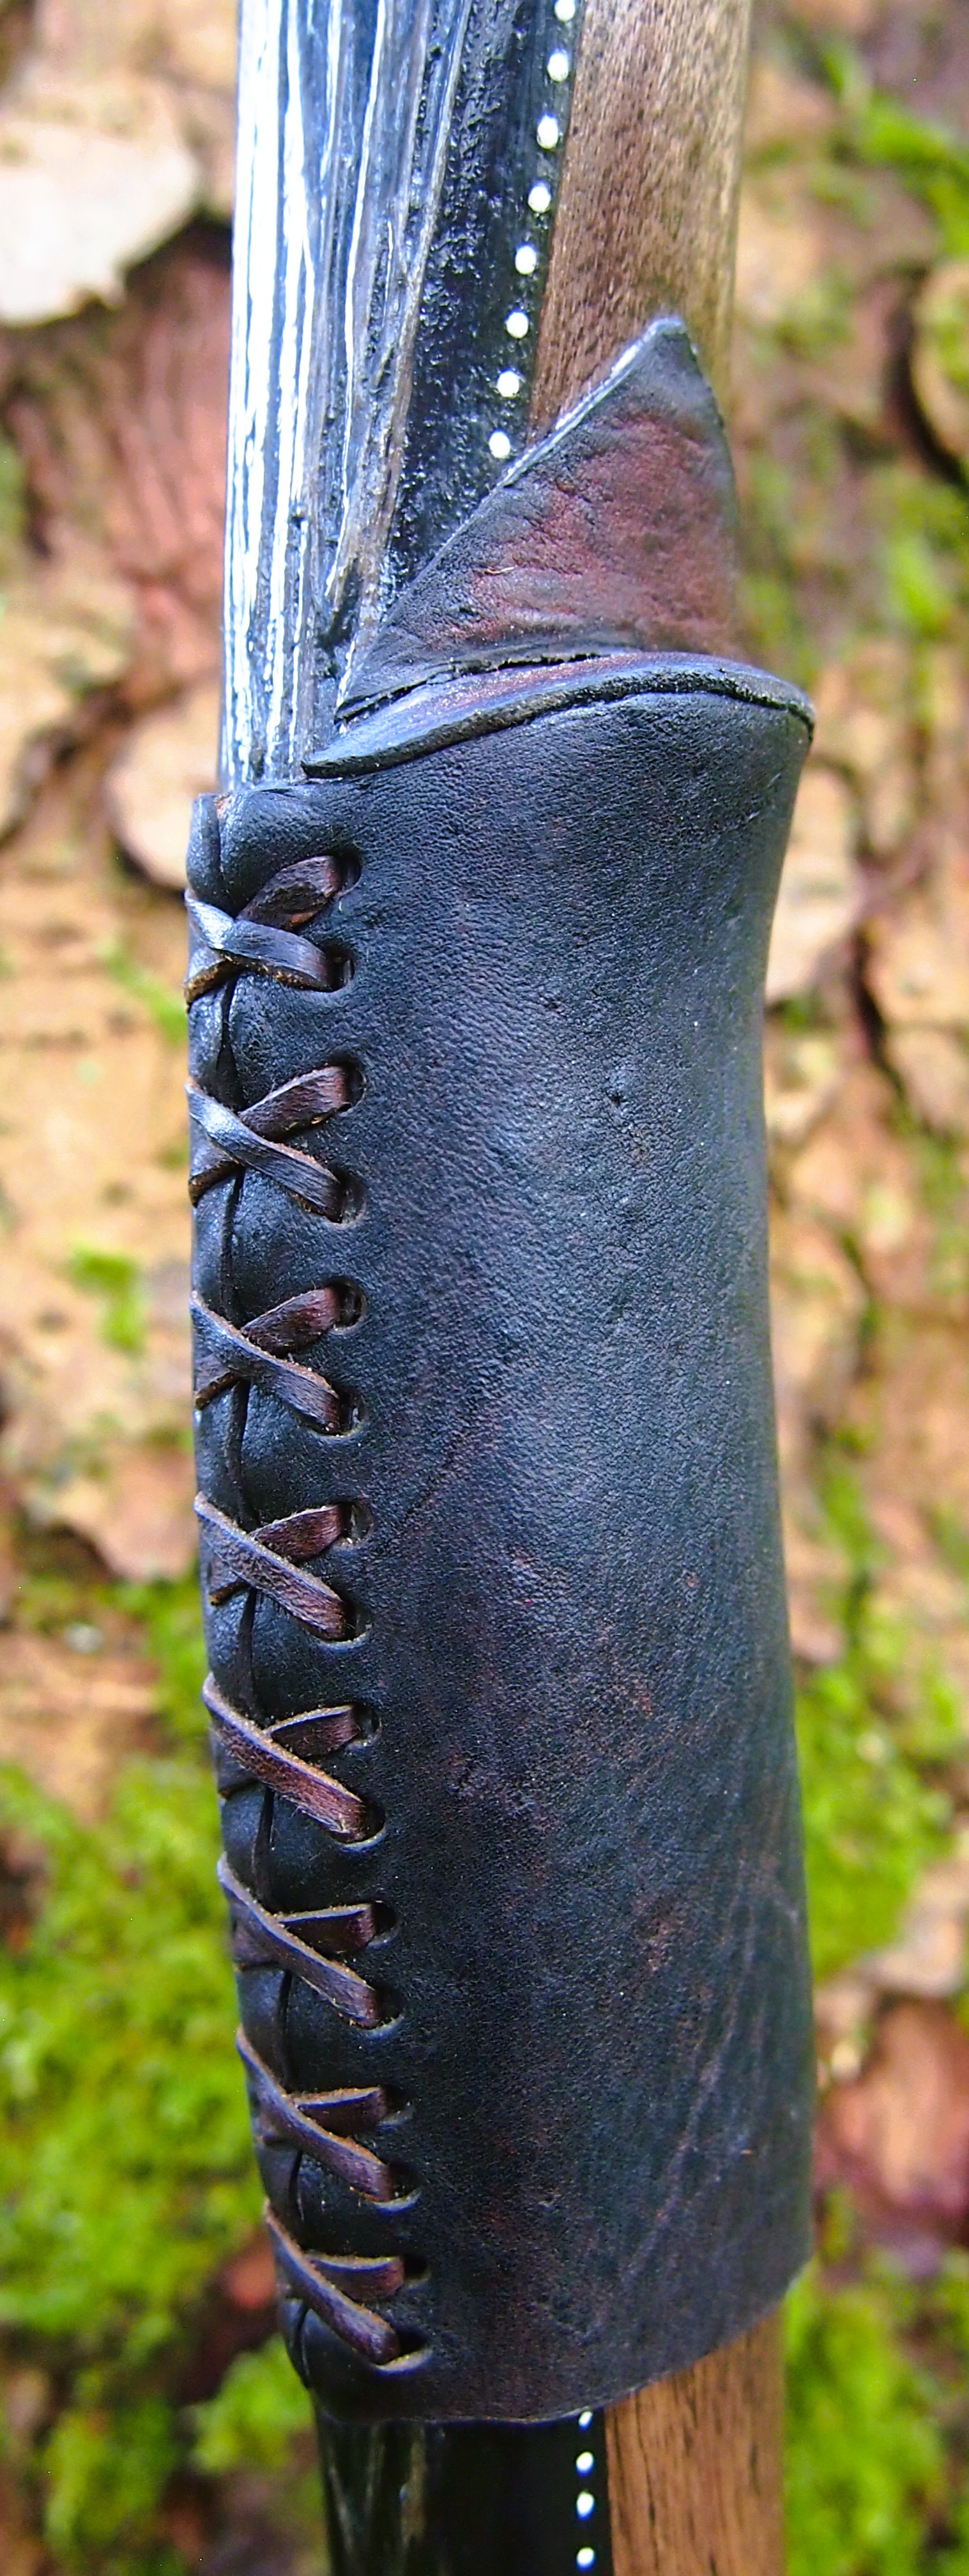
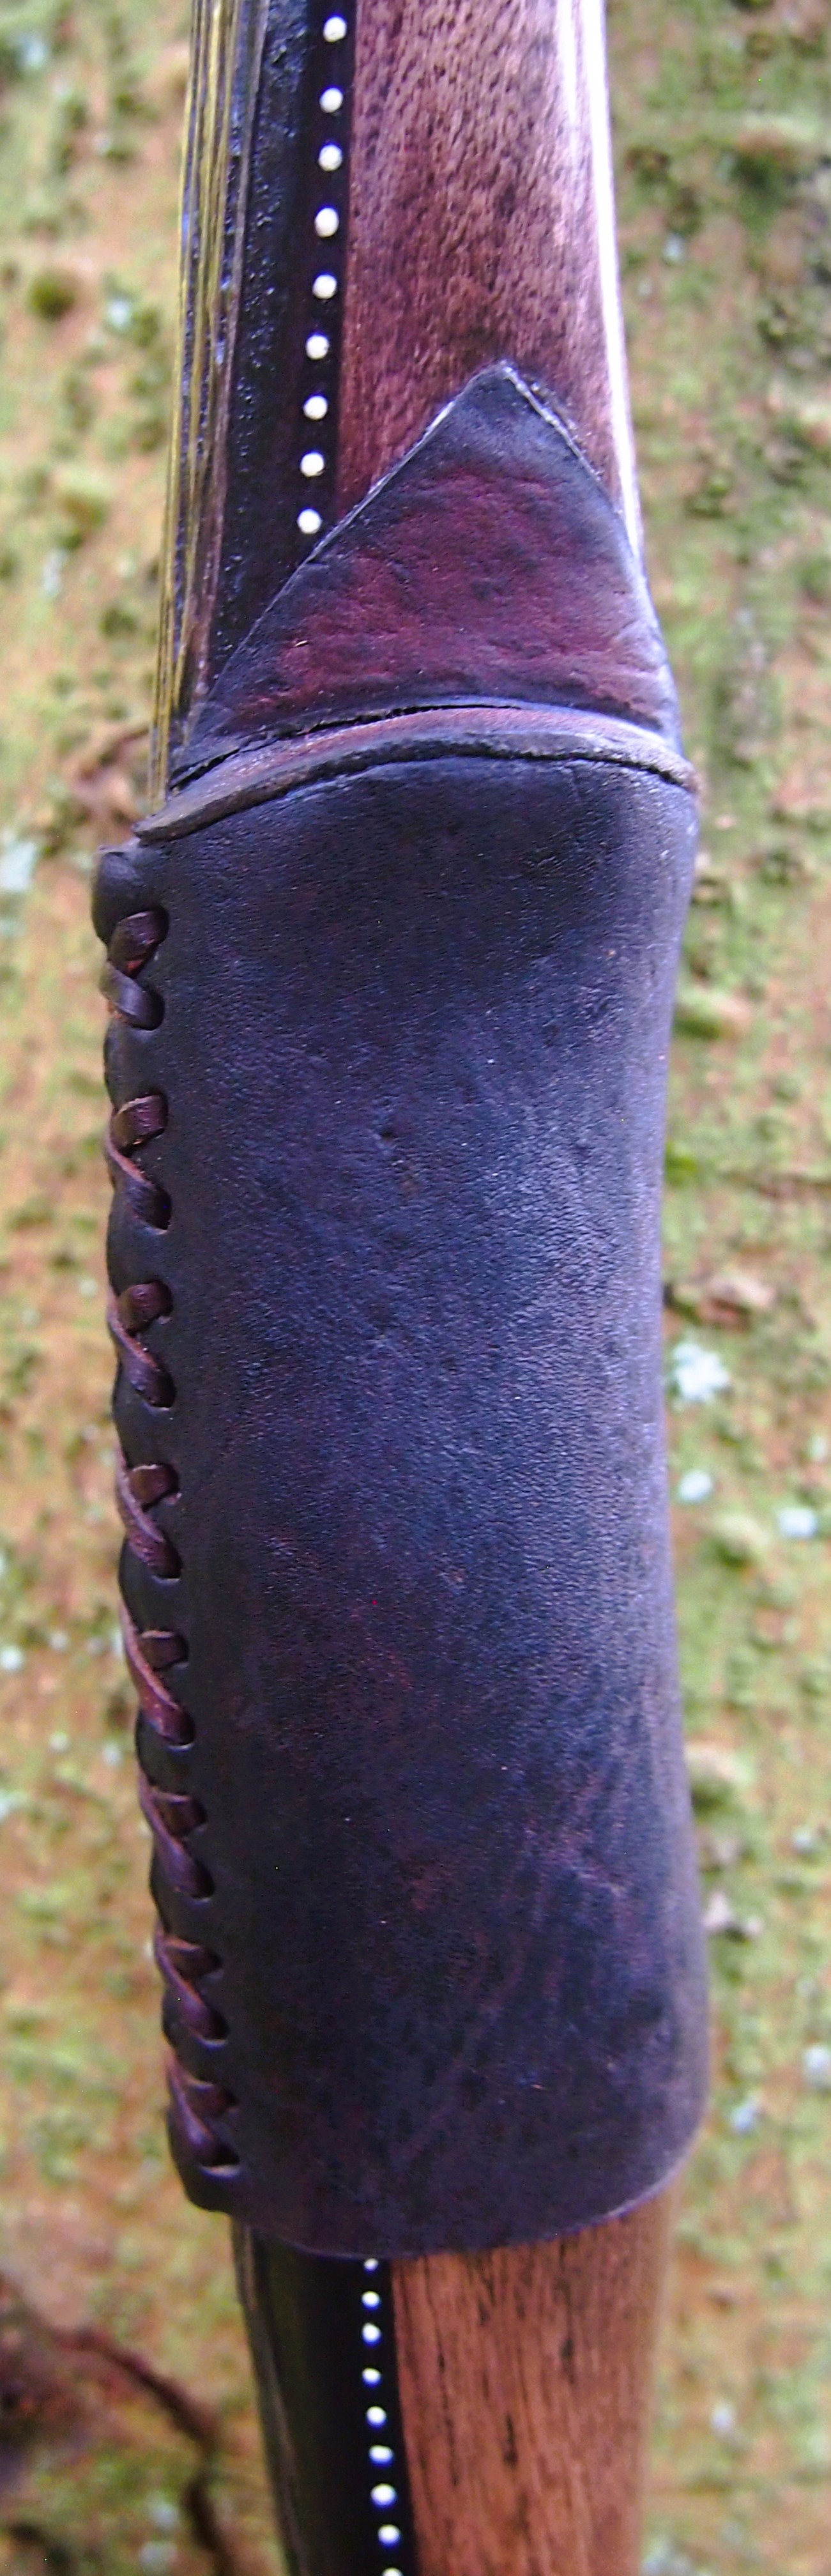
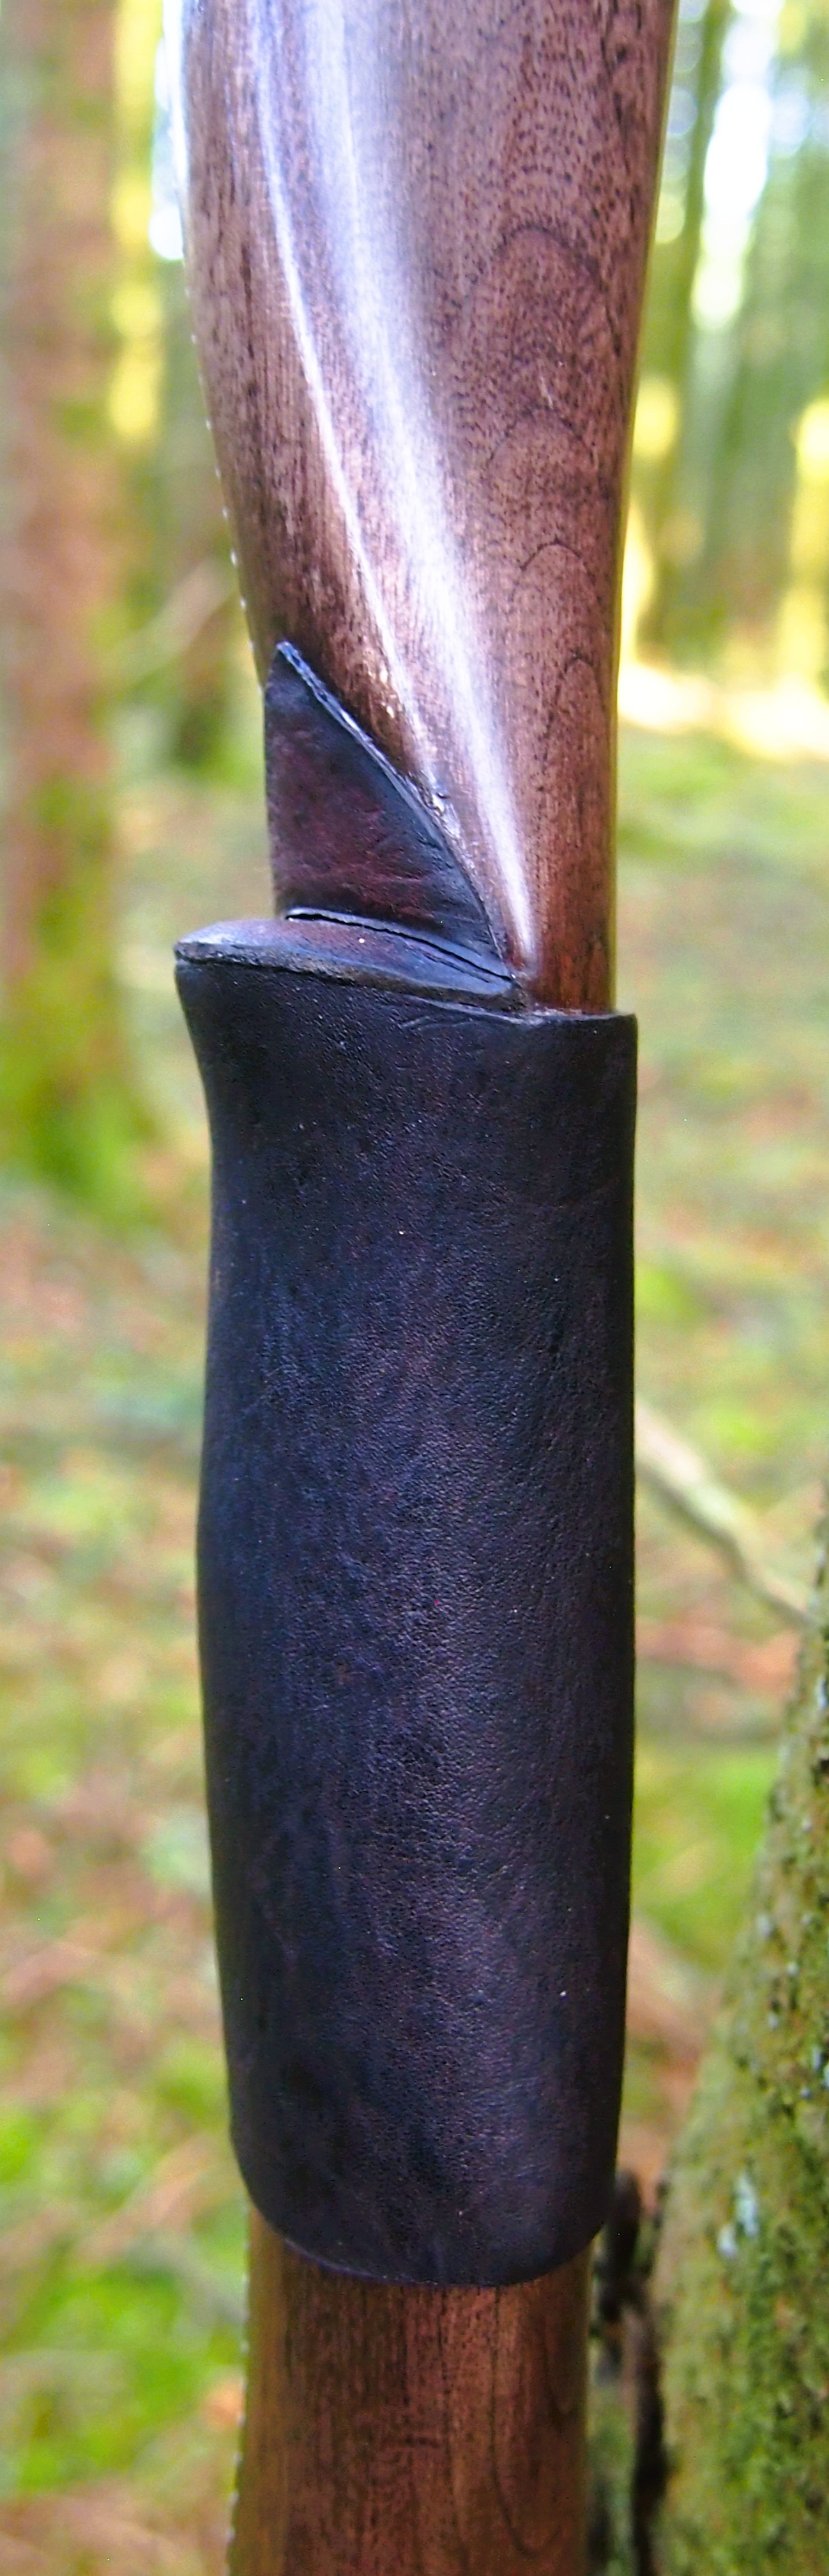
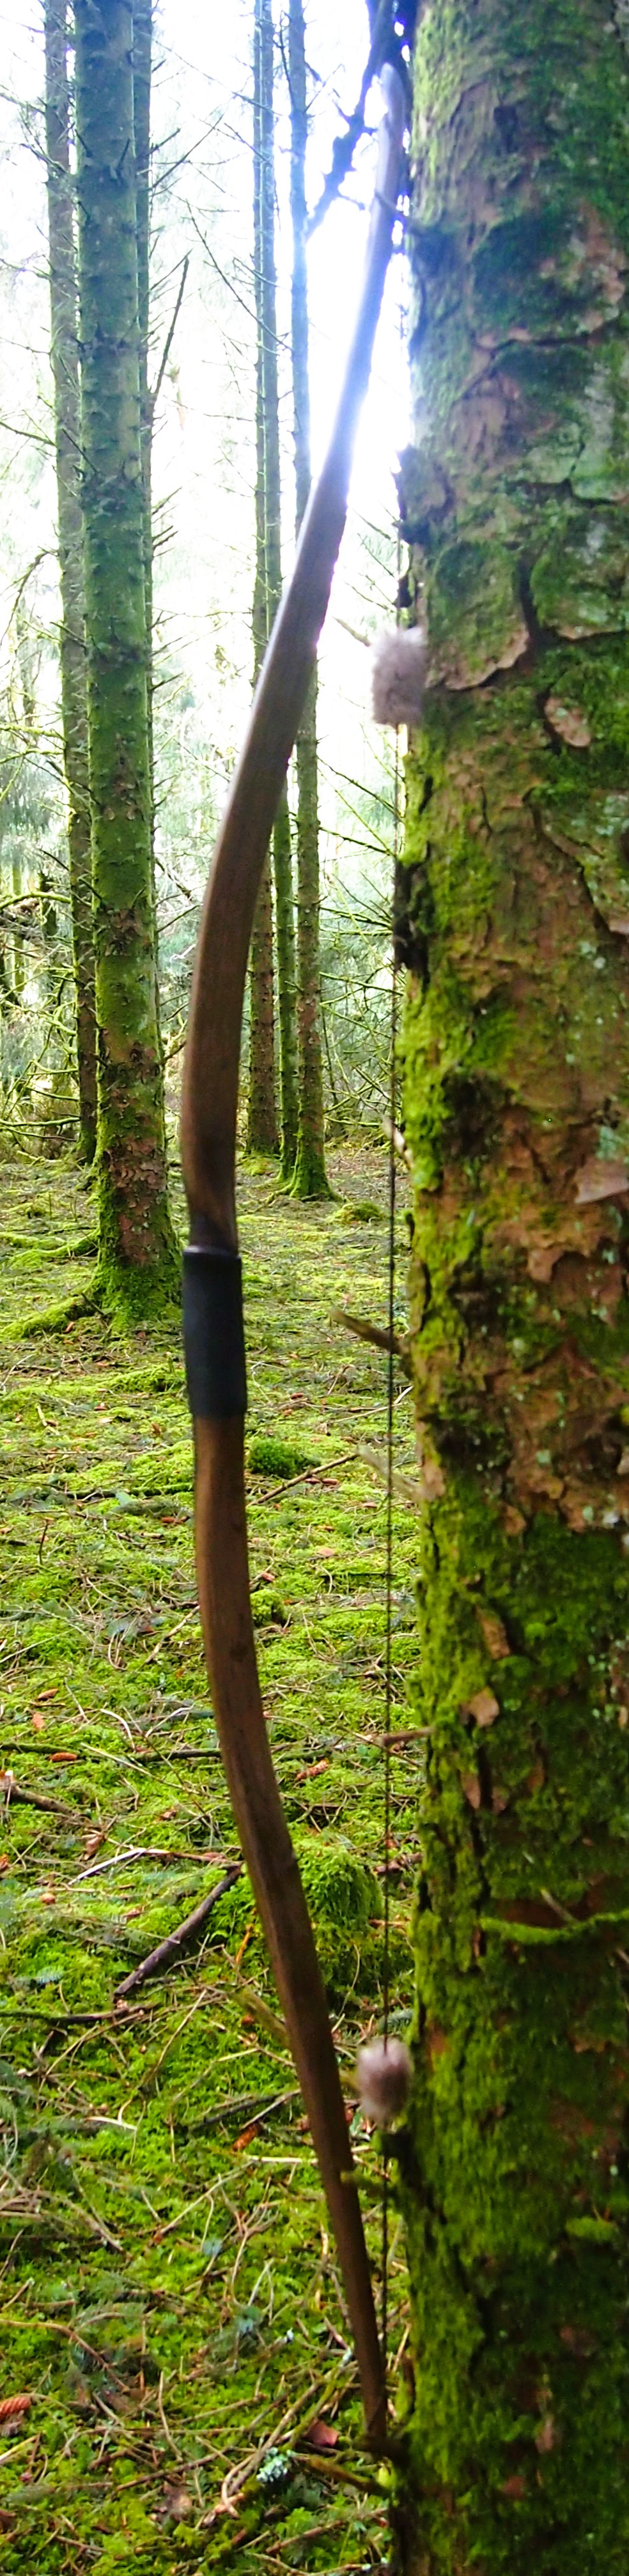
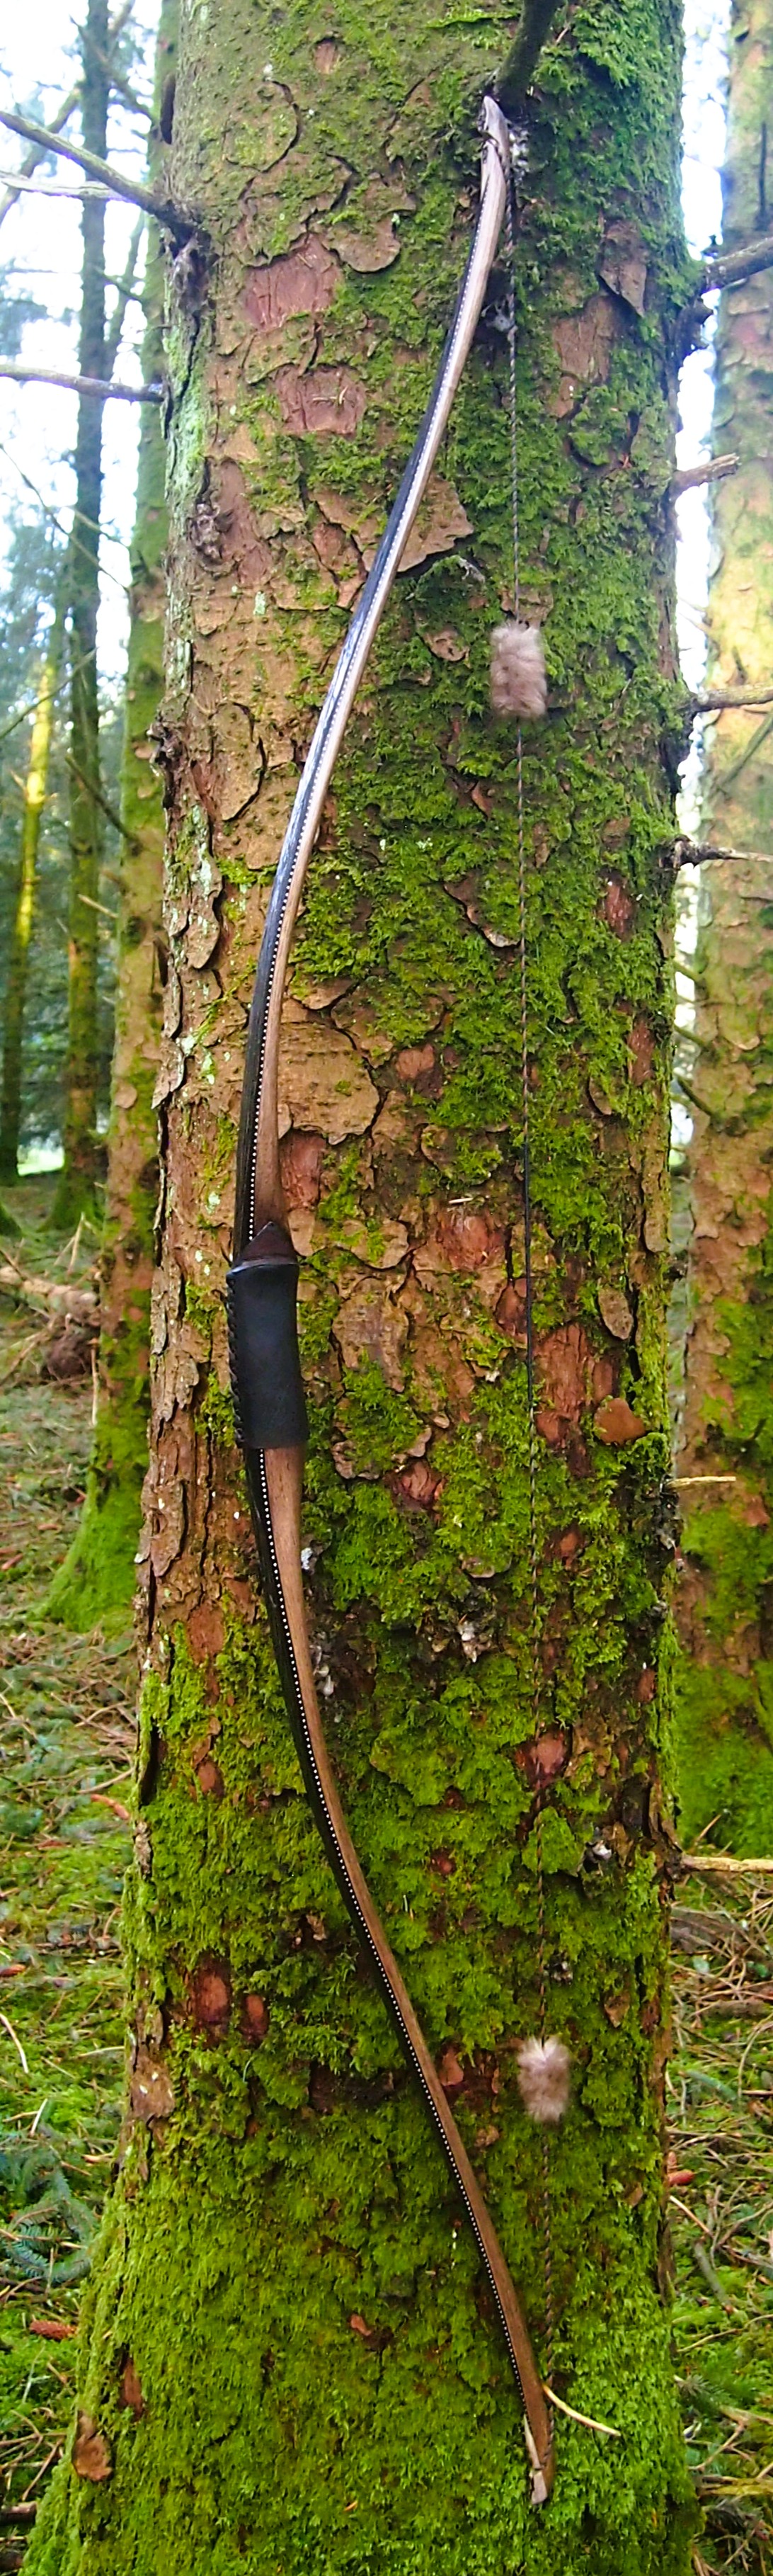
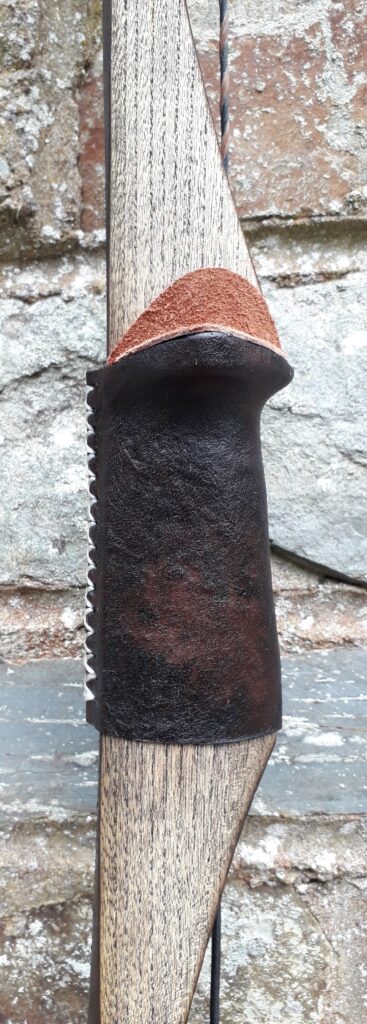
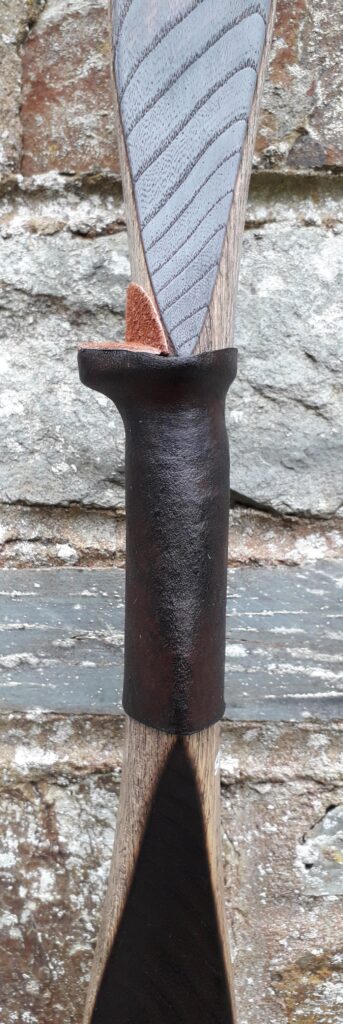
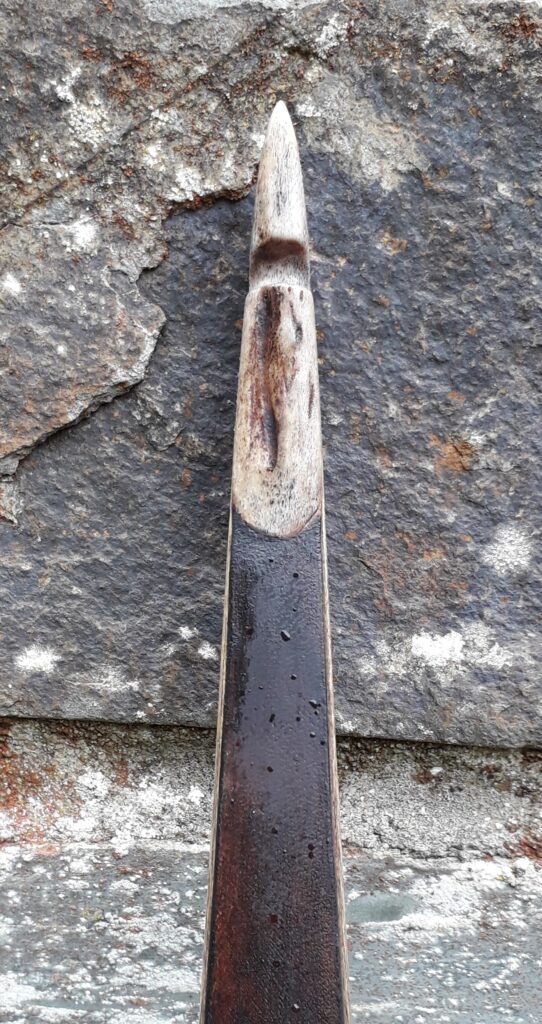
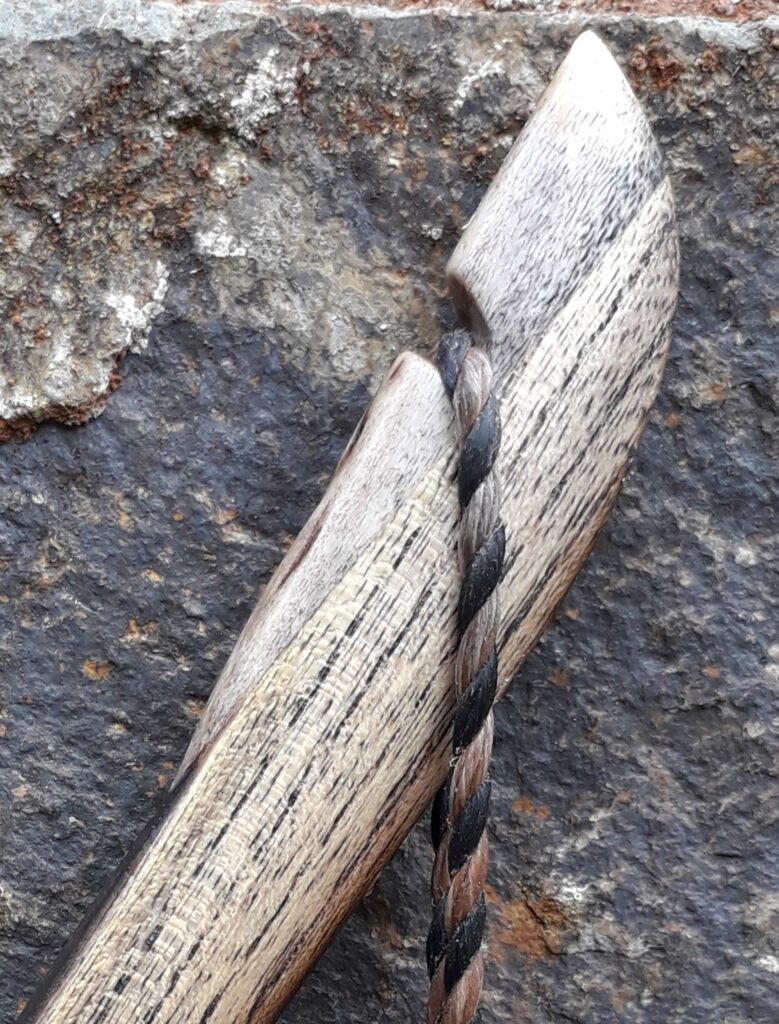
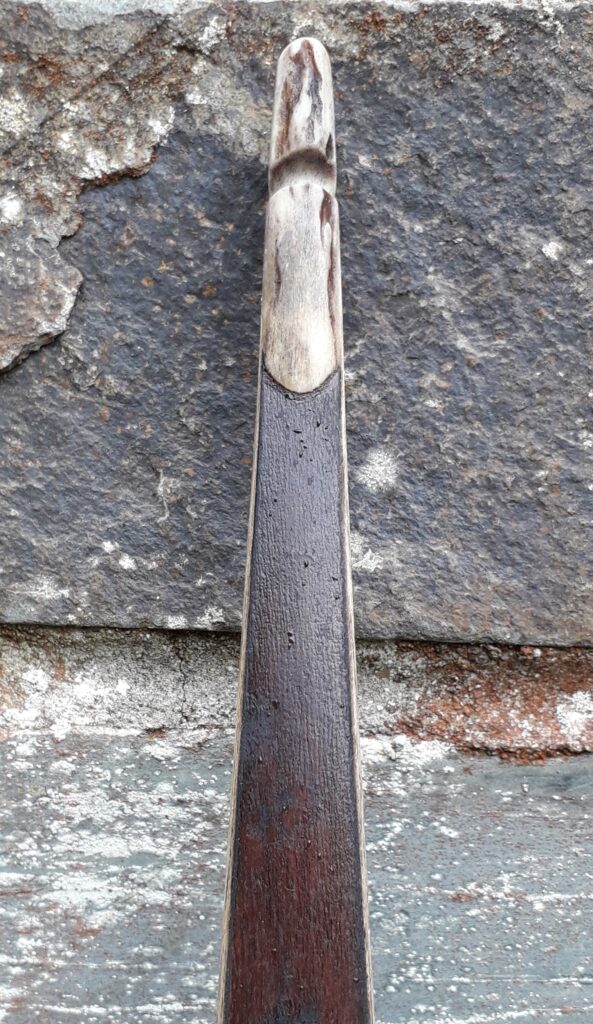
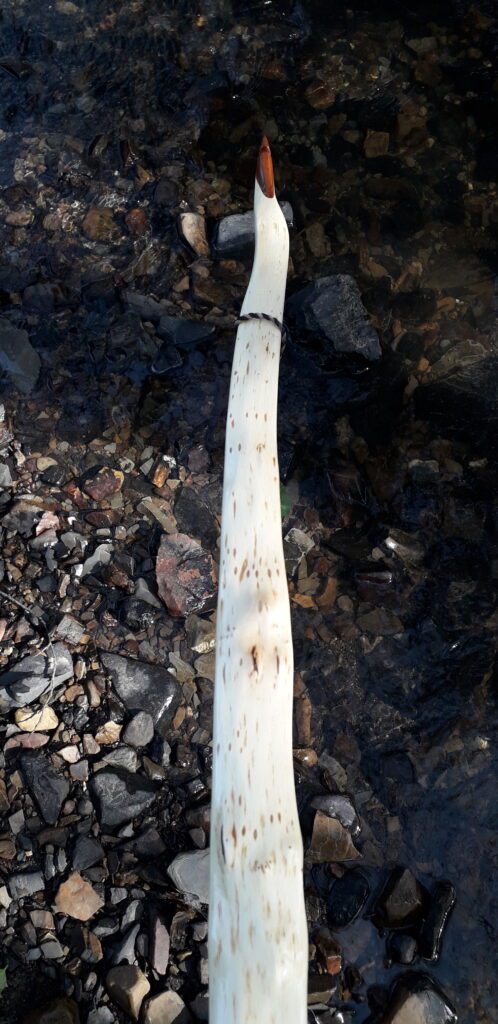
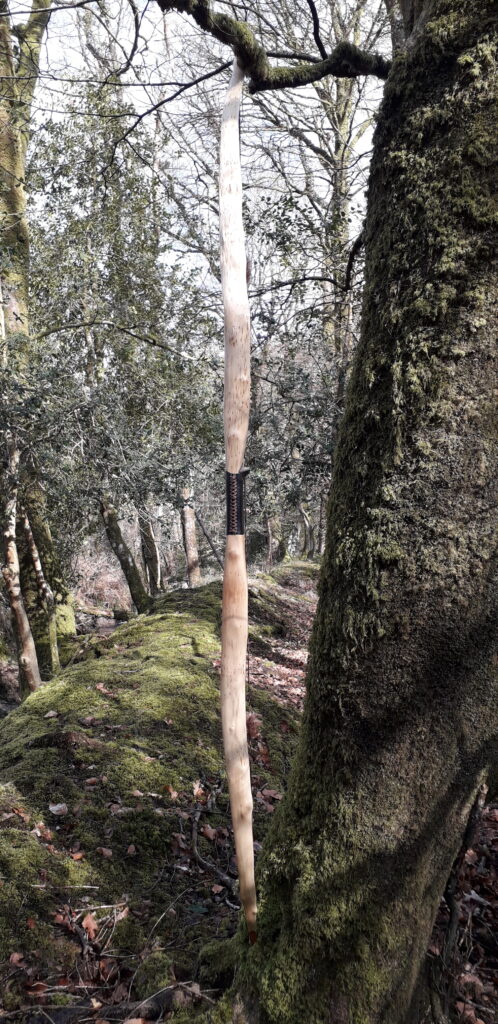
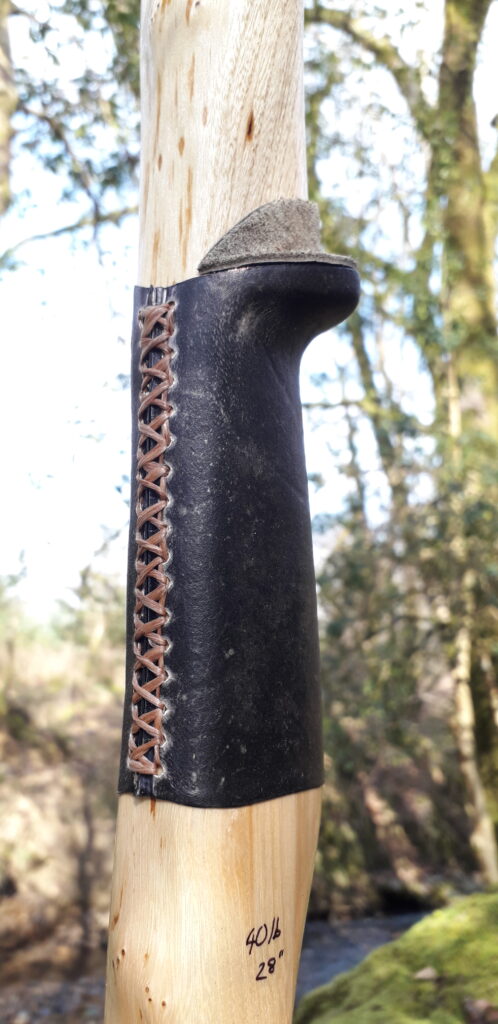
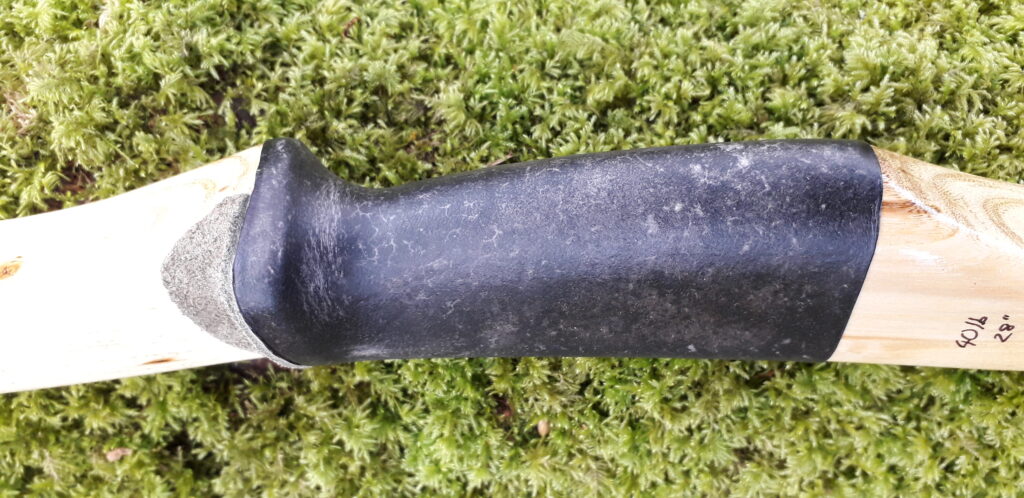
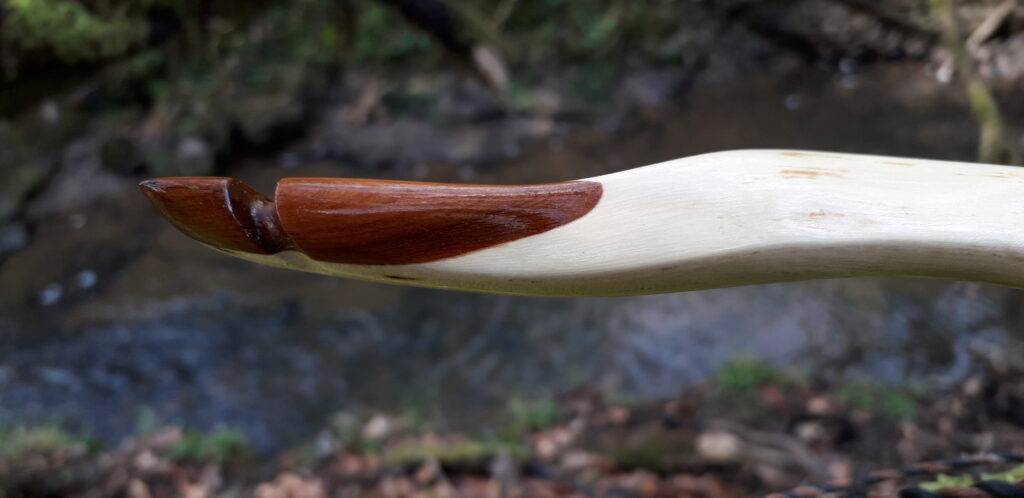
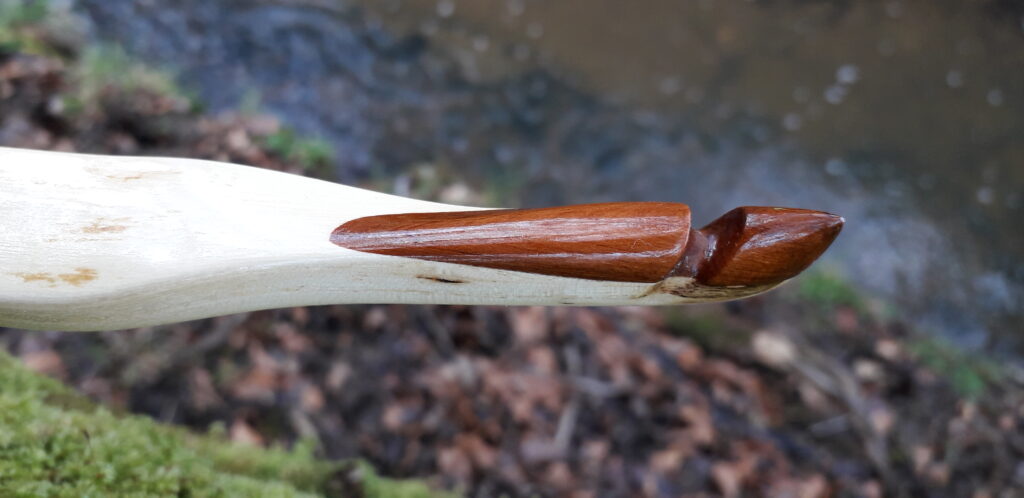
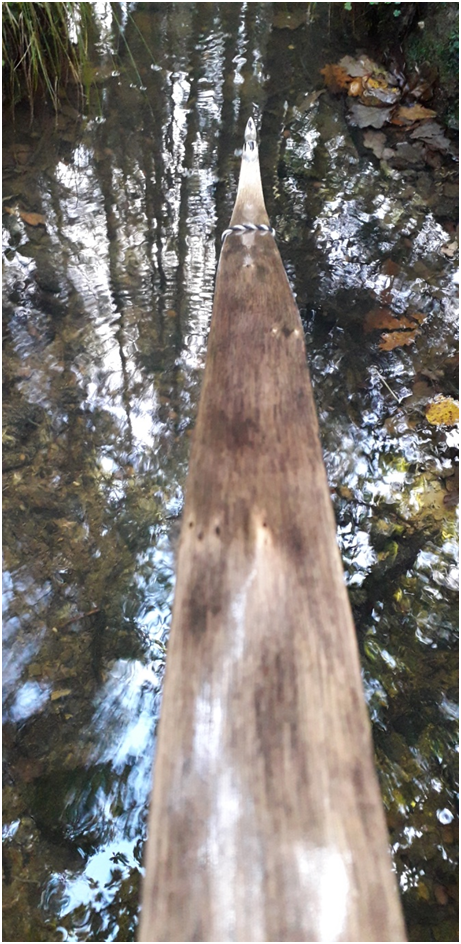
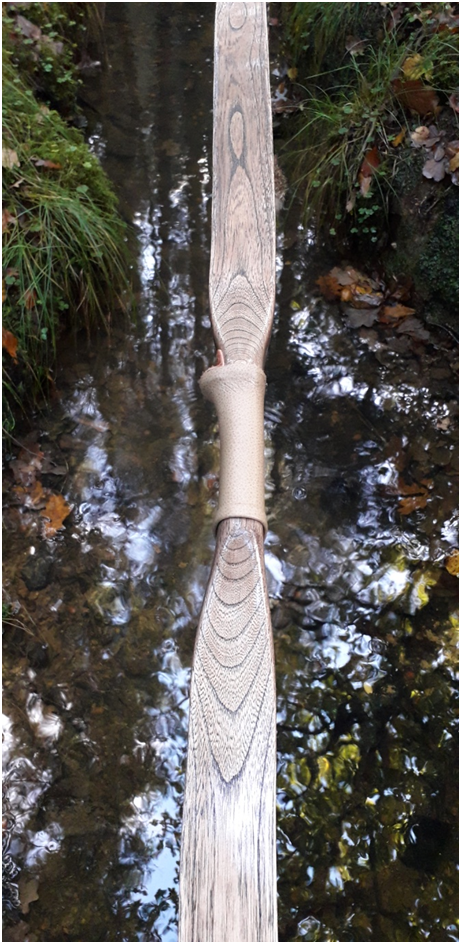
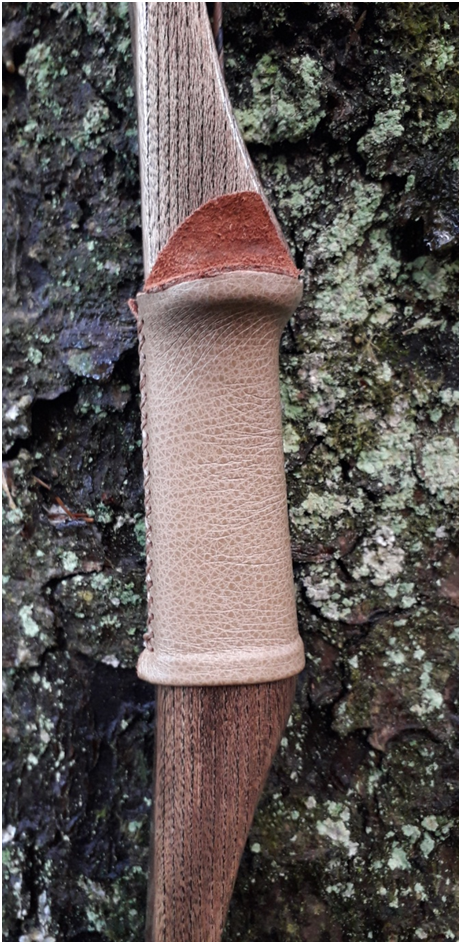
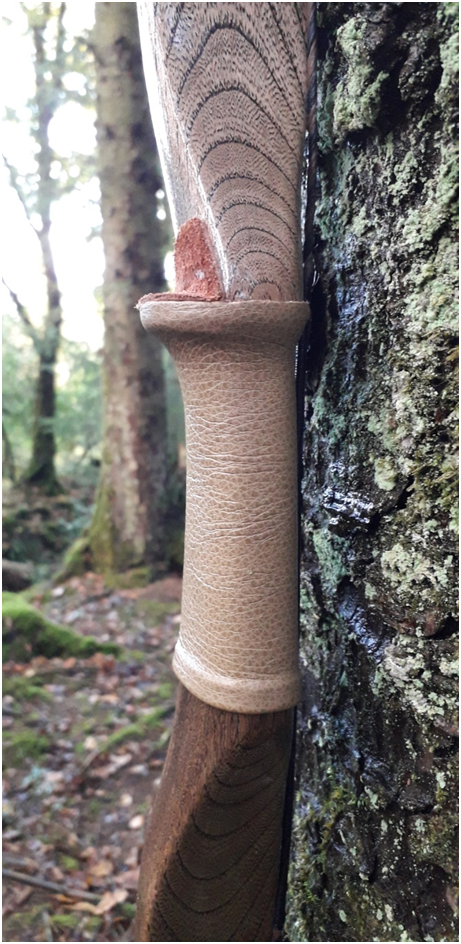
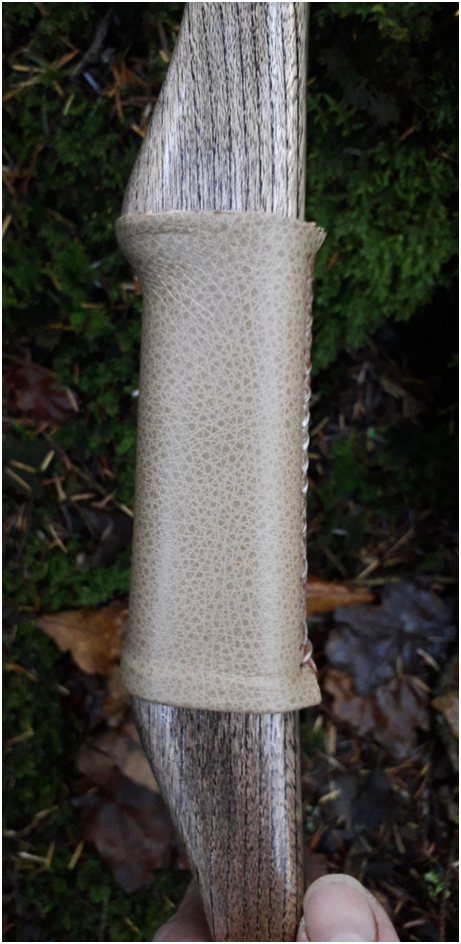
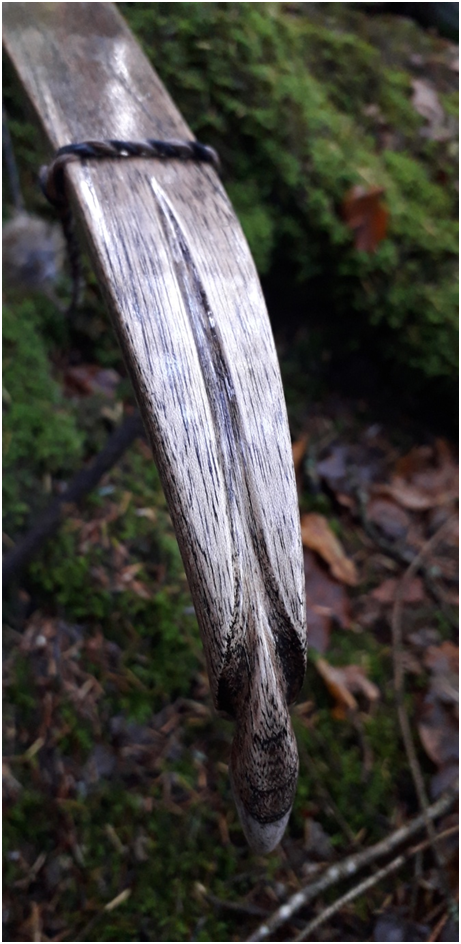
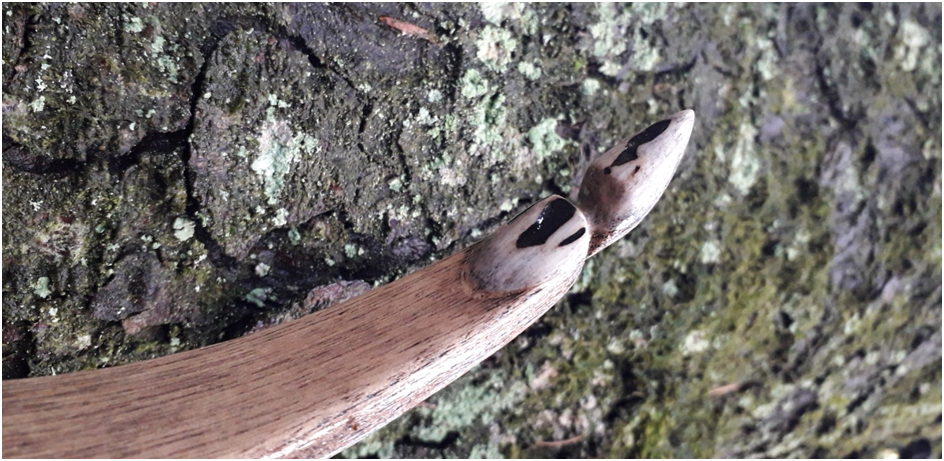
Tip overlays are wild Red deer antler, and the handle/ arrow pass is covered with my home produced traditional spruce bark tanned wild roe deer leather. The wood was finished and sealed with shellac.
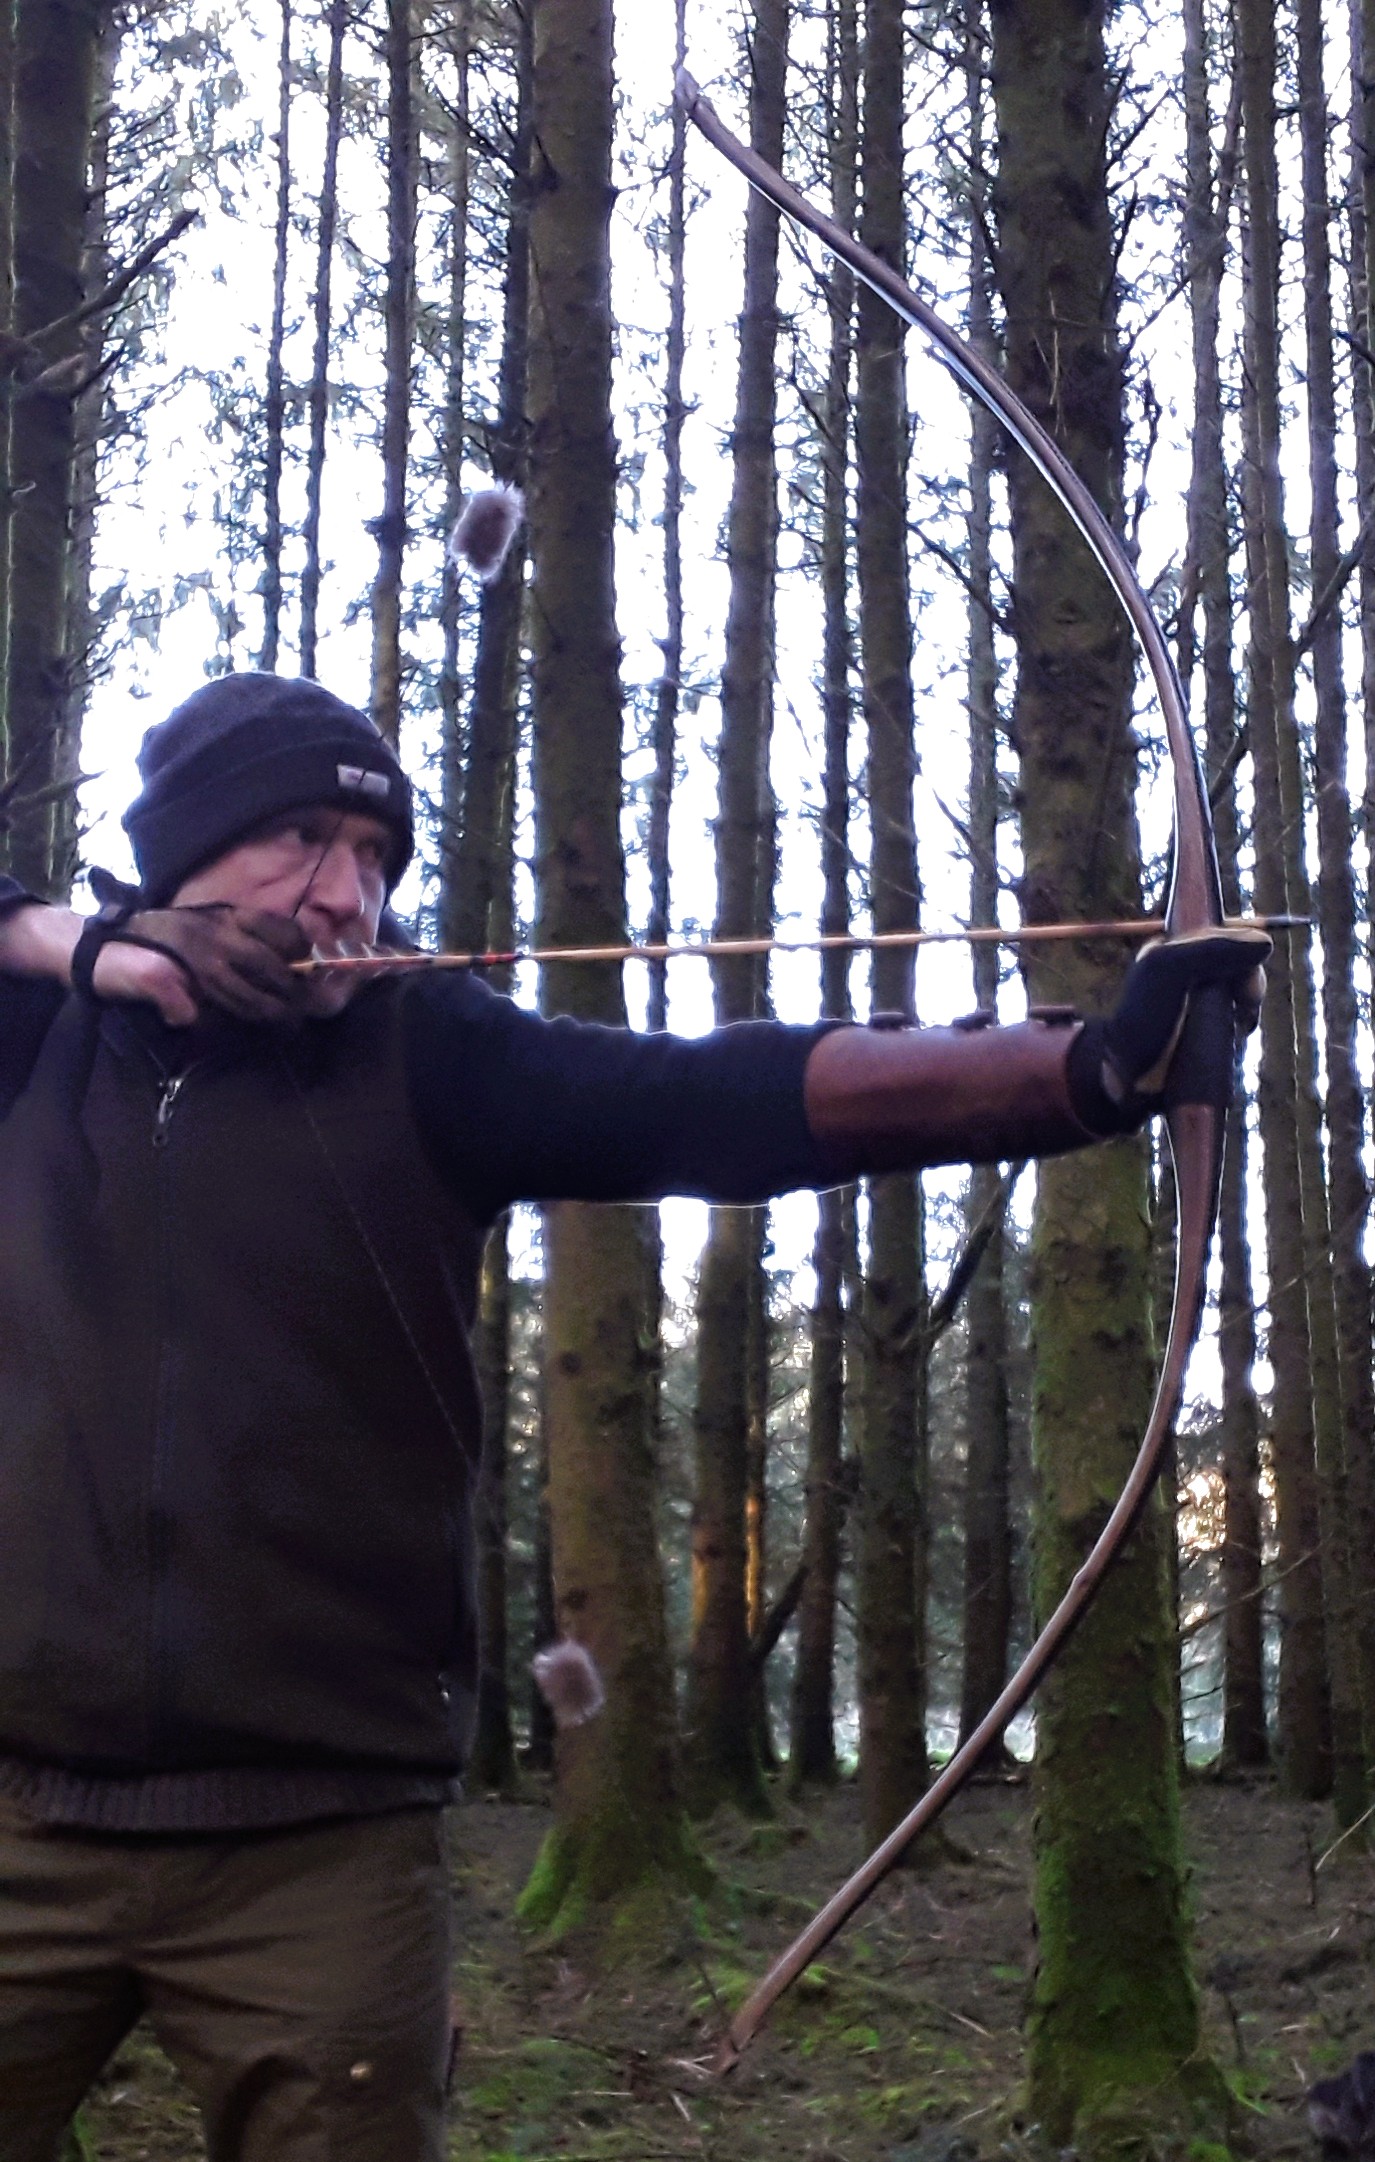
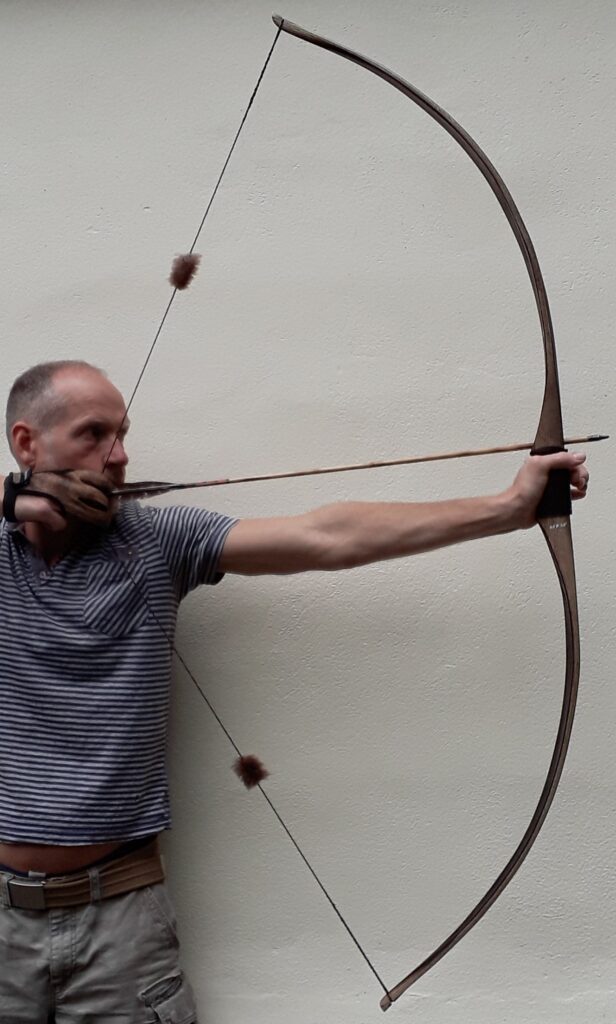
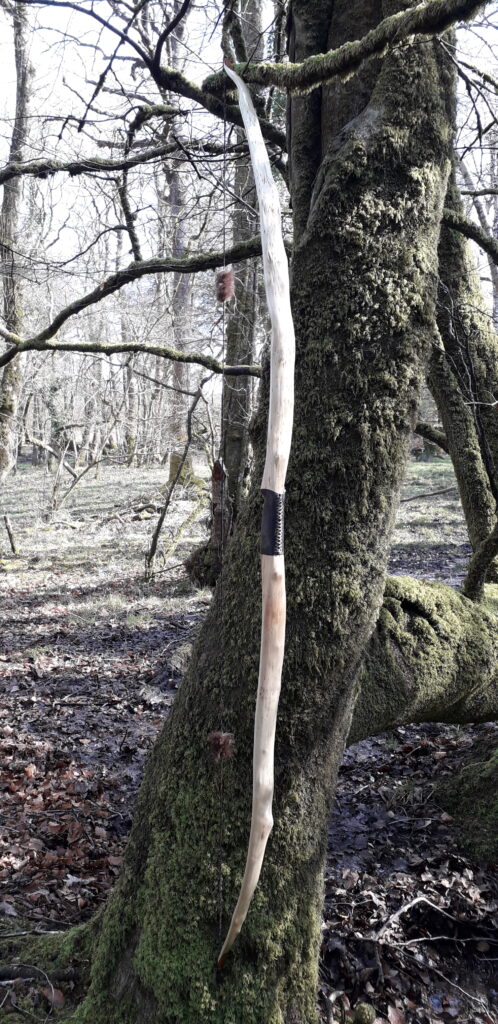
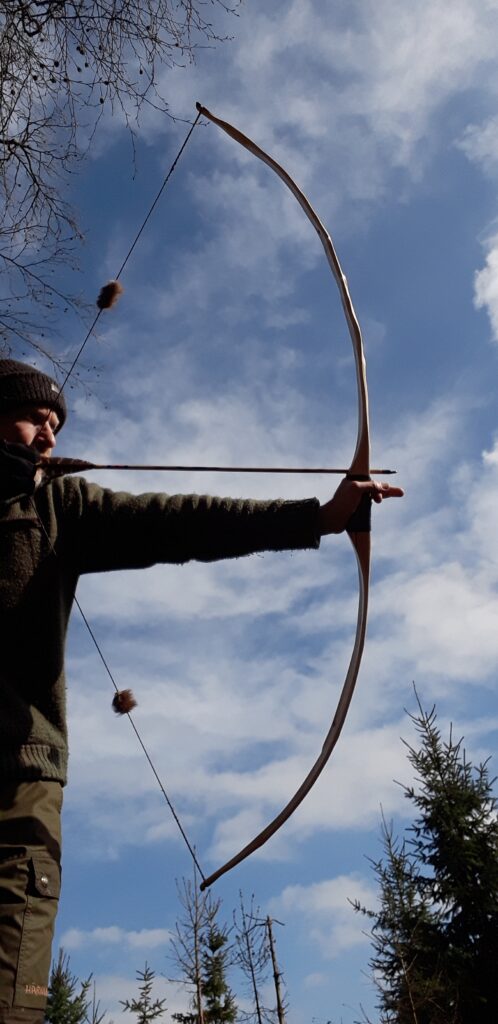
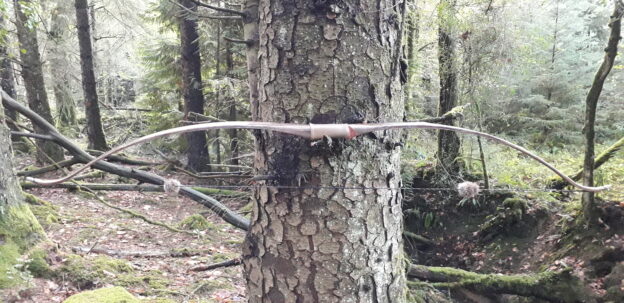
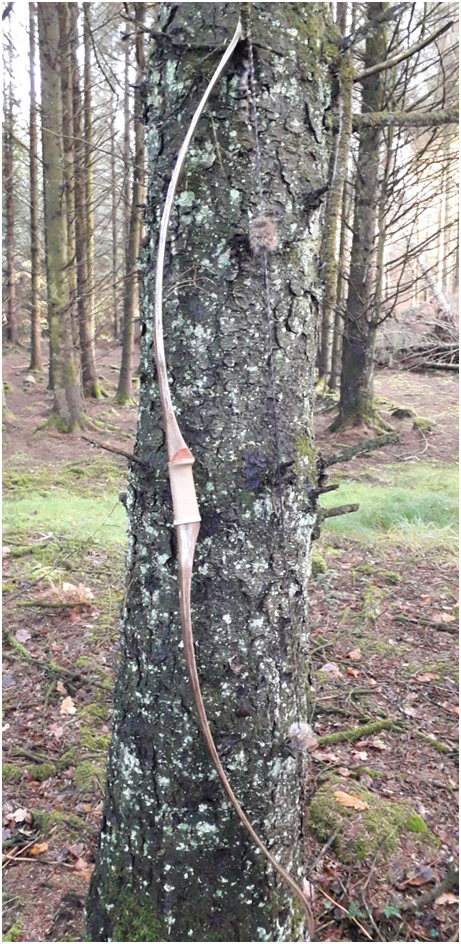
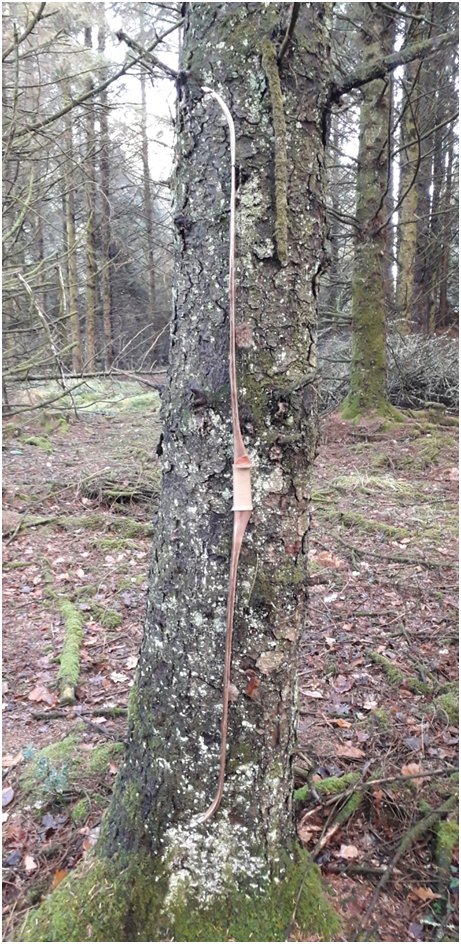
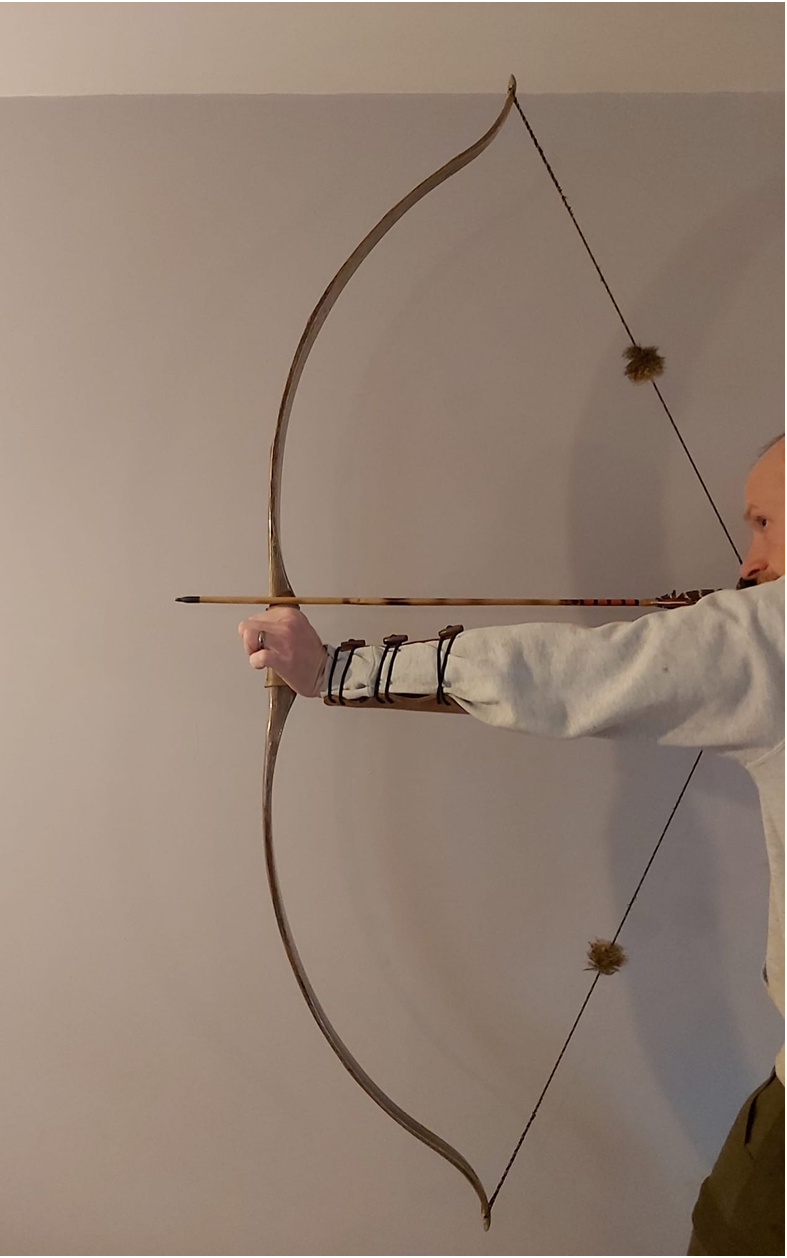
Given the sinew component, this bow took a full year to build from start to finish, but I’m really happy with how she came out. She is fast and light in the hand, and produces zero hand shock. Quiet as a feather and very pointable too. Whilst I’ve yet to put more than a couple of hundred arrows through her, she is already rapidly becoming one of my favourite woodland bows.
Here are the stats:
Draw Weight: 48lbs at 26”
Mass: 660 grams
Length NTN: 59.5”
Width: 1 3/4” at widest part
Tips: 5” semi static 3/8” wide at the nocks.
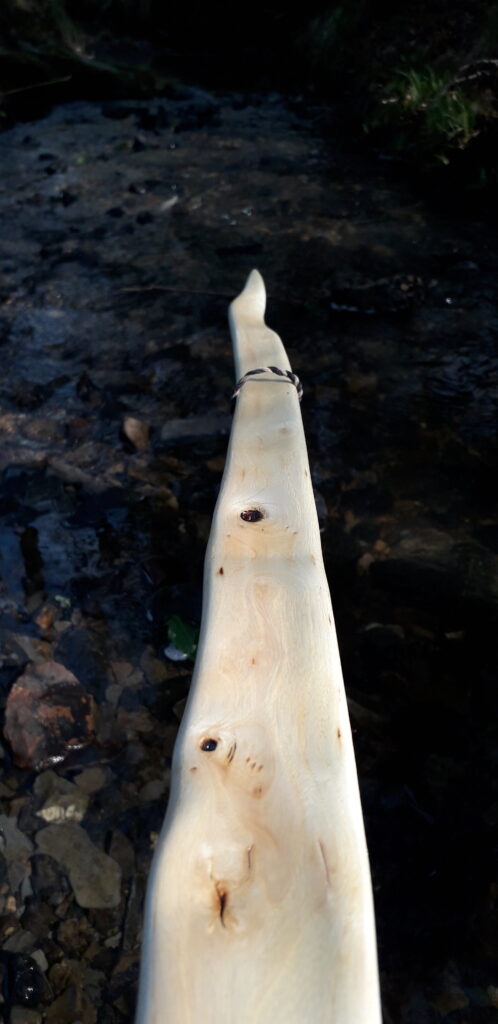
Back: Moderately crowned with a pyramidal face profile.
Belly Profile: Working limb sections flat with rounded corners, transitioning at the tips to ridged shaped cross section.
Tiller: Elliptical. 1/4” positive
Brace height: 5 1/2″
Here are the photos/video.