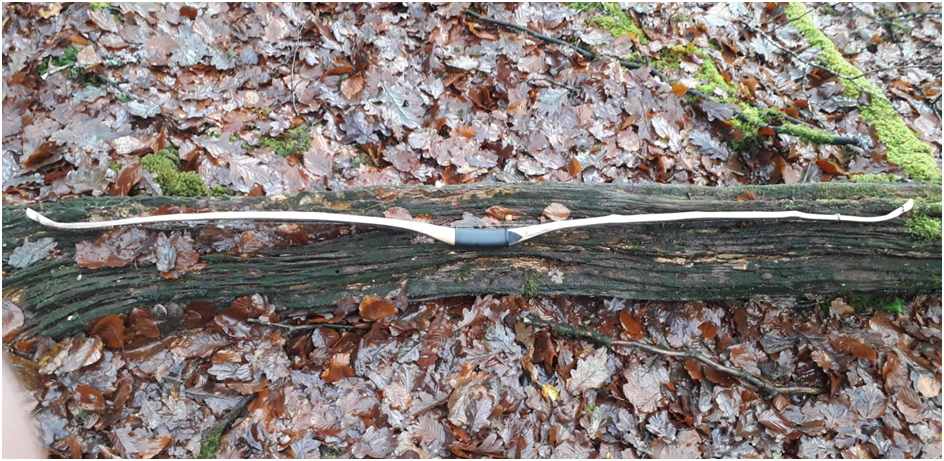
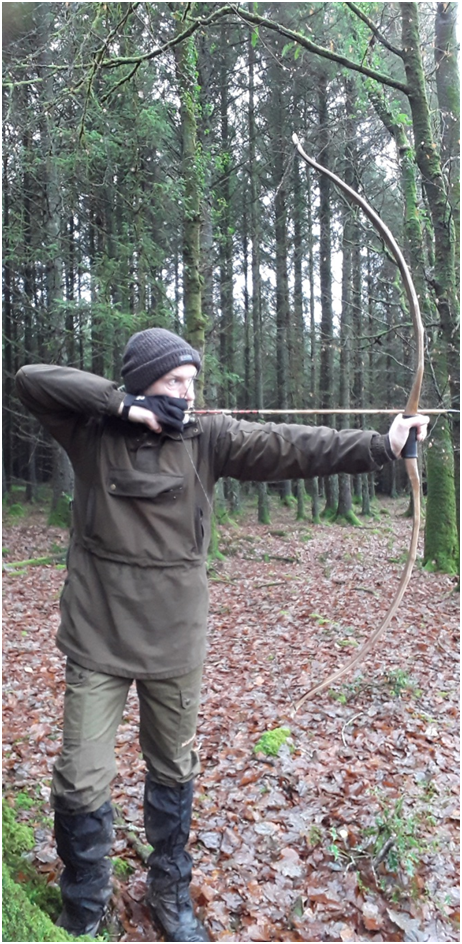
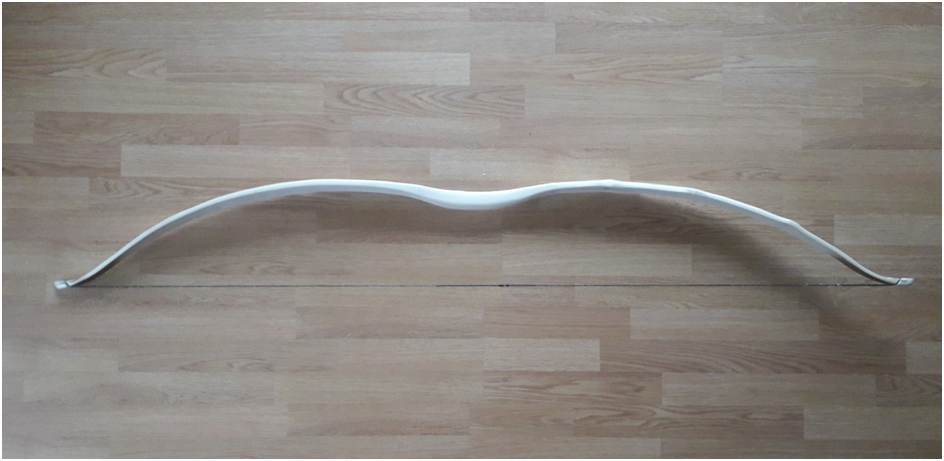
This little project was initially just intended to explore how much twist and malformation could be corrected through drying a badly mishappen green field ma[le stave whilst clamped to a form. The stave came out so well that I decided to persevere with it and the project ended up turning into a full bow build. The end result is a nice sweet shooting deflex reflex selfbow. The full build can be seen here: https://southmoorbows.com/build-along-field-maple-deflex-reflex-character-longbow/
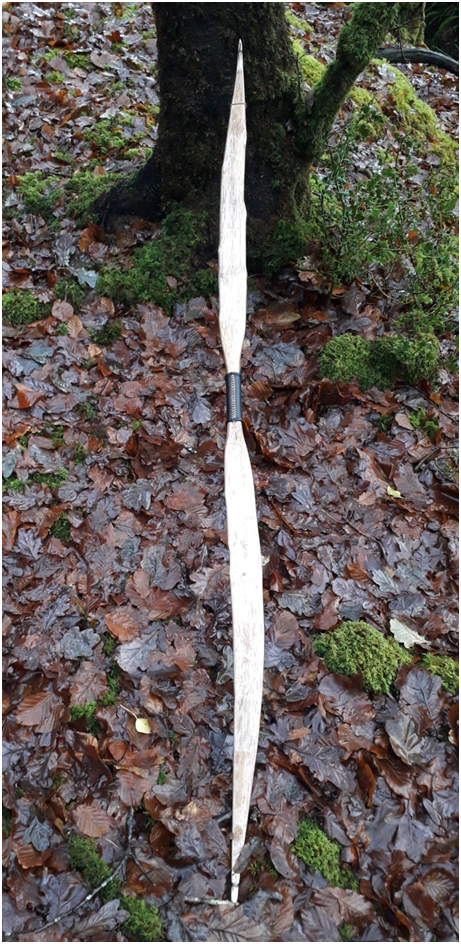
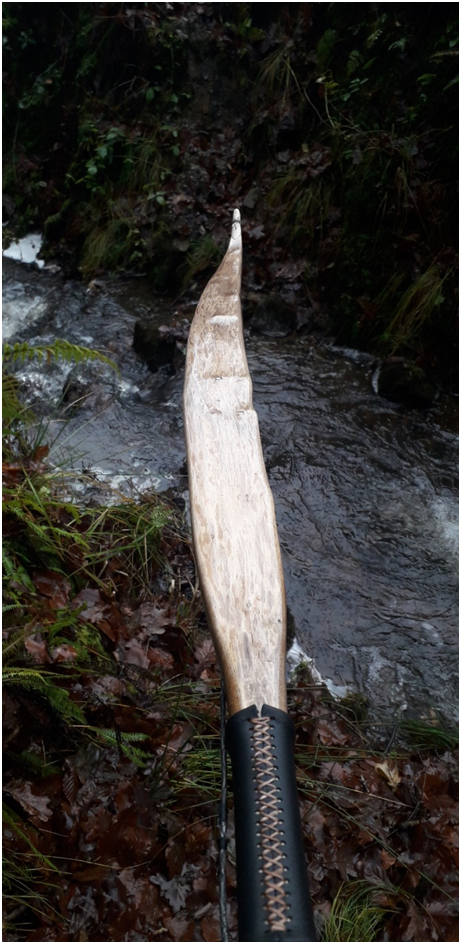
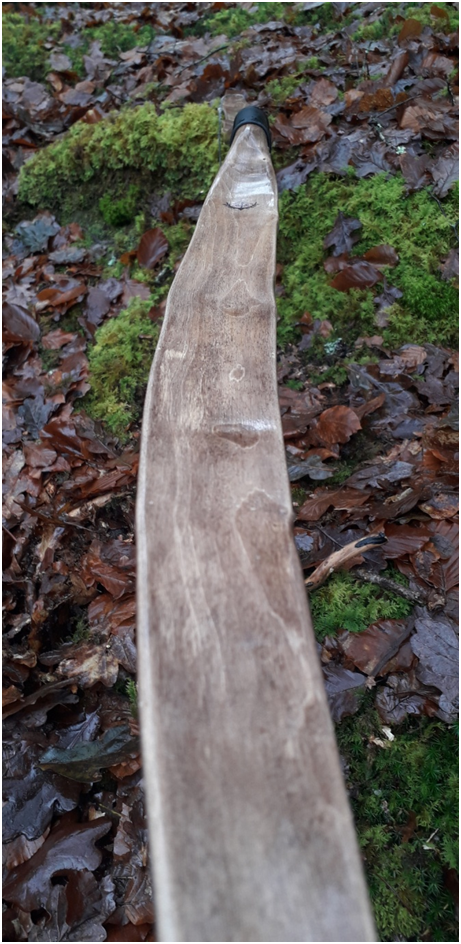
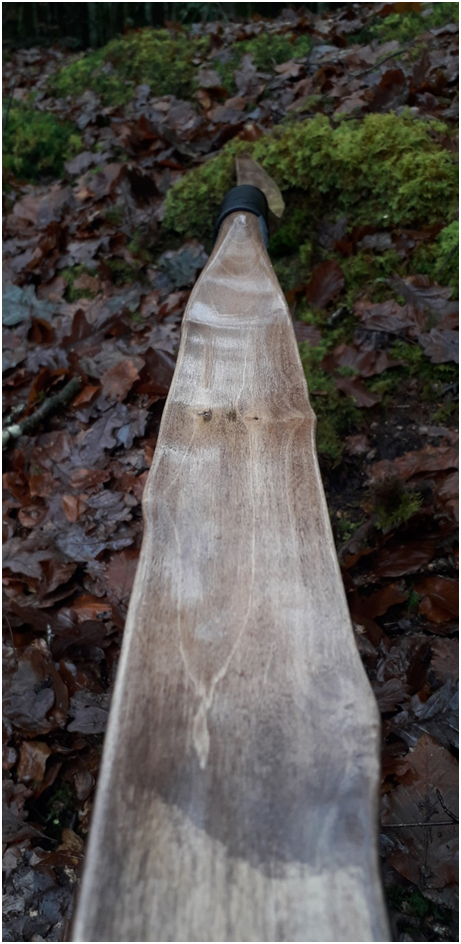
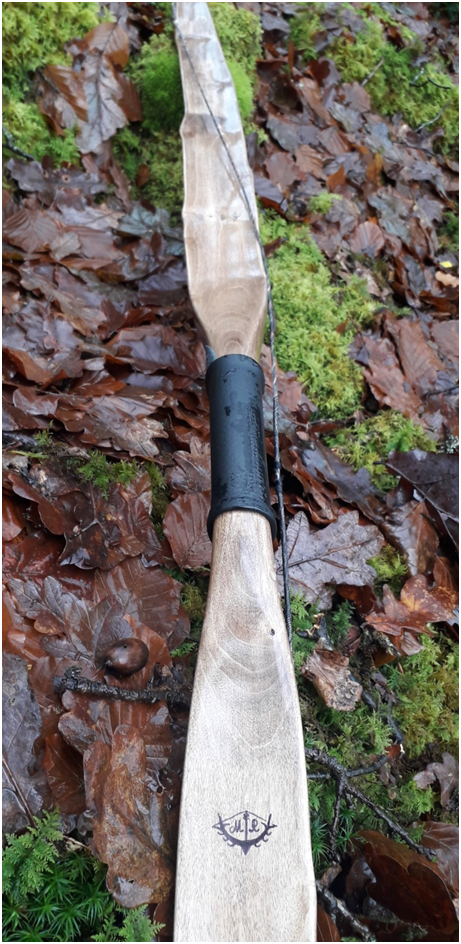
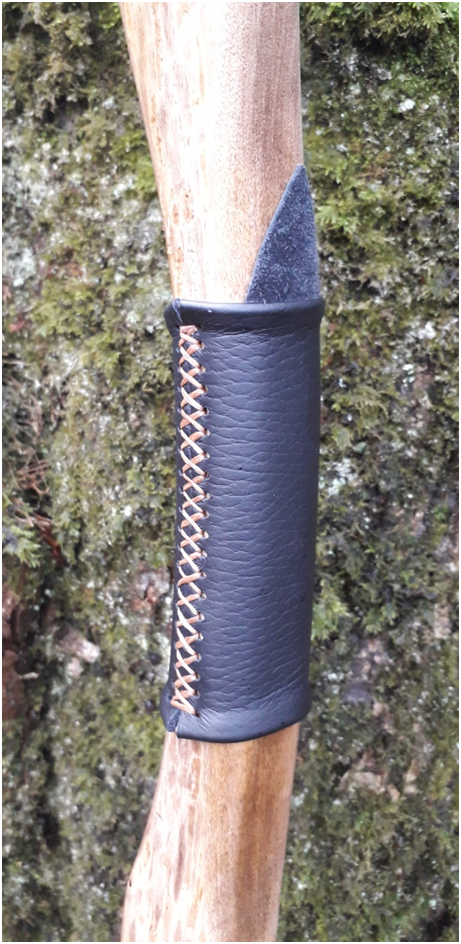
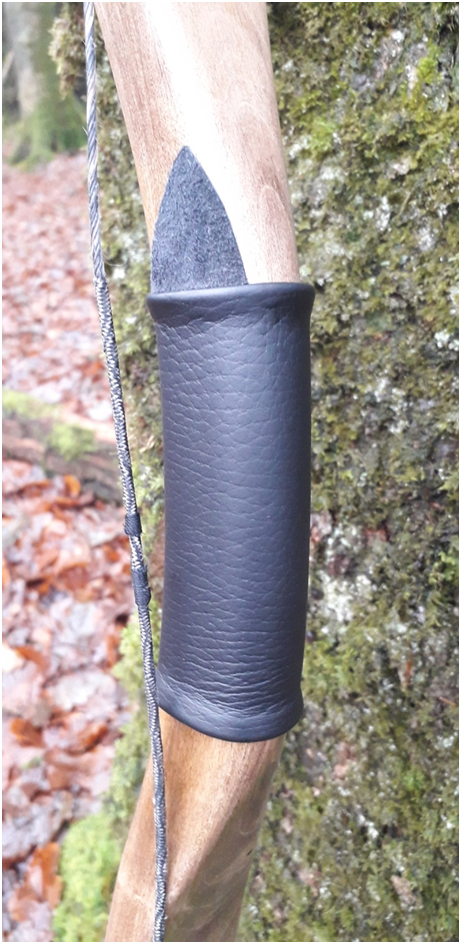
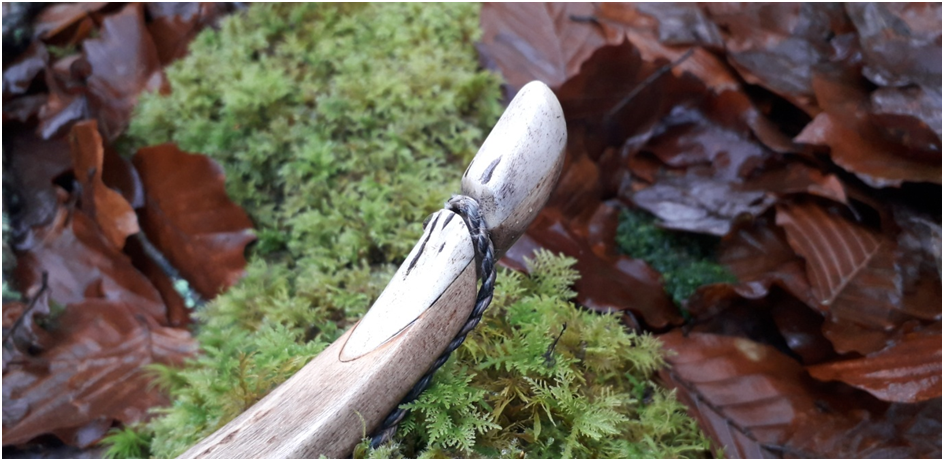
As is typical of Field Maple, this stave lacked much in the way of colour or grain so I decided to stain it. Antler tip overlays and a simple black leather handle/arrow pass compliment the natural character of the bow. The limb cross section ranges from crowned/convexed to almost rectangular with some mild valleys, troughs and hills around the few small knots and naturally wavy grain.
Measurements are as follows:
Length Nock to nock: 66″
Limb width at widest point – Top: 2 1/8″ Bottom:2 1/8″
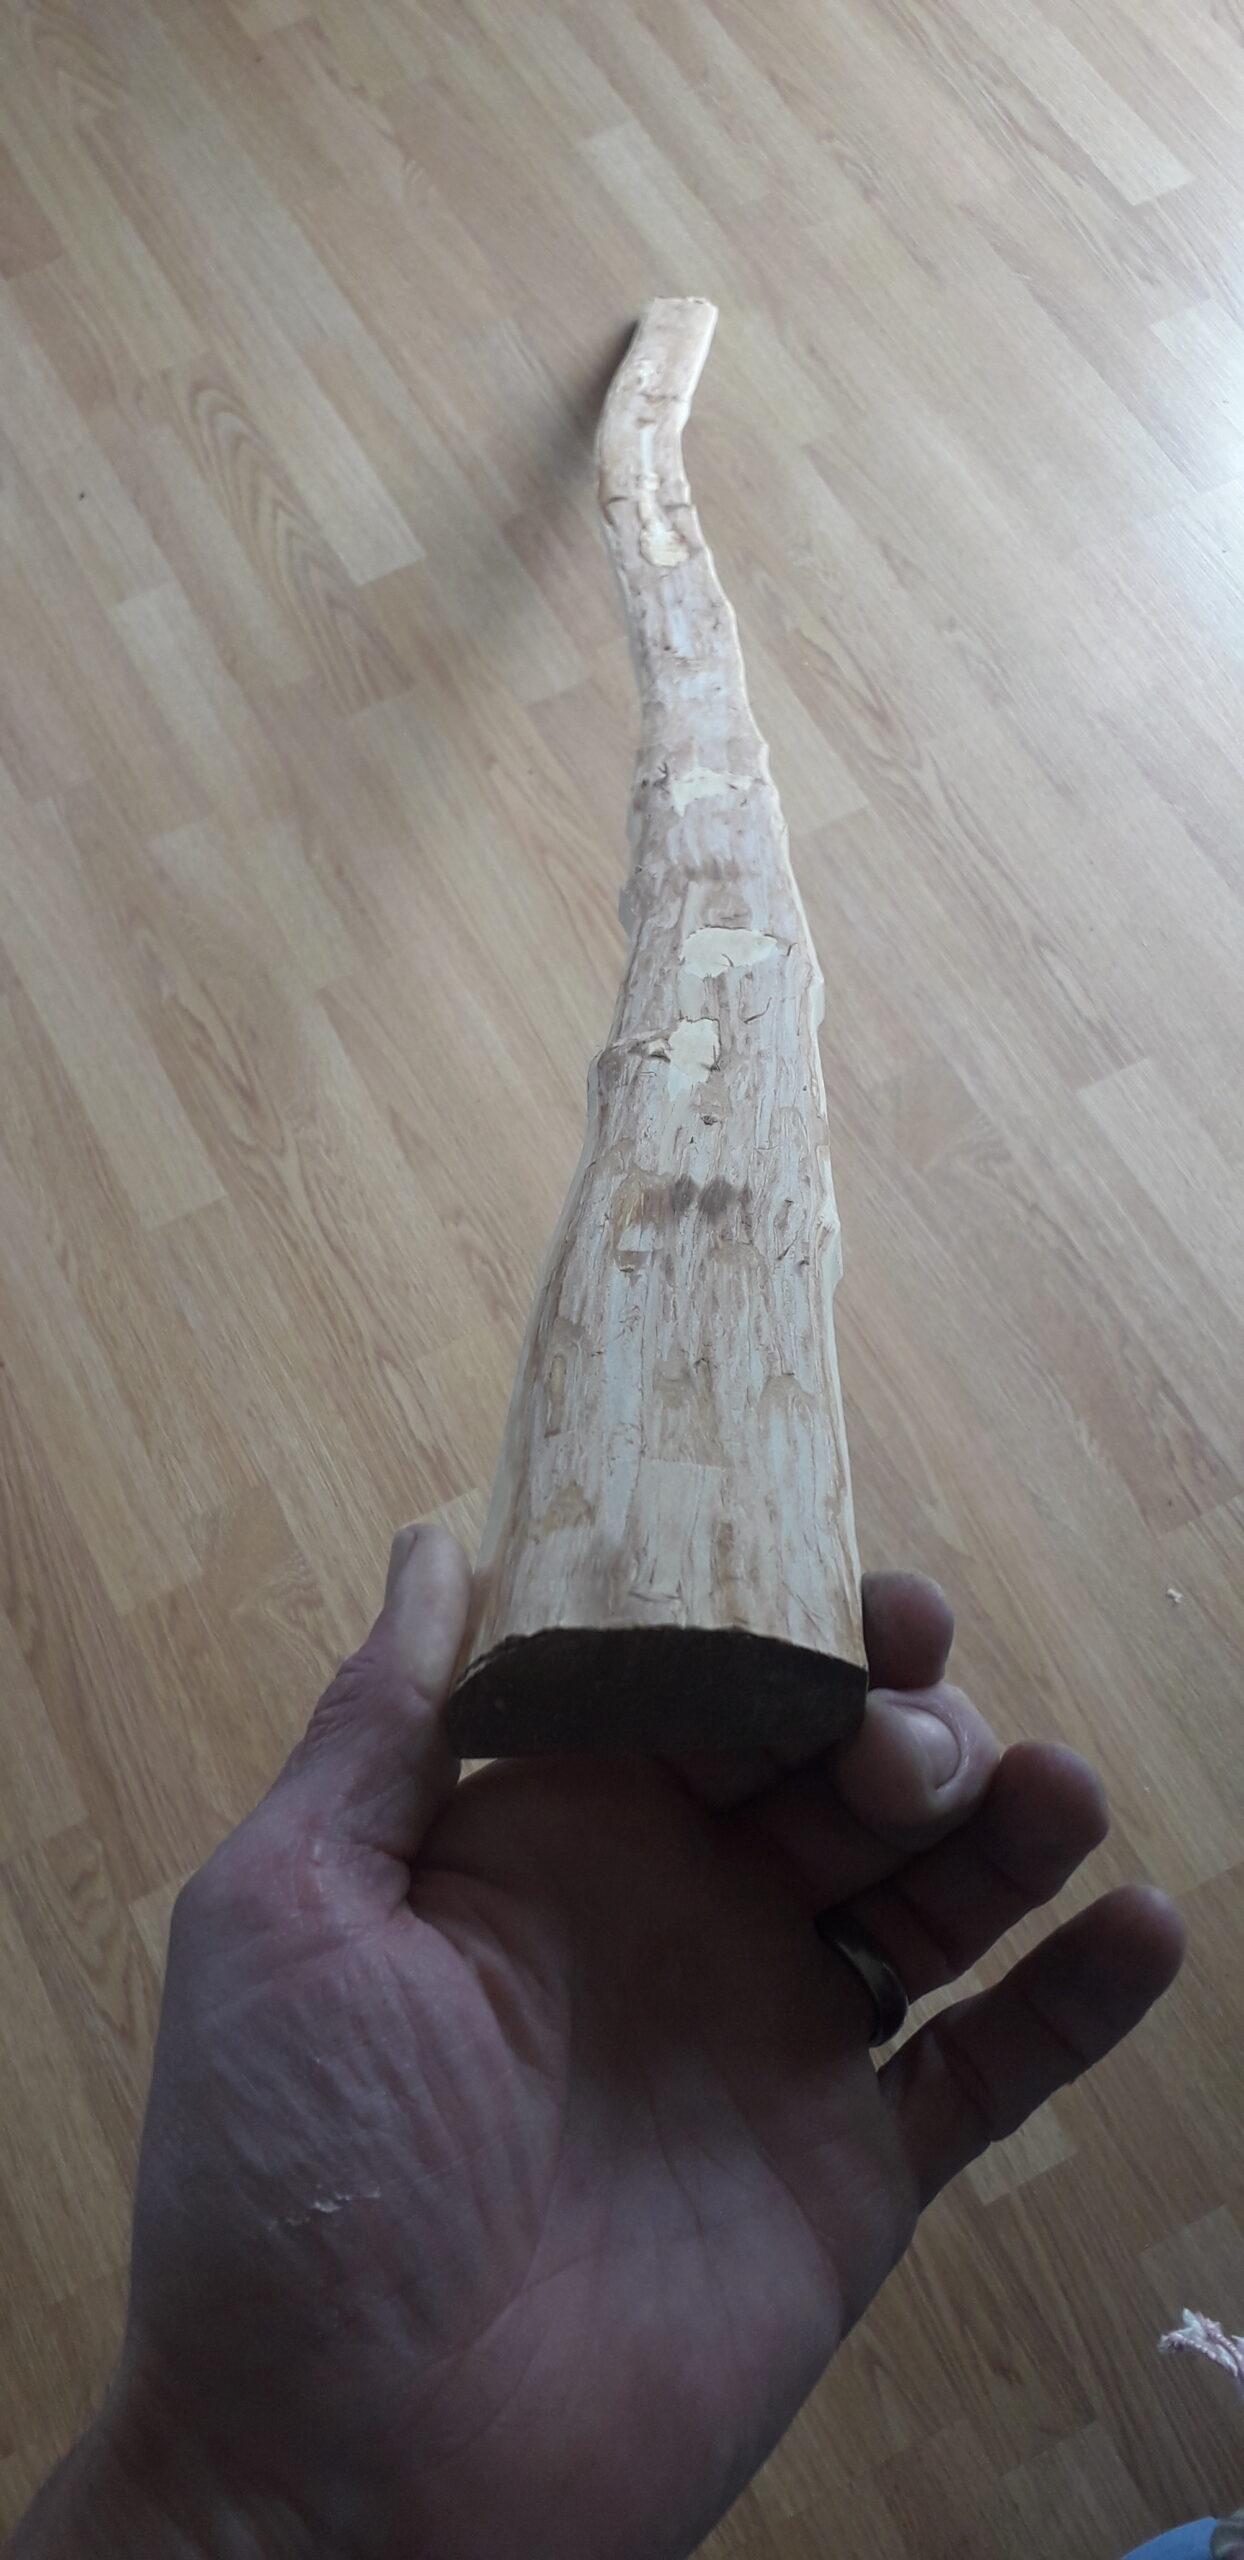
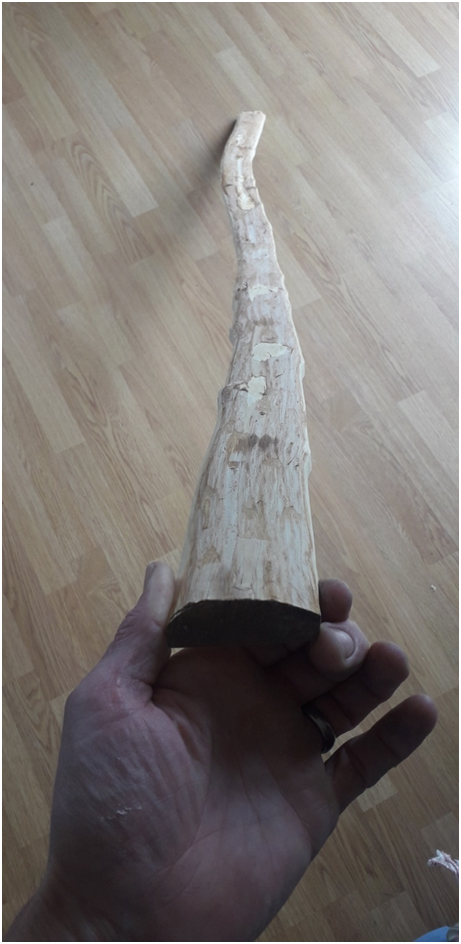
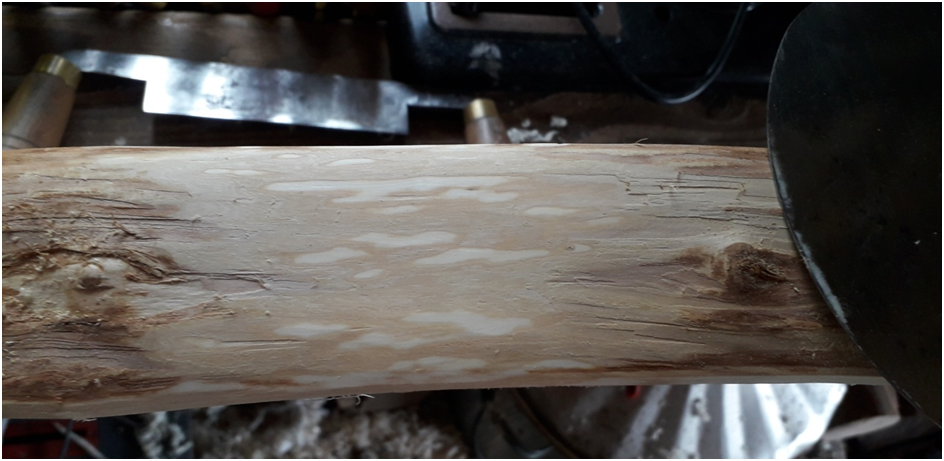
This project started out as a simple short term experiment. I’d had my eye on a clean but crooked and twisted Field Maple limb for quite a while. Trying to envisage where within the limb I could salvage a stave from was difficult. The limb was about 4.5” thick and had a section about 80” long which was relatively clean. In general the limb was sound and free from large knots, pins and other major imperfections.
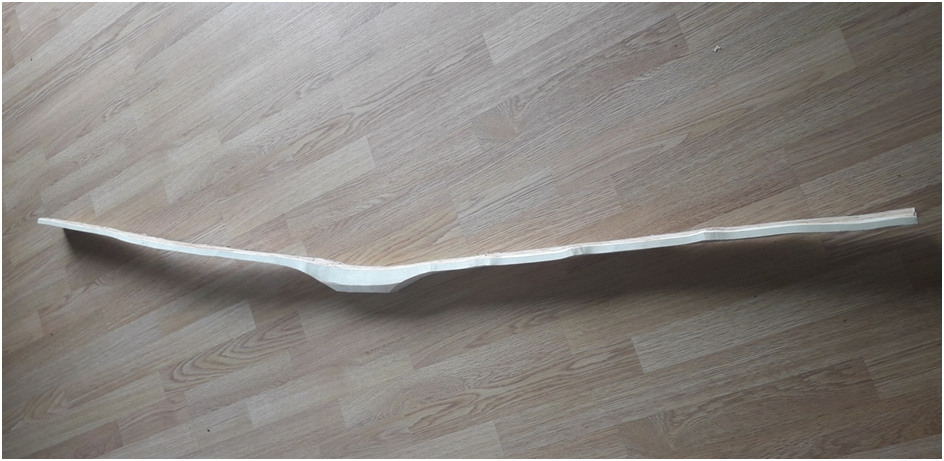
The 80” section that showed most potential for making a bow stave did have other issues to consider however. This most usable section was badly twisted and had a significant sideways bend in one half of the stave. There was also a very large amount of natural reflex in what would be the middle/handle section.
To start with, I just wondered if it would be possible to improve the shape, twist and alignment of such a misshapen stave whilst it was still green. I’ve performed many shape corrections on green staves before, using forms and clamps, but I’d never before tried to correct asymmetries in a stave which were as server as this without using fully seasoned staves manipulated with steam bending.
I’ve worked with clean Field Maple on many occasions before so understand the potential this wood has for making a very good white wood bow. In the past I’ve used dry heat to correct minor twist and alignment issues on fully seasoned Field Maple staves. I’ve also used steam heat bending on Field Maple staves for more significant bending such as recurving tips or bending handles for alignment issues etc.
The amount of twist and reflex in this Field Maple stave however was way more than I’ve dealt with before. My expectations for this stave were not great. I envisaged the stave resisting the significant forces necessary to bend and twist this green stave into a better shape.
I also expected cracking or delamination to occur in the mid section due to the shear amount of force than would be necessary to pull the twist out using clamps and a drying form. But my expectations were proven wrong!
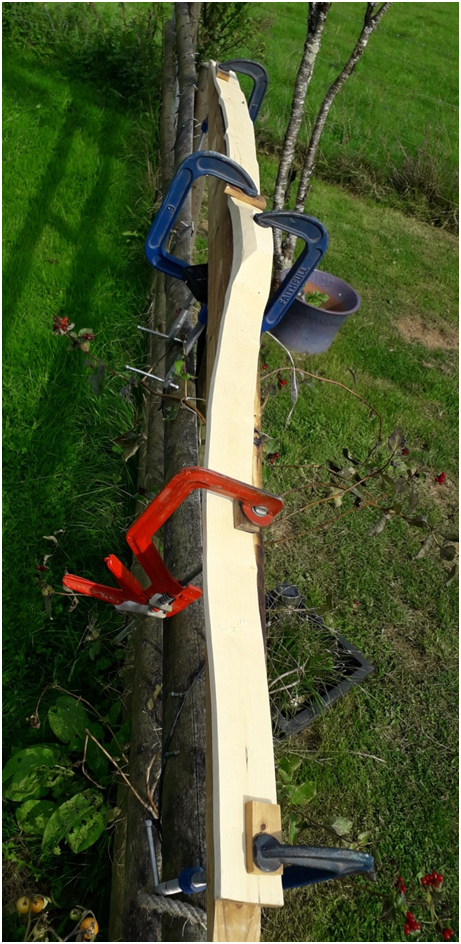
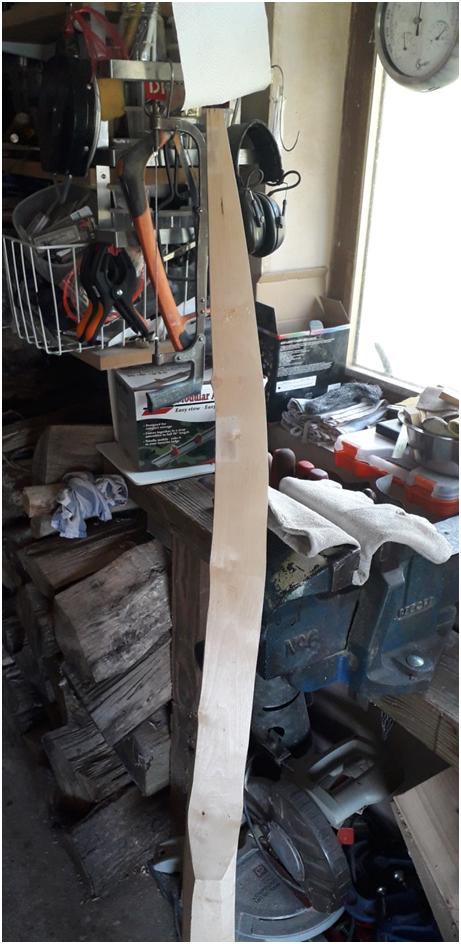
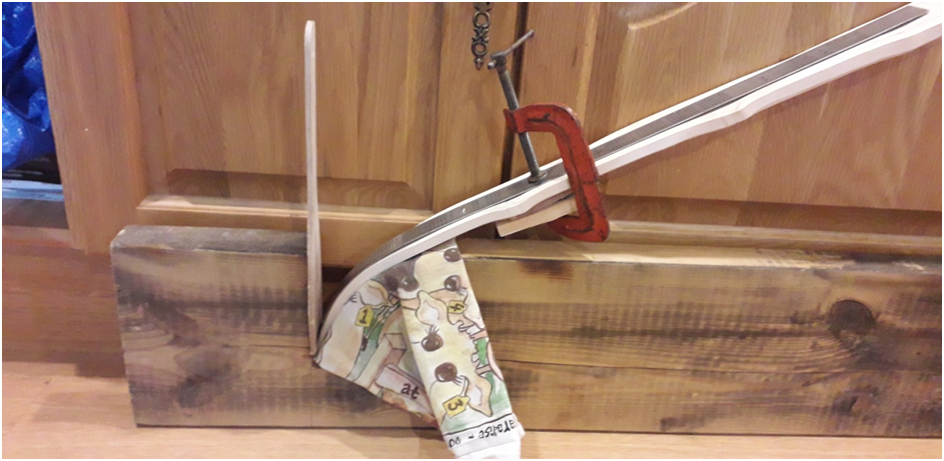
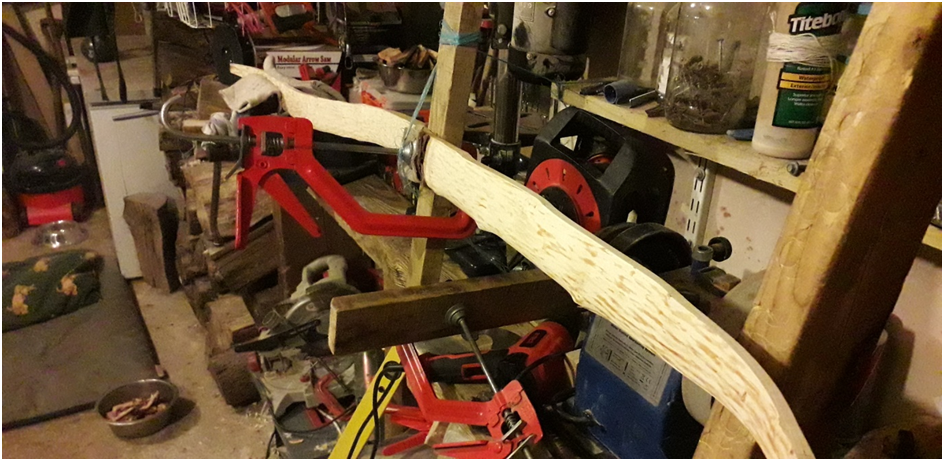
The green Field Maple stave roughed out and clamped to a reflexed form to try and produce a more workable shape. Note how the tips have been left full width for extra sideways leverage from the clamps. this really helps to pull twist out.
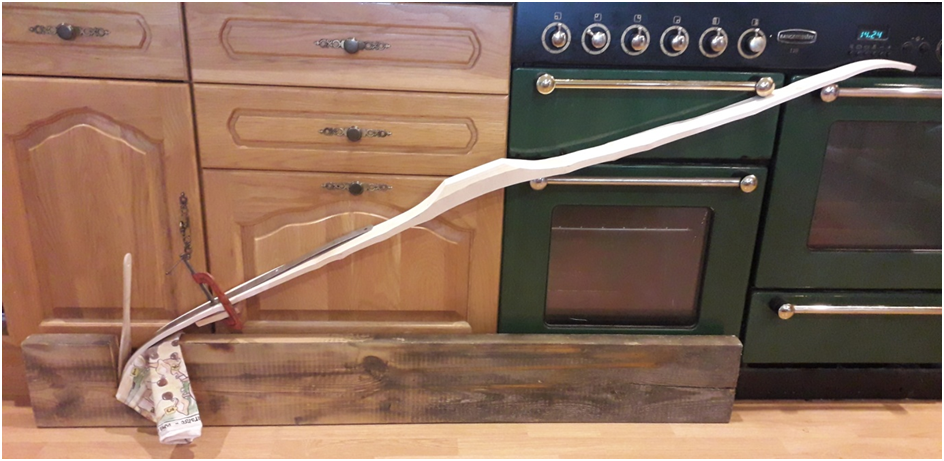
Side view of the green stave being force dried in the mid day sun on an especially hot late summer day. Note the remaining reflex in the handle section.
The reflex in the handle section was going to remain no matter what I did but this was fine as I could imagine this stave potentially turning into a reflex/deflex longbow. By leaving the limbs full width out to the tips I was able to get significant leverage from the clamps positioned on the edges of limbs. This leverage enabled me to crush down on the side of the limb that was pulling away from the form due to the limb twist. This worked really well and the twist between the fades and the limb tips came out beautifully.
The overall shape was made much more even by using the reflexed form too. By forcing the tips to line up with the handle centre I was also able to correct most of the significant string misalignment. Throughout the end of August I left the clamped stave outside in the sun on hot days.
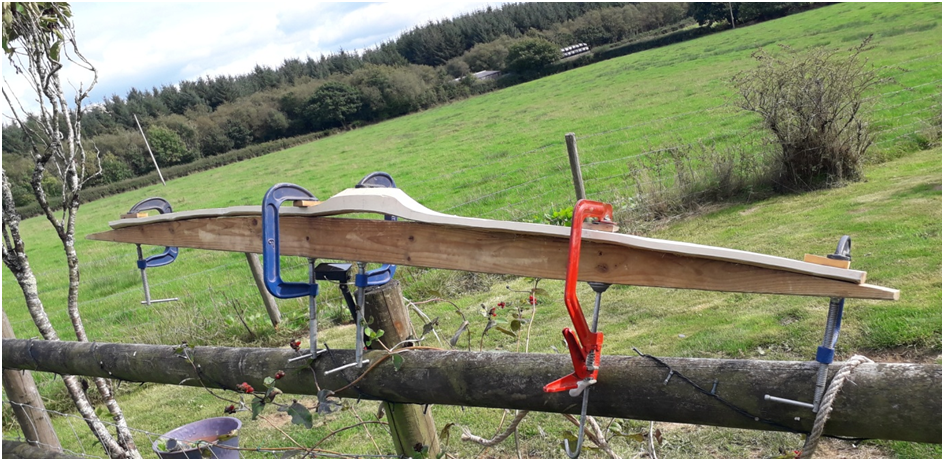
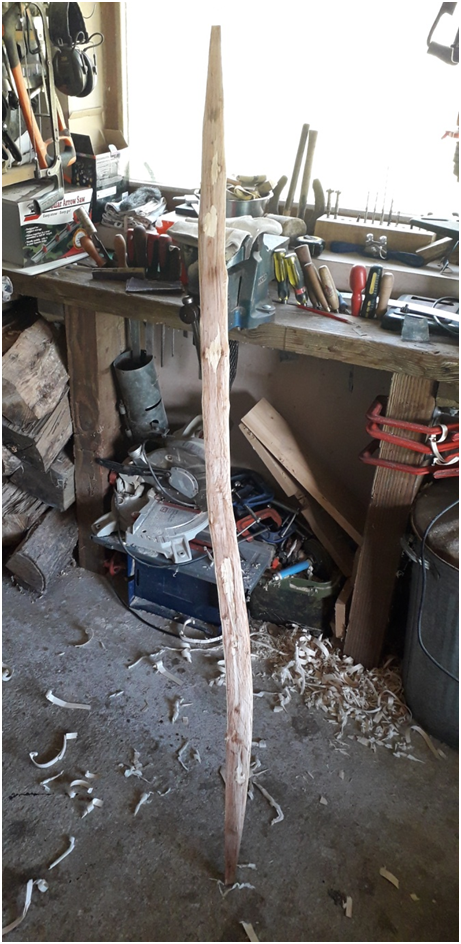
The stave came indoors for a week once the temps dropped and was left on one of my window sills which catches all of the mid day sun. This window sill is like a green house and serves to quickly force dry staves very well. After the stave had been allowed to dry on the form for about a month I removed the clamps to inspect the results.
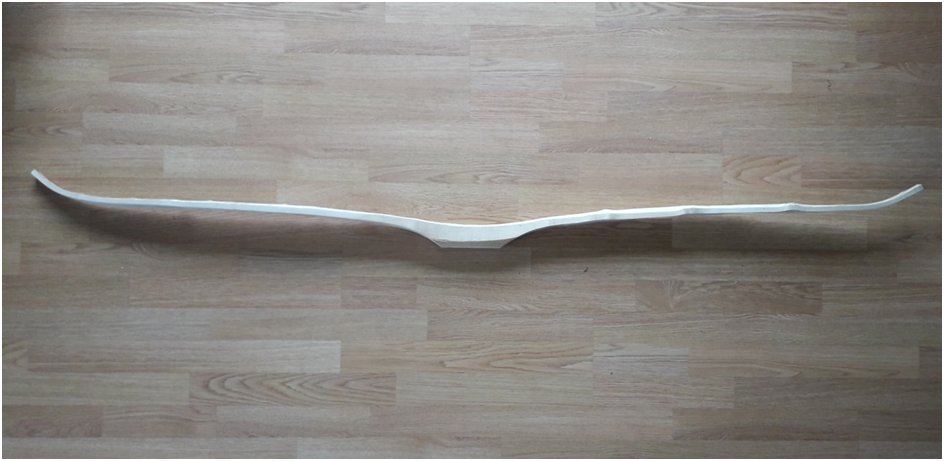
Plenty of character left but a much more workable shape overall
side view immediately after removing the clamps and form.
The overall twist was reduced from nearly 70 degrees to about 5 degrees. The massive reflex was tamed to something much more manageable and the string alignment was now only a little off to one side. The stave now actually looked perfectly workable with plenty of character remaining, so instead of calling the project done I decided to see what I could do to turn this stave into an actual finished bow.
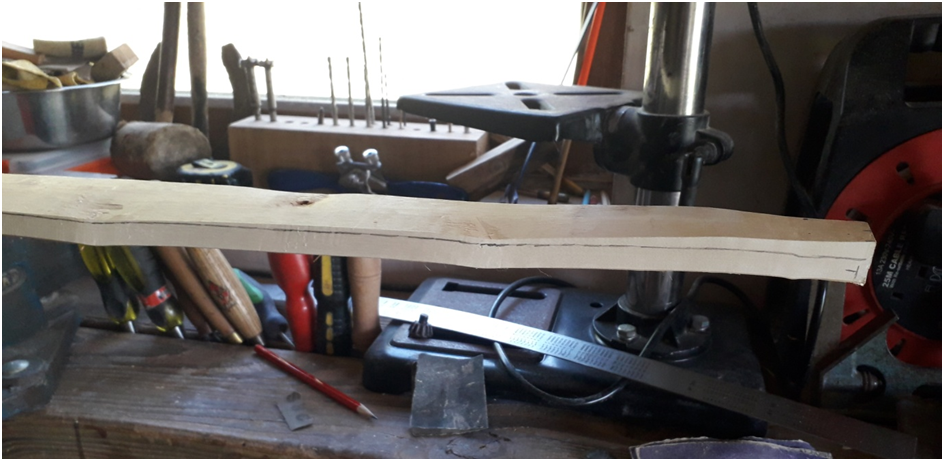
My next job was to get this stave down to some realistic dimensions. It would be unlikely that this stave was totally dry so by getting close to final dimensions I’d soon get this stave fully dried and ready for tillering.
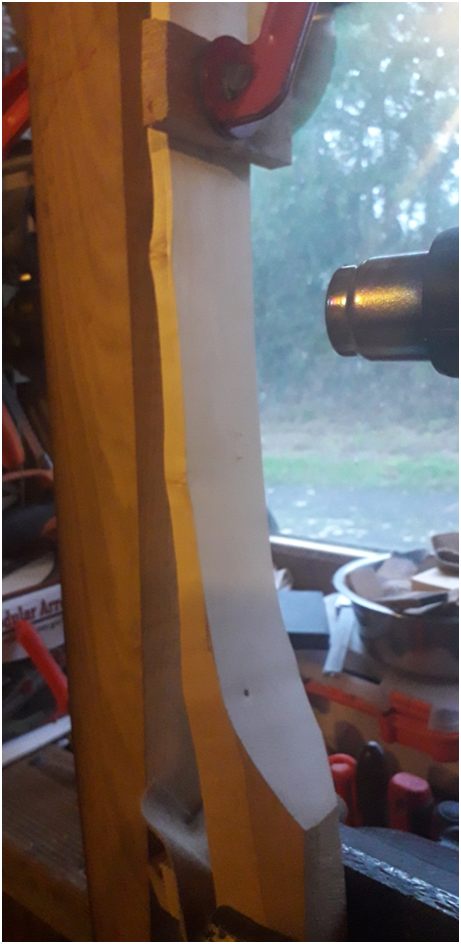
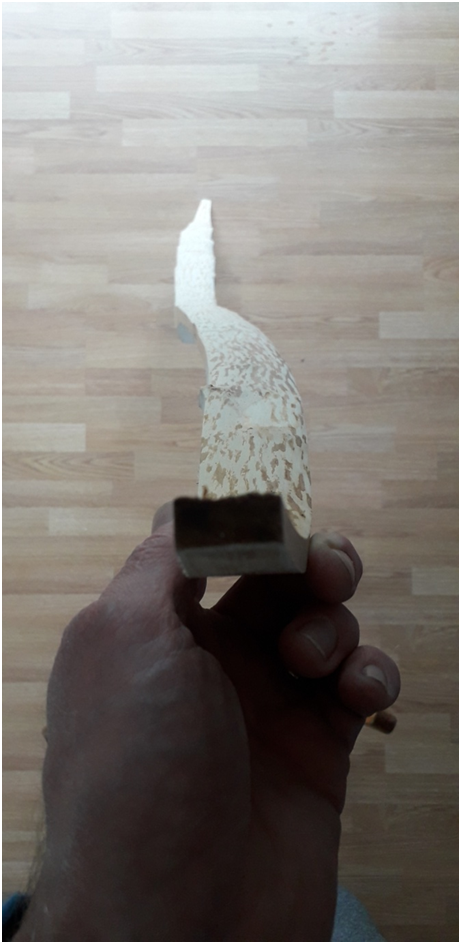
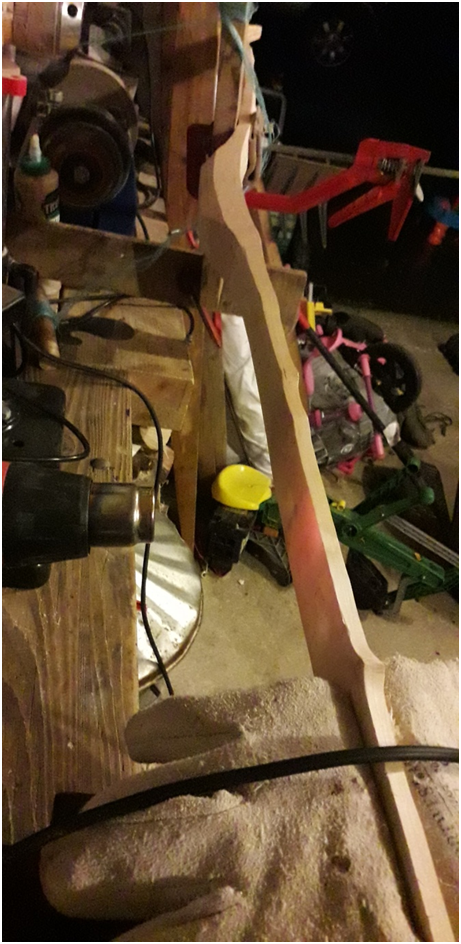
Marking out the limb tips. I’d decided to plan for fine antler tip overlays on this bow so initially I laid the rough tip design out to 20mm tapering out to full width at mid limb.
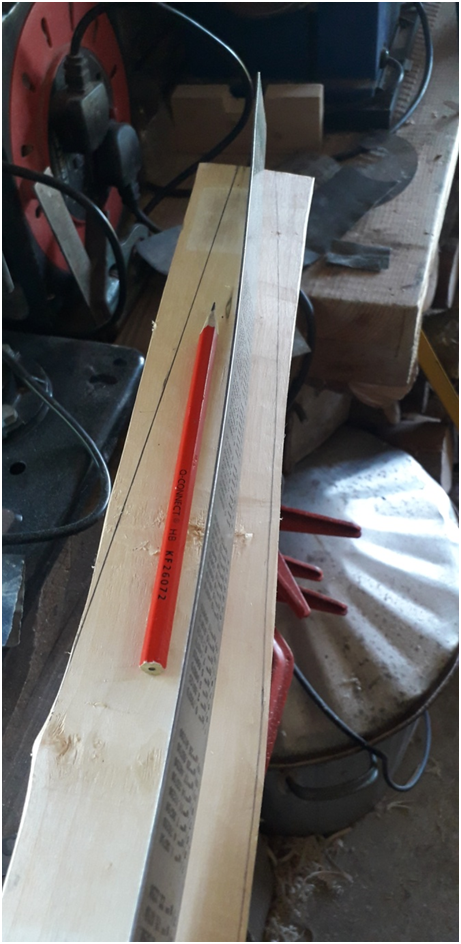
Marking out the rough outer limb shape using my steel ruler to follow the natural curves of this stave. The final shape however will be dictated by the grain itself rather than by lines.
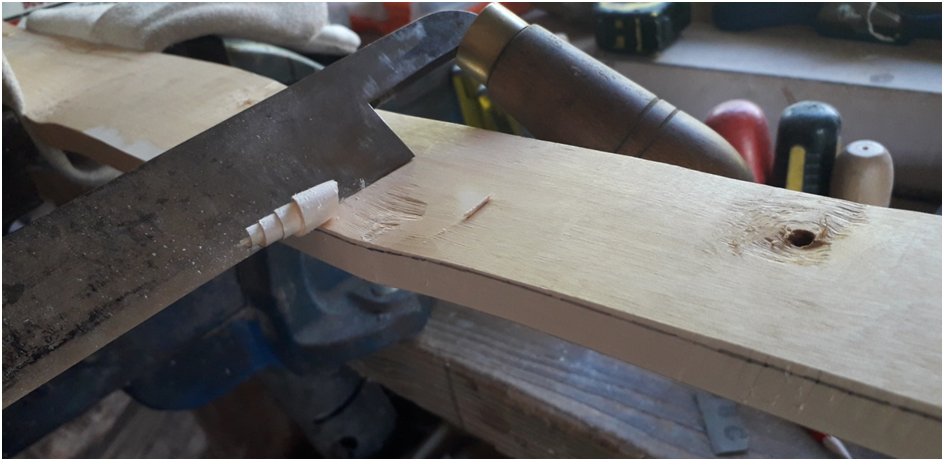
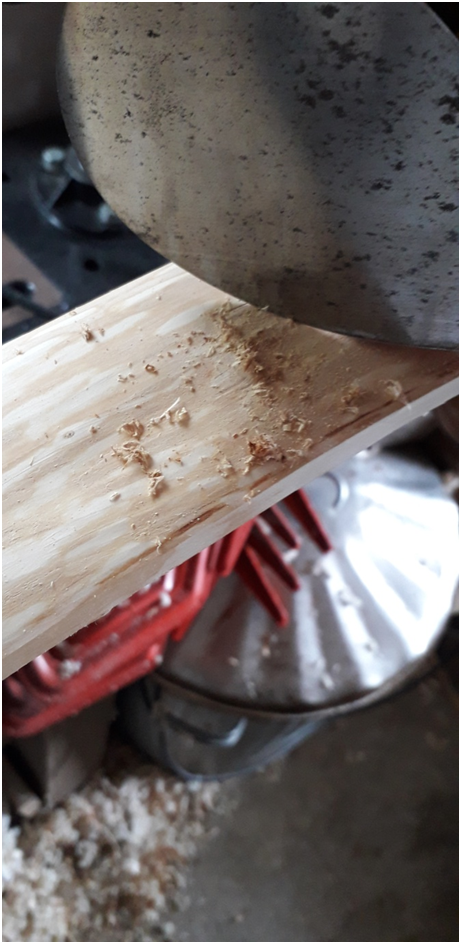
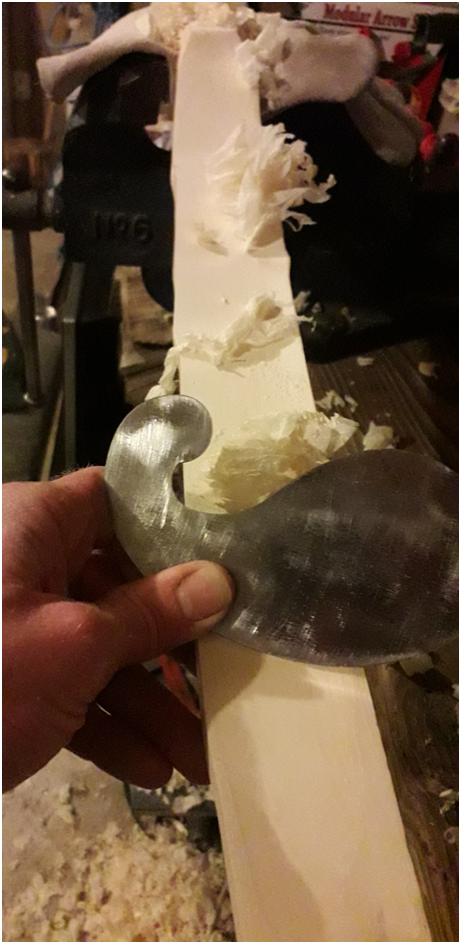
Working down to my lines with the draw knife. Field Maple is a wonderful wood to use cutting tools on.
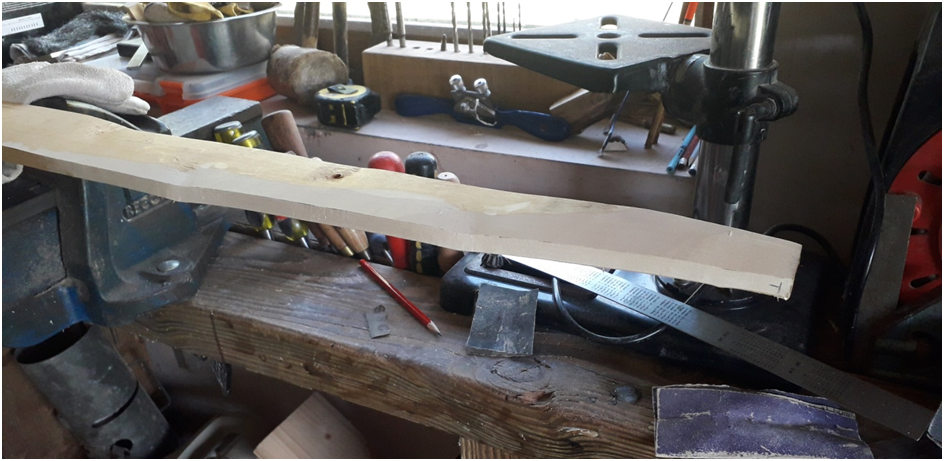
The approximate shape of the bottom limb. I decided to go for a classic willow leaf shape and carry the tapper from mid limb out to the tips. This stave was initially roughed out to 2 ¼” wide which is what the stave measures in this picture. I may reduce this width to 2” before tillering though.
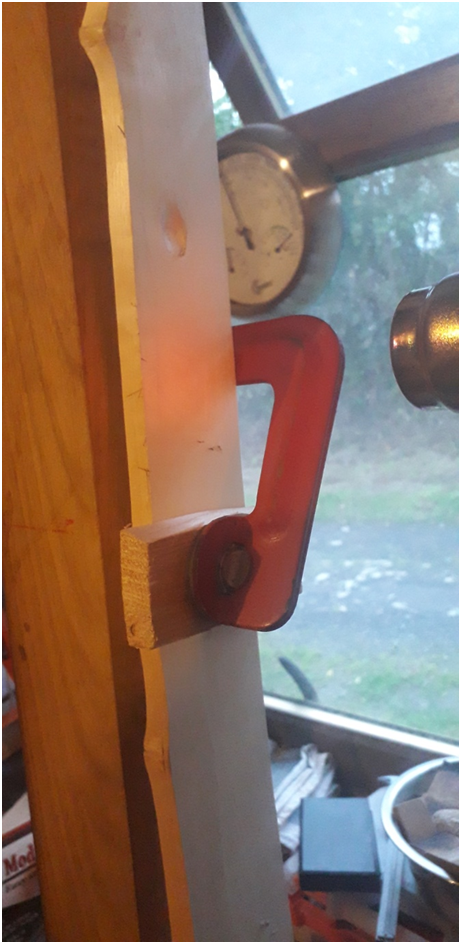
Top limb roughed out to the same approximate dimensions as the bottom limb. The top limb will be the straighter of the two limbs.
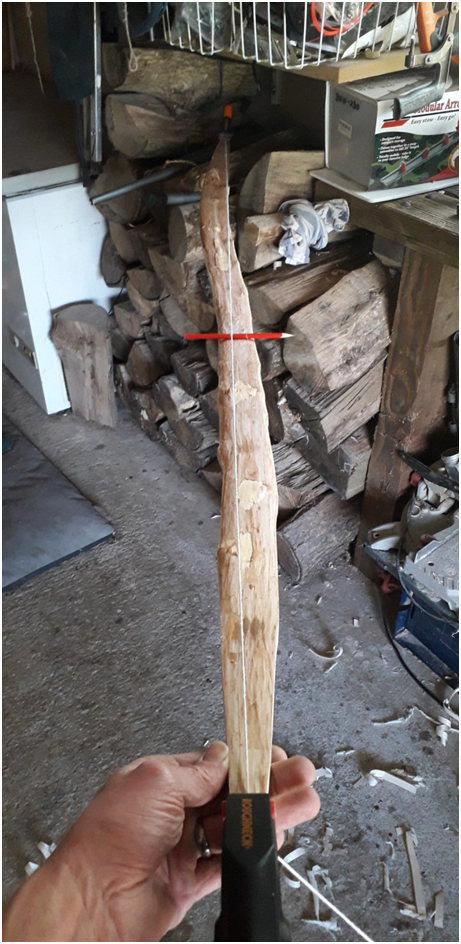
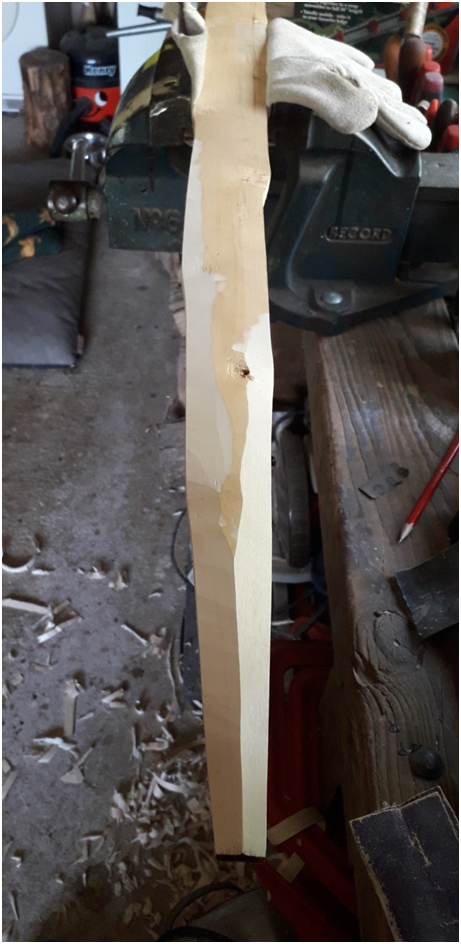
The string alignment appears to be favouring the left side of this picture which suits the decision to make the nearest limb the top limb. This will result in the arrow favouring the left hand side of the bow which suits me as a right handed archer.
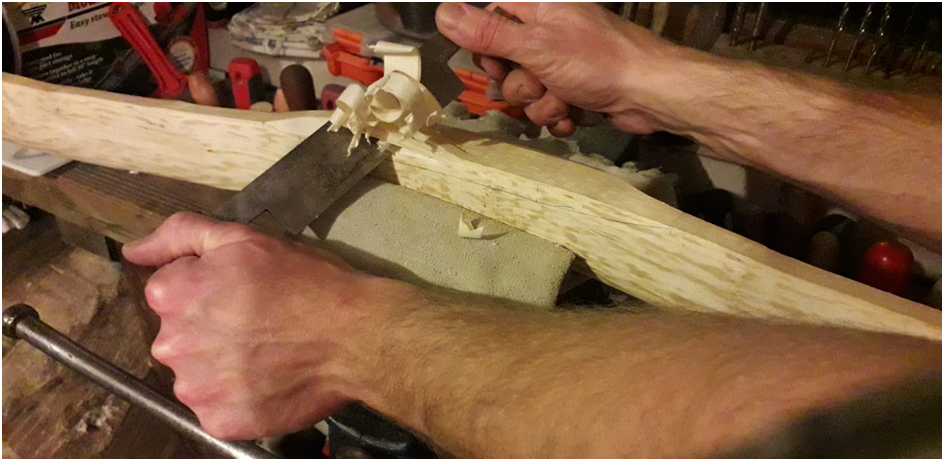
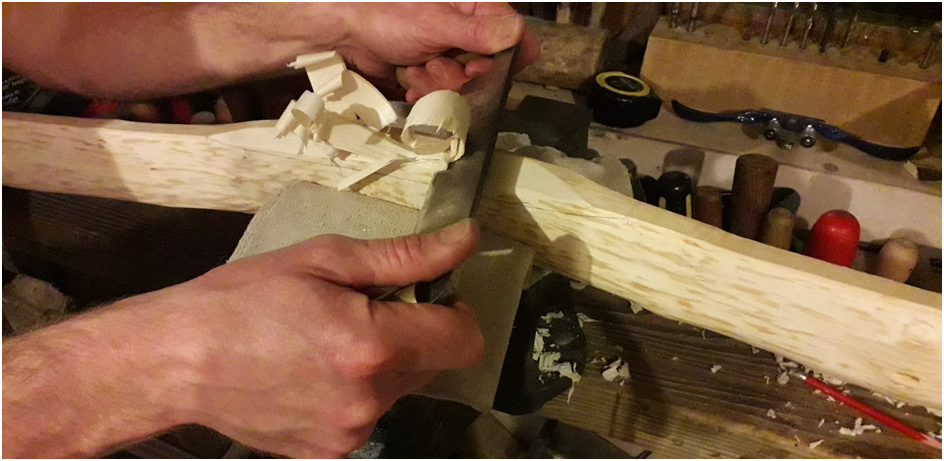
Now to reduce the limb thickness to something more like ready for tillering.
Field Maple is a dense wood so these 14+mm thick limbs will need quite a bit of reducing in order to get them to a point where the tillering process can begin. I’m going to aim for 14mm fade end thickness tapering down to 10mm side thickness at the tips. I want the tips to do a very small amount of work on this bow so I will reduce them down to 10 mm but keep away from them when tillering. This should Keep the last 6” of the tips stiffer than the working section of the limb, but without leaving the tips carrying unnecessary mass which would be the consequence of keeping the tips thick enough to ensure that they are completely static.
Working down to my lines with the draw knife.One edge worked down to the line.
Same on the other side.
Bringing both sides together to make the limb initially flat on the belly.
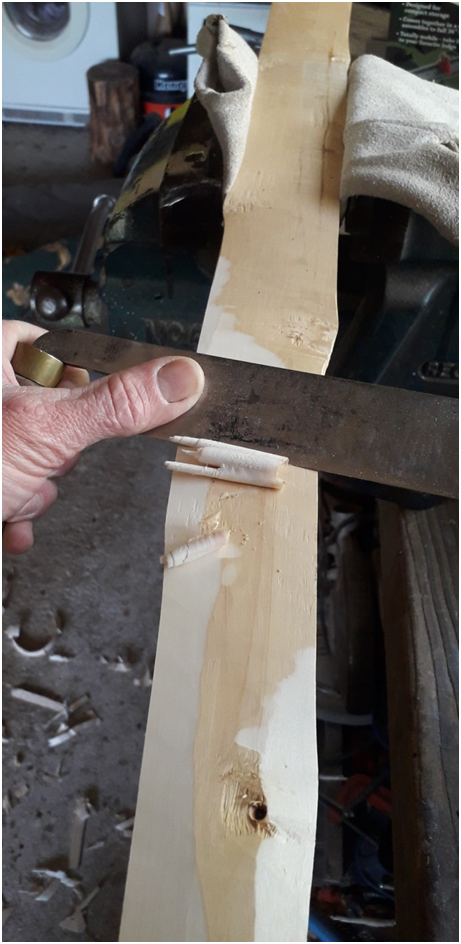
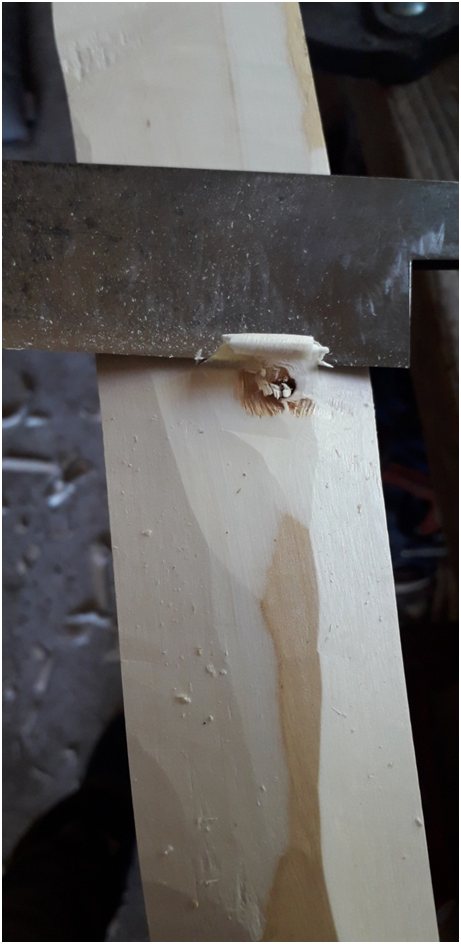
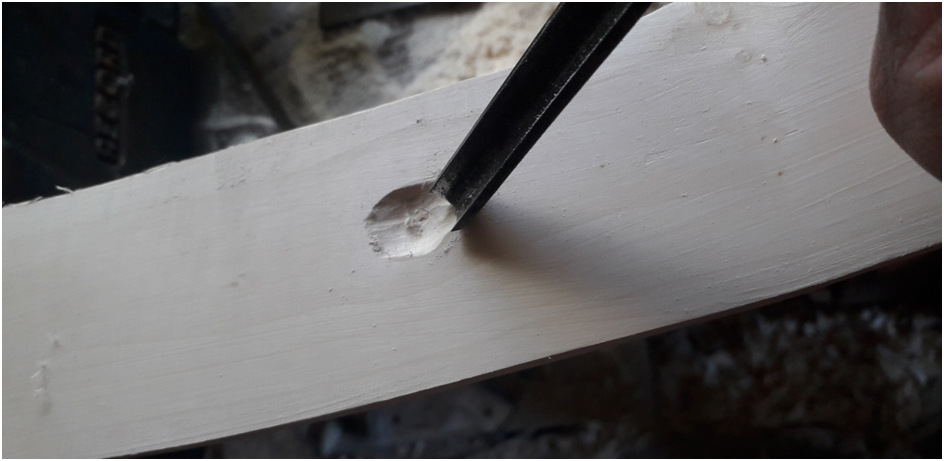
There are only a couple of knots on this stave which look like they will fall of the bow as more material gets removed.
This limb is now approximately 14mm thick as it leaves the fades tappering down to 10mm thick at the tips.
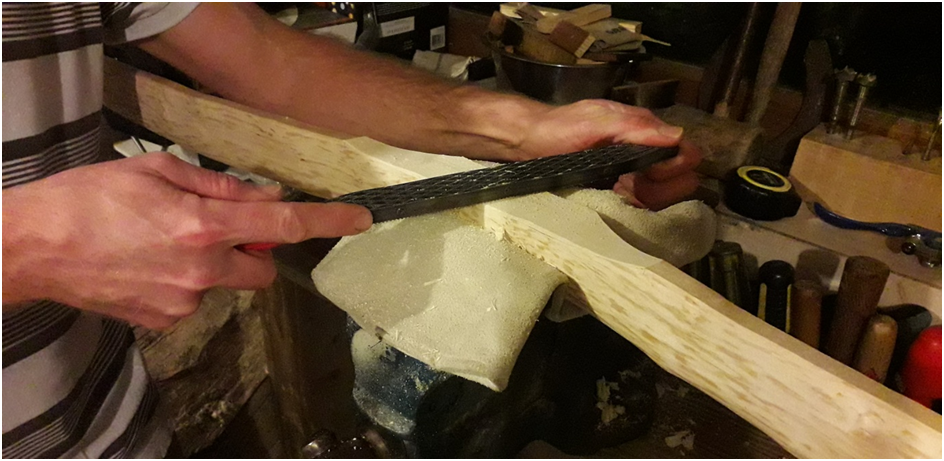
5 minutes with the Shinto rasp makes sure everything is nice and flat with an even thickness taper. I like the Shinto rasp for this job because it is easy to keep flat. Whilst it’s great for working down flat sections, it won’t get into dips etc very well.
Following the dips and humps on the belly to make sure the edge thickness is even. The half round rasp comes in handy here.
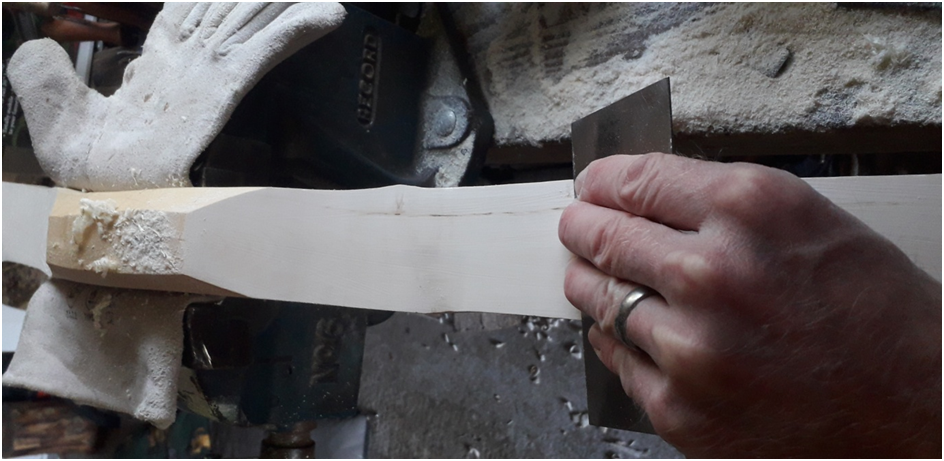
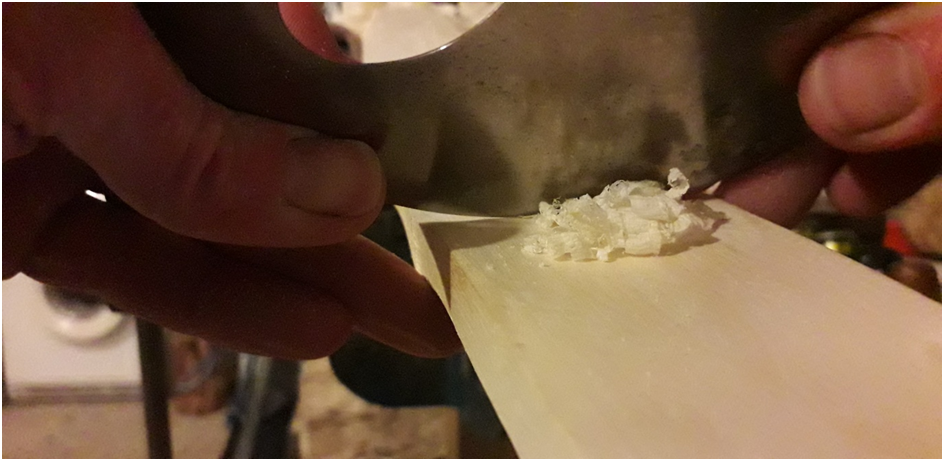
A quick scrap with the card scrapper and the basic limb thickness is ready for finer scrutiny.
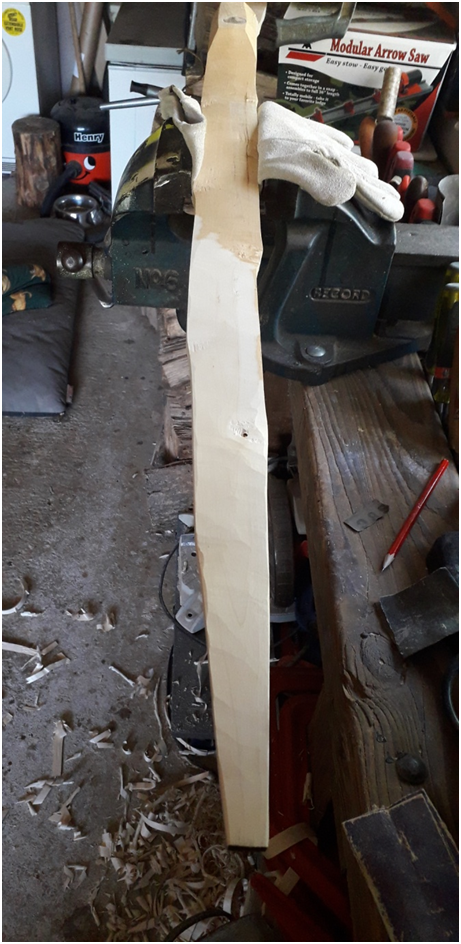
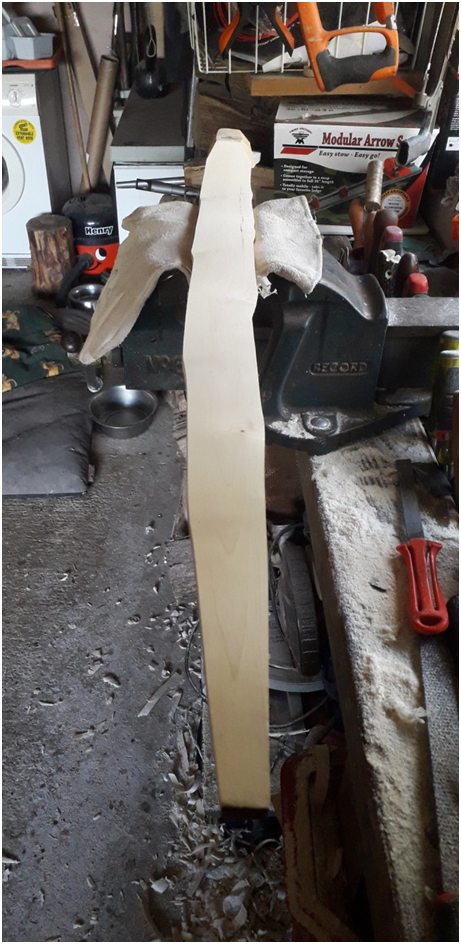
A nice bit of wiggle to work with.
When I work the face down to rough dimensions on any bow, I always let the grain dictate the limb shape. This avoids creating grain run out which in my experience is a fast way to limb failure.
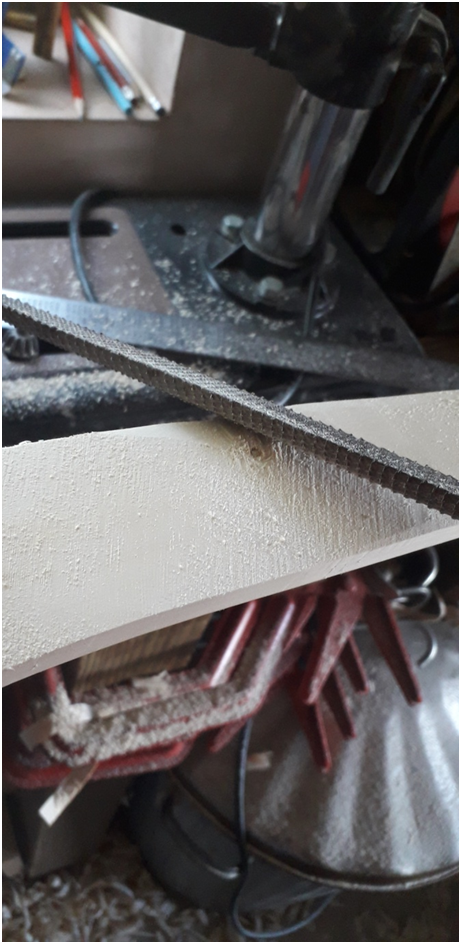
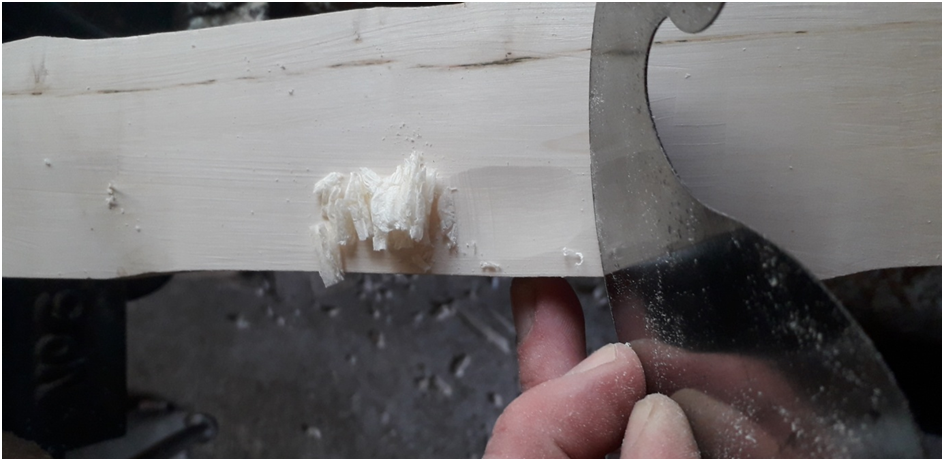
Next I needed to get the cambium off the back of the stave.
Until the cambium has been thinned right down I can’t get a true handle on the real thickness of all parts of the limb. I tend to leave quite a lot of cambium on a stave right through to the limb thickness reduction phase as the cambium layer acts as a good layer of protection to the back of the bow. A cushion against scrapes and scratches is a good idea whenever the back of a bow will be seen on the finished bow. Since this bow will not be backed the natural appearance of the first layer of wood below the cambium will be displayed on the finished bow so taking care to protect the back of this stave is important.
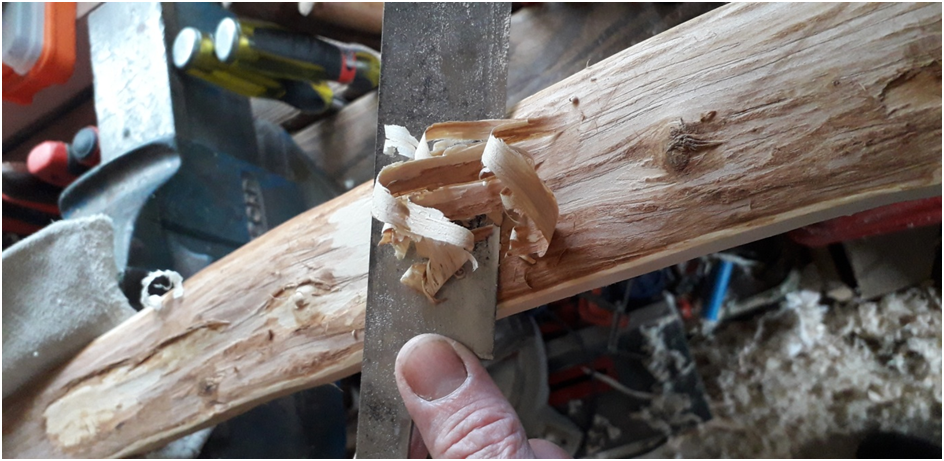
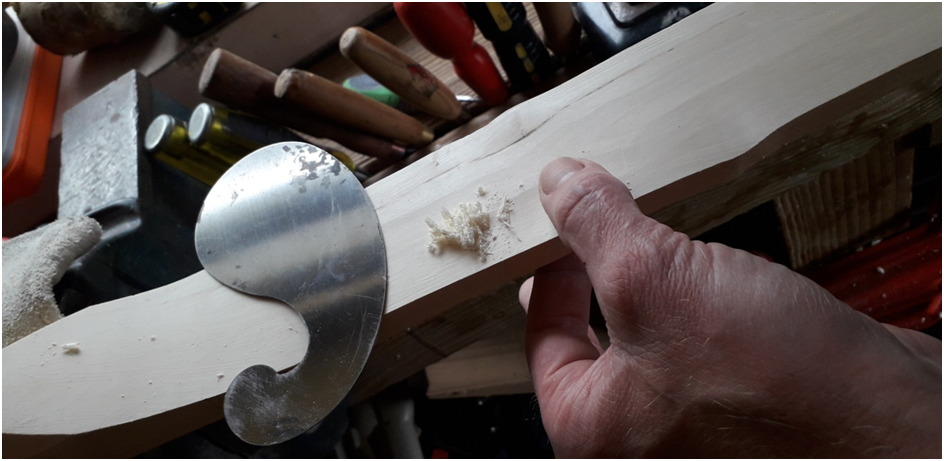
The valleys and troughs on the back require the use of a gouge to get down through the cambium to wood.The curved scrapper is used to expose the first layer of wood.
Personally I like the appearance of self bows which have a little bit of cambium left on the back of the bow. This little bit of cambium adds to the beauty of the finished bow and confirms to the observer that the back of the bow is in actual fact the very wood which once grew directly beneath the bark. No ring chasing necessary. This remaining cambium also creates a beautiful camouflaged effect on the back of the bow.
The curved scrapper can get into most of the valleys and troughs and can be useful for working around raised spots like knots too.
As tempting as it often is to hog at the cambium with a draw knife it is too easy to nick the underlying wood and compromise the back of the bow so I always proceed with caution using a scraper for raised spots in particular.
A small gouge comes in handy at times.
The back of this stave has an undulating topography which presents as hills, valleys and troughs. If I were to leave the belly completely flat in cross section then the hills on the back would act as stiff points and the valleys and troughs would act as weak spots. To counter this potential problem I contour the bellies on my wide limb bows so that the belly topography matches that of the back but in reverse. To achieve this I use a mixture of gouges and curved scrapers to remove material from the belly directly opposite the hilly thicker spots on the back. This enables me to leave material behind over the thinner valley and trough areas of the back. This affords them extra protection and creates a truly even thickness across the entire width of the limb.
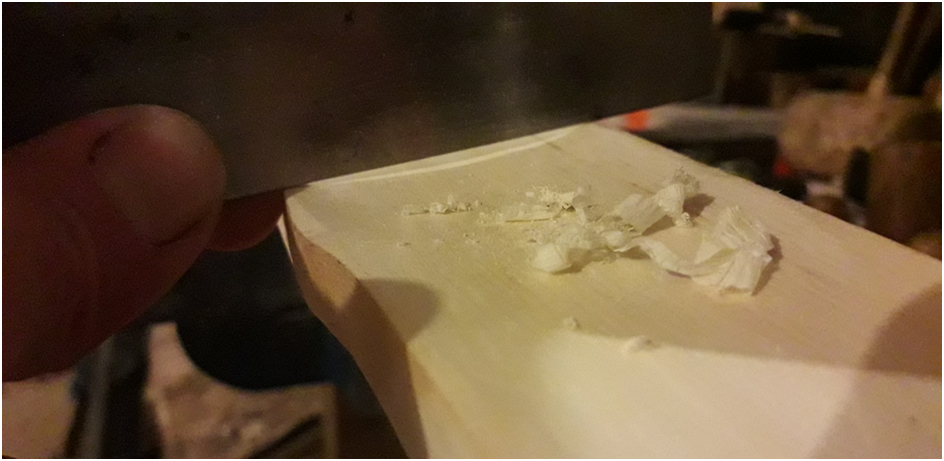
Here is an example of where there is a hill on the back creating a thick spot. I’ll counter for this by scraping away material on the belly which is directly opposite the high point on the back.
I use my fingers to feel the thickness across the whole limb. If I find a thick spot I’ll remove material from the belly until the thickness is the same as everywhere else nearby. I’m aiming to end up with limbs which are an even taper of 14mm – 10mm thick along the entire length and width of the bow. This means that areas of the back which present as high crowned will have a corresponding belly section which is effectively hollowed out to counter for the crowned back. This stave has a mixture of high crown plus flatter sections with hills, valleys and troughs so the belly will end up being far from flat.
I use my fingers and thumbs to feel for differences in thickness. Once I’ve found a thick spot then the curved scraper gets called into action.Constantly checking for even thickness.Trying to mirror the back on the belly.
Here you can see than I’ve dug out a trough on one side of the limbs belly to replicate what is happening to the surface wood directly opposite on the back of the stave.
Here the limb has a notable crown so the whole width of the belly is hollowed out to compensate.
This limb has a 12” section which has a high crown so the belly here will have a correspondingly hollow profile. Maple is a wonderful wood to work with a scrapper.
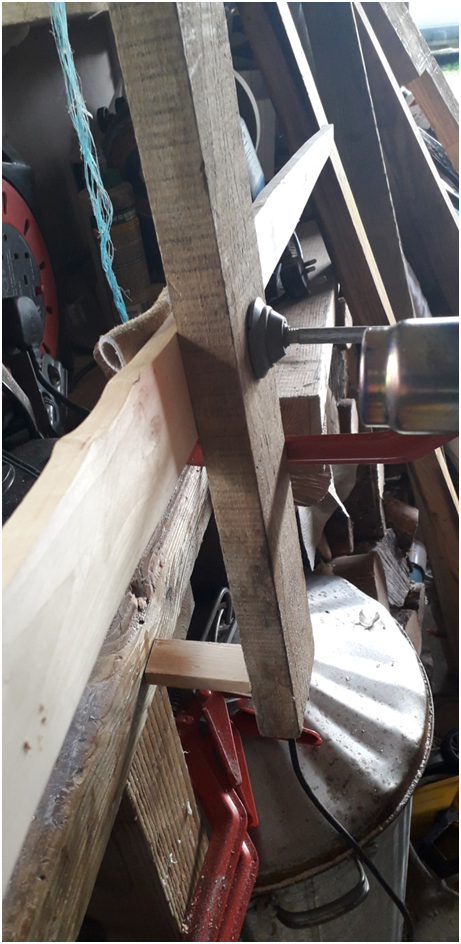
Countering the excessive reflex in the handle with some deflex in the limbs.
The next job was to put some deflex into the limbs to counter for the reflex in the handle section. I do this with the flat back of a form and some padded blocks and a clamp to create the right shape. I’m aiming to create most of the deflex around the first third of the limb about 6 – 12” out from the ends of the fades.
Here I’m using a heat gun to gently heat up the belly. I make sure I heat both sides of the clamp to make sure the deflex is evenly distributed throughout the first two thirds of the limb.
After about 10 minutes of heating the belly and the sides I then leave it to cool for an hour.
After both limbs have totally cooled I check both limbs for twist. Both limbs could do with a little bit of a correction so I fit a scrap piece of wood to each limb so that I can lever the limbs into a better position.
Once again the heat gun is used to heat the sections of the limbs which I want to correct
I’m carful where I choose to heat as I want to flick the tips on this stave and realise that if I make an early heat correction to a limb near the tips then the steaming of the tips which takes place later will pull the previous heat correction back out when the heat from the steaming travels down to where the twist correction was made.
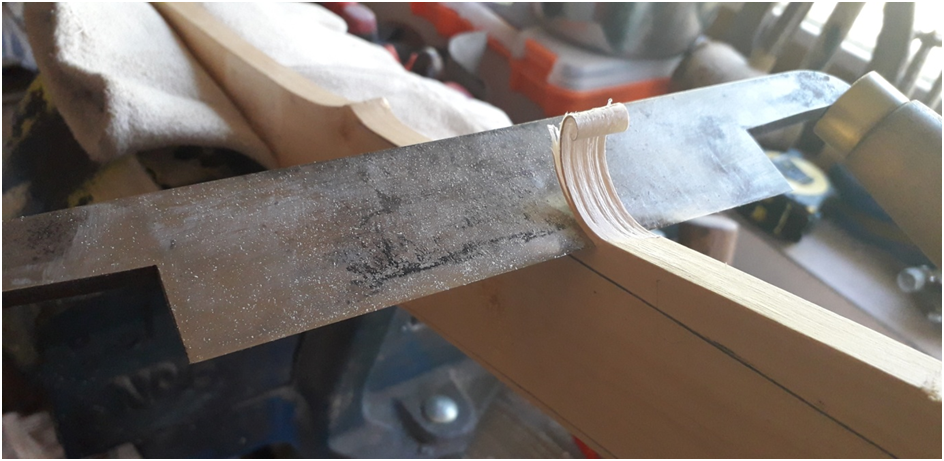
Now that the limb twist has been dealt with I steam the tips for half an hour so than I can put a small amount of reflex into them.
I’m a fan of longbows but enjoy the lack of stack which a recurve benefits from. Whilst not wanting to go for a full recurve design on this bow I did like the idea of balancing the deflex and reducing stack a little by flicking the tips on what is aimed at finishing up a longbow.
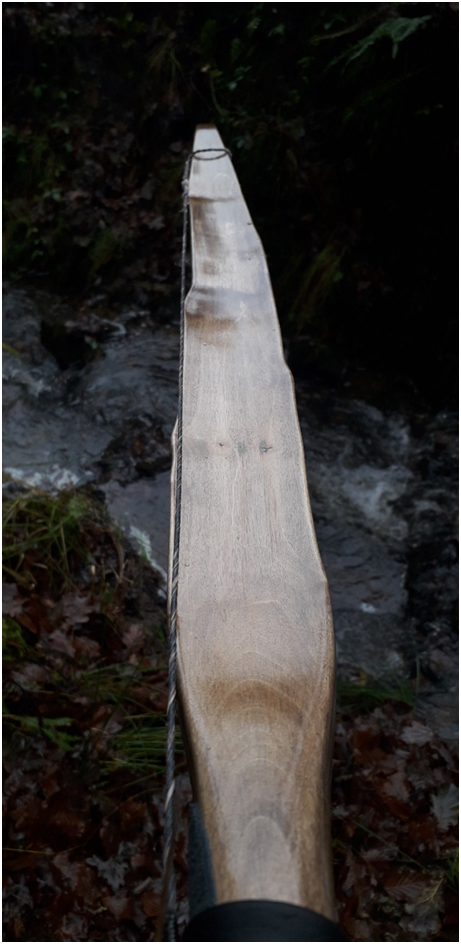
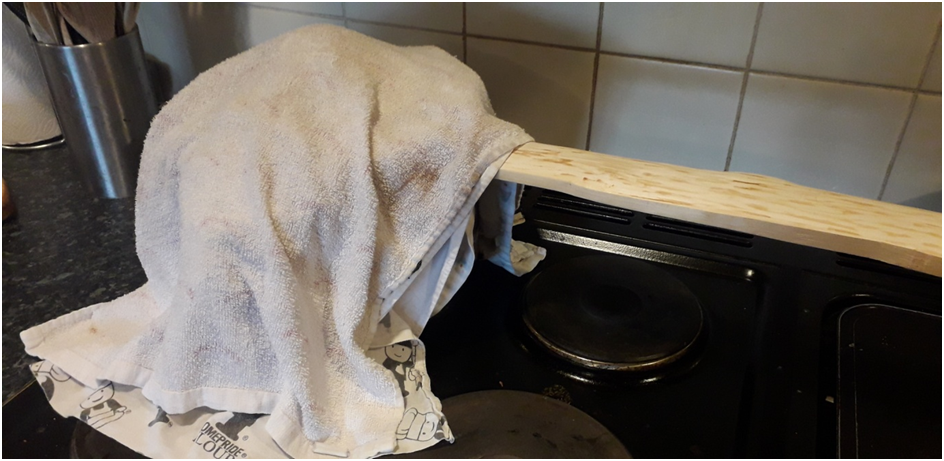
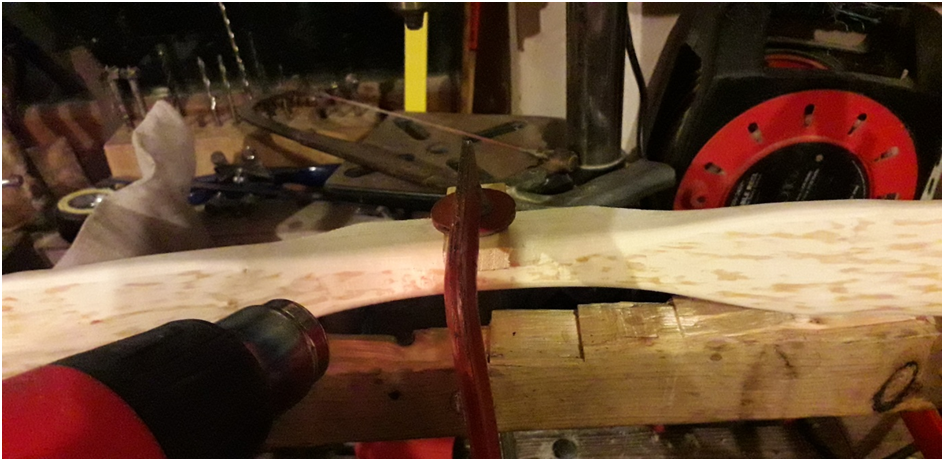
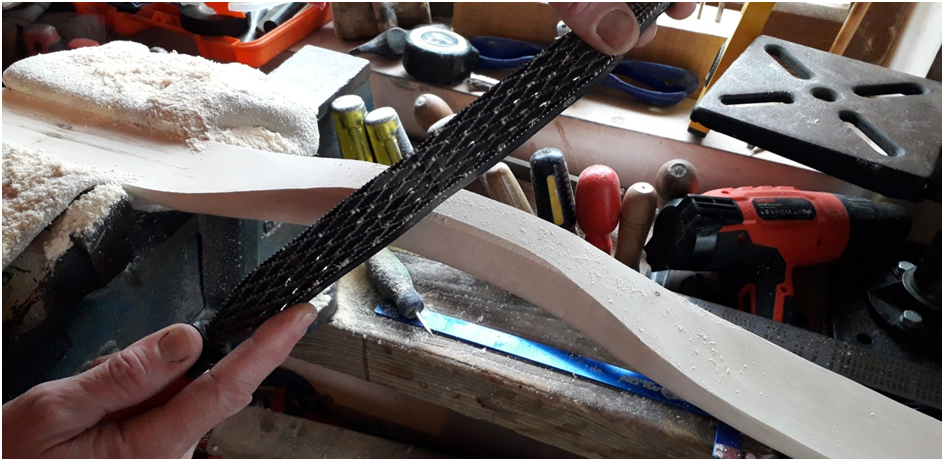
After half an hour over the pan I fit my steel ruler to the belly of the stave using a small G clamp and a packing block to protect the back from clamping pressure. I frequently do this as it really helps prevent the belly tips from delaminating when being bent over the recurve form. The extra support of the flexible steel ruler simply stops a splinter lifting on the belly which is the kiss of death to many would be bows. This trick is especially important if your stave tip belly is not presenting as one growth ring, which is the case here. On this particular stave, both tips span two growth rings so delamination is a high probability without the ruler acting as a brace.
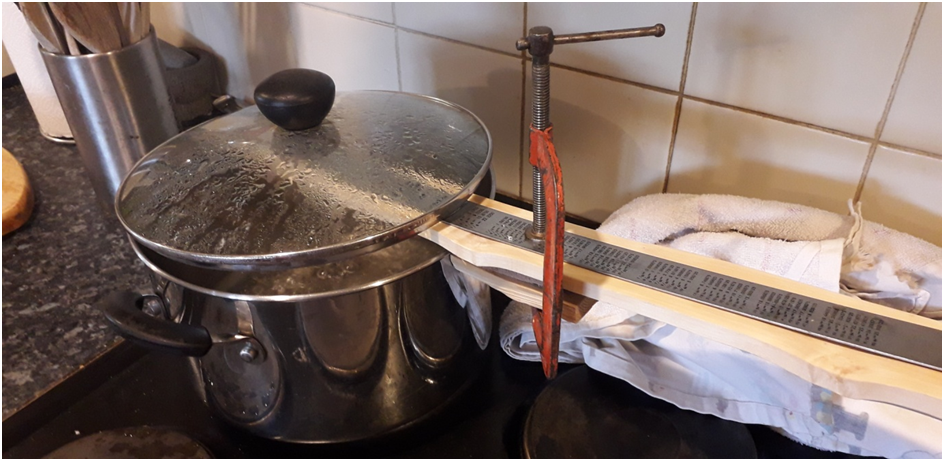
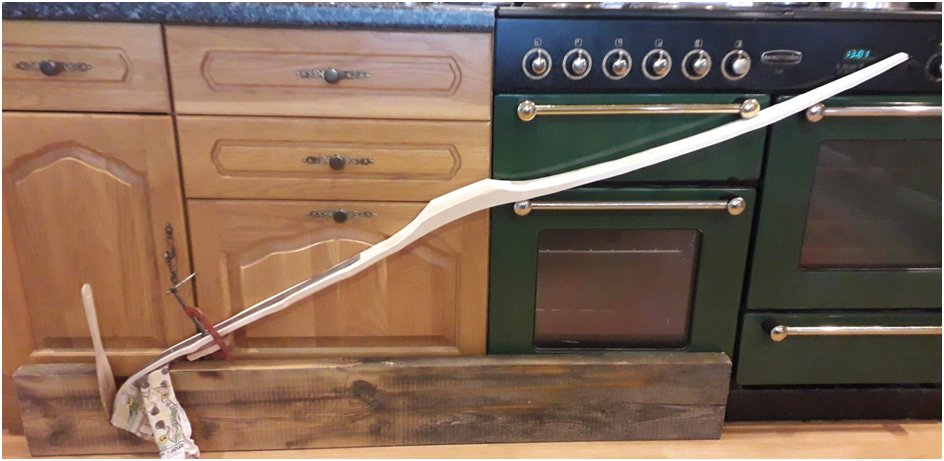
Into the recurve form she goes. My oven door handles act as the perfect brace to hold the stave in position whilst left to cool for half an hour.The flat wooden spatula which you can see stuffed into the tip acts as a wedge to hold both the limb tip and the steel ruler in place. The old tea towel just prevents the back of the limb tip getting marked by the form. This is how I do most of my recurves/flicked tips.Both tips flicked.After a rest overnight to cool and re aclimatise the stave is now looking quite nice and even from the side profile.
The tips are both kicking out in opposite directions which will call for a little more heat twisting in order to get them lined up.
I’m keeping any further adjustments away from the tips so as not to cause the recurves to fall out. I will give both limbs a bit of a twist with the heat gun then recheck for tip alignment and string alignment overall.
By griping the upper third of the limb in the padded jaws of my vice and fitting the other limb with a wooden paddle I can lever a significant amount of counter twist into the mid limb section.
I have to be careful at this point to make sure that the deflex that has already been put in is not lost. I make sure to protect the deflex by setting up the paddle so that the leverage is the direction that promotes flexion to the limb rather than extension. This trick will ensure that the deflex is preserved.
Now would be a good time to roughly shape the handle.
I thought about including an arrow shelf on this bow and certainly had plenty of wood left with which to do that, but I fancied going old school and figured a simple handle for off the knuckle shooting would complement the natural lines of this stave best.
Working down to my lines with the draw knife first.Hitting my lines accurately and achieving handle symmetry with the Shinto rasp.
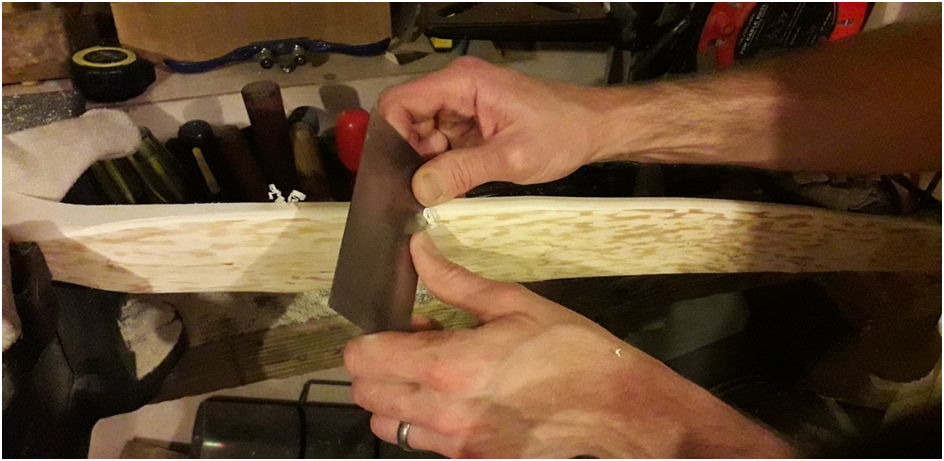
Three inch fades rounded into a classic willow leaf shape.
Rounding the corners on the back. I sometimes like a spokeshave for this job.Cleaning up the corners and the sides and making sure the face profile is finalised before tillering starts. Next job – tip overlays!
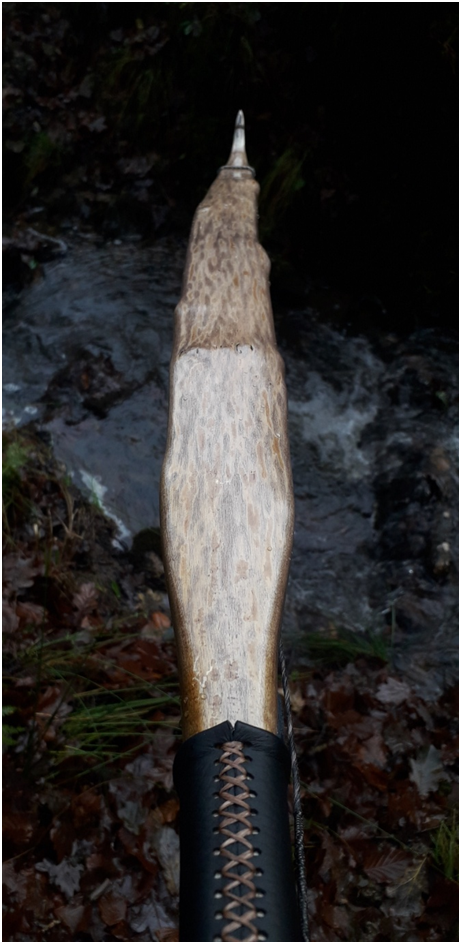
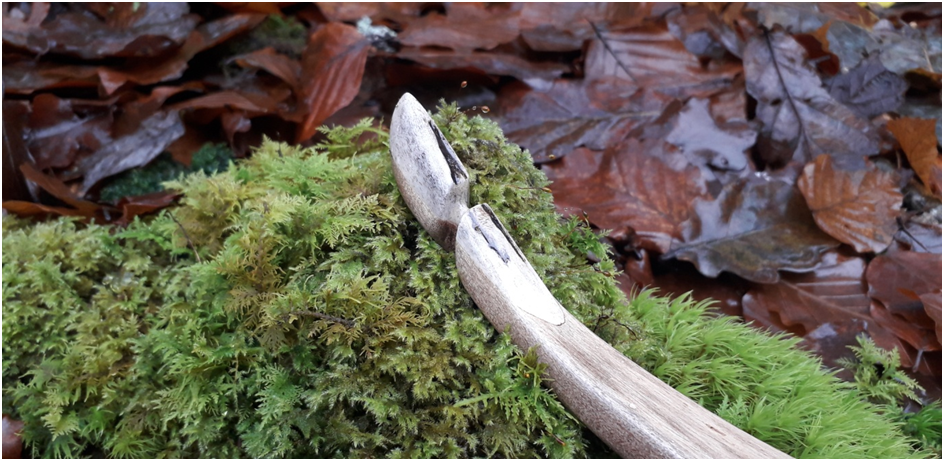
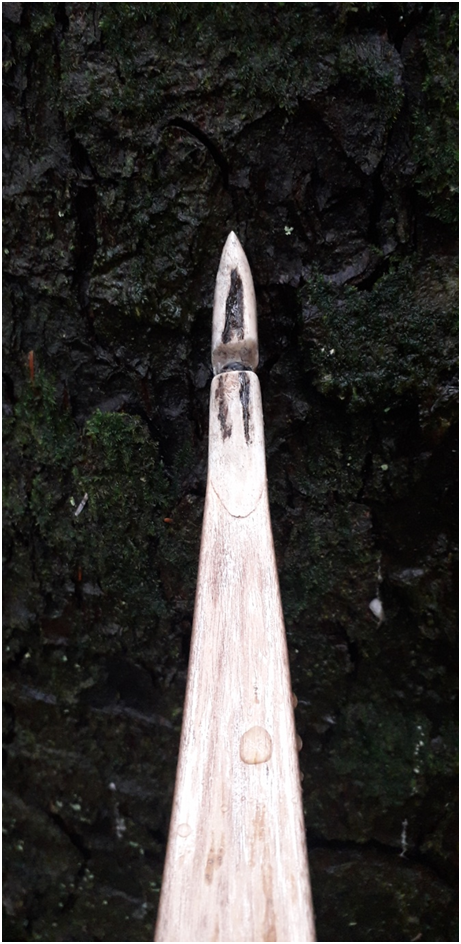
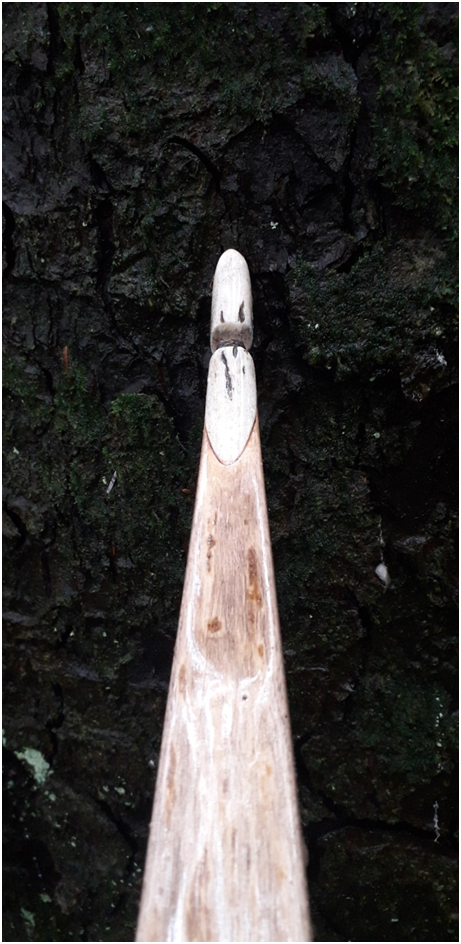
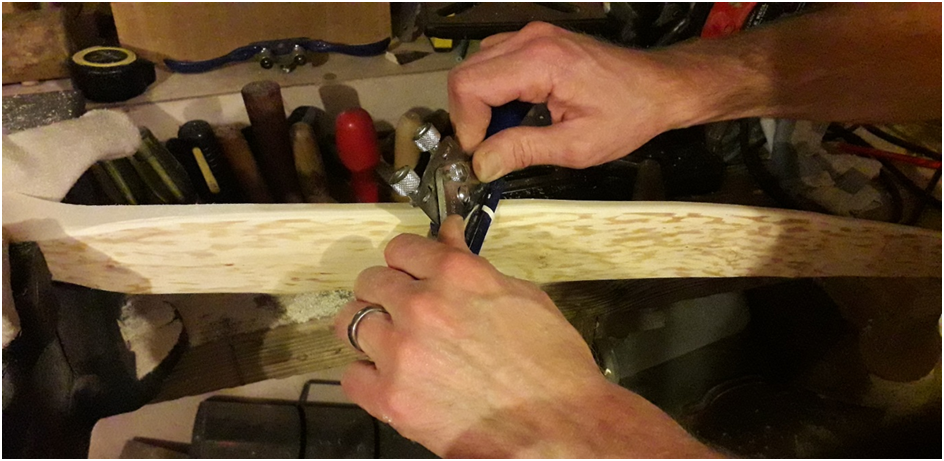
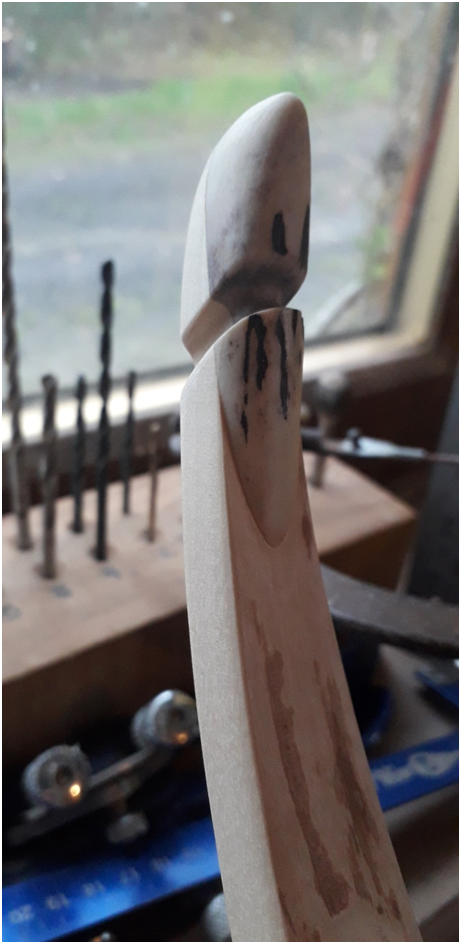
Bottom nock with string groove cut. Both overlays are left wide for now and will be thinned down quite a bit before the bow is finished. I like quite fine tips on willow leaf shaped limbs.
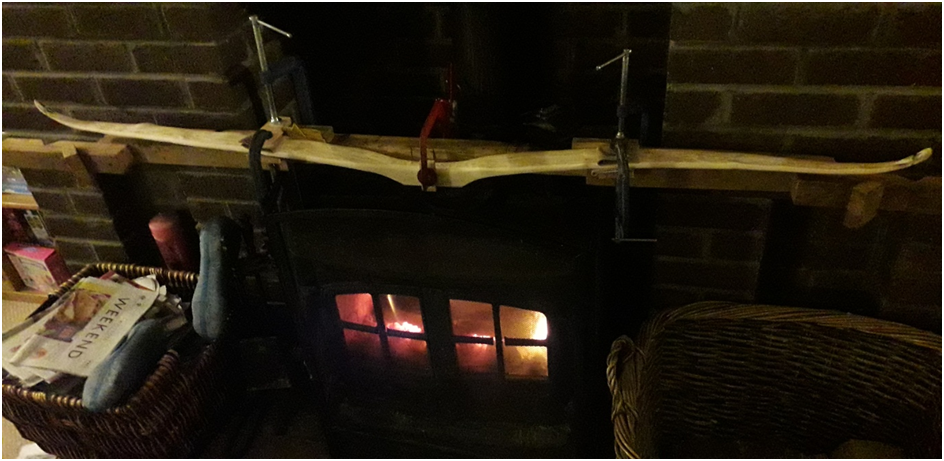
I’m heat treating both flicked tips here in order to prevent the bend pulling out once tillering begins. I also quite like the dark coloured tips which results from only targeting the last 6” of the limb. The dark colour contrasts nicely with the lighter untreated belly wood.Now that the overlays are functional I can eyeball the tips and handle for alignment. The string biased towards the left side of the bow appears a little too strong so I decide to heat the handle area for a correction.The handle is quite thick so I opt for setting the stave over the wood burner top whilst fitted to a bending jig.
The depth of heat penetration that you get with this method is significantly greater than can be achieved with a heat gun. After 45 minutes the handle section is scolding hot so the stave is manipulated into alignments and then comes off the heat and is allowed to cool for an hour. After the jig comes off I check for alignment and am happy to see that the correction has brought string alignment back to just favouring the left side which is perfect for a right handed archer such as me.
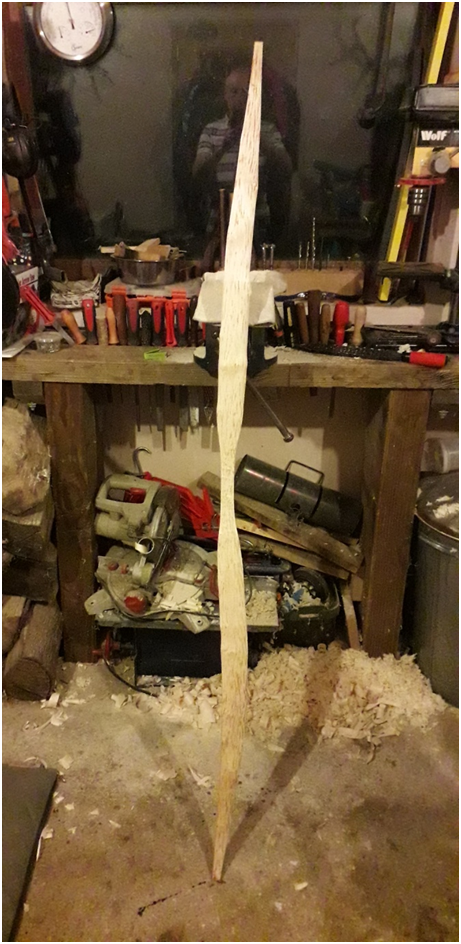
Roughly shaping the handle before starting the tillering process.Deflex reflex staves are always easier to tiller as the even shape has already been achieved through the various heat bending processes.
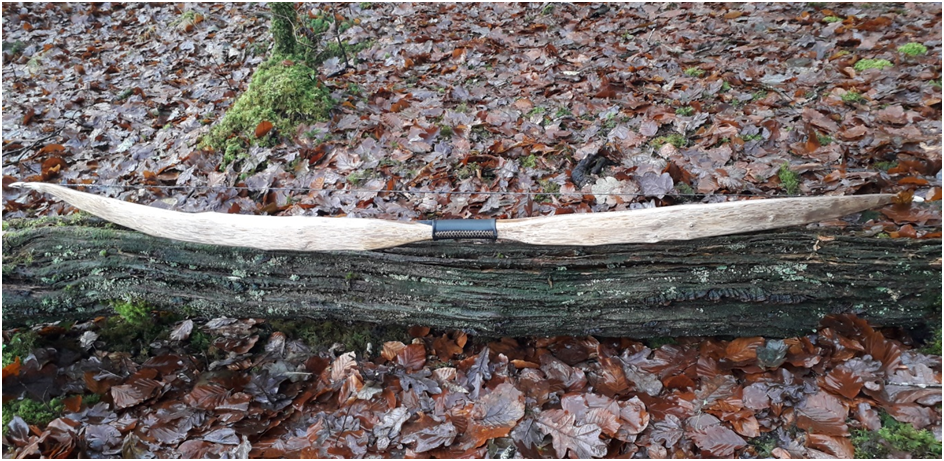
This stave is heavy but almost braceable right out the gate. After about 15 mins of long string tillering on the tiller tree the bow can be strung at a 6” brace height.
The left limb in the picture above is the bottom limb and is slightly weaker than the right limb which the top limb. I shoot split fingers so want this bow to finish out with an 1/8″ – 1/4 ” positive tiller. This was opposite to what the bow was doing at brace so I needed to reduce to top limb to swing the balance the other way. This is fine though as at this point, the bow is still quite heavy. I’m a short drawer so I’m aiming for 50lbs at 26”. At the minute I’m still getting 50lb at 22” so I spend an hour carefully reducing the weight of the top limb and tickling away at any stiff spots overall.
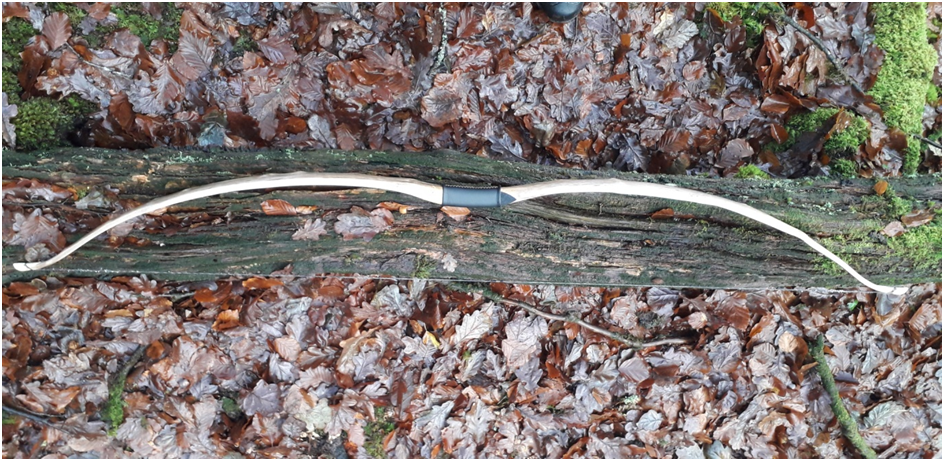
Bow unstrung after tillering to 53lb @ 26″
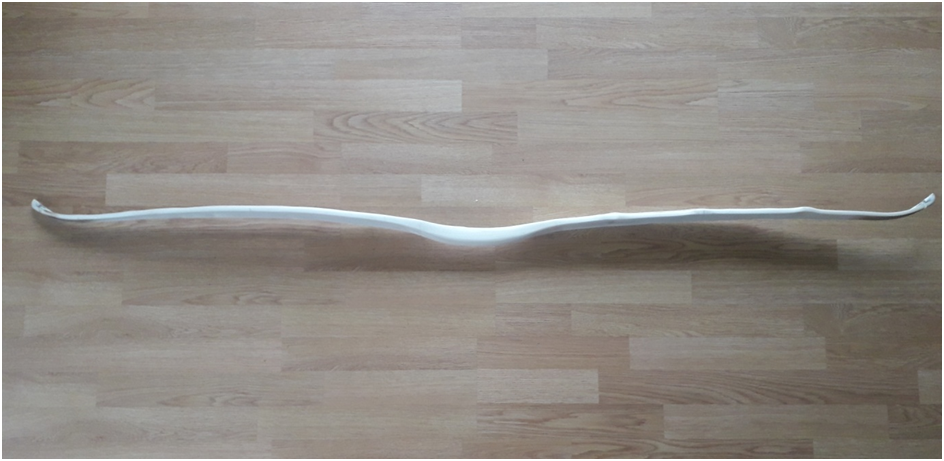
I’ve now got the stave down to 53lb at 26″ on the tillering tree. The extra 3lbs will likely come off as the bow is fine tillered and sanded after being shot in. both strung and unstrung I’ve got a really nice even balance of reflex in the handle and tips combined with a nice bit of mid limb deflex. The flicked tips haven’t pulled out and the string alignment is still just slightly biased towards the left side of the bow which for me as a right handed shooter is perfect. No signs of chrysaling anywhere on the belly and no splinters to be seen on the back. Time to get a handle wrap on and shoot her in.
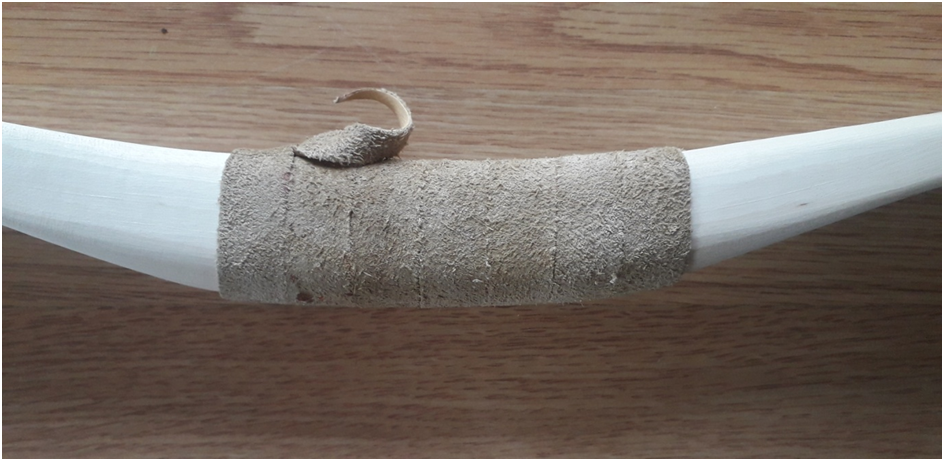
A scrap piece of buckskin leather will do for now.
I always shoot a couple of hundred arrows through all of my unfinished bows before sanding and finishing. I’ve learnt that a bow which has been meticulously tillered on the tillering tree will move considerably through actual shooting. After two hundred shot you know what you have. I then recheck my tiller and adjust accordingly.
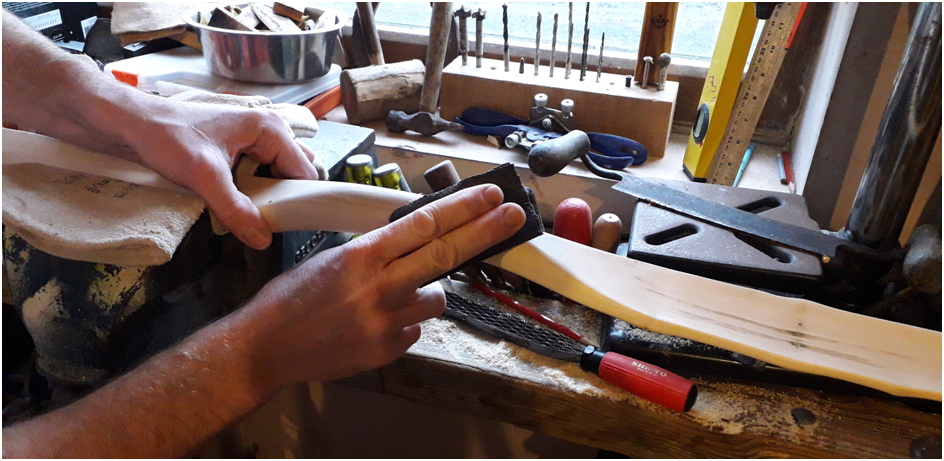
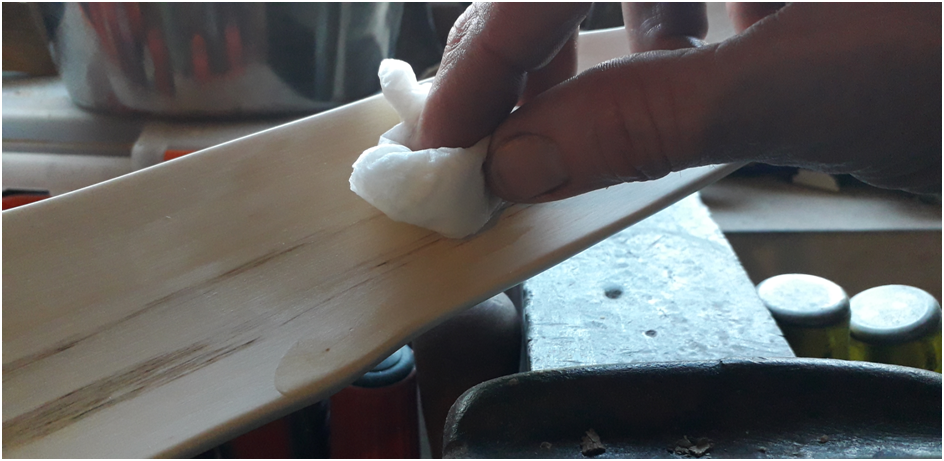
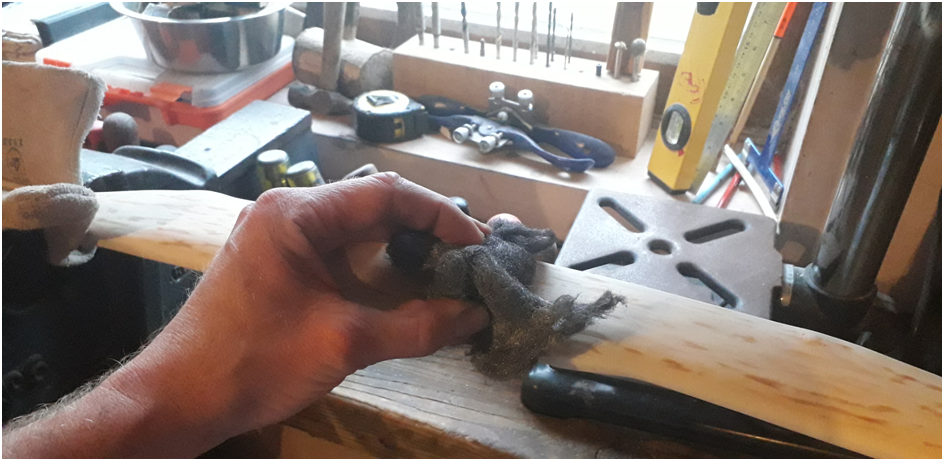
Happy with the final tiller it’s time to finish this bow. I start with 120 grit followed by 200 grit followed by 000 wire wool.Next I wet the whole bow down with plain water to raise the grain.After a day to dry thoroughly the grain gets hit back down with 000 wire wool.Then its on with an oil based stain and many coats of Truoil to finish.